ice作为一种rpc框架,为主流平台设计,包括Windows和Linux,支持广泛的语言,包括C++,Java,C#(和其他.Net的语言,例如Visual Basic),Python,Ruby,PHP和ActionScript。
安装ice
1.官网下载地址 https://zeroc.com/downloads/ice
2.安装程序,本文安装位置E:\Program Files\ZeroC\Ice-3.6.3
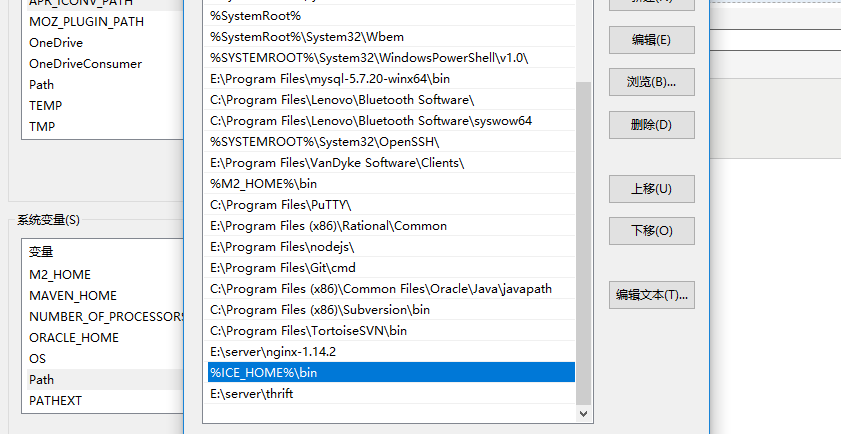
3.配置环境变量
计算机->属性->高级系统设置->环境变量
1)新建立一个ICE_HOME,变量值为安装路径

2)在Path中添加”%ICE_HOME%\bin“
3)检验
配置完成之后打开cmd
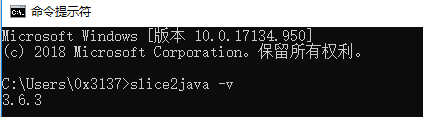
出现版本号即为安装并配置完成
java结合ice开发
创建一个maven管理的java项目
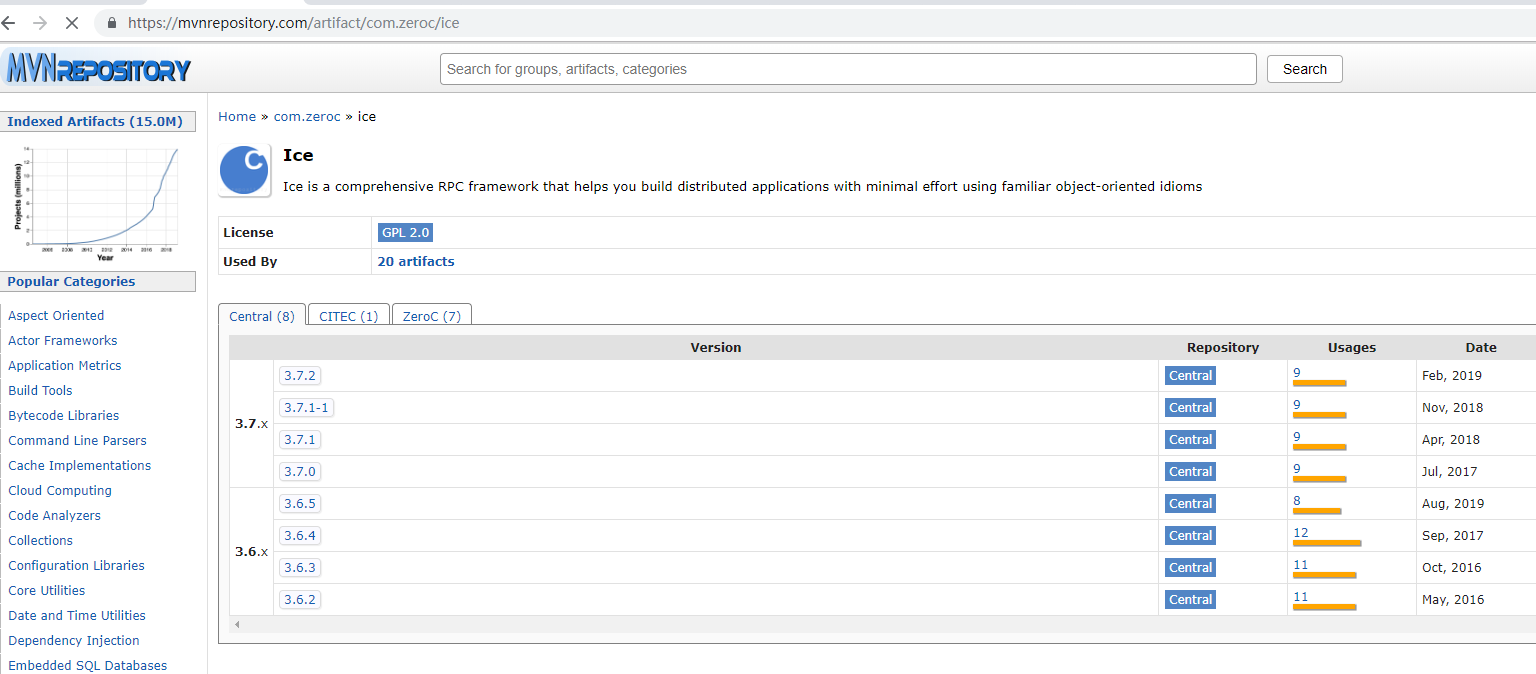
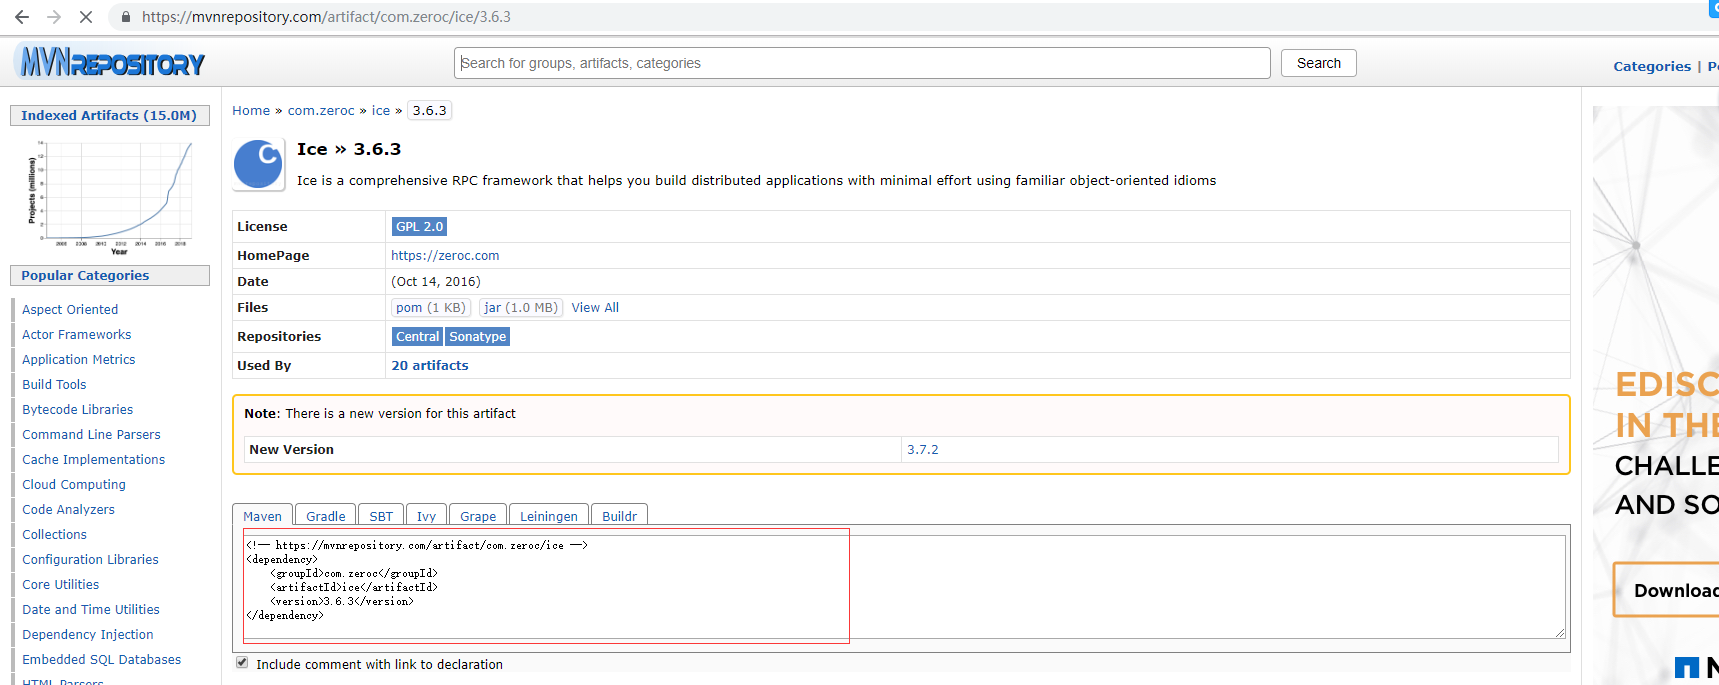
在pom.xml中添加依赖
<!-- https://mvnrepository.com/artifact/com.zeroc/ice -->
		<dependency>
			<groupId>com.zeroc</groupId>
			<artifactId>ice</artifactId>
			<version>3.6.3</version>
		</dependency>
依赖最好对应ice版本
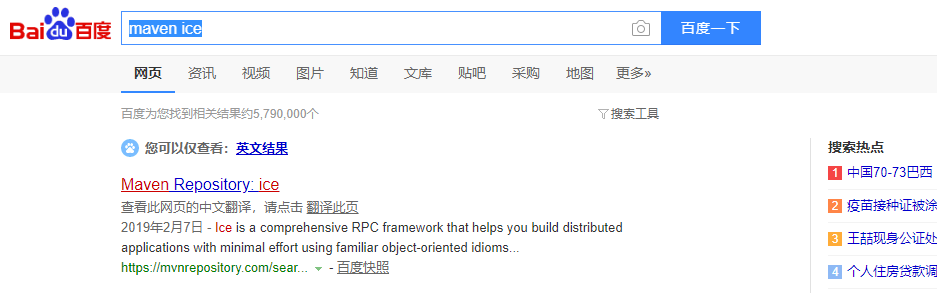
快速查找依赖的方法 直接百度 maven+多需要的依赖名称
如maven ice

在项目文件夹下创建slice文件夹 创建一个文件**.ice
本项目示例Hello.ice
[["java:package:com.test.ice.service"]] // 定义java包名  父结构
module demo   //模块包名
{
	interface Hello   //接口服务名称
	{
		string sayHello(string s);   //具体的方法
	};
};
1)使用slice2java编译ice文件生成java代码
在ice所在文件夹打开cmd或者shell,使用以下命令 ps:--output-dir 输出文件的目录
slice2java .\Hello.ice --output-dir ..\src\main\java
如果看不到代码,刷新项目即可
2)使用eclipse插件生成代码
eclipse – Help – Marketplace 搜索ice,第一个插件install
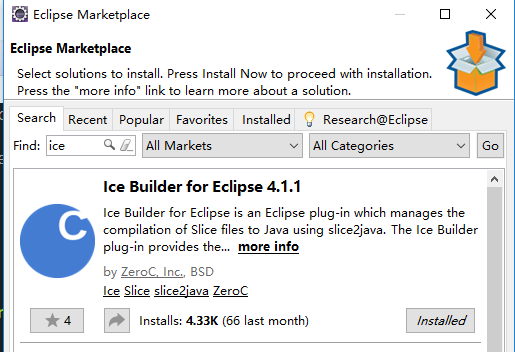
安装完成之后重启eclipse
重启之后,选中项目名称右键选中Ice builder -> add ice builder
则生成了ice的Java代码
编写程序
在生成的代码中可以看到"_ice文件接口名称Disp.java"的文件,例如本次项目为_HelloDisp.java
1)接口实现类HelloImpl 继承_HelloDisp.java
import com.test.ice.service.demo._HelloDisp;
import Ice.Current;
public class HelloImpl extends _HelloDisp{
/**
*
*/
private static final long serialVersionUID = 1L;
@Override
public String sayHello(String s, Current __current) {
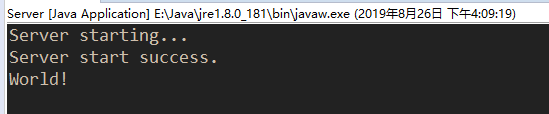
System.out.println(s);
return "hello,"+s;
}
}
ps:接下来的话可以忽略,最好是与接口不是同一项目,也就是api即接口项目,server项目,client项目,将接口项目以maven的方式打包成jar安装到本地库,具体操作实例https://www.jianshu.com/p/5ce9d1567fee,其他项目添加接口项目依赖
2)服务启动类Server
import com.test.ice.service.demo.impl.HelloImpl;
import Ice.Communicator;
import Ice.ObjectAdapter;
public class Server {
public static void main(String[] args) {
int status = 0;
Communicator ic = null;
try{
System.out.println("Server starting...");
ic = Ice.Util.initialize(args);
ObjectAdapter adapter = ic.createObjectAdapterWithEndpoints("iceTest", "default -p 10006");
Ice.Object object = new HelloImpl();
adapter.add(object, ic.stringToIdentity("hello"));
adapter.activate();
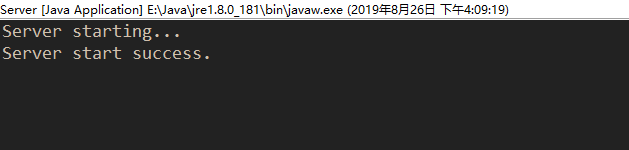
System.out.println("Server start success.");
ic.waitForShutdown();
}catch(Ice.LocalException e){
e.printStackTrace();
status = 1;
}catch(Exception e){
System.err.println(e.getMessage());
status = 1;
}
if(ic != null){
try{
ic.destroy();
}catch(Exception e){
System.err.println(e.getMessage());
status = 1;
}
}
System.exit(status);
}
}
3)客户端client
import com.test.ice.service.demo.HelloPrx;
import com.test.ice.service.demo.HelloPrxHelper;

public class Client {

	public static void main(String[] args) {
		int status = 0;
		Ice.Communicator ic = null;
		try {
			ic = Ice.Util.initialize(args);
			Ice.ObjectPrx base = ic.stringToProxy("hello:default -p 10006");
			HelloPrx hello = HelloPrxHelper.checkedCast(base);
			if (hello == null) {
				throw new Error("Invalid proxy");
			}

			String s = hello.sayHello("World!");
			System.out.println(">>" + s);
		} catch (Ice.LocalException e) {
			e.printStackTrace();
			status = 1;
		} catch (Exception e) {
			System.err.println(e.getMessage());
			status = 1;
		}
		if (ic != null) {
			try {
				ic.destroy();
			} catch (Exception e) {
				System.err.println(e.getMessage());
				status = 1;
			}
		}
		System.exit(status);
	}
}
4)运行程序
首先运行服务启动类Server,
启动客户端Client
服务端接受到数据
客户端接收到服务端返回的数据

简单的java 结合ice开发到此介绍结束,具体深入后续一起努力哦
python开发ice项目
1.安装ice所需的依赖包
pip install zeroc-ice
2.编写ice文件
module demo
{
	interface Hello
	{
		string sayHello(string s);
	};
};
3.编写Server启动程序
#!/usr/bin/env python
# coding=utf-8
import sys, Ice

# 动态加载slice文件并编译
Ice.loadSlice("./demo.ice")

#ice文件中的模块名称
import demo
## 实现一个服务类
class HelloImpl(demo.Hello):
    def sayHello(self, s, current=None):
        print s
        msg ="Hello,"+s
        return msg


with Ice.initialize(sys.argv) as communicator:
    print "Server starting..."
    adapter = communicator.createObjectAdapterWithEndpoints("SimplePrinterAdapter", "default -p 10006")
    object = HelloImpl()
    adapter.add(object, communicator.stringToIdentity("hello"))
    adapter.activate()
    print "Server start success."
    communicator.waitForShutdown()
4.编写客户端启动程序
#!/usr/bin/env python
# coding=utf-8
import sys, Ice
Ice.loadSlice("./demo.ice")
import demo

with Ice.initialize(sys.argv) as communicator:
    base = communicator.stringToProxy("hello:default -p 10006")
    printer = demo.HelloPrx.checkedCast(base)
    if not printer:
        raise RuntimeError("Invalid proxy")
    print  printer.sayHello("World!")
5.运行程序
1)启动server程序

2)启动client程序

3)server接受到客户端发送来的数据并输出

4)client接受到server返回的数据并输出

java与python服务互相调用
java启动server服务,python客户端程序调用服务
1)启动java server服务

2)启动python client服务

3)server服务接收数据并输出

4)client接收返回数据并输出

到此为止,门外看看而已