图片读取有多种方式,这里先记录几种,以后慢慢更新
tf.read_file
直接读取图片内容,需要解码;输出为Tensor,需要转换数据格式
示例代码
filename = 'myfiles/2.png'

img_content = tf.read_file(filename)                        # 读取图片
img = tf.image.decode_png(img_content, channels=3)          # 解码图片,注意通道数必须是3以上,1实验不成功
img = tf.cast(img, tf.float32)                              # 转换图片数据的格式 must

with tf.Session() as sess:
    img = sess.run(img)
    plt.imshow(img[:,:,:])
    plt.show()
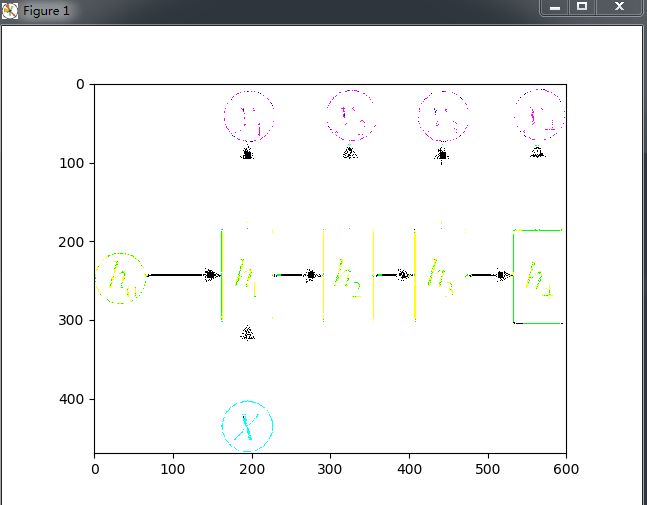
输出

附带图片处理
示例代码
filename = 'myfiles/2.png'

img_content = tf.read_file(filename)
img = tf.image.decode_png(img_content, channels=3)
img = tf.image.resize_images(img, size=(1080, 1080))              # 重置图片大小
# img = tf.reshape(img, shape=(1080, 1080, 3))                        # 这个不行
# img = tf.image.resize_image_with_crop_or_pad(img, 1080, 1080)      # 以图片为中心填充或者裁剪为指定大小
img = tf.image.per_image_standardization(img)                    # 标准化图片数据
img = tf.cast(img, tf.float32)

with tf.Session() as sess:
    img = sess.run(img)
    plt.imshow(img[:,:,:])
    plt.show()
1. 重置图片大小
2. 图片裁剪或者填充为指定大小
3. 图片数据标准化
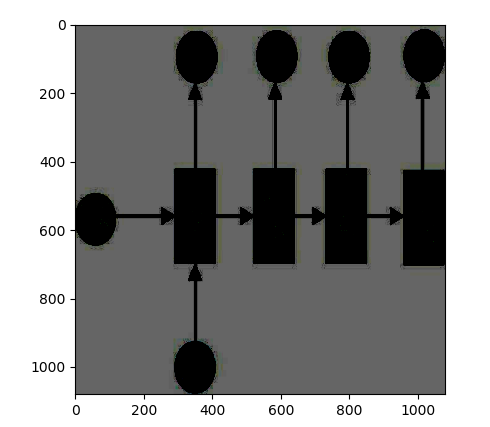
resize_images 输出

resize_image_with_crop_or_pad 输出

reader 文件阅读器
它的read方法需要输入一个队列(文件名队列),然后自动取出一个文件,读取文件,生成数据队列
示例代码
filelist = ['myfiles/2.png', 'myfiles/3.png']
file_queue = tf.train.string_input_producer(filelist, shuffle=True, num_epochs=2)   # 自动生成文件名队列

reader = tf.WholeFileReader()
key, value = reader.read(file_queue)        # 从文件名队列中获取一个文件名,并读取文件

with tf.Session() as sess:
    sess.run(tf.local_variables_initializer())
    tf.train.start_queue_runners(sess)

    i = 0
    while 1:
        i += 1
        try:
            image = sess.run(value)         # 生成字符串
            # 可直接写入图片文件,生成图片
            with open('test_%d.jpg' % i, 'wb') as f:
                f.write(image)

            # 也可解码为图片格式
            image = tf.image.decode_png(image, channels=3)
            image = sess.run(image)
            plt.imshow(image)
            plt.show()
        except:
            break
注意这种方式直接生成字符串,不需要进行格式转换
tf.gfile.FastGFile
filename = 'myfiles/2.png'

image_raw_data = tf.gfile.FastGFile(filename, 'rb').read()      # 这里必须加 b,因为tf里默认字符串是二进制的
image = tf.image.decode_png(image_raw_data)

print(image.eval(session=tf.Session()))

### tf 字符串
a = tf.Variable('a')
with tf.Session() as sess:
    sess.run(tf.global_variables_initializer())
    print(sess.run(a))                              # b'a'
输出为字符串,无需转换格式
多线程+批量读取
注意这两种方式本身没有关系,都可以单独使用,这里放在一起是为了直接展示这两种方法。
示例代码
imgpath = ['myfiles/2.png', 'myfiles/3.png']
# 将路径转化成张量形式
imgpath = tf.convert_to_tensor(imgpath)
# 产生一个队列每次随机产生一张图片地址
# 注意这里要放在数组里面
image = tf.train.slice_input_producer([imgpath])
# 得到一个batch的图片地址
img_batch = tf.train.batch([image],batch_size=20,capacity=100)

with tf.Session() as sess:
    coord = tf.train.Coordinator()
    thread = tf.train.start_queue_runners(sess,coord)
    i = 0
    try:
        while not coord.should_stop():
            imgs = sess.run(img_batch)
            fig = plt.figure()
            for i,path in enumerate(imgs):
                img_content = tf.read_file(path[0].decode('utf-8'))     # 读取图片
                img = tf.image.decode_png(img_content, channels=3)      # 解码图片
                img = tf.cast(img, tf.float32)                          # 转换数据格式  must
                img = sess.run(img)
                print(img.shape)
                axes = fig.add_subplot(5,4,i+1)
                axes.imshow(img[:, :, :])
                # axes.axis('off')
            # plt.ion()
            plt.show()
            time.sleep(1)
            # plt.close()
            i+=1
            if i%10==0:
                break
    except tf.errors.OutOfRangeError:
        pass
    finally:
        coord.request_stop()
    coord.join(thread)
参考资料:
https://blog.csdn.net/he_wen_jie/article/details/80078366