Ubuntu 18.04 搭建带GPU的TensorFlow、Keras、Pytorch深度学习开发环境(不用手动安装cudnn和cuda)
对学习深度学习的新手来说,环境搭建没有大神指导会比较麻烦,今天介绍一种简单、简单、非常简单的环境搭建方法。
1.安装Anaconda
在Anaconda下载Linux版本的开发环境,可以参考网上例程安装。
2.通过Anaconda安装带GPU的框架
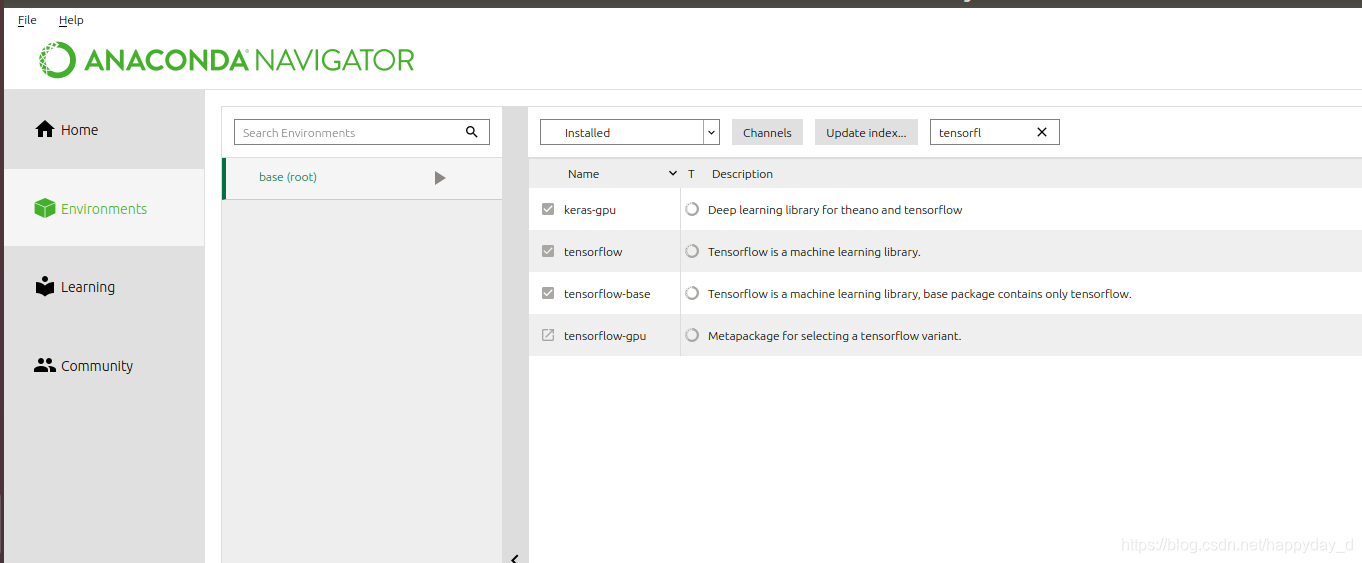
安装Anaconda成功后使用 anaconda-navigator 启动导航窗口,该窗口环境特别好用,简直就是用惯了Windows的福音。如下如:【Environment】中选择uninstall 输入TensorFlow会出现带GPU的TensorFlow环境,点击安装即可,安装后关于GPU相关的cuda和cudnn都顺带安装了,不用再单独安装(之前花了大量的时间安装cuda和cudnn)
3.环境测试
利用如下代码进行测试:
import tensorflow as tf
a = tf.constant([1.,2.,3.,4.,5.,6.], shape=[2,3], name='a')
b = tf.constant([1.,2.,3.,4.,5.,6.], shape=[3,2], name='b')
c = tf.matmul(a,b)
with tf.Session(config= tf.ConfigProto(log_device_placement=True)) as sess:
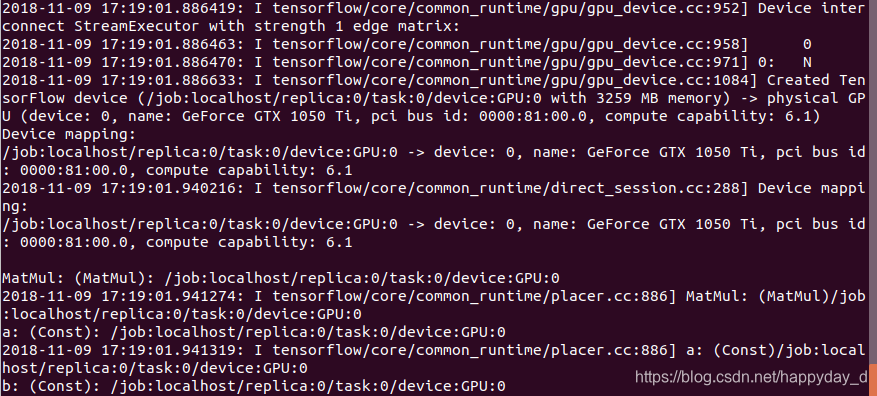
print(sess.run(c))
输出结果如下,显示GPU:0表示安装成功!!
同样Keras Pytorch也使用相同的方法安装!
享受深度学习编程吧!!