主要有下面几步。首先大家先分清楚 小程序的appid,appSecret 跟公众号的appid,appSecret是不一样的。因为这两个都能拿到token,且是不同的值。
准备开始:
1.准备好 公众号的appid ,appSecret .
2.在微信后台设置js 安全接口域名。可以添加三个,大家自己找下。或者百度。
环境介绍,我这里用的是TP5 框架,有用到Cache类
第一步:根据appid,appSecret 获取access_token,这里,我们给说明下,access_token 有效期是7200s (2个小时);
这里直接贴出获取的函数。方便大家看懂。这里,httpRequest() 函数是一个curl操作。
function gettoken($data){
    $appId = $data['appid'];
    $appSecret = $data['appSecret'];
    $url = "https://api.weixin.qq.com/cgi-bin/token?grant_type=client_credential&appid=".$appId."&secret=".$appSecret;
    return $result=httpRequest($url,'GET');
}


/**
 * CURL请求
 * @param $url 请求url地址
 * @param $method 请求方法 get post
 * @param null $postfields post数据数组
 * @param array $headers 请求header信息
 * @return mixed
 */
function httpRequest($url, $method, $postfields = null, $headers = array(), $debug = false) {
    $method = strtoupper($method);
    $ci = curl_init();
    /* Curl settings */
    curl_setopt($ci, CURLOPT_HTTP_VERSION, CURL_HTTP_VERSION_1_0);
    curl_setopt($ci, CURLOPT_USERAGENT, "Mozilla/5.0 (Windows NT 6.2; WOW64; rv:34.0) Gecko/20100101 Firefox/34.0");
    curl_setopt($ci, CURLOPT_CONNECTTIMEOUT, 60); /* 在发起连接前等待的时间,如果设置为0,则无限等待 */
    curl_setopt($ci, CURLOPT_TIMEOUT, 7); /* 设置cURL允许执行的最长秒数 */
    curl_setopt($ci, CURLOPT_RETURNTRANSFER, true);
    switch ($method) {
        case "POST":
            curl_setopt($ci, CURLOPT_POST, true);
            if (!empty($postfields)) {
                $tmpdatastr = is_array($postfields) ? http_build_query($postfields) : $postfields;
                curl_setopt($ci, CURLOPT_POSTFIELDS, $tmpdatastr);
            }
            break;
        default:
            curl_setopt($ci, CURLOPT_CUSTOMREQUEST, $method);
            break;
    }
    $ssl = preg_match('/^https:\/\//i',$url) ? TRUE : FALSE;
    curl_setopt($ci, CURLOPT_URL, $url);
    if($ssl){
        curl_setopt($ci, CURLOPT_SSL_VERIFYPEER, FALSE); // https请求 不验证证书和hosts
        curl_setopt($ci, CURLOPT_SSL_VERIFYHOST, FALSE);
    }
    //curl_setopt($ci, CURLOPT_FOLLOWLOCATION, 1);
    curl_setopt($ci, CURLOPT_MAXREDIRS, 2);/*指定最多的HTTP重定向的数量,这个选项是和CURLOPT_FOLLOWLOCATION一起使用的*/
    curl_setopt($ci, CURLOPT_HTTPHEADER, $headers);
    curl_setopt($ci, CURLINFO_HEADER_OUT, true);
    $response = curl_exec($ci);
    $requestinfo = curl_getinfo($ci);
    $http_code = curl_getinfo($ci, CURLINFO_HTTP_CODE);
    curl_close($ci);
    return $response;
    //return array($http_code, $response,$requestinfo);
}
第二部: 根据token 获取getticket ,jsapi数据,这里为了不使得大家迷糊,贴完整的代码。看不懂的部分,可以自行查阅资料。根据返回值,我们有做时间的处理。
防止重复调用token 和 getticket 。代码里面有说明。

获取到的 getticket 信息,需要根据errcode 状态来判断。
下面是源码部分,展开列表,你就能看到丰富的代码。
public function indexdemo(){ //通过接口去拿token的值。 $data['appid']="wx0c38278aa06f63dd";//这里的appid已经修改为假的,请大家替换 $data['appSecret']="29cb76731d9f0d6c2e364190a1ad117c";//请替换 $token=Cache::get('token'); if(empty($token)){//token不存在,请求 $token=gettoken($data); $strtoken=json_decode($token,true); $strtoken['expires_in']=$strtoken['expires_in']-10;//这里做10s的兼容处理。 //设置access_token 缓存,跟有效期。 Cache::set('token',$strtoken['access_token'],$strtoken['expires_in']); $token=$strtoken['access_token']; } //根据token 获取getticket ,jsapi数据 $urling="https://api.weixin.qq.com/cgi-bin/ticket/getticket?access_token=".$token."&type=jsapi"; $ticket=Cache::get('ticket'); if(empty($ticket)){//为空,获取ticket $result=file_get_contents($urling); $result=json_decode($result,true); //返回结果成功,缓存ticket if($result['errcode']=='0'){ $result['expires_in']=$result['expires_in']-10;//10s 兼容处理 Cache::set('ticket',$result['ticket'],$result['expires_in']); $ticket=$result['ticket']; } } $jsapi_ticket=$ticket; //生成随机的nonceStr $noncestr = $this->createNonceStr(); $protocol = (!empty($_SERVER['HTTPS']) && $_SERVER['HTTPS'] !== 'off' || $_SERVER['SERVER_PORT'] == 443) ? "https://" : "http://"; $url = "$protocol$_SERVER[HTTP_HOST]$_SERVER[REQUEST_URI]"; $timestamp = time(); //按照字典序列组装字符串,并sha1加密。 $string1 = "jsapi_ticket={$jsapi_ticket}&noncestr={$noncestr}×tamp={$timestamp}&url={$url}"; $signature = sha1($string1); $signPackage = array( 'appId' => $data['appid'], 'nonceStr' => $noncestr, 'timestamp' => $timestamp, 'signature' => $signature, ); //返回数据给前端 $this->assign('signPackage',json_encode($signPackage,true)); // $this->assign('signPackage',$signPackage); return $this->fetch(); }
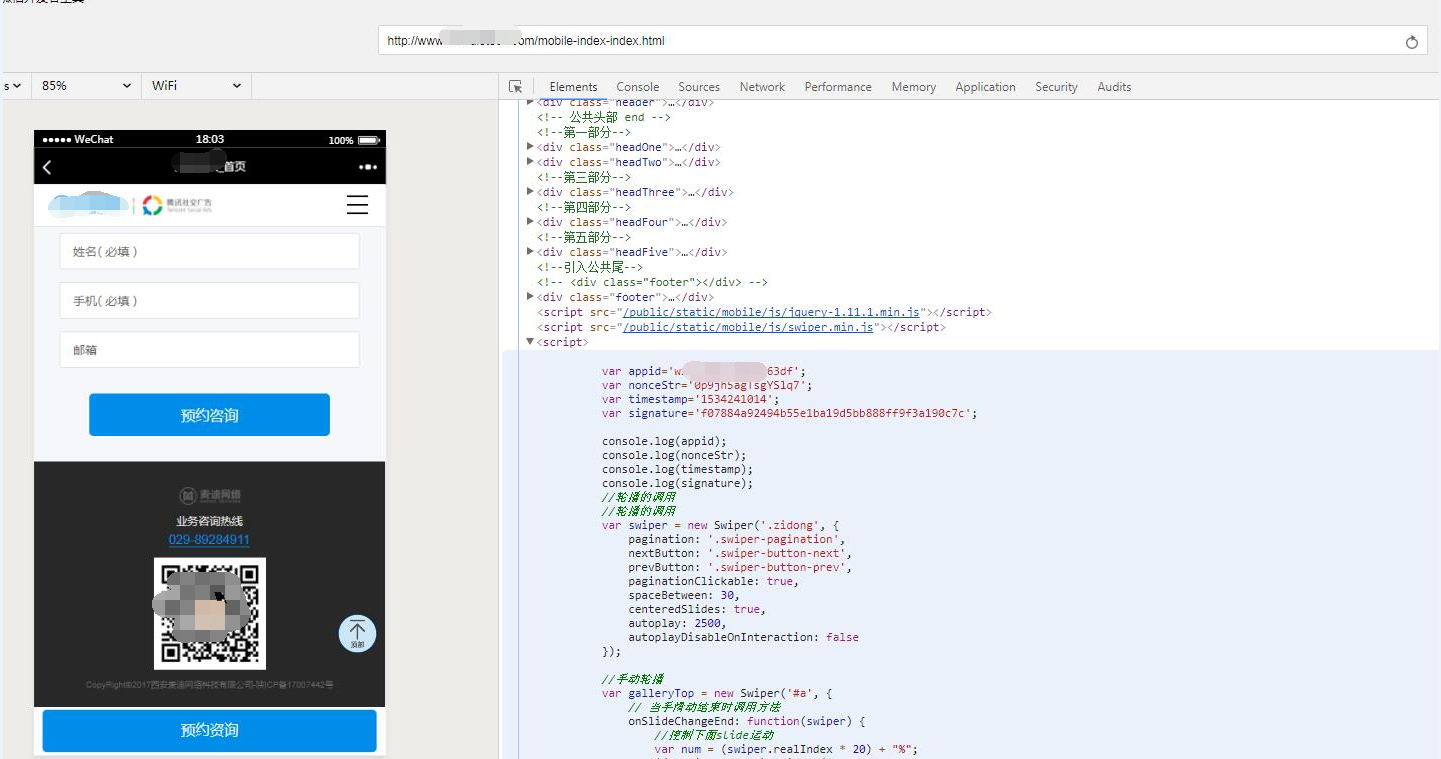
调试出要的字段,然后进行var_dump()输出测试。如图,正常显示。

第三部:使用php语法,输出数据到前端js里面,js里面做配置即可。这里使用的是微信开发者工具,公众号模式。其实也可以在自己的编辑器里面用的。看到这里,
后续就可以根据微信的文档来操作,前端的分享页面了。