文章目录
- 问:我怎么又来安装Anaconda了
- 答:重装系统了……且前文并未解决新版适配问题,特来填坑
- 本文适用于新手(全新电脑)安装Anconda,免去各种复杂操作
若遇到报错,或对各种复杂操作情有独钟,请参照前文
一、安装
1. 下载
官网
- 点击Download下载
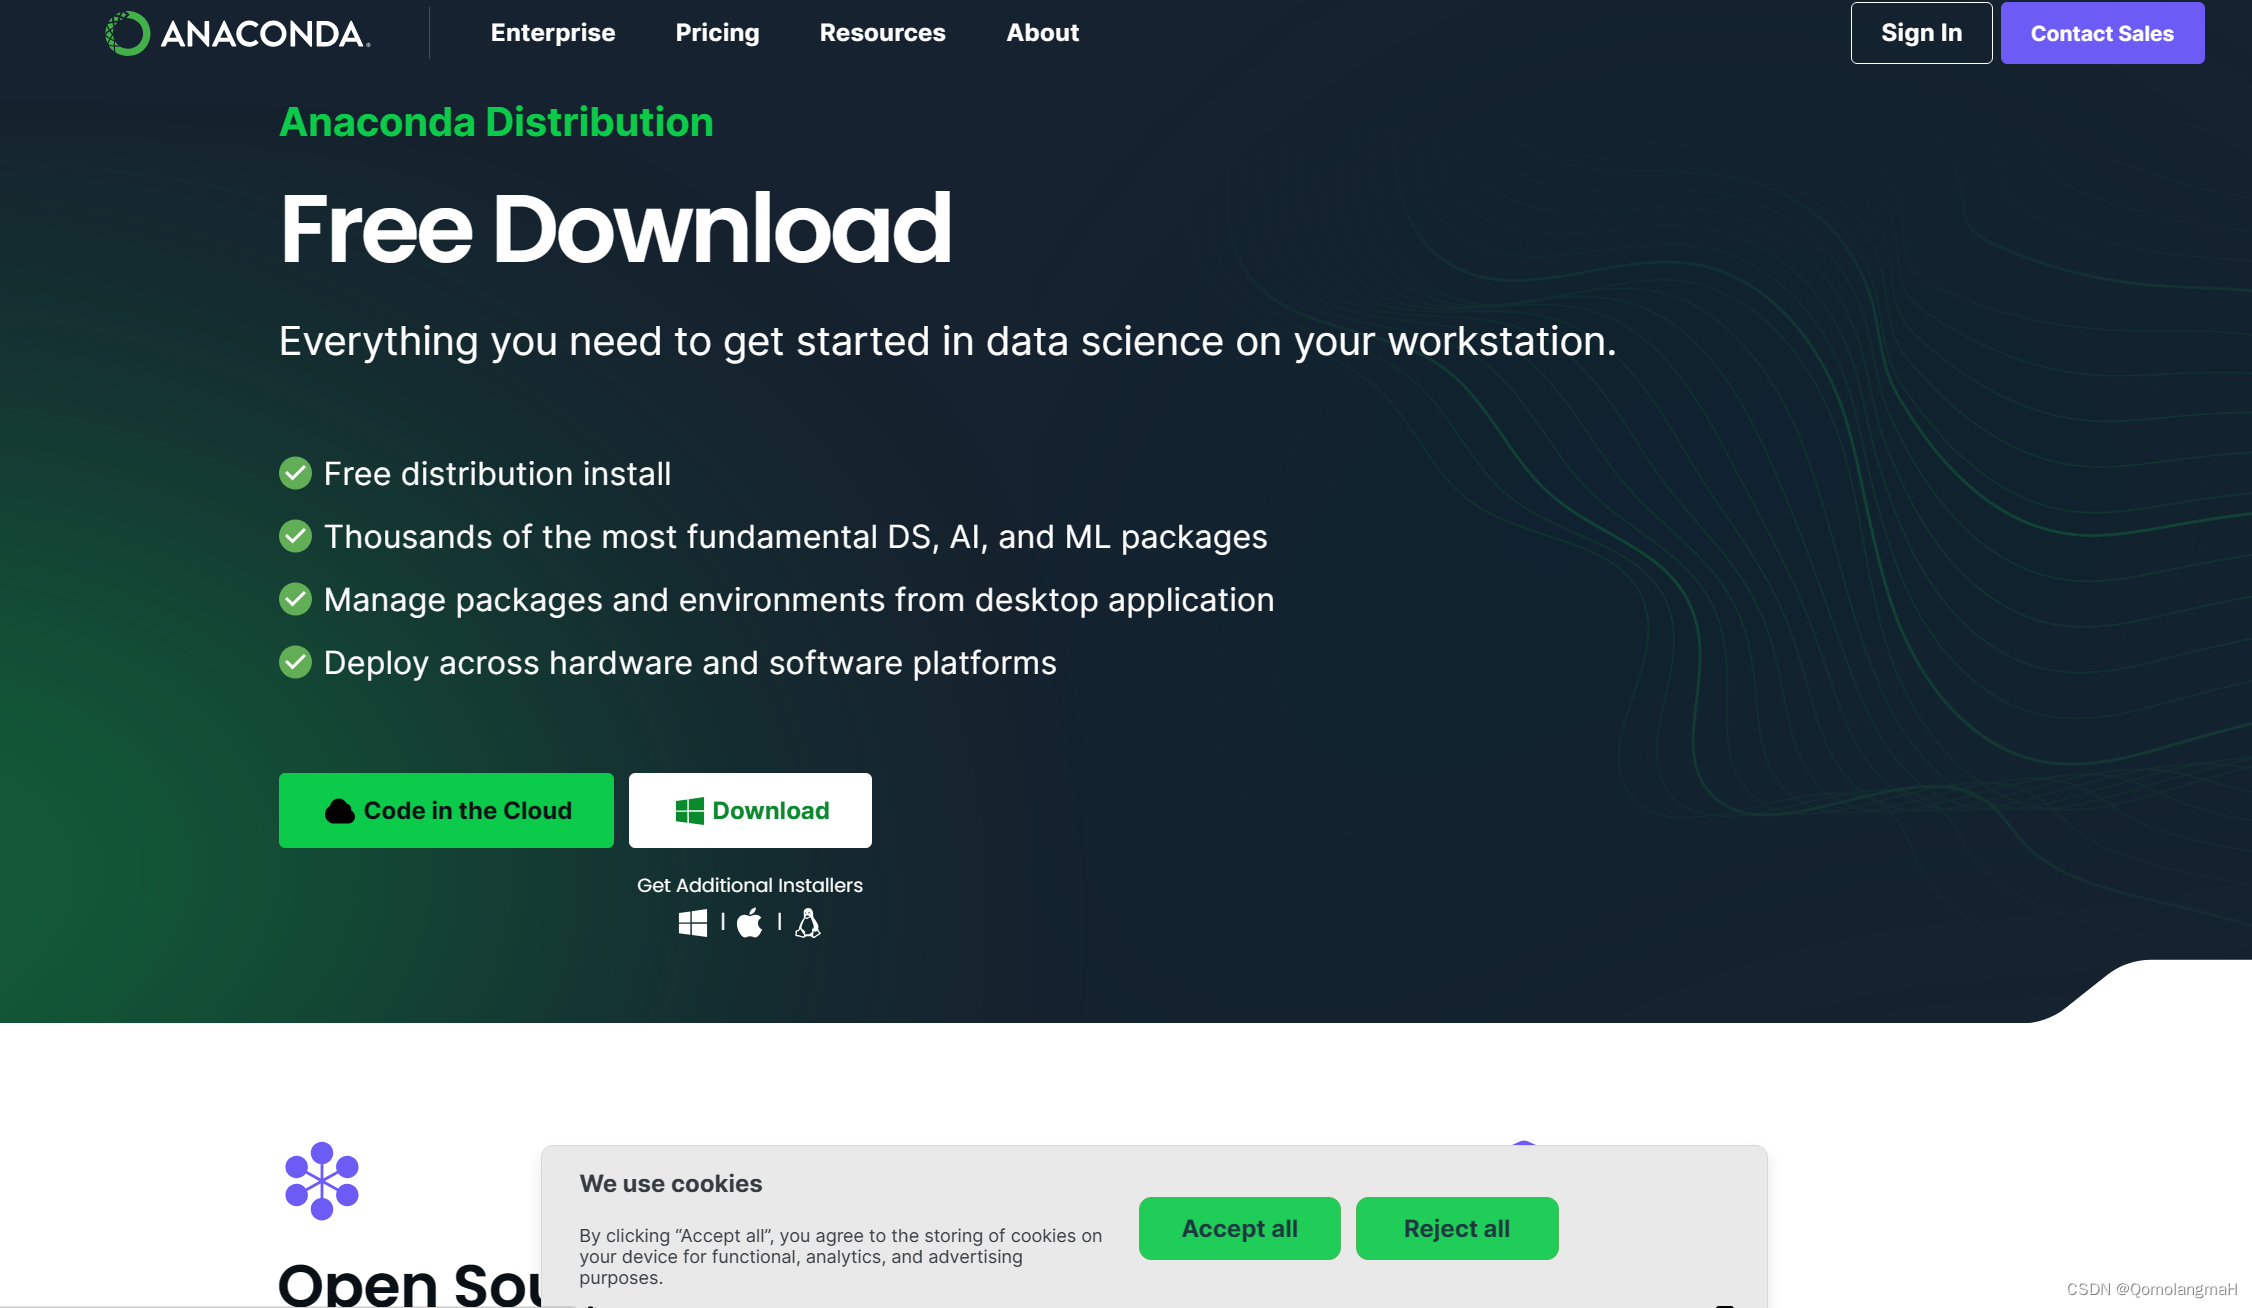
- 下载结束
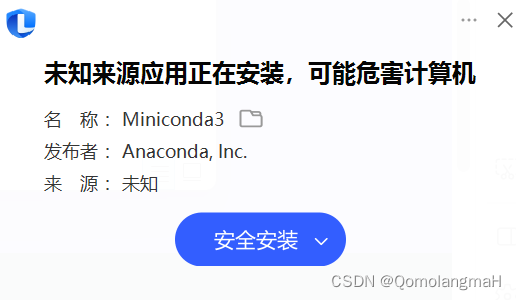
2. 安装
双击.exe进行安装,若出现如图所示安全安装,×掉即可。
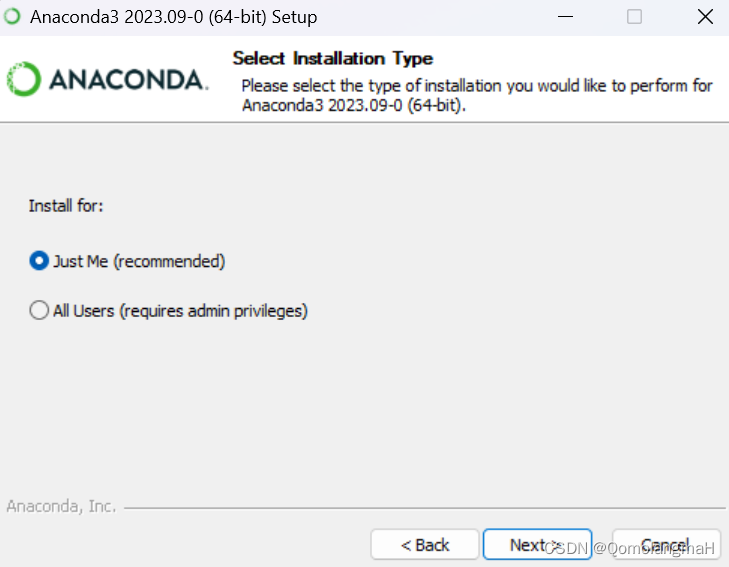
Windows系统是可以设置多个账户,各个账户系统的权限不一样。在安装软件时,选择“Just Me”只为自己安装,指只有目前登录的这个账户,才会在自己的账号系统中看到这个软件,在使用其他账号登录时,是看不到这个软件的。“All Users”为所有用户安装(需要管理员权限),指的是在任意账户登录系统的时候,都可以看到并且可以使用到这个软件。
这里选择“Just Me”。
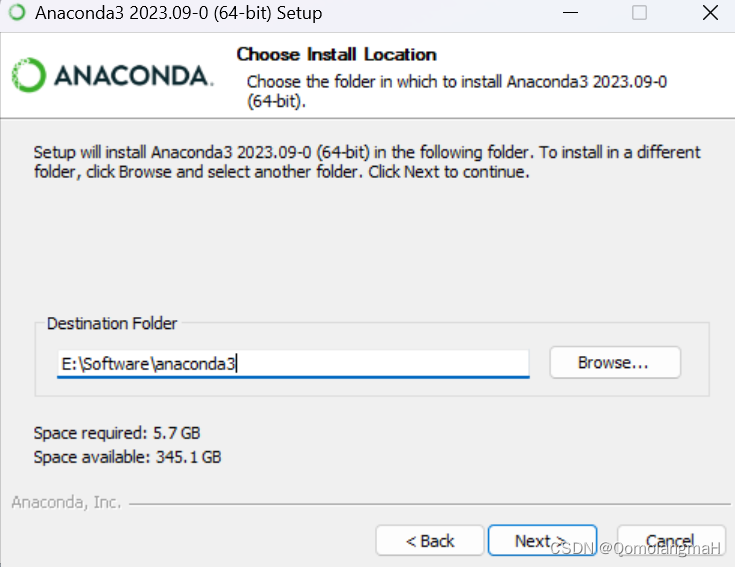
默认安装在C盘,建议更改到其它盘,记住安装位置,将来的n次重装会用得到
PS:不要觉得这是一个恶毒的诅咒,要知道不经历n次重装的人生是不完整的
 建议全选(勾选第二项,Not recommended项,否则需要自行设置环境变量)
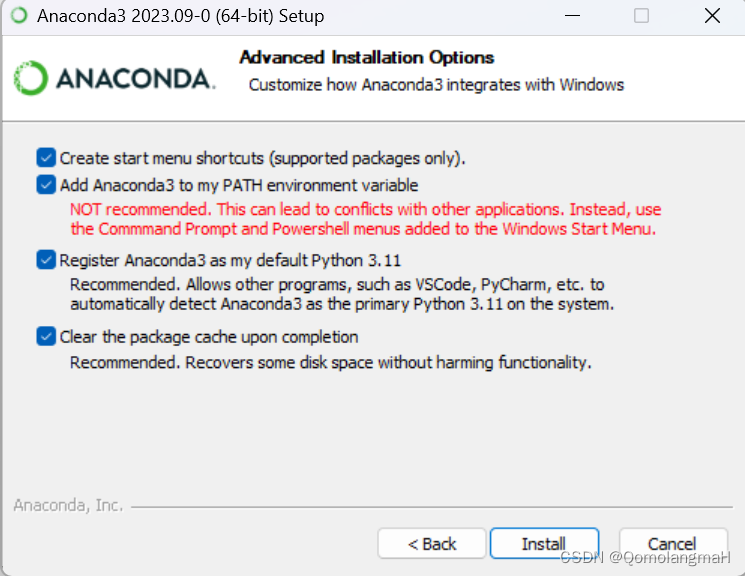
这里推崇命令行,所以不必勾选启动项
二、操作
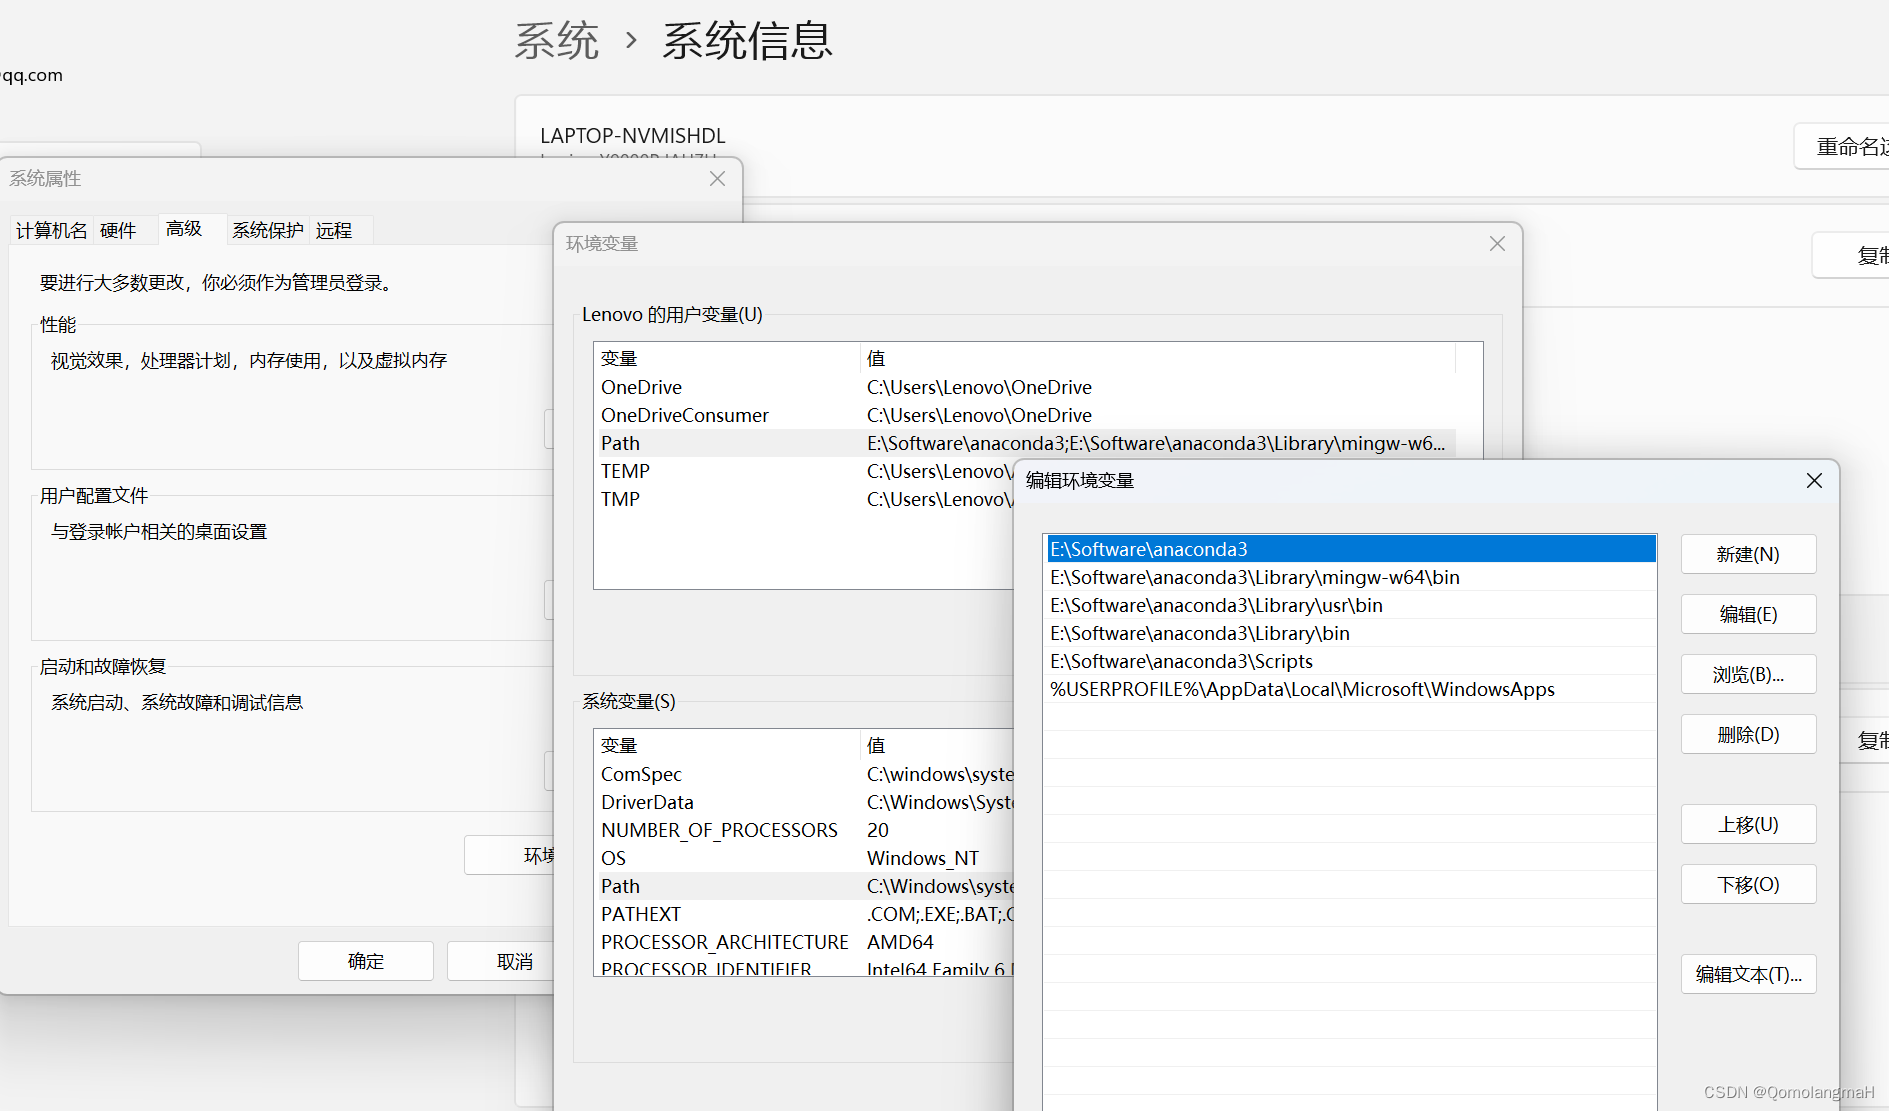
3. 设置环境变量
- 设置环境变量的意义:命令行操作
- 按照上文操作的家人们跳过设置环境变量操作
- 假如你已经安装完成且并未勾选第二项,可参照前文,这里不再赘述
- 最终结果是:
4. 开启终端操作
a. 初始化
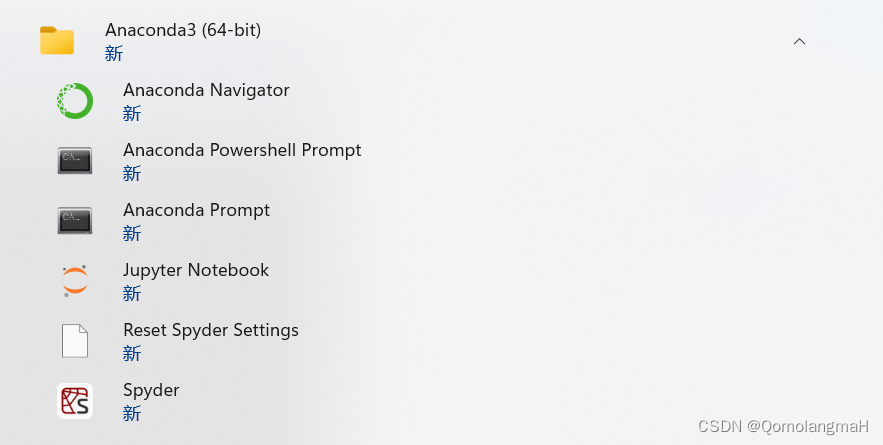
- 打开Anaconda Powershell Prompt
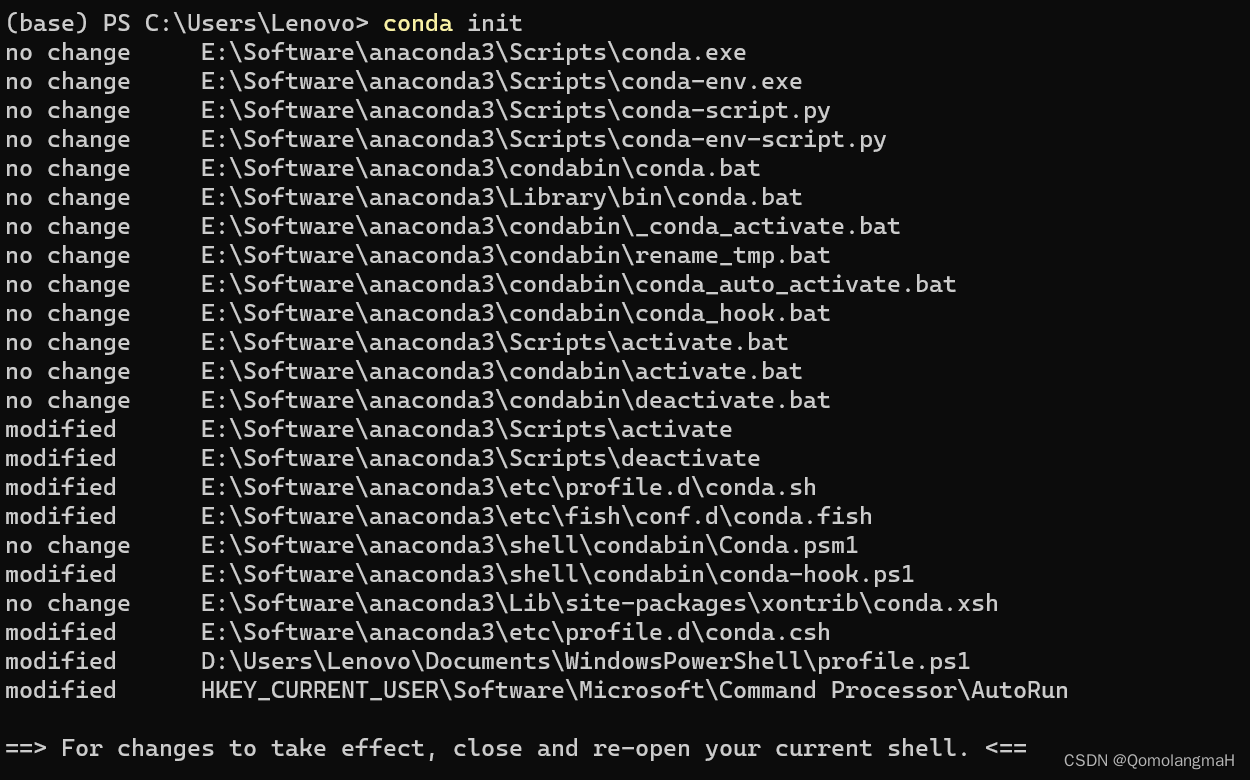
- 输入
conda init
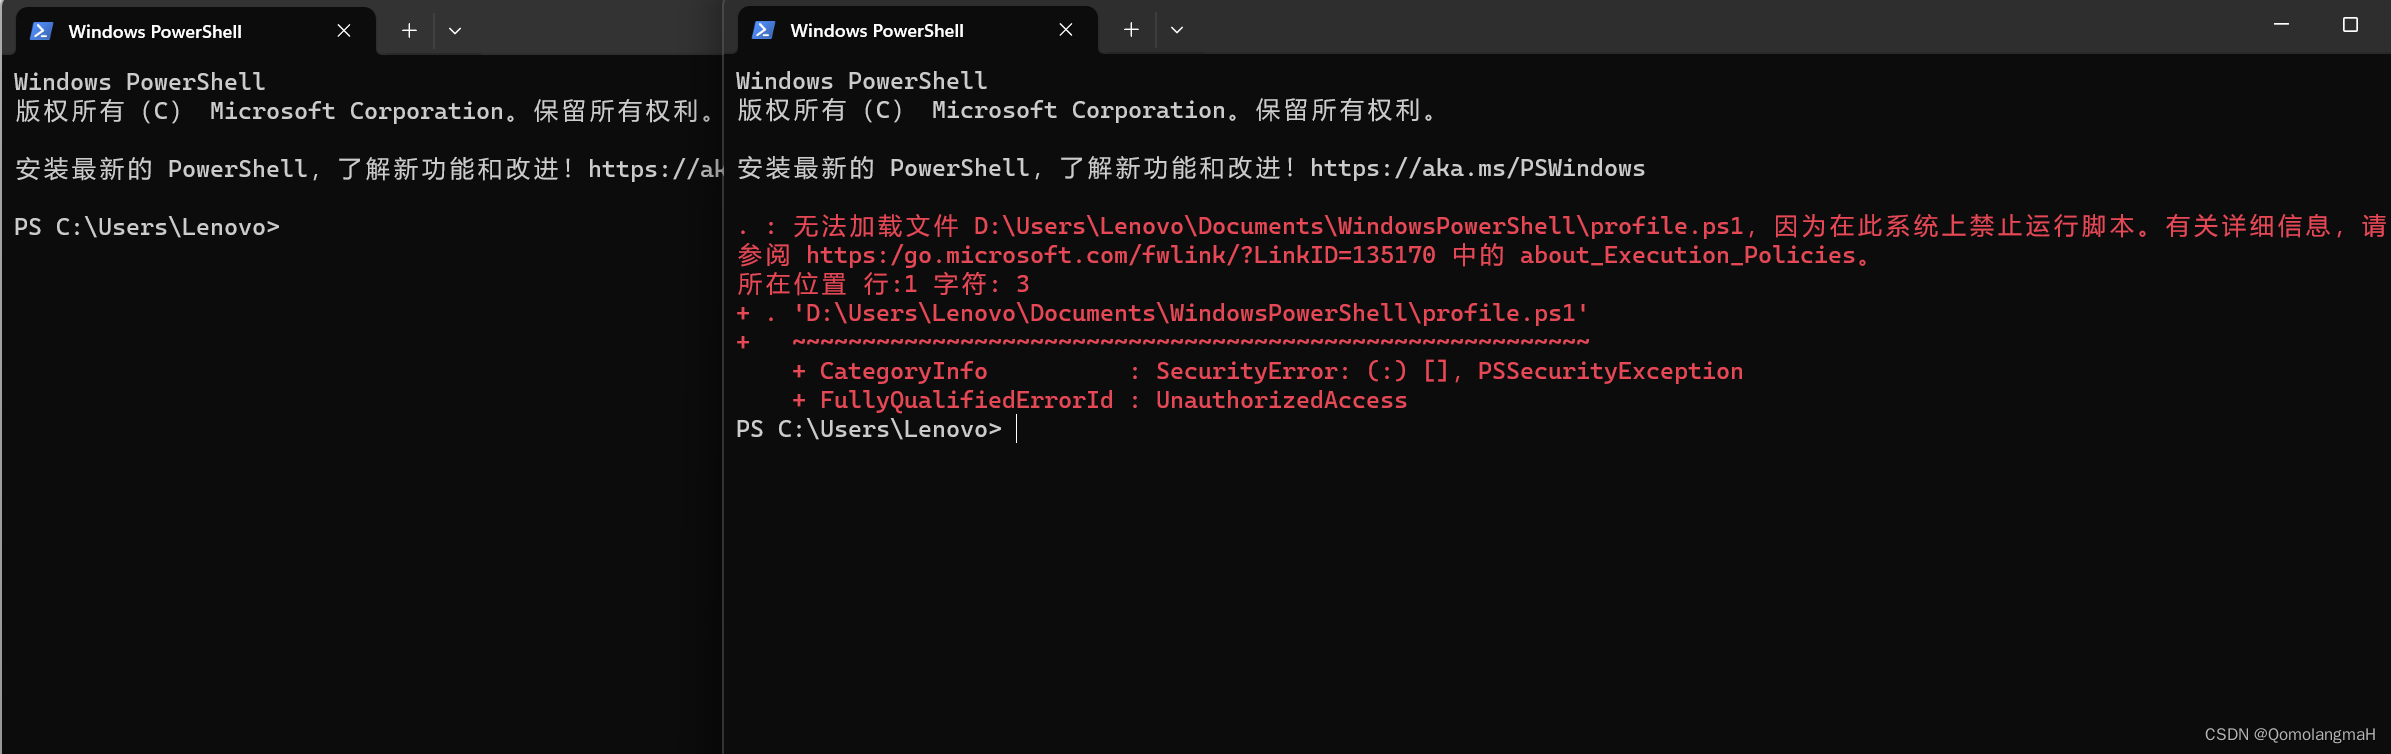
b. 报错:无法加载文件D:\Users\xxx\Documents\WindowsPowerShell\profile.ps1
. : 无法加载文件 D:\Users\Lenovo\Documents\WindowsPowerShell\profile.ps1,因为在此系统上禁止运行脚本。有关详细信息,请
参阅 https:/go.microsoft.com/fwlink/?LinkID=135170 中的 about_Execution_Policies。
所在位置 行:1 字符: 3
+ . 'D:\Users\Lenovo\Documents\WindowsPowerShell\profile.ps1'
+   ~~~~~~~~~~~~~~~~~~~~~~~~~~~~~~~~~~~~~~~~~~~~~~~~~~~~~~~~~
    + CategoryInfo          : SecurityError: (:) [],PSSecurityException
    + FullyQualifiedErrorId : UnauthorizedAccess
正常的终端变得不正常了捏
 莫要惊慌,看法宝:
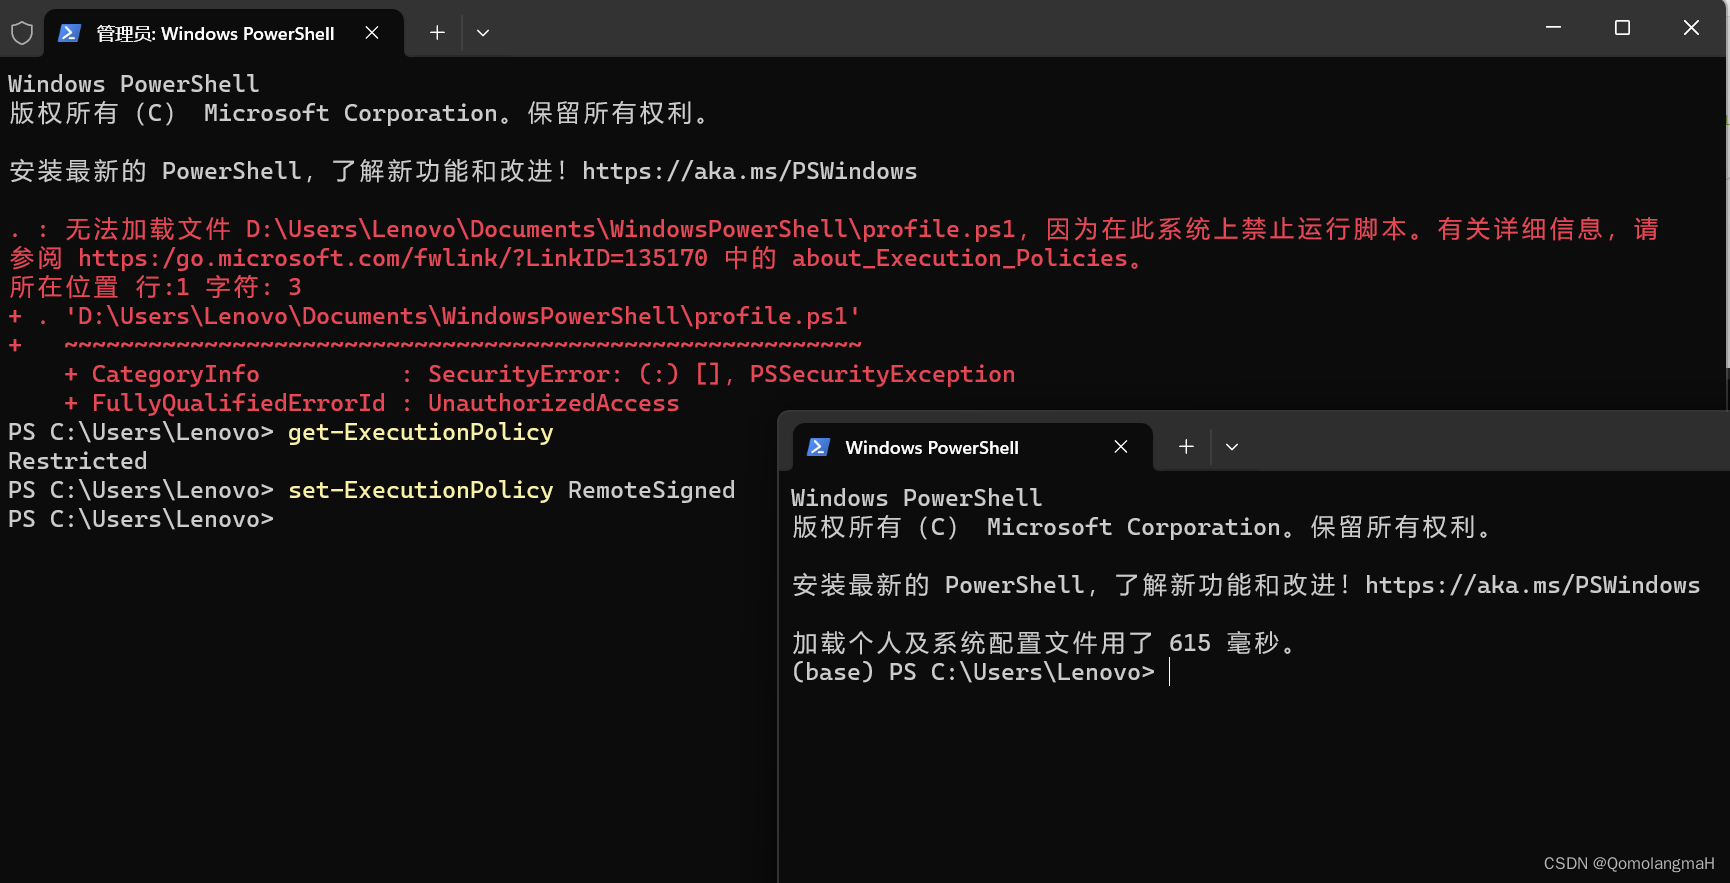
- 终端管理员
- 输入:
get-ExecutionPolicy
- 输出:
Restricted
表示脚本执行策略受限
- 输入:
set-ExecutionPolicy RemoteSigned
修改执行策略为RemoteSigned,表示当前用户的执行策略优先于为本地计算机设置的执行策略
- 注意看,现在新开终端不报错且左侧出现base字样
- 上述操作必须以管理员身份进行,否则:

5. 换源操作
a. 查看conda配置
conda config --show

b. 添加镜像源
conda config --add channels https://mirrors.tuna.tsinghua.edu.cn/anaconda/pkgs/free/
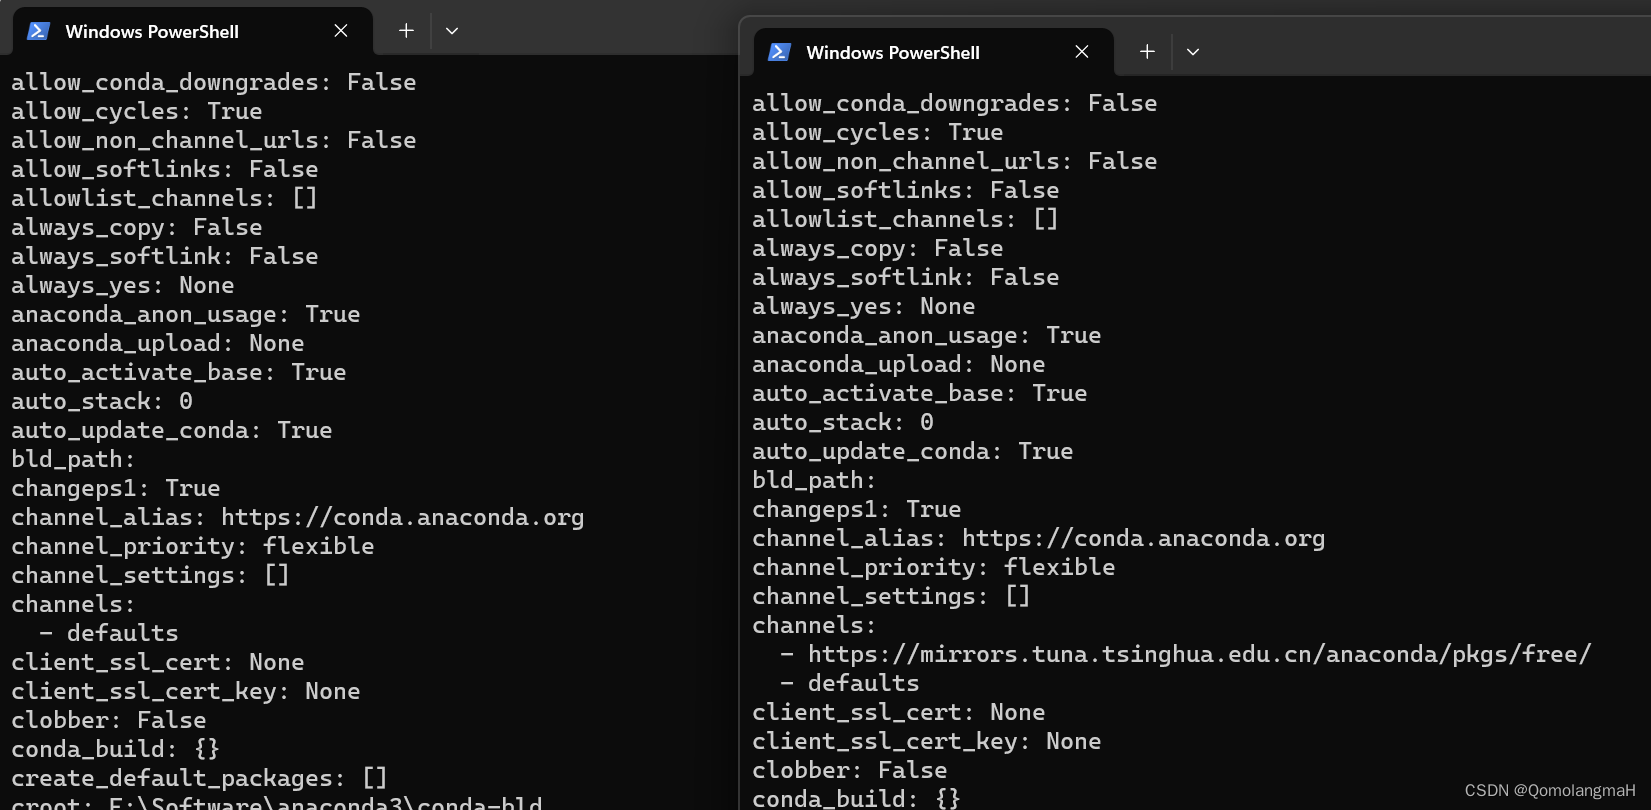
- 设置搜索时显示通道地址
conda config --set show_channel_urls yes
c. 清华源
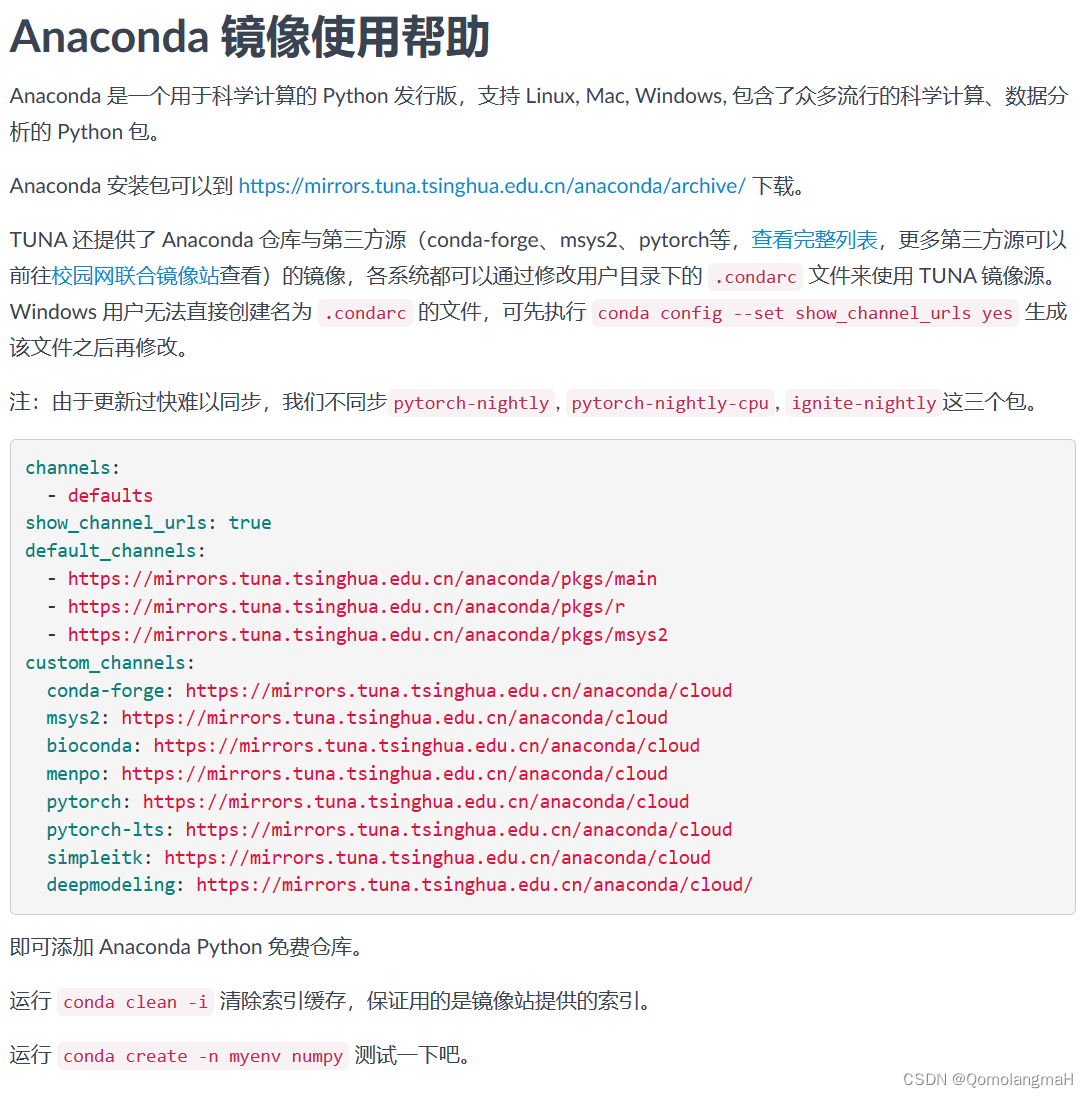
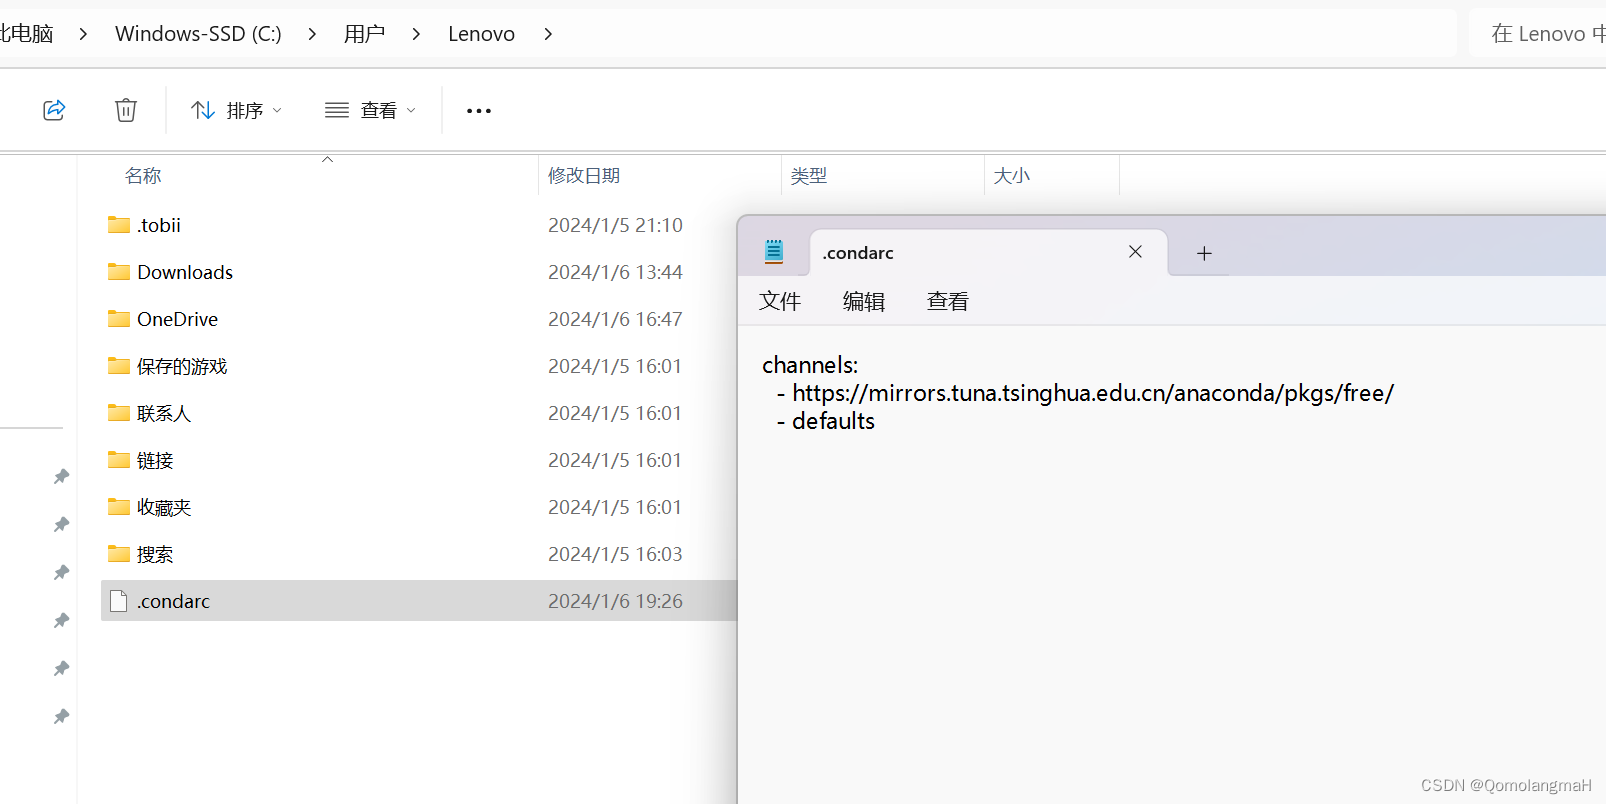
c. .condarc文件
conda 配置文件.condarc是一个可选的运行时配置文件,允许用户配置 conda 的各个方面,本文仅介绍channel相关的部分。
- 使用记事本打开
.condarc文件
channels:
  - defaults
show_channel_urls: true
default_channels:
  - https://mirrors.tuna.tsinghua.edu.cn/anaconda/pkgs/main
  - https://mirrors.tuna.tsinghua.edu.cn/anaconda/pkgs/r
  - https://mirrors.tuna.tsinghua.edu.cn/anaconda/pkgs/msys2
custom_channels:
  conda-forge: https://mirrors.tuna.tsinghua.edu.cn/anaconda/cloud
  msys2: https://mirrors.tuna.tsinghua.edu.cn/anaconda/cloud
  bioconda: https://mirrors.tuna.tsinghua.edu.cn/anaconda/cloud
  menpo: https://mirrors.tuna.tsinghua.edu.cn/anaconda/cloud
  pytorch: https://mirrors.tuna.tsinghua.edu.cn/anaconda/cloud
  pytorch-lts: https://mirrors.tuna.tsinghua.edu.cn/anaconda/cloud
  simpleitk: https://mirrors.tuna.tsinghua.edu.cn/anaconda/cloud
  deepmodeling: https://mirrors.tuna.tsinghua.edu.cn/anaconda/cloud/
- 修改
.condarc文件
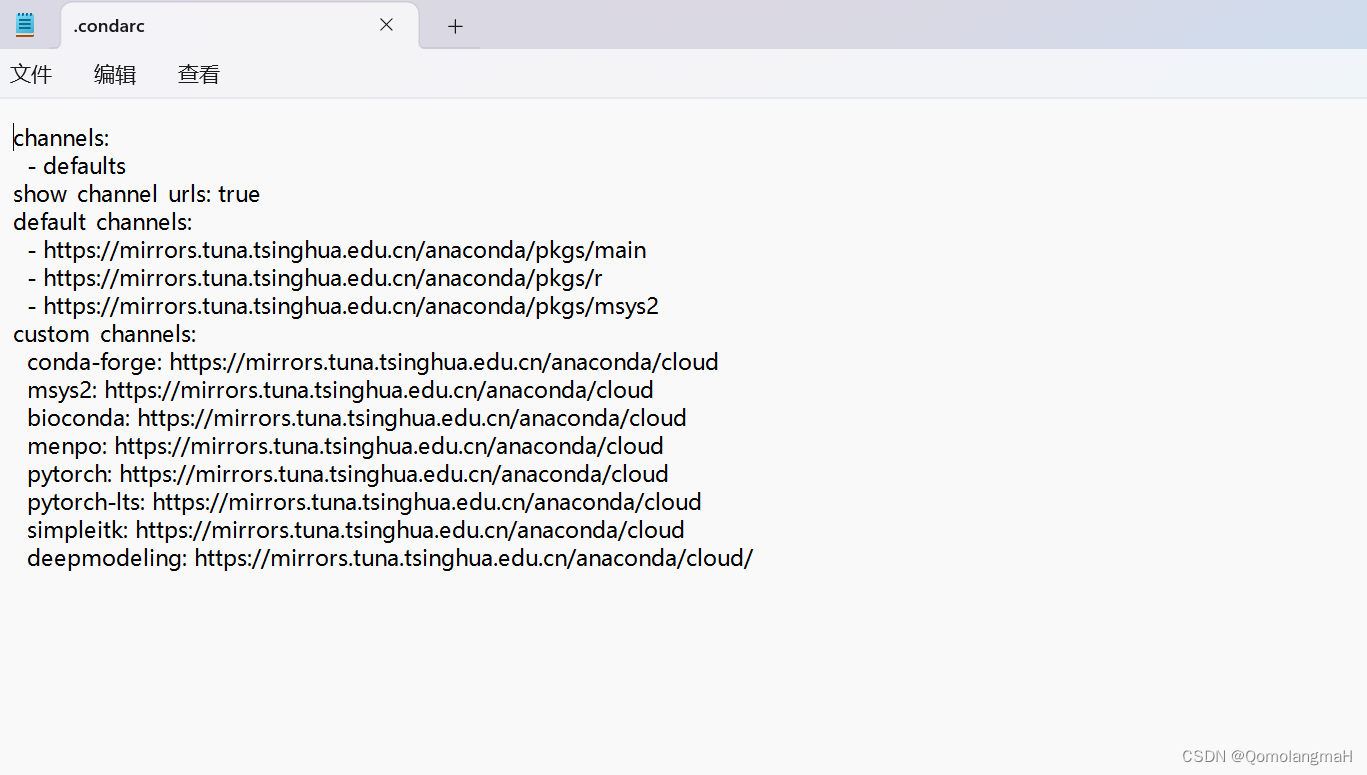
- 直接将default_channels设置为清华源,与前文效果一致
- 区别在于彻底删除了国外默认源,前后对比如图所示
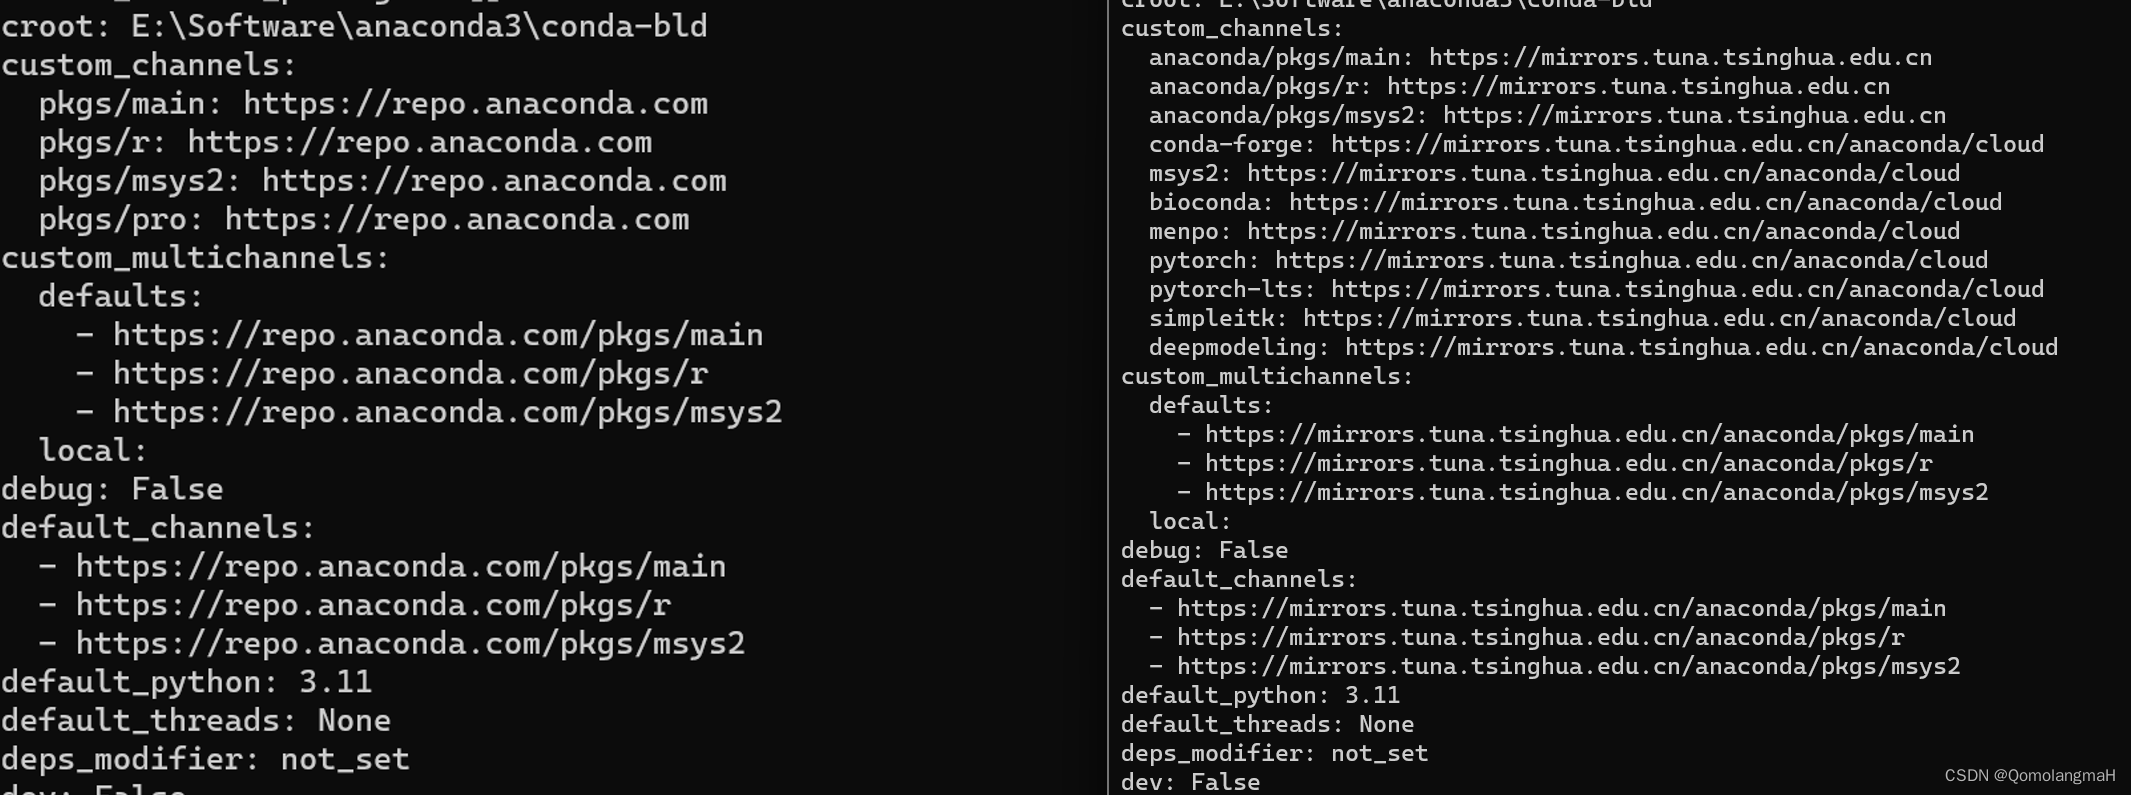
- 区别在于彻底删除了国外默认源,前后对比如图所示
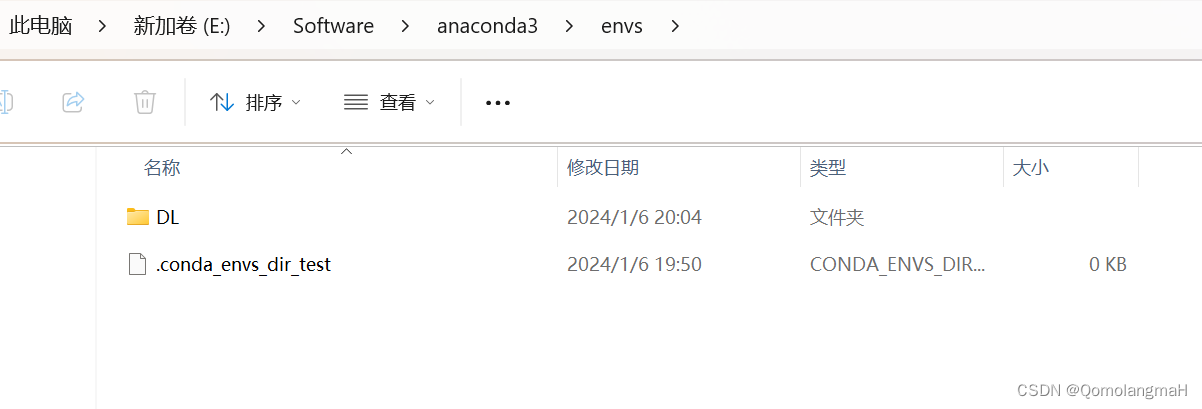
6. 创建虚拟环境
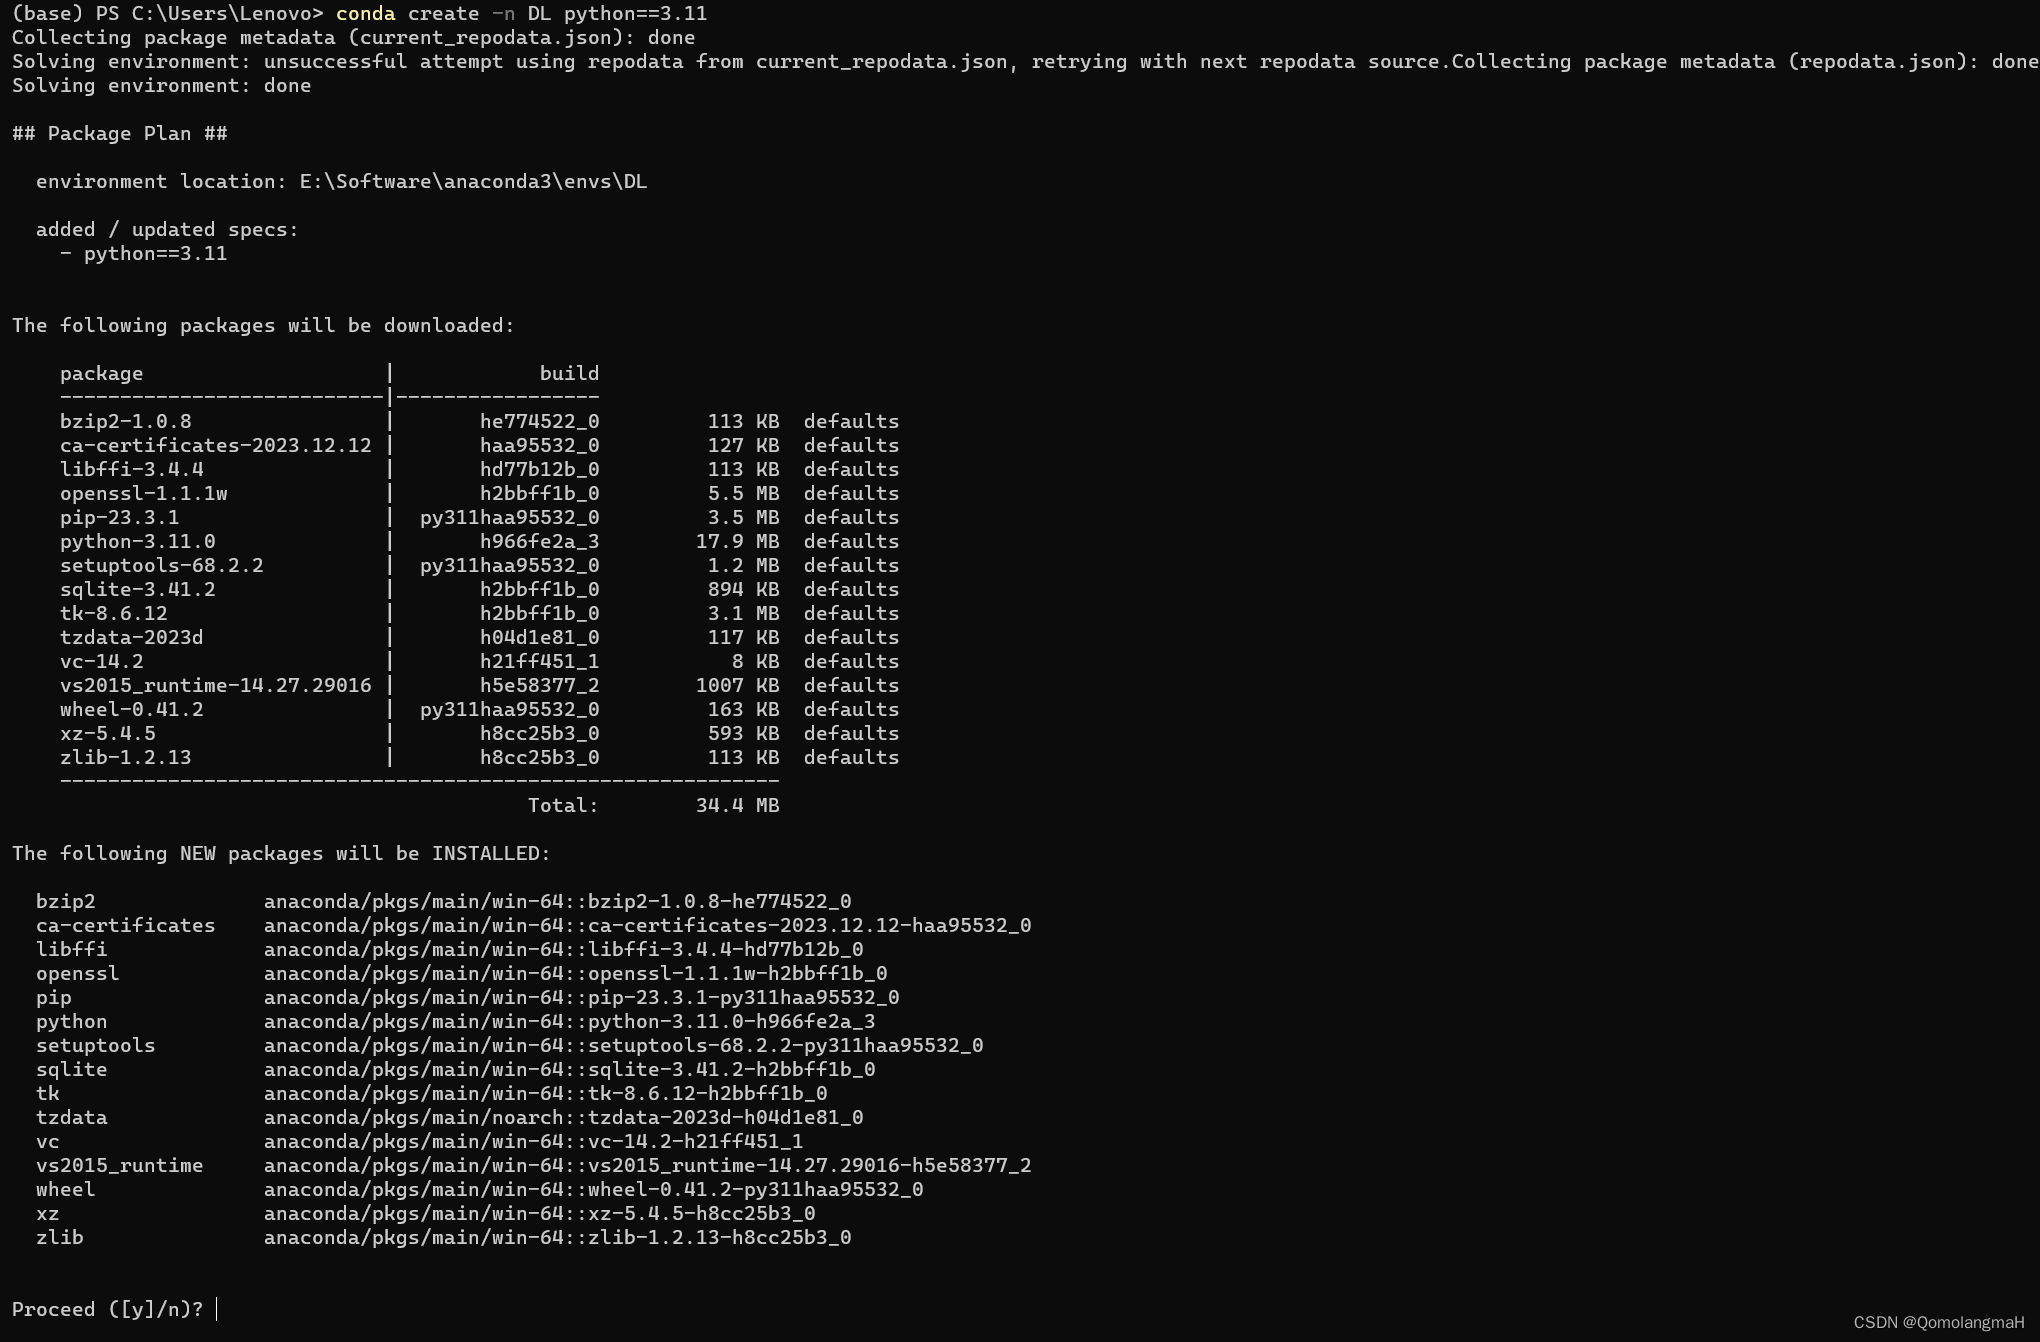
- 创建环境
conda create -n DL python==3.11
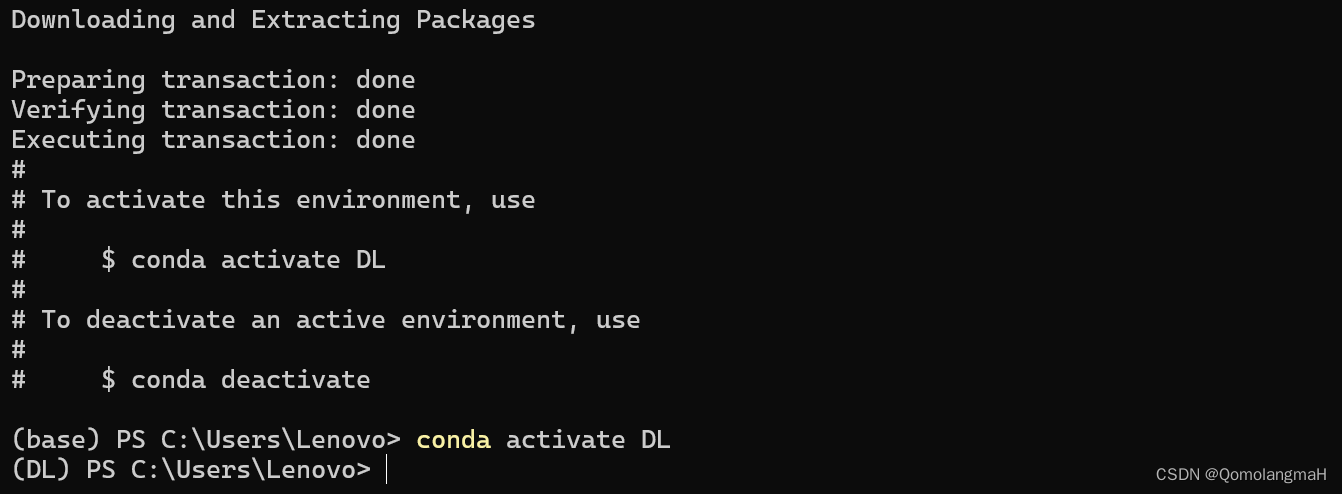
- 激活环境
conda activate DL
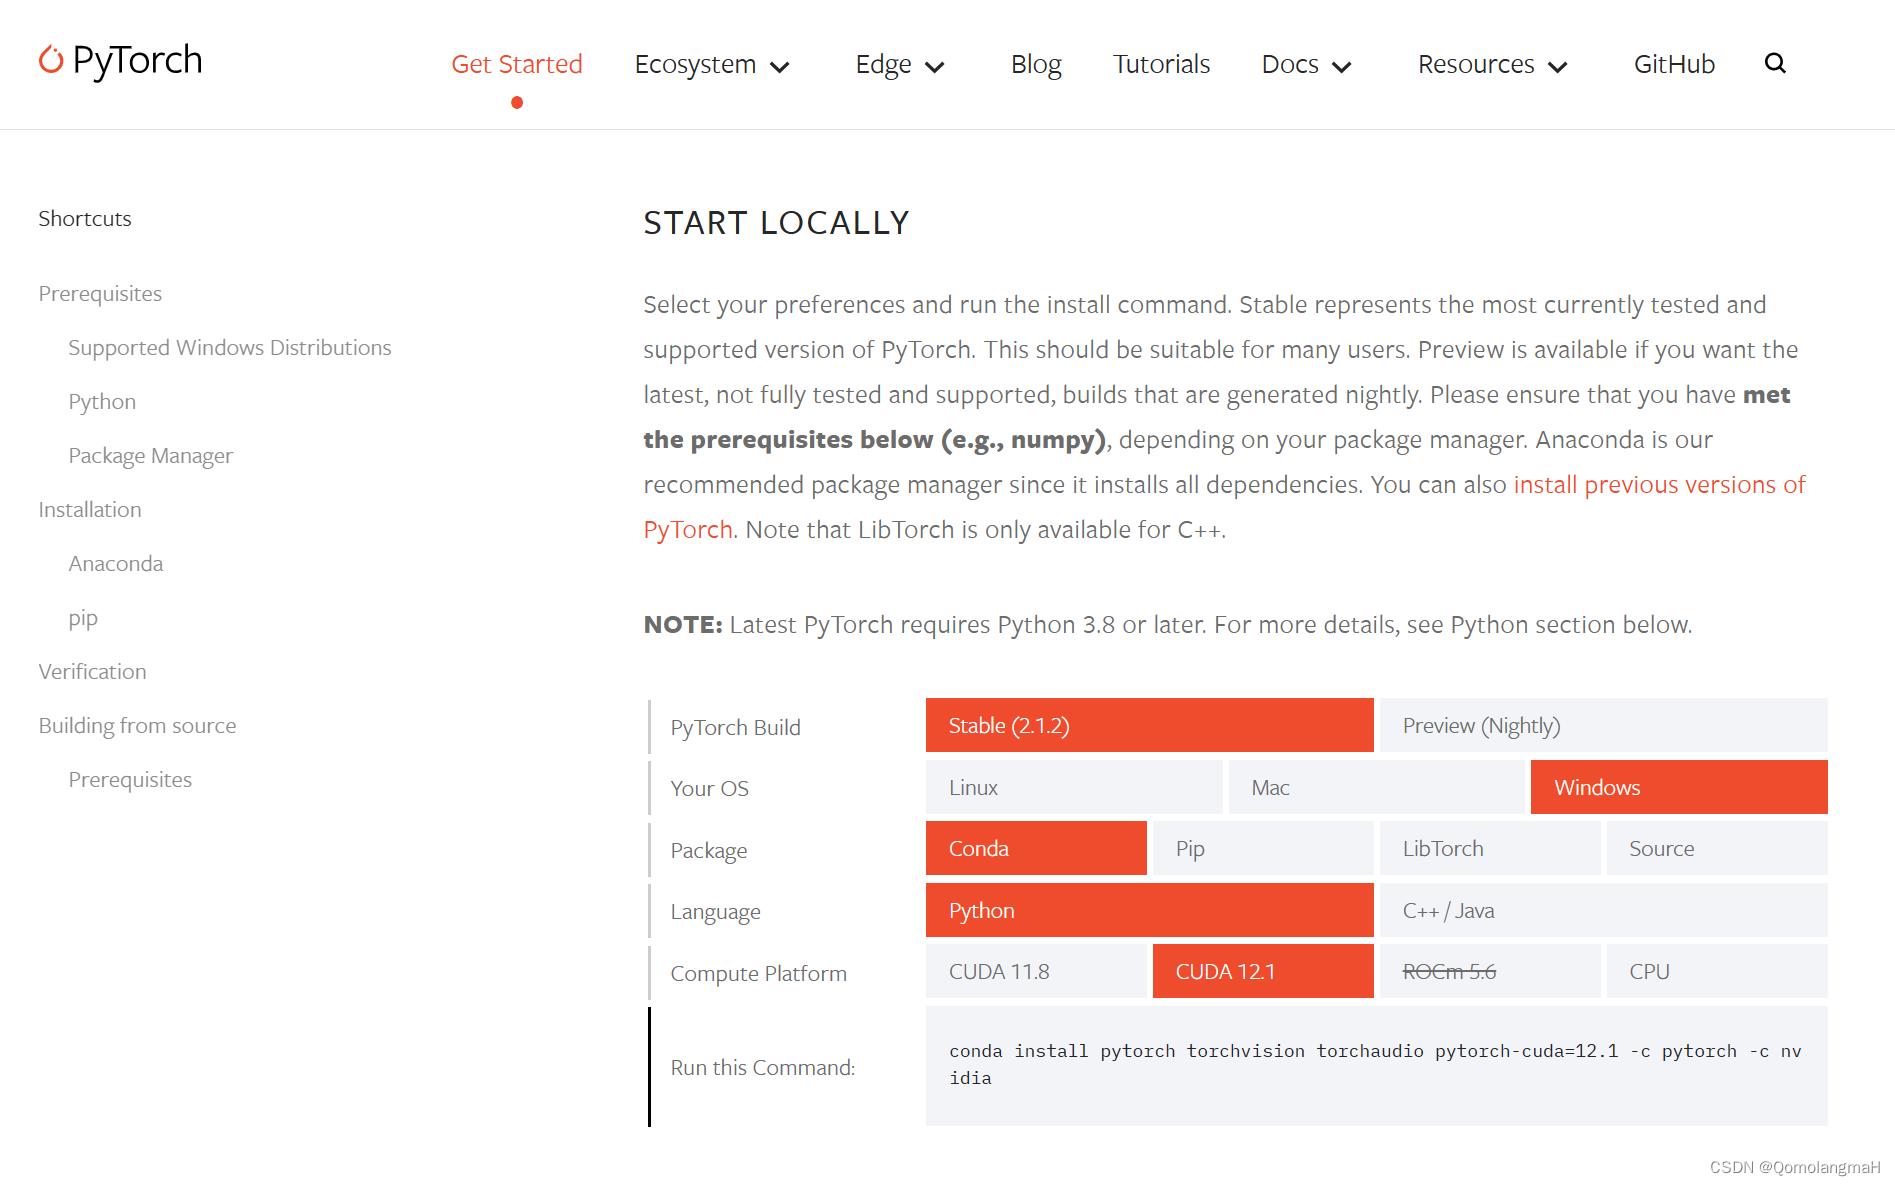
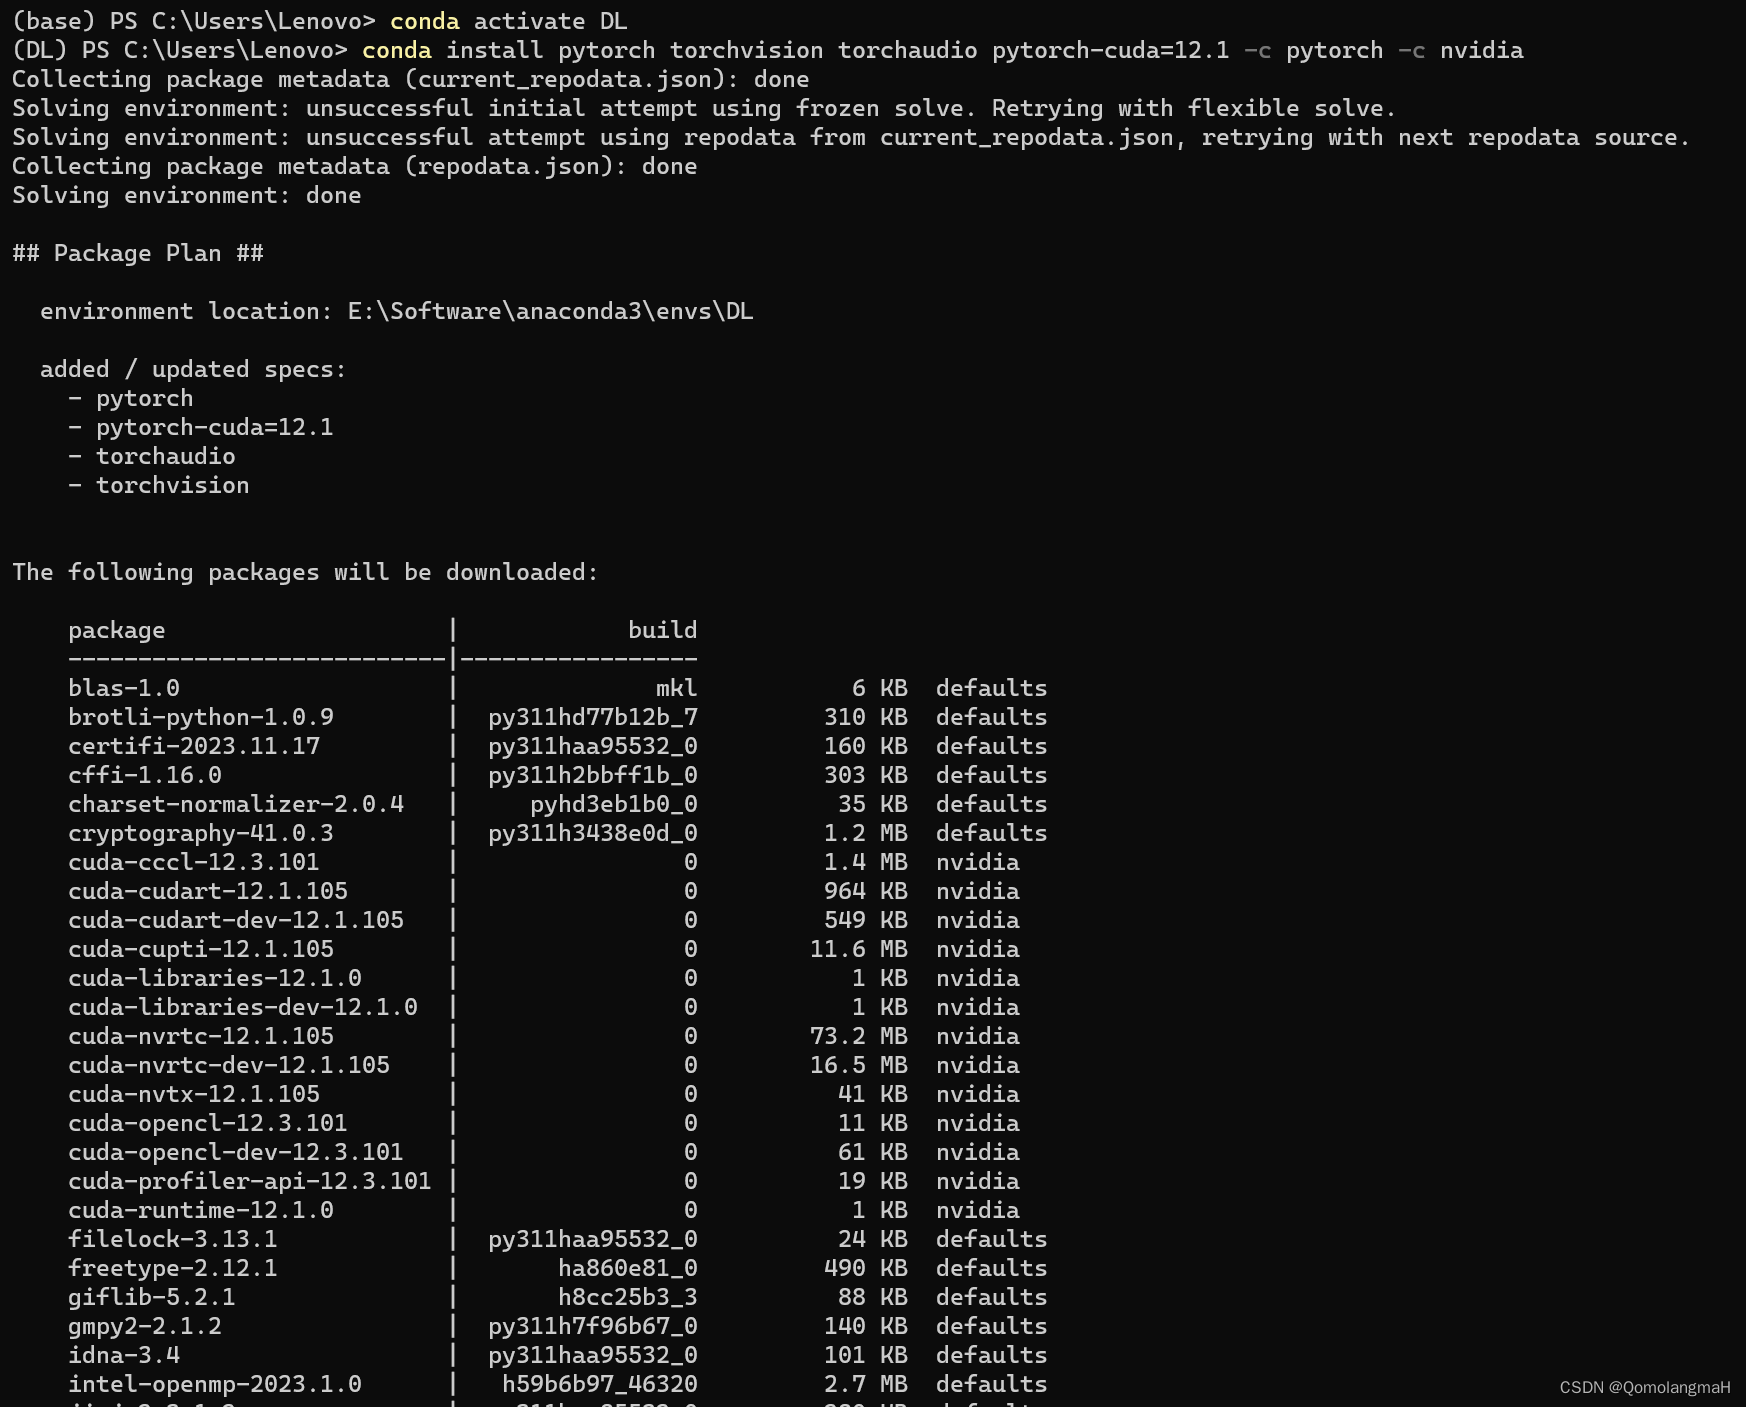
- 安装深度学习PyTorch包(gpu版)
- 注意:涉及的版本匹配问题(不同gpu驱动程序版本及python对应不同版本的PyTorch)不在本文讨论范围内
conda install pytorch torchvision torchaudio pytorch-cuda=12.1 -c pytorch -c nvidia
- 如图所示,
defaults里存在即从defaults下载,否则才从pytorch、nvidia下载