导向
快速跳转至:ElasticSearch7.13.4 集成配置 上篇
一、在SpringBoot2.6.3中,在pom文件中,添加依赖
        <!-- elasticsearch 依赖 -->
        <dependency>
            <groupId>org.elasticsearch</groupId>
            <artifactId>elasticsearch</artifactId>
            <version>7.13.4</version>
        </dependency>

        <dependency>
            <groupId>org.elasticsearch.client</groupId>
            <artifactId>elasticsearch-rest-high-level-client</artifactId>
            <version>7.13.4</version>
        </dependency>
二、修改application.yml文件
server:
  port: 8012

spring:
  elasticsearch:
    uris: 192.168.1.102:9200, 192.168.1.103:9200, 192.168.1.104:9200
    username: elastic
    password: elastic
    connection-timeout: 5000
    socket-timeout: 5000
三、编写测试接口
这里先简单实现了两个测试接口、controller层的代码就不贴了
public interface IElasticService {


    /**
     * 创建索引
     * @param indexName 索引名称
     * @return Boolean
     */
    Boolean createIndex(String indexName);

    /**
     * 批量保存数据
     * @param indexName 索引名称
     * @return Boolean
     */
    String saveBatchData(String indexName);


    /**
     * 设置索引过期时间
     * @param indexName 索引名称
     * @return Boolean
     */
    Boolean setIndexExpirationTime(String indexName);


}
接口实现:
import cn.hutool.core.util.RandomUtil;
import com.alibaba.fastjson2.JSON;
import com.bamboo.data.entity.TestEntity;
import com.bamboo.data.service.IElasticService;
import lombok.extern.slf4j.Slf4j;
import org.elasticsearch.action.bulk.BulkRequest;
import org.elasticsearch.action.bulk.BulkResponse;
import org.elasticsearch.action.index.IndexRequest;
import org.elasticsearch.client.RequestOptions;
import org.elasticsearch.client.RestHighLevelClient;
import org.elasticsearch.client.indices.CreateIndexRequest;
import org.elasticsearch.client.indices.CreateIndexResponse;
import org.elasticsearch.common.settings.Settings;
import org.elasticsearch.common.xcontent.XContentType;
import org.springframework.beans.factory.annotation.Autowired;
import org.springframework.stereotype.Service;

import java.io.IOException;


/**
 * @version 1.0
 * @description: elastic 数据信息管理
 */
@Slf4j
@Service
public class ElasticServiceImpl implements IElasticService {

    @Autowired
    private RestHighLevelClient restHighLevelClient;

    @Override
    public Boolean createIndex(String indexName) {
        // 创建索引
        CreateIndexRequest createIndexRequest = new CreateIndexRequest(indexName);
        // 设置分片
        Settings builder = Settings.builder()
                .put("index.number_of_shards", "6")
                .put("index.number_of_replicas", "1")
                .build();
        createIndexRequest.settings(builder);

        boolean acknowledged = false;
        try {
            // 返回是否创建成功
            CreateIndexResponse createIndexResponse = restHighLevelClient.indices()
                    .create(createIndexRequest, RequestOptions.DEFAULT);

            // 创建状态
            acknowledged = createIndexResponse.isAcknowledged();

        } catch (Exception e) {
            log.error("索引创建失败:", e);
            return false;
        }
        return acknowledged;
    }


    @Override
    public String saveBatchData(String indexName) {

        // 批量保存数据
        BulkRequest bulkRequest = new BulkRequest();

        // 创建一批数据
        for (int i = 1; i < 100; i++) {
            IndexRequest indexRequest = new IndexRequest();
            // 随机生成数据
            TestEntity testInfo = TestEntity.builder()
                    .id(Long.valueOf(i))
                    .code(RandomUtil.randomNumbers(10))
                    .name("elastic0" + i)
                    .email(RandomUtil.randomNumbers(9) + "@qq.com")
                    .phoneNumber(RandomUtil.randomNumbers(11))
                    .remark(RandomUtil.randomString(12))
                    .build();

            // 转为json字符串
            String strJson = JSON.toJSONString(testInfo);

            // 循环添加数据
            indexRequest.index(indexName)
                    .id(String.valueOf(i))
                    .source(strJson, XContentType.JSON);
            bulkRequest.add(indexRequest);
        }

        try {
            // 执行批量保存
            BulkResponse bulk = restHighLevelClient.bulk(bulkRequest, RequestOptions.DEFAULT);
            // 返回添加完成所用的时间
            return bulk.getTook().toString();
        } catch (IOException e) {
            log.error("批量保存数据失败:", e);
        }
        return "error";
    }

    @Override
    public Boolean setIndexExpirationTime(String indexName) {
        return null;
    }


}
四、接口验证
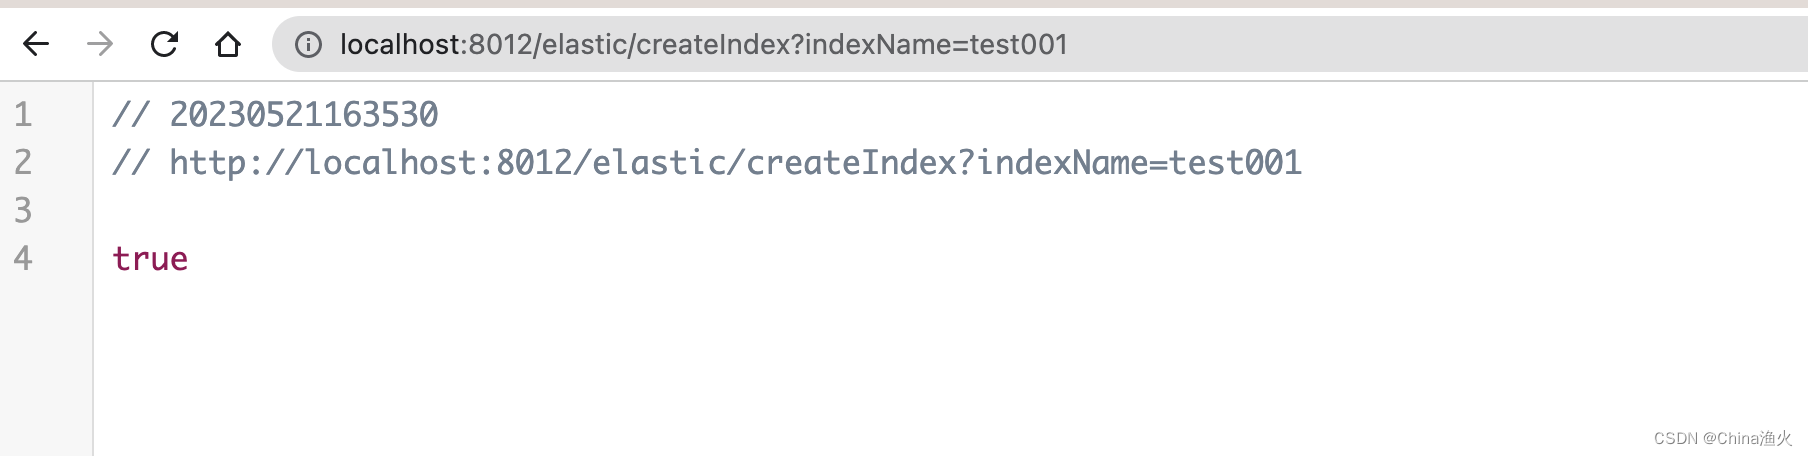
1、创建索引 test001
2、往test001索引中保存数据

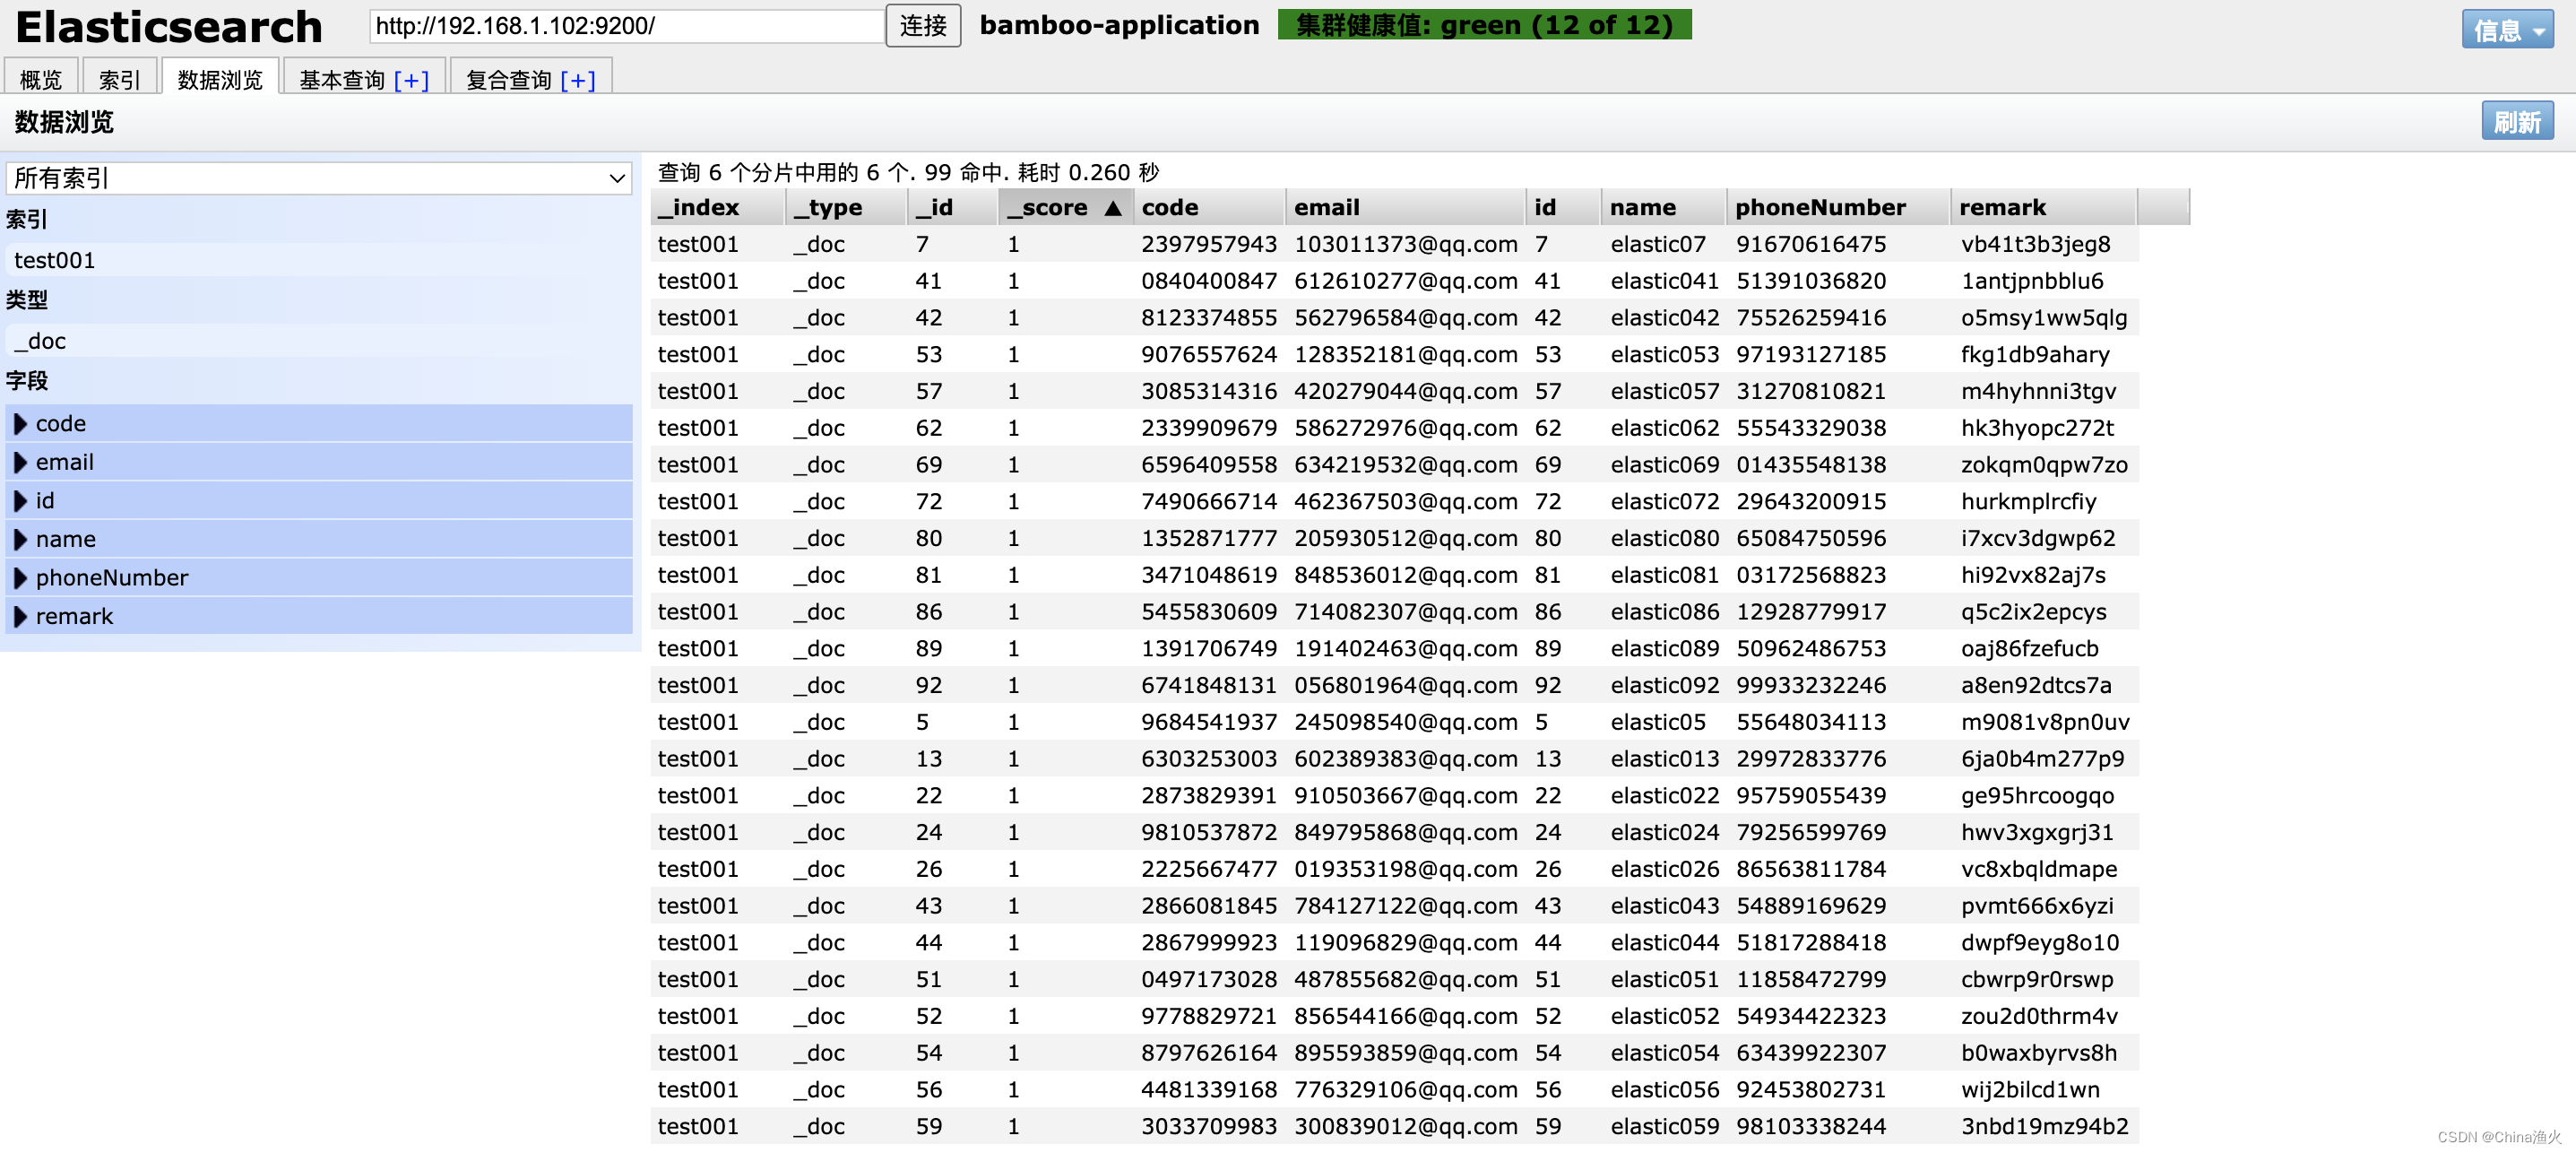
五、查看保存的数据
1、Elasticsearch-Head 查看
2、cerebro 查看

后续继续补充未实现的接口