系列文章目录(点击查看)
前言
前面我们已经对项目整体有了一定的配置,已经学习了使用路由来将页面链接和组件关联起来,下面我们就增强这种关联,利用路由和 eleemnt-plus 组件,将项目的全貌简单搭建出来。
一、Login登录页
因为前面我们已经讲完了路由部分,所以现在我们需要一个简单的登录页,来实现界面的跳转,目前 token 可以自行简单的设置,并不需要请求后端。

代码部分:
<template>
  <div class="login-main" v-loading="loading" element-loading-text="Logging in...">
    <div class="login-form">
      <div class="logo flex-c flex-align">
        <!-- <img style="height: 50px;" src="../../assets/logo.png" alt="logo" /> -->
      </div>
      <el-form :model="loginForm" label-position="left" label-width="100px">
        <el-form-item label="Username:">
          <el-input v-model="loginForm.username" />
        </el-form-item>
        <el-form-item label="Password:">
          <el-input type="password" v-model="loginForm.password" />
        </el-form-item>
      </el-form>
      <div class="footer-btn flex-c">
        <button class="login-btn" @click="loginClick">login</button>
      </div>
    </div>
  </div>
</template>

<script lang="ts" setup>
import {

     useRouter } from "vue-router";
import {

     Local } from "@/cache/index";
import {

     handleEnter } from "@/utils/tools";

const router = useRouter();

const loading = ref(false);

const loginForm = ref({


  username: "test",
  password: "1234",
});

const loginClick = () => {


  loading.value = true;
  const accessToken = Local.get("token");
  if (!accessToken) {


    Local.set("token", "abc");
    userLoginFunc();
  } else {


    userLoginFunc();
  }
};

const userLoginFunc = () => {


  loading.value = false;
  // userStore.SET_USER_INFO(res)
  router.push({

     path: "/home" });
};

onMounted(() => {


  handleEnter(loginClick);
});
</script>

<style lang="scss" scoped>
.logo {


  margin-bottom: 20px;

  span {


    margin-left: 8px;
    font-size: 20px;
    color: #003574;
    font-weight: 700;
  }
}

.login-main {


  display: flex;
  justify-content: center;
  align-items: center;
  height: 100vh;
  background: url('../../assets/login-bg.png') no-repeat;
  background-size: 100% 100%;
}

.login-form {


  position: relative;
  top: -110px;
  background: #000;
  border-radius: 8px;

  ::v-deep(.el-form-item__label) {


    color: #fff;
  }
}

.login-btn {


  position: relative;
  z-index: 1;
  display: inline-flex;
  justify-content: center;
  align-items: center;
  overflow: hidden;
  width: 100%;
  height: 40px;
  font-size: 14px;
  font-family: alliance, mono, sans-serif;
  color: #fff;
  background: transparent;
  border-radius: 0;
  transition:
    background 0.3s ease-in-out,
    border-color 0.3s ease-in-out,
    color 0.3s ease-in-out;
  font-weight: 600;
  line-height: 40px;
  letter-spacing: 0.07em;
  text-transform: uppercase;
  font-feature-settings: "salt" on, "ss01" on, "ss02" on;
  transition-property: background, border-color, color;
  transition-duration: 0.3s, 0.3s, 0.3s;
  transition-timing-function: ease-in-out, ease-in-out, ease-in-out;
}

.login-btn::before {


  position: absolute;
  top: 1px;
  left: 1px;
  z-index: -1;
  display: block;
  width: calc(100% - 2px);
  height: calc(100% - 2px);
  background: #000;
  transition: background 0.3s ease-in-out;
  content: "";
  transform: translate3d(0, 0, 0);
}

.login-btn::after {


  position: absolute;
  top: 0;
  left: 0;
  z-index: -3;
  display: block;
  width: 100%;
  height: 100%;
  background:
    linear-gradient(
      269.16deg,
      #9867f0 -15.83%,
      #3bf0e4 -4.97%,
      #33ce43 15.69%,
      #b2f4b6 32.43%,
      #ffe580 50.09%,
      #ff7571 67.47%,
      #ff7270 84.13%,
      #ea5dad 105.13%,
      #c2a0fd 123.24%
    );
  background-position: 58% 50%;
  background-size: 500%;
  content: "";
  transform: translate3d(0, 0, 0);
  backface-visibility: hidden;
  animation: gradient-shift 30s ease infinite;
}

@keyframes gradient-shift {


  0% {


    background-position: 58% 50%;
  }

  25% {


    background-position: 100% 0%;
  }

  75% {


    background-position: 10% 50%;
  }

  100% {


    background-position: 58% 50%;
  }
}

.login-btn:hover::before {


  background: transparent;
}

.login-btn:hover {


  cursor: pointer;
  color: #000;
}
</style>
这里值得注意的是加了一个回车事件的绑定:
/**
 * @description 文档注册enter事件
 * @param {any} cb
 * @return {void}
 */
export const handleEnter = (cb: Function): void => {


  document.onkeydown = e => {


    const ev: KeyboardEventInit = window.event || e;
    if (ev.keyCode === 13) {


      cb();
    }
  };
};

// 其中 KeyboardEventInit 为内置,以下是代码截取
interface KeyboardEventInit extends EventModifierInit {


    /** @deprecated */
    charCode?: number;
    code?: string;
    isComposing?: boolean;
    key?: string;
    /** @deprecated */
    keyCode?: number;
    location?: number;
    repeat?: boolean;
}
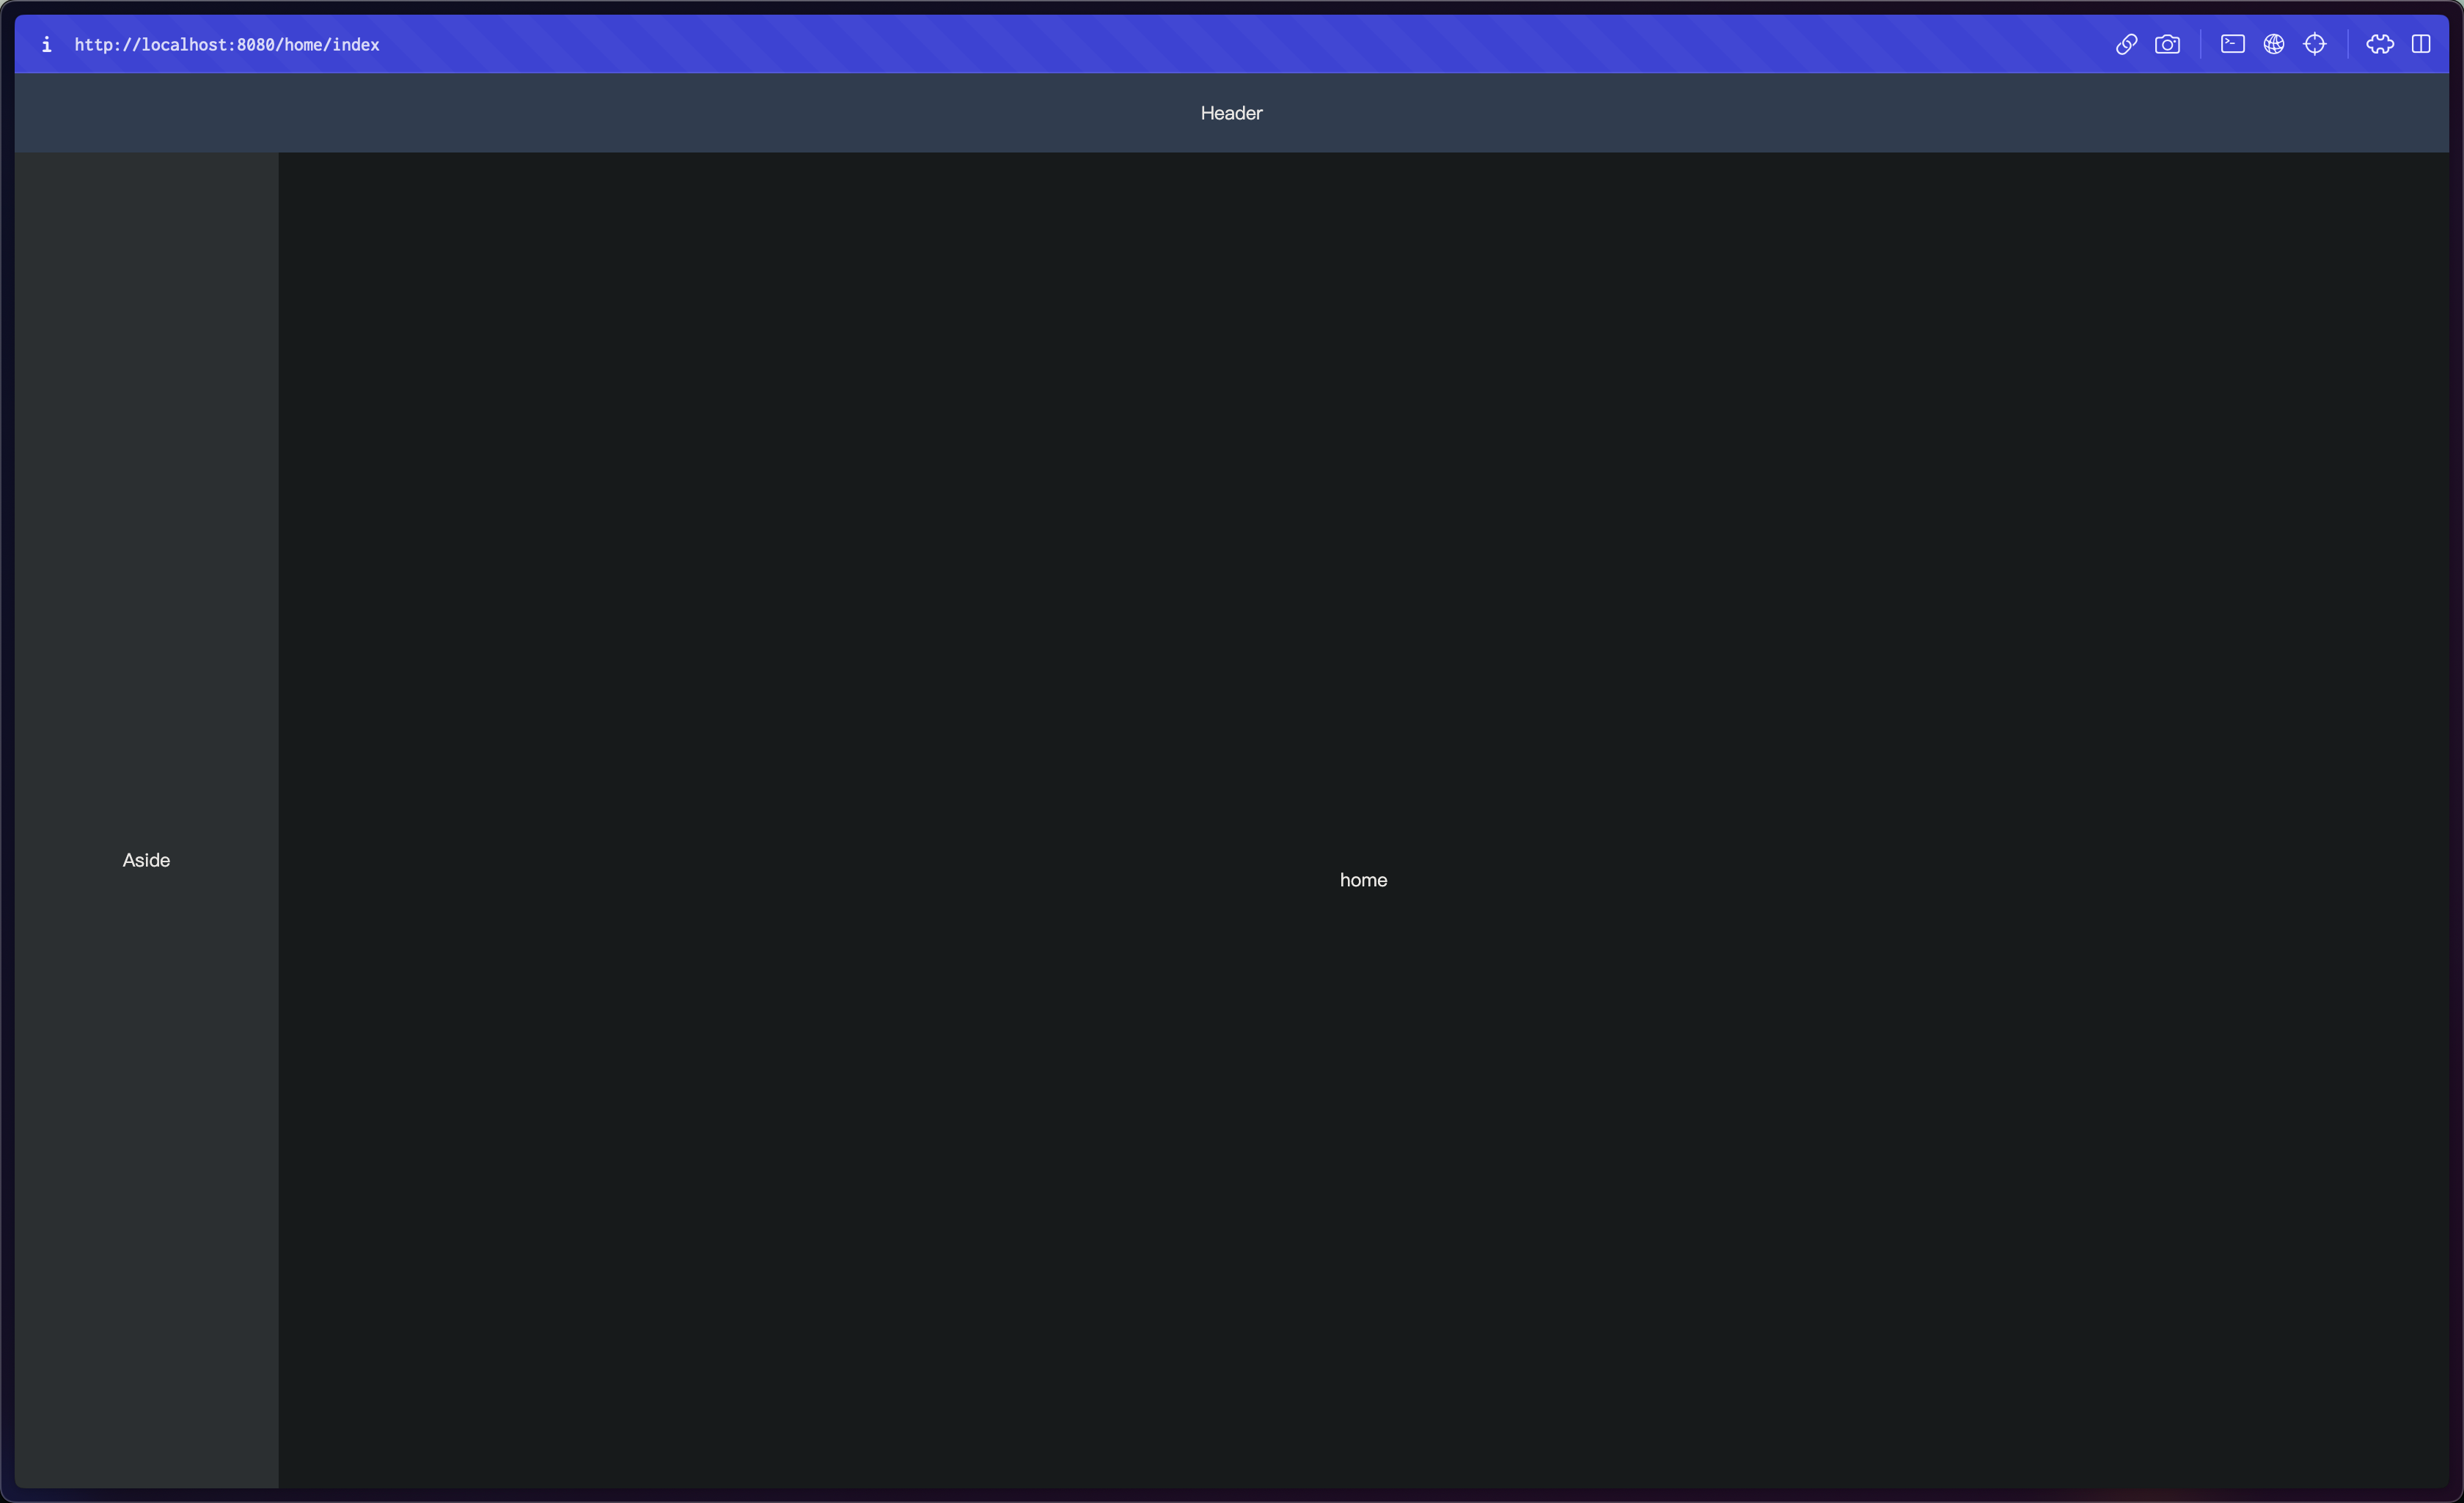
二、Layout 组件
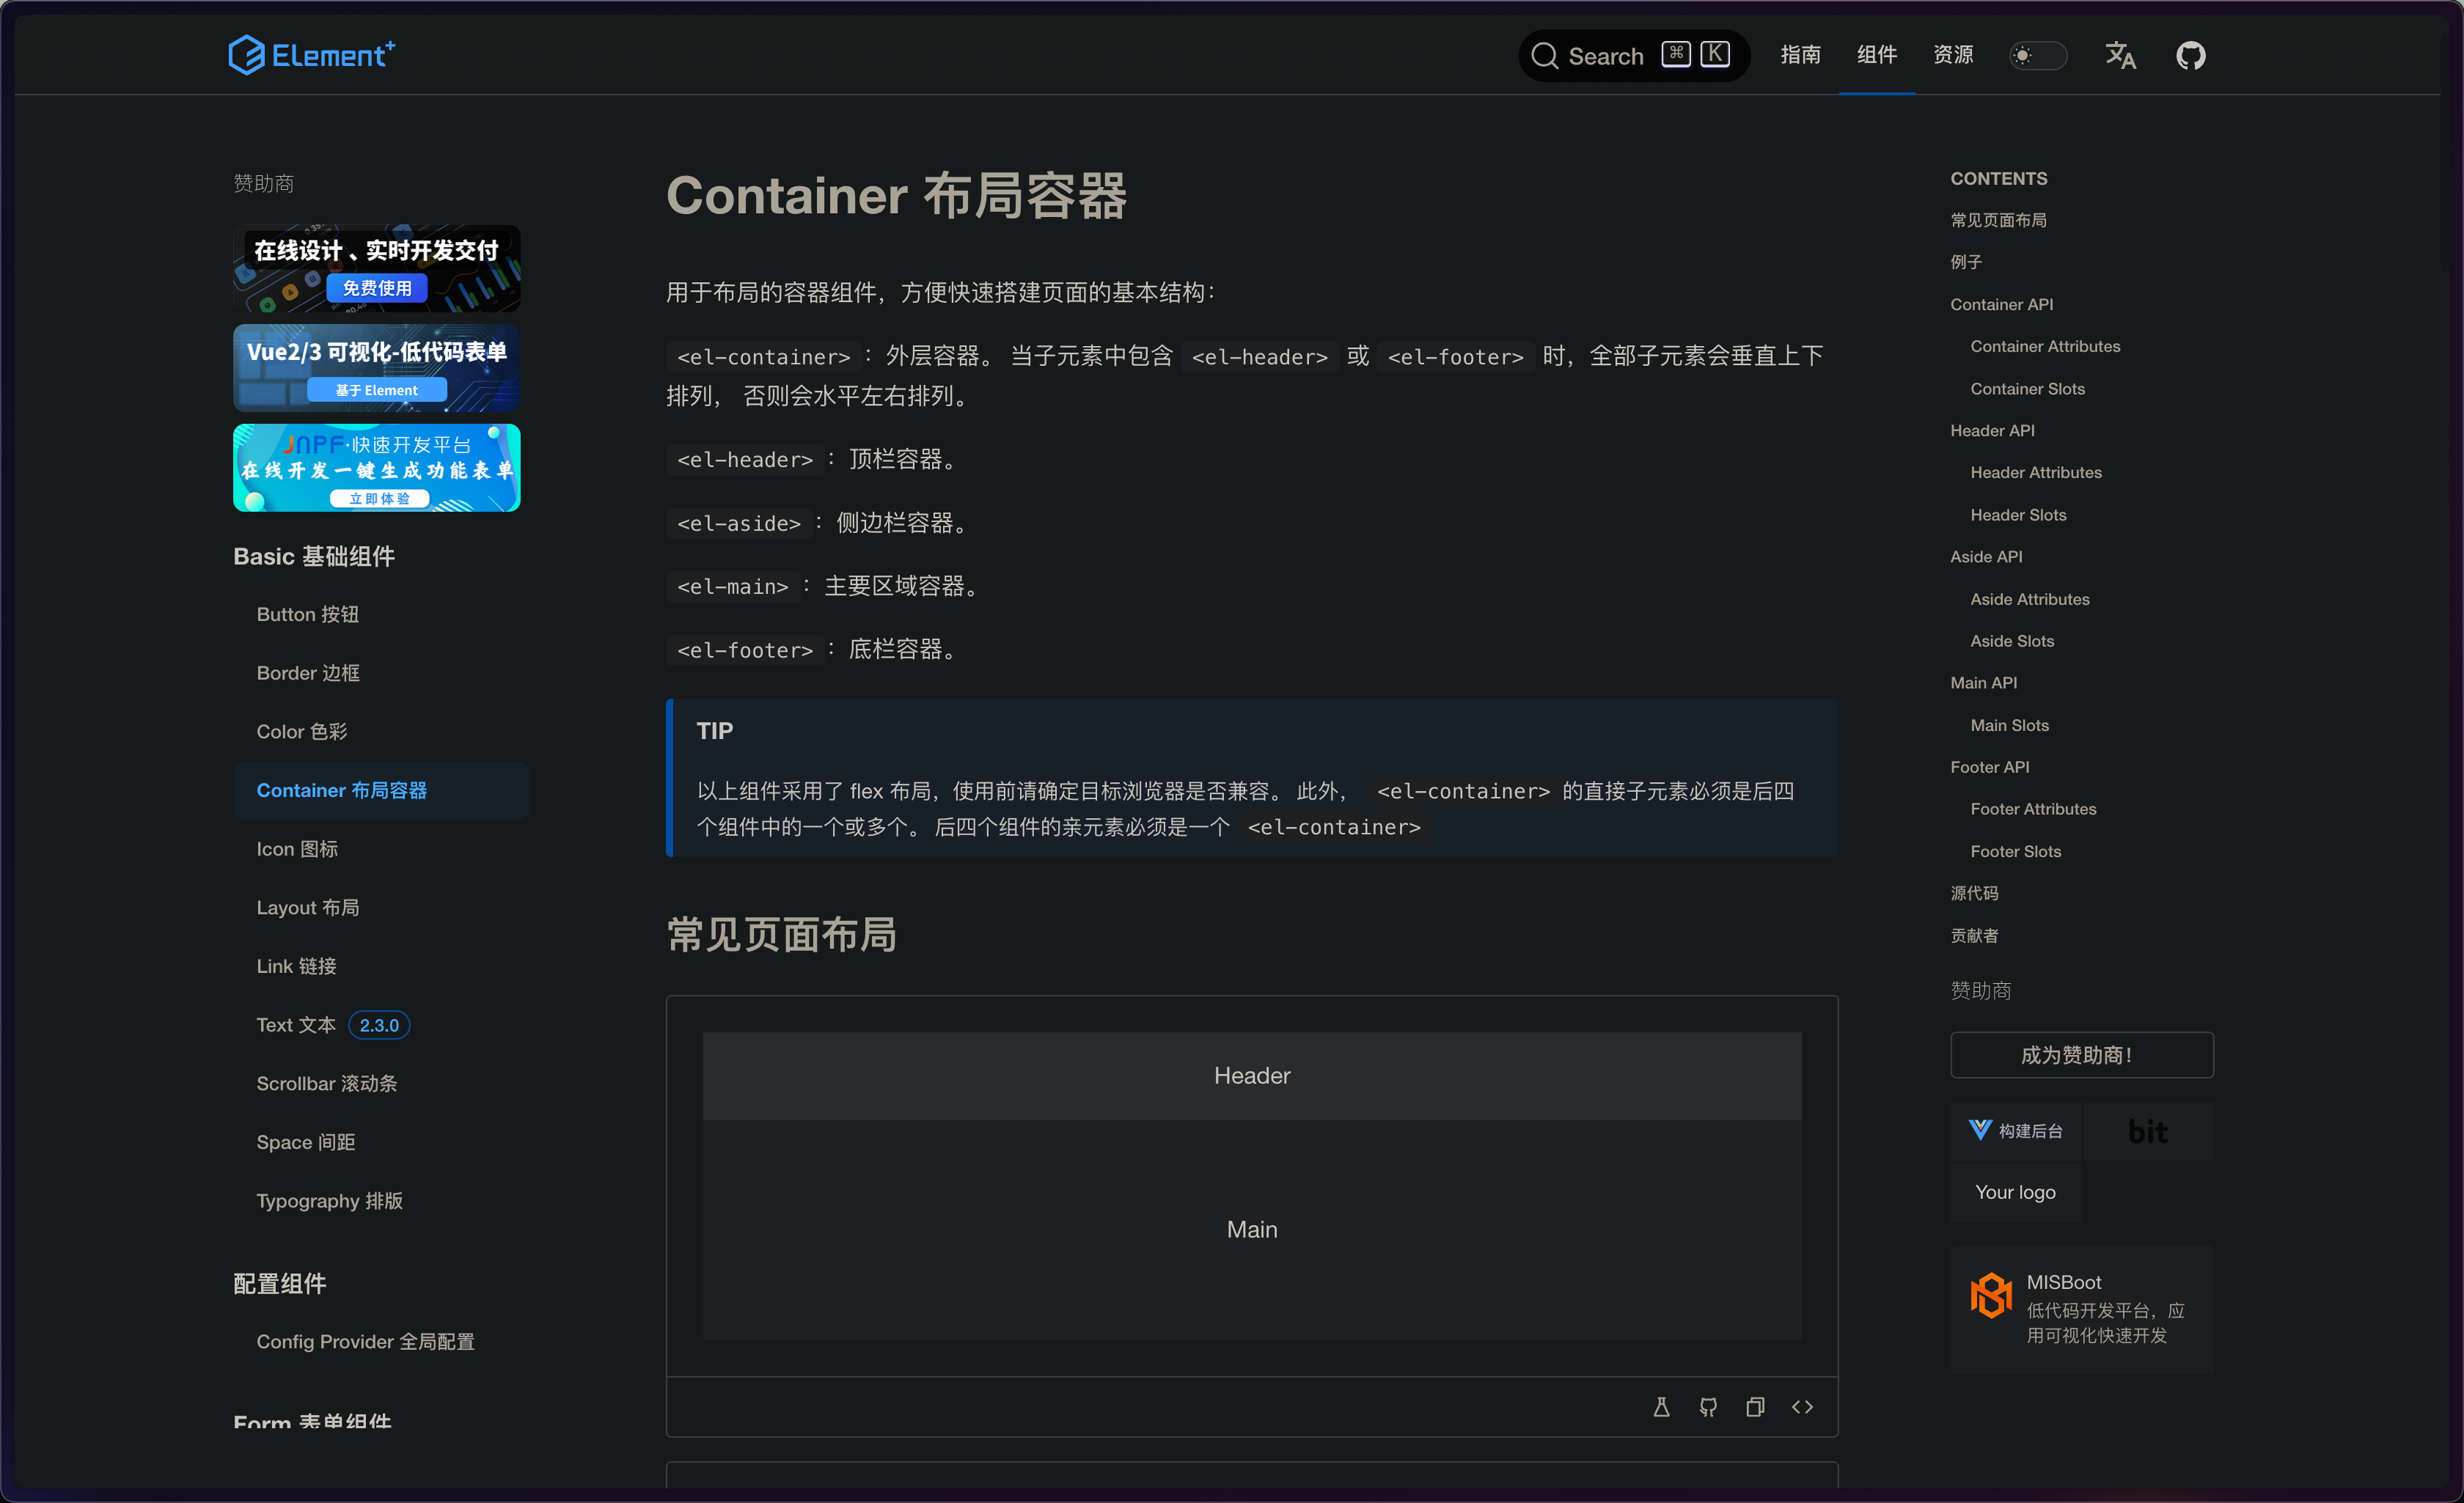
这里我们可以根据 element-plus 官网提供的组件,按照自己程序的布局,自己选择 layout 的布局形式。
<template>
  <div class="common-layout">
    <el-container>
      <el-header class="flex-c flex-align header"> Header </el-header>
      <el-container>
        <el-aside class="flex-c flex-align h-100 aside"> Aside </el-aside>
        <el-main>
          <router-view></router-view>
        </el-main>
      </el-container>
    </el-container>
  </div>
</template>

<script lang="ts" setup></script>

<style lang="scss" scoped>
.header {


  height: 60px;
  background-color: #b3c0d1;
}

.aside {


  background-color: #d3dce6;
  width: 200px;
}

.el-main {


  overflow: hidden;
  padding: 15px;
}
</style>
三、修改路由
将 layout 组件加入到路由
route.ts 文件
{


    path: "/home",
    component: UserLayout,
    name: "Home",
    meta: {

     title: "home" },
    redirect: "/home/index",
    children: [
      {


        path: "index",
        component: () => import("@/views/home/index.vue"),
        name: "HomeIndex",
        meta: {

     title: "homeIndex" },
      }
    ]
  }
news.ts 文件
import {

     RouteRecordRaw } from 'vue-router';

const UserLayout = () => import('@/views/layout/index.vue')

const news: RouteRecordRaw = {


  path: "/news",
  component: UserLayout,
  name: "News",
  meta: {

     title: "news" },
  redirect: "/news/animal",
  children: [
    {


      path: "animal",
      component: () => import("@/views/news/animal.vue"),
      name: "AnimalList",
      meta: {

     title: "animalList" },
    },
    {


      path: "nature",
      component: () => import("@/views/news/nature.vue"),
      name: "NatureList",
      meta: {

     title: "natureList" },
    },
    {


      path: "article/:id",
      component: () => import("@/views/news/article.vue"),
      name: "Article",
      meta: {

     title: "article" },
    },
  ],
};

export {

     news }
user.ts 文件
import {

     RouteRecordRaw } from 'vue-router';

const UserLayout = () => import('@/views/layout/index.vue')

const user: RouteRecordRaw = {


  path: "/user",
  component: UserLayout,
  name: "User",
  meta: {

     title: "user" },
  redirect: "/user/info",
  children: [
    {


      path: "info",
      component: () => import("@/views/user/info.vue"),
      name: "UserInfo",
      meta: {

     title: "userInfo" },
    },
  ],
};

export {

     user }
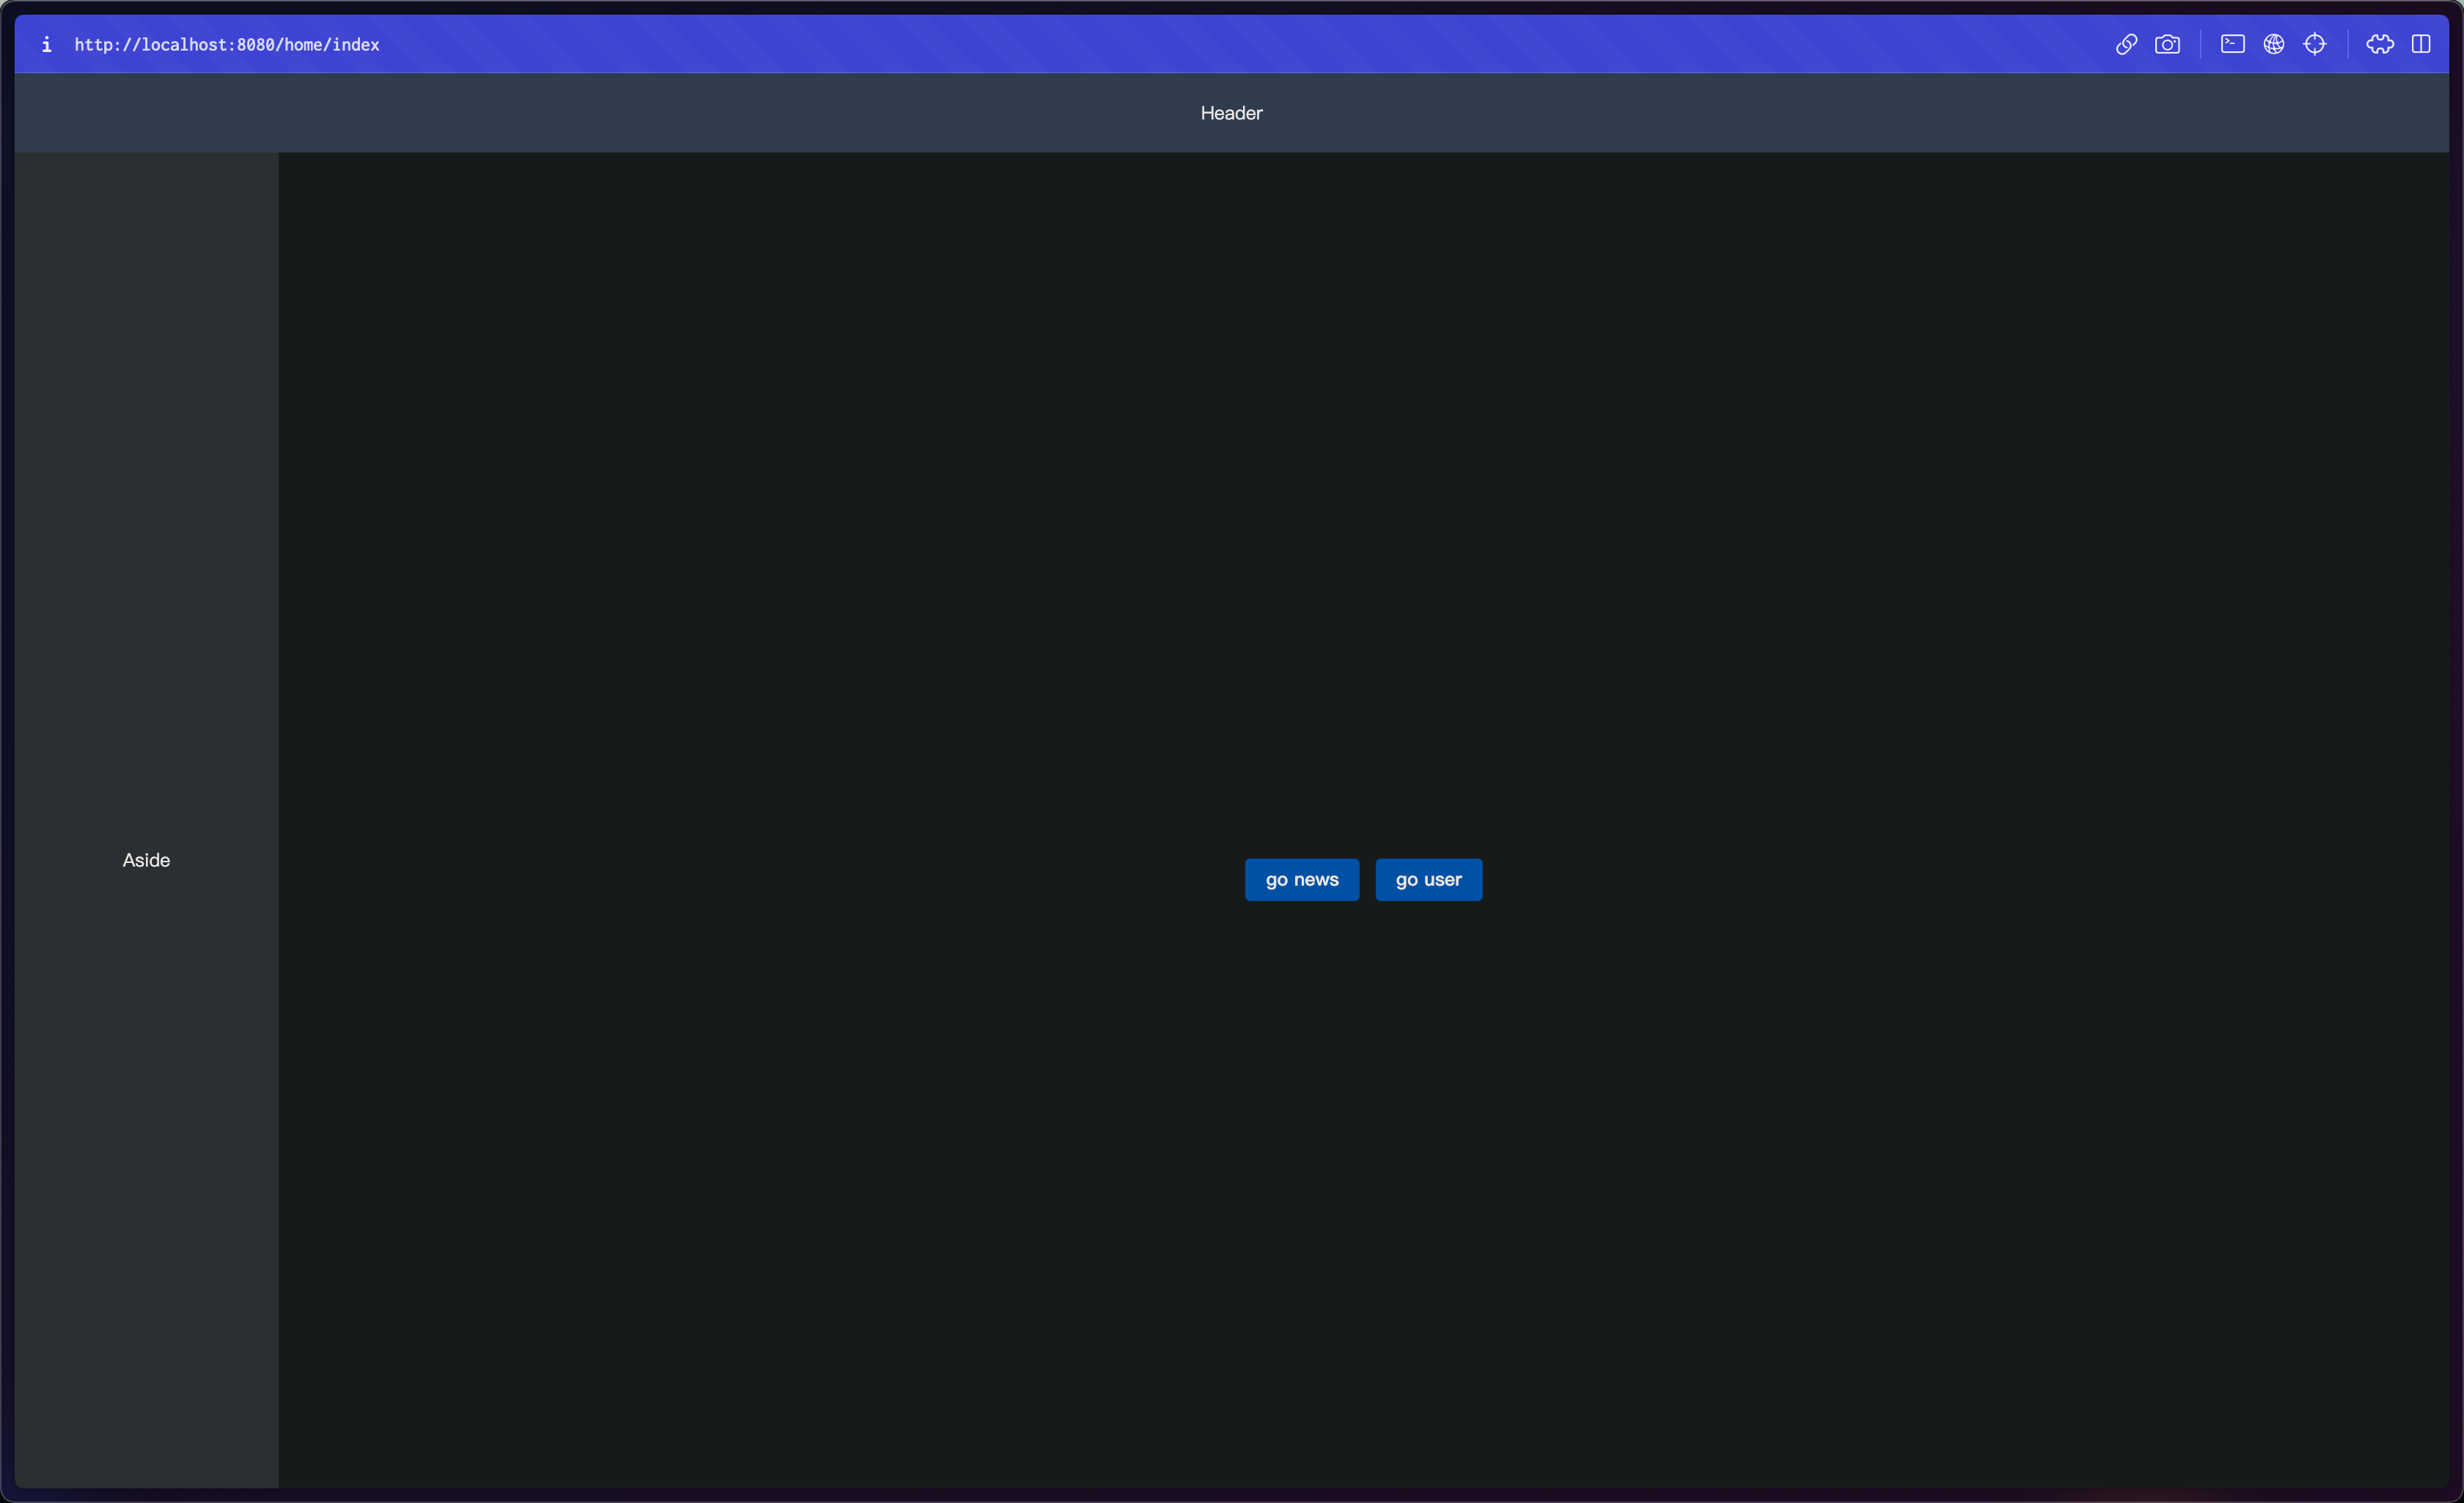
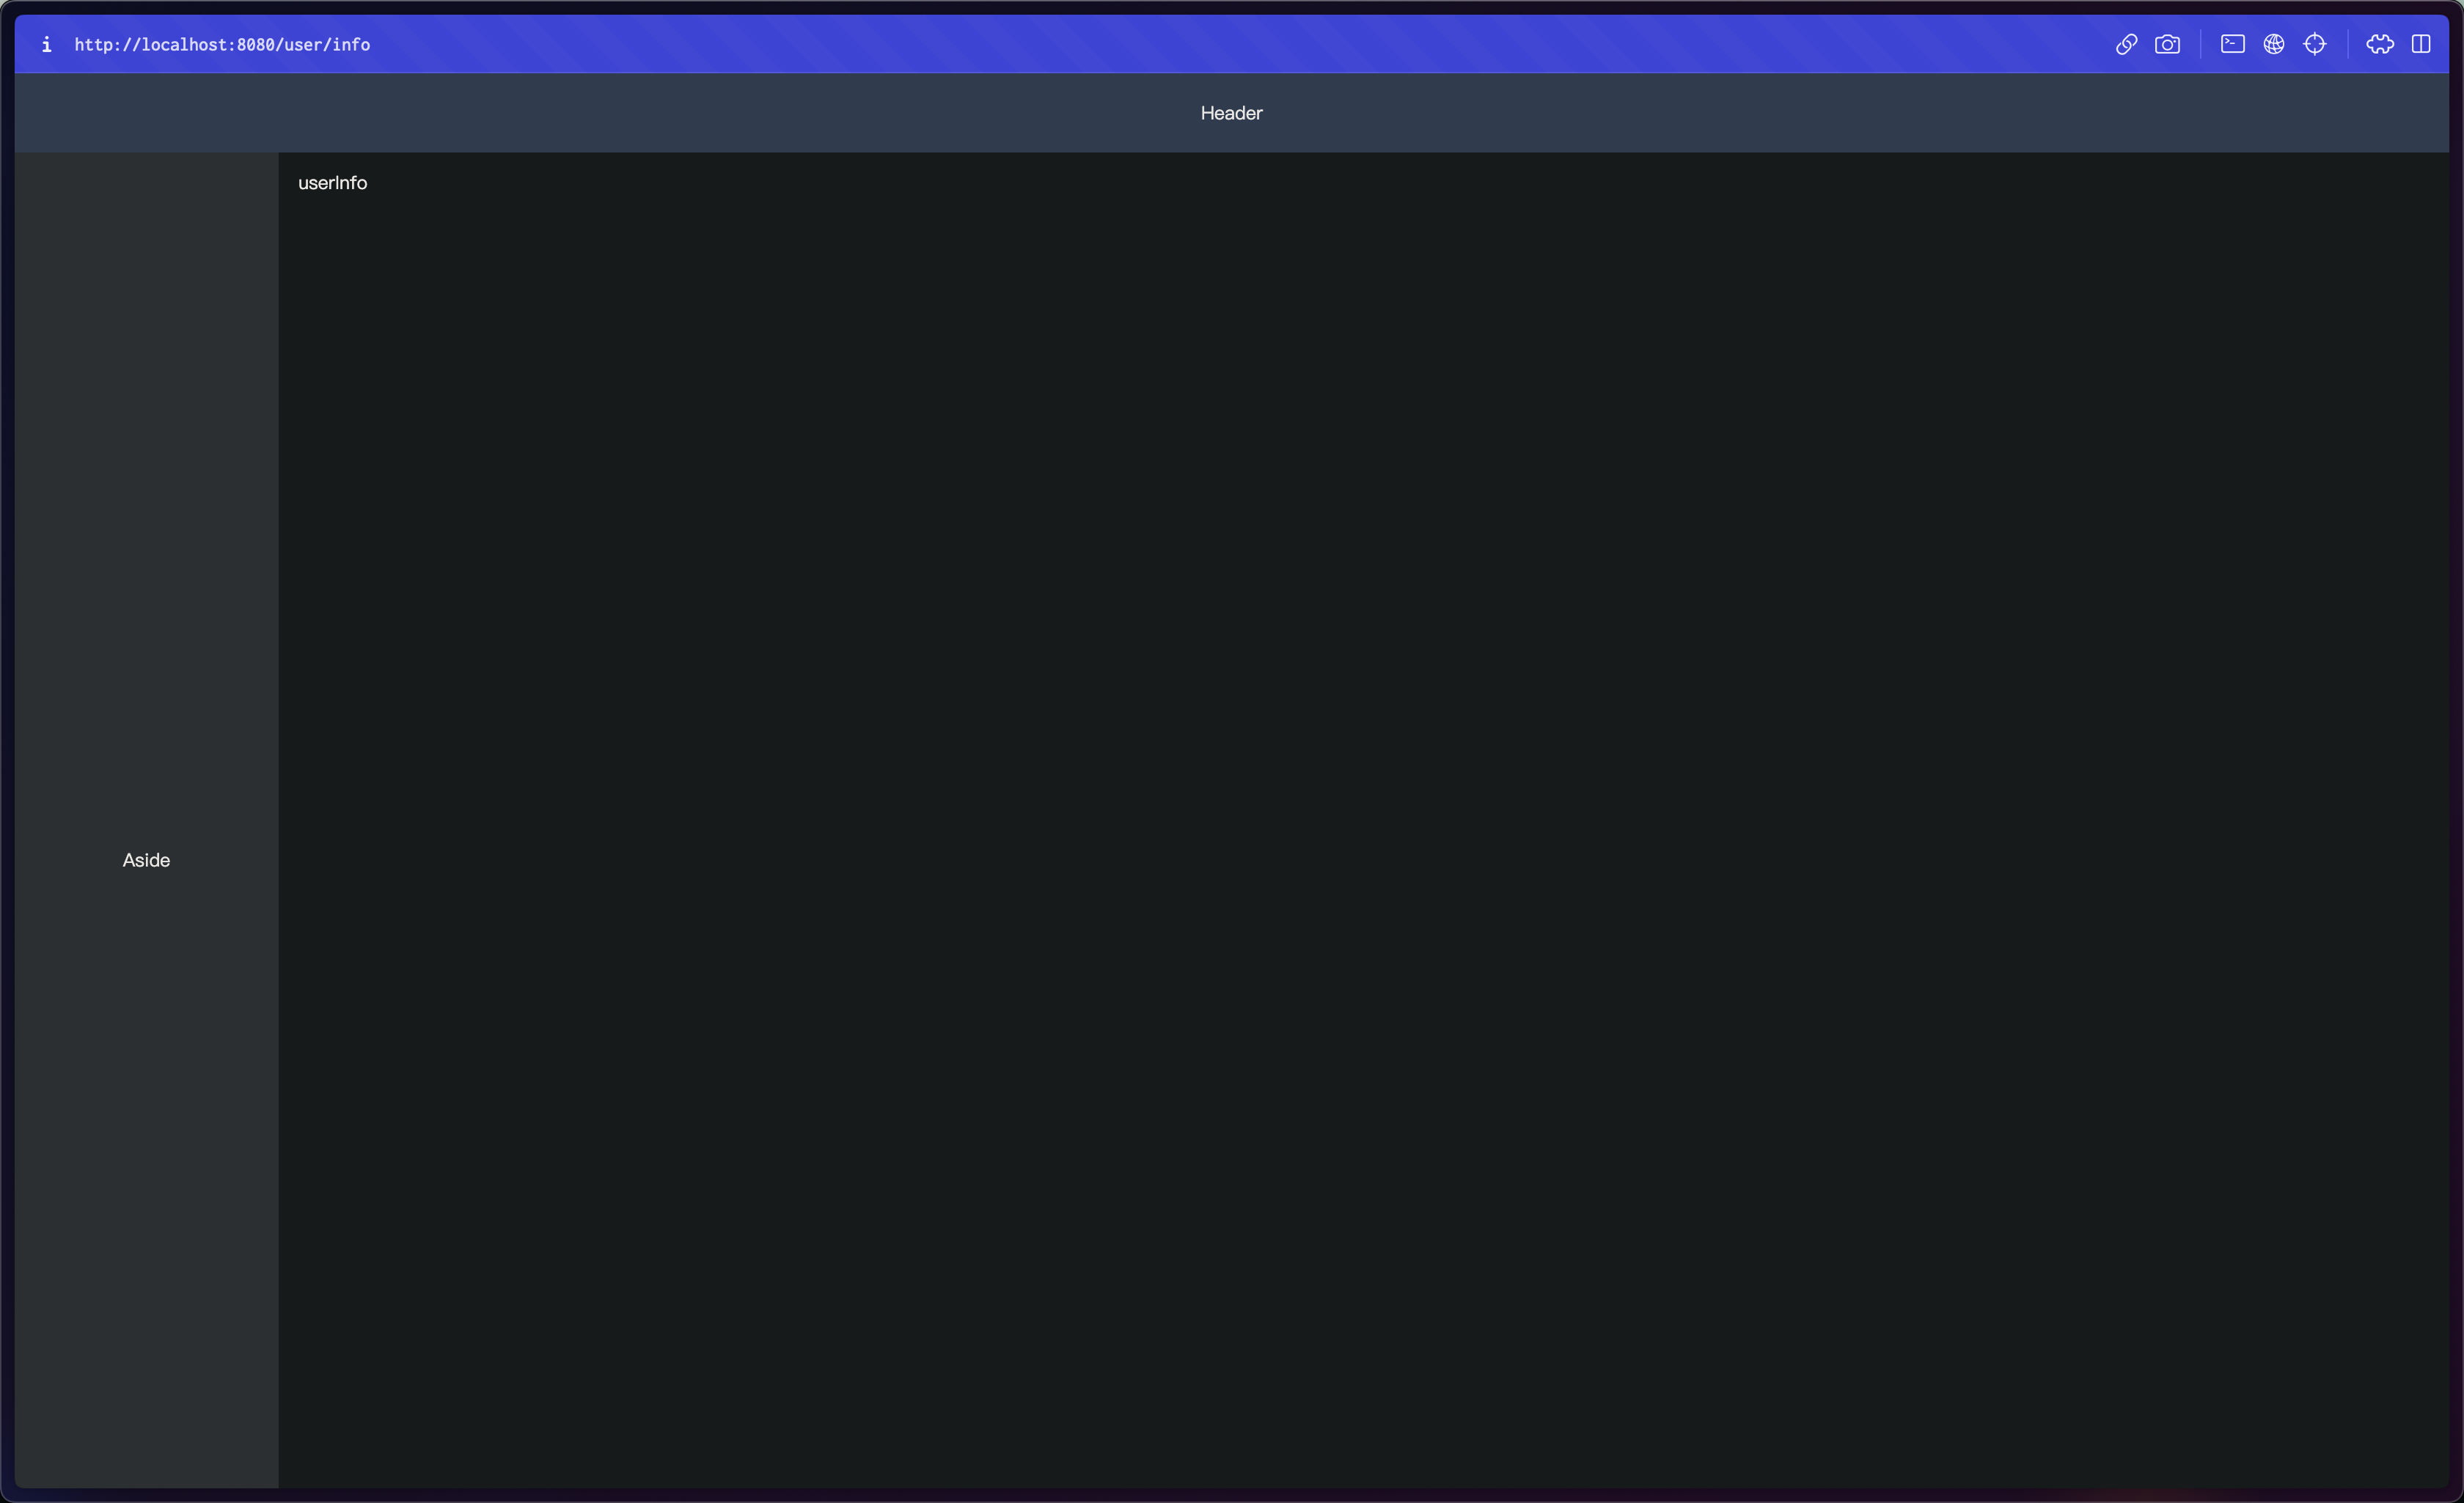
四、界面测试
运行项目,从登录页跳转到 home 页面,再修改路由到 news 和 user 页面,这里我们可以先简单在 home 页面添加两个按钮已做路由跳转测试。
home 页面代码
<template>
  <div class="flex-c flex-align h-100">
    <el-button type="primary" @click="goRouter('/news')">go news</el-button>
    <el-button type="primary" @click="goRouter('/user')">go user</el-button>
  </div>
</template>

<script setup lang="ts">
import {

     useRouter } from 'vue-router'

const router = useRouter()

const goRouter = (path: string): void => {


  router.push(path)
}
</script>

总结
本文继续项目的开发,增加了登录页面和 Layout 组件,并实现了路由的跳转,接下来我们就可以进行菜单的开发以及业务逻辑的开发了,不过在开发之前,我们要先使用 pinia,来对项目做状态管理。上文中的配置代码可在 github 仓库中直接 copy,仓库路径:https://github.com/SmallTeddy/music-explorer-web。