核心贡献:
Item2vec算法:
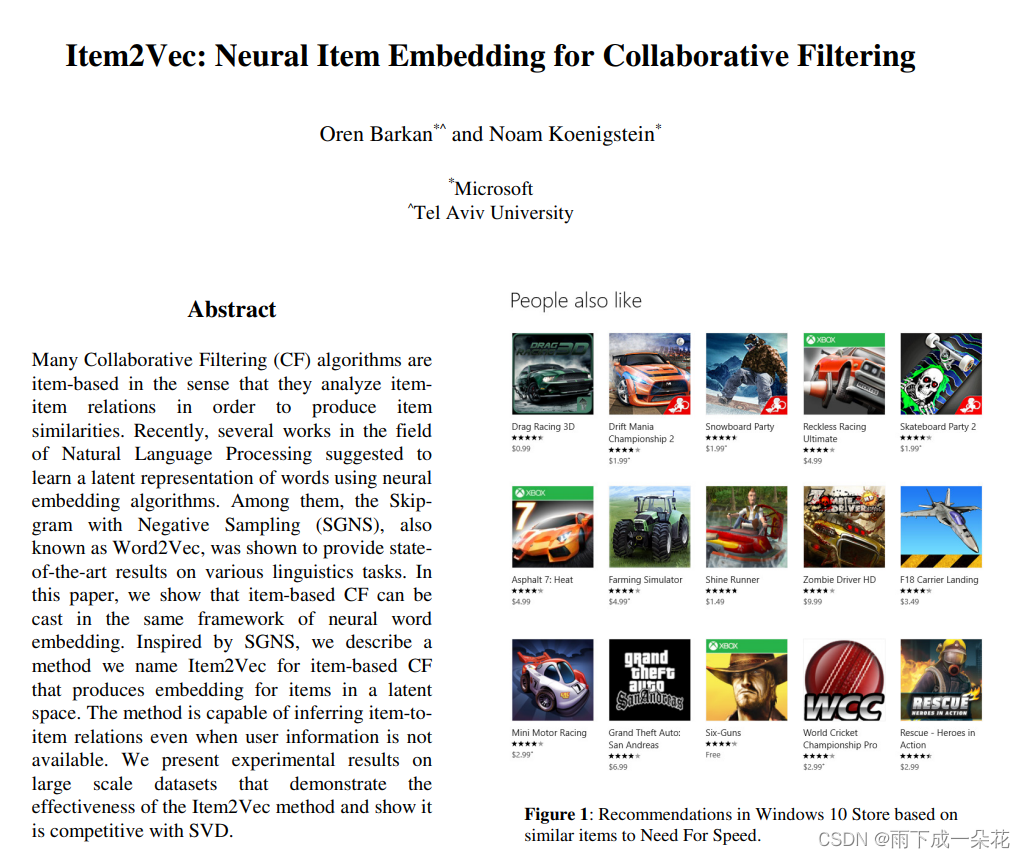
Item2vec中把用户浏览的商品集合等价于word2vec中的word的序列,即句子(忽略了商品序列空间信息spatial information) 。出现在同一个集合的商品对视为 positive。对于集合目标函数:

同word2vec,利用负采样,将定义为:

subsample的方式也是同word2vec:

利用随机梯度下降法SGD学习的目标函数max,得到每个商品的embedding representation,商品之间两两计算cosine相似度即为商品的相似度。
模型结果:

模型缺陷:
1、用户的行为序列时序性缺失
2、用户行为序列中的item强度是无法区分
算法流程框图:

实践步骤:
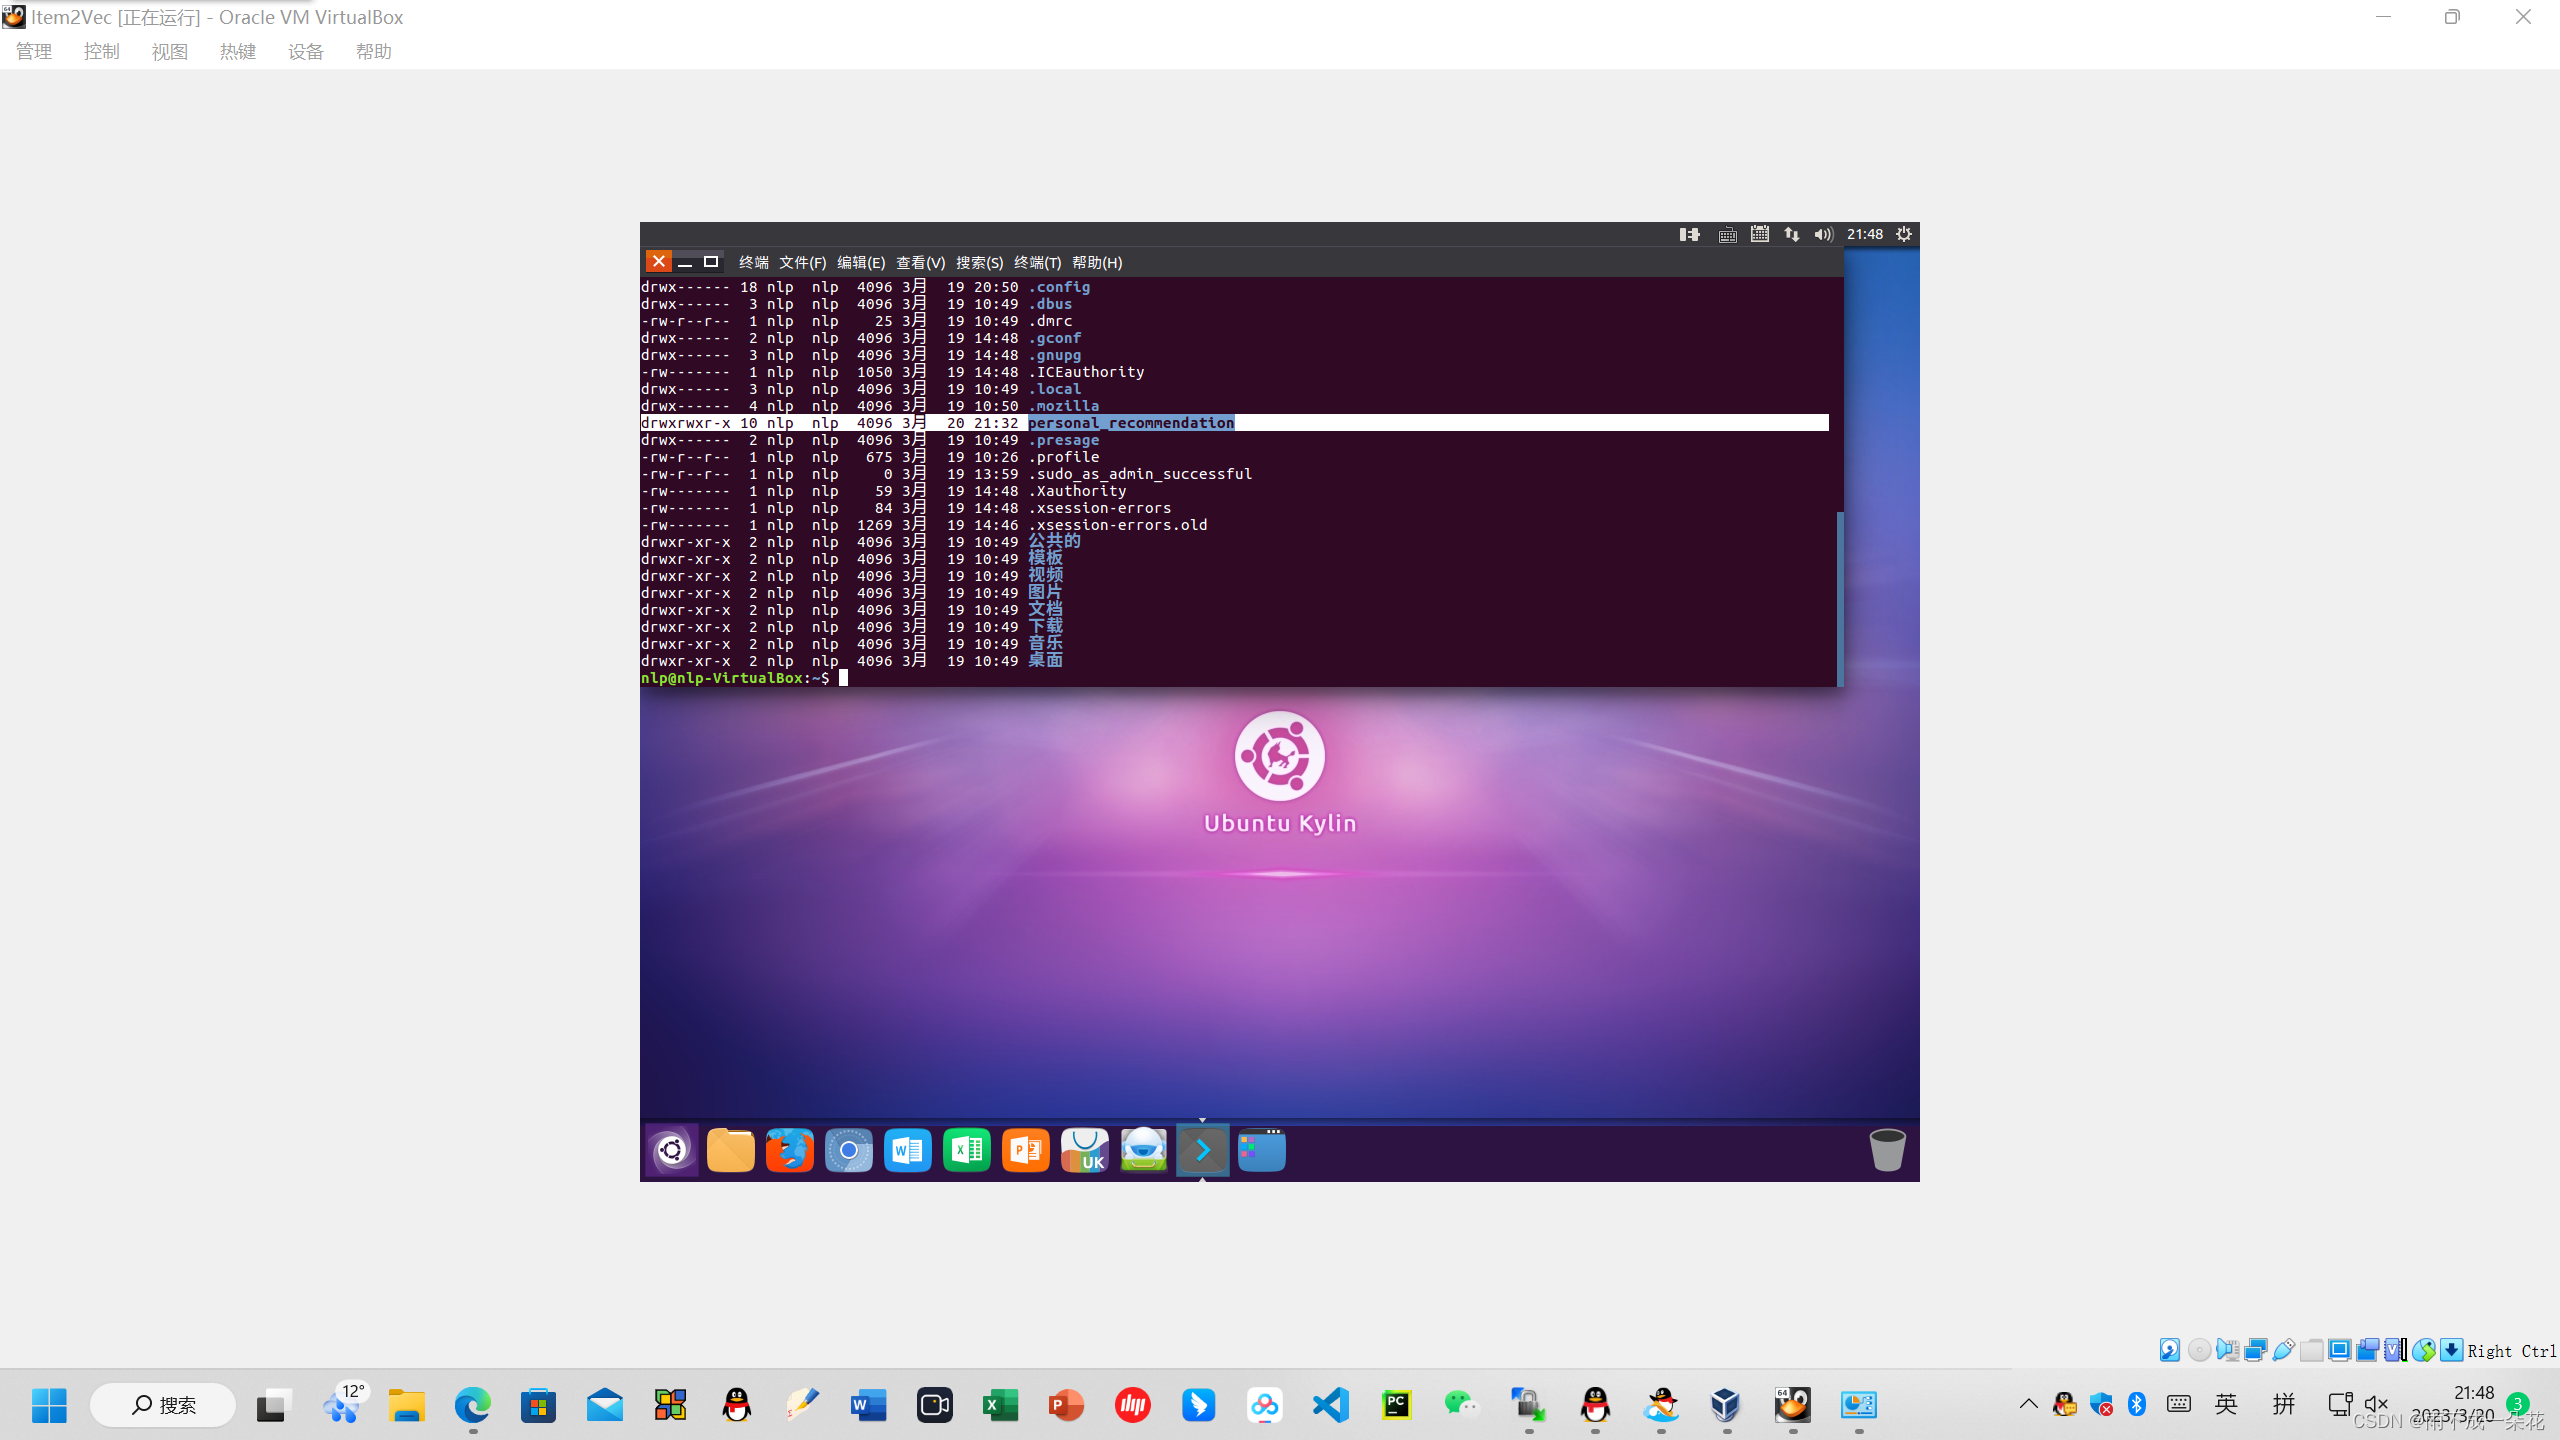
1、打开Virtual Box虚拟机,操作系统为ubuntu
创建虚拟机Item2vec(自动挂载镜像Kylin,麒麟ubuntu)
安装操作系统kylin下的ubuntu,一步一步设置虚拟机的各种介质:硬盘大小,内存等。


刚装好系统,无法上传 文件。主要是因为为建立root以及,nlp用户的密码权限。同时没有安装好ssh远程登入附件:
sudo passwd root(完成超级用户的权限输入),看看能不能正常普通与超级用户之间的切换。
按ctrl+alt+t 打开终端,输入:sudo apt-get update
更新安装包工具apt:sudo apt-get update
安装远程登入ssh:sudo apt-get install ssh 或者 sudo apt-get install openssh-client
创建用户:
sudo useradd -m hadoop -s /bin/bash
增加管理员权限:
sudo adduser hadoop sudo
2、VirtualBox选择桥接模式
由于公司服务器对MASK地址访问外网有严格的限制,所以虚拟机里边的HWaddr mask地址没有加入公司的服务器的路由表里边,所以访问不了外网,而网络转换地址(NAT)的最大优势是很方便让虚拟机接入互联网。由于使用NAT模式在windows下无法ping通虚拟机,所以选择桥接模式,在桥接模式下,Vitrual虚拟出来的操作系统就像是局域网中的一***立的主机(主机和虚拟机处于对等地位),它可以访问网内任何一台机器。
3、设置虚拟机静态手动ip地址和主机互相ping通
(1)虚拟机ping主机(切记关掉防火墙)
先在虚拟机下,点击控制,网络,选择桥接方式,保存。

然后进入虚拟机,设置网络,选择静态ip地址,也就是在主机windows下同一网段,主机192.168.1.3,那我的虚拟机人为取地址 192.168.1.4,子网掩码255.255.255.0,网关192.168.1.1,dns114.114.114.114.
注意:虚拟机的ip段位必须与主机同一网段,否则是不可能联通的。但是虚拟机的ip地址人为选为192.168.1.4,就是与主机ip192.168.1.3末尾不同,切记。
address 192.168.1.4
netmask 255.255.255.0
gateway 192.168.1.1
接下来虚拟机ping主机,切记关掉防火墙。

在终端输入:ping 192.168.1.3,结果课可以ping通了。

(2)主机ping虚拟机

4、打开Scp远程上传文件


通了,主机可以向虚拟机上传文件!2023.3.20 晚上21:25(纪念一下)
将个人推荐项目:personal recommentation 上传到虚拟机用户nlp下面

5、打开终端,可以查看到item2vec工程项目

6、终端进入Item2Vec项目

运行word2vec预训练模型 :./bin/word2vec

如果之前没有增加管理员权限,就会报错:bash: ./bin/word2vec权限不够
2、商品-数据读取程序
#-*-coding:utf8-*-
"""
author:
date:2023***
produce train data for item2vec
"""
import os
import sys
def produce_train_data(input_file, out_file):
"""
Args:
input_file:user behavior file
out_file: output file
"""
if not os.path.exists(input_file):
return
record = {}
linenum = 0
score_thr = 4.0
fp = open(input_file)
for line in fp:
if linenum==0:
linenum += 1
continue
item = line.strip().split(',')
if len(item) < 4:
continue
userid, itemid, rating = item[0], item[1], float(item[2])
if rating < score_thr:
continue
if userid not in record:
record[userid] = []
record[userid].append(itemid)
fp.close()
fw = open(out_file, 'w+')
for userid in record:
fw.write(" ".join(record[userid]) + "\n")
fw.close()
if __name__ == "__main__":
if len(sys.argv) < 3:
print "usage: python xx.py inputfile outputfile"
sys.exit()
else:
inputfile = sys.argv[1]
outputfile = sys.argv[2]
produce_train_data(inputfile, outputfile)
#produce_train_data("../data/ratings.txt", "../data/train_data.txt")
ratings.txt链接:https://pan.baidu.com/s/1KmV3fhNBGFBJxtlk_SPLZw
提取码:8888
3、商品-训练数据程序
在官网下载item2vec代码word2vec的二进制文件bin
https://code.google.com/archive/p/word2vec/source/default/source
(最好在服务器linux系统上运行,在当前目录下编译make,就生成二进制文件bin)
但是,在pycharm的终端下运行也是一样的!
从https://code.google.com/archive/p/word2vec/source/default/source下载word2vec源
码,下载完解压,运行make 编译,mac上如果编译报错。注释掉#include <malloc.h>即可。
item2vec文件包含文件bin, bin下面是word2vec,也就是自然语言教过的CBOW,SKIP模型下的词-向量预训练模型。见课件《文本数据挖掘》2023.本科,中广班。
2013年,Tomas Mikolov在历史上罕见发布文本表示模型,连续词袋模型CBOW和跳字模型SKIP,在文《Efficient estimation of word representations in vector space》中,首次提出了CBOW和Skip-gram模型,进一步的在《Distributed Representations of Words and Phrases and their Compositionality》,在自然语言处理上具有划时代的意义。
早期的预训练模型用二进制文件书写word2vec, 后来以色列特拉维夫微软研究院的专家,进一步应用了这一成果。
接下来解释bin文件
点击pycharm终端,查看项目item2vec下面的文件ls

进入bin,查看word2vec文件模型

bin下面是word2vec文件,退回上一层目录,若是直接linux命令执行:./bin/word2vec, 结果肯定不行。
4、在pycharm下切换Linux命令、设置路径
在云计算课程里,介绍了windows10自带的ubuntu, 于是启动ubuntu的程序:进入控制面板——程序——程序和功能——启用或关闭windows功能 勾选“适用于linux的windows子系统”

打开电脑开始:开始——设置——隐私和安全性——打开: 开发人员模式

点击左下角:开始——Microsoft store——Ubuntu

安装好ubuntu,打开就是终端。
进入pycharm, 修改终端的shell,也就是修改终端的用户与内核交互界面shell的路径,
pycharm——file——Tools——terminal——Shell path
改为如图所示

4、计算各个item的向量的相似度计算程序
#-*-coding:utf8-*-
"""
author:
date:2023****
produce item sim file
"""
import os
import numpy as np
import operator
import sys
def load_item_vec(input_file):
"""
Args:
input_file: item vec file
Return:
dict key:itemid value:np.array([num1, num2....])
"""
if not os.path.exists(input_file):
return {}
linenum = 0
item_vec = {}
fp = open(input_file)
for line in fp:
if linenum == 0:
linenum += 1
continue
item = line.strip().split()
if len(item) < 129:
continue
itemid = item[0]
if itemid == "</s>":
continue
item_vec[itemid] = np.array([float(ele) for ele in item[1:]])
fp.close()
return item_vec
def cal_item_sim(item_vec, itemid, output_file):
"""
Args
item_vec:item embedding vector
itemid:fixed itemid to clac item sim
output_file: the file to store result
"""
if itemid not in item_vec:
return
score = {}
topk = 10
fix_item_vec = item_vec[itemid]
for tmp_itemid in item_vec:
if tmp_itemid == itemid:
continue
tmp_itemvec = item_vec[tmp_itemid]
fenmu = np.linalg.norm(fix_item_vec) * np.linalg.norm(tmp_itemvec)
if fenmu == 0:
score[tmp_itemid] = 0
else:
score[tmp_itemid] = round(np.dot(fix_item_vec, tmp_itemvec)/fenmu, 3)
fw = open(output_file, "w+")
out_str = itemid + "\t"
tmp_list = []
for zuhe in sorted(score.iteritems(), key = operator.itemgetter(1), reverse = True)[:topk]:
tmp_list.append(zuhe[0] + "_" + str(zuhe[1]))
out_str += ";".join(tmp_list)
fw.write(out_str + "\n")
fw.close()
def run_main(input_file, output_file):
item_vec = load_item_vec(input_file)
cal_item_sim(item_vec, "27", output_file)
if __name__ == "__main__":
if len(sys.argv) < 3:
print "usage: python xx.py inputfile outputfile"
sys.exit()
else:
inputfile = sys.argv[1]
outputfile = sys.argv[2]
run_main(inputfile, outputfile)
#run_main("../data/item_vec.txt", "../data/sim_result.txt")