目录

扫描二维码关注公众号,回复:
15984425 查看本文章

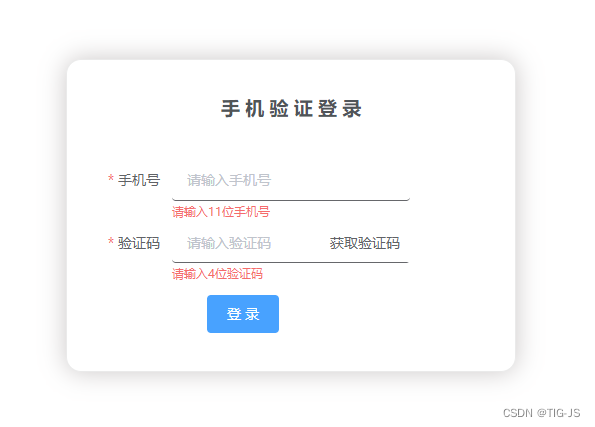
效果图

1.template部分
<div>
    <el-form ref="form" label-width="70px" :inline="true" class="login-container" :model="form" :rules="rules">
      <h3 class="login_title">系统登录</h3>

        <el-form-item label="用户名" prop="userName">
            <el-input v-model="form.userName" placeholder="请输入账号"></el-input>
        </el-form-item>

        <el-form-item label="密码" prop="password">
            <el-input show-password v-model="form.password" placeholder="请输入密码"></el-input>
        </el-form-item>

        <el-form-item>
            <el-button @click="submit" class="login_button" type="primary"> 登 录 </el-button>
        </el-form-item>


    </el-form>
  </div>
2.style部分
这里我用的是less编写,
需要下载less和less-loader
<style lang="less" scoped>
.login-container {
  width: 400px;
  border:1px solid #eaeaea;
  margin: 180px auto;
  padding: 35px 35px 15px 35px;
  border-radius: 15px;
  box-shadow: 0 0 25px #cac6c6;
  background-color: #ffffff;
  box-sizing: border-box;
  .login_title {
    text-align: center;
    margin-bottom: 40px;
    color: #505458;
  }
  .el-input {
    width: 198px;
  }
  .login_button {
    margin-left: 105px;
    margin-top: 10px;
  }
  .login_register {
    width: 70px;
    height: 40px;
    text-align: center;
    margin-top: 10px;
  }
}
3.vue部分
(1).引入封装的axios接口,方便后面联调
import {GetLogin} from "@/Api/api";这里每个人的都不一样,这只是我的封装
(2)表单
| trigger | 触发方式 | String | click/focus/hover/manual | click |
| required | 是否必填,如不设置,则会根据校验规则自动生成 | boolean | — | false |
| blur | 在 Input 失去焦点时触发 | (event: Event) |
data() {
    return {
      form: {
        userName:'',
        password:'',
      },
      rules: {
        userName: [
          {
            required: true,
            trigger: 'blur',
            message: '长度在6到16个字符',
            min: 6, max: 16,
          }
        ],
        password: [
          {
            required: true,
            trigger: 'blur',
            message: '请输入密码',
            min: 6, max: 16,

          }
        ],
      }
    }
  },
(3).methods部分
| validate | 对整个表单进行校验的方法,参数为一个回调函数。该回调函数会在校验结束后被调用,并传入两个参数:是否校验成功和未通过校验的字段。若不传入回调函数,则会返回一个 promise | Function(callback: Function(boolean, object)) |
methods: {
    //提交方法
    submit() {
        this.$refs.validate((valid) => {
          if (valid) {
            // 封装的接口使用
            GetLogin({
              // 表单的数据
              userName: this.form.userName,
              password: this.form.password,
            }).then(({data}) => {
              // console.log(data)
              if (data.code === 200) {
                //将token存储在本地
                localStorage.setItem('token',data.data.token)
                //若登录成功则跳转到指定路由
                this.$router.push('/')
              } else {
                this.$message.error(data.data.rules.message)
              }
            })
          }
        })
    }
  }
4.完整代码
<template>
  <div>
    <el-form ref="form" label-width="70px" :inline="true" class="login-container" :model="form" :rules="rules">
      <h3 class="login_title">系统登录</h3>

        <el-form-item label="用户名" prop="userName">
            <el-input v-model="form.userName" placeholder="请输入账号"></el-input>
        </el-form-item>

        <el-form-item label="密码" prop="password">
            <el-input show-password v-model="form.password" placeholder="请输入密码"></el-input>
        </el-form-item>

        <el-form-item>
            <el-button @click="submit" class="login_button" type="primary"> 登 录 </el-button>
        </el-form-item>


    </el-form>
  </div>
</template>

<script>
import {GetLogin} from "@/Api/api";

export default {
  name: "AppLogin",
  data() {
    return {
      form: {
        userName:'',
        password:'',
      },
      rules: {
        userName: [
          {
            required: true,
            trigger: 'blur',
            message: '长度在6到16个字符',
            min: 6, max: 16,
          }
        ],
        password: [
          {
            required: true,
            trigger: 'blur',
            message: '请输入密码',
            min: 6, max: 16,

          }
        ],
      }
    }
  },
  methods: {
    //提交方法
    submit() {
        this.$refs.validate((valid) => {
          if (valid) {
            // 封装的接口使用
            GetLogin({
              // 表单的数据
              userName: this.form.userName,
              password: this.form.password,
            }).then(({data}) => {
              // console.log(data)
              if (data.code === 200) {
                //将token存储在本地
                localStorage.setItem('token',data.data.token)
                //若登录成功则跳转到指定路由
                this.$router.push('/')
              } else {
                this.$message.error(data.data.rules.message)
              }
            })
          }
        })
    }
  }
}
</script>

<style lang="less" scoped>
.login-container {
  width: 400px;
  border:1px solid #eaeaea;
  margin: 180px auto;
  padding: 35px 35px 15px 35px;
  border-radius: 15px;
  box-shadow: 0 0 25px #cac6c6;
  background-color: #ffffff;
  box-sizing: border-box;
  .login_title {
    text-align: center;
    margin-bottom: 40px;
    color: #505458;
  }
  .el-input {
    width: 198px;
  }
  .login_button {
    margin-left: 105px;
    margin-top: 10px;
  }
  .login_register {
    width: 70px;
    height: 40px;
    text-align: center;
    margin-top: 10px;
  }
}
</style>