1. 调整检测框粗细
在detect.py中按住Ctrl+F检索line_thickness定位过去,在129行左右,更改line_thickness的大小即可,例如改为line_thickness=3
2. 设定标签颜色
在detect.py中按住Ctrl+F检索colors = [[random.randint(0, 255) for _ in range(3)] for _ in names]定位过去,注释掉,然后直接写颜色矩阵,例如下面:
- 注意:因为后面是cv2保存图像,cv2保存图像的顺序是BGR,所以颜色卡需要先手动把RGB顺序变为BGR
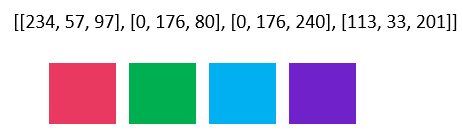
colors = [[97, 57, 234], [80, 176, 0], [240, 176, 0], [201, 33, 113]] # 因为后面是cv2保存图像,cv2保存图像的顺序是BGR,所以颜色卡需要把RGB顺序变为BGR
RGB对应颜色为(在上面代码变了顺序后,能展示如下相同的颜色):
3. 只显示与标签数目相同的检测结果
detect.py中的source参数设置的是test数据集的位置,本节更改是实现对test数据集进行检测时,只保留检测出来的标签数量=真实标签数量的检测图片效果
- 在
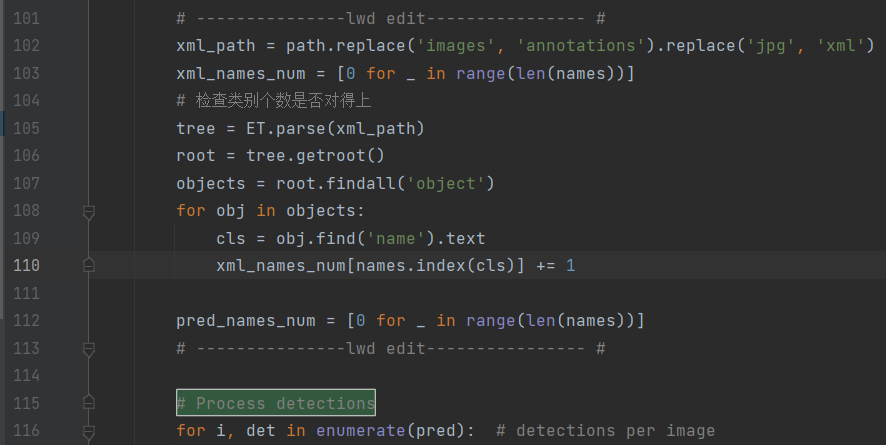
detect.py最上面导入包import xml.etree.ElementTree as ET Ctrl+F检索# Process detections定位过去,然后在# Process detections上面新增如下代码
        # ---------------lwd edit---------------- #
        xml_path = path.replace('images', 'annotations').replace('jpg', 'xml')
        xml_names_num = [0 for _ in range(len(names))]
        # 检查类别个数是否对得上
        tree = ET.parse(xml_path)
        root = tree.getroot()
        objects = root.findall('object')
        for obj in objects:
            cls = obj.find('name').text
            xml_names_num[names.index(cls)] += 1

        pred_names_num = [0 for _ in range(len(names))]
        # ---------------lwd edit---------------- #
Ctrl+F检索# Save results定位过去,然后在# Save results下面做如下更改

if save_img and pred_names_num == xml_names_num: # lwd edit