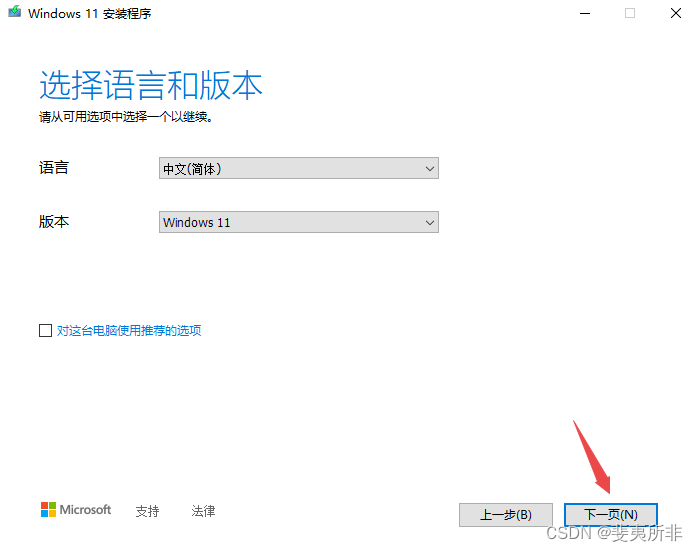
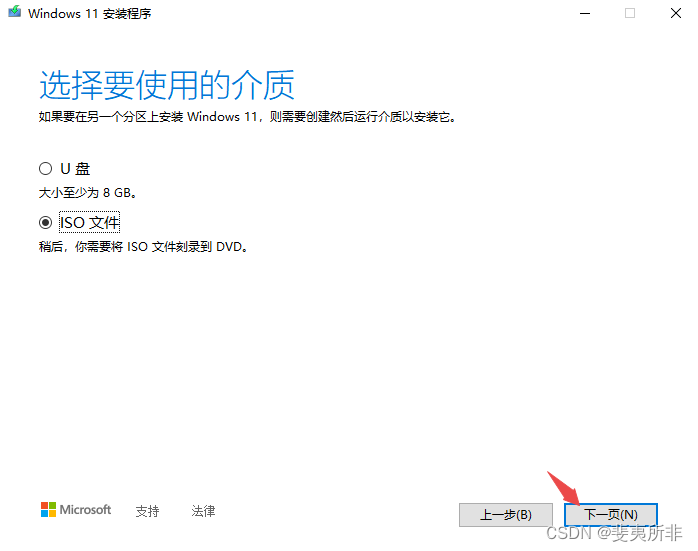
1、 跳过 TPM 和 CPU 限制
“ 这台电脑无法运行 Windows 11 ”
“ 此版本的Windows不支持该处理器 ”
方法 1 注册表
当出现“这台电脑无法运行 Windows 11 ”时, 按 Shift+F10 ,输入 regedit
HKEY_LOCAL_MACHINE\SYSTEM\Setup
创建为“LabConfig”的项,在“LabConfig”下创建两个DWORD值:
“BypassTPMCheck”,赋值“00000001”
“BypassSecureBootCheck”,赋值“00000001”
保存退出后,提示消失。
还可以提前创建 LabConfig.reg 和 MoSetup.reg 安装时导入
LabConfig.reg
Windows Registry Editor Version 5.00
[HKEY_LOCAL_MACHINE\SYSTEM\Setup\LabConfig]
"BypassTPMCheck"=dword:00000001
"BypassSecureBootCheck"=dword:00000001
"BypassRAMCheck"=dword:00000001
"BypassStorageCheck"=dword:00000001
"AllowUpgradesWithUnsupportedTPMOrCPU"=dword:00000001
MoSetup.reg
Windows Registry Editor Version 5.00
[HKEY_LOCAL_MACHINE\SYSTEM\Setup\MoSetup]
"AllowUpgradesWithUnsupportedTPMOrCPU"=dword:00000001
注释
BypassTPMCheck 绕过TPM检测;
BypassSecureBootCheck 绕过安全启动检测;
BypassRAMCheck 绕过内存检测;
BypassStorageCheck 绕过硬盘检测;
AllowUpgradesWithUnsupportedTPMOrCPU,微软官方发布的绕过CPU检测解决方案。这项只能绕过TPM2.0,不能绕过TPM1.2(最低要求),没有TPM模块的,绕不过去。
合并导入
将 LabConfig.reg 和 MoSetup.reg 保存在存储中,当提示 “ 这台电脑无法运行 Windows 11 ” 时,
按下Shift+F10,输入 notepad,–> 【打开】–> 【文件类型】–> 【所有文件】,找到 .reg 文件,–> 【合并】,导入。
方法 2 appraiserres.dll 替换
用 Windows 10 镜像 sources 中 appraiserres.dll 替换 Windows 11 镜像 sources 中 appraiserres.dll
运行 Windows 11 中 setup 安装 11
方法 3 install.esd 替换
用 Windows 11 镜像 sources 中 install.esd 替换 Windows 10 镜像 sources 中 install.esd
运行 Windows 10 中 setup 安装 11
方法 4 Windows 10 升级 Windows 11
在 Windows 10 环境中运行 Windows 11 中的 setup 升级 10 安装 11
用于上述步骤的 Windows 最新镜像的拉取
Windows 10 下载
https://www.microsoft.com/zh-cn/software-download/windows10

运行 MediaCreationTool22H2,按如下选择可以下载含商业版的多版本镜像

Windows 11 下载
https://www.microsoft.com/zh-cn/software-download/windows11
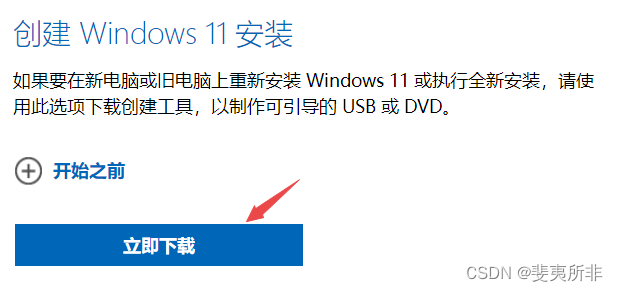
运行 mediacreationtool,
其他步骤与上文 Windows10 相同。
2、跳过 OOBE 强制联网
对 2022 年 8 月之前的 Window 11 有如下 5 种常见处理方法
1、按 Alt + F4,如果没有反应加上 Fn 再试一次
2、按 Ctrl + Shift + F3,如果没有反应加上 Fn 再试一次
3、Shift + F10,输入 taskmgr,结束 Network Connection Flow (网络连接流)进程
4、Shift + F10,输入 taskkill /F /IM oobenetworkconnectionflow.exe (等效 3)
5、Shift + F10,输入 oobe\bypassnro (时好时坏)
注意:
如果验机,小窗口不要点确定,点确定会立即重启,回到OOBE中。拖到一边即可,点取消和叉号关闭都行。
起作用后就会重启,片刻后就会进入桌面。
以上方法对于 2022 年 8 月之后 Window 11 22H2 最新版无效
下面的方法适合目前所有的版本
拔掉网线,不联网络
在 Window 11 22H2 安装过程中提示联网时,按 Shift + F10,输入 OOBE\BYPASSNRO.cmd
如果没有该文件,接着输入 regedit 打开注册表,按如下展开
计算机\HKEY_LOCAL_MACHINE\SOFTWARE\Microsoft\Windows\CurrentVersion\OOBE
新建一个名为 BypassNRO 的 DWORD(32位) 值并设为 1
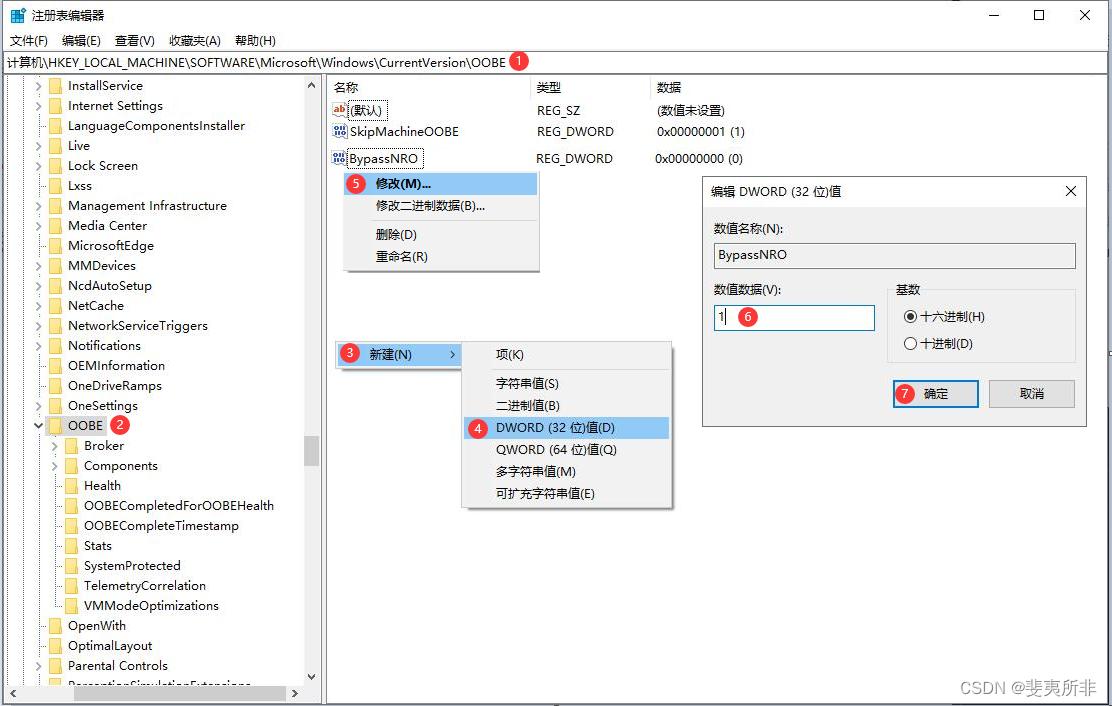
退出注册表,输入 logoff,不重启电脑,即可跳过联网提示,正常安装。
不需要按其他文章中输入 shutdown /r /t 0 ,执行 shutdown /r /t 0 计算机会立即重启。
假帐户联网安装
下文提供了一种假帐户的使用方法,对没有注册账户可以参考
Windows11又出新问题,蚌埠住了!_IT界那些事儿的博客-CSDN博客 https://blog.csdn.net/techforward/article/details/128693415
不需要断网。当提示登录微软账户的时候,这时要输入一个假账户。
例如:
[email protected]
[email protected]
[email protected]
[email protected]
[email protected]
…
密码随意输