docker-compose.yml部署vue + Springboot前后端分离项目 以及内网穿透,外网访问项目
一、windows上部署前后端项目,测试
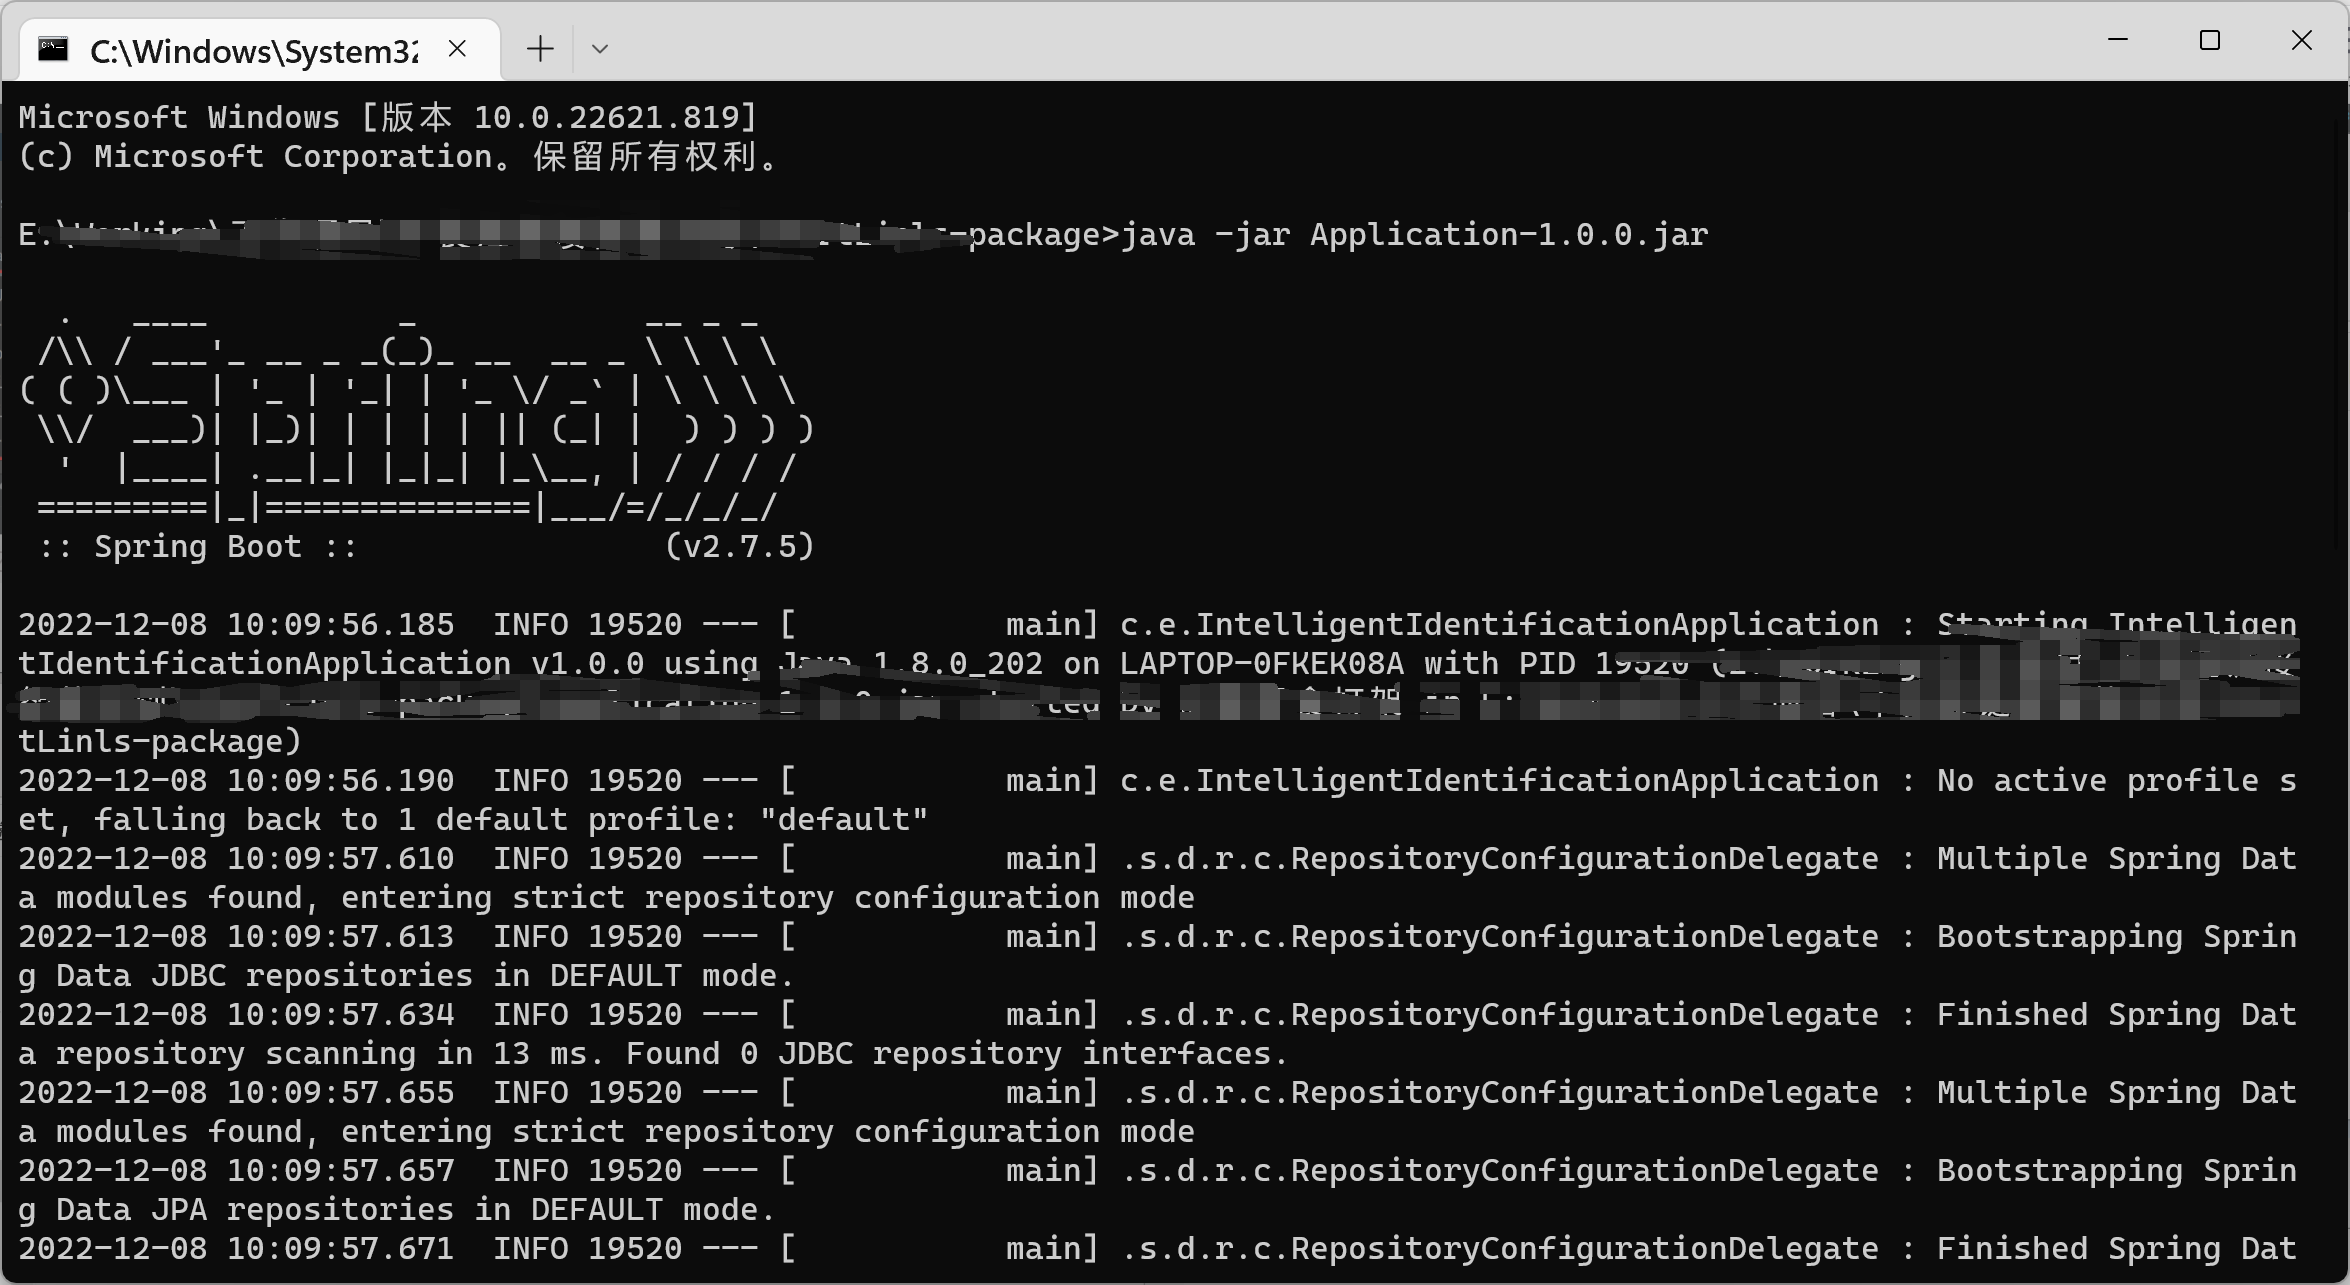
首先在windows上测试运行的项目没有问题。
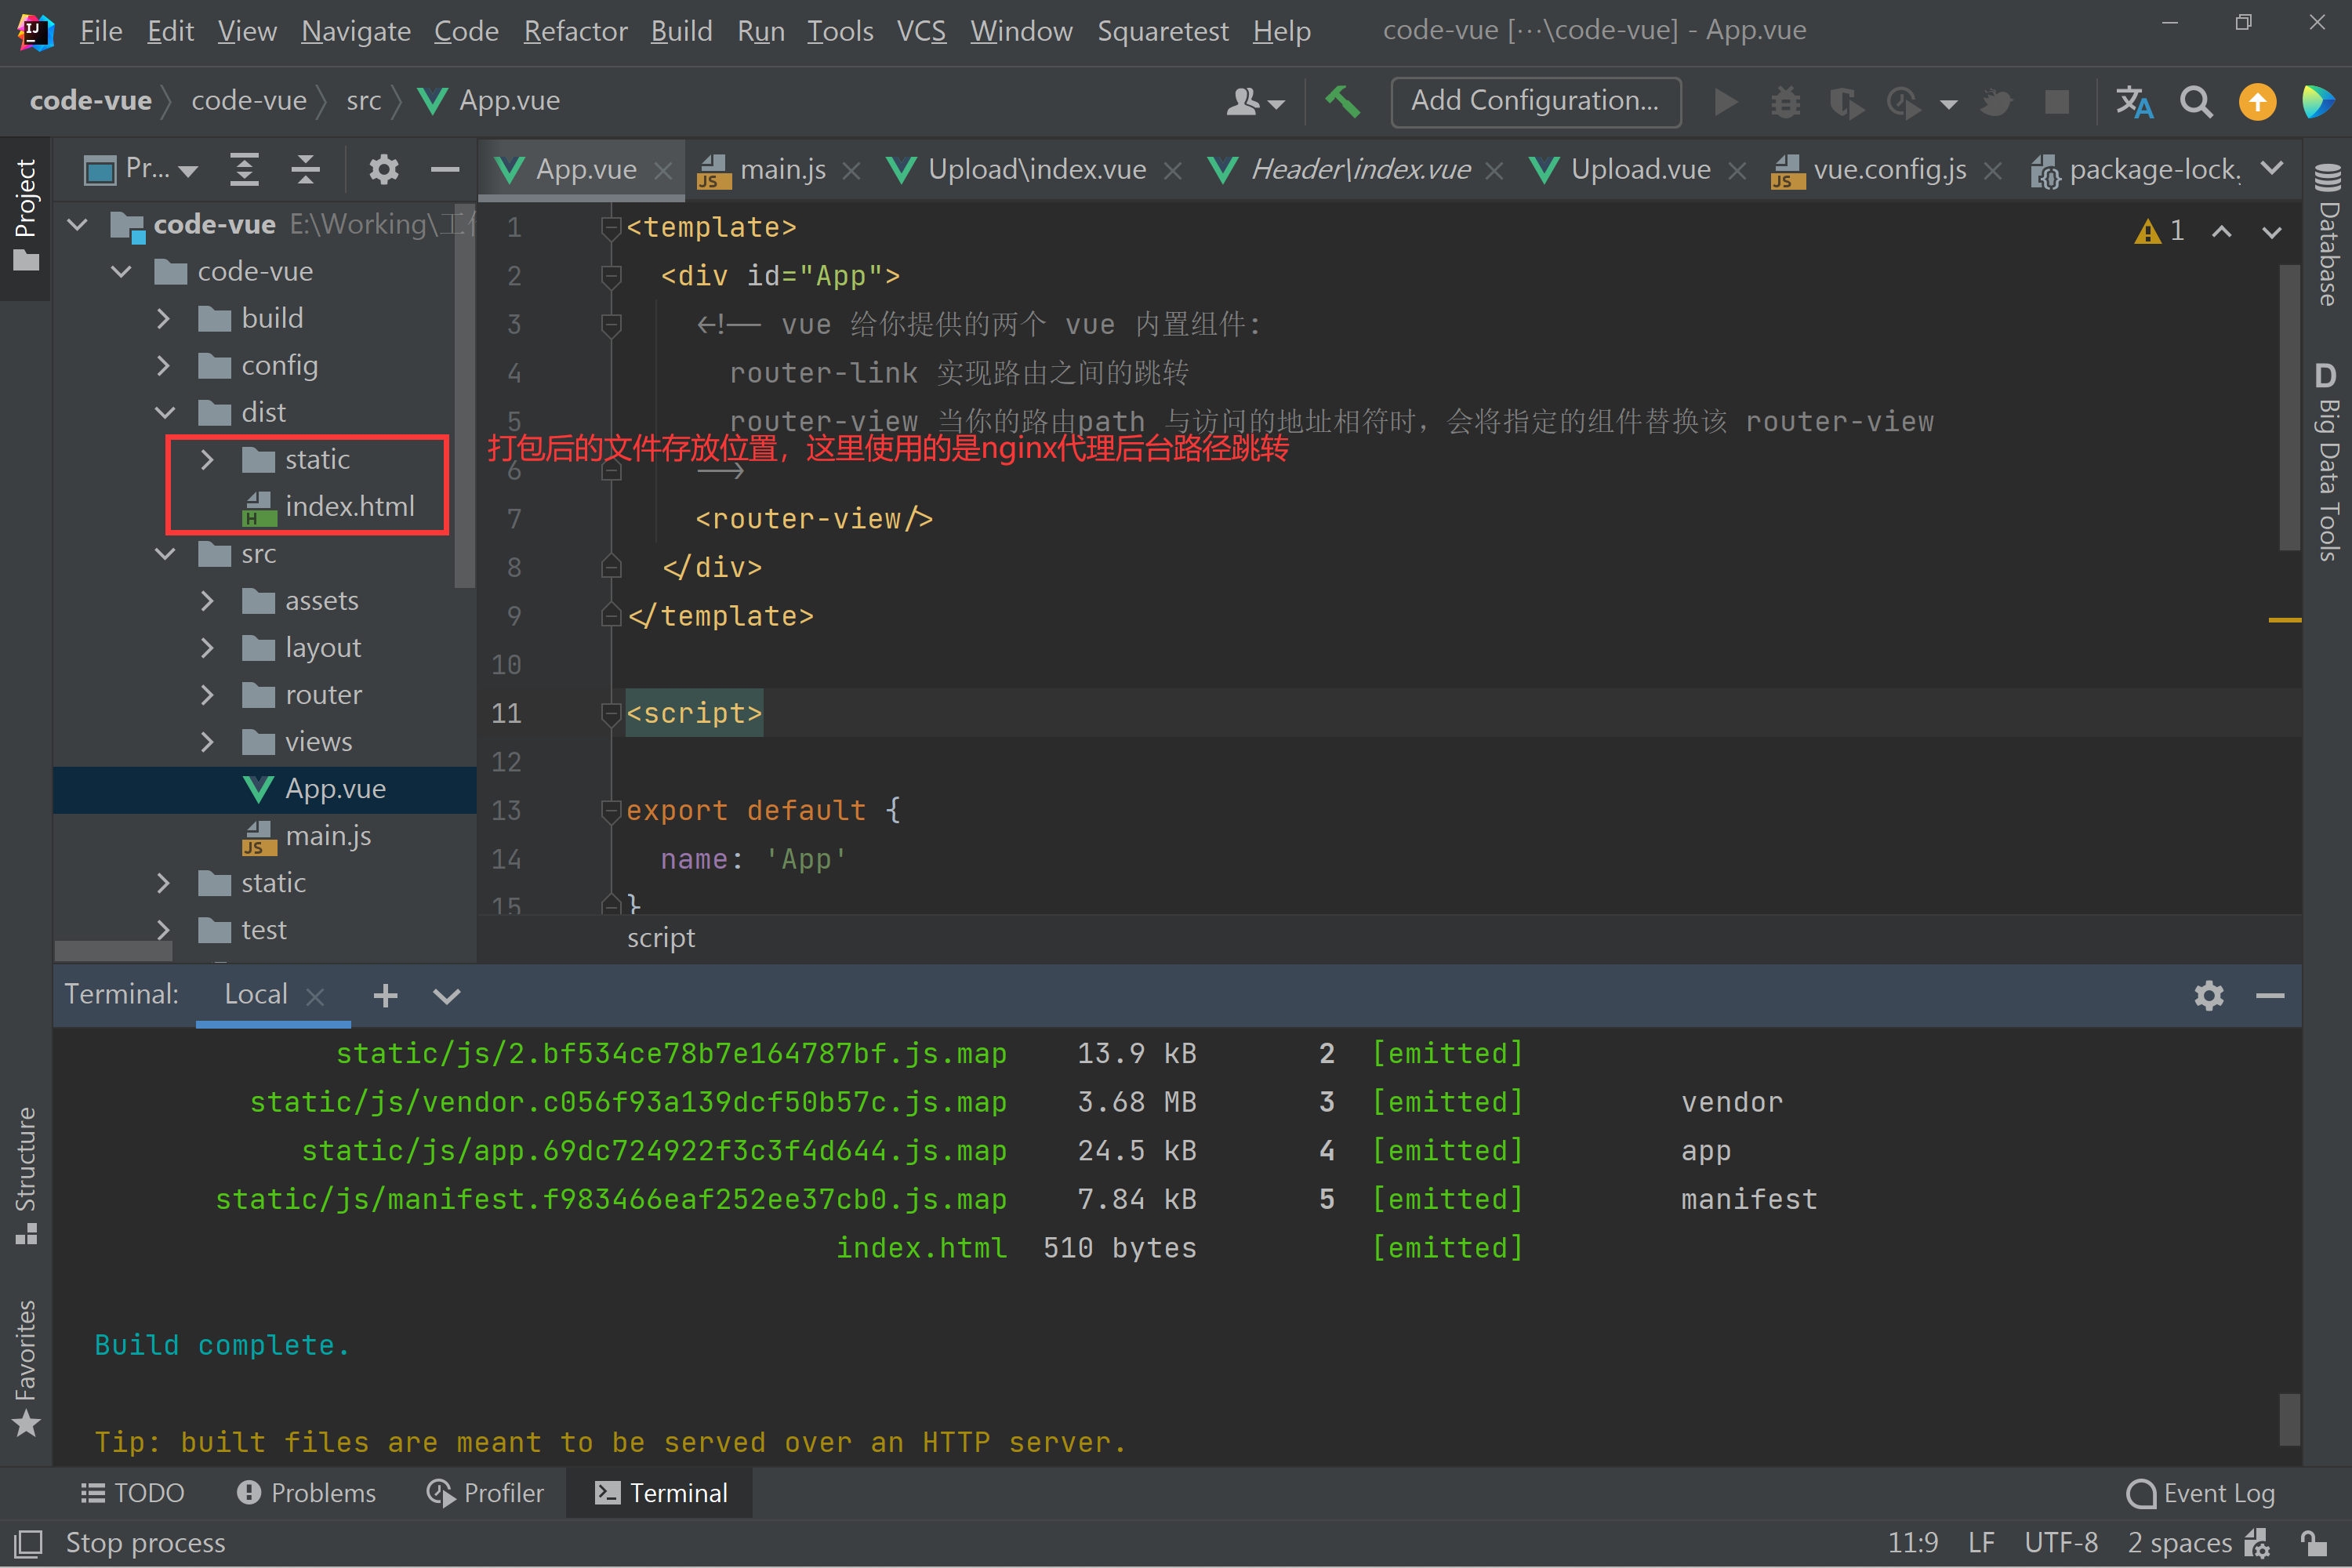
1、前端Vue打包,放到nginx的html中

2、nginx代理转发后端端口:
注意:使用命令行方式打开和关闭nginx,不然手动点击和关闭,会出问题。
start nginx  #cmd命令中开启nginx
nginx -s stop 或者 nginx -s quit  #关闭nginx
# stop表示立即停止nginx,不保存相关信息
# quit表示正常退出nginx,并保存相关信息
nginx -s reload  # 重启(因为改变了配置,需要重启)
taskkill /im nginx.exe -f # 在用nginx发现找不到指令,网上找了一种强制关闭nginx的方法
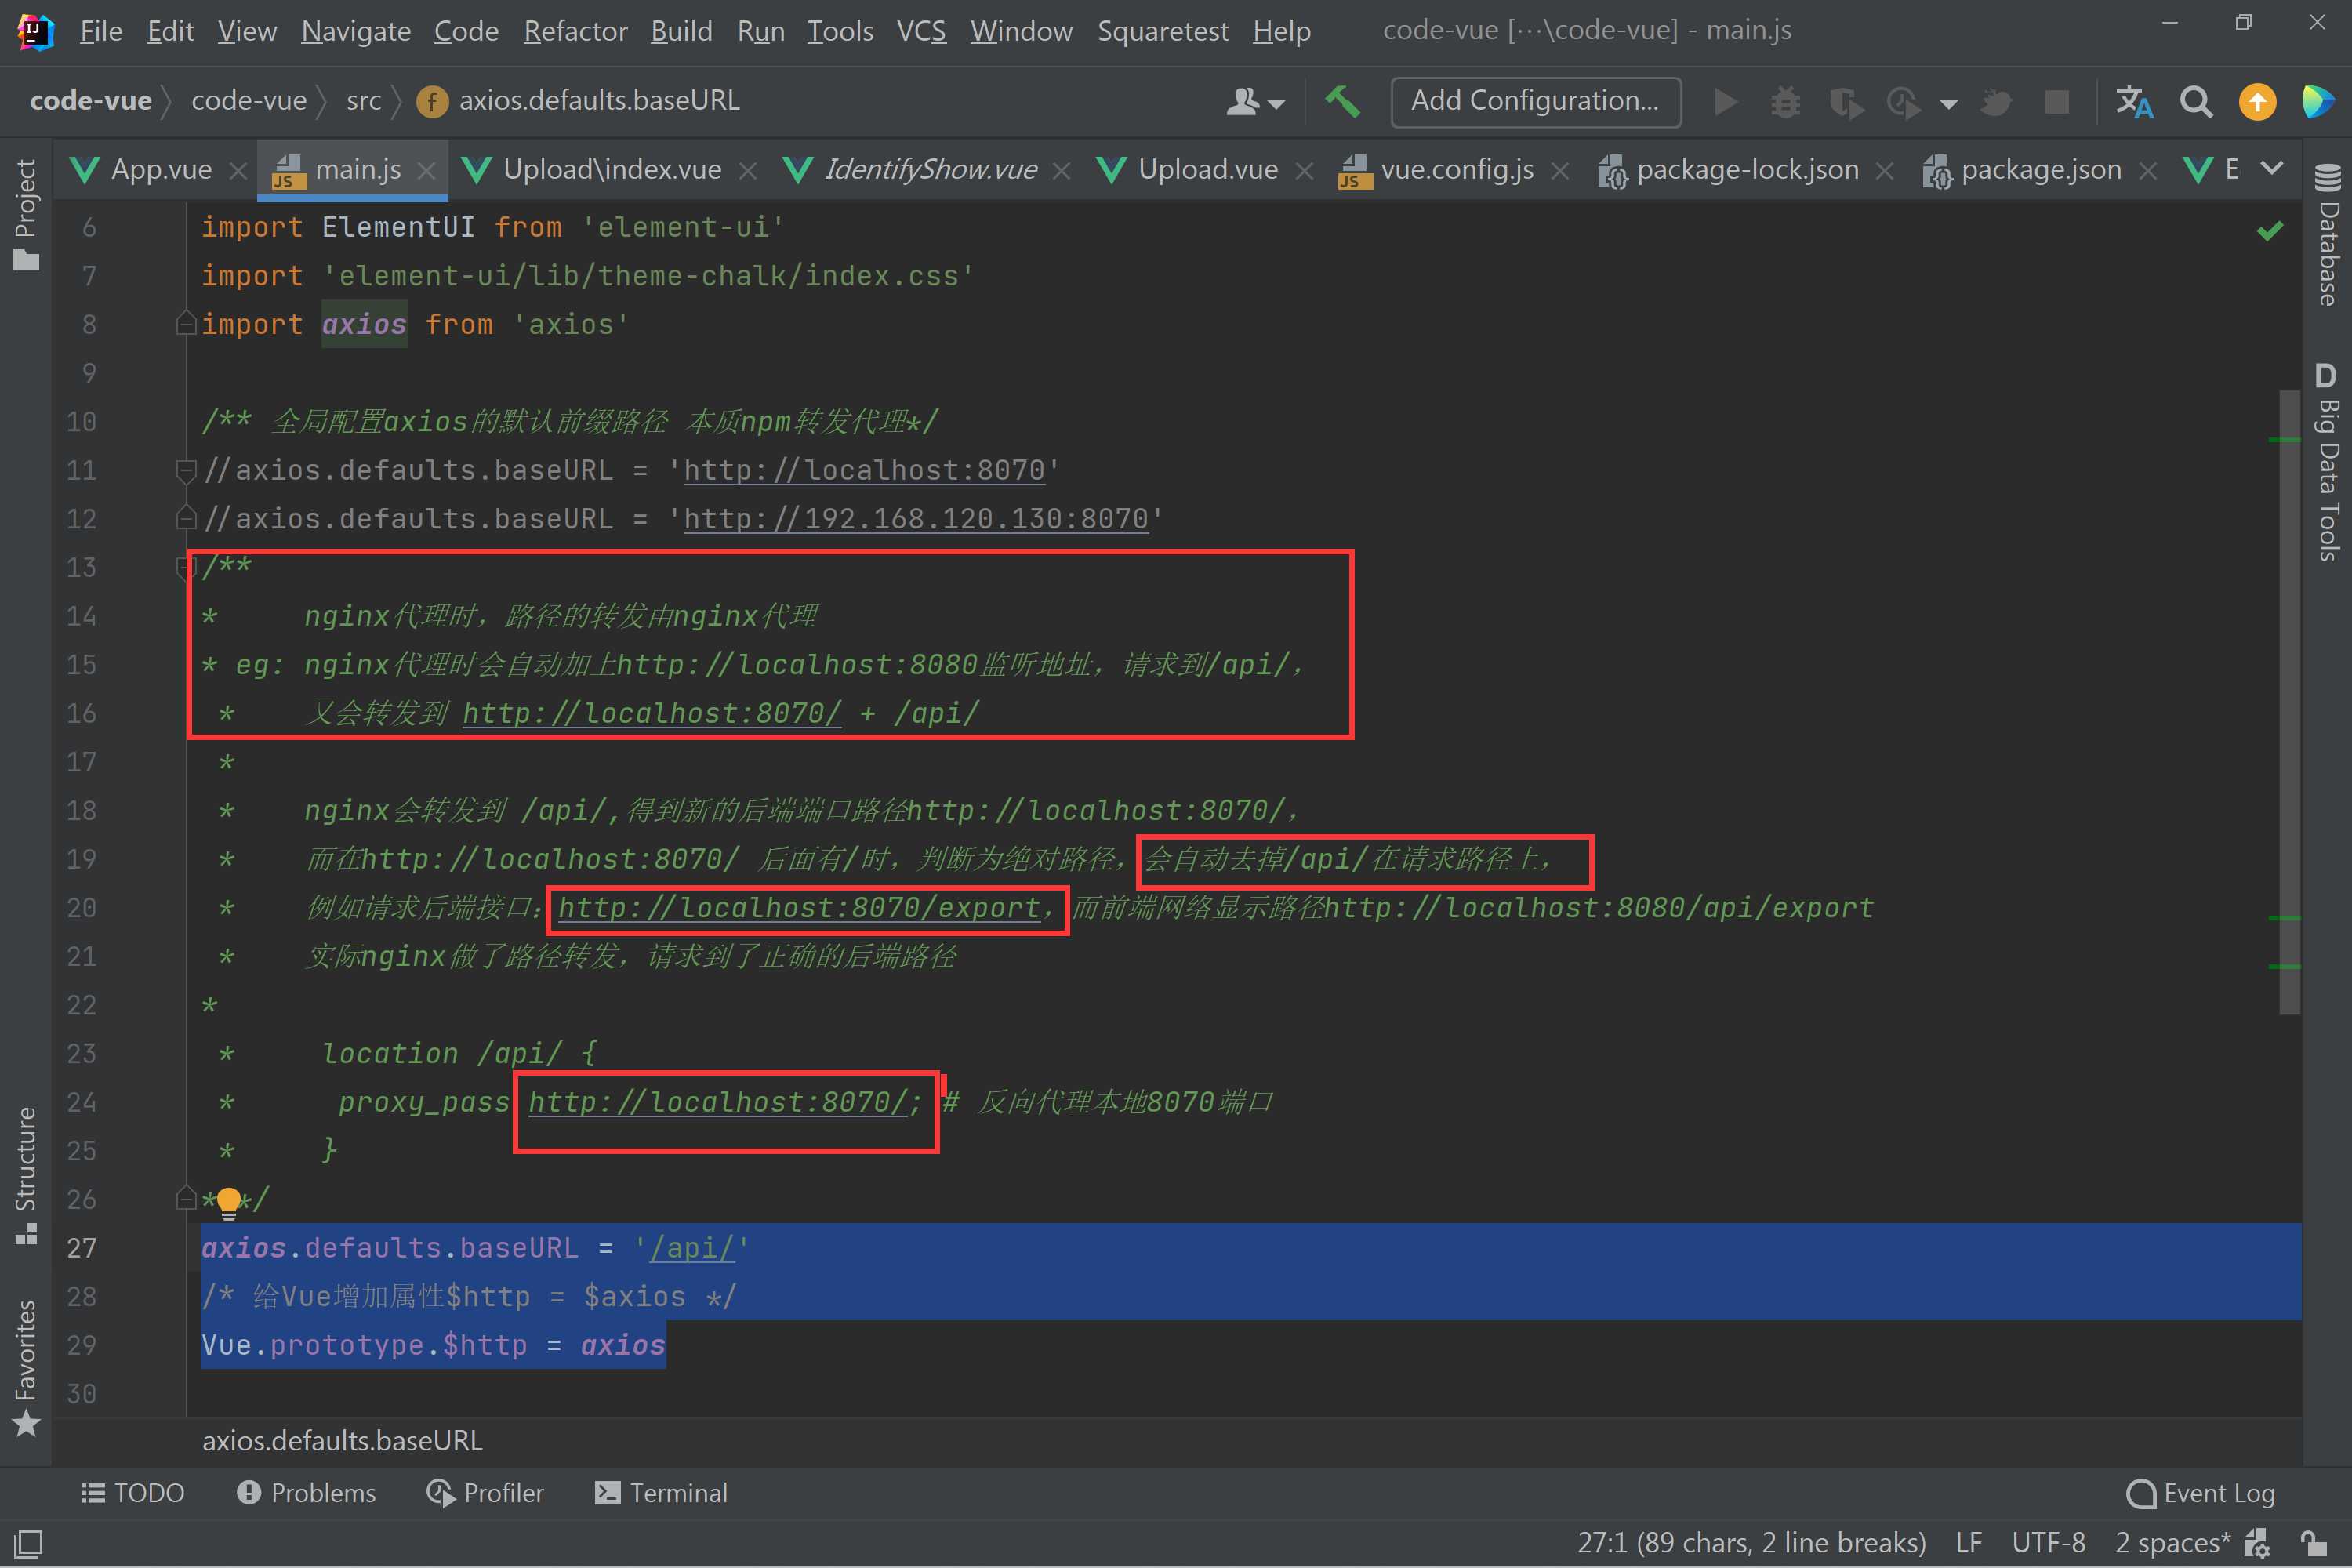
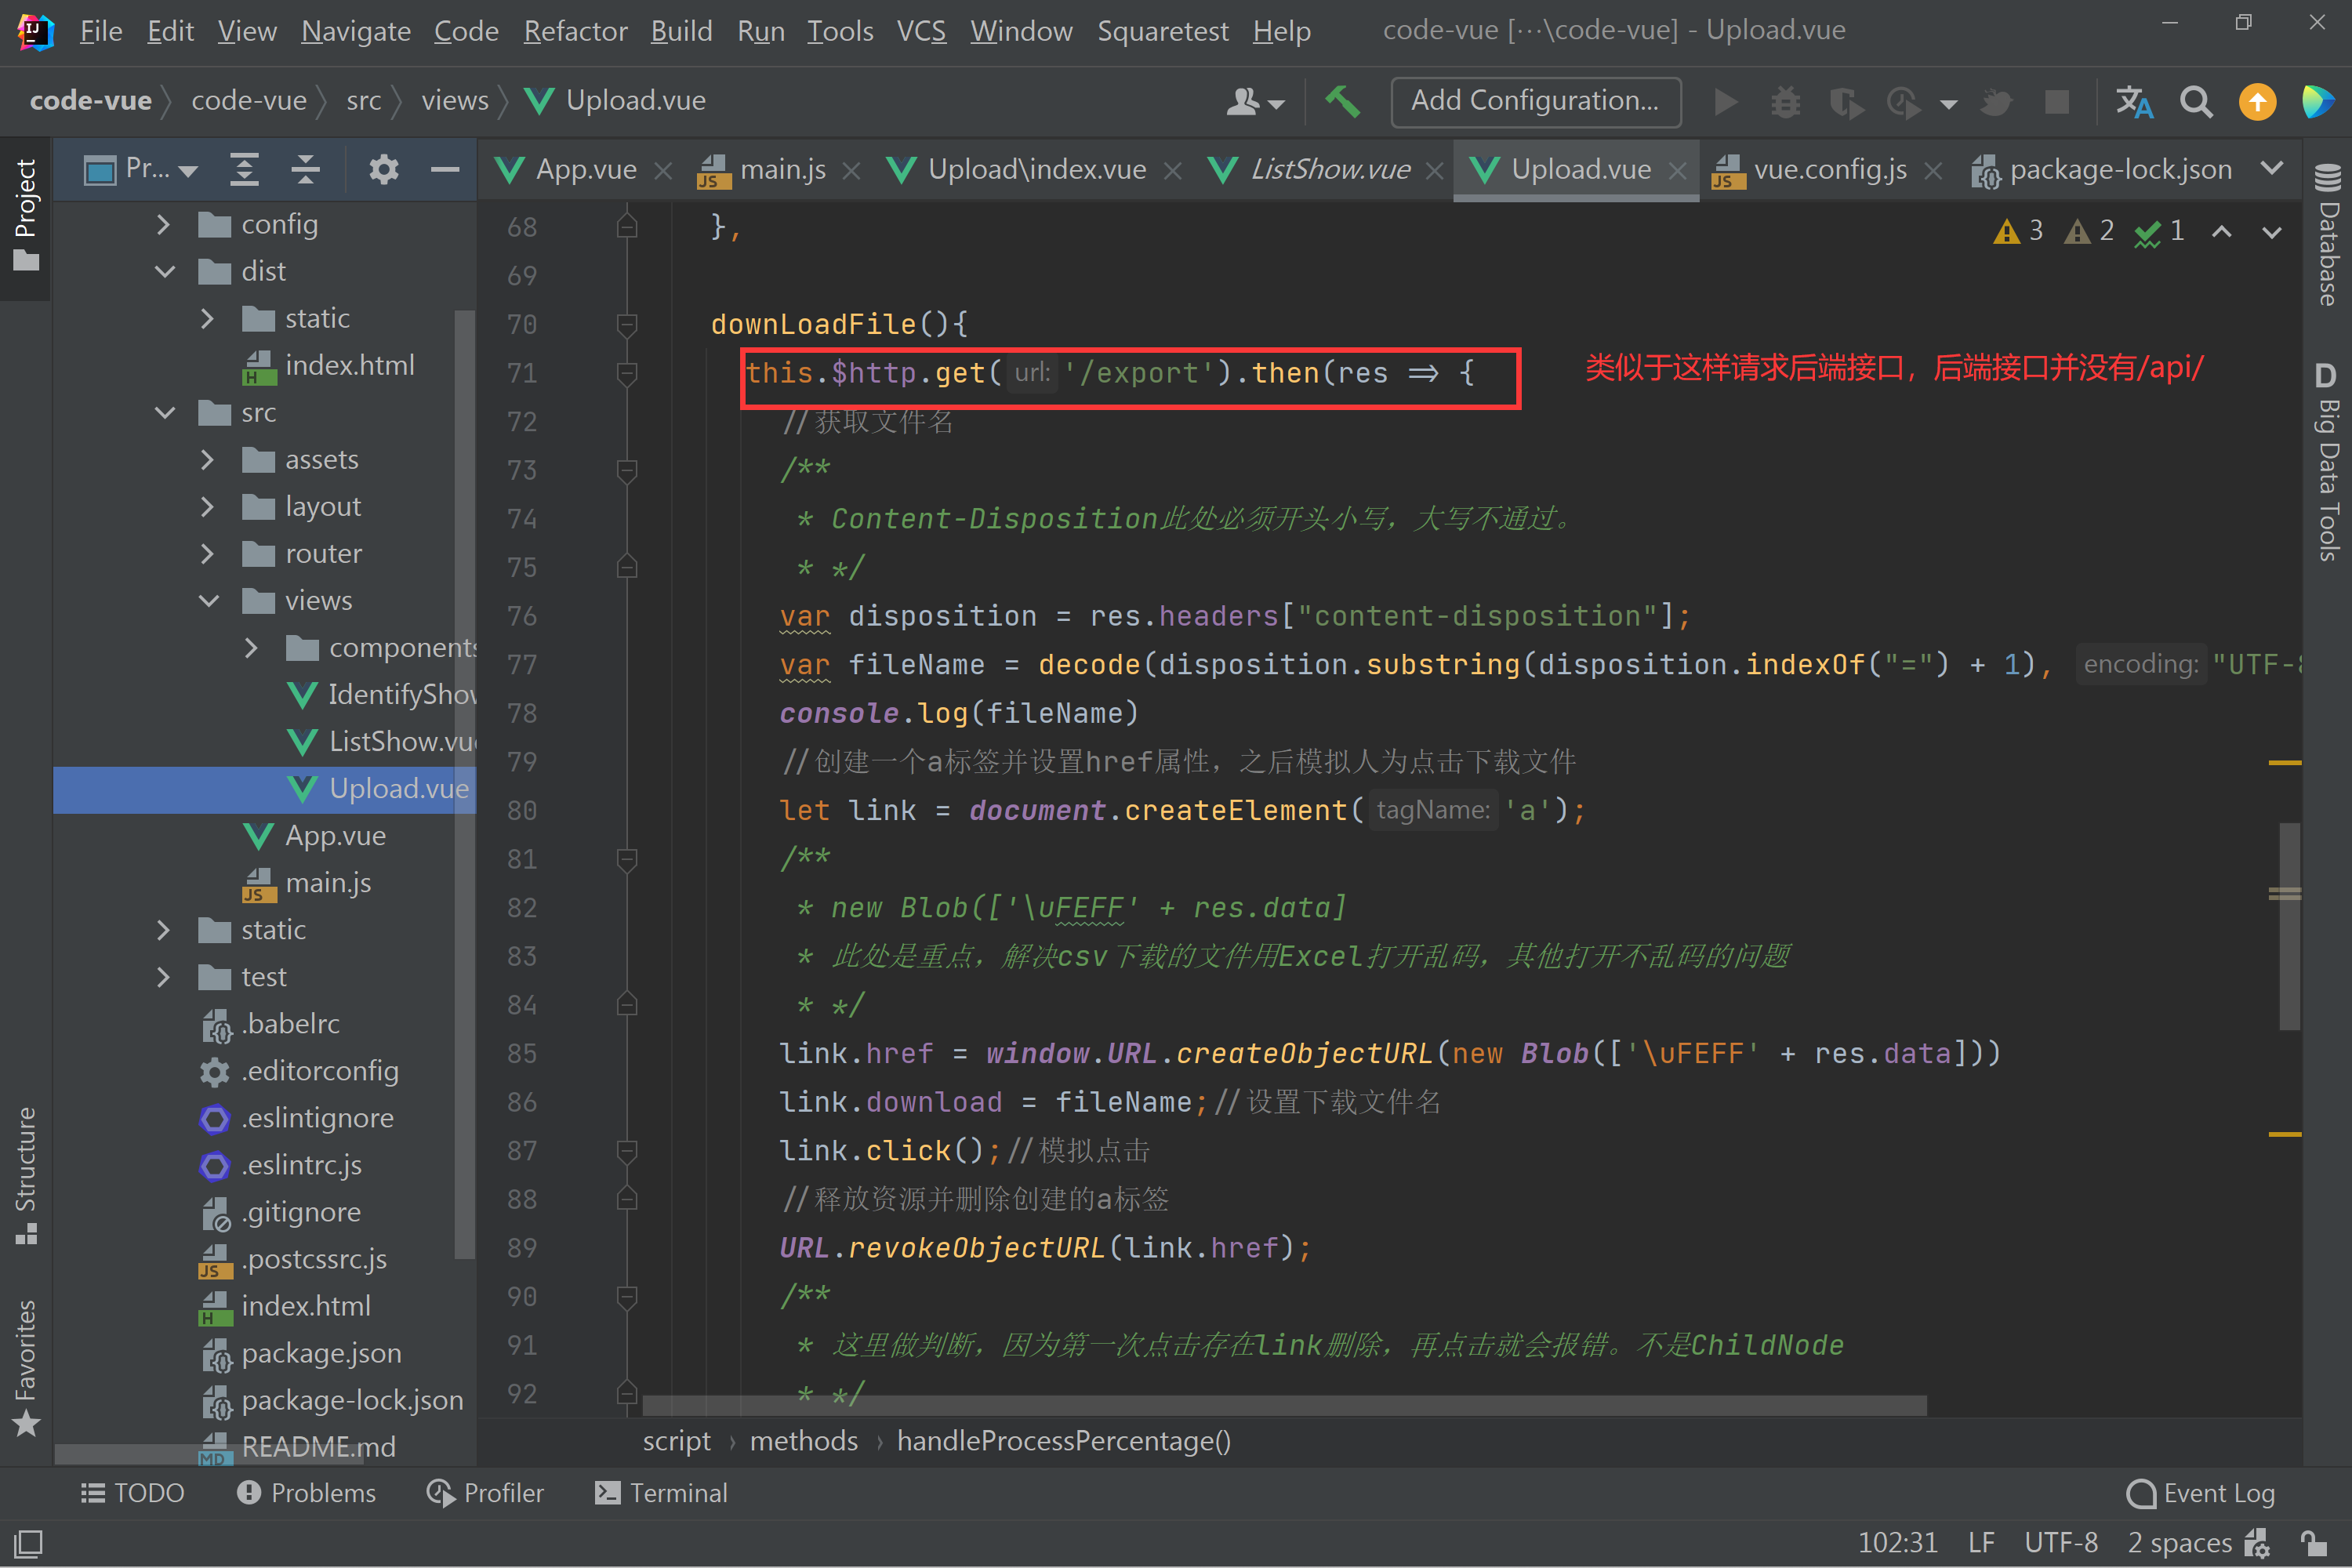

		# 这里相当于前端发送http://localhost:8070/后端接口
        location /api/ {


            # 通过8070端口访问的这个路径, 会一直对应在8070这个路径下,
           proxy_pass http://localhost:8070/; # 反向代理本地8070端口,这里8070后加'/',表示绝对路径,路径拼接时会去掉/api/
        }

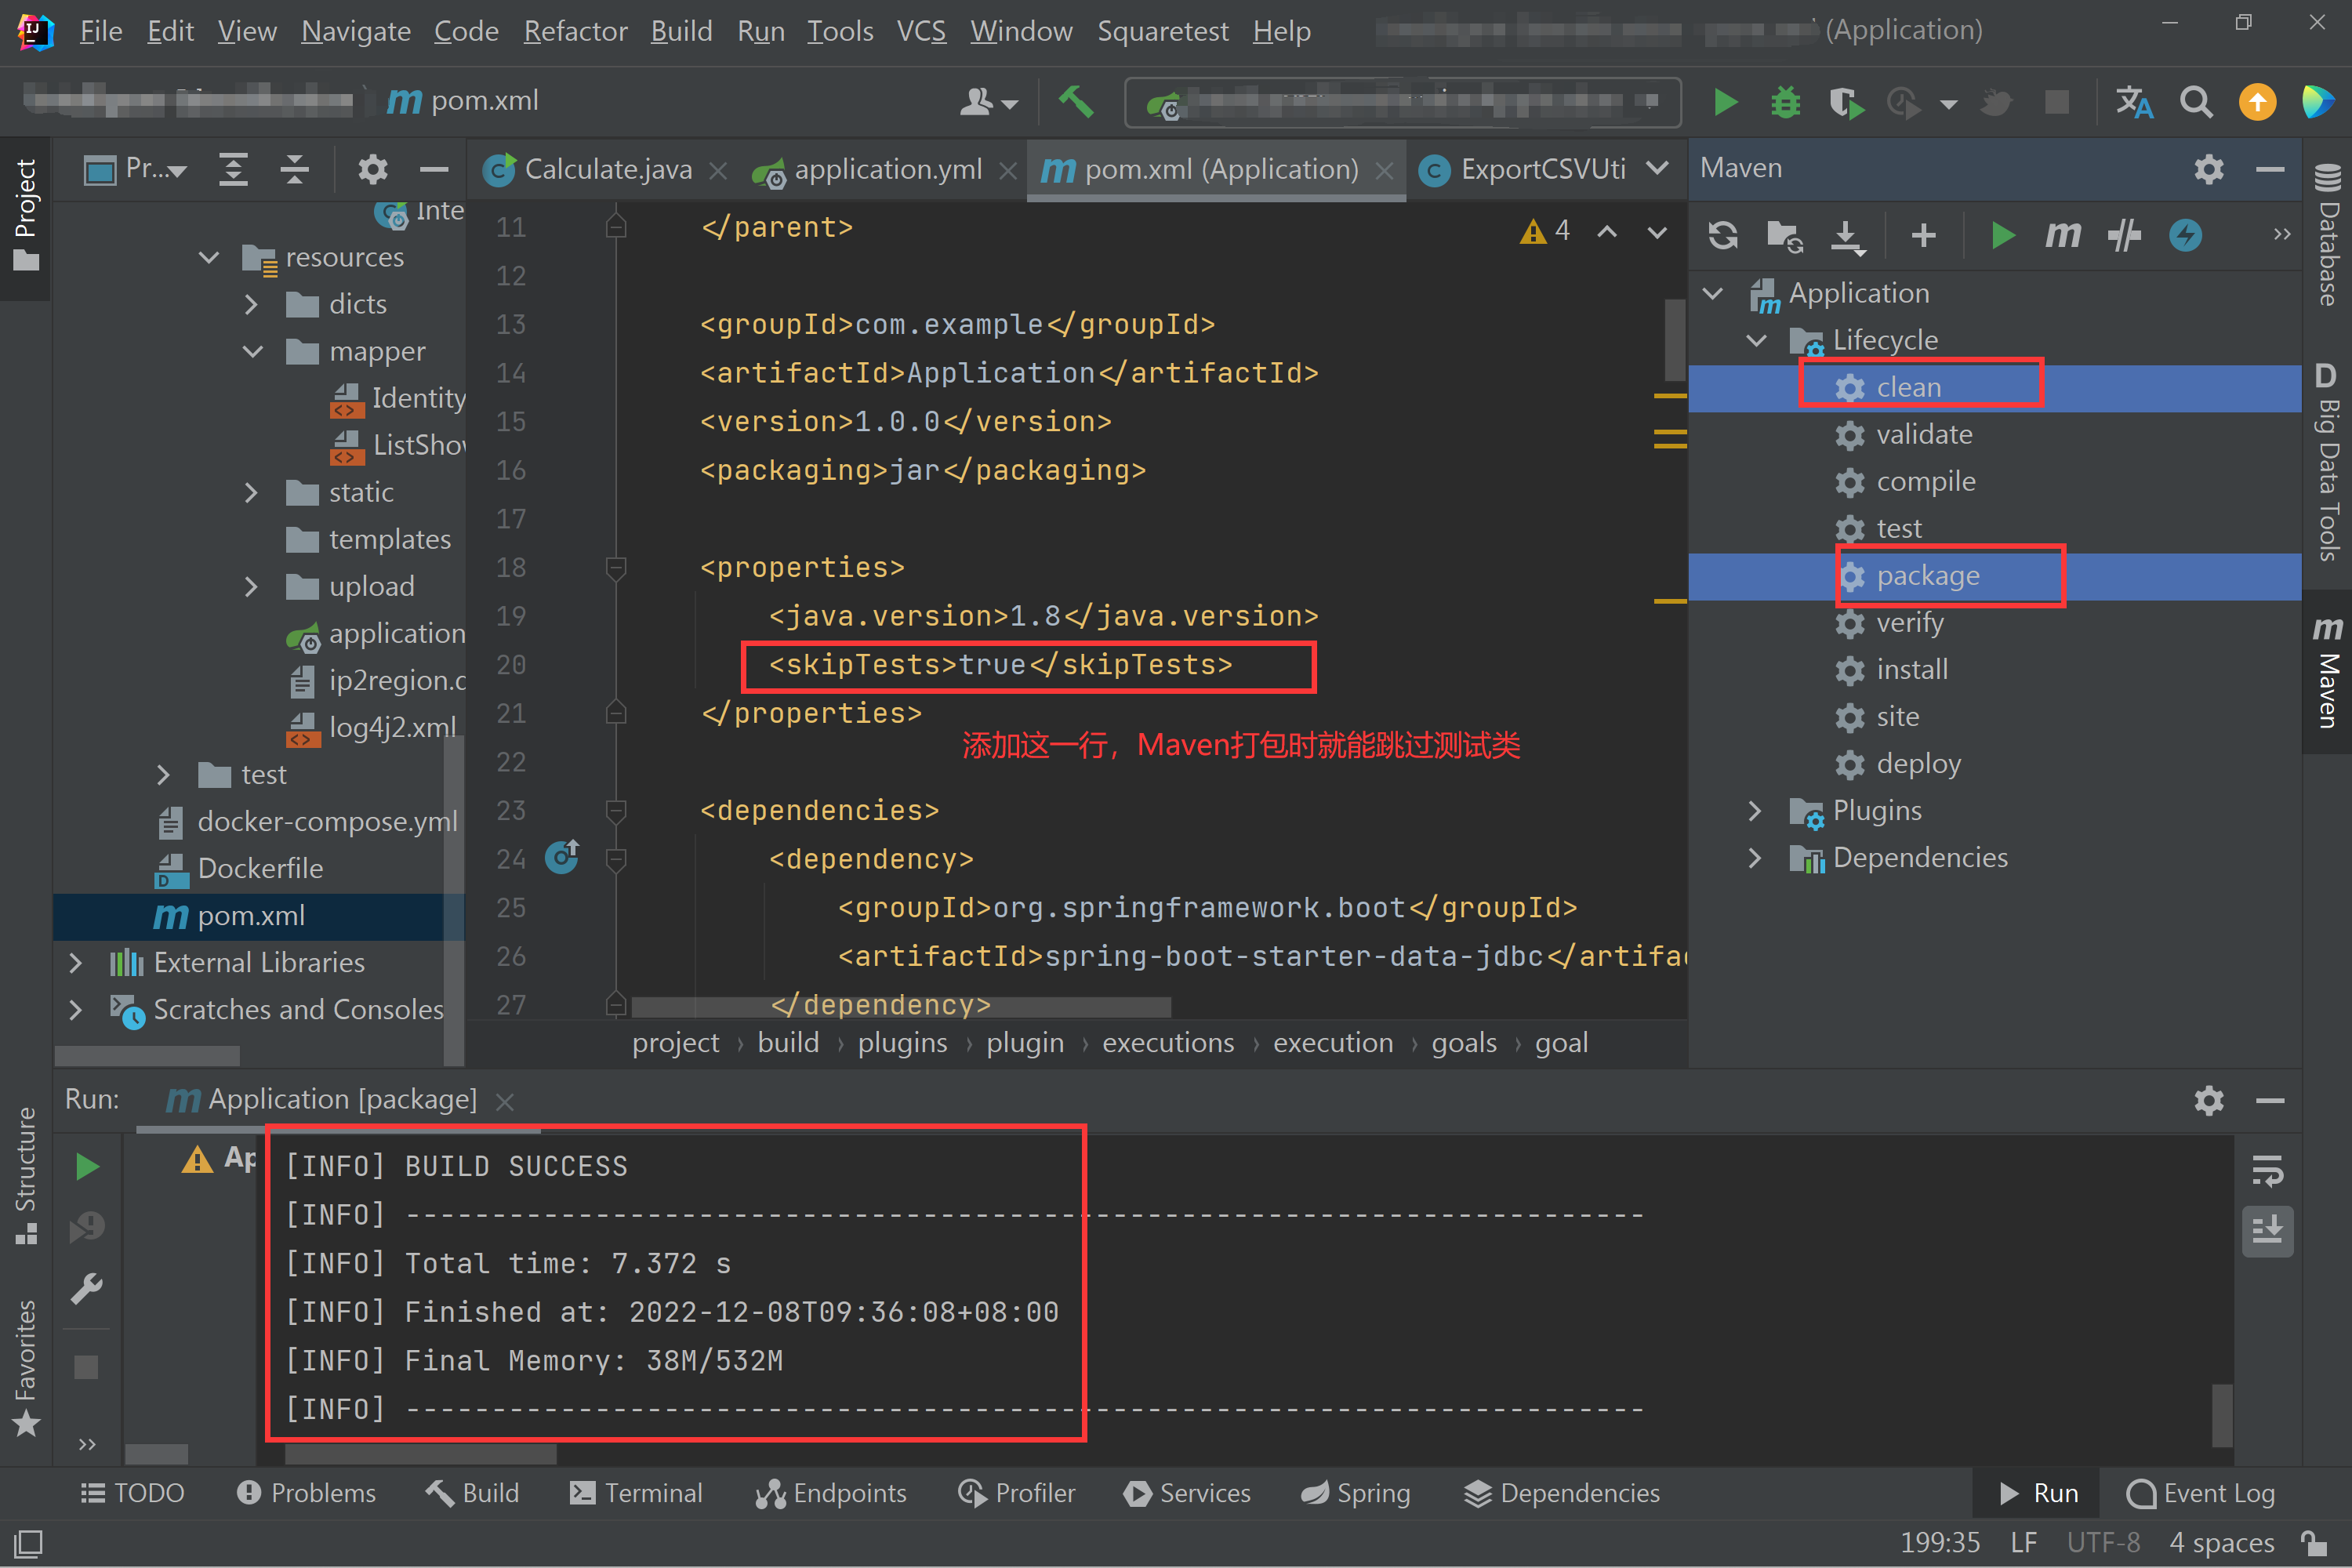
4、后端Springboot项目使用Maven打包
 <!--打包时添加资源文件-->
    <build>
        <resources>
            <resource>
                <directory>src/main/java</directory>
                <includes>
                    <include>**/*.yml</include>
                    <include>**/*.xml</include>
                    <include>**/*.properties</include>
                </includes>
            </resource>
            <resource>
                <directory>src/main/resources</directory>
                <includes>
                    <include>**/*.yml</include>
                    <include>**/*.xml</include>
                    <include>**/*.properties</include>
                </includes>
            </resource>
        </resources>

        <!--添加该插件,否则打包的jar包运行,找不到主类清单-->
        <plugins>
            <plugin>
                <groupId>org.springframework.boot</groupId>
                <artifactId>spring-boot-maven-plugin</artifactId>
                <version>2.7.5</version>
                <executions>
                    <execution>
                        <goals>
                            <goal>repackage</goal>
                        </goals>
                    </execution>
                </executions>
            </plugin>
          </plugins>
    </build>
java -jar jar包名
二、Linux上使用docker-compose部署项目
安转docker-compose这里就不提供了,
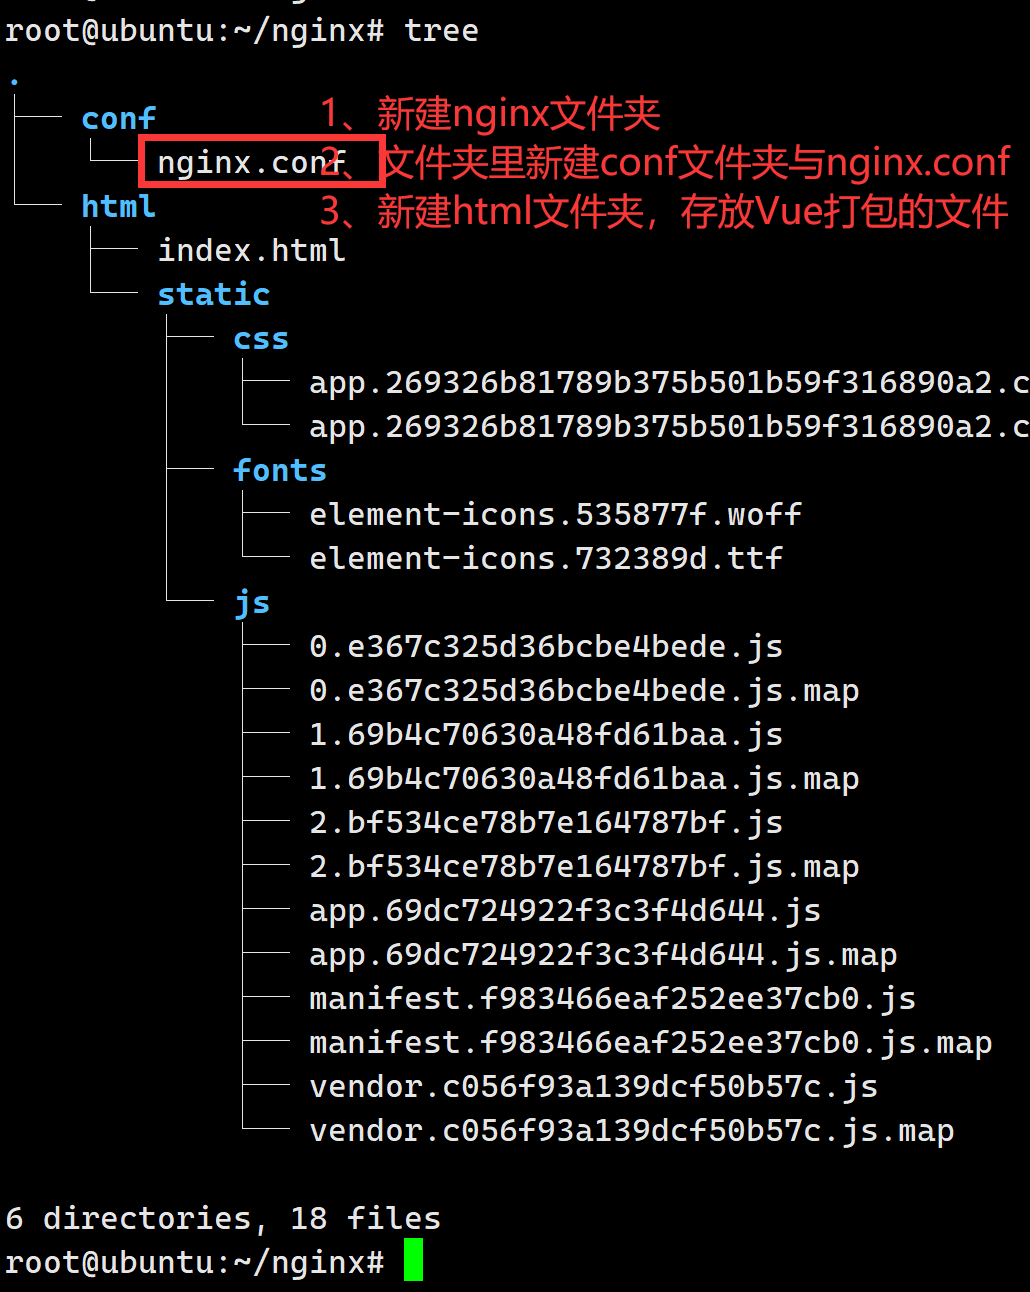
新建nginx与Windos上的相同结构。
1、Linux上创建nginx文件夹及配置文件
# 编写nginx.conf内容根据自己需要更改。
vim nginx.conf
worker_processes  1;

events {


    worker_connections  1024;
}

http {


    include       mime.types;
    default_type  application/octet-stream;

    sendfile        on;
    keepalive_timeout  65;

    server {


        listen       8080; # 前端端口号,nginx会自动:80 -> :8080
        server_name  192.168.120.130;  # Linux的IP

        location / {


            root   /usr/share/nginx/html;
            try_files  $uri  $uri/  /index.html last; # 添加这一行,原因自行搜索
            index  index.html index.htm;
        }

        location /api/ {


            # 可以填其他的, 可以是正则等, 这个没有细看(自行百度~)
            # 路径要和对应服务的路径相同, 比如localhost:8001/后面请求的所有路径
            # 通过8070端口访问的这个路径, 会一直对应在8070这个路径下,
           proxy_pass http://192.168.120.130:8070/; # 反向代理本地8070端口
        }

        error_page   500 502 503 504  /50x.html;
        location = /50x.html {


            root   html;
        }
    }
2、编写Dockerfile与docker-compose.yml文件
2.1 Dockerfile文件编写(文件名必须是Dockerfile)
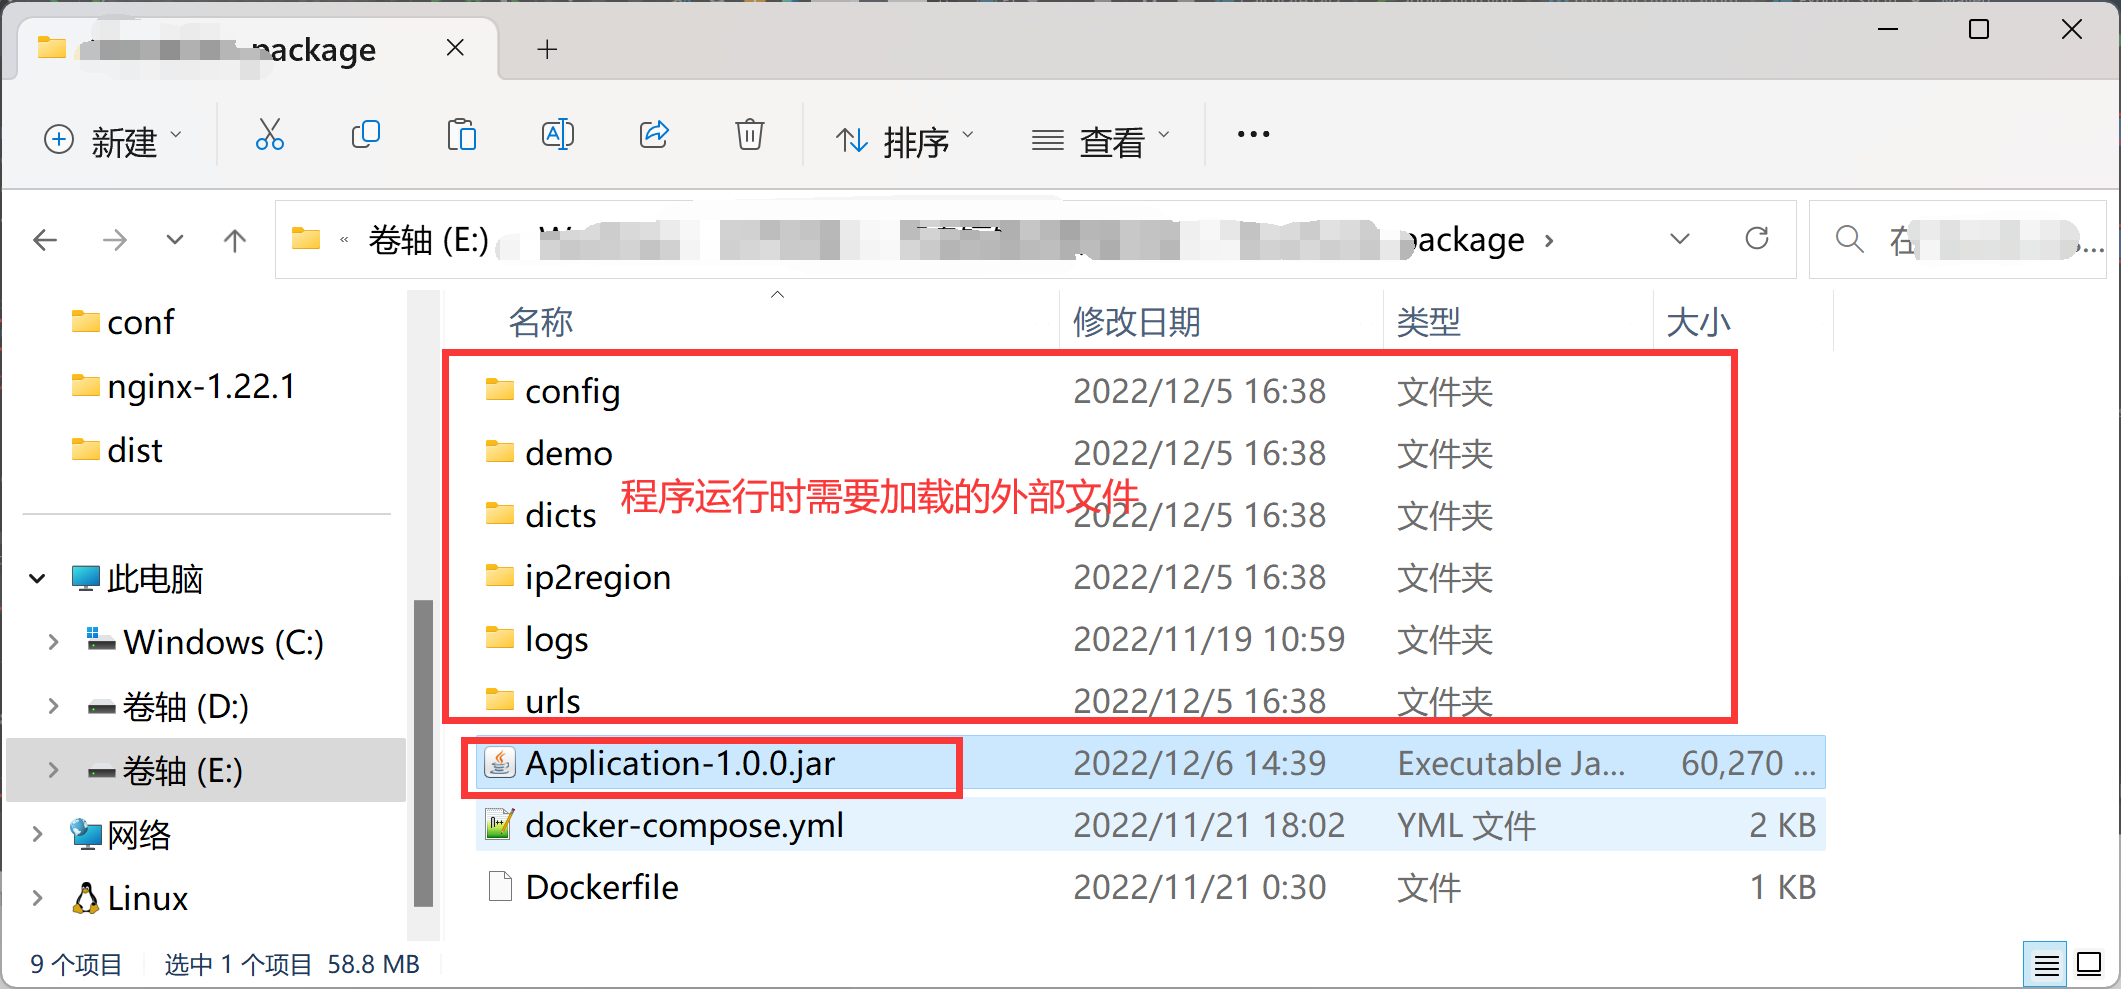
这里程序运行使用了
外部的config/application.yml配置文件。
如果使用内部文件,去掉,"--spring.config.location=/config/application.yml"
注意,使用外部配置文件时一定要记得程序配置文件更改时,同样换掉原先的配置文件。(程序改了半天配置文件,排查才想起来加载的是外部的配置文件。。。)
FROM java:8
EXPOSE 8070
ADD Application-1.0.0.jar application.jar

RUN bash -c 'touch /application.jar'
ENTRYPOINT ["java","-jar","/application.jar","--spring.config.location=/config/application.yml"]
2.2 docker-compose.yml文件编写
version: "2"
services:
  nginx: # 服务名称,用户自定义
    image: nginx:latest  # 镜像版本
    ports:
    - 8080:8080  # 暴露端口
    volumes: # 挂载,更改自己的文件位置   挂载结构:   - Linux文件`绝对位置`:容器中文件或文件夹位置
    - /root/nginx/html:/usr/share/nginx/html
    - /root/nginx/conf/nginx.conf:/etc/nginx/nginx.conf
    privileged: true # 这个必须要,解决nginx的文件调用的权限问题
  mysql:
    image: mysql:8.0.20
    ports:
    - 3306:3306
    environment: # 指定用户root的密码
      - MYSQL_ROOT_PASSWORD=123456
    volumes:
      - /home/mysql/mysql8.0.20/mysql:/etc/mysql
      - /home/mysql/mysql8.0.20/logs:/logs
      - /home/mysql/mysql8.0.20/data:/var/lib/mysql
      - /etc/localtime:/etc/localtime
    privileged: true
    restart: always

  application:
    image: application:latest
    build: . # 表示以当前目录下的Dockerfile开始构建镜像
    ports:
    - 8070:8070
    volumes:          #卷轴数据挂载同步
      - /root/work_projects/Intelligent-Identification/config:/config
      - /root/work_projects/Intelligent-Identification/ip2region:/ip2region
      - /root/work_projects/Intelligent-Identification/dicts:/dicts
      - /root/work_projects/Intelligent-Identification/urls:/urls
      - /root/work_projects/Intelligent-Identification/logs:/logs
      - /root/work_projects/Intelligent-Identification/upload:/upload
    depends_on: # 依赖与mysql,其实可以不填,默认已经表示可以,这里依赖存在顺序,越往前,越先加载,注意顺序
      - mysql
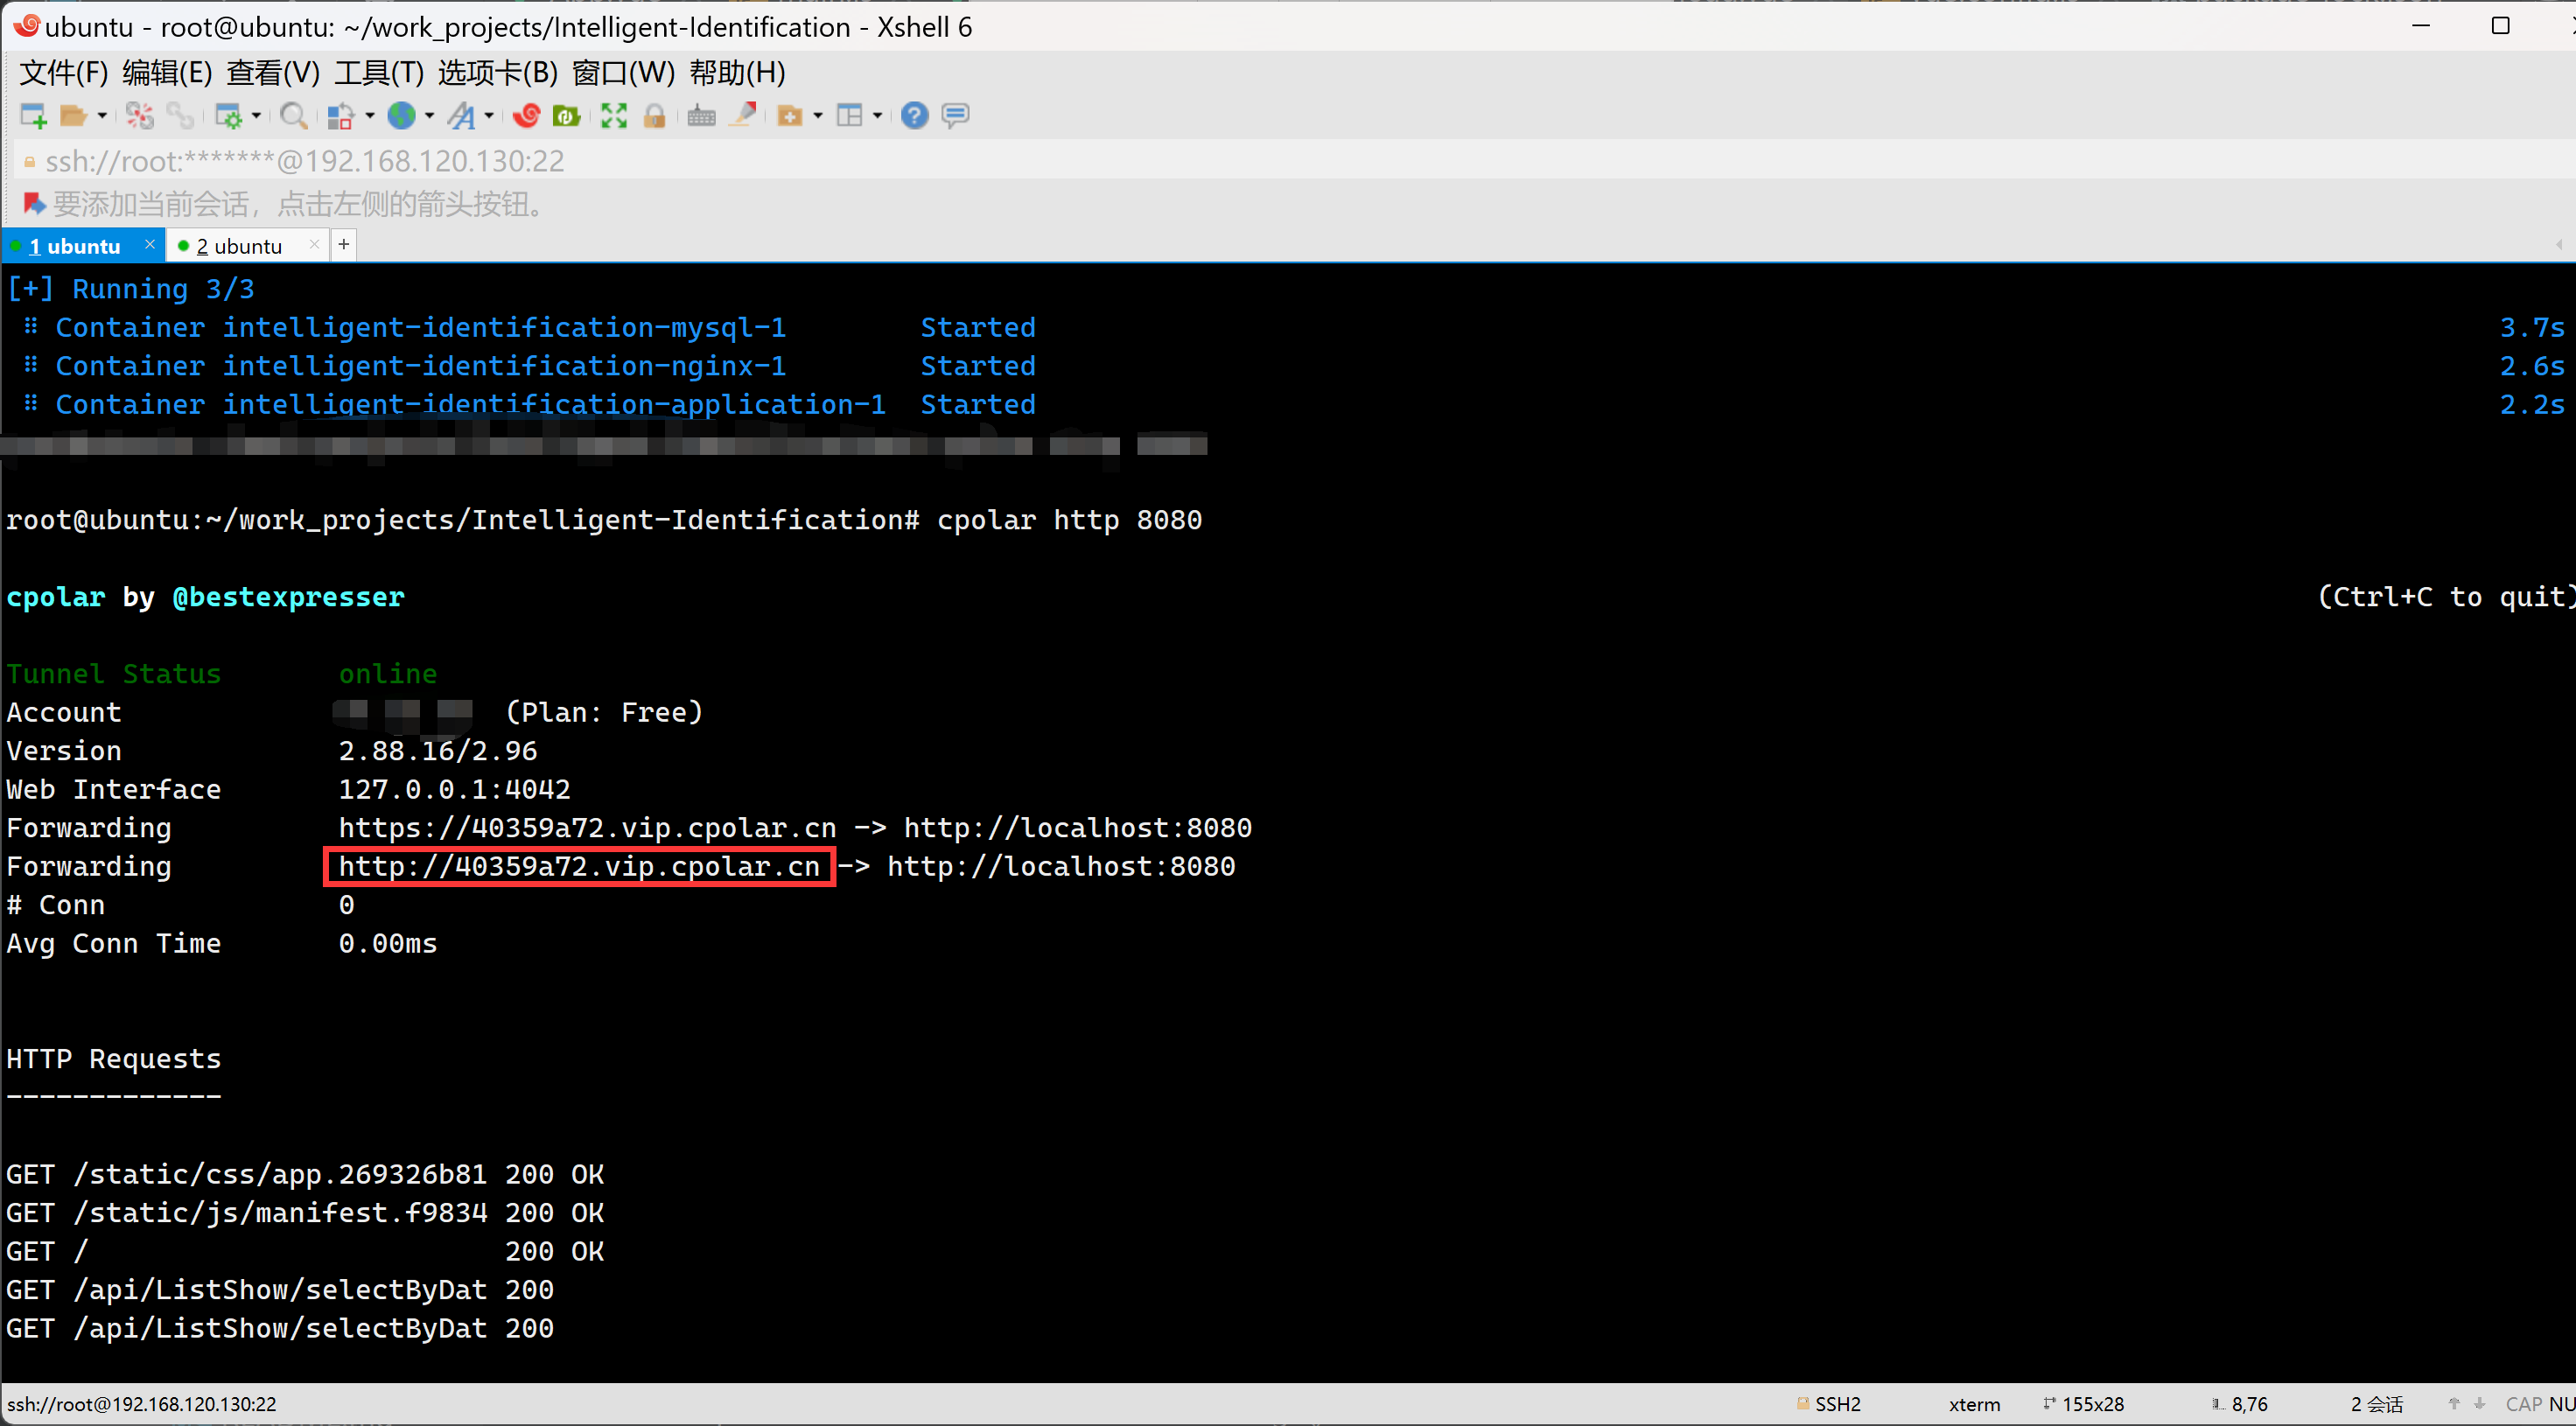
docker-compose up -d
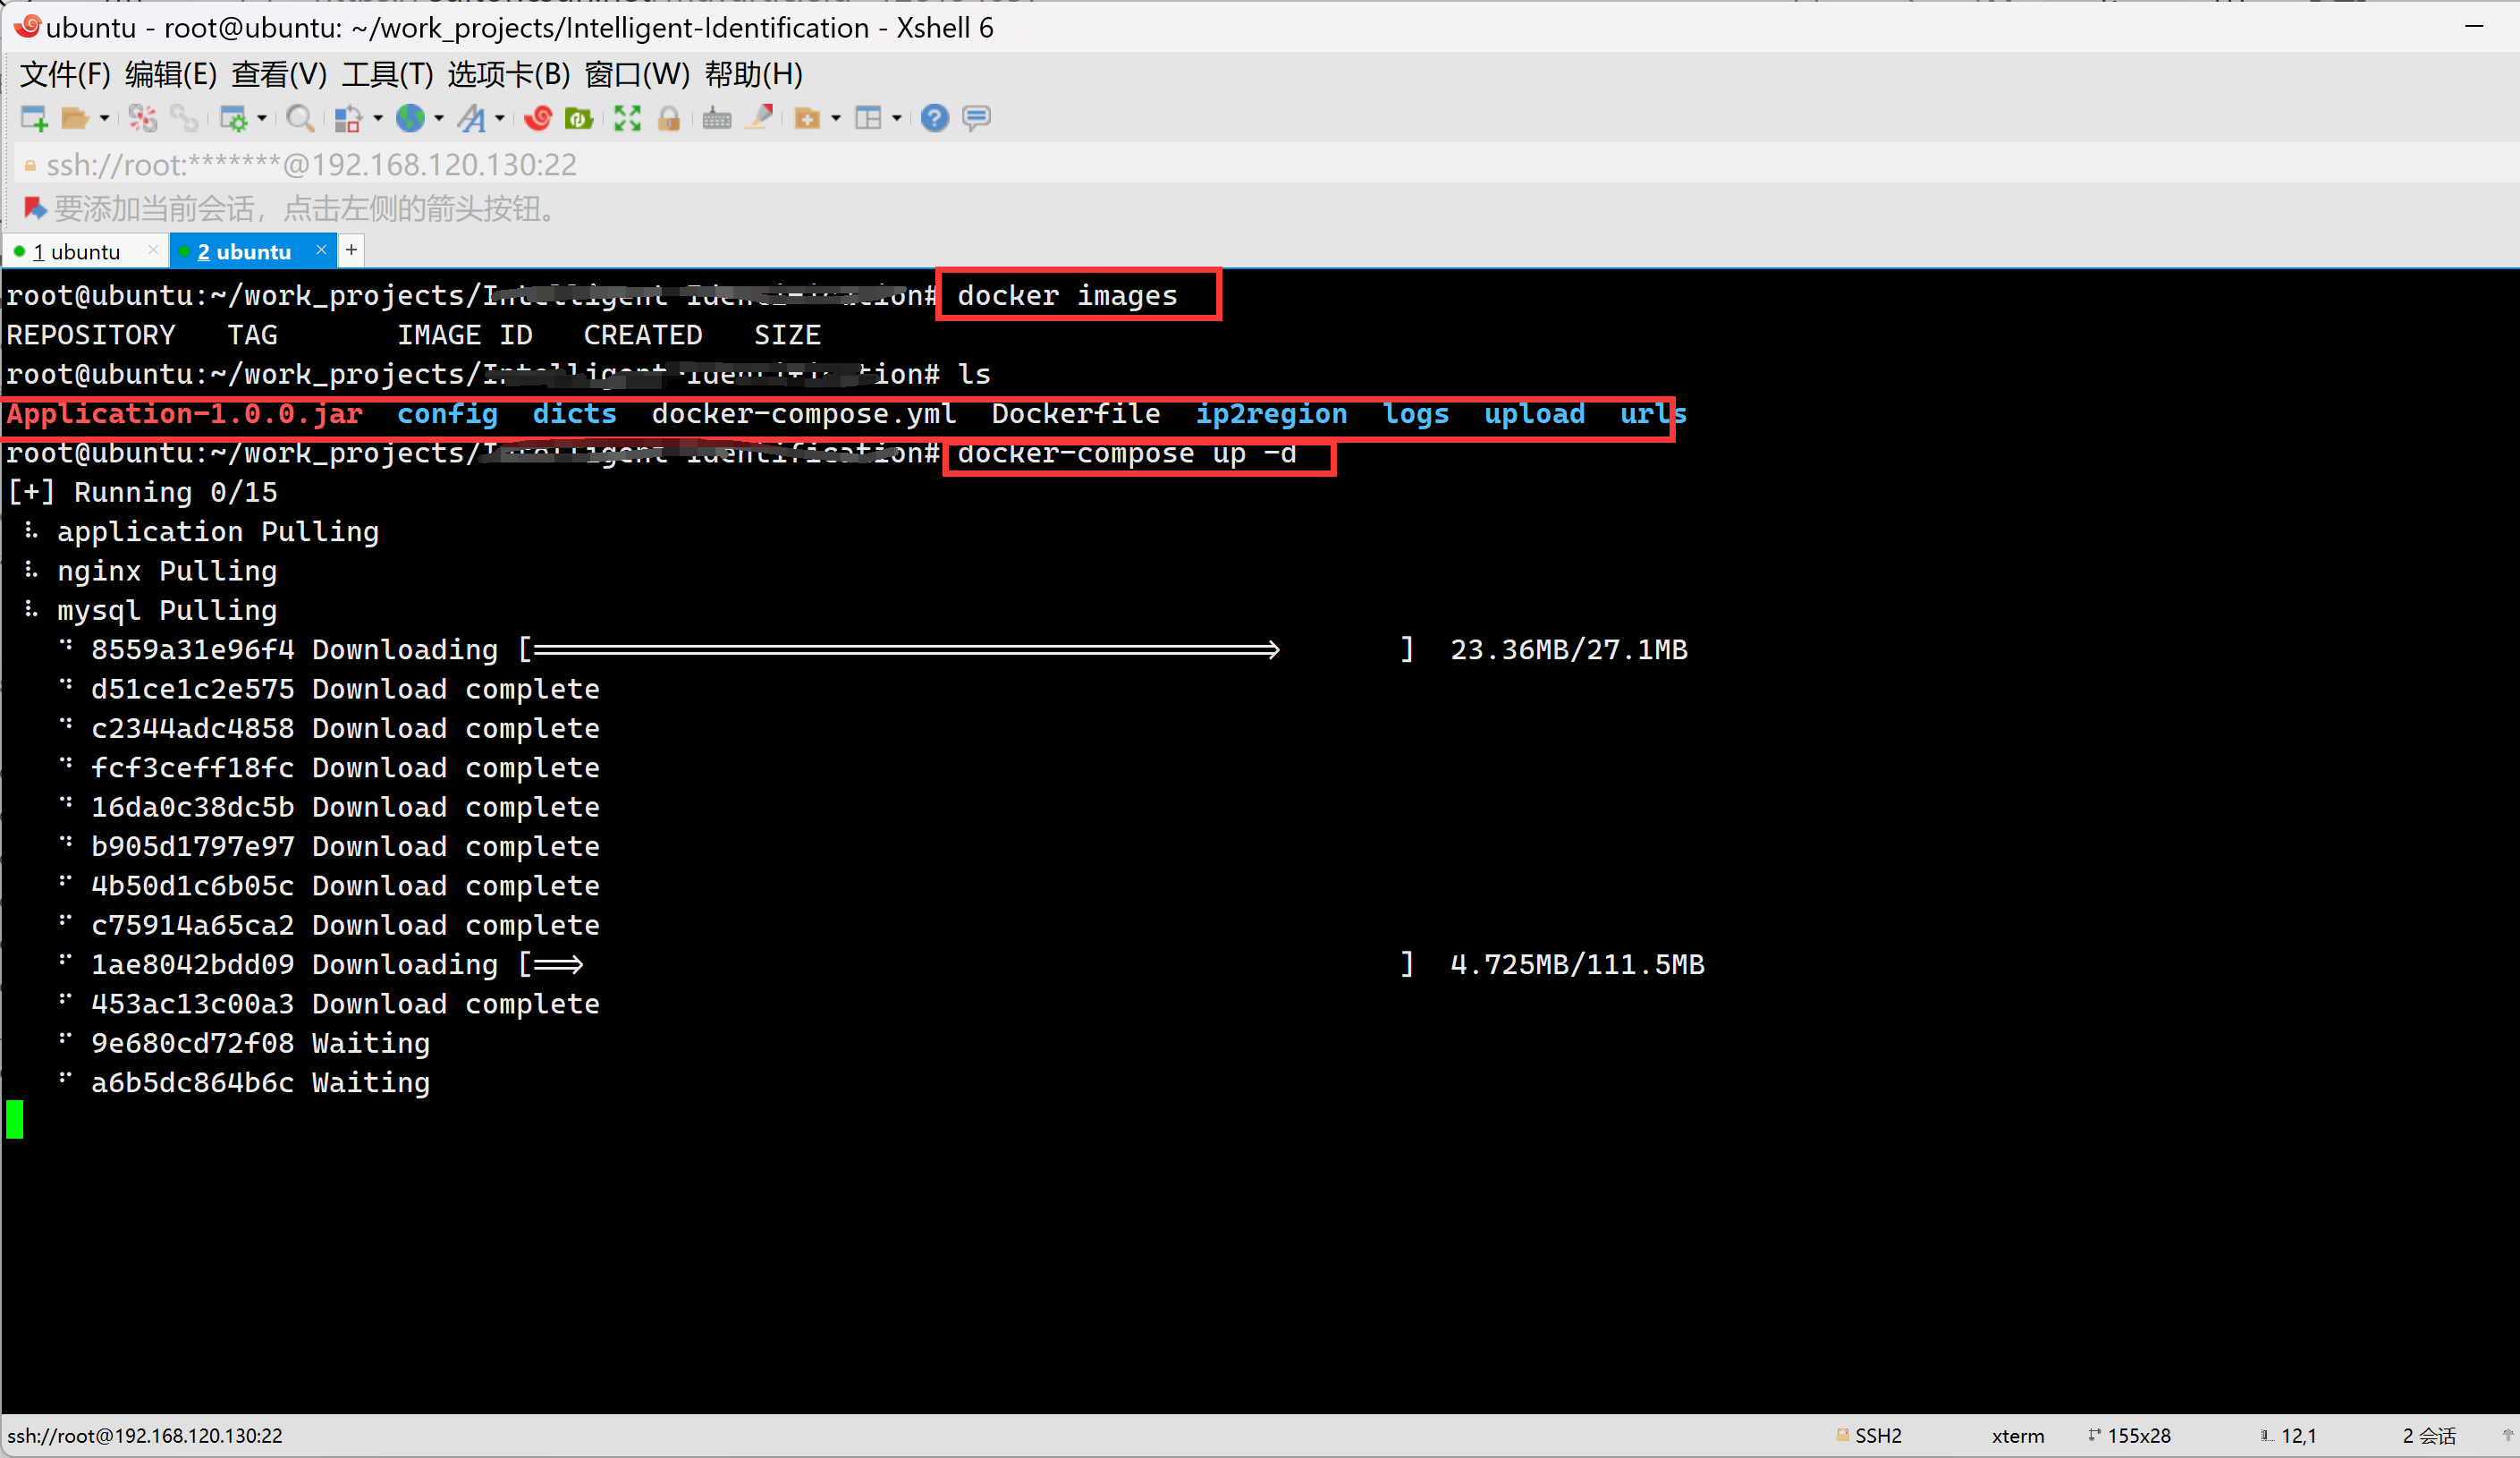
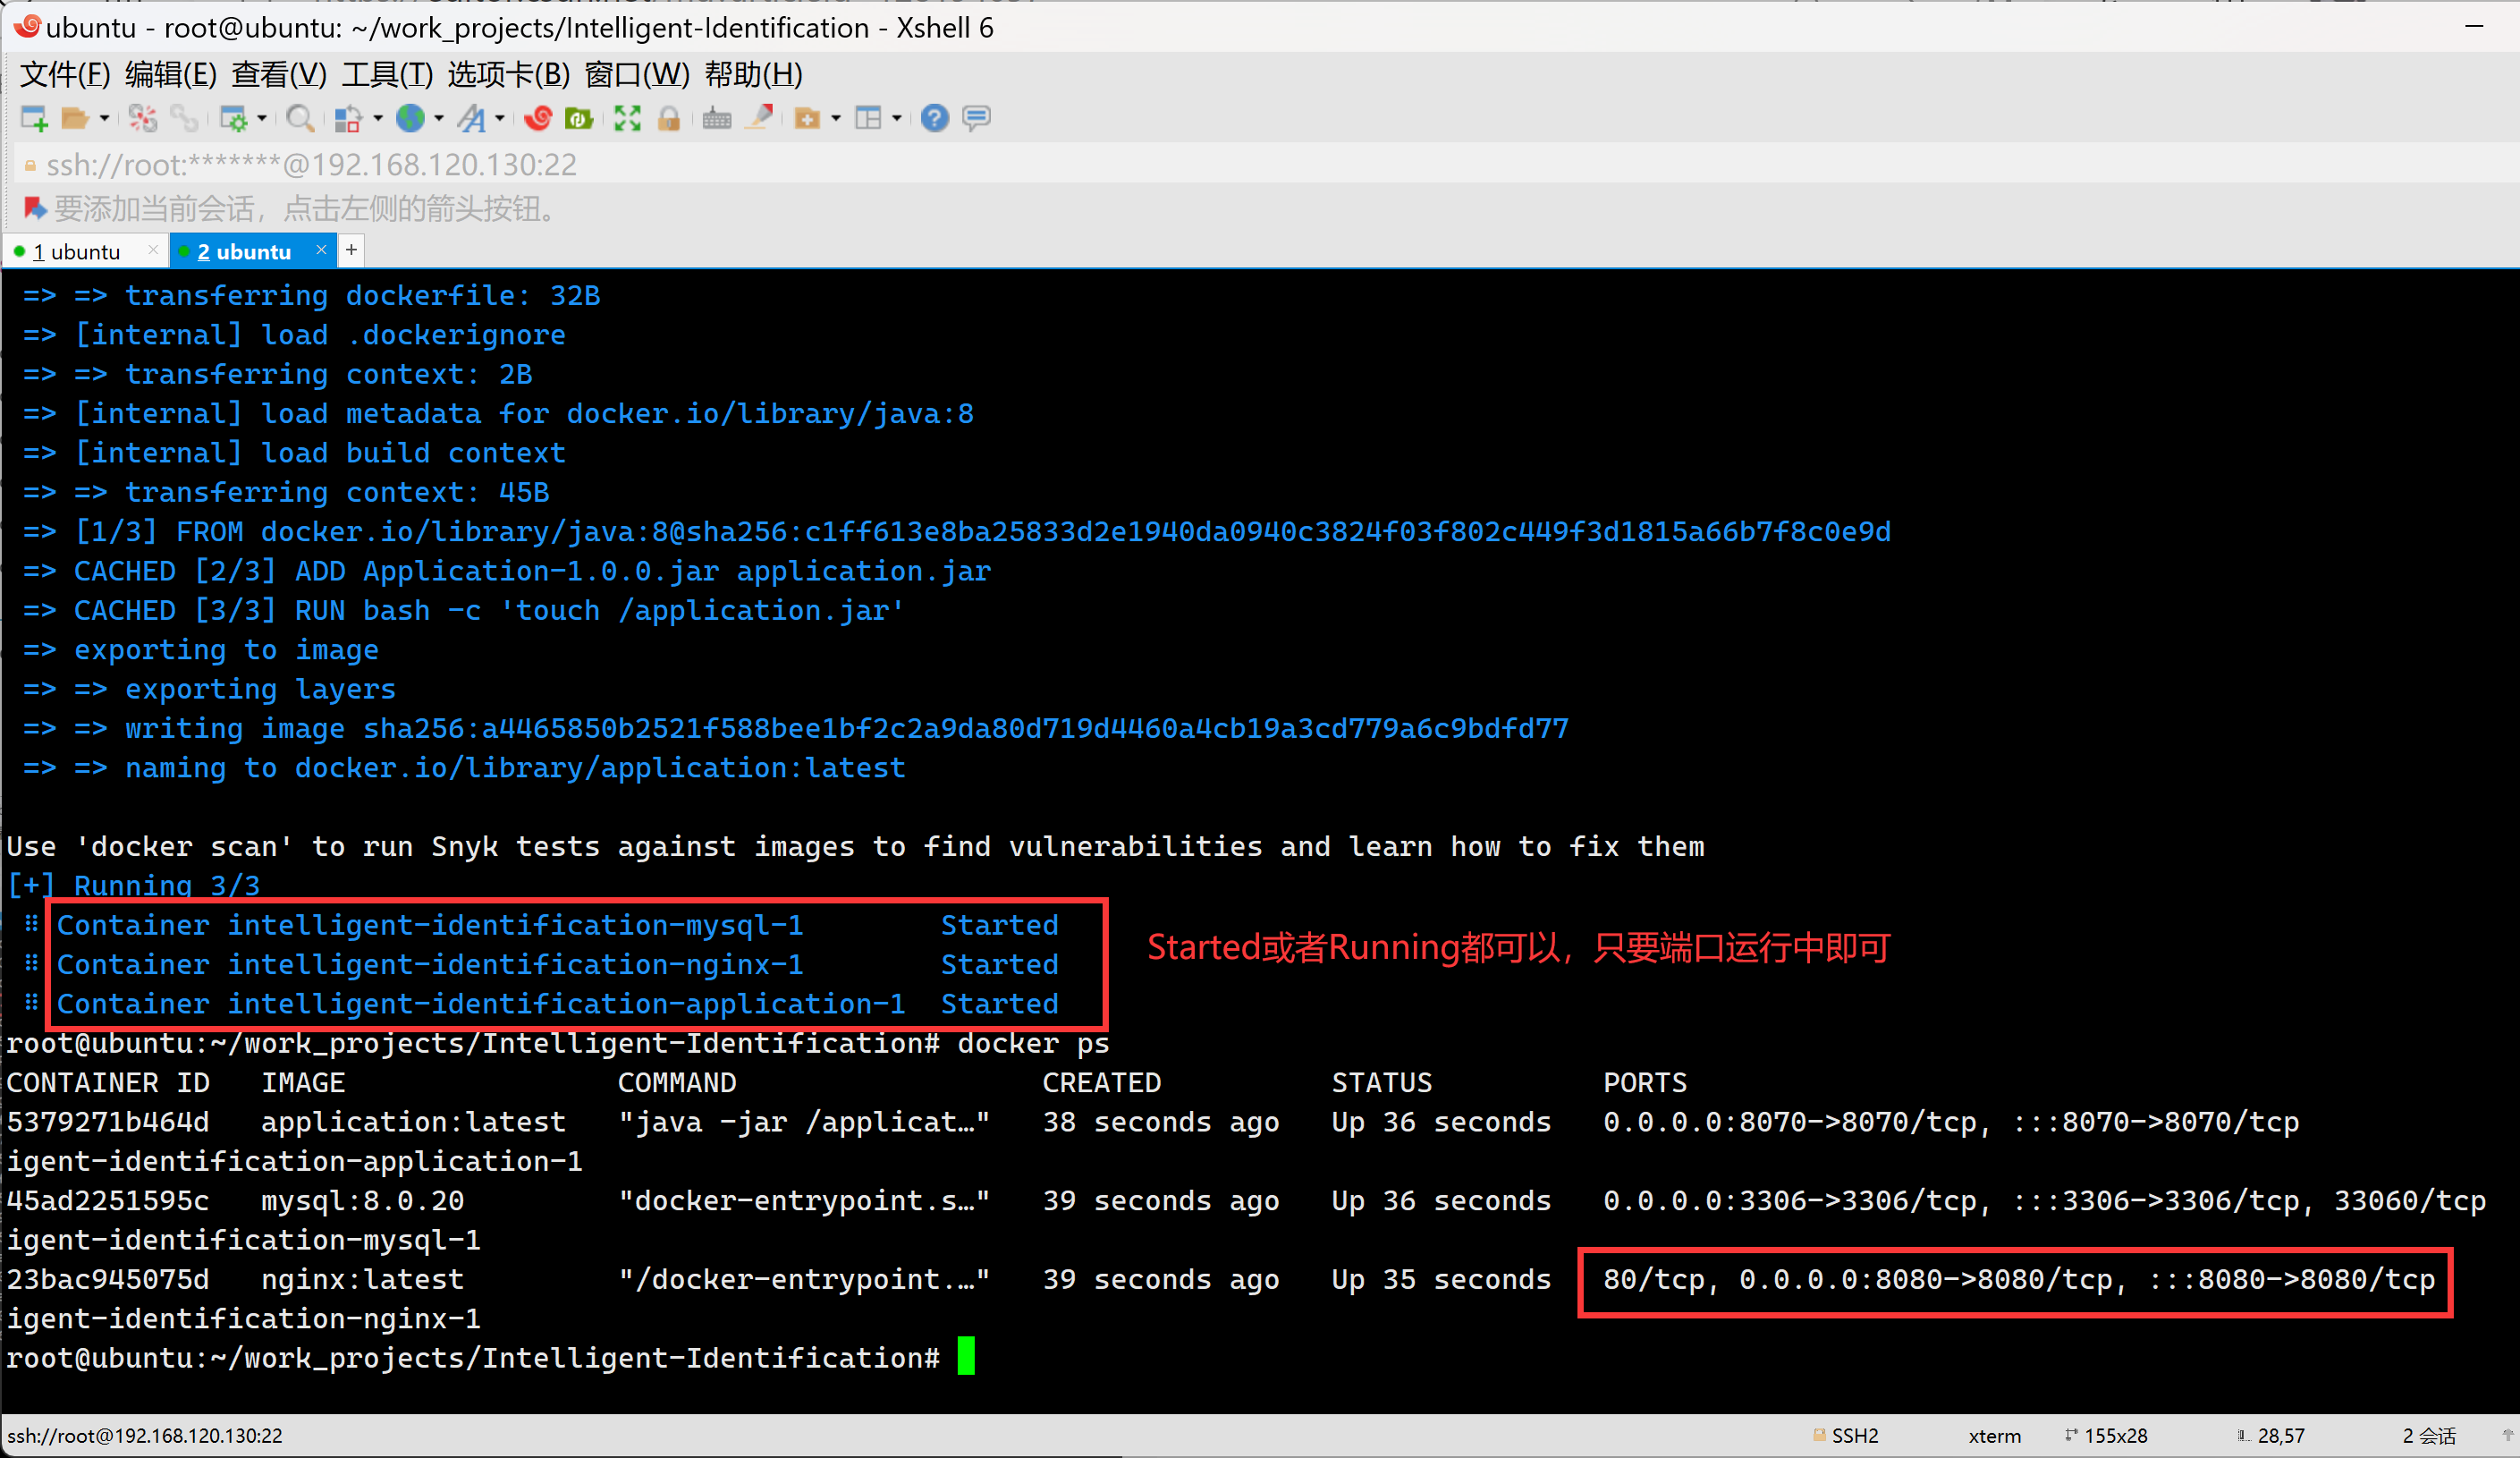
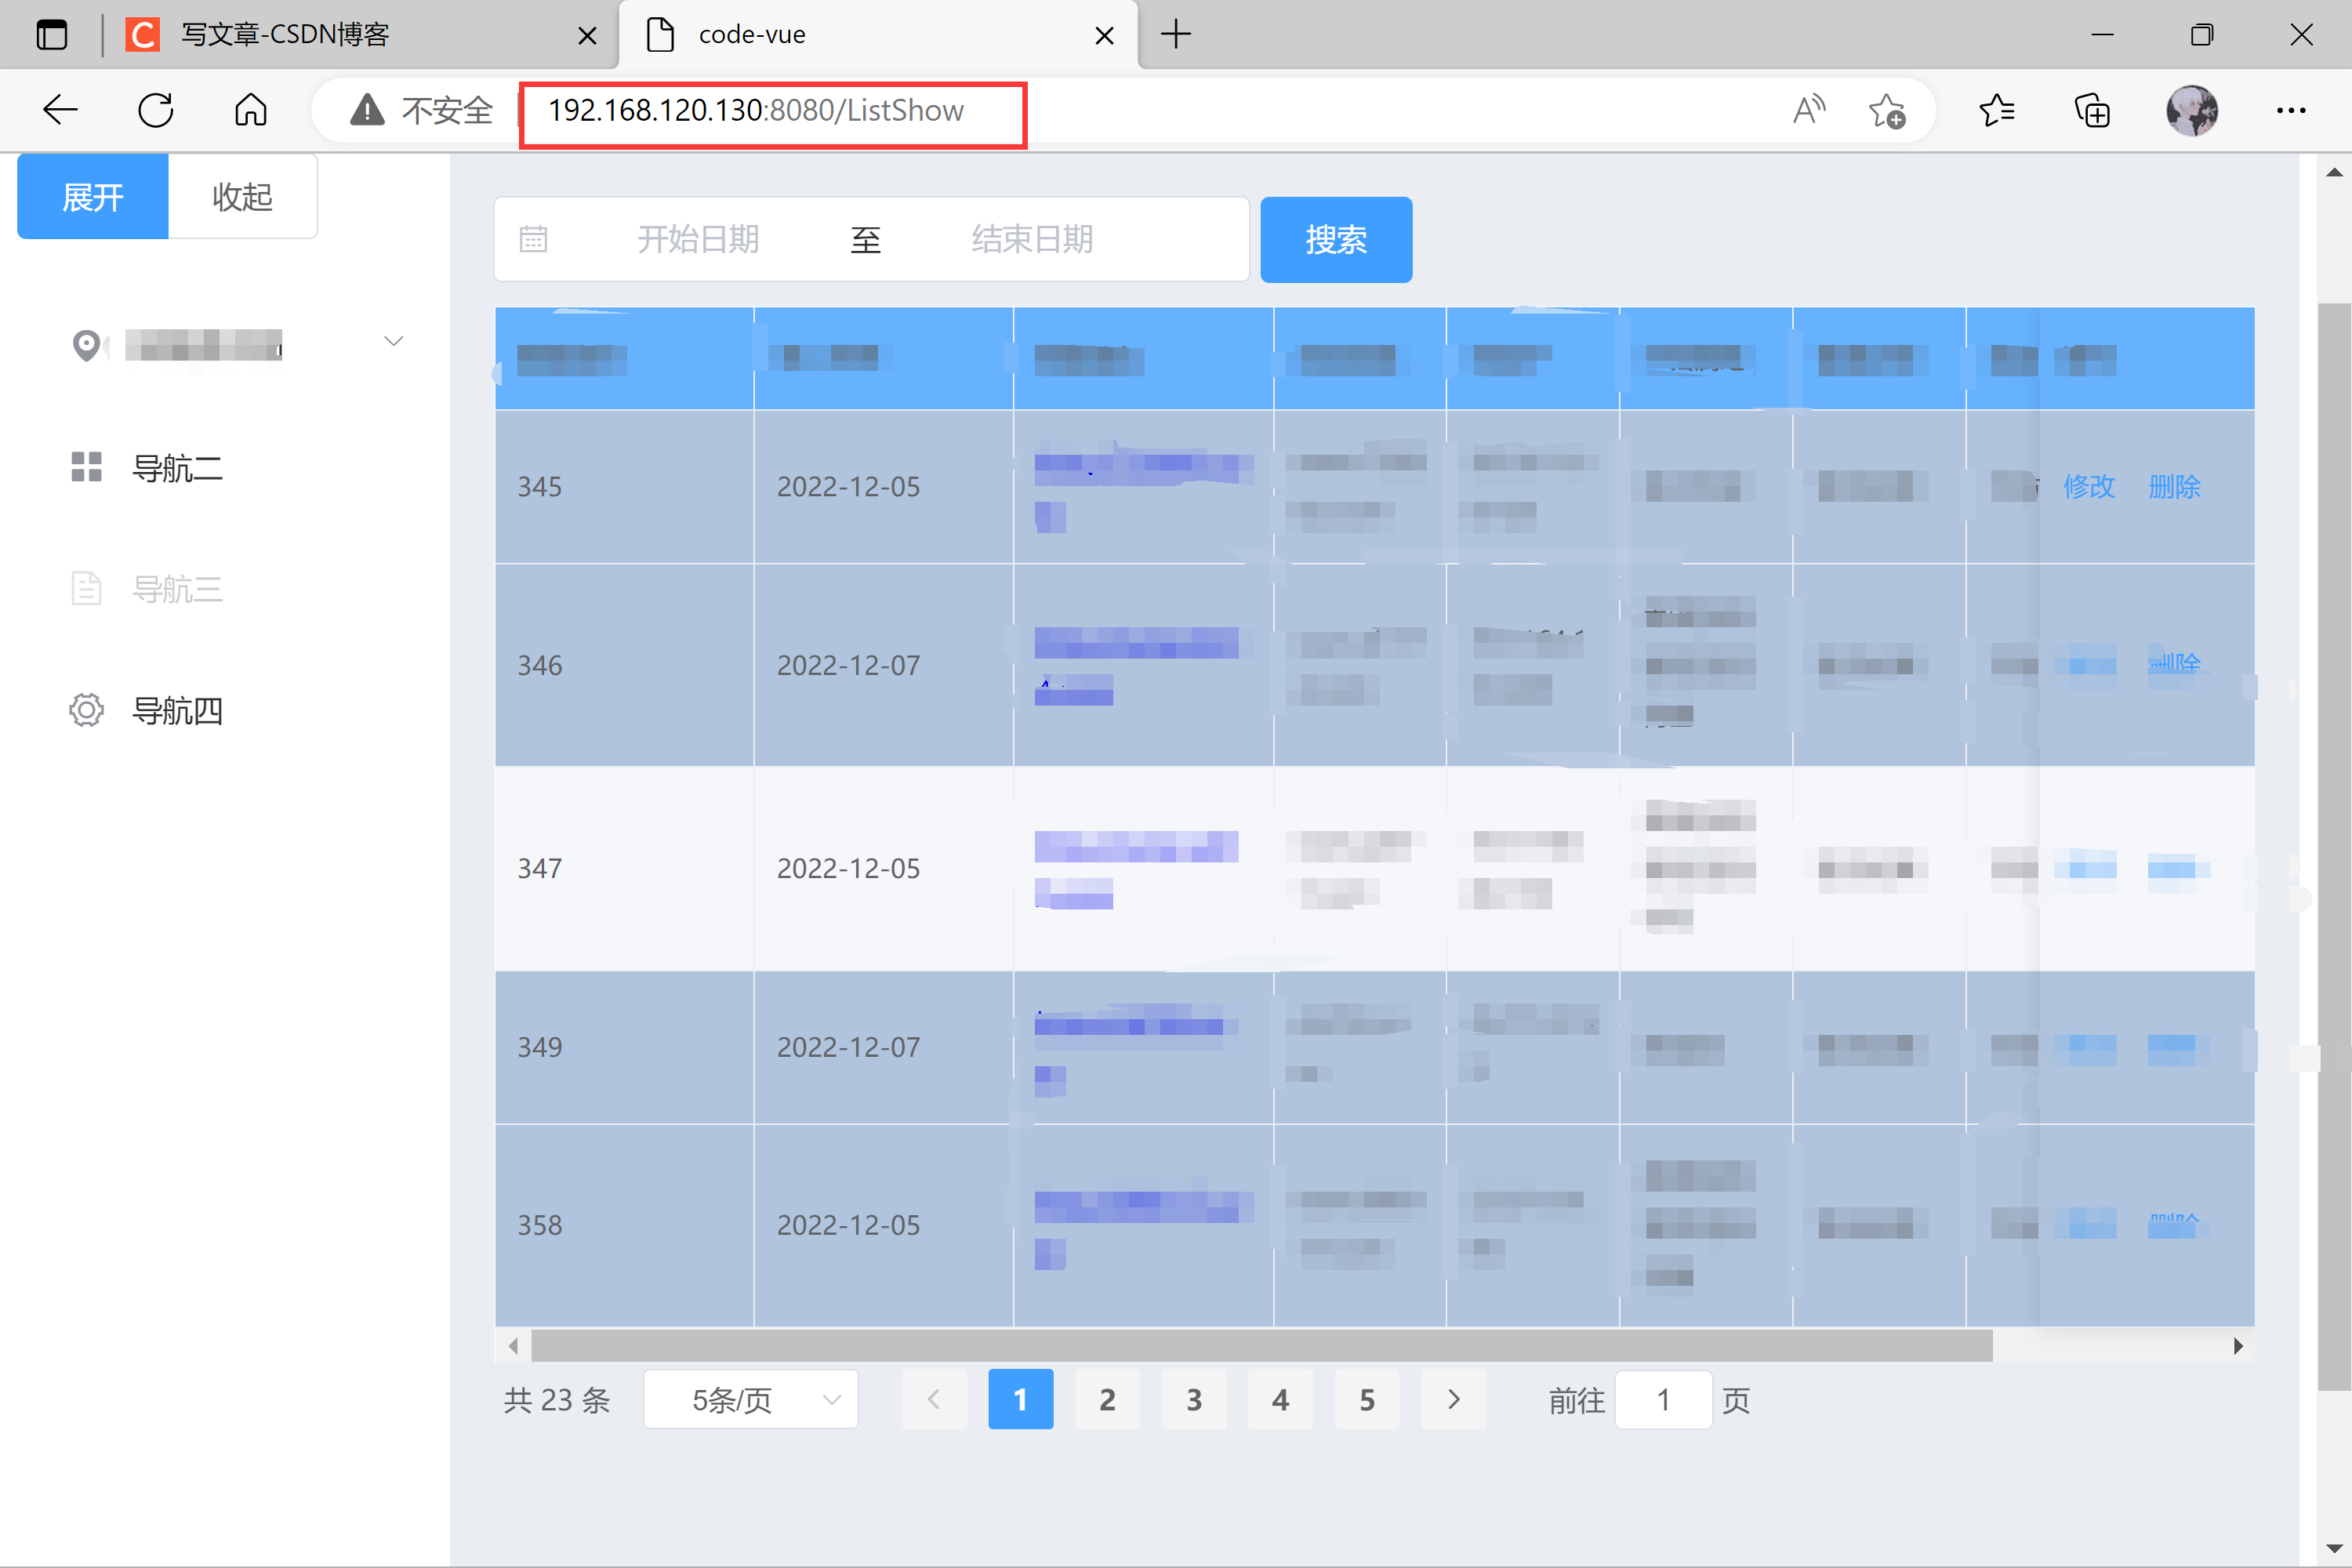
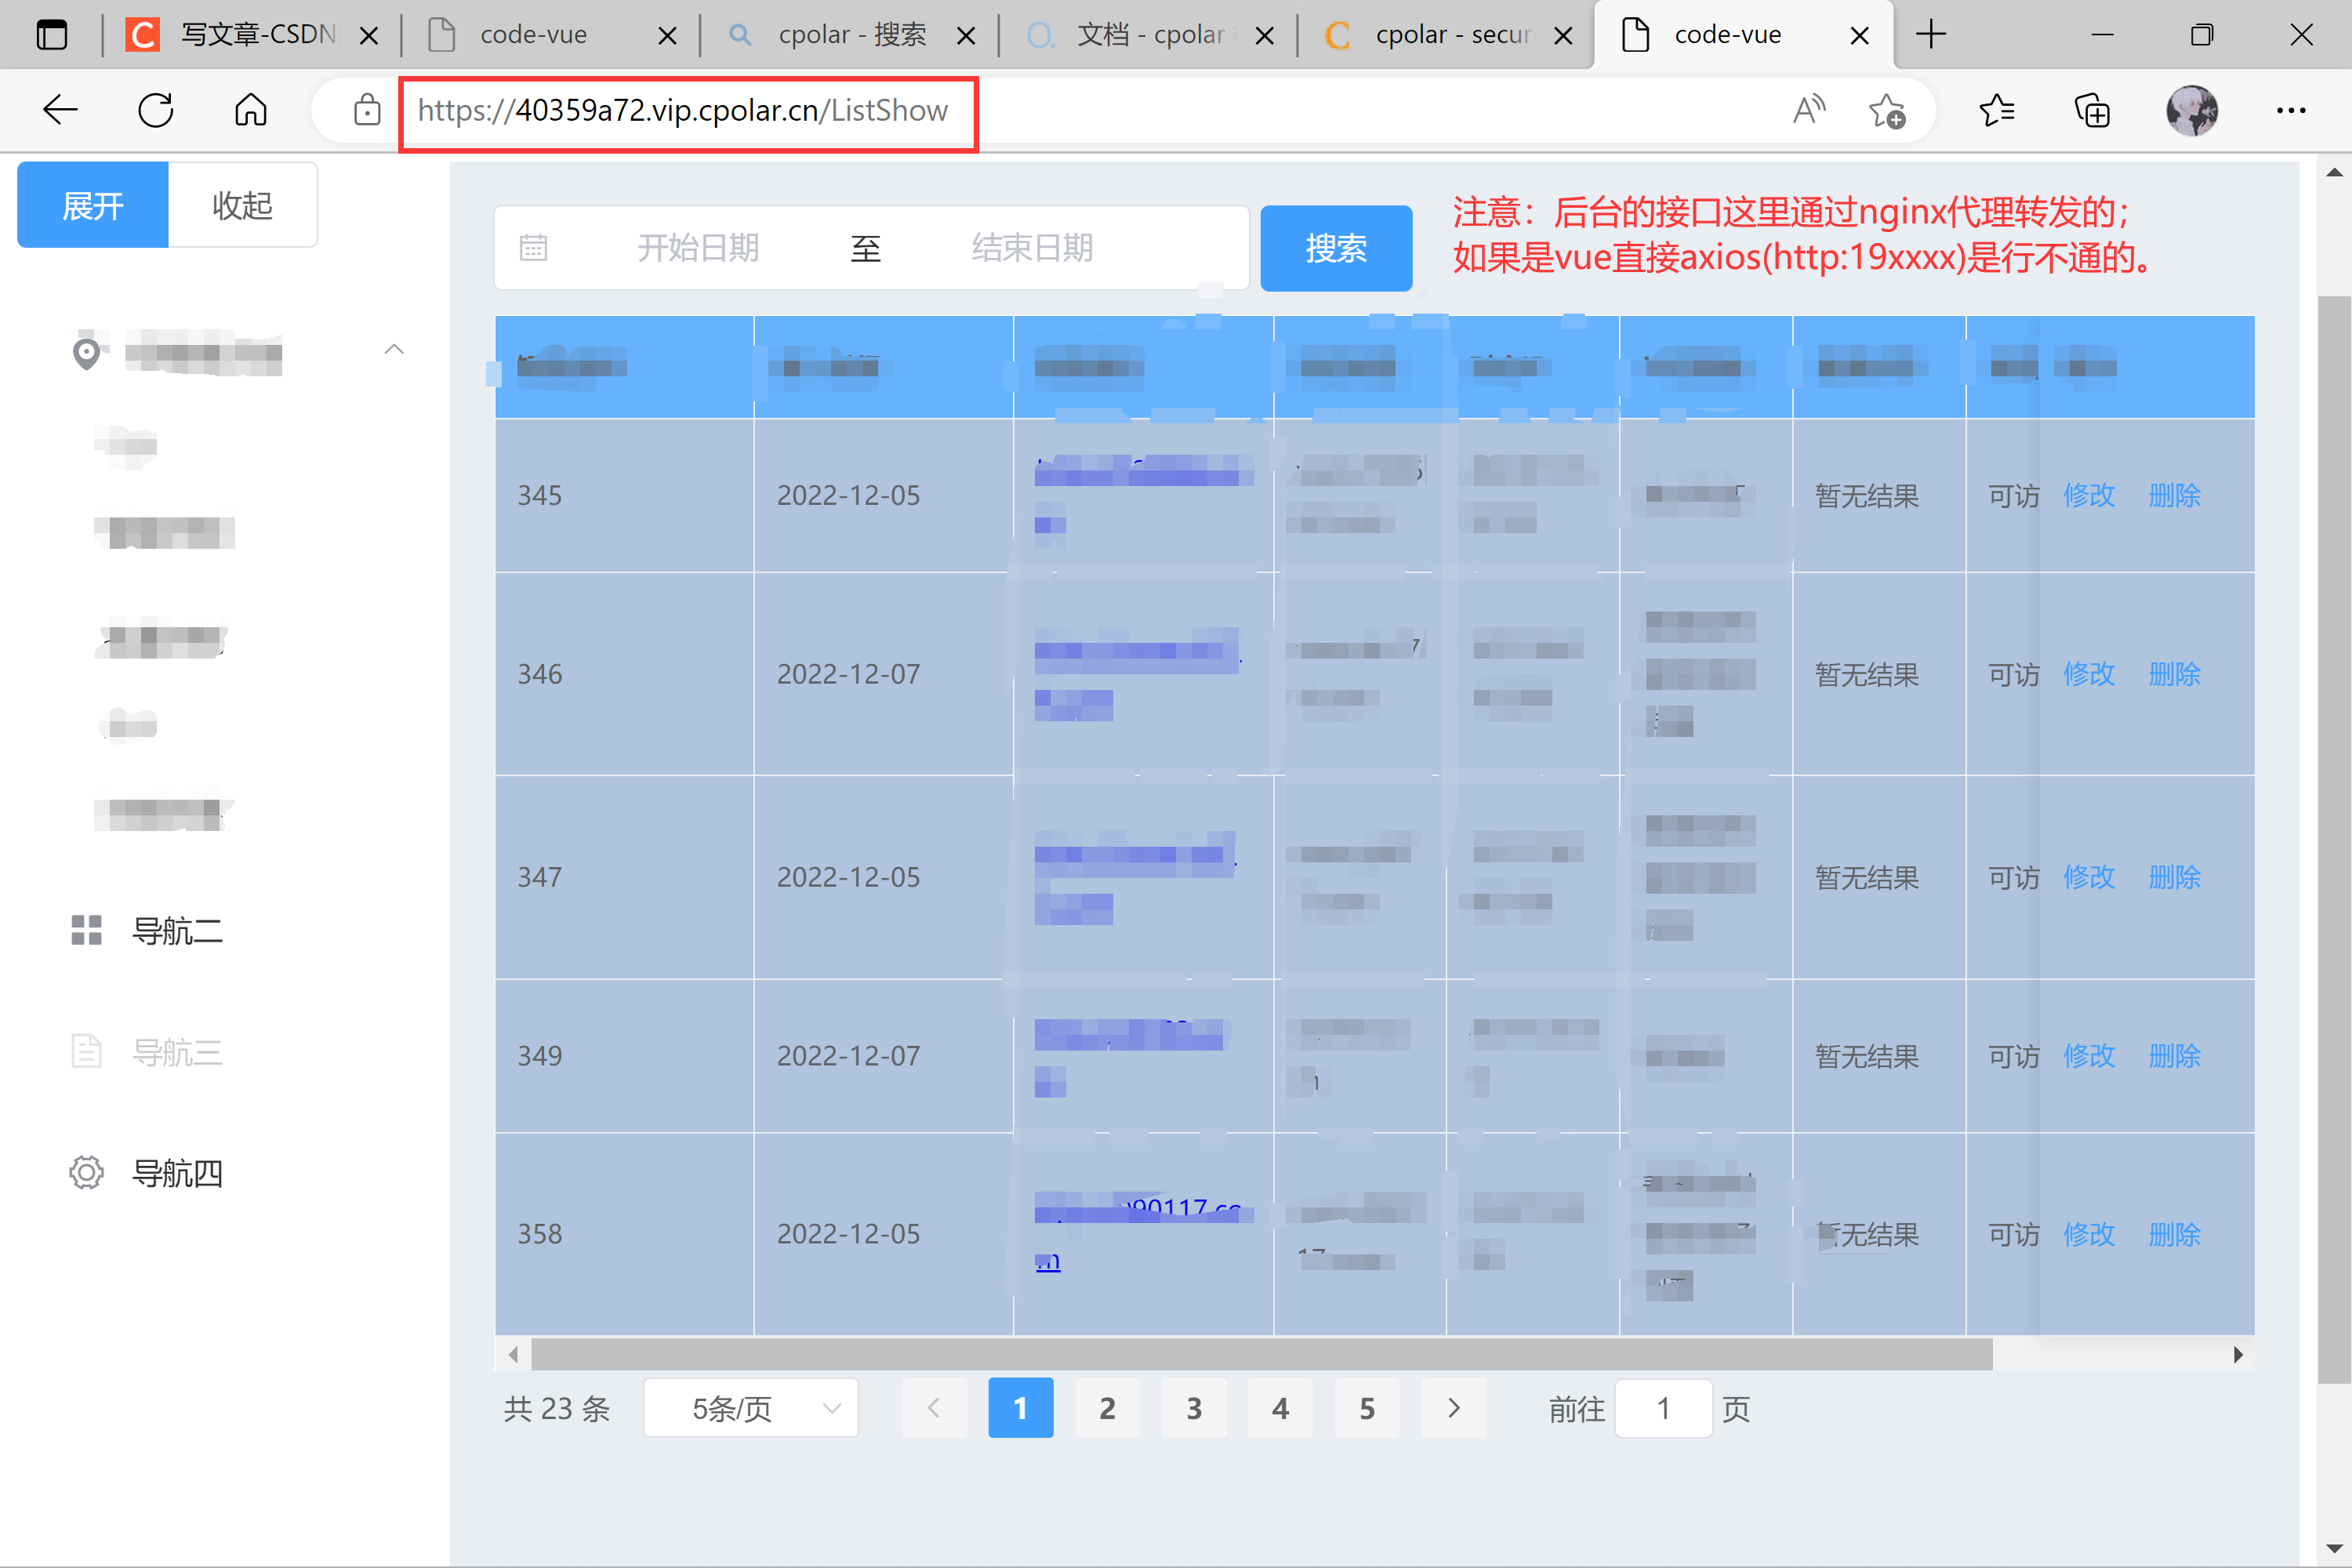
访问成功,后台部署完毕!
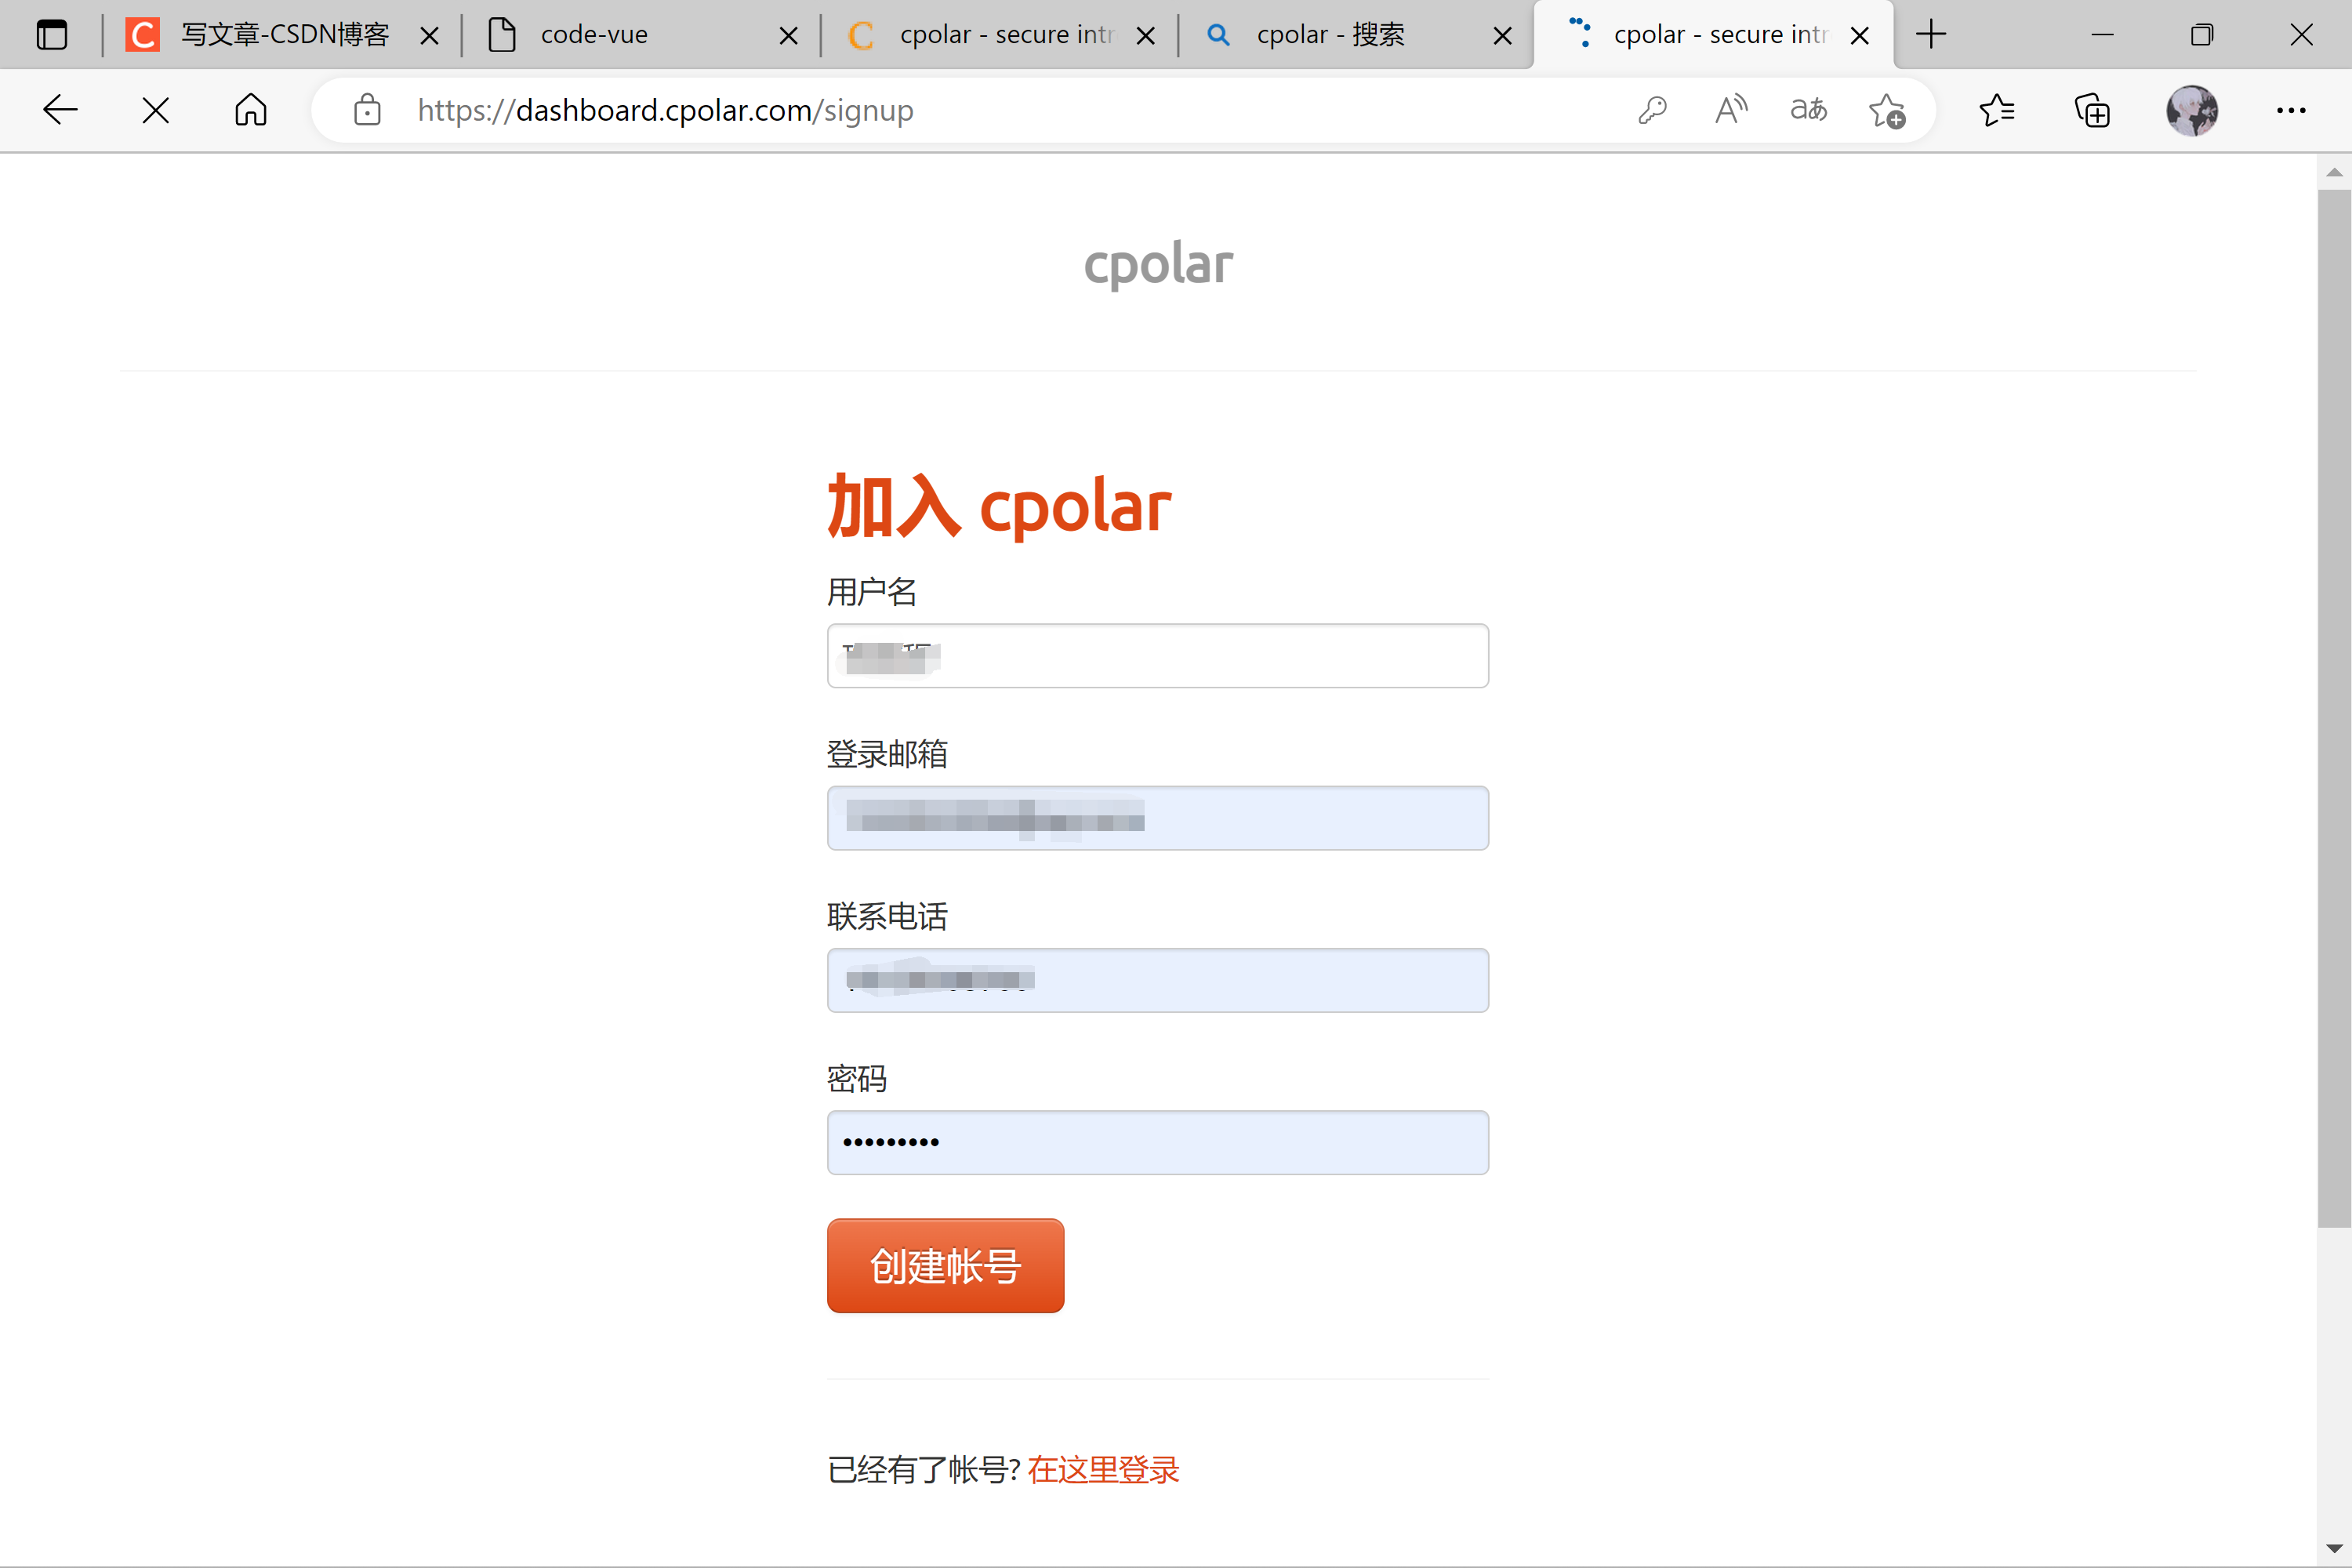
三、Linux上部署的项目通过内网穿透实现外网访问
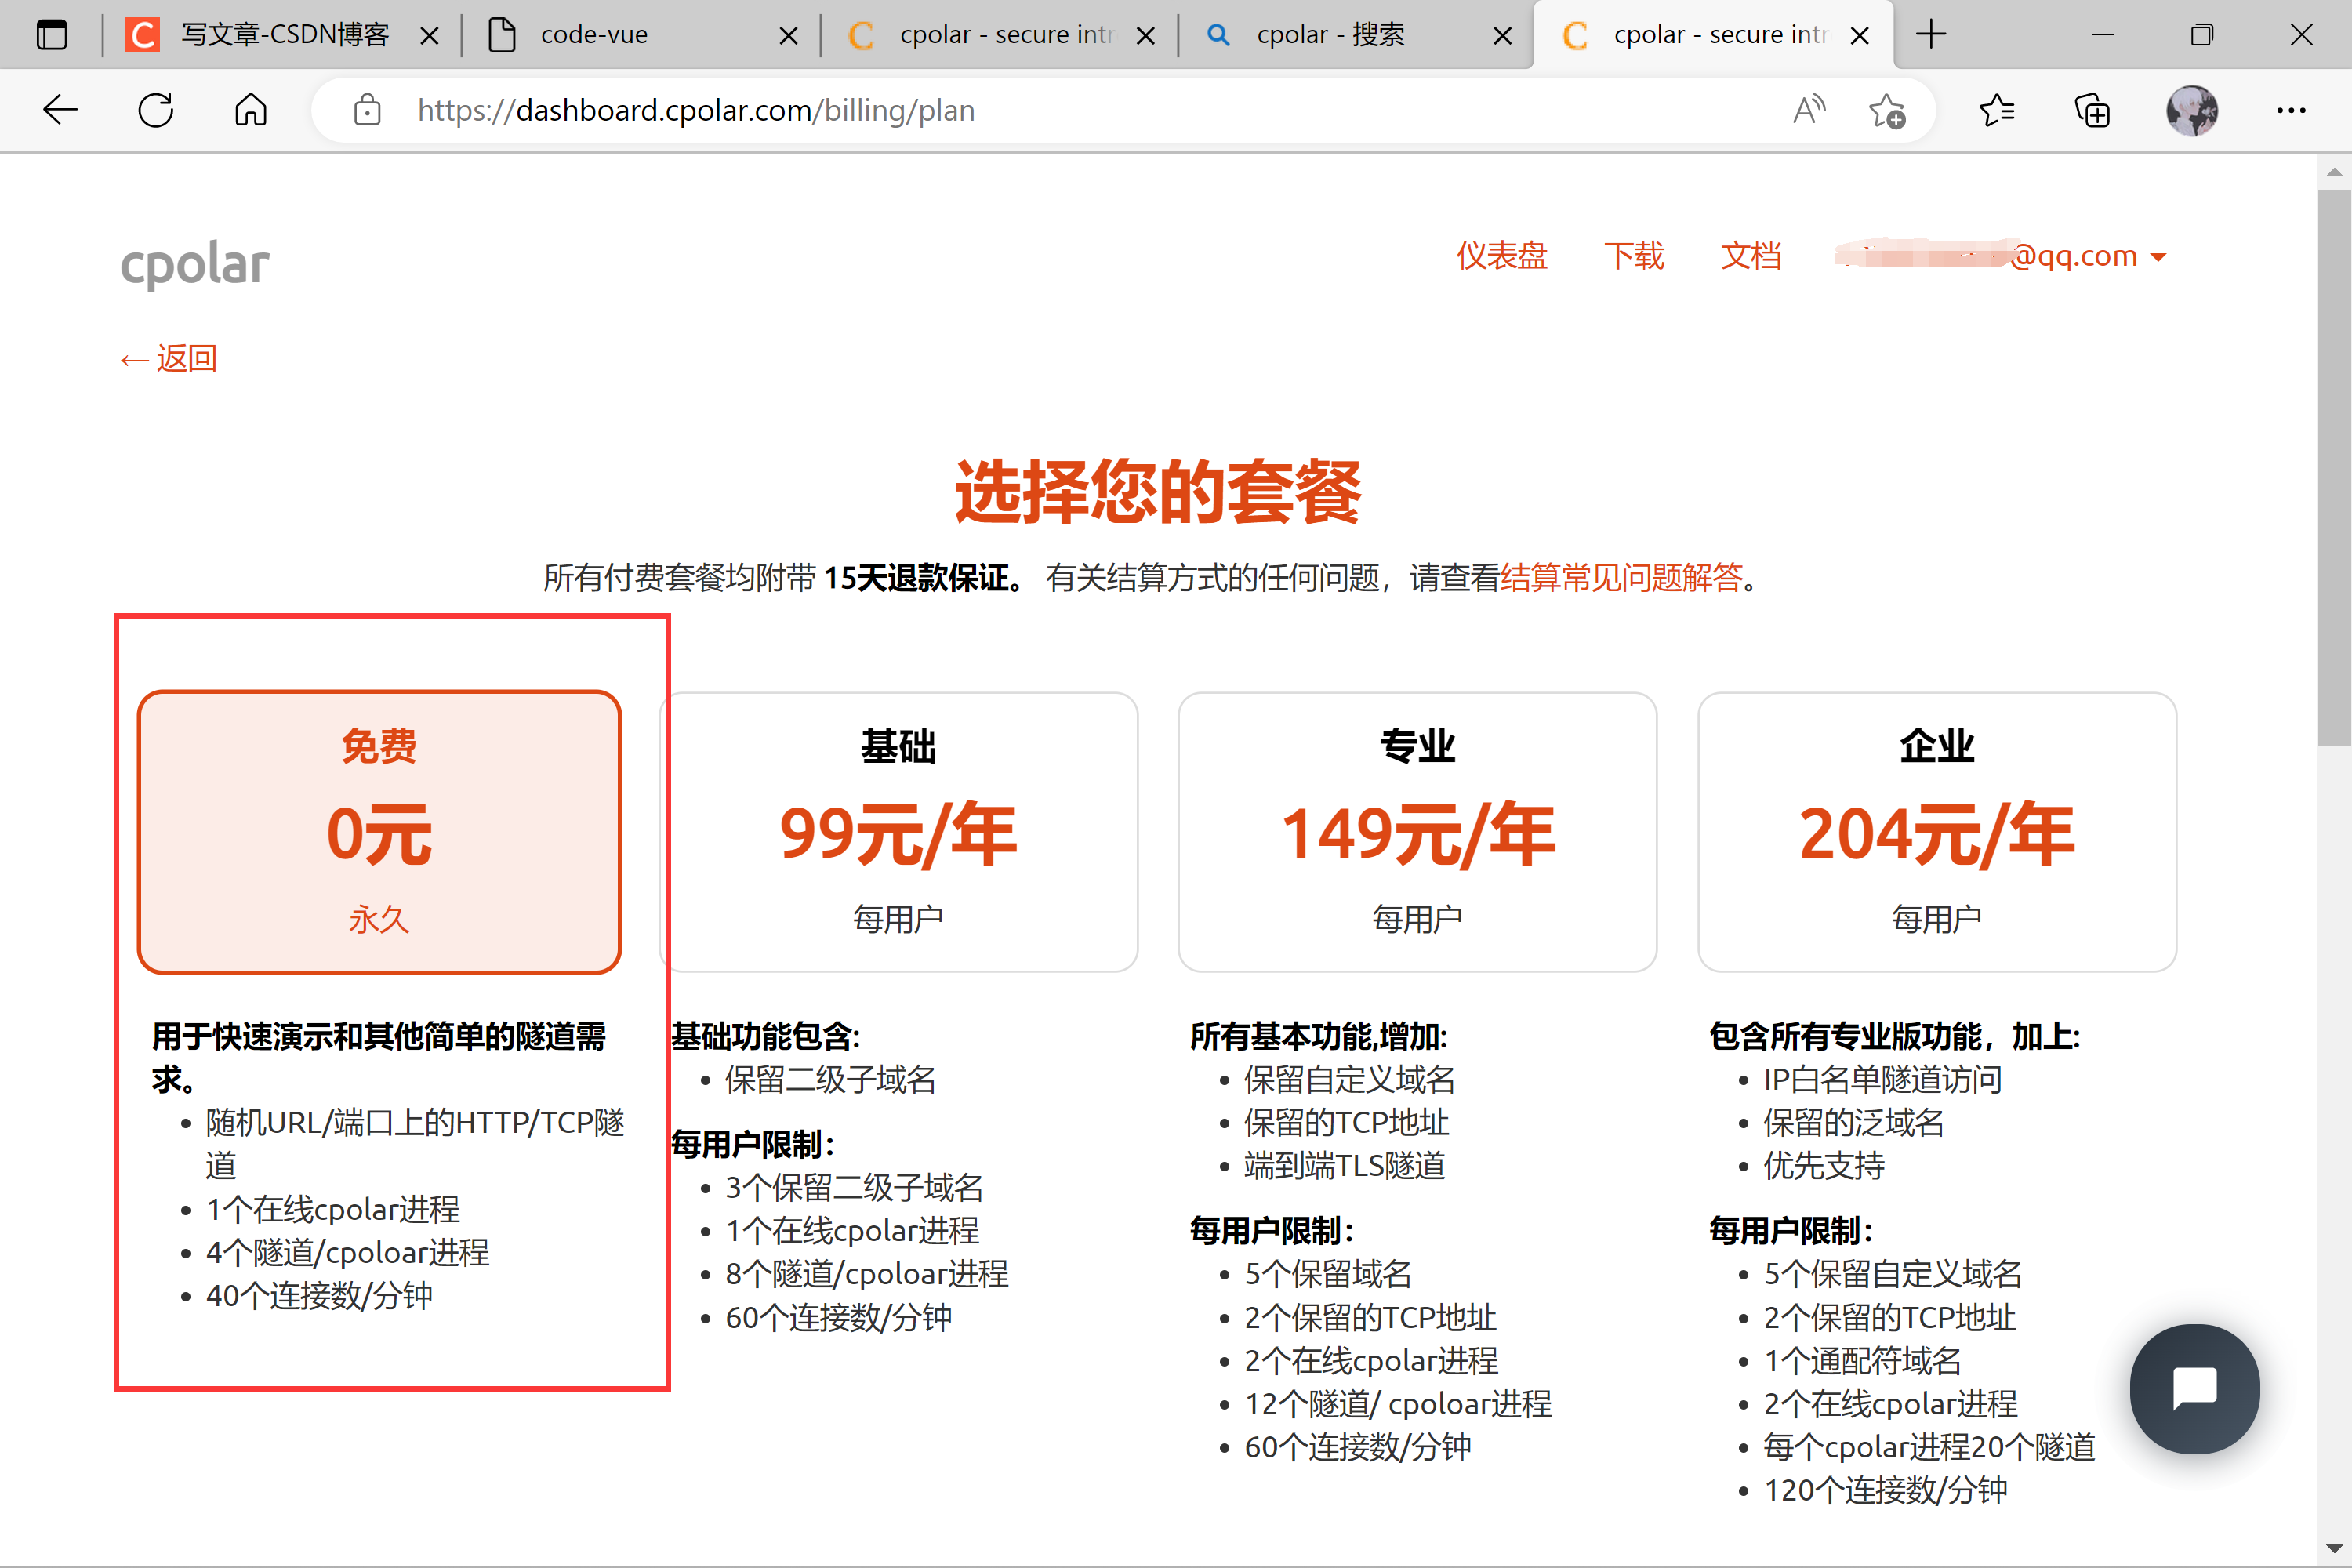
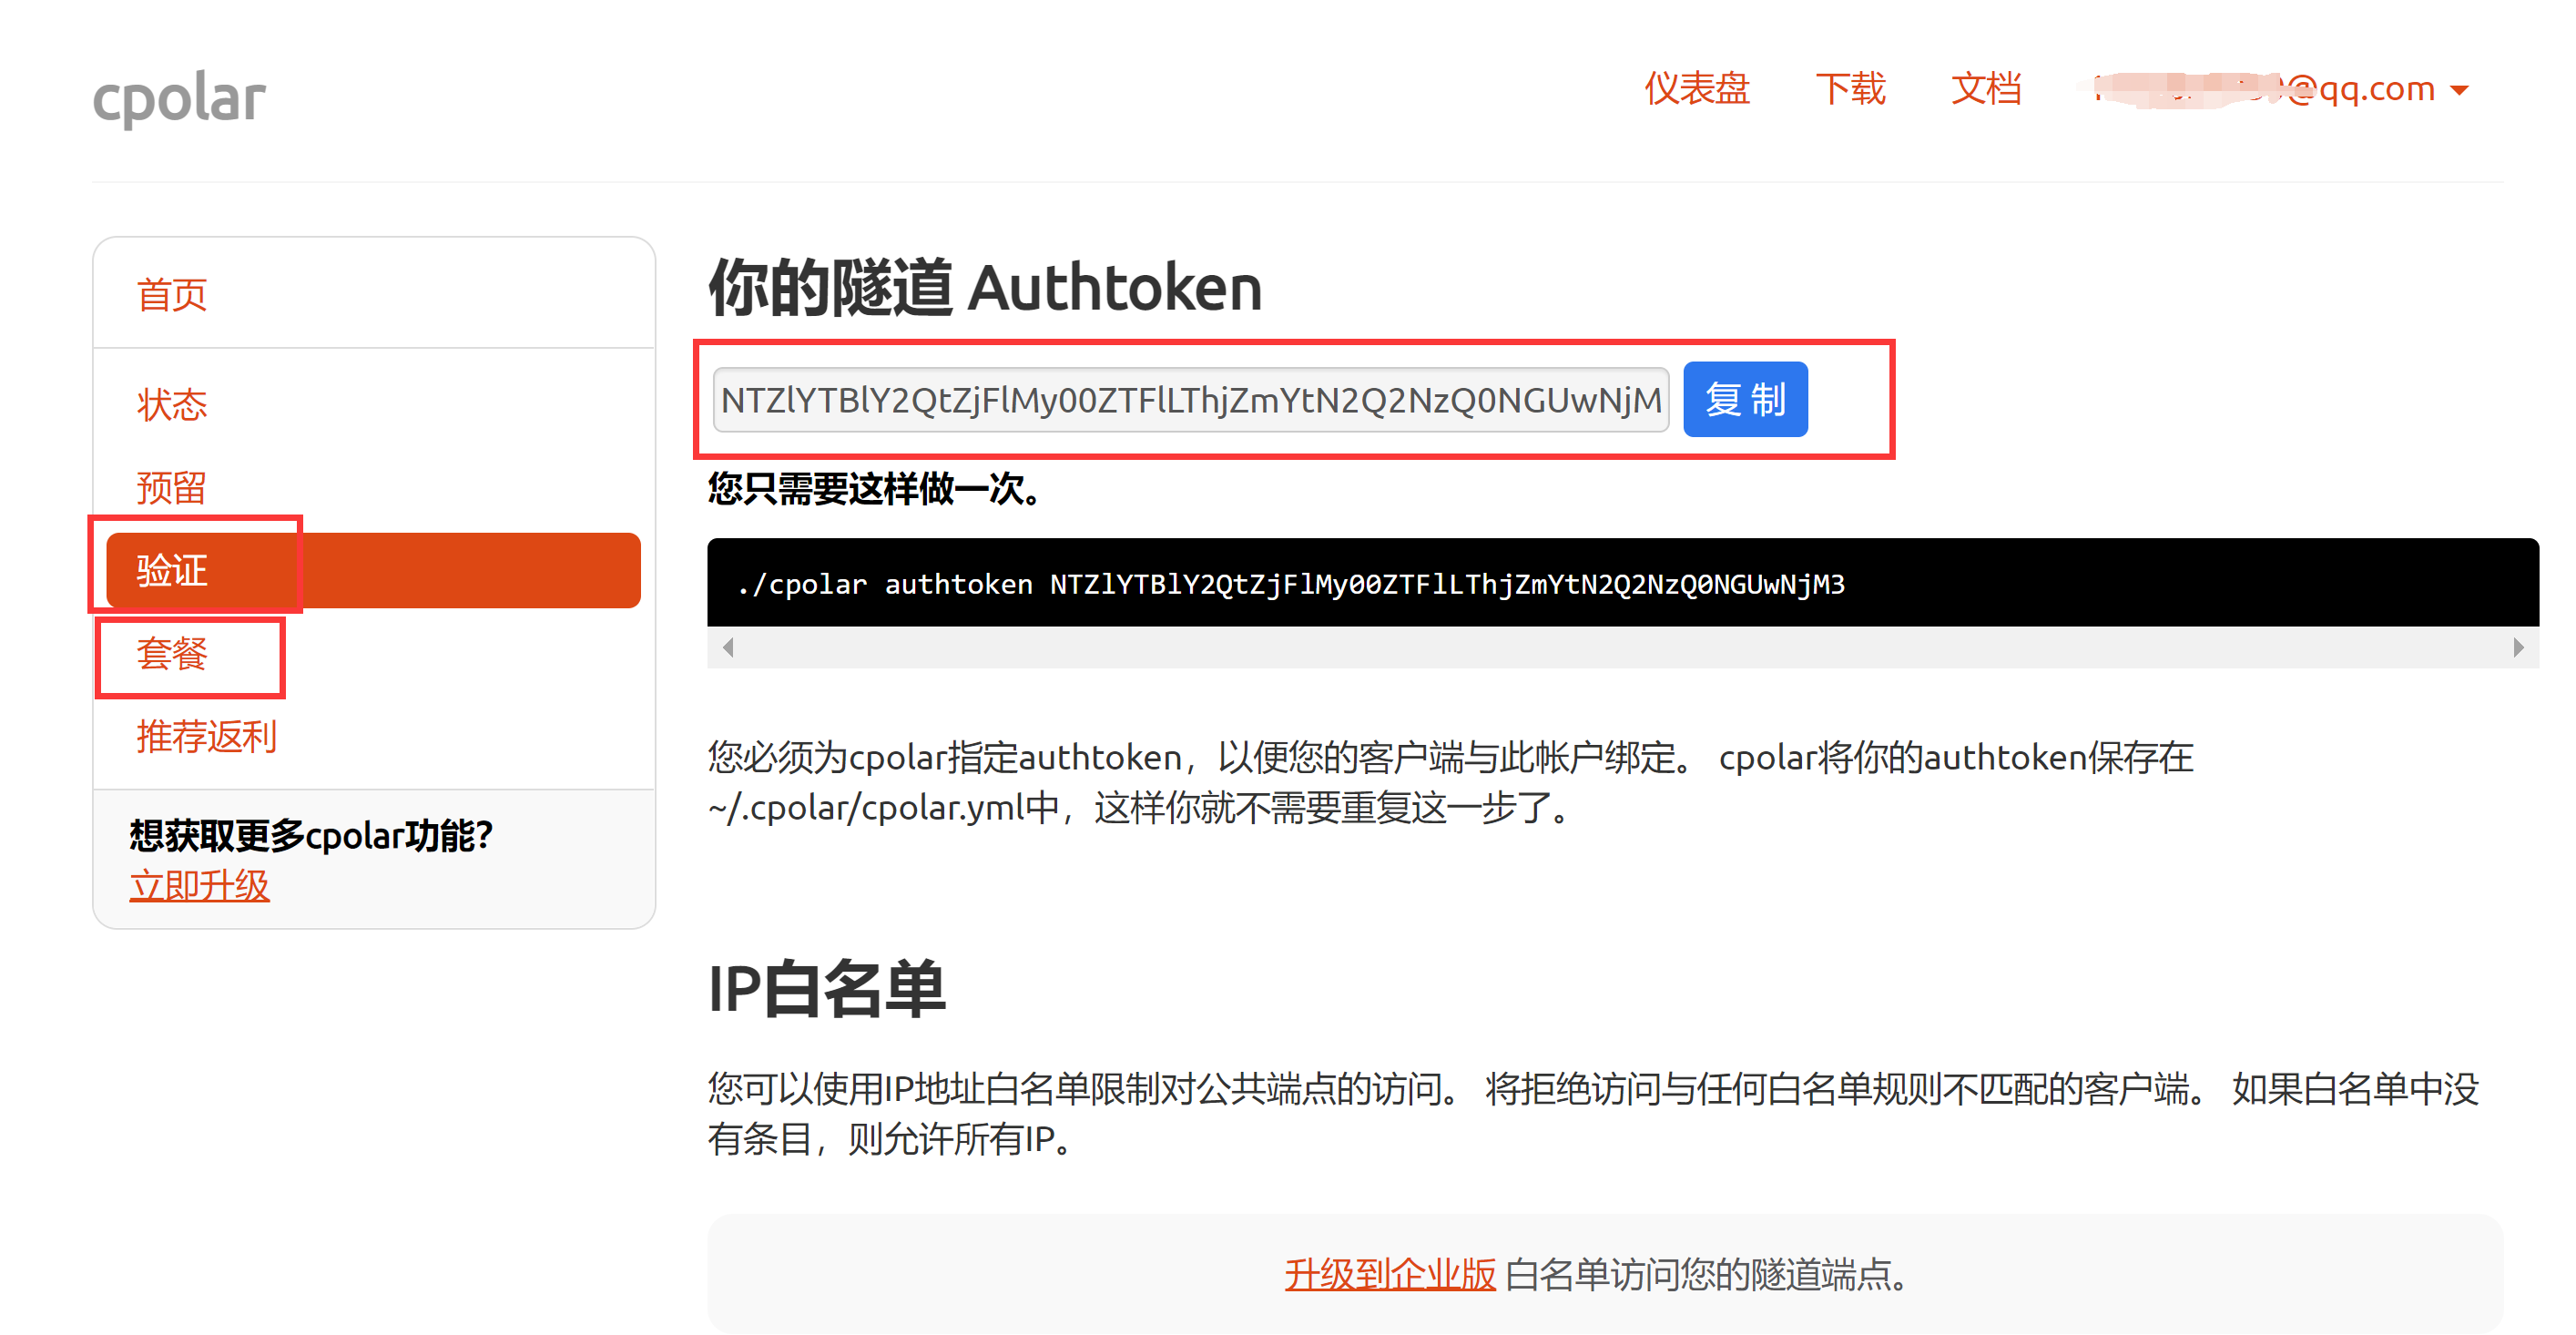
一个免费的
内网穿透方式,简单方便。
网址:https://www.cpolar.com/

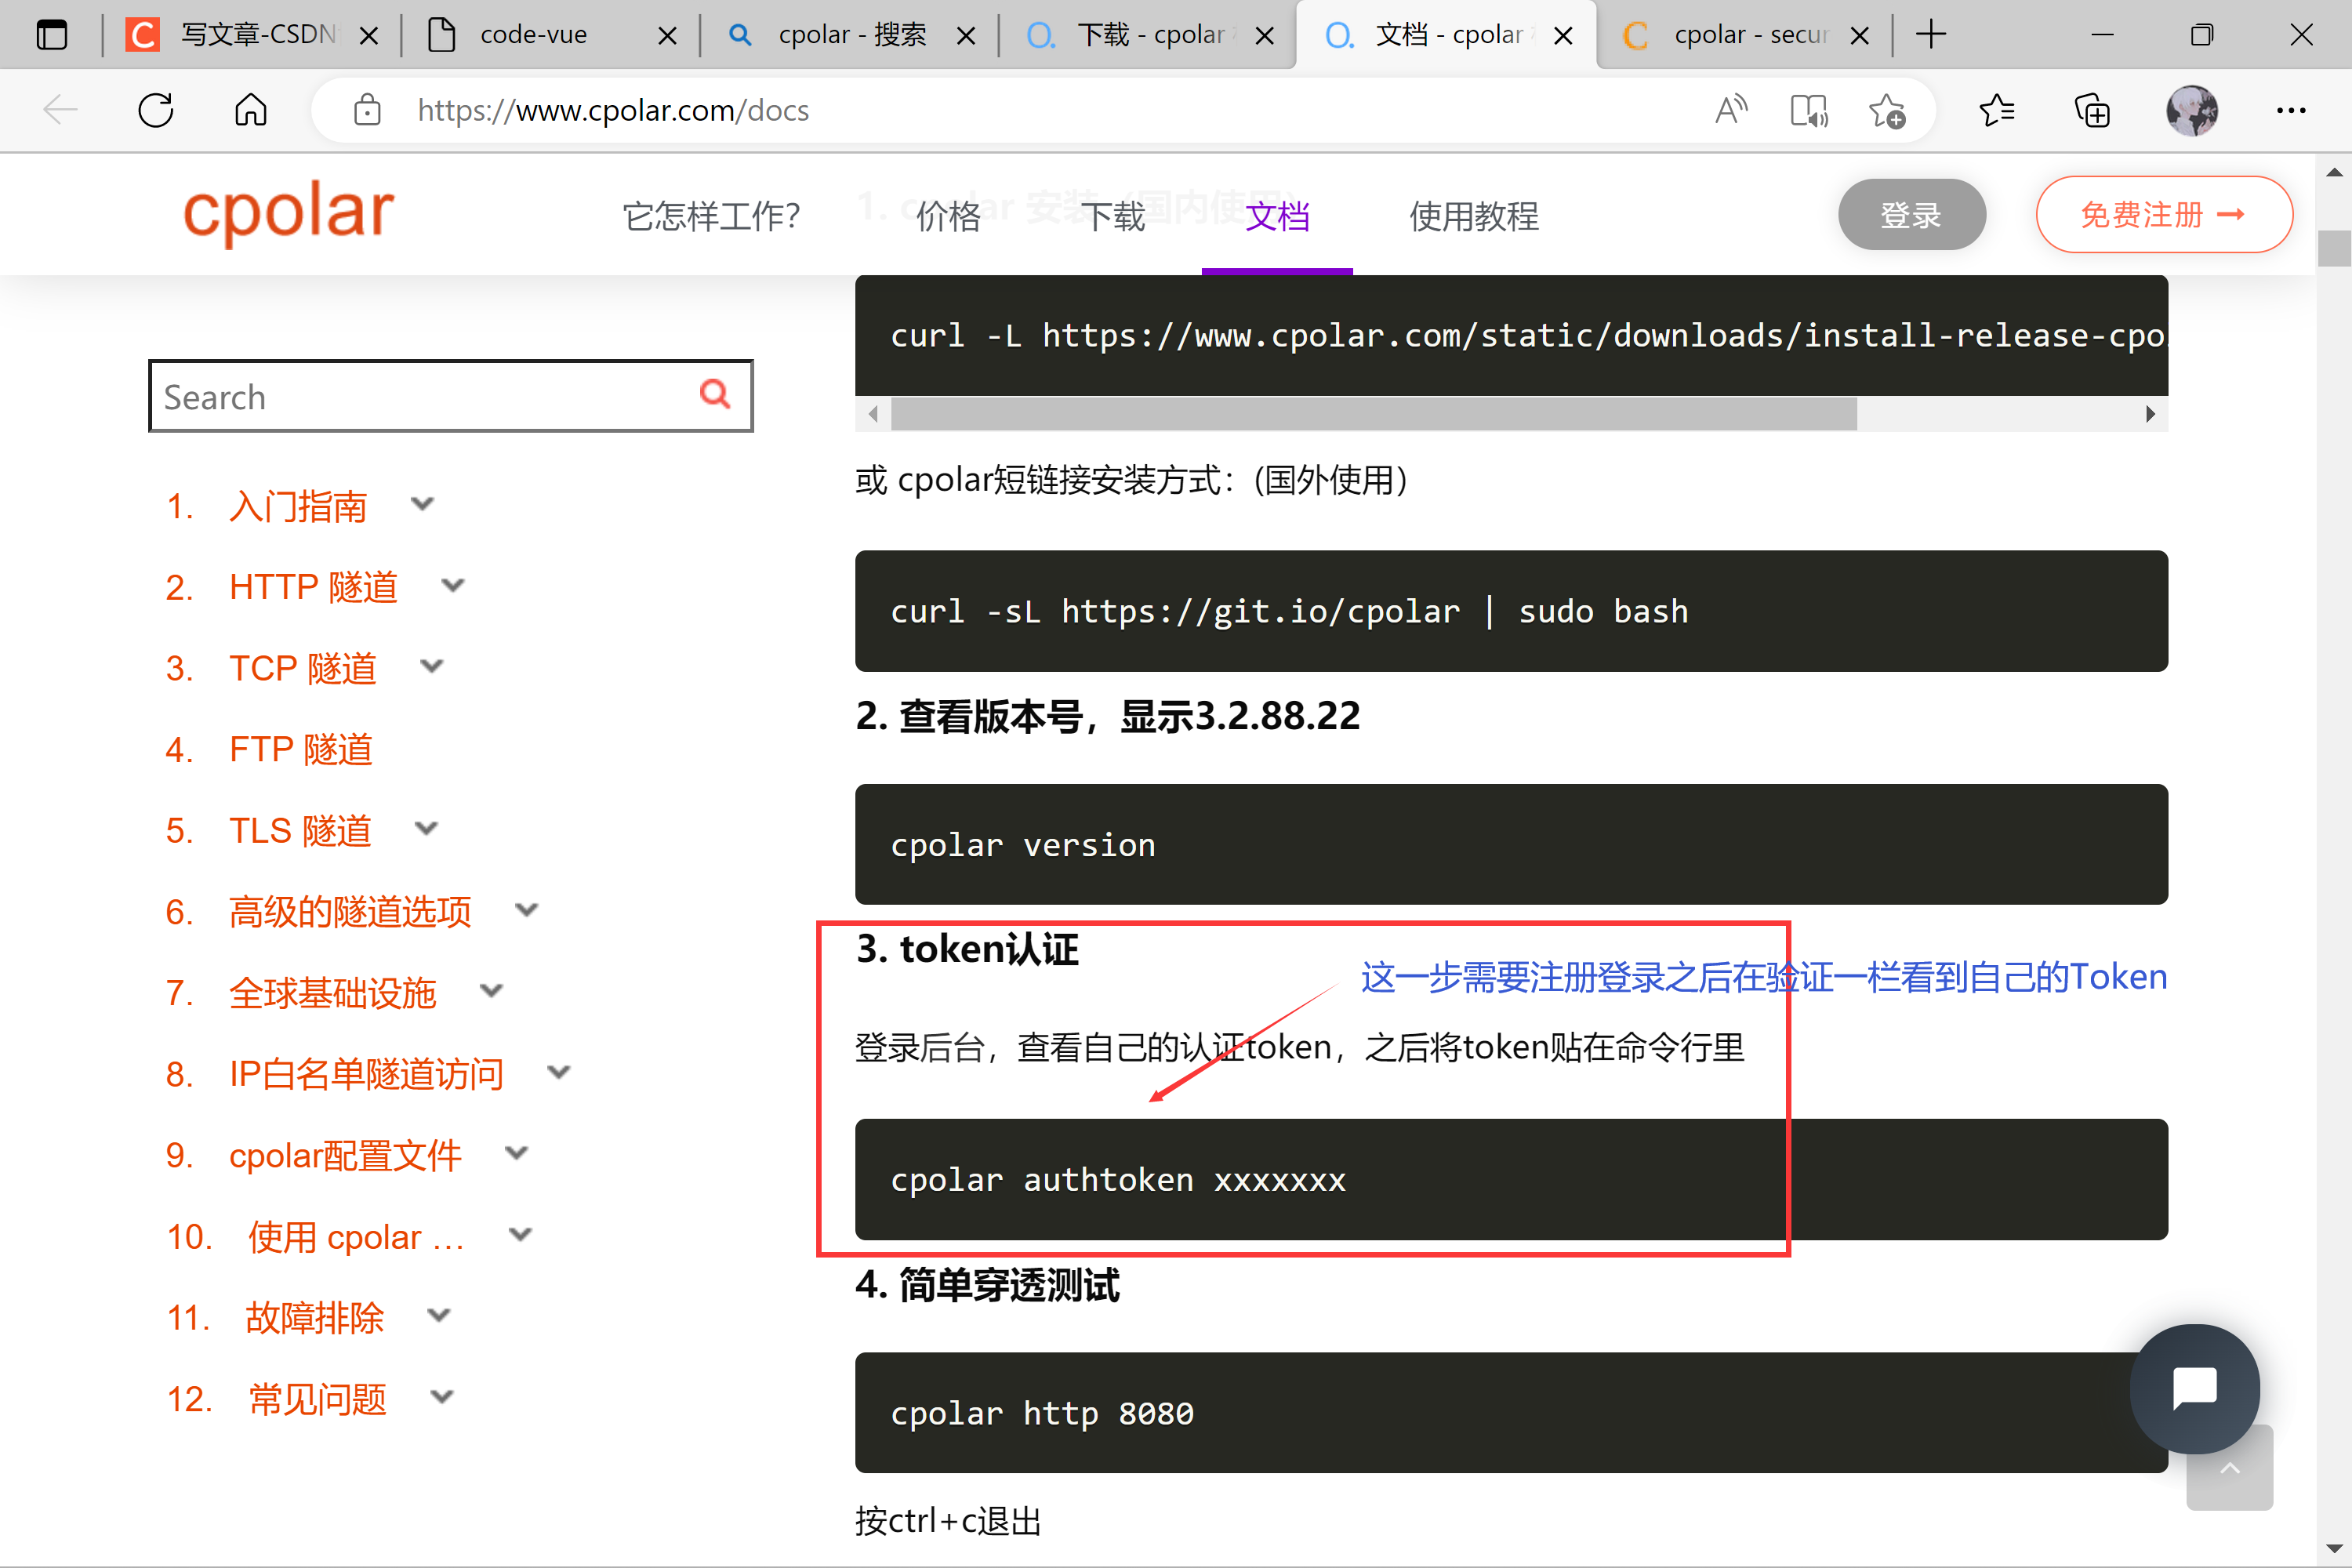
cpolar http 8080
sudo systemctl restart cpolar
