先上代码,效果在最后呈上
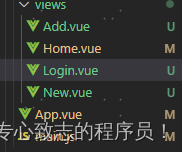
1.在views里新建一个文件名叫login.vue的文件:
2. 在login文件中引入要用的登陆组件:

<template>
  <div>
    <div :style="background" class="bgBackground"></div>
    <div class="forms">
      <div class="content">
        <el-form
          :model="ruleForm"
          status-icon
          :rules="rules"
          ref="ruleForm"
          label-width="100px"
          class="demo-ruleForm"
        >
          <el-form-item label="用户名" prop="pass">
            <el-input
              type="password"
              v-model="ruleForm.pass"
              autocomplete="off"
            ></el-input>
          </el-form-item>
          <el-form-item label="密码" prop="checkPass">
            <el-input
              type="password"
              v-model="ruleForm.checkPass"
              autocomplete="off"
            ></el-input>
          </el-form-item>
          <el-form-item label="真实姓名" prop="name">
            <el-input v-model.number="ruleForm.name"></el-input>
          </el-form-item>
          <el-form-item>
            <el-button type="primary" @click="submitForm('ruleForm')"
              >登录</el-button
            >
            <el-button @click="resetForm('ruleForm')">清除</el-button>
          </el-form-item>
        </el-form>
      </div>
    </div>
  </div>
</template>
在<script>里的方法:
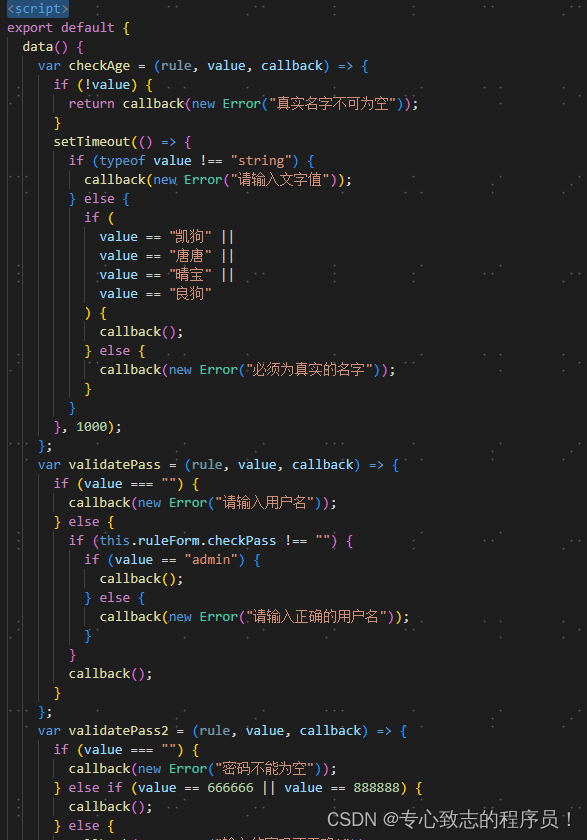

<script>
export default {
data() {
var checkAge = (rule, value, callback) => {
if (!value) {
return callback(new Error("真实名字不可为空"));
}
setTimeout(() => {
if (typeof value !== "string") {
callback(new Error("请输入文字值"));
} else {
if (
value == "凯狗" ||
value == "唐唐" ||
value == "晴宝" ||
value == "良狗"
) {
callback();
} else {
callback(new Error("必须为真实的名字"));
}
}
}, 1000);
};
var validatePass = (rule, value, callback) => {
if (value === "") {
callback(new Error("请输入用户名"));
} else {
if (this.ruleForm.checkPass !== "") {
if (value == "admin") {
callback();
} else {
callback(new Error("请输入正确的用户名"));
}
}
callback();
}
};
var validatePass2 = (rule, value, callback) => {
if (value === "") {
callback(new Error("密码不能为空"));
} else if (value == 666666 || value == 888888) {
callback();
} else {
callback(new Error("输入的密码不正确!"));
}
};
return {
// 顶部导航背景图片配置
background: {
// 背景图片地址
backgroundImage: "url(" + require("../assets/css/bj.png") + ")",
// 背景图片是否重复
backgroundRepeat: "no-repeat",
// 背景图片大小
backgroundSize: "cover",
// 背景颜色
backgroundColor: "#000",
// 背景图片位置
backgroundPosition: "100% 100%",
},
ruleForm: {
pass: "",
checkPass: "",
name: "",
},
rules: {
pass: [{ validator: validatePass, trigger: "blur" }],
checkPass: [{ validator: validatePass2, trigger: "blur" }],
name: [{ validator: checkAge, trigger: "blur" }],
},
};
},
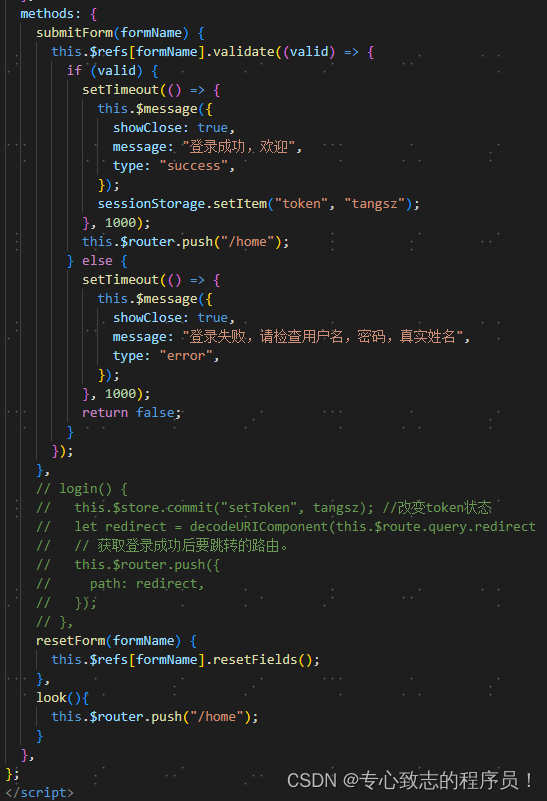
methods: {
submitForm(formName) {
this.$refs[formName].validate((valid) => {
if (valid) {
setTimeout(() => {
this.$message({
showClose: true,
message: "登录成功,欢迎",
type: "success",
});
sessionStorage.setItem("token", "tangsz");
}, 1000);
this.$router.push("/home");
} else {
setTimeout(() => {
this.$message({
showClose: true,
message: "登录失败,请检查用户名,密码,真实姓名",
type: "error",
});
}, 1000);
return false;
}
});
},
// login() {
// this.$store.commit("setToken", tangsz); //改变token状态
// let redirect = decodeURIComponent(this.$route.query.redirect || "/");
// // 获取登录成功后要跳转的路由。
// this.$router.push({
// path: redirect,
// });
// },
resetForm(formName) {
this.$refs[formName].resetFields();
},
look(){
this.$router.push("/home");
}
},
};
</script>3.在style给它们样式让它们灵动起来:
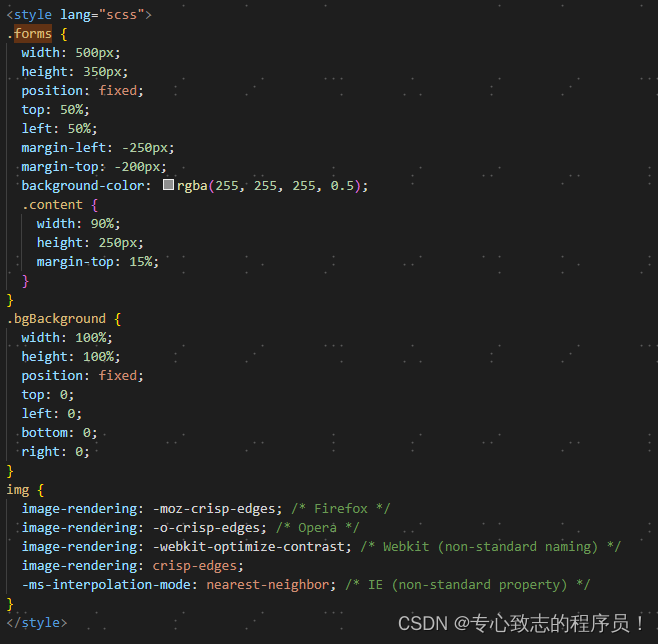
这里主要是背景图的样式
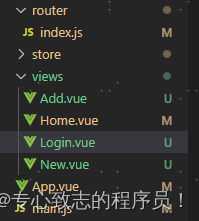
4.找到router文件夹下的index.js文件:
写路由路径,防止重复跳转同一个路由的问题,以及重定向......
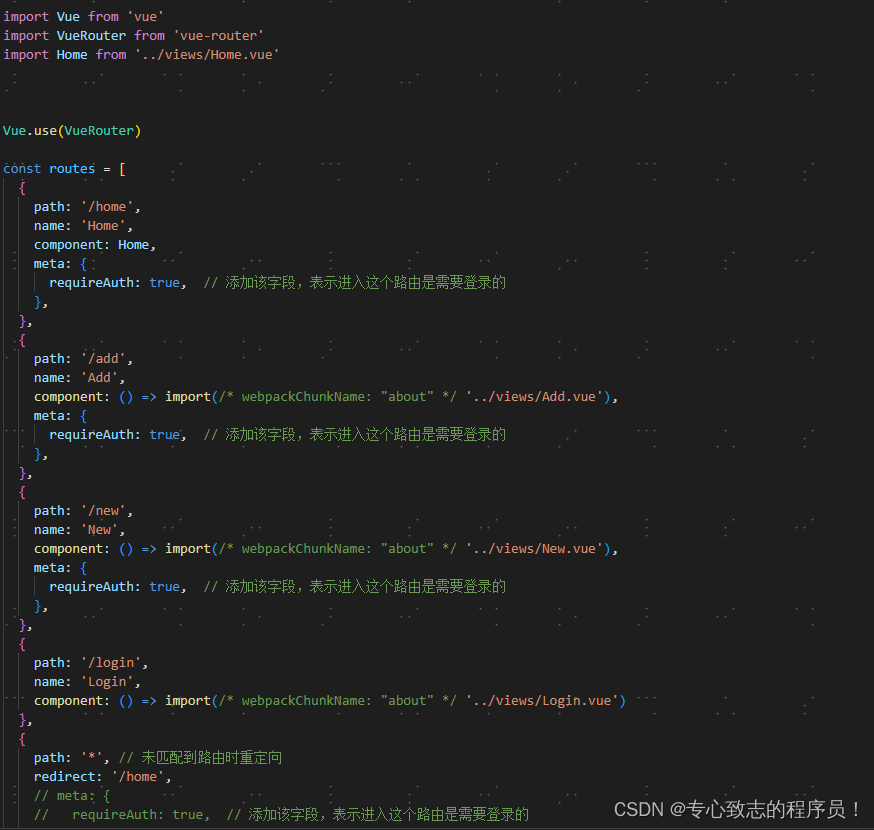
路由:
const routes = [
{
path: '/home',
name: 'Home',
component: Home,
meta: {
requireAuth: true, // 添加该字段,表示进入这个路由是需要登录的
},
},
{
path: '/add',
name: 'Add',
component: () => import(/* webpackChunkName: "about" */ '../views/Add.vue'),
meta: {
requireAuth: true, // 添加该字段,表示进入这个路由是需要登录的
},
},
{
path: '/new',
name: 'New',
component: () => import(/* webpackChunkName: "about" */ '../views/New.vue'),
meta: {
requireAuth: true, // 添加该字段,表示进入这个路由是需要登录的
},
},
{
path: '/login',
name: 'Login',
component: () => import(/* webpackChunkName: "about" */ '../views/Login.vue')
},
{
path: '*', // 未匹配到路由时重定向
redirect: '/home',
// meta: {
// requireAuth: true, // 添加该字段,表示进入这个路由是需要登录的
// },
}
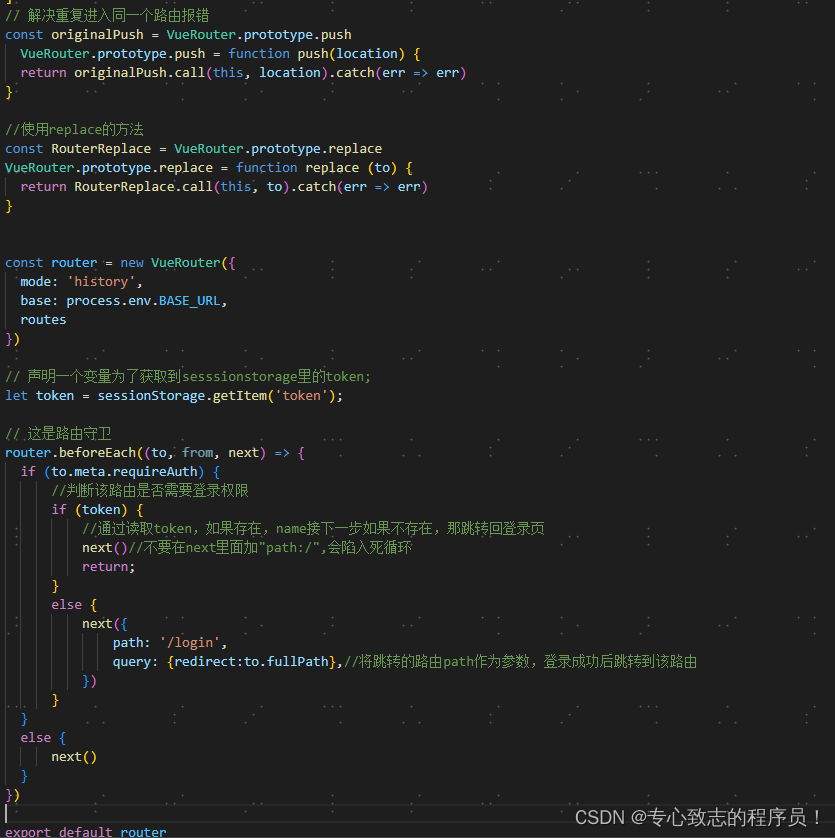
]防止重复跳转报错以及重定向:
// 解决重复进入同一个路由报错
const originalPush = VueRouter.prototype.push
  VueRouter.prototype.push = function push(location) {
  return originalPush.call(this, location).catch(err => err)
}

//使用replace的方法
const RouterReplace = VueRouter.prototype.replace
VueRouter.prototype.replace = function replace (to) {
  return RouterReplace.call(this, to).catch(err => err)
}
路由守卫:
// 声明一个变量为了获取到sesssionstorage里的token;
let token = sessionStorage.getItem('token');
// 这是路由守卫
router.beforeEach((to, from, next) => {
if (to.meta.requireAuth) {
//判断该路由是否需要登录权限
if (token) {
//通过读取token,如果存在,name接下一步如果不存在,那跳转回登录页
next()//不要在next里面加"path:/",会陷入死循环
return;
}
else {
next({
path: '/login',
query: {redirect:to.fullPath},//将跳转的路由path作为参数,登录成功后跳转到该路由
})
}
}
else {
next()
}
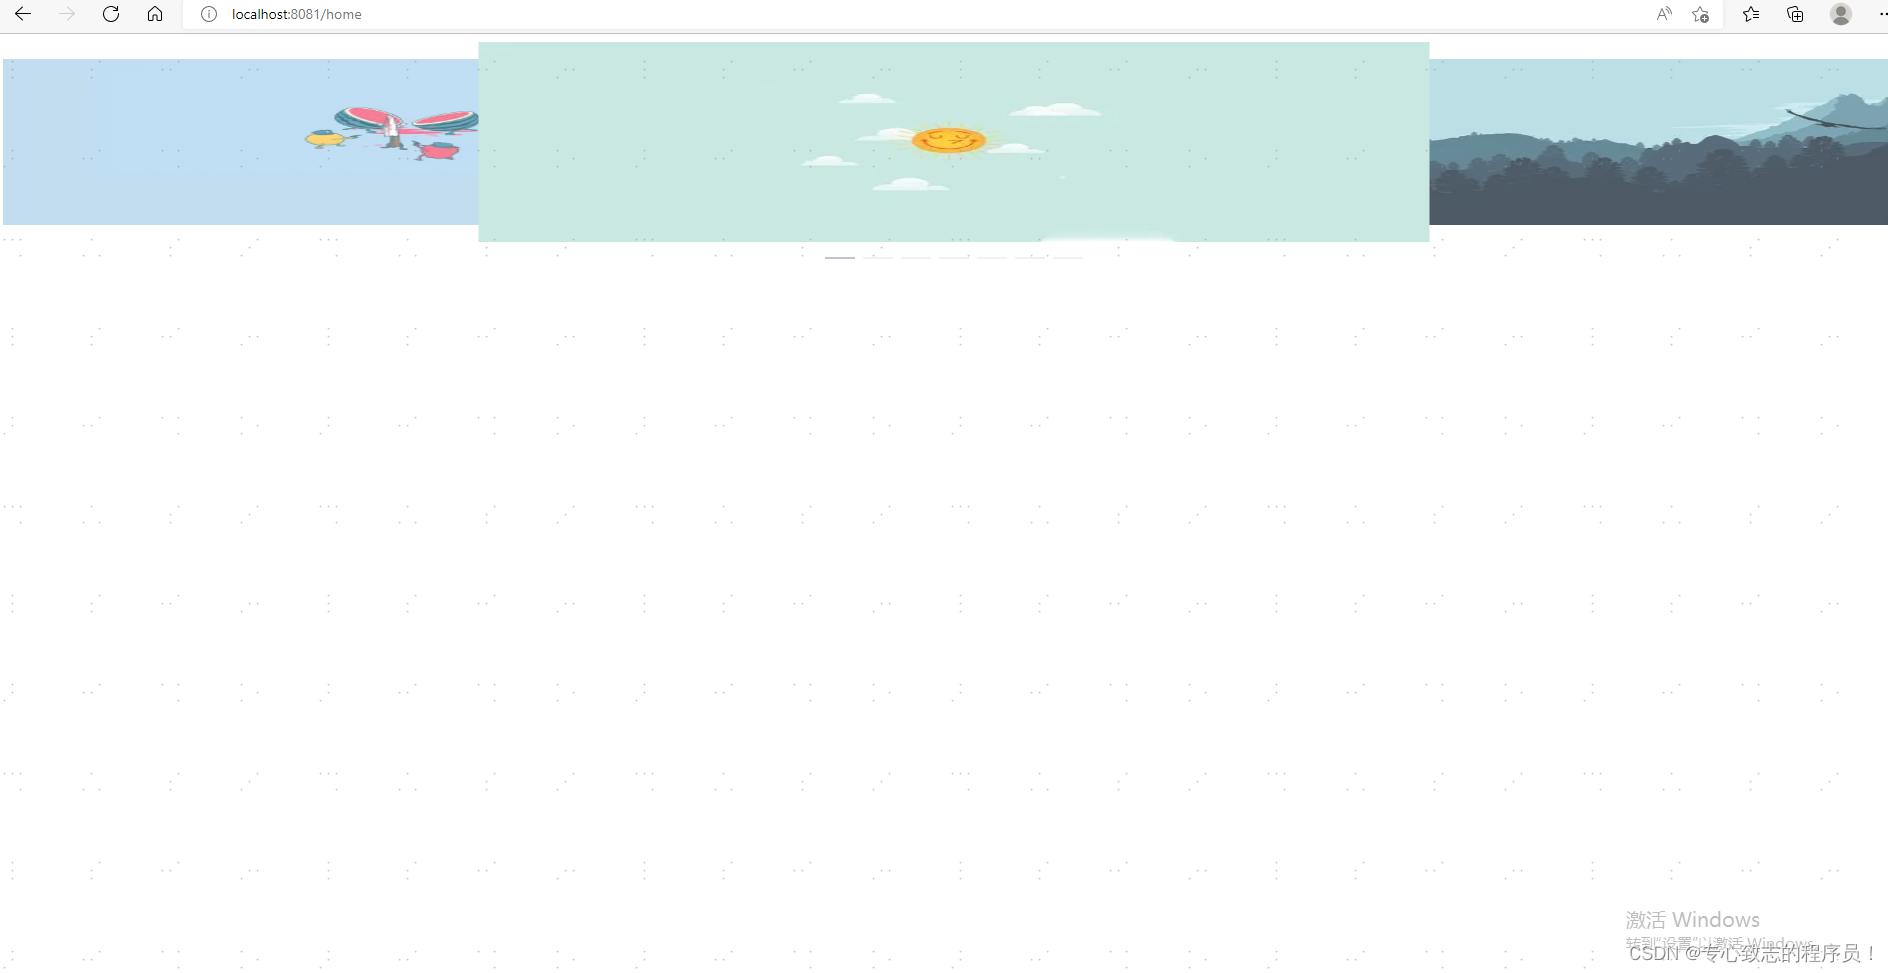
})5.效果展示环节: