Java 之 ElasticSearch7.x.x + SpringBoot + 爬虫 + 项目实战【一篇文章精通系列】【SpringBoot集成ElasticSearch+项目实战】
一、ElasticSearch的Java官方文档
1、查看官方文档
https://www.elastic.co/guide/index.html
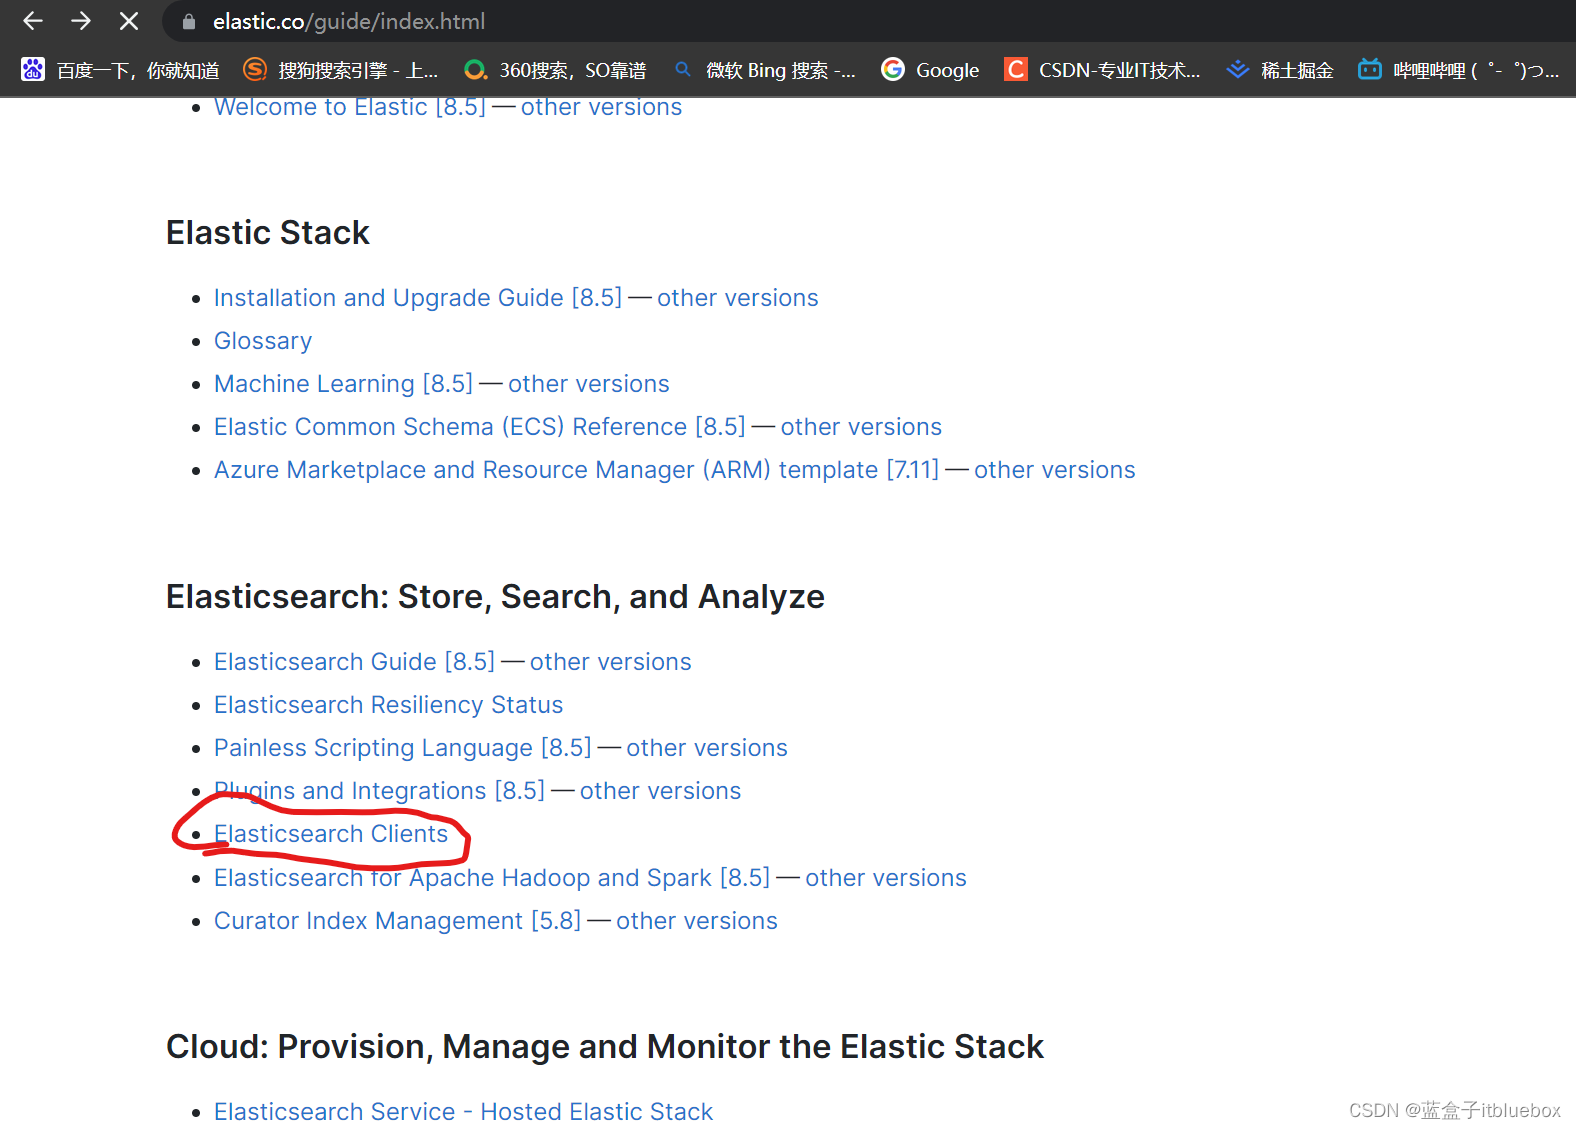
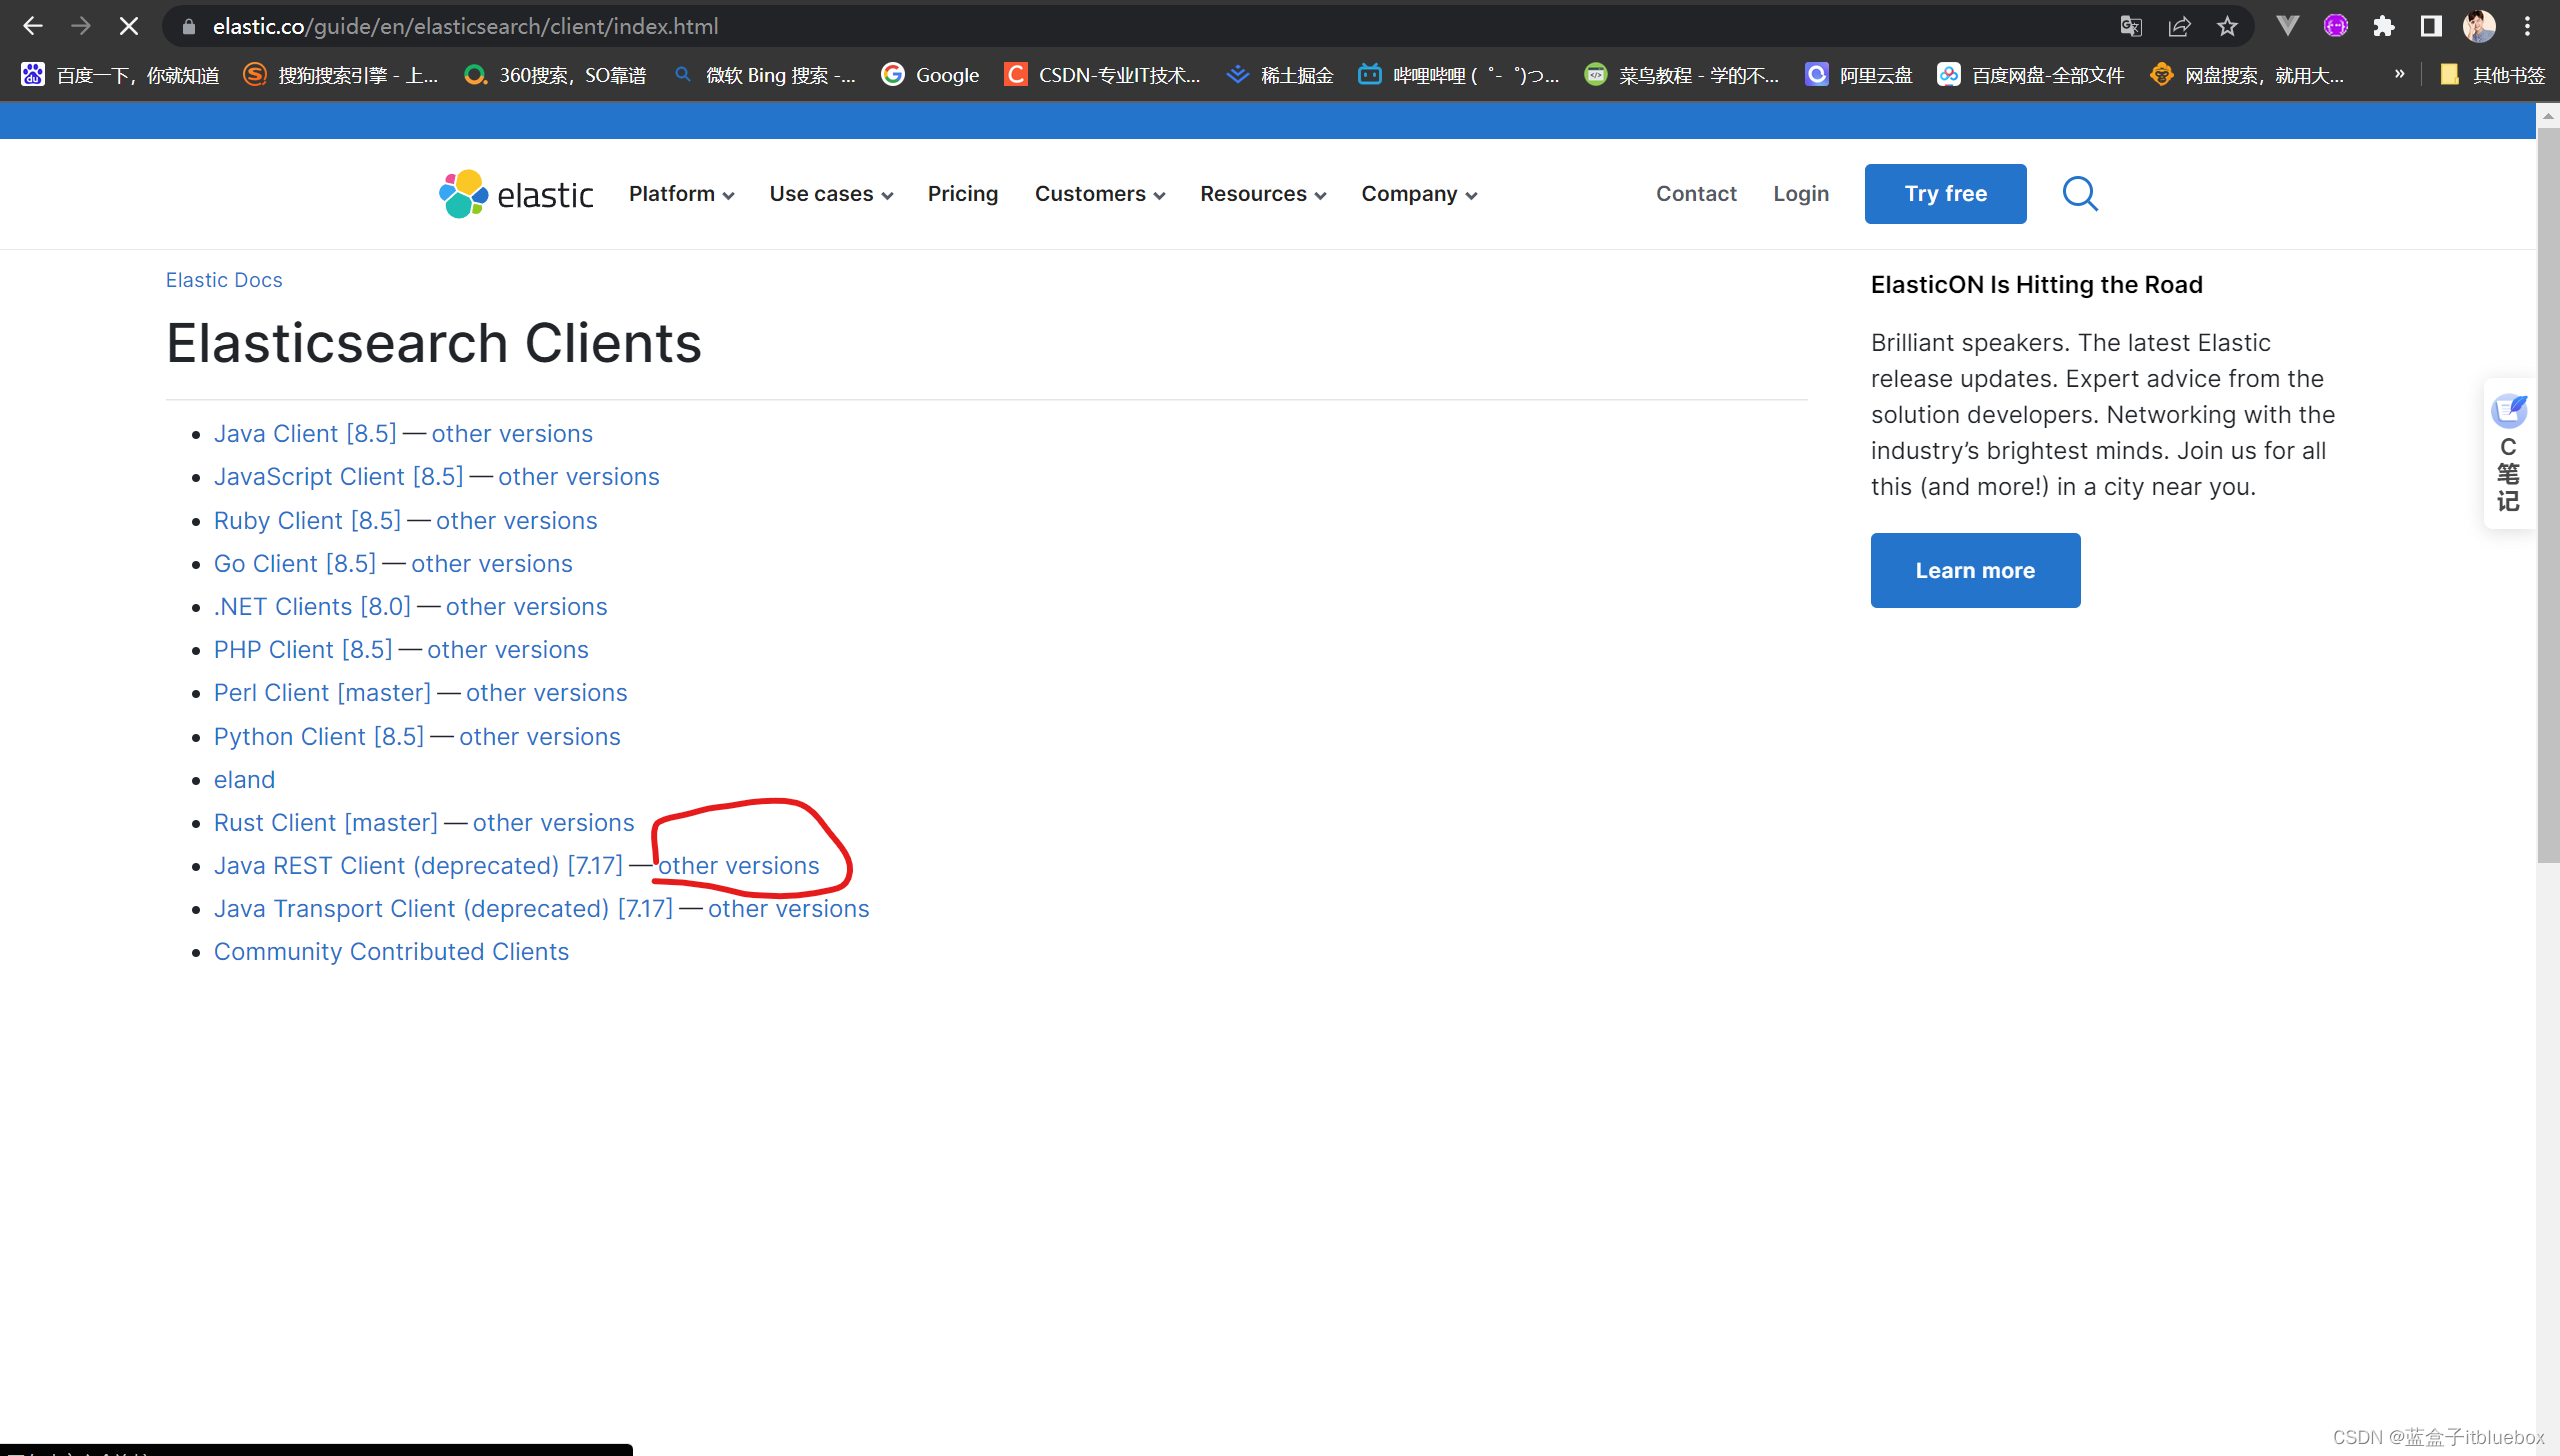
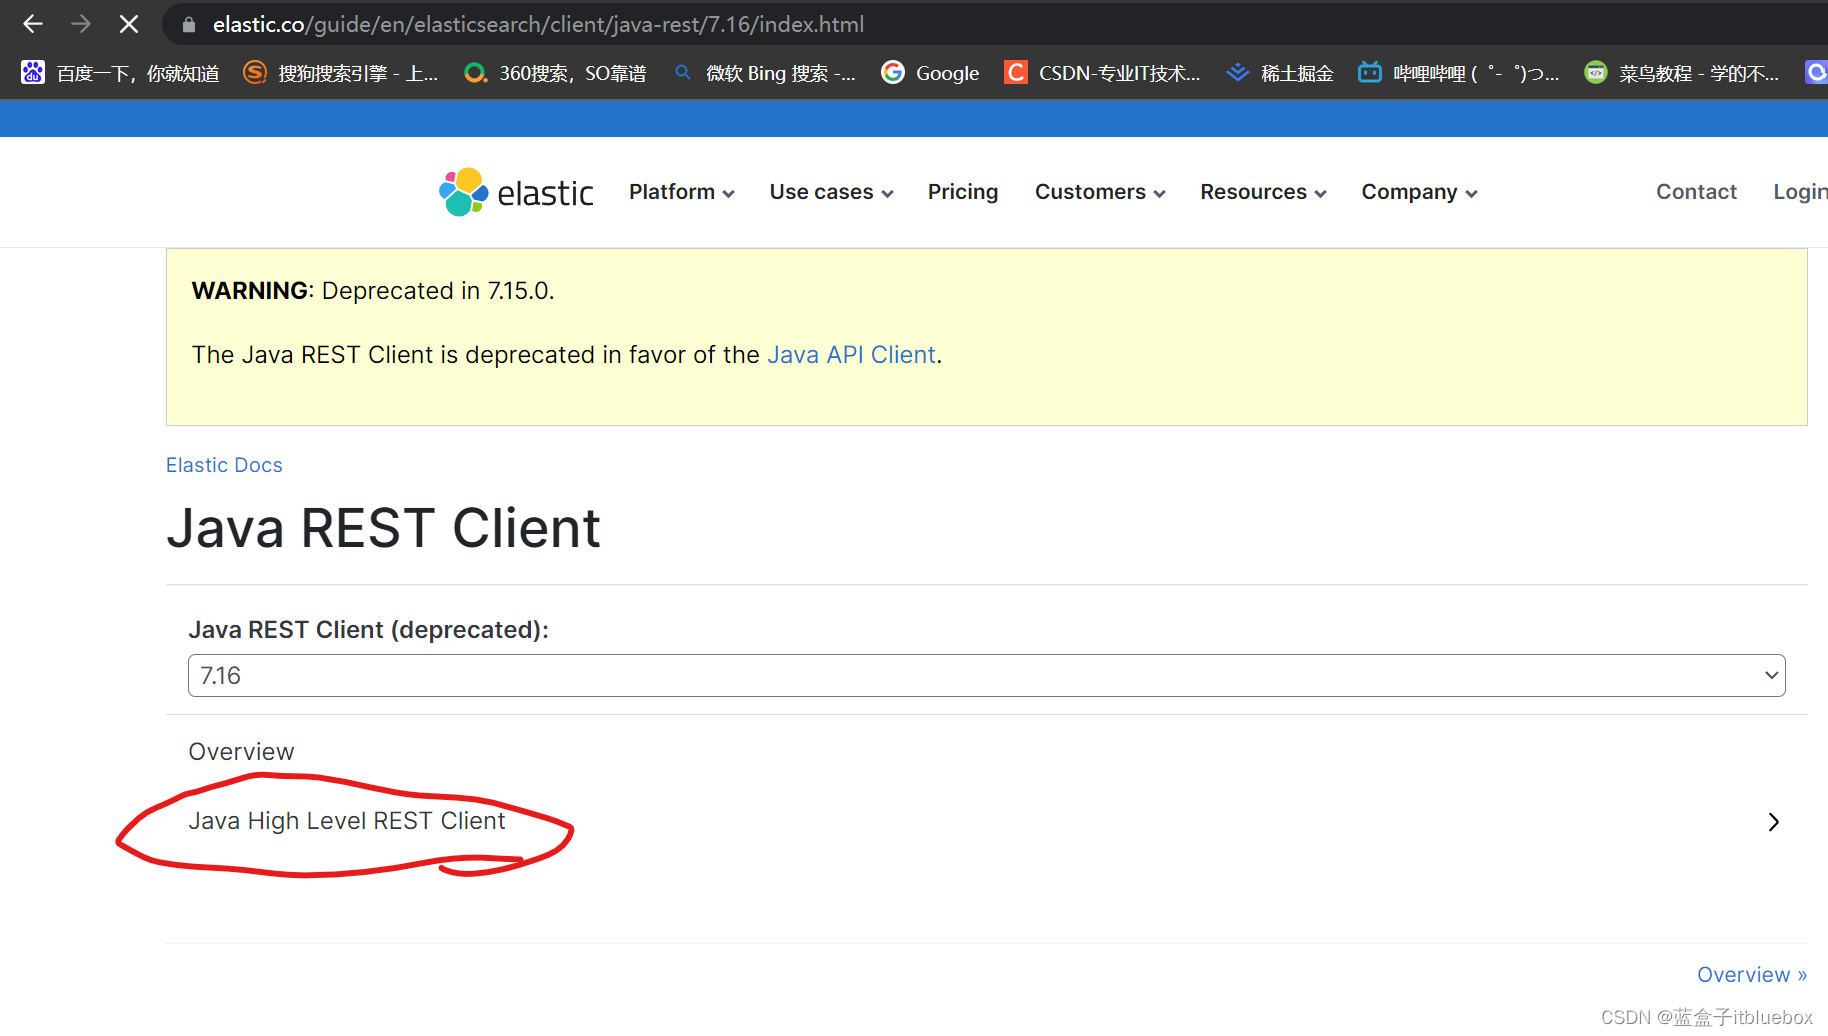
进入客户端的文档
https://www.elastic.co/guide/en/elasticsearch/client/index.html
因为我们本地安装的ES版本为
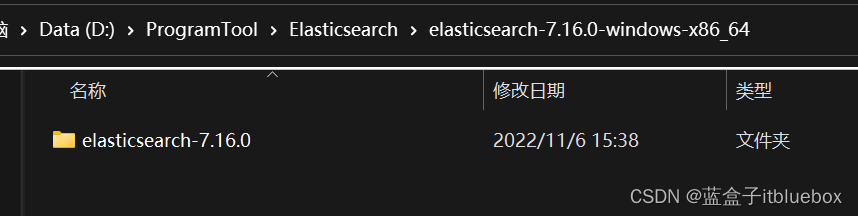
选择对应的版本即可
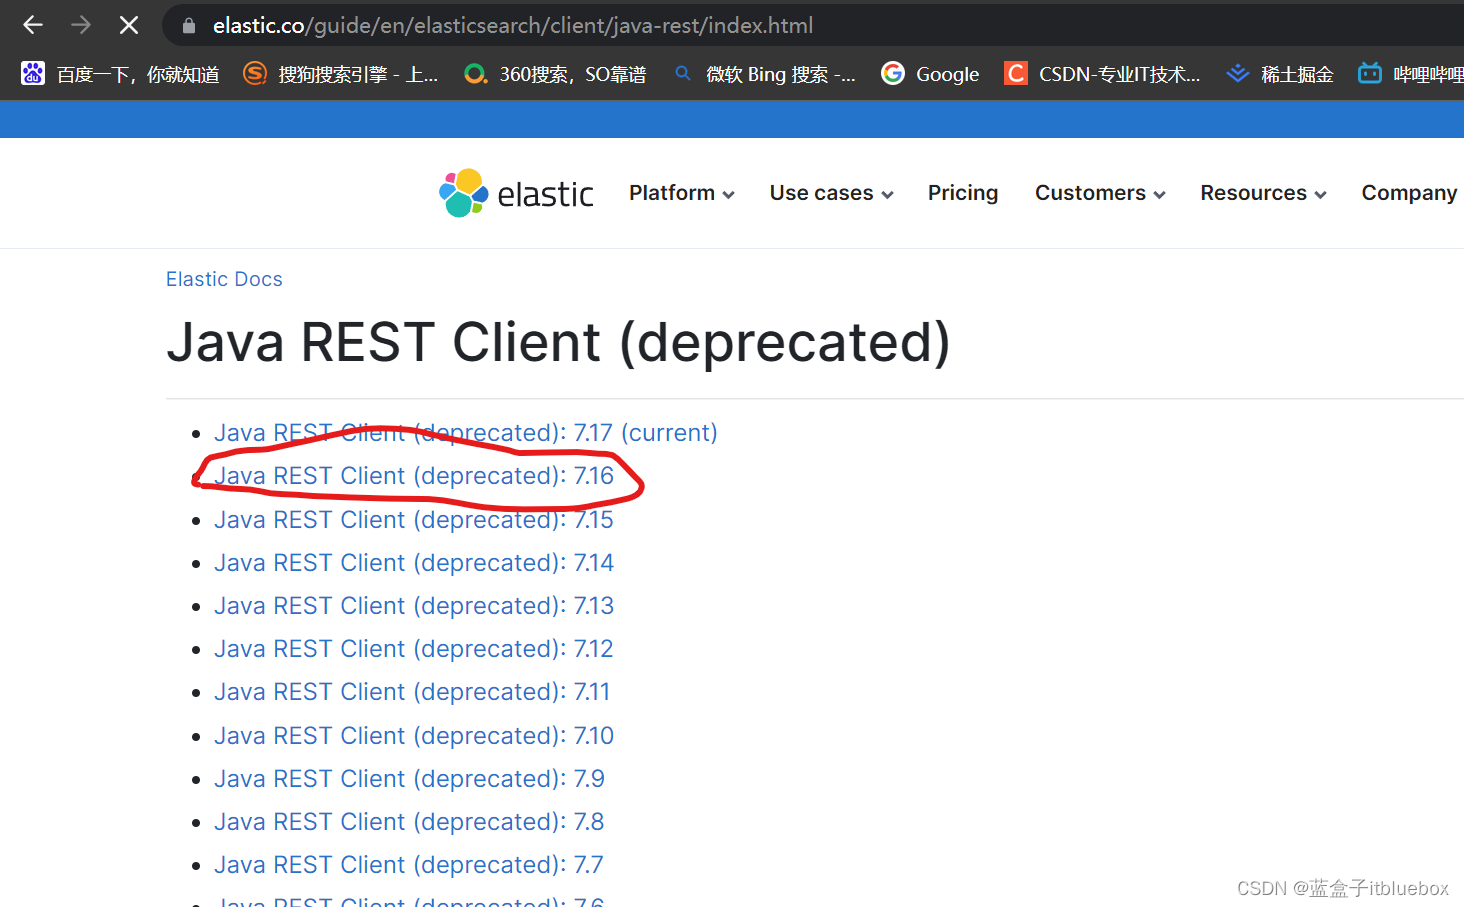
找到对应的版本
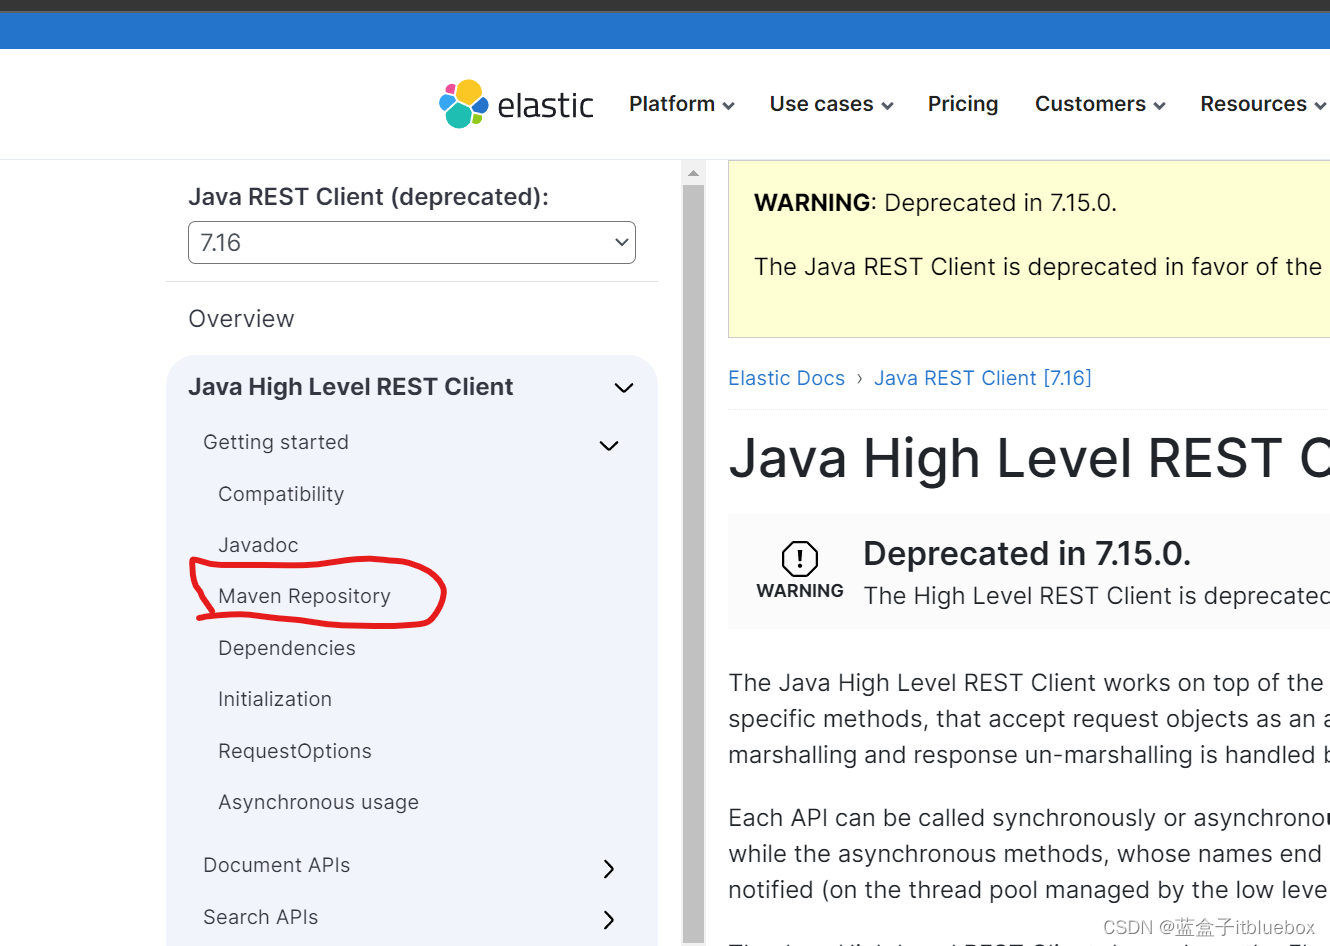
2、找到了原生的依赖
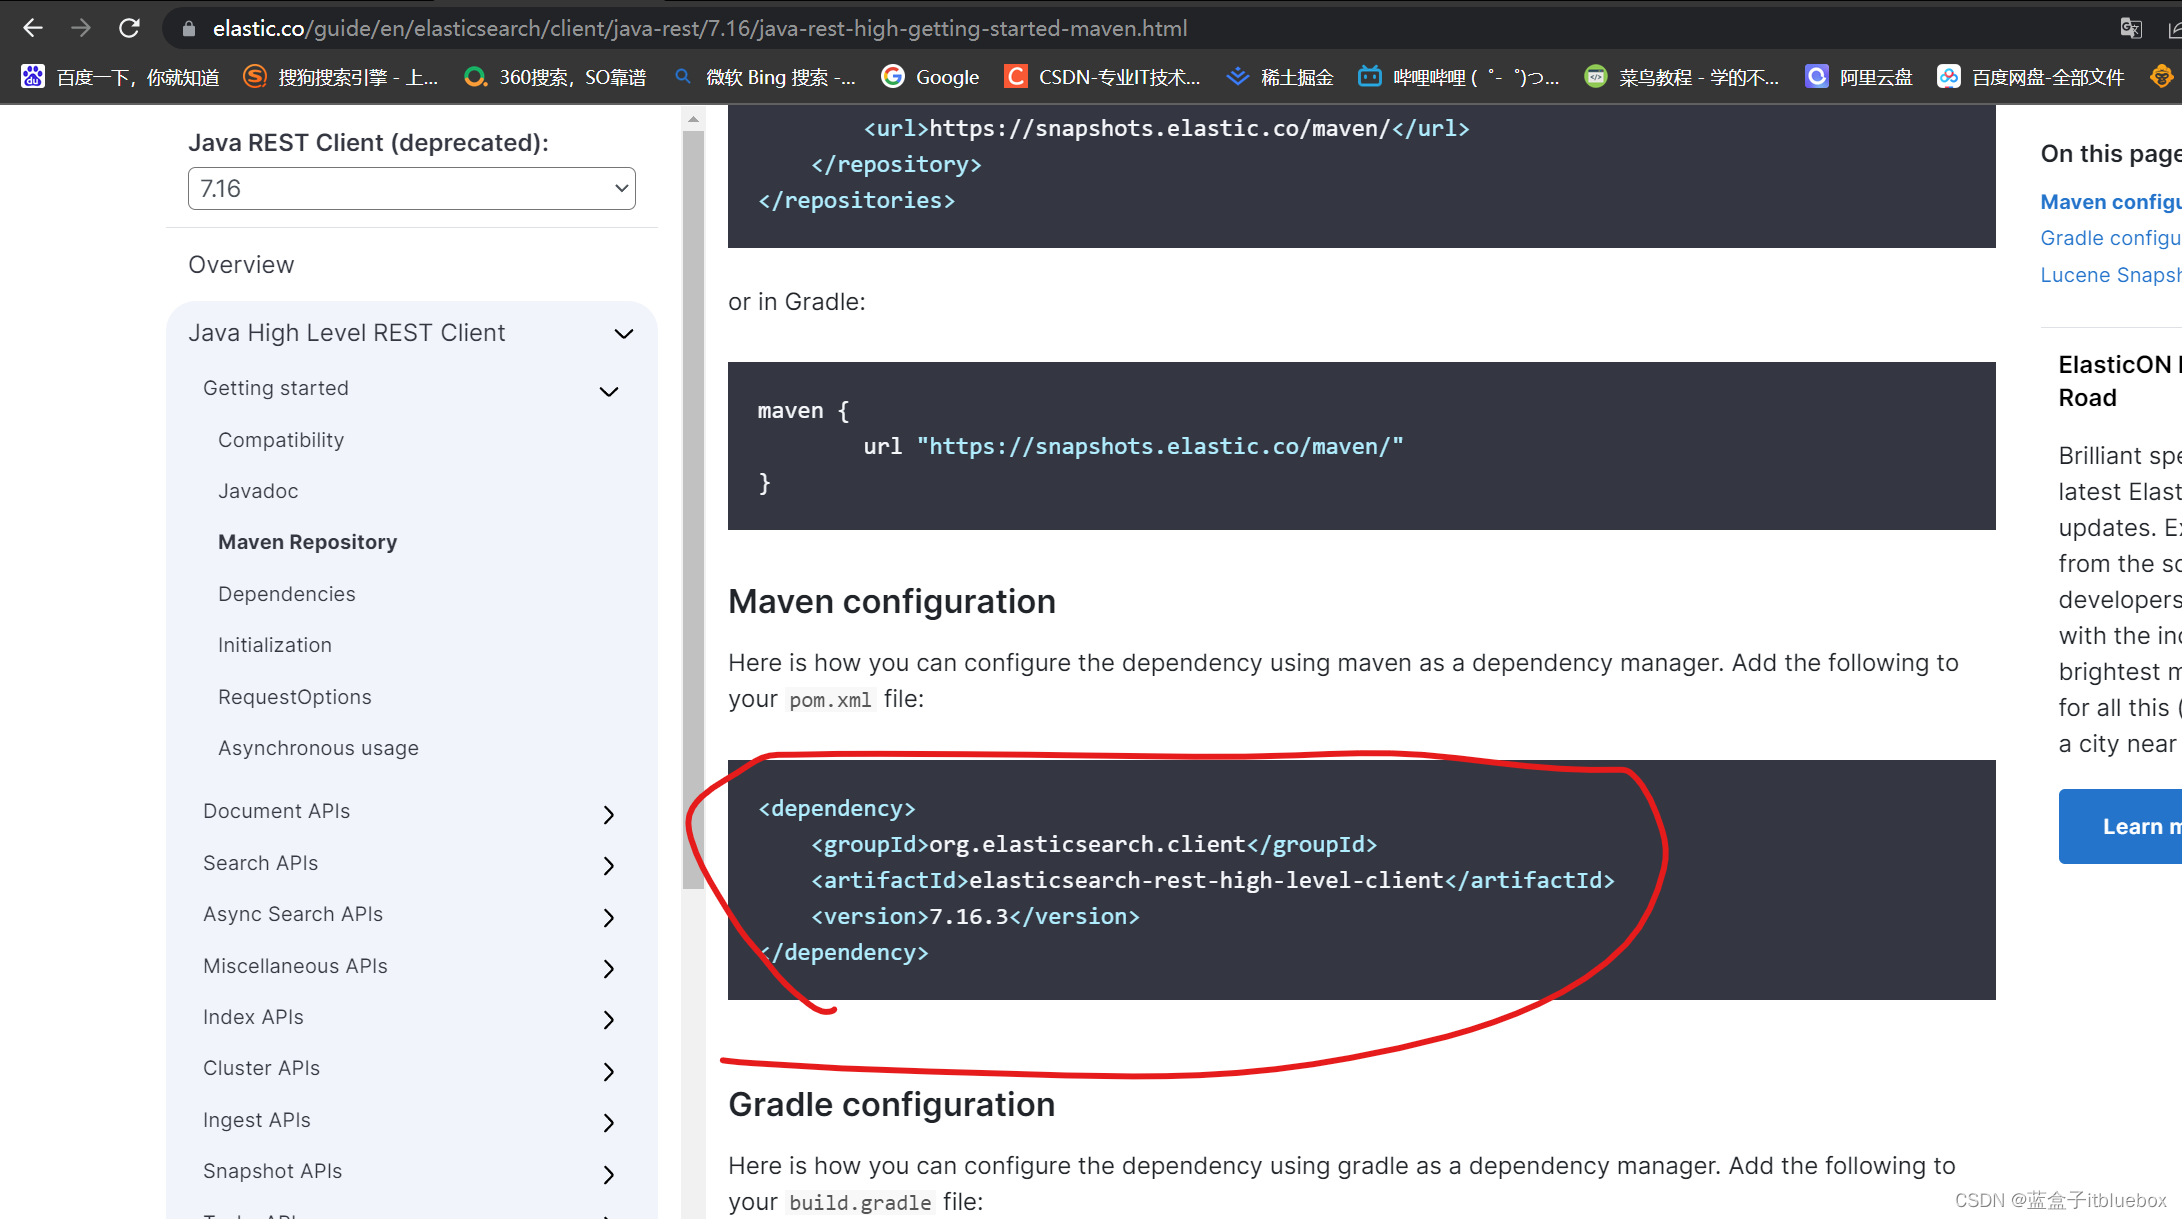
<dependency>
    <groupId>org.elasticsearch.client</groupId>
    <artifactId>elasticsearch-rest-high-level-client</artifactId>
    <version>7.16.3</version>
</dependency>
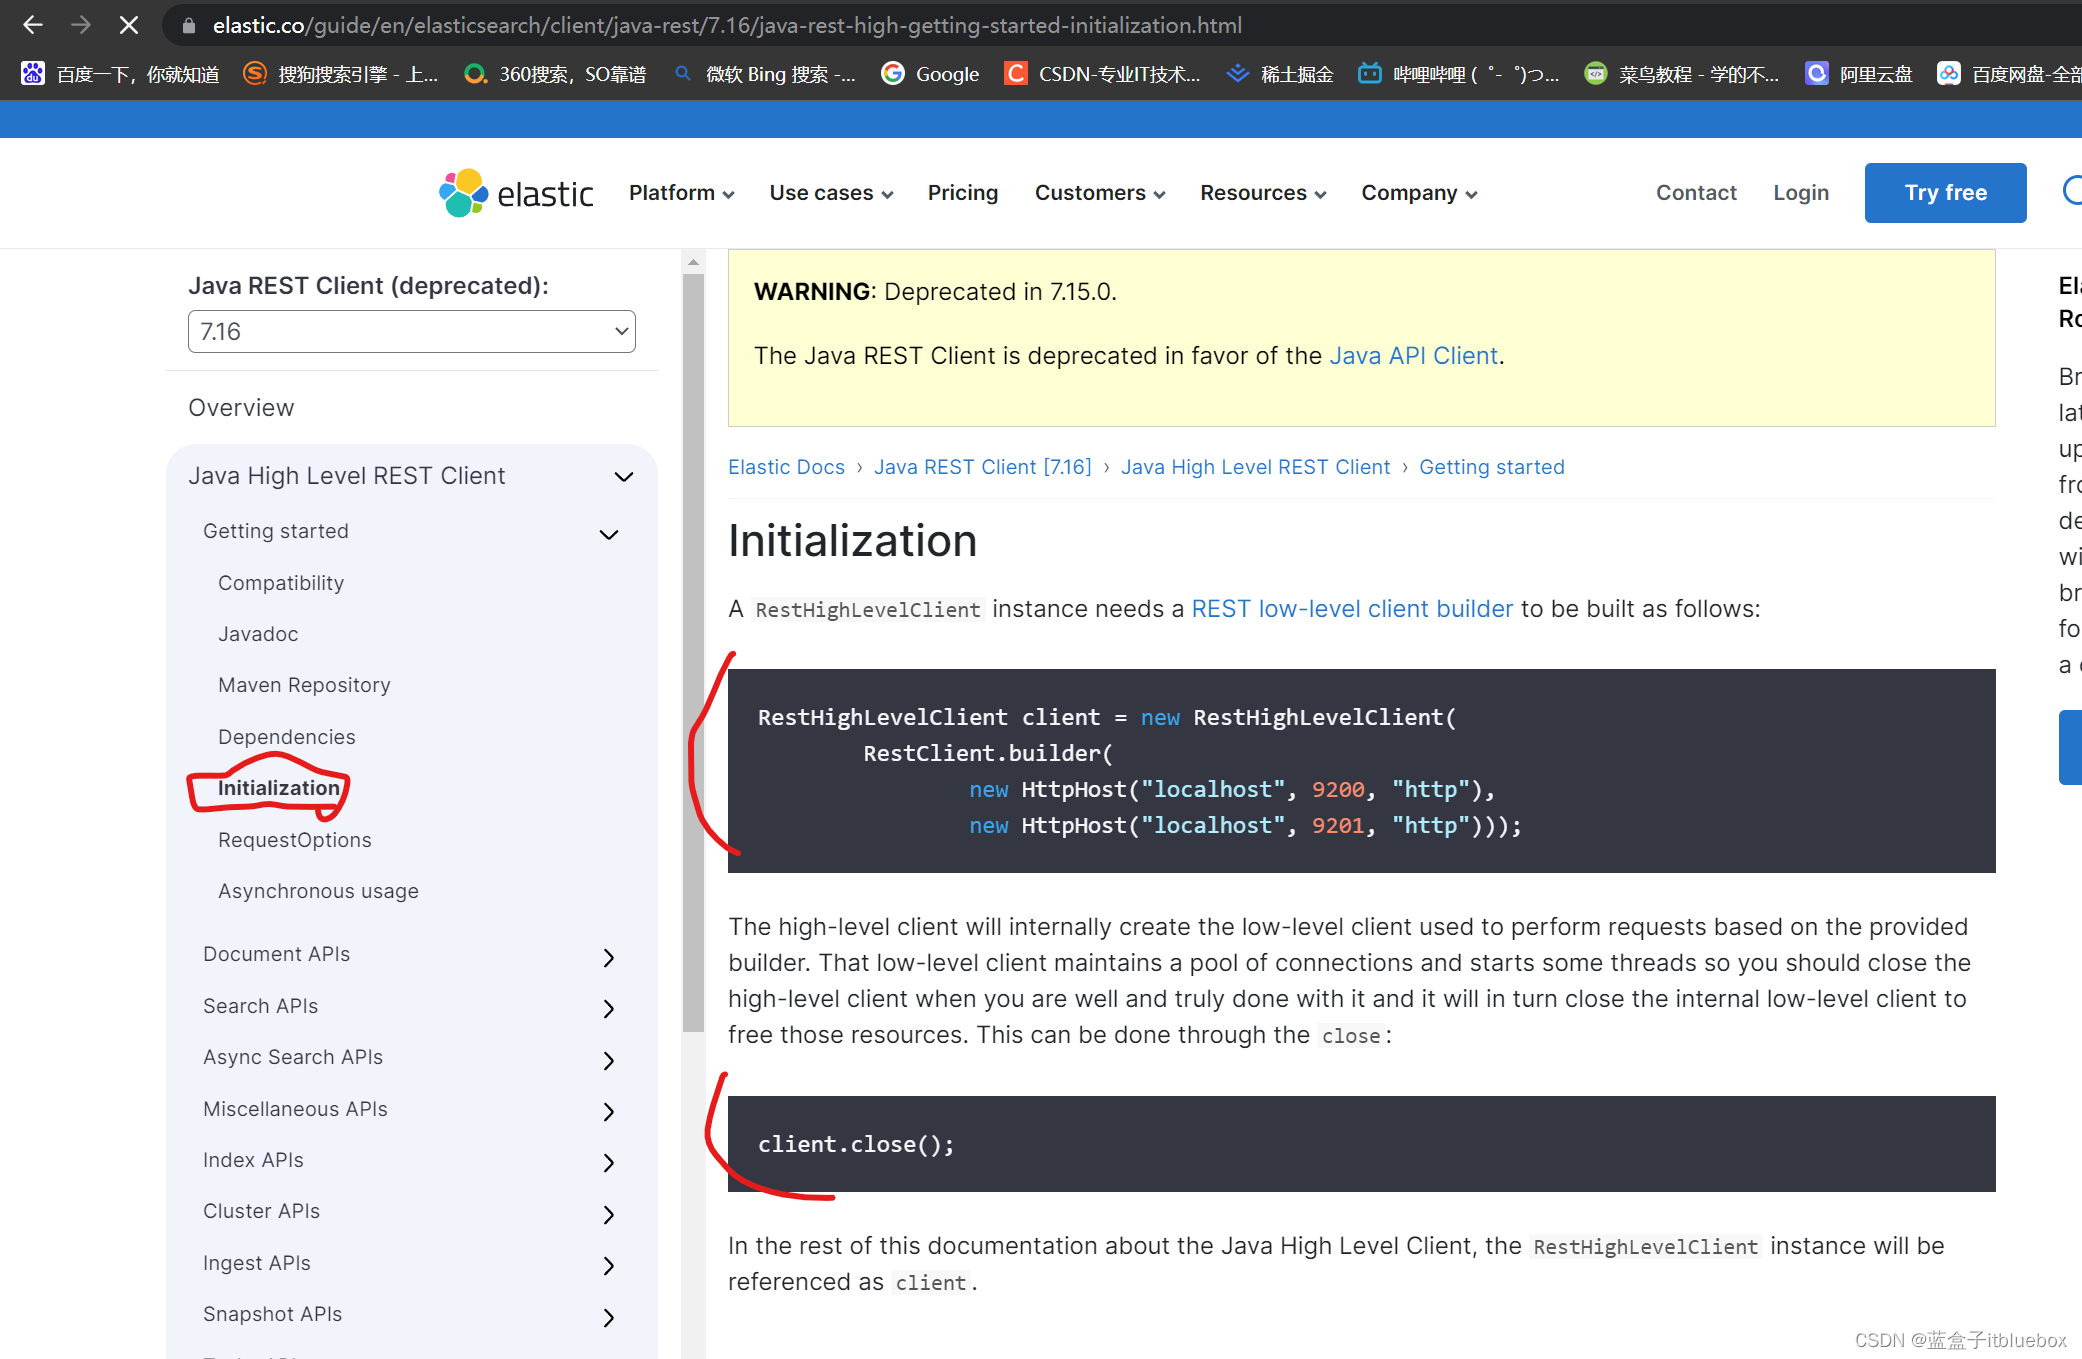
3、初始化
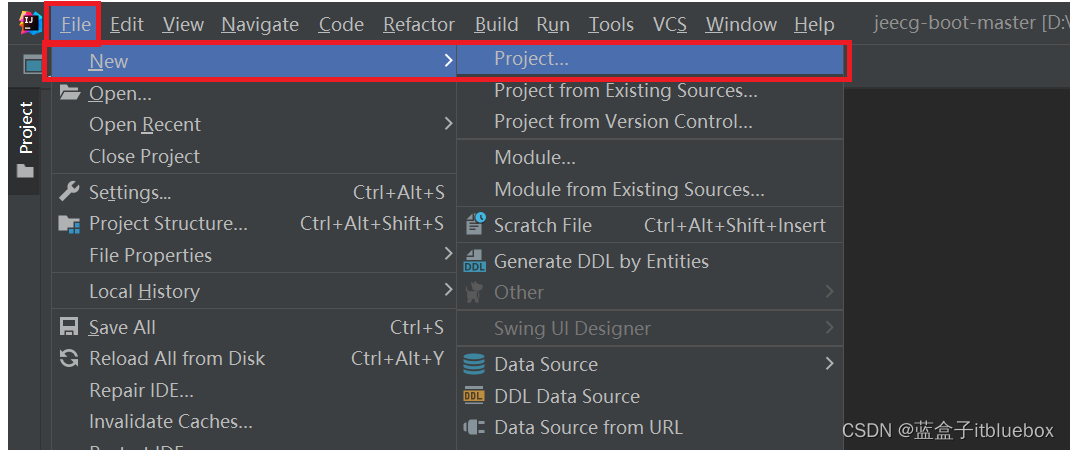
二、创建SpringBoot项目
1、创建项目
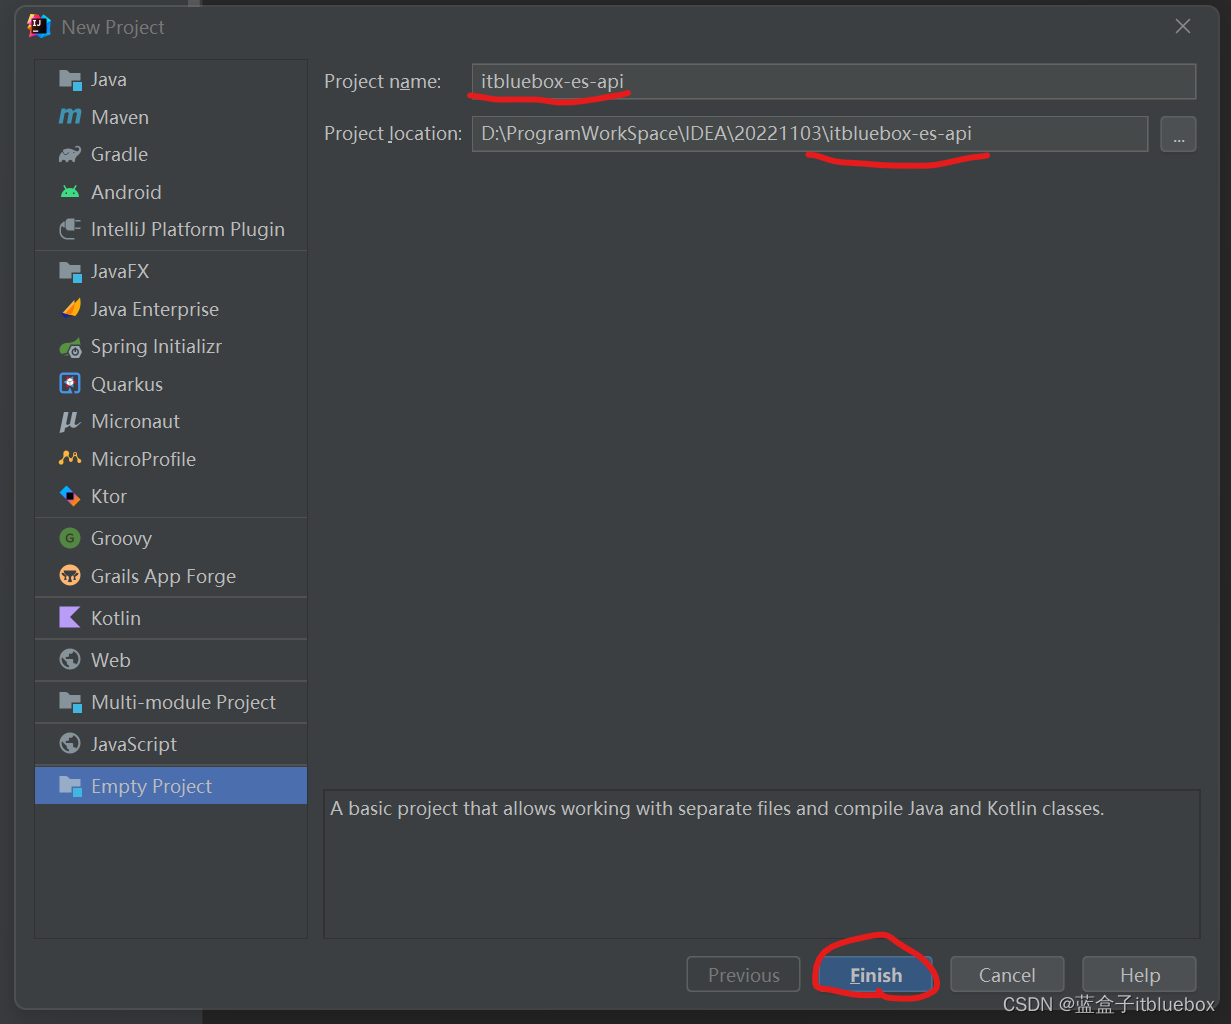
创建成功后在项目当中创建对应的模块

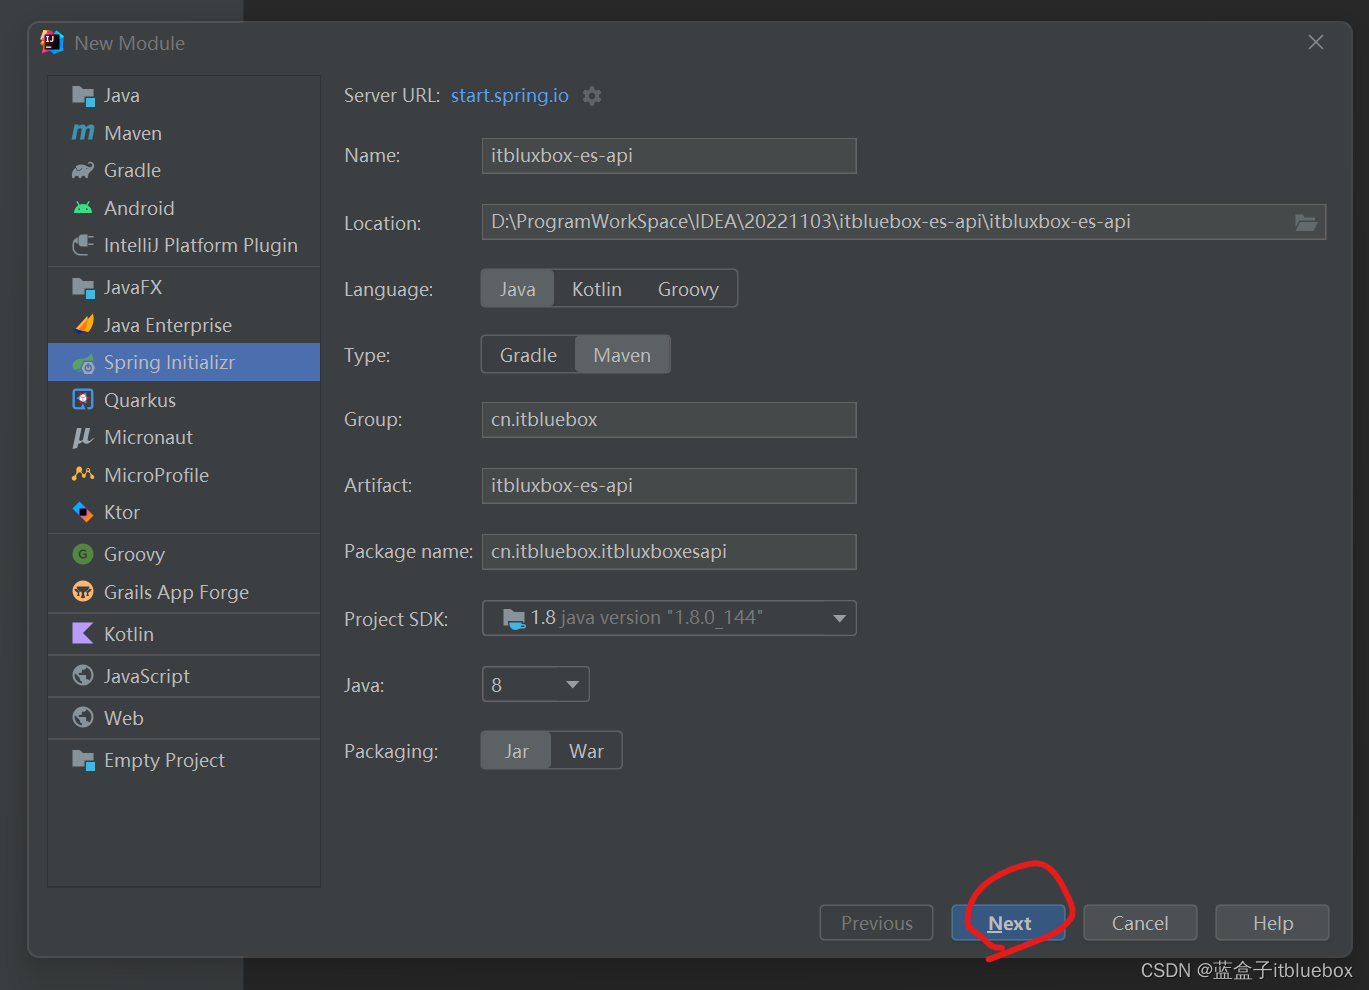
新建项目成功
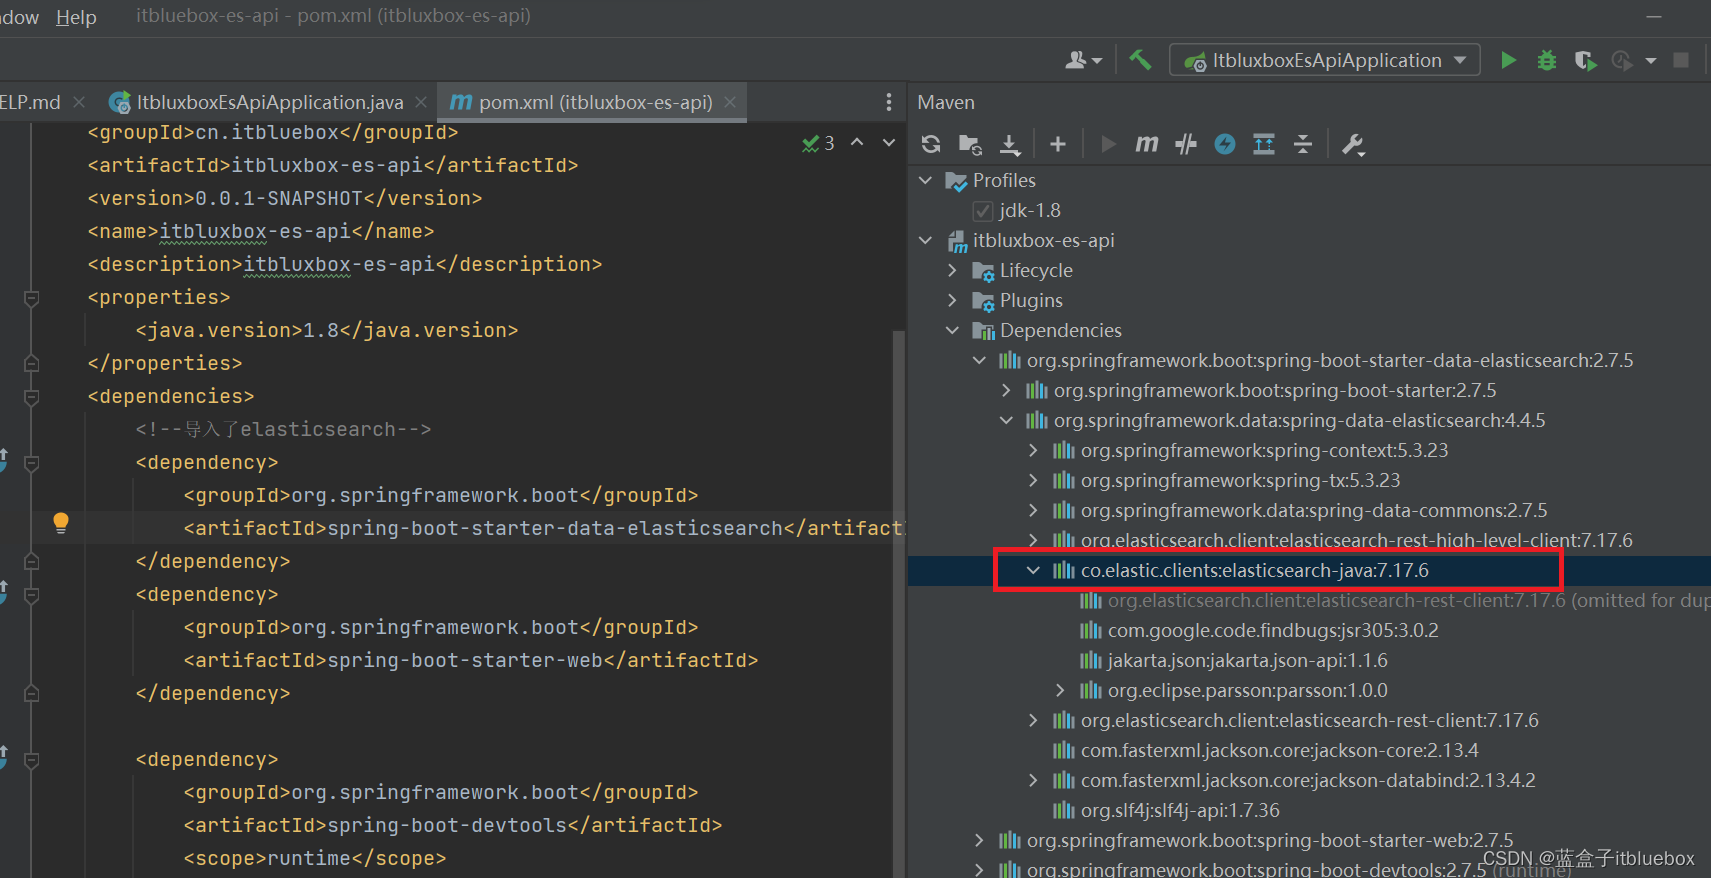
我们可以看到已经自动引入对应的依赖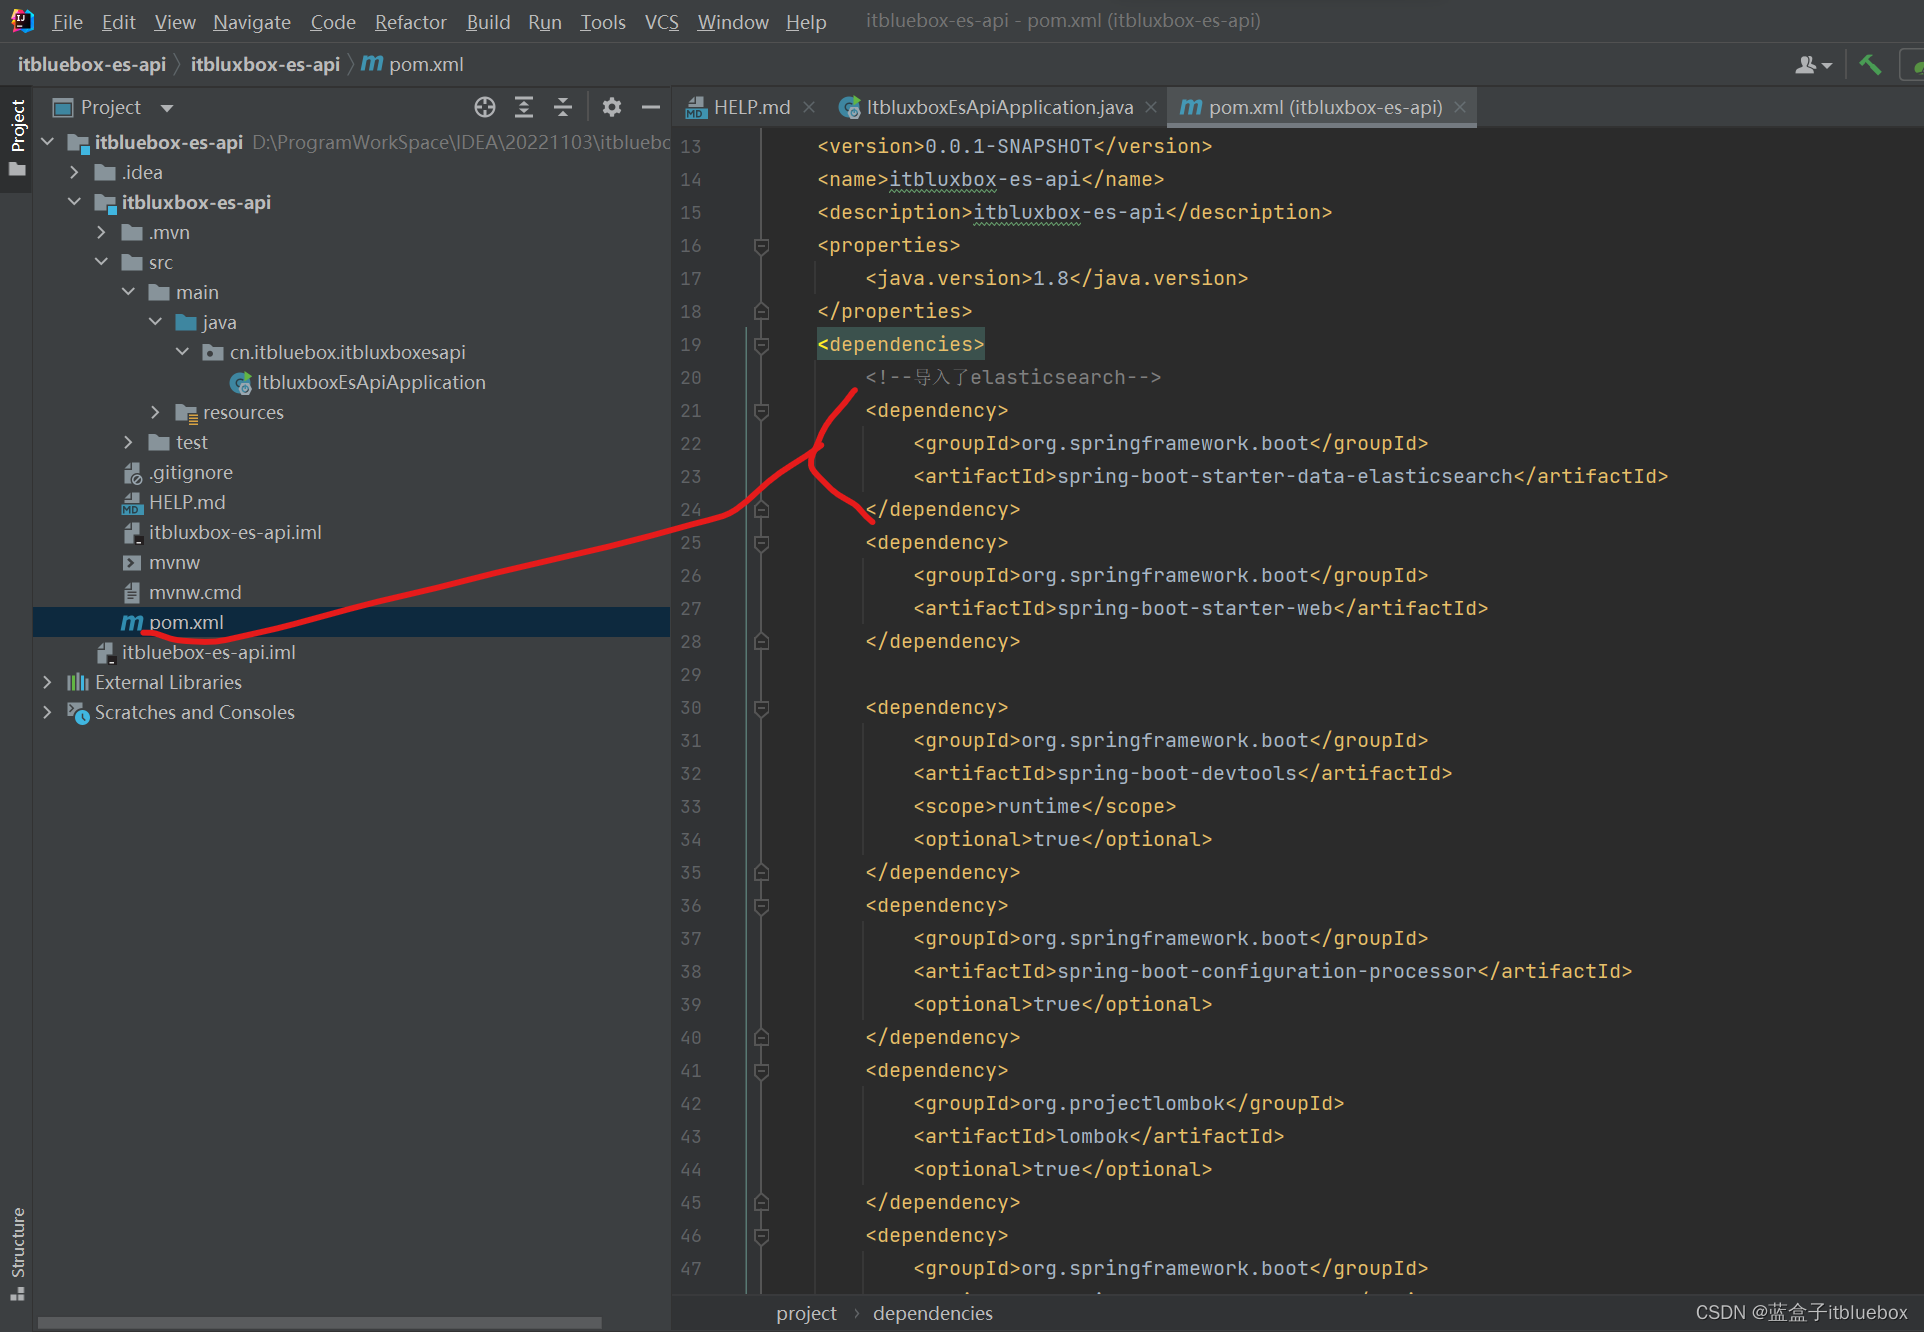
aven的目录当中我们可以看到,SpringBoot2.7.5 默认的ElasticSearch-client的版本为7.17.6
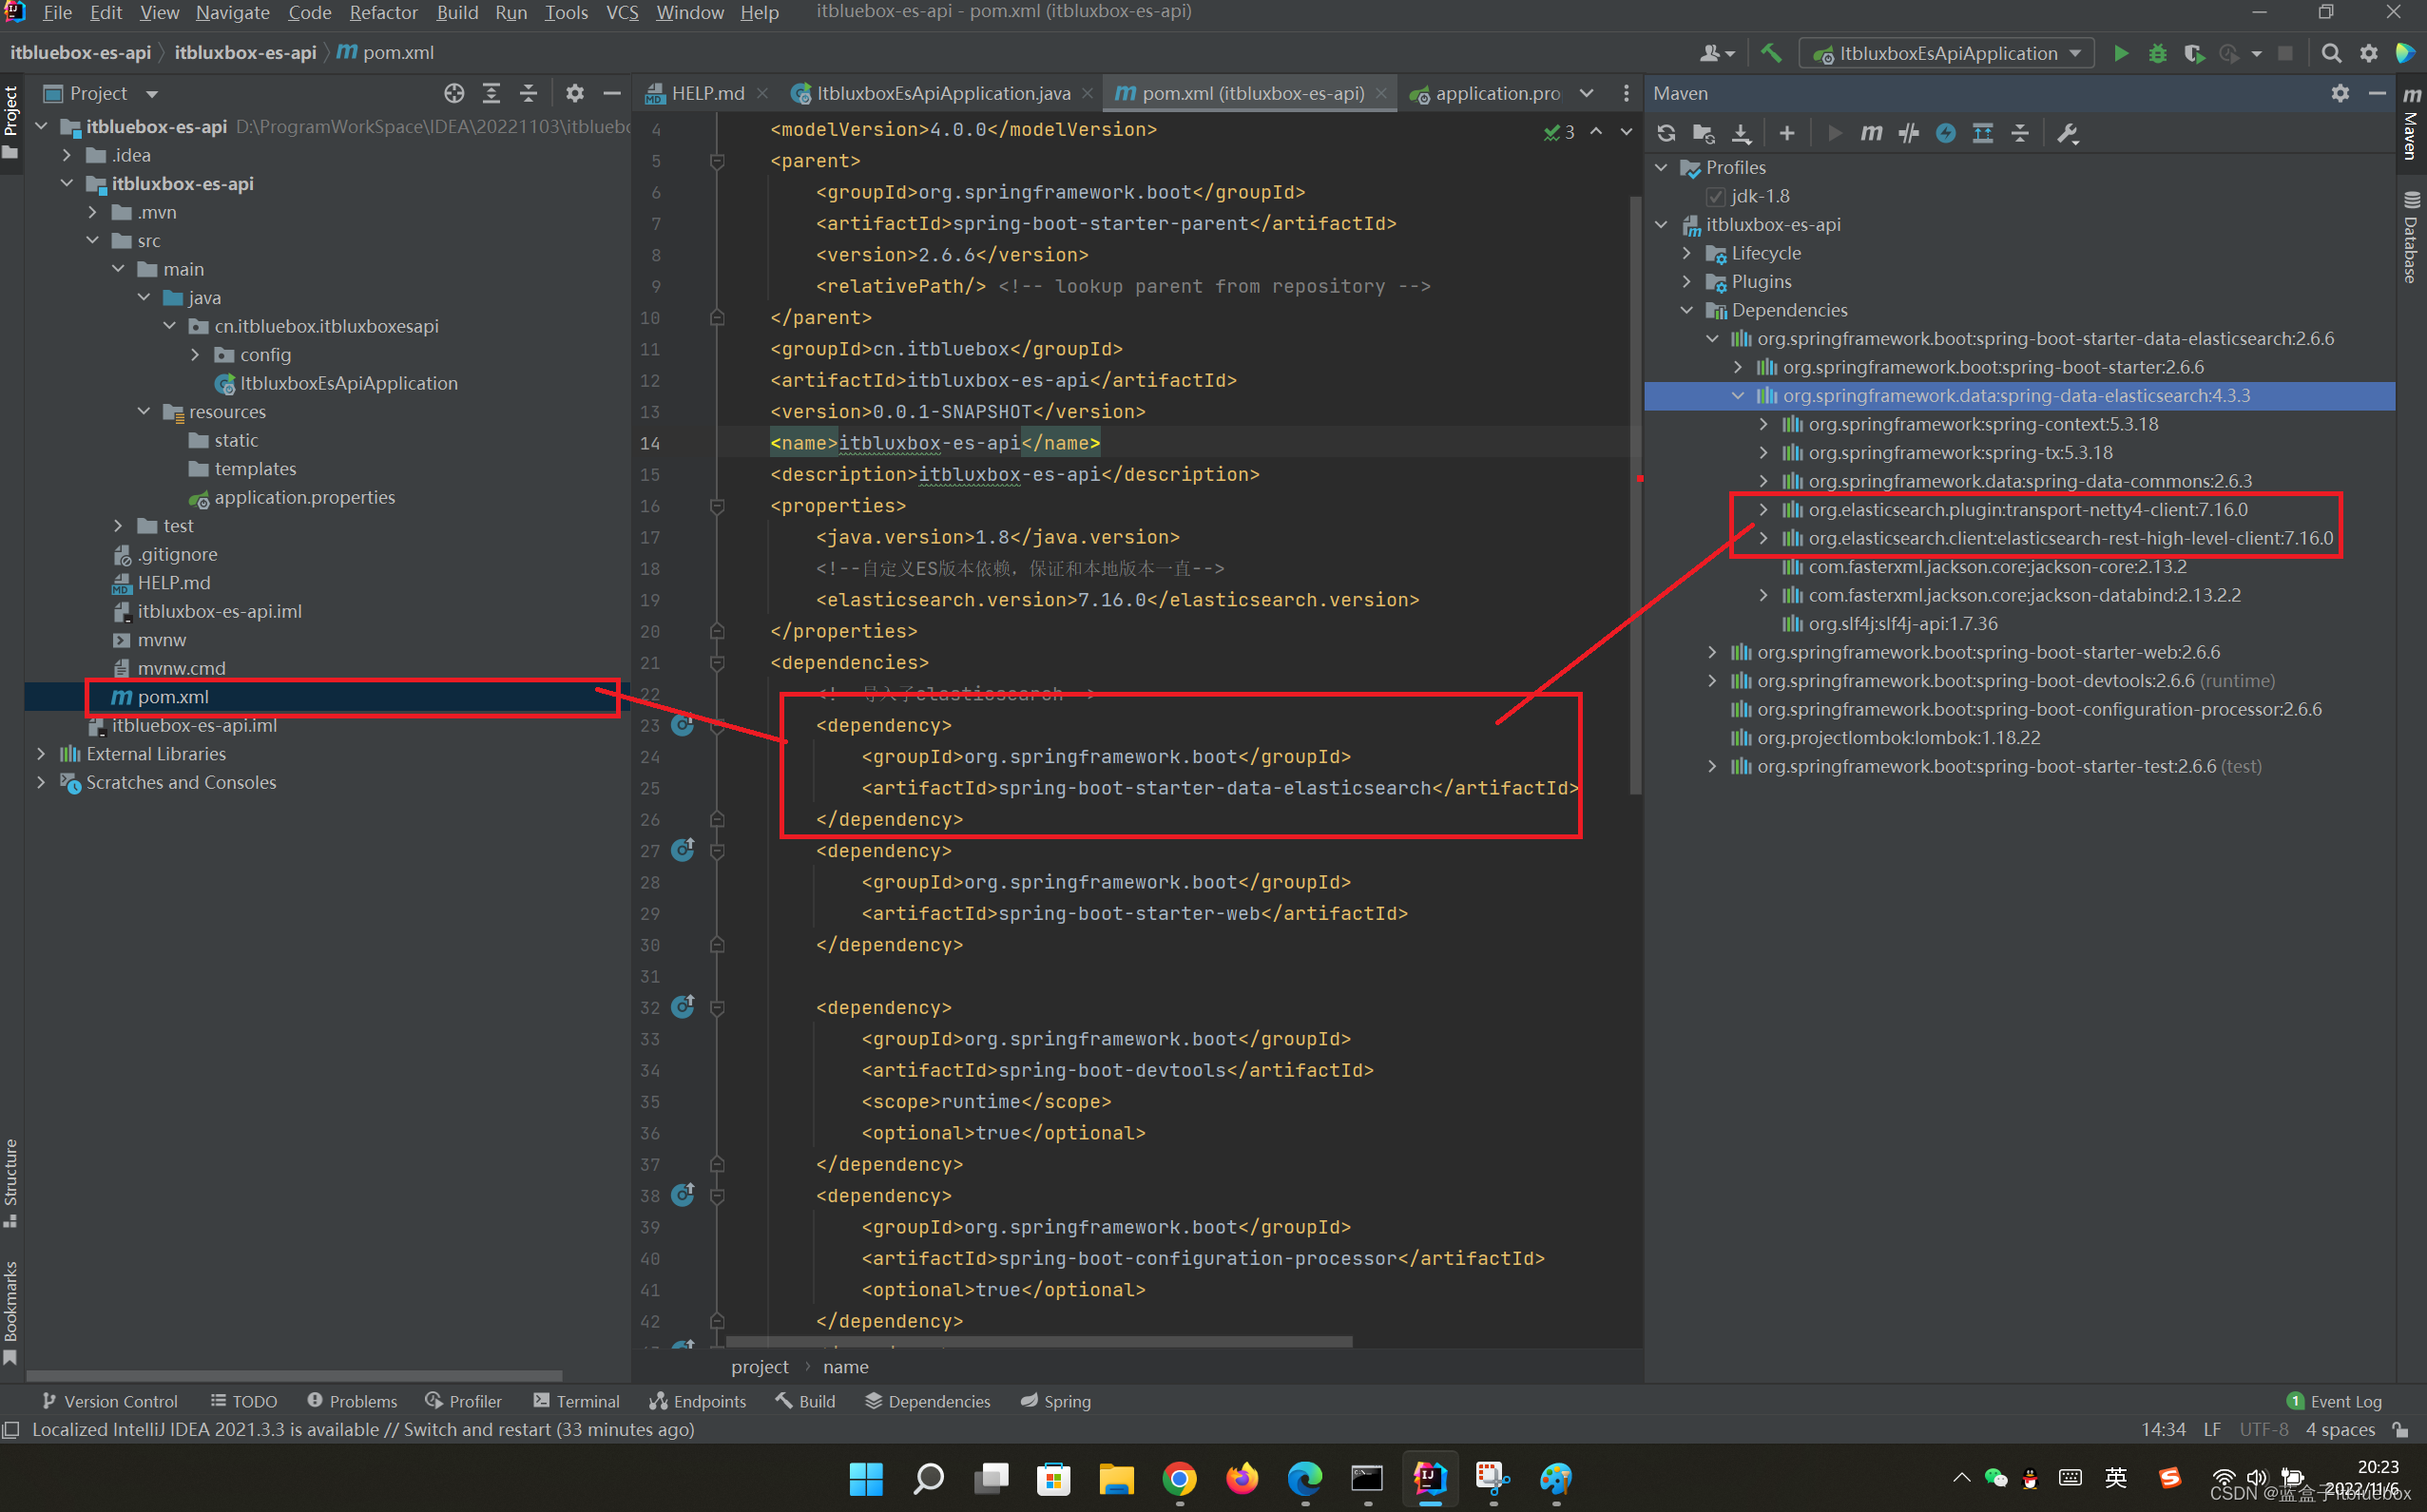
2、完善依赖
虽然这个版本可以使用但是,在切换SpringBoot的版本的时候会发生变化,所以我们需要自定义版本依赖
 <!--自定义ES版本依赖,保证和本地版本一直-->
        <elasticsearch.version>7.16.0</elasticsearch.version>
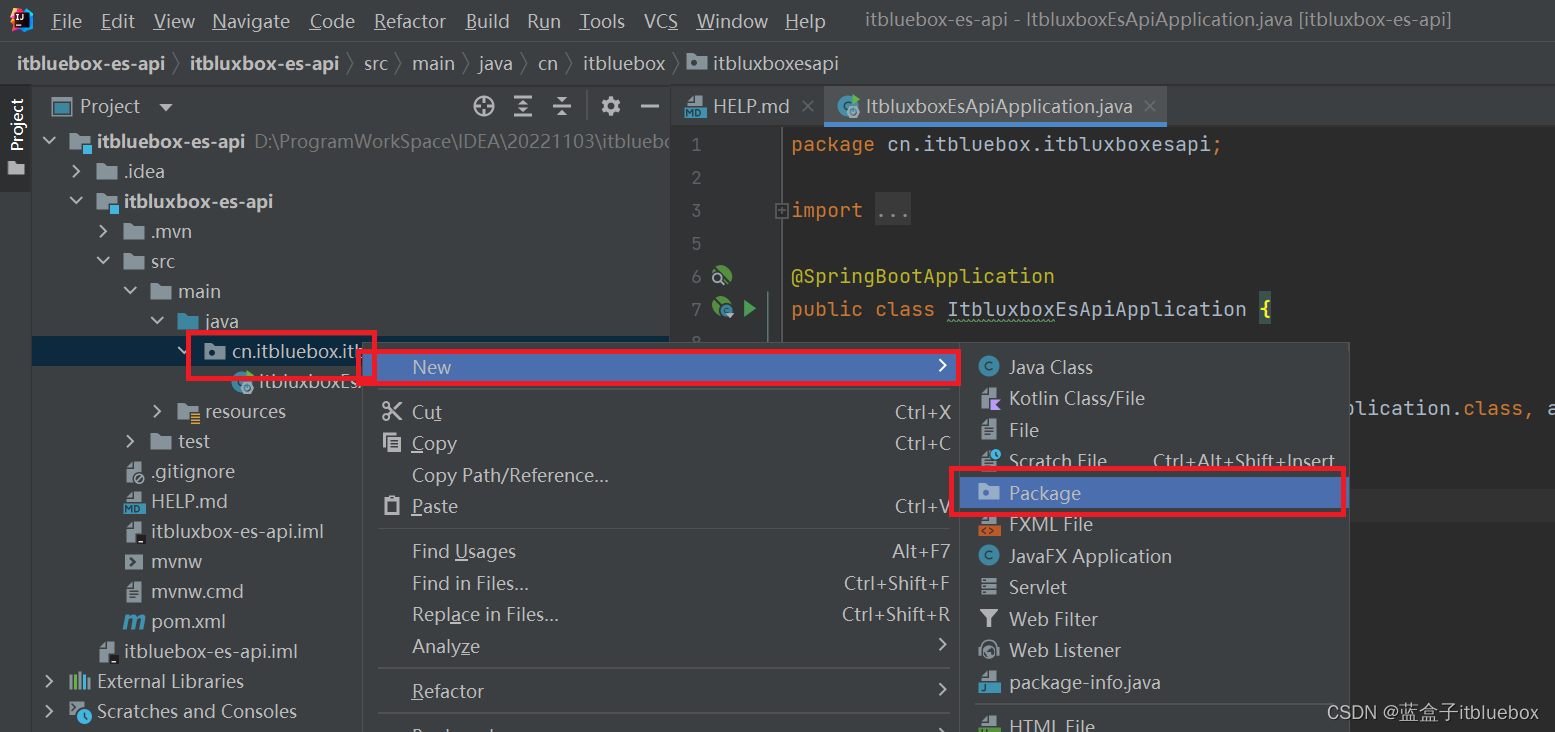
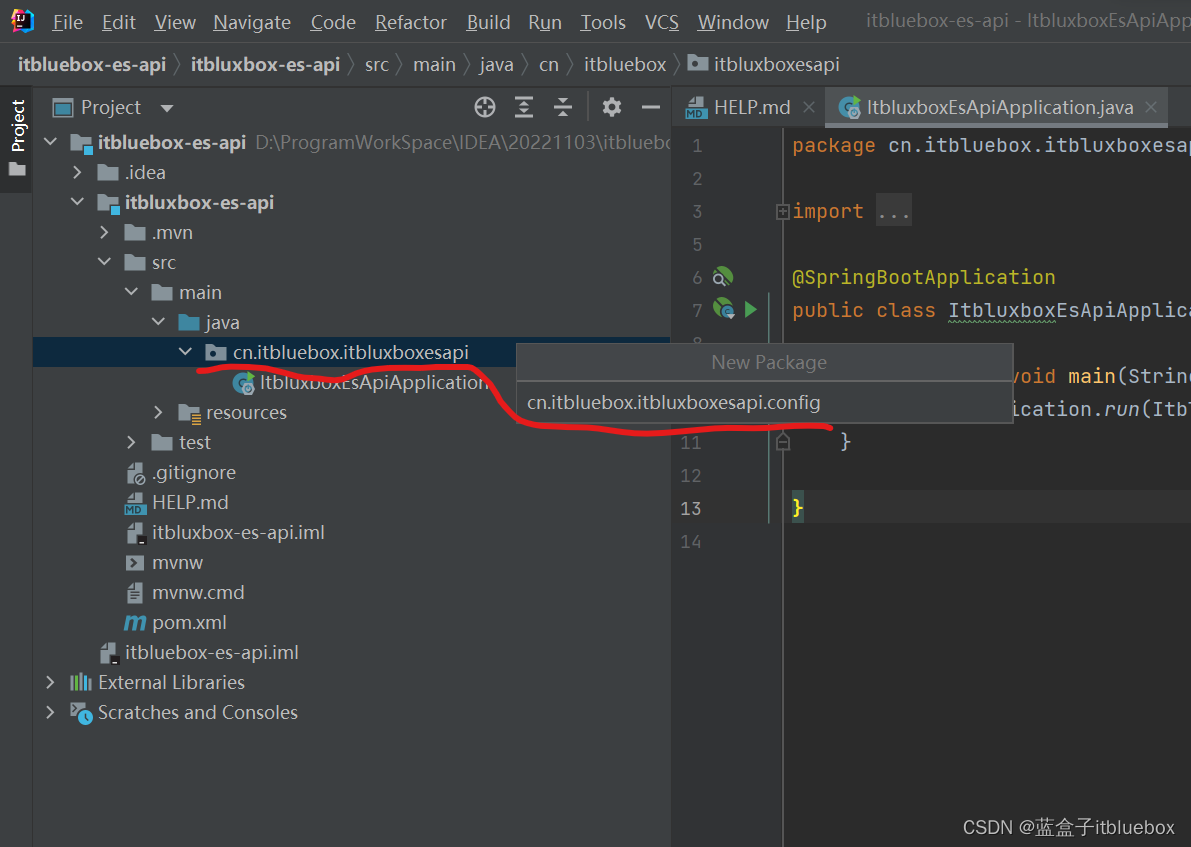
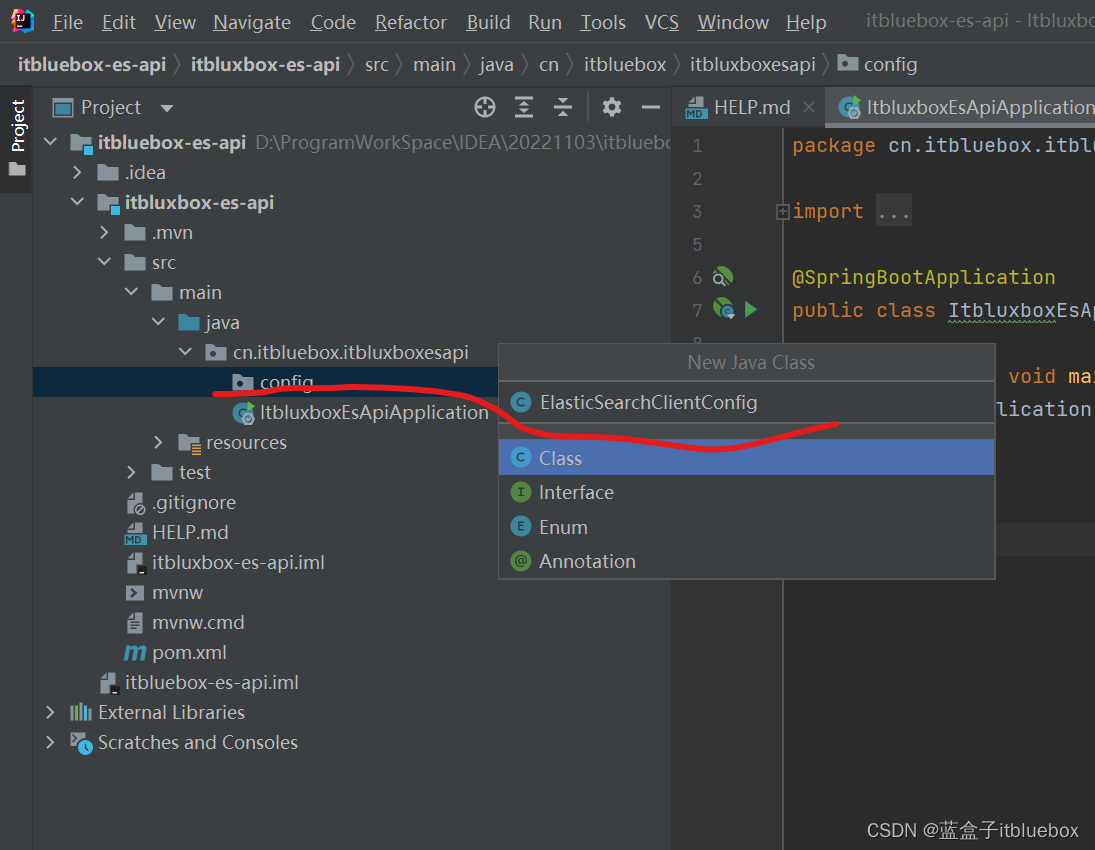
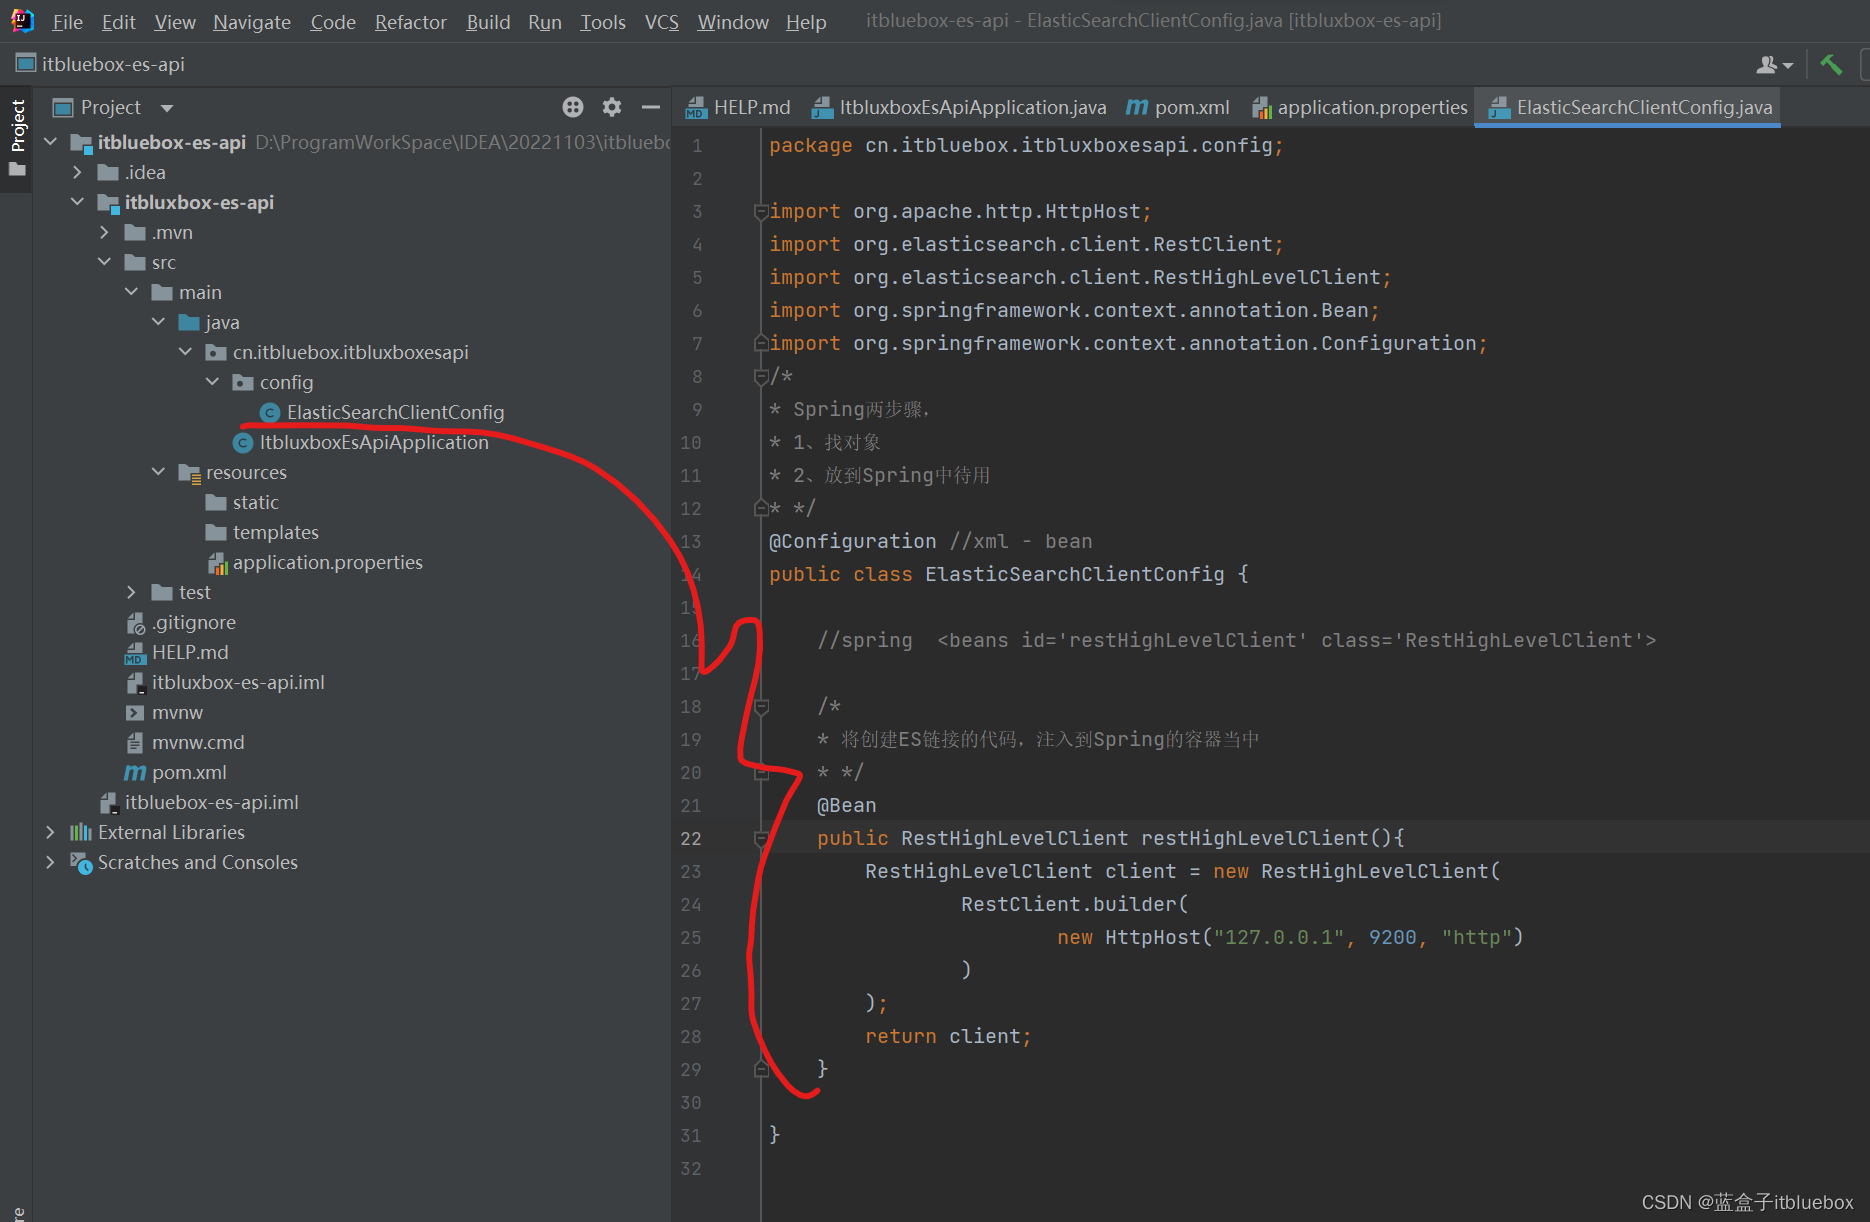
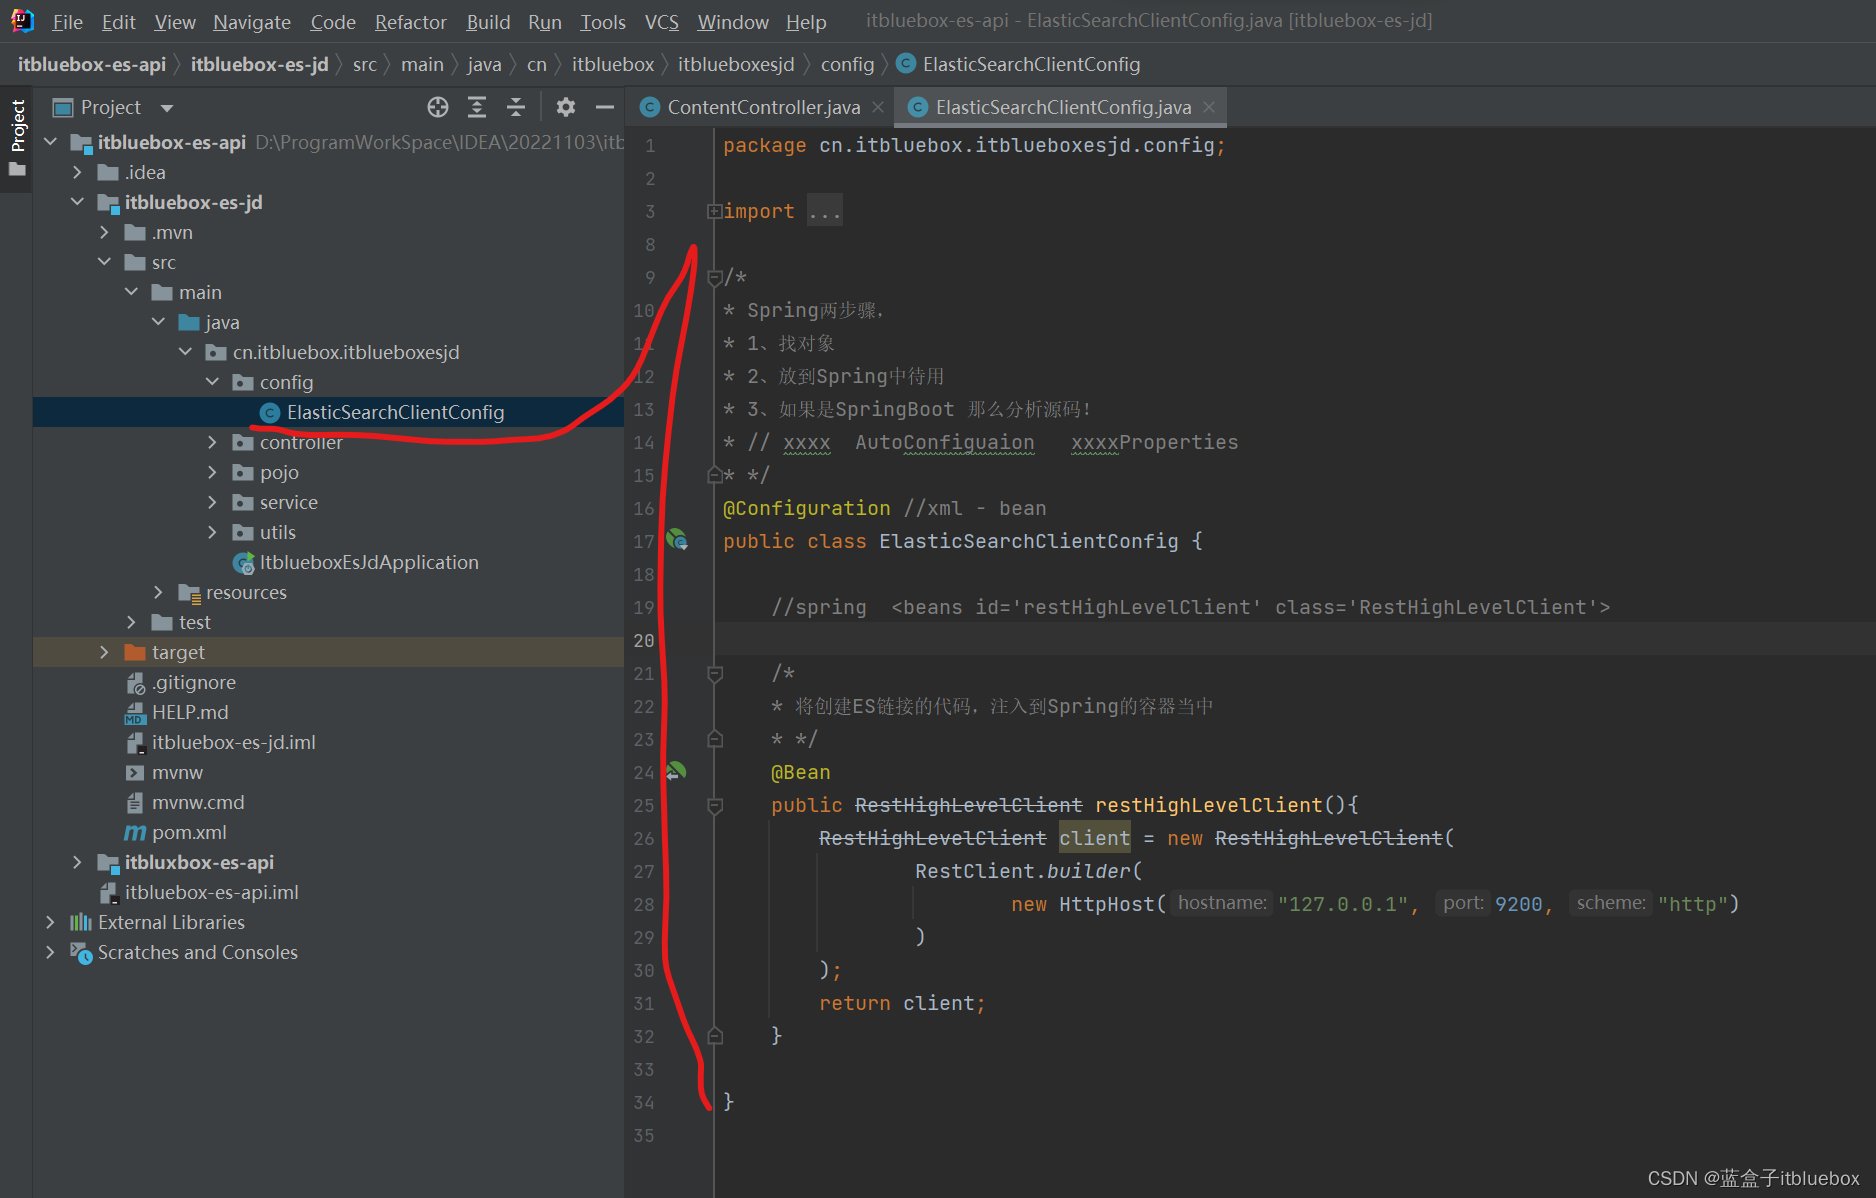
3、创建ElasticSearchClientConfig配置类
/*
* Spring两步骤,
* 1、找对象
* 2、放到Spring中待用
* */
@Configuration //xml - bean
public class ElasticSearchClientConfig {


    //spring  <beans id='restHighLevelClient' class='RestHighLevelClient'>

    /*
    * 将创建ES链接的代码,注入到Spring的容器当中
    * */
    @Bean
    public RestHighLevelClient restHighLevelClient(){


        RestHighLevelClient client = new RestHighLevelClient(
                RestClient.builder(
                        new HttpHost("127.0.0.1", 9200, "http")
                )
        );
        return client;
    }

}
- 拓展
@Configuration注解的作用:声明一个类为配置类,用于取代bean.xml配置文件注册bean对象。
@Configuration注解最常见的搭配使用有两个:@Bean和@Scope
@Bean:等价于Spring中的bean标签用于注册bean对象的,给容器中添加组件,一般以方法名作为组件的id,配置类里面使用@Bean标注在方法上给容器注册组件,默认是单实例的。
@Scope:用于声明该bean的作用域,作用域有singleton、prototype、request、session。
singleton 单实例的(单例)(默认) ----全局有且仅有一个实例
prototype 多实例的(多例) ----每次获取Bean的时候会有一个新的实例
reqeust 同一次请求 ----request:每一次HTTP请求都会产生一个新的bean,同时该bean仅在当前HTTP request内有效
session 同一个会话级别 ---- session:每一次HTTP请求都会产生一个新的bean,同时该bean仅在当前HTTP session内有效
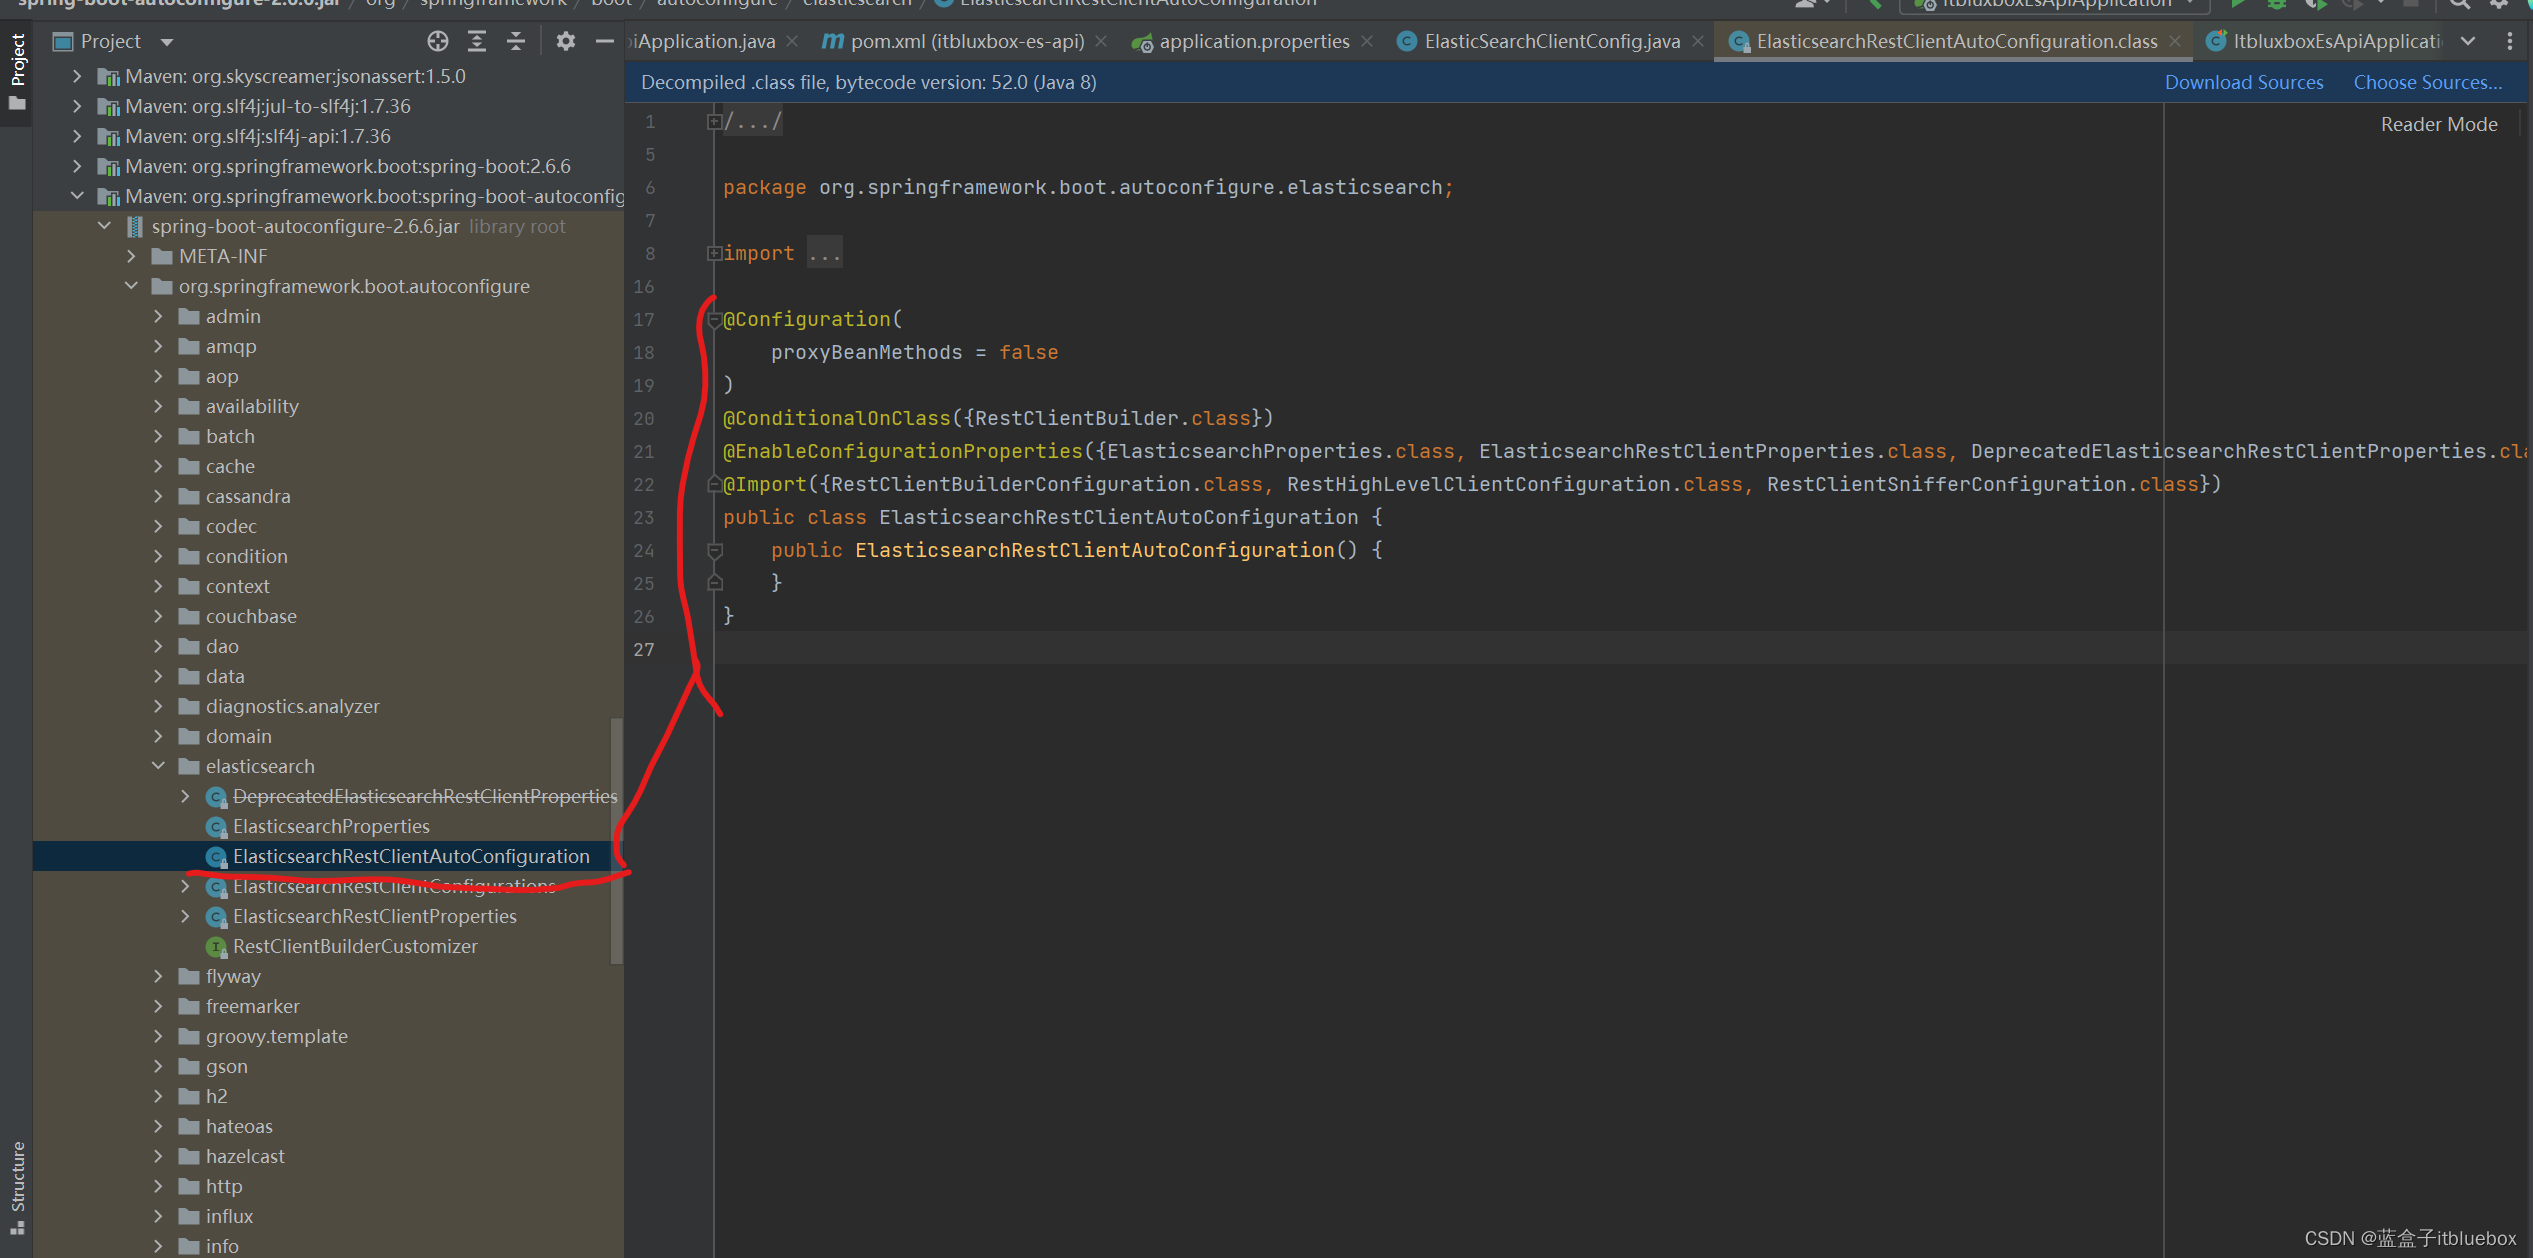
@Configuration注解的属性
@Configuration注解中有@Component注解的加持,因此它自己本身也是一个bean对象,可以通过Context的进行获取。
@Configuration中的属性proxyBeanMethods是及其重要的,设置true/false会得到不同的效果。
proxyBeanMethods = true的情况下,保持单实例对象
proxyBeanMethods = false的情况下,不进行检查IOC容器中是否存在,而是简单的调用方法进行创建对象,无法保持单实例,简单来说,就相当于true只调用一次(创建一次,后续重复调用),而false会调用多次(调用多少次创建多少个对象)。
- 分析源码
二、索引库API操作
1、在测试类当中注入对应的内容
在测试类当中进行测试
首先在测试类当中注入,刚刚的Spring容器当中的restHighLevelClient
这里注入有三种方式
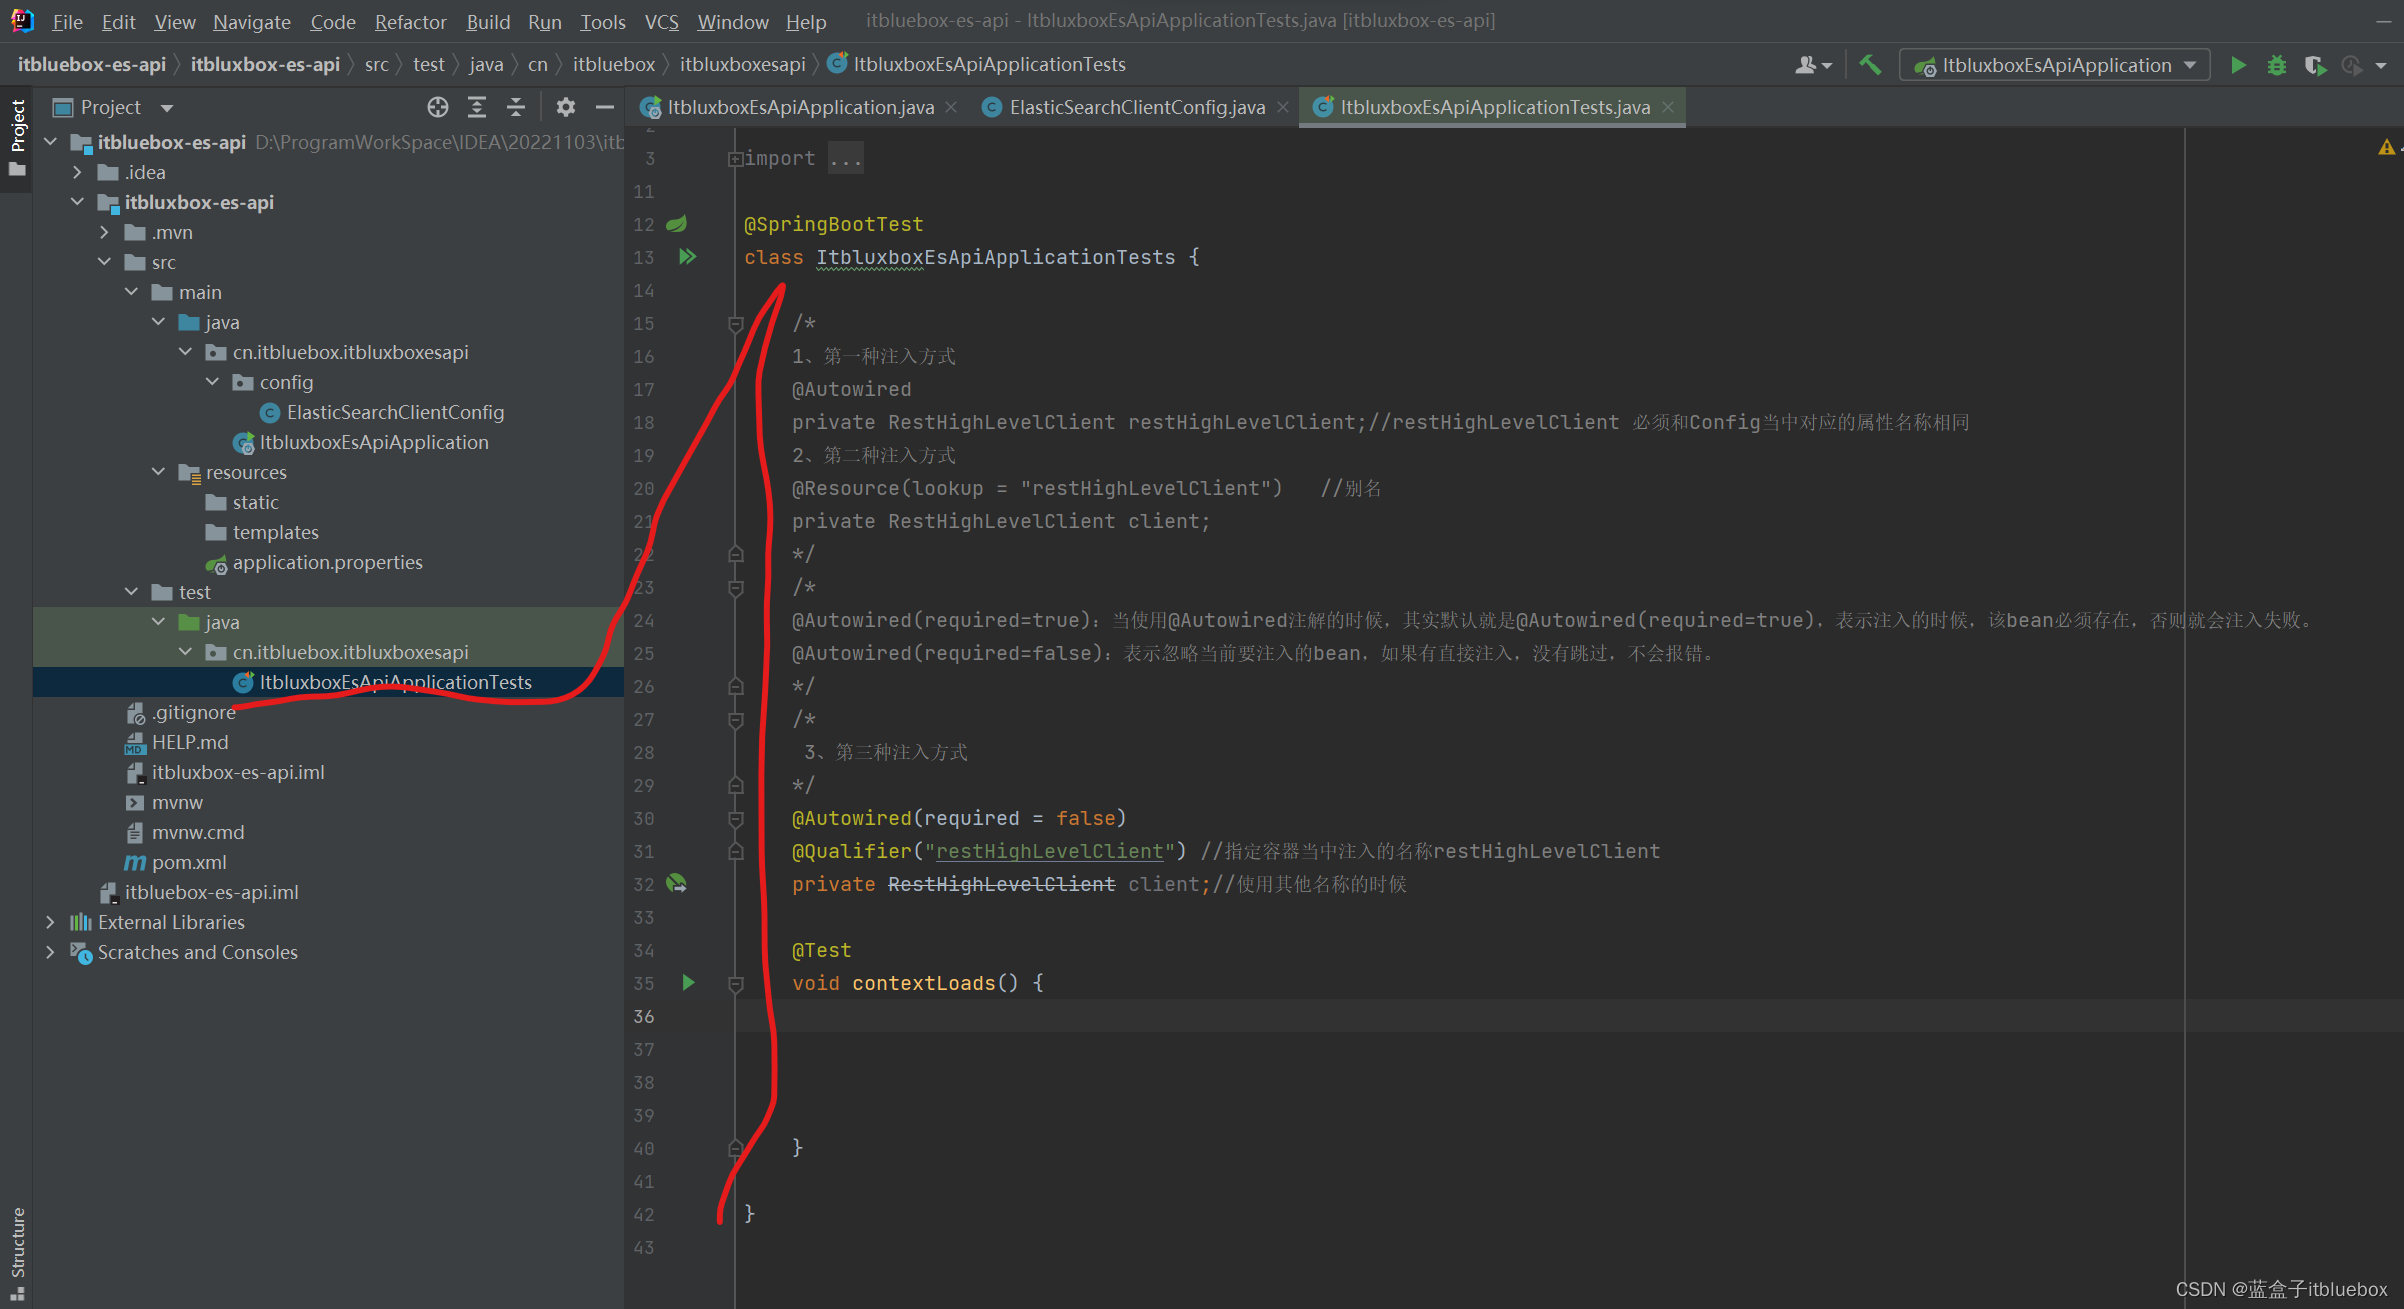
@SpringBootTest
class ItbluxboxEsApiApplicationTests {


    /*
    1、第一种注入方式
    @Autowired
    private RestHighLevelClient restHighLevelClient;//restHighLevelClient 必须和Config当中对应的属性名称相同
    2、第二种注入方式
    @Resource(lookup = "restHighLevelClient")   //别名
    private RestHighLevelClient client;
    */
    /*
    @Autowired(required=true):当使用@Autowired注解的时候,其实默认就是@Autowired(required=true),表示注入的时候,该bean必须存在,否则就会注入失败。
    @Autowired(required=false):表示忽略当前要注入的bean,如果有直接注入,没有跳过,不会报错。
    */
    /*
     3、第三种注入方式
    */
    @Autowired(required = false)
    @Qualifier("restHighLevelClient") //指定容器当中注入的名称restHighLevelClient
    private RestHighLevelClient client;//使用其他名称的时候

    @Test
    void contextLoads() {


    }
}
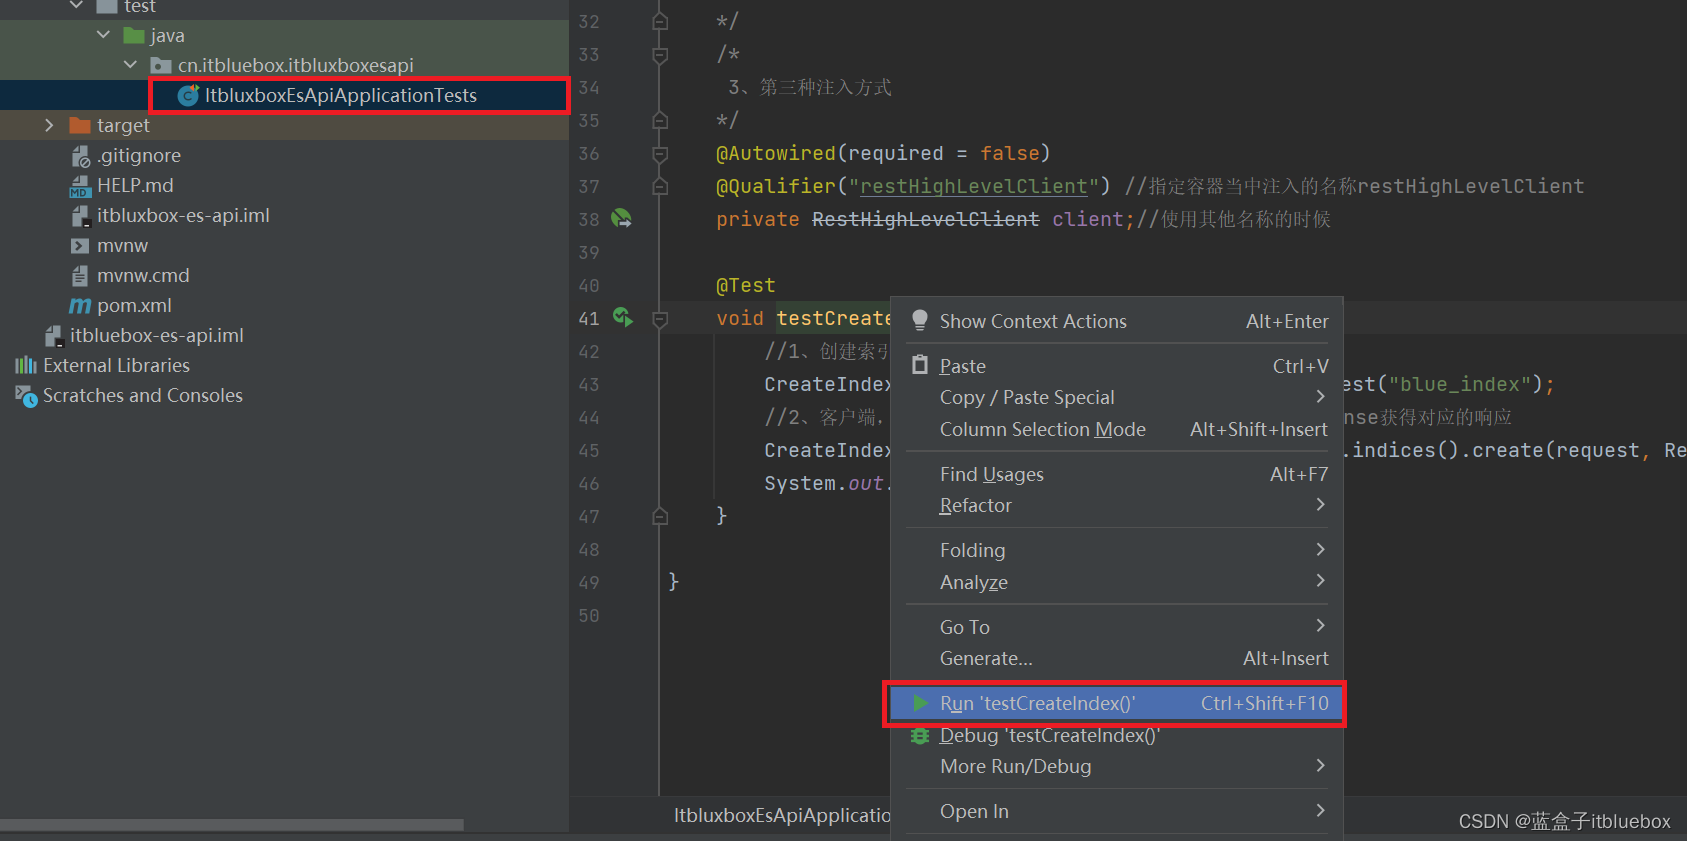
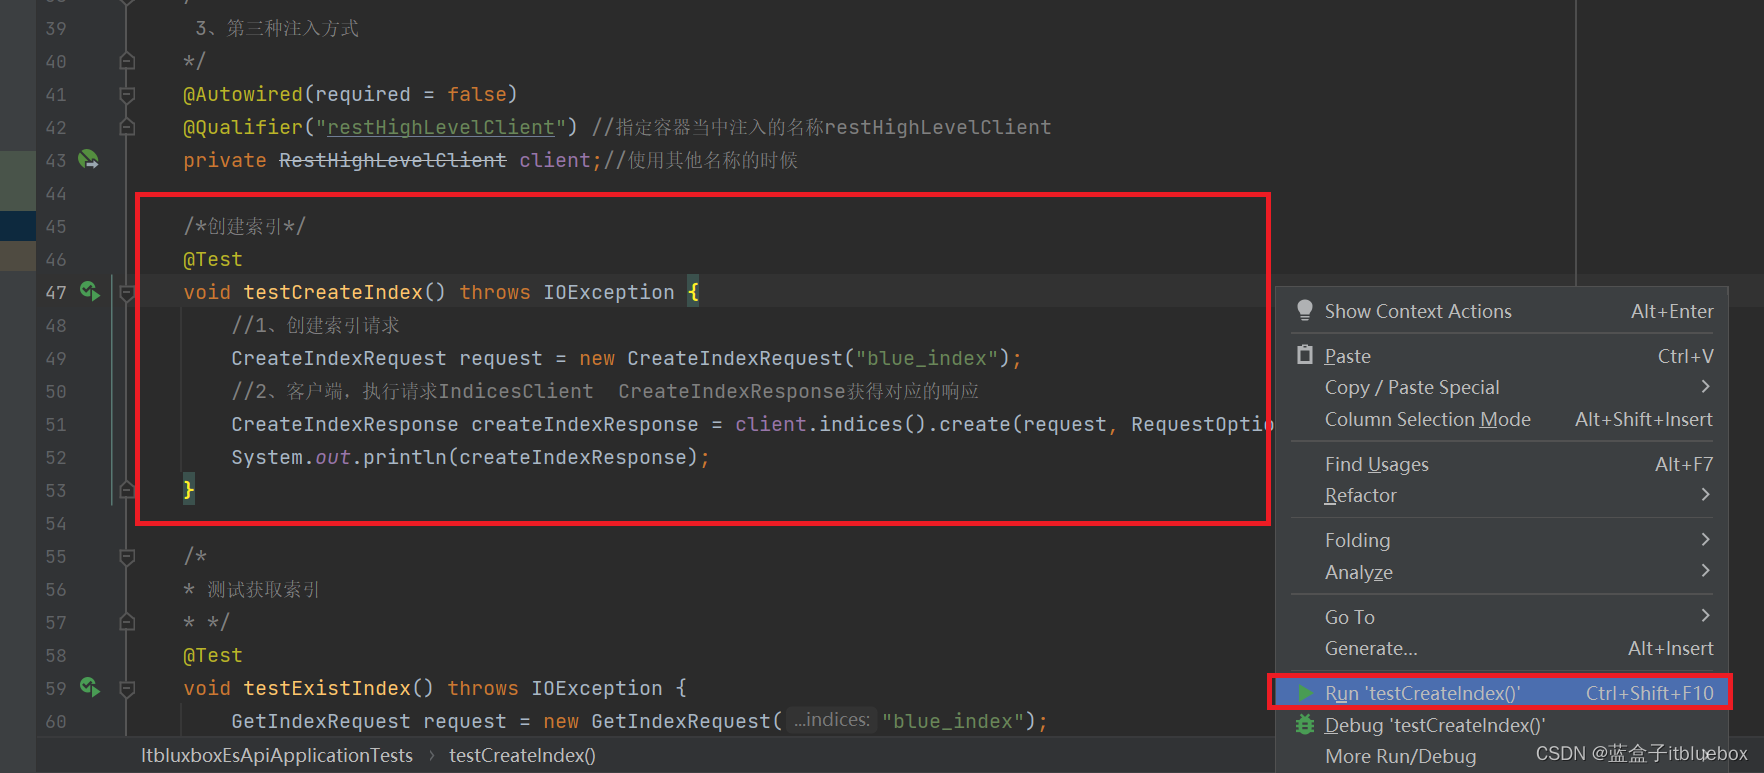
2、创建索引

@Test
void testCreateIndex() throws IOException {
//1、创建索引请求
CreateIndexRequest request = new CreateIndexRequest("blue_index");
//2、客户端,执行请求IndicesClient CreateIndexResponse获得对应的响应
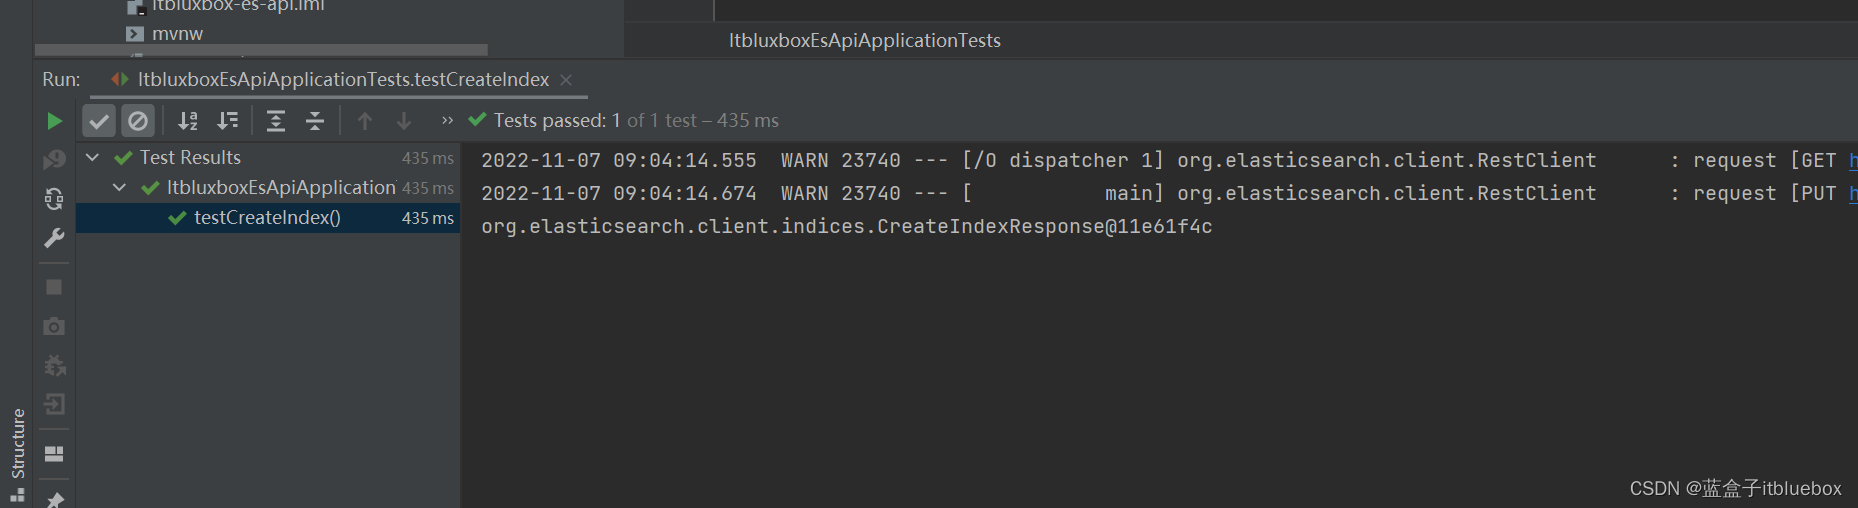
CreateIndexResponse createIndexResponse = client.indices().create(request, RequestOptions.DEFAULT);
System.out.println(createIndexResponse);
}
运行测试类
运行成功
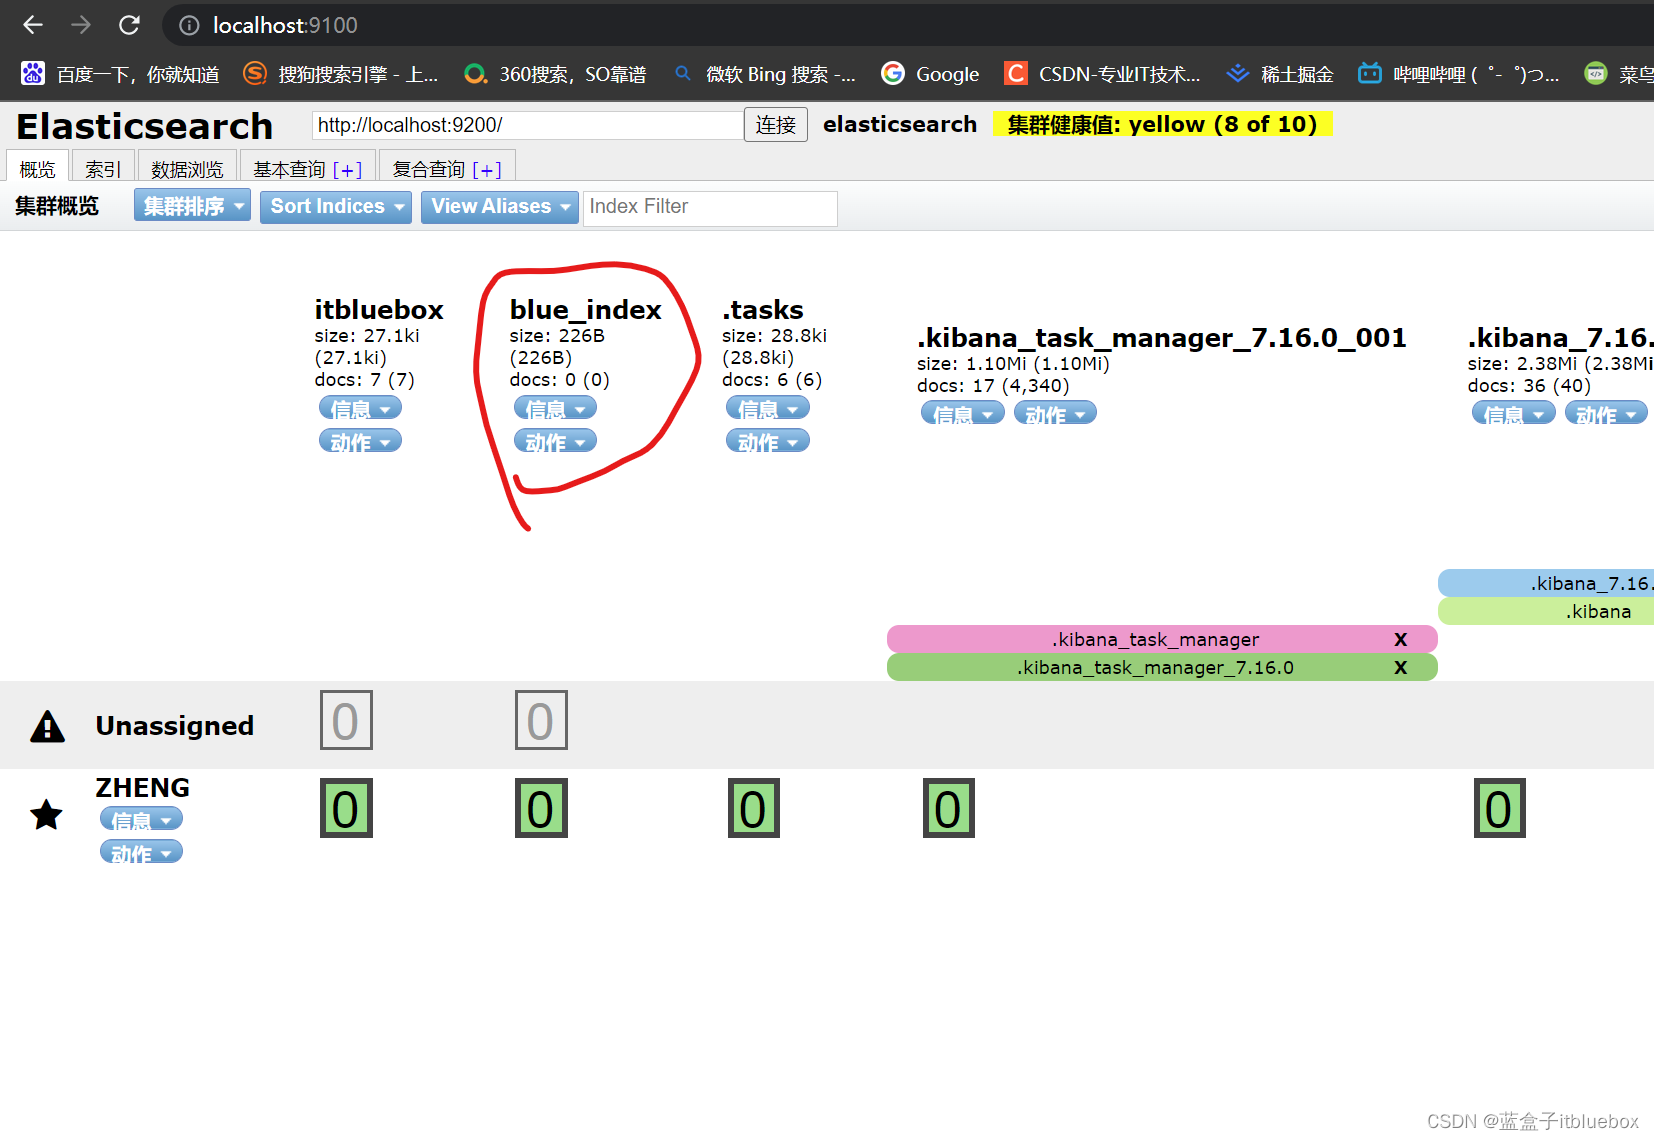
在ElasticSearch head当中我们可以看到,对应的索引库创建成功
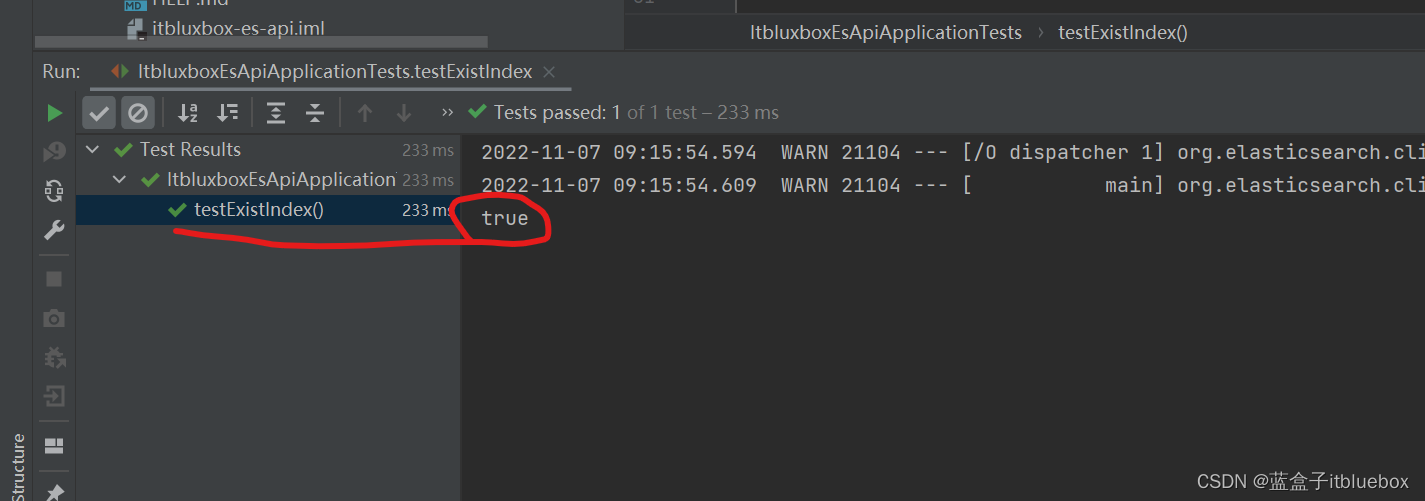
3、获取索引(判断索引是否存在)
/*
    * 测试获取索引
    * */
    @Test
    void testExistIndex() throws IOException {


        GetIndexRequest request = new GetIndexRequest("blue_index");
        /*exists判断当前索引是否存在*/
        boolean exists = client.indices().exists(request, RequestOptions.DEFAULT);
        System.out.println(exists);//是否存在
    }
运行测试
4、删除索引
/*
* 测试删除索引
* */
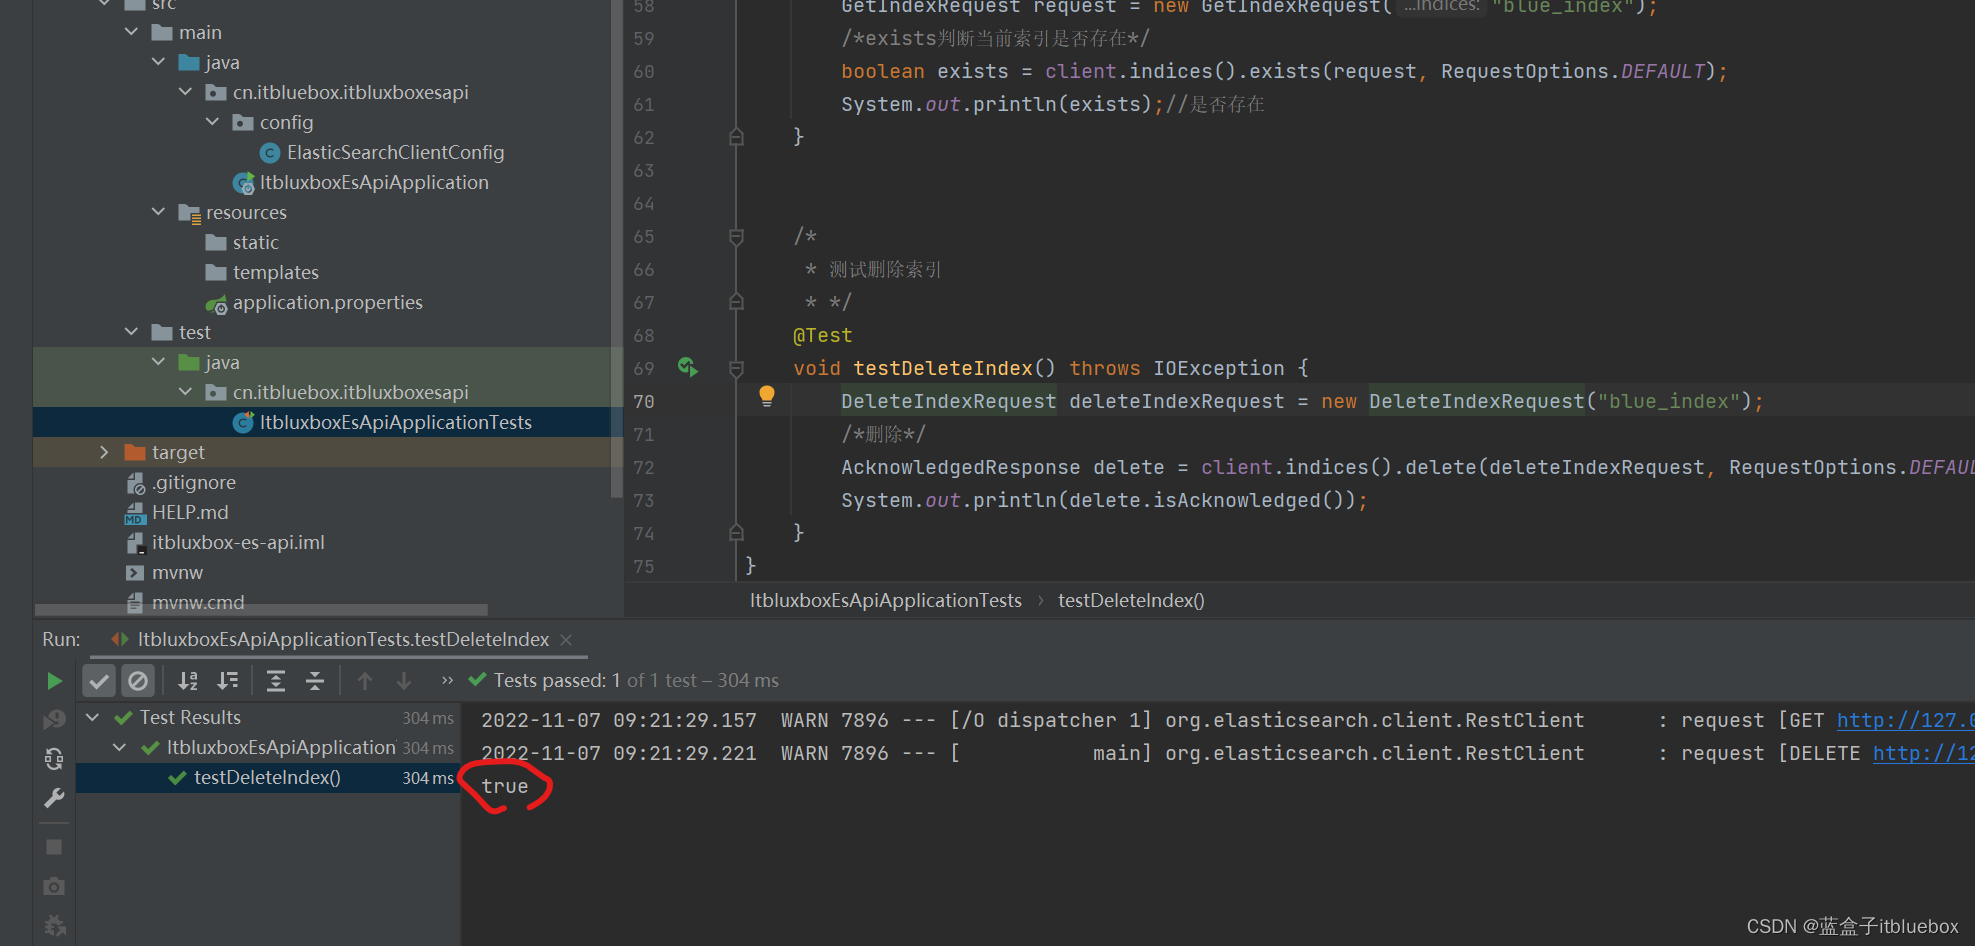
@Test
void testDeleteIndex() throws IOException {
DeleteIndexRequest deleteIndexRequest = new DeleteIndexRequest("blue_index");
/*删除*/
AcknowledgedResponse delete = client.indices().delete(deleteIndexRequest, RequestOptions.DEFAULT);
System.out.println(delete.isAcknowledged());
}
运行测试
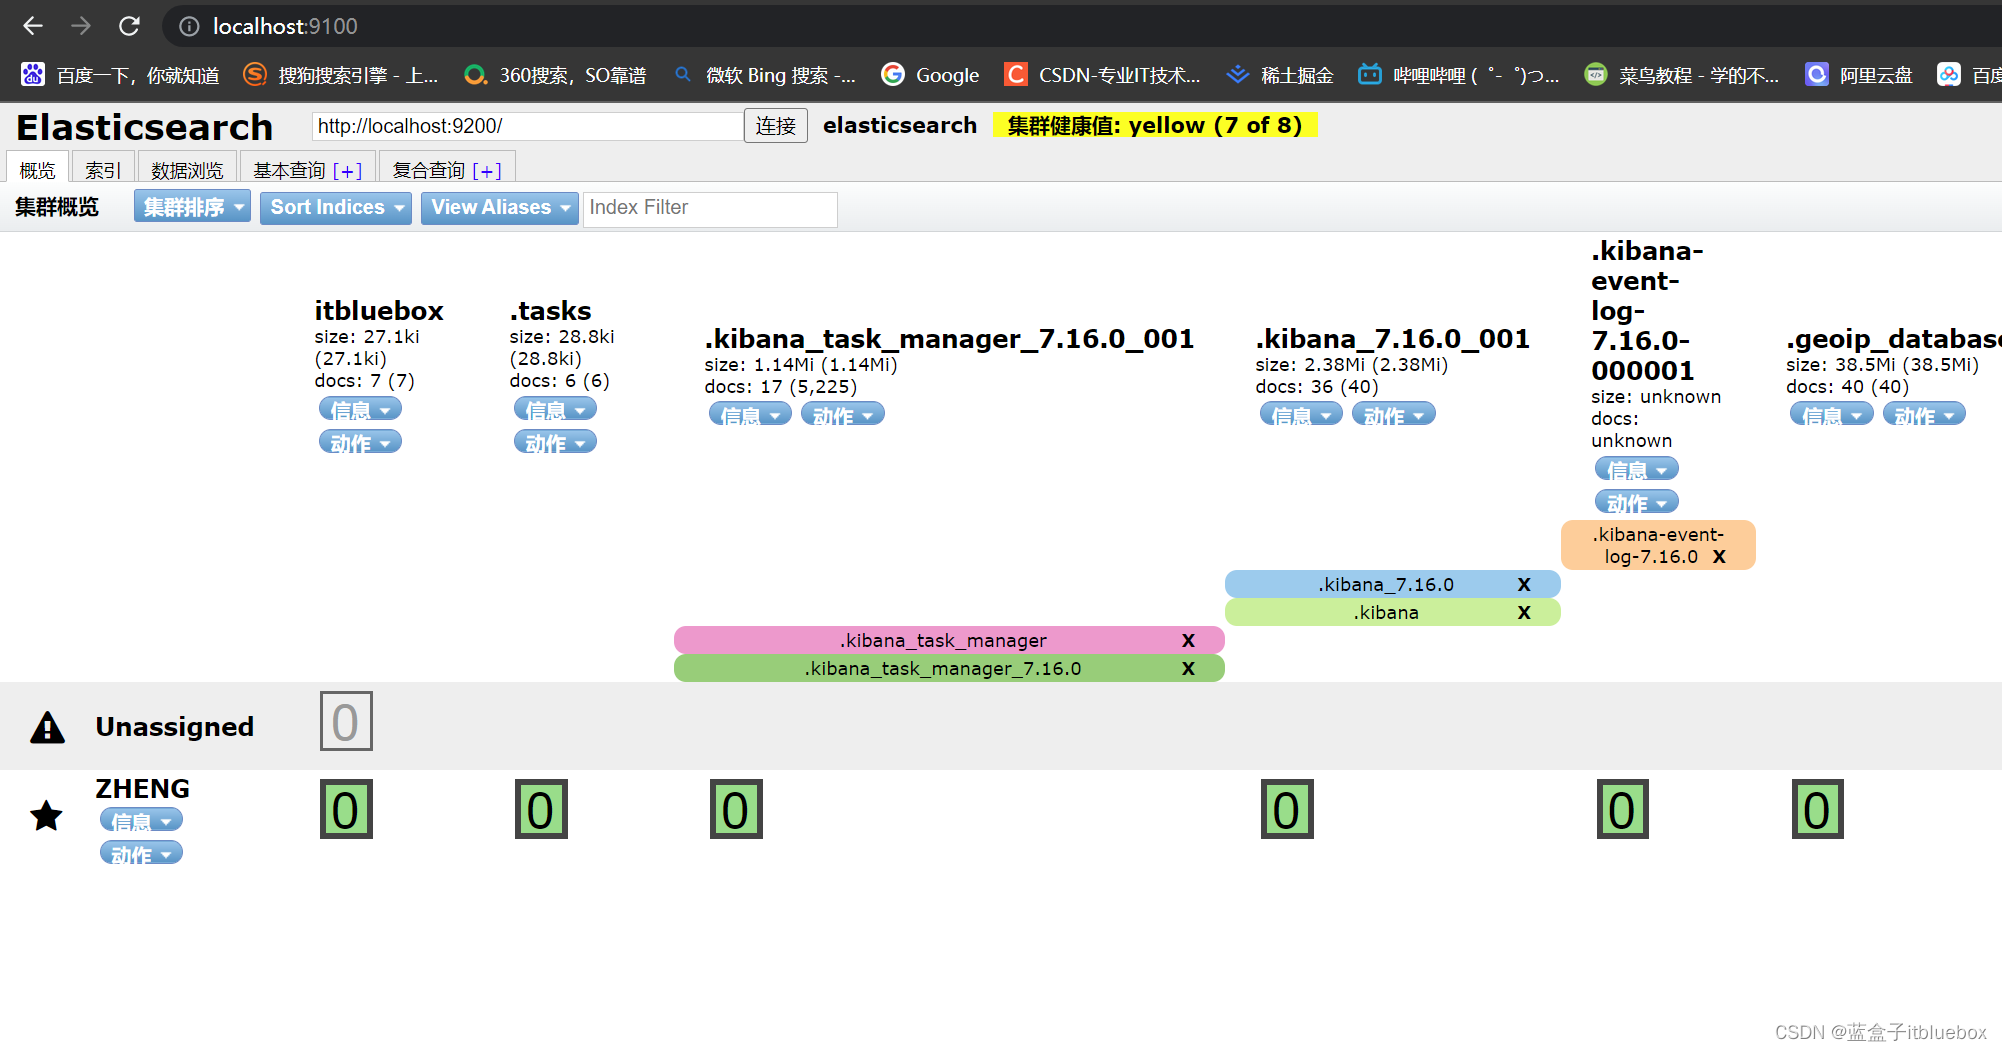
在ElasticSearch head当中没有了对应的索引库
三、文档API操作
1、创建文档
a、创建索引库,因为上面刚刚删除了对应的索引库
b、先创建实体类
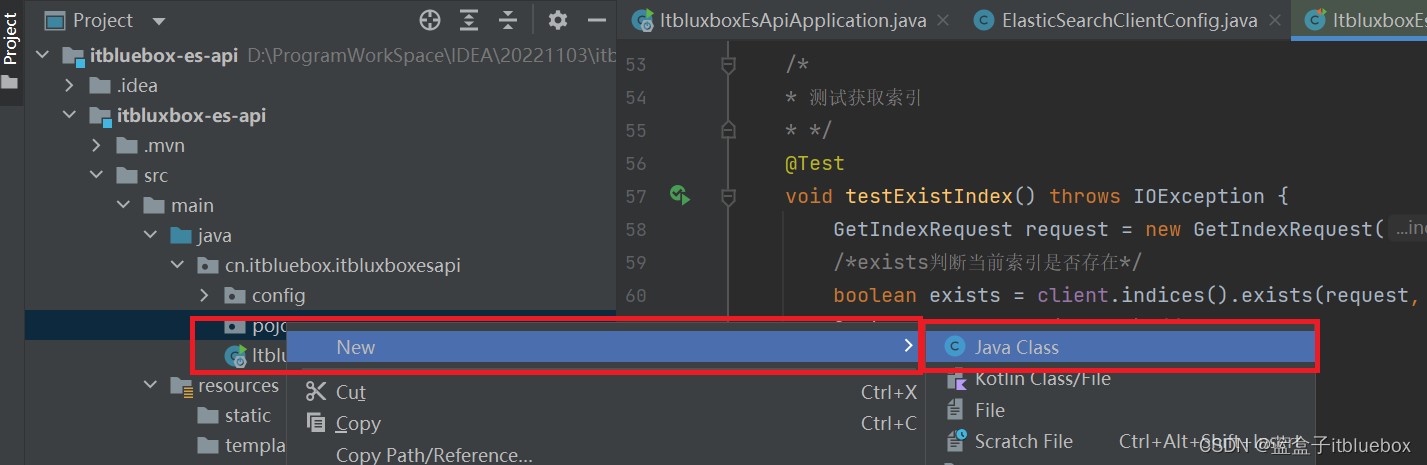
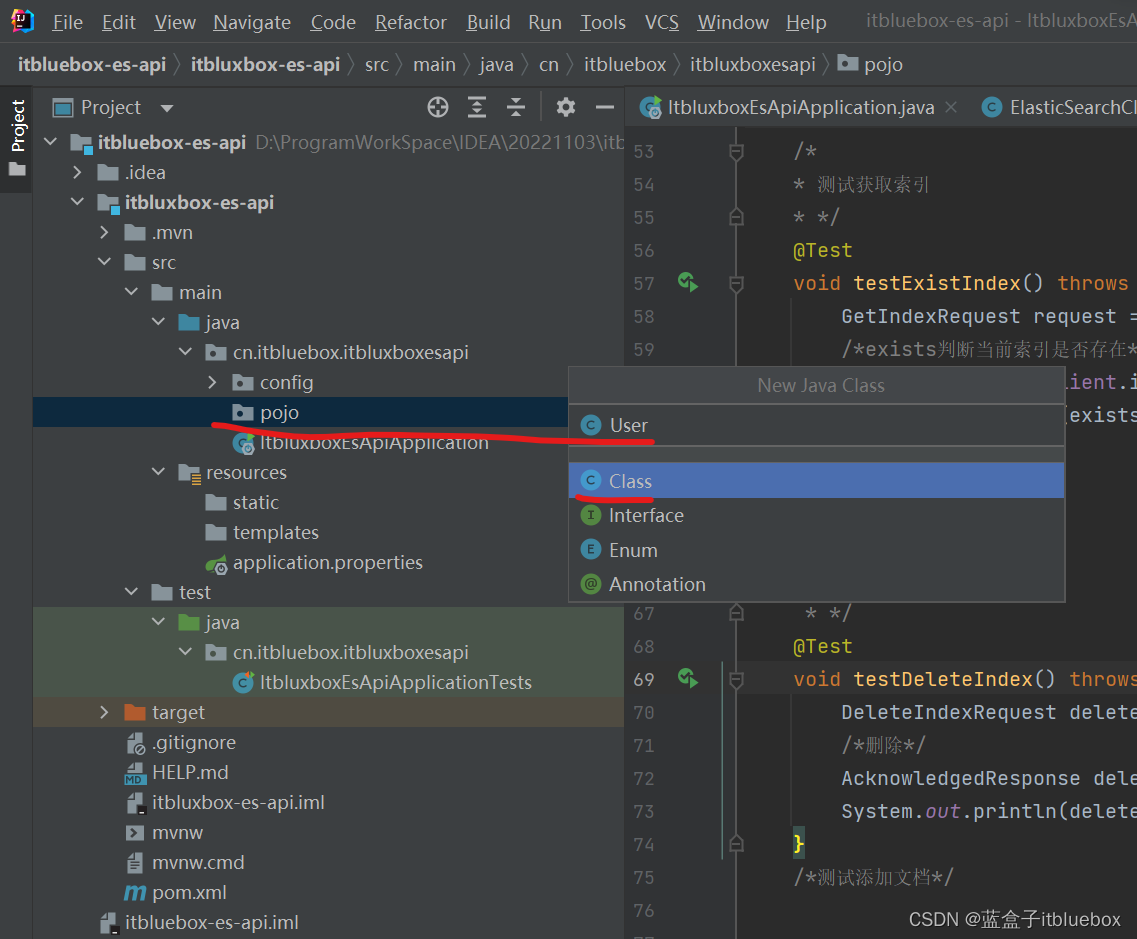
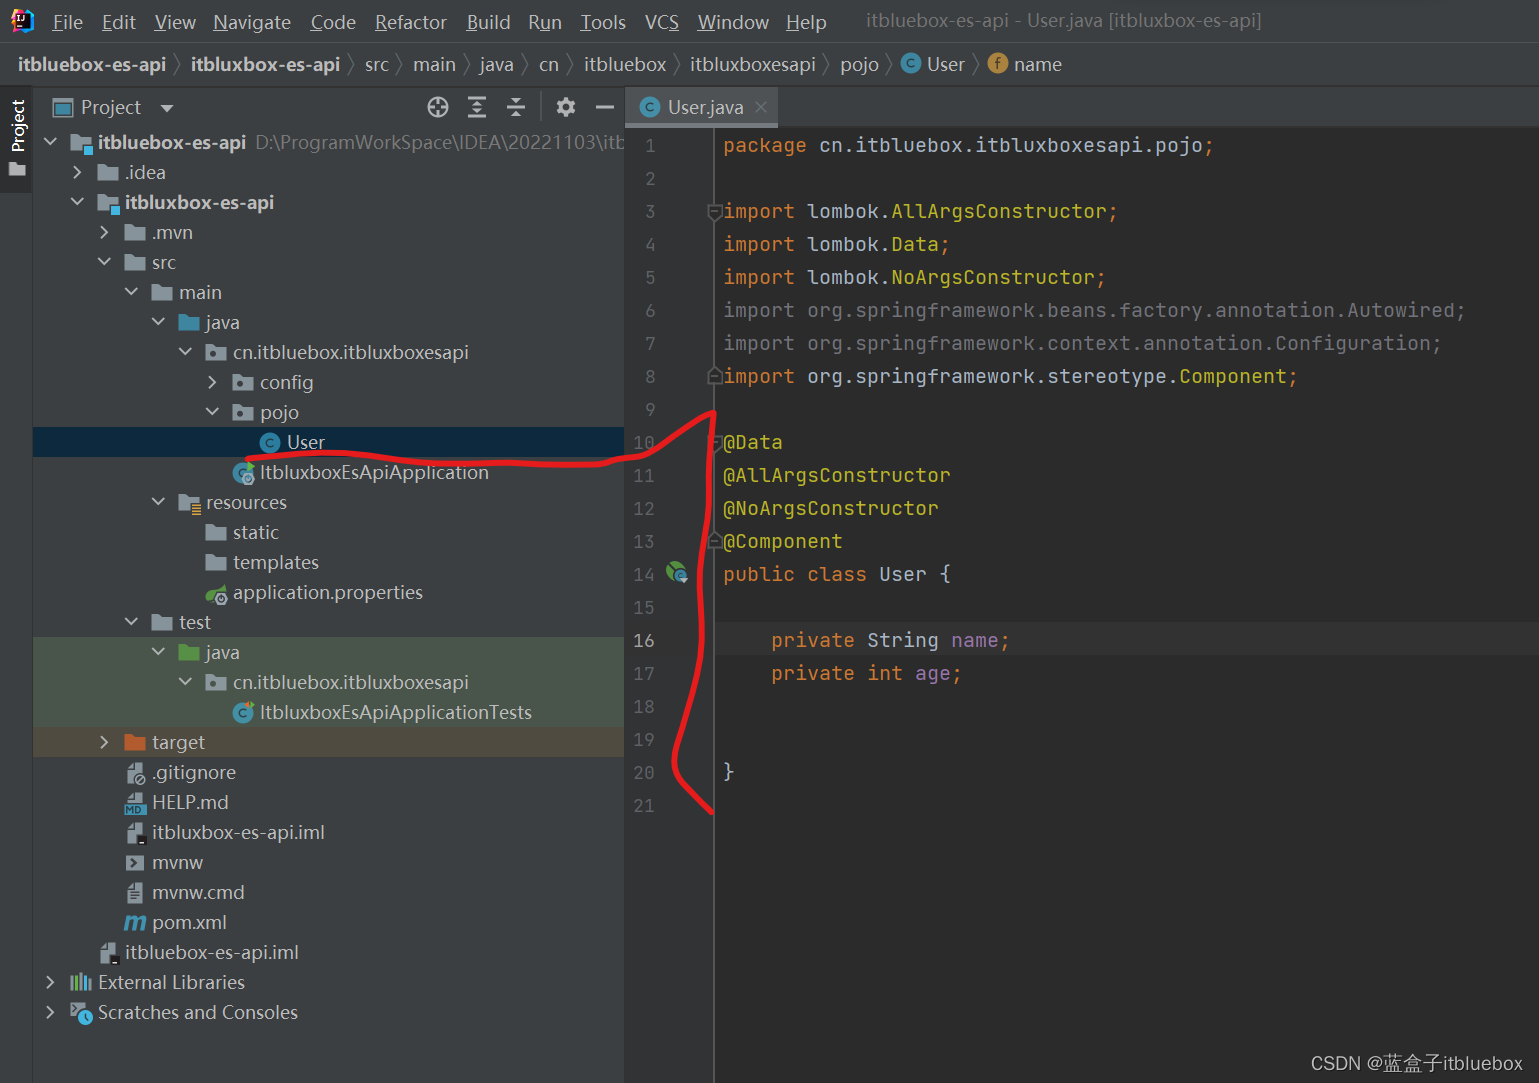
@Data
@AllArgsConstructor
@NoArgsConstructor
@Component
public class User {


    private String name;
    private int age;
}
c、创建文档
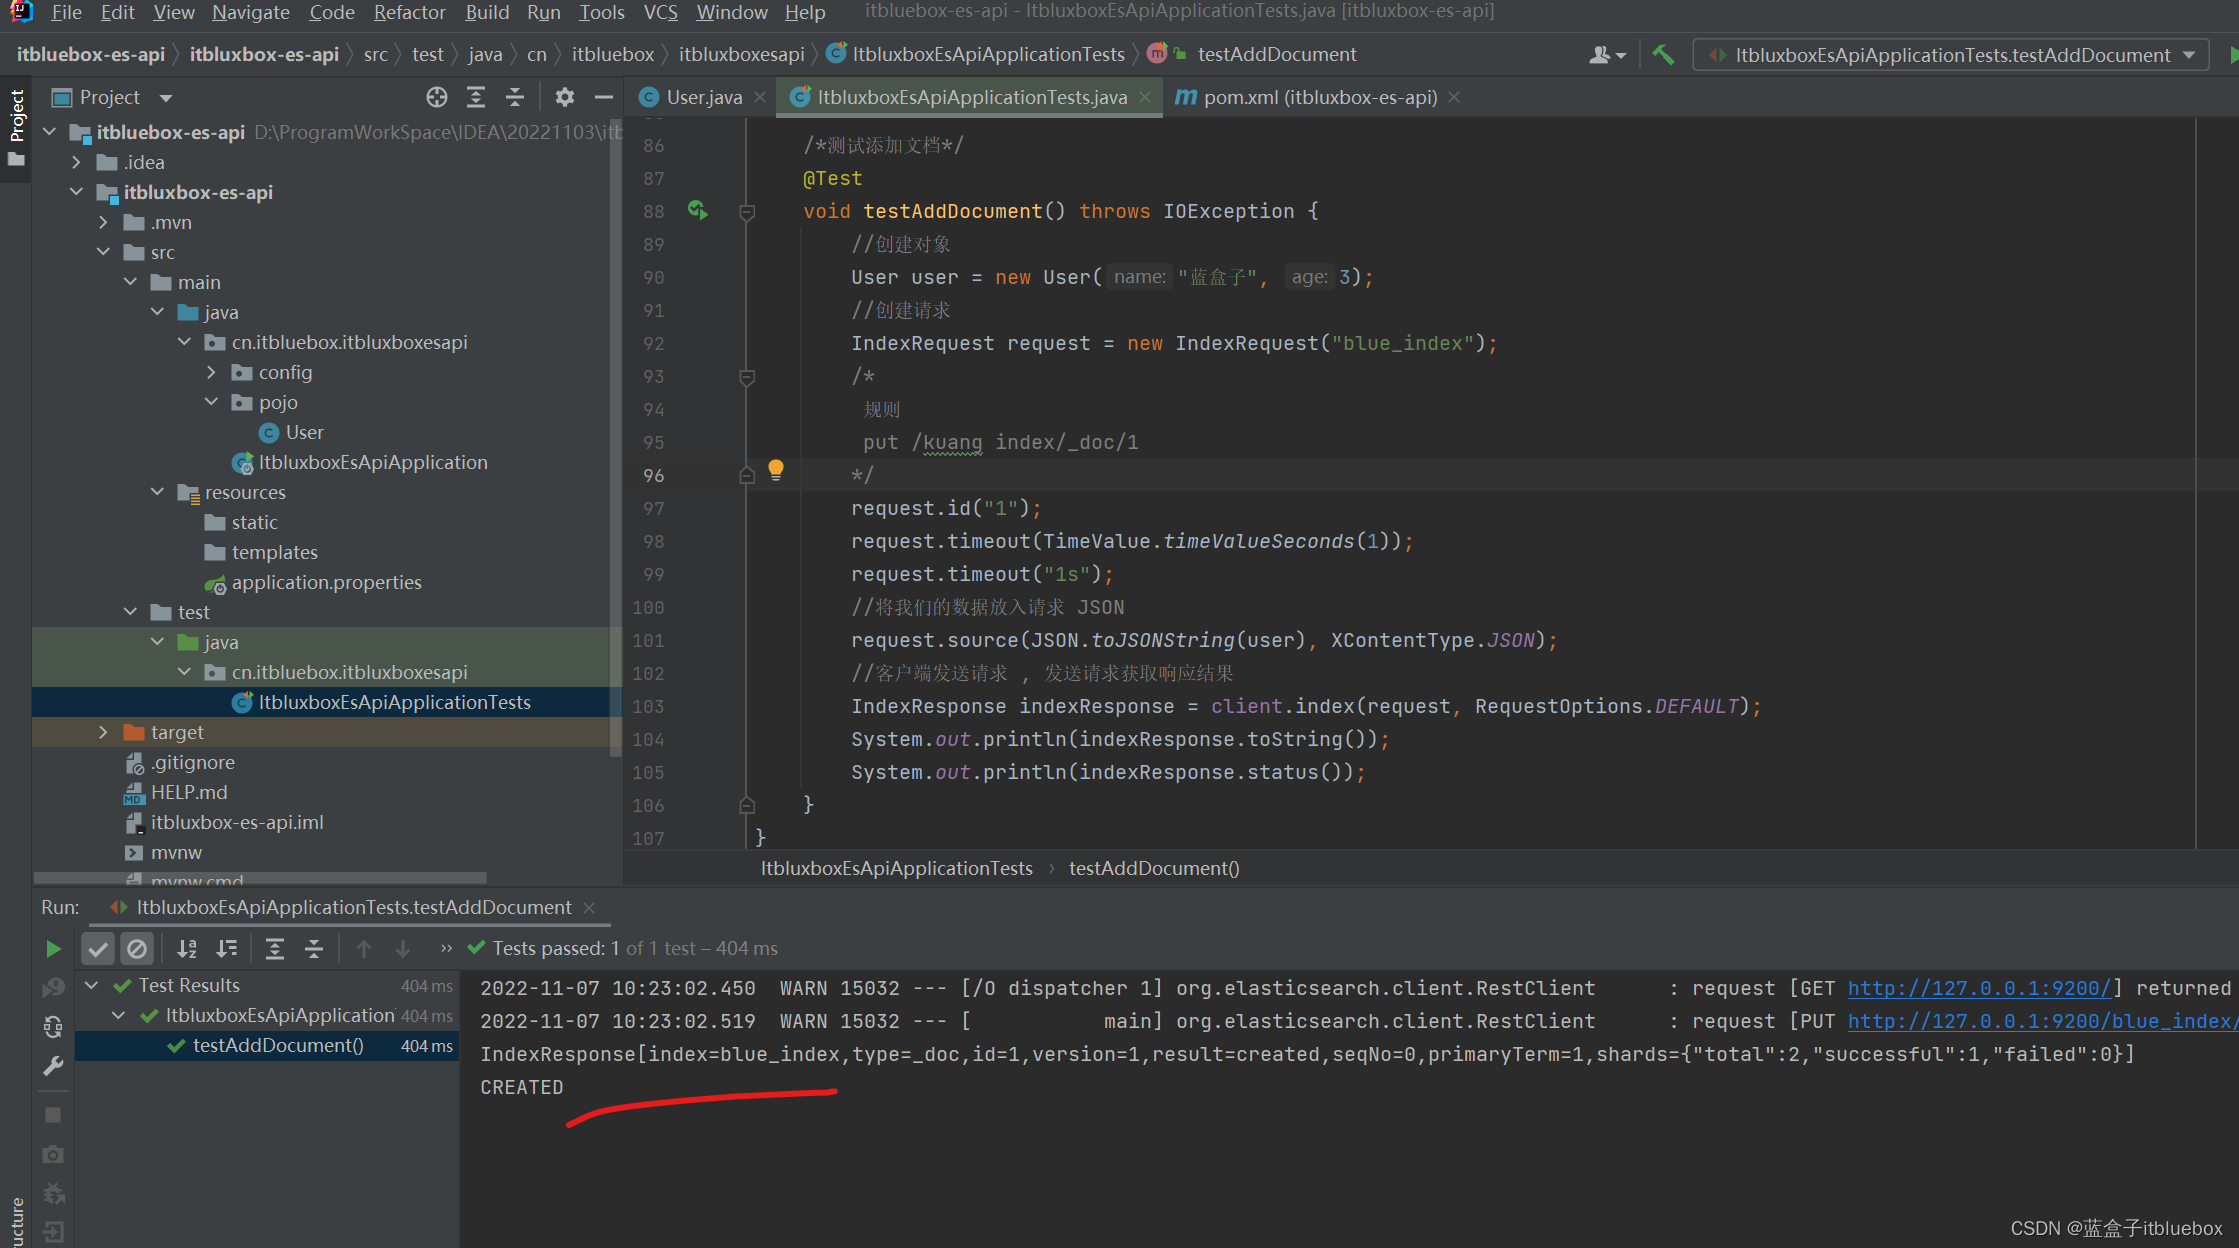
  /*测试添加文档*/
    @Test
    void testAddDocument() throws IOException {


        //创建对象
        User user = new User("蓝盒子", 3);
        //创建请求
        IndexRequest request = new IndexRequest("blue_index");
        /*
         规则
         put /kuang index/_doc/1
        */
        request.id("1");
        request.timeout(TimeValue.timeValueSeconds(1));
        request.timeout("1s");
        //将我们的数据放入请求 JSON
        request.source(JSON.toJSONString(user), XContentType.JSON);
        //客户端发送请求 , 发送请求获取响应结果
        IndexResponse indexResponse = client.index(request, RequestOptions.DEFAULT);
        System.out.println(indexResponse.toString());//
        System.out.println(indexResponse.status());//对应我们命令返回的状态
    }
运行测试
创建成功
我们在head当中可以看到对应的内容

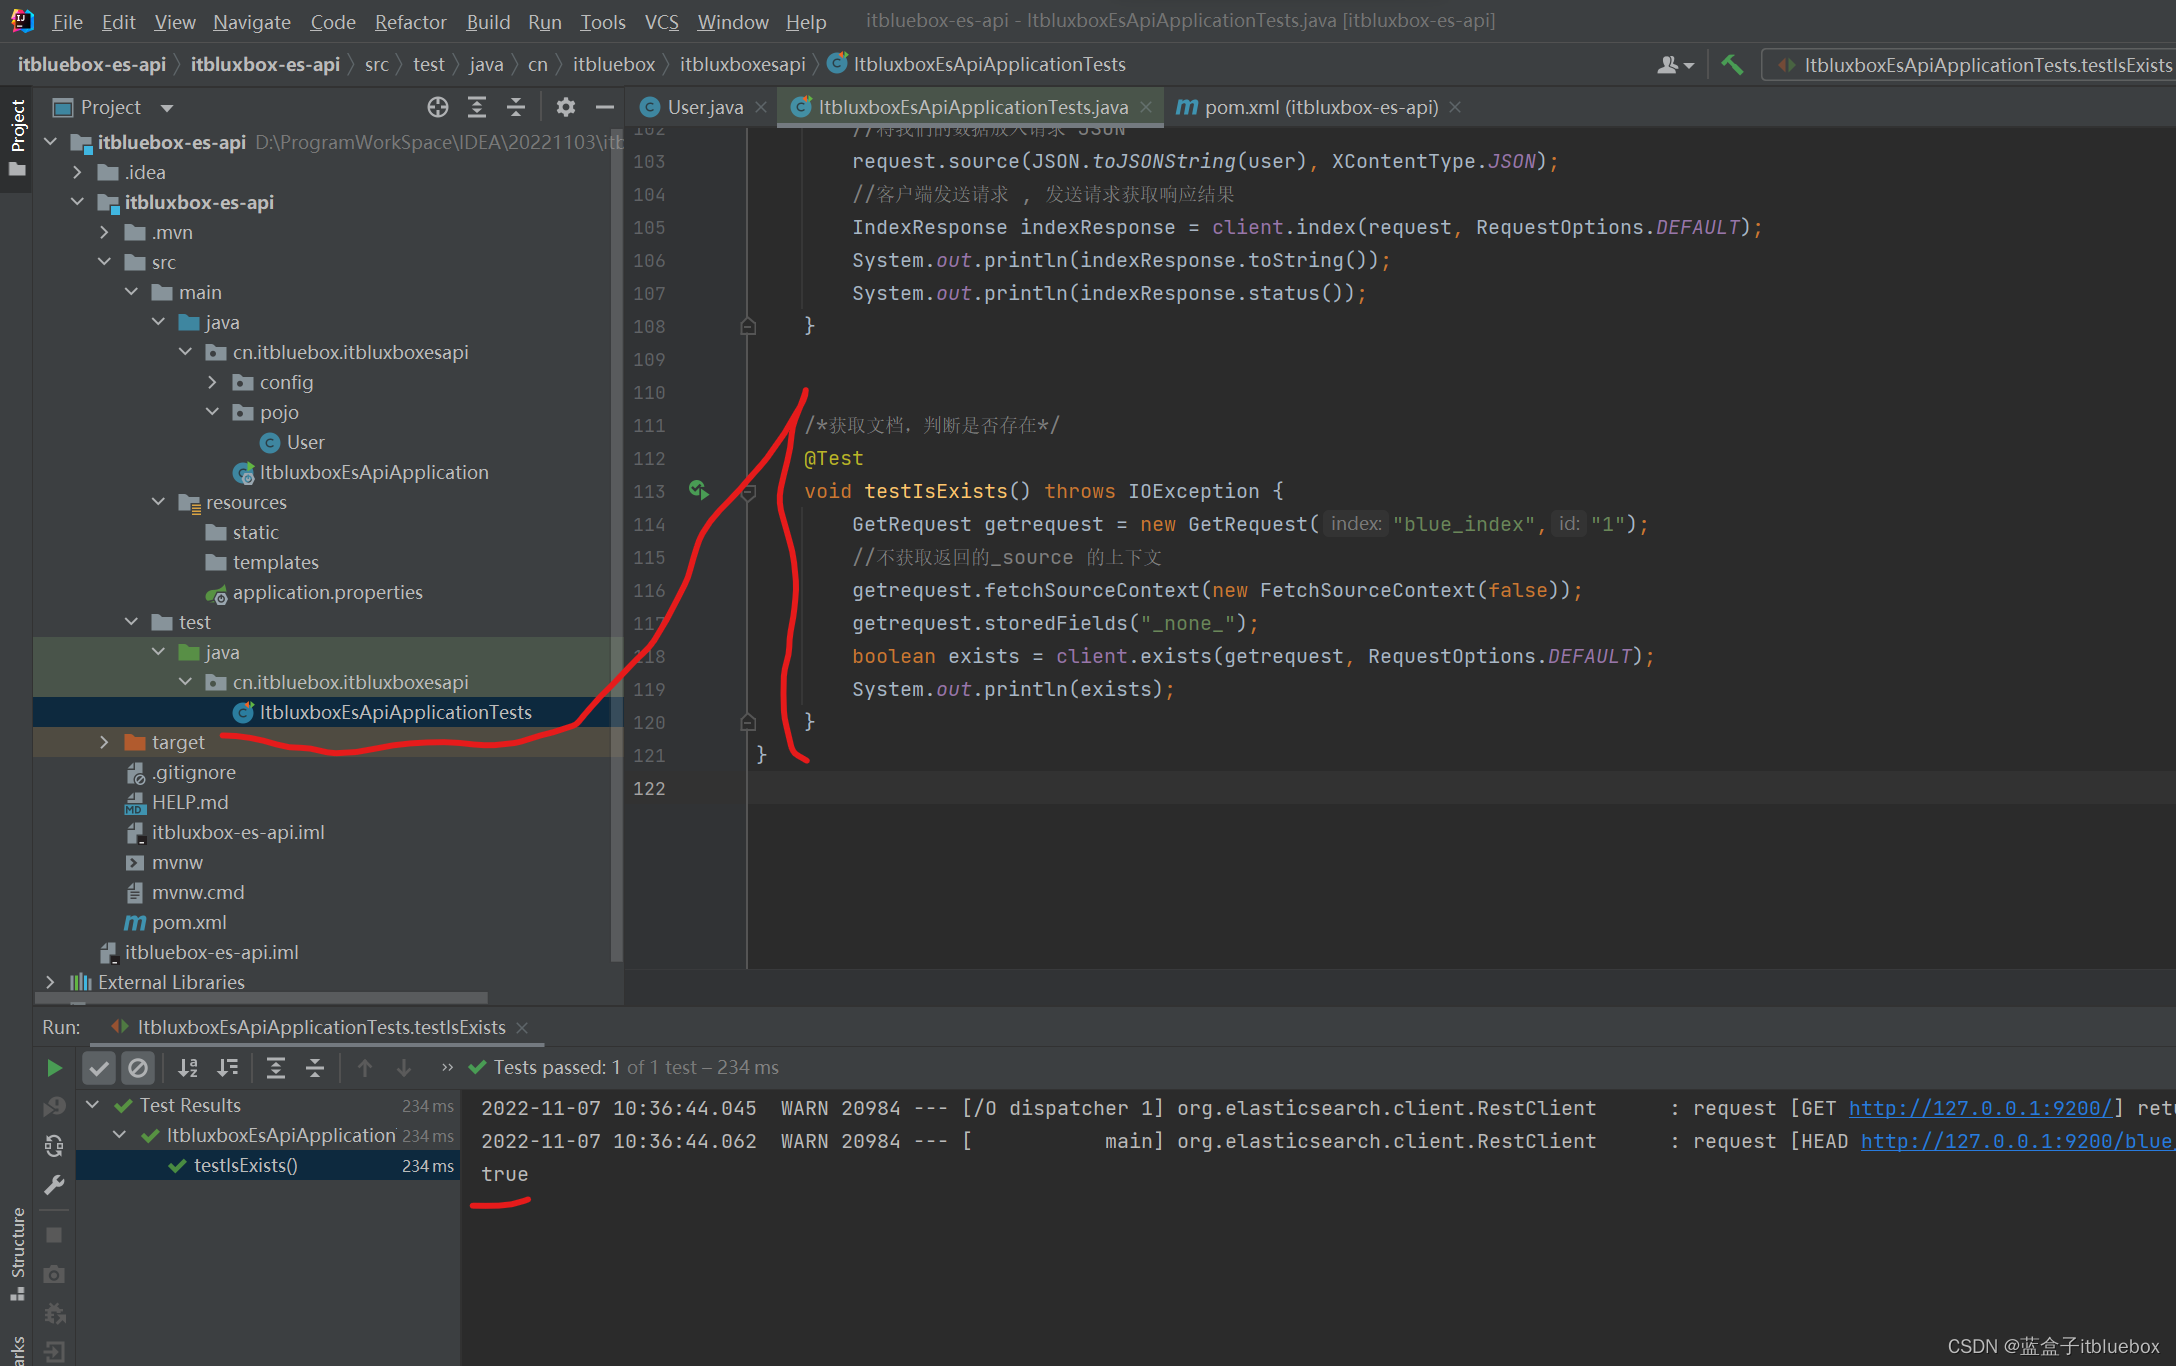
2、获取文档
/*获取文档,判断是否存在*/
    @Test
    void testIsExists() throws IOException {


        GetRequest getrequest = new GetRequest("blue_index","1");
        //不获取返回的_source 的上下文
        getrequest.fetchSourceContext(new FetchSourceContext(false));
        getrequest.storedFields("_none_");
        boolean exists = client.exists(getrequest, RequestOptions.DEFAULT);
        System.out.println(exists);
    }
运行测试
3、获取文档信息
 //获取文档信息
    @Test
    void testGetDoucment() throws IOException {


        GetRequest getRequest = new GetRequest("blue_index","1");

        GetResponse getResponse = client.get(getRequest, RequestOptions.DEFAULT);

        System.out.println(getResponse.getSourceAsString());//打印文档的内容

        System.out.println(getResponse);//返回全部的内容和命令是一样的
    }
运行测试

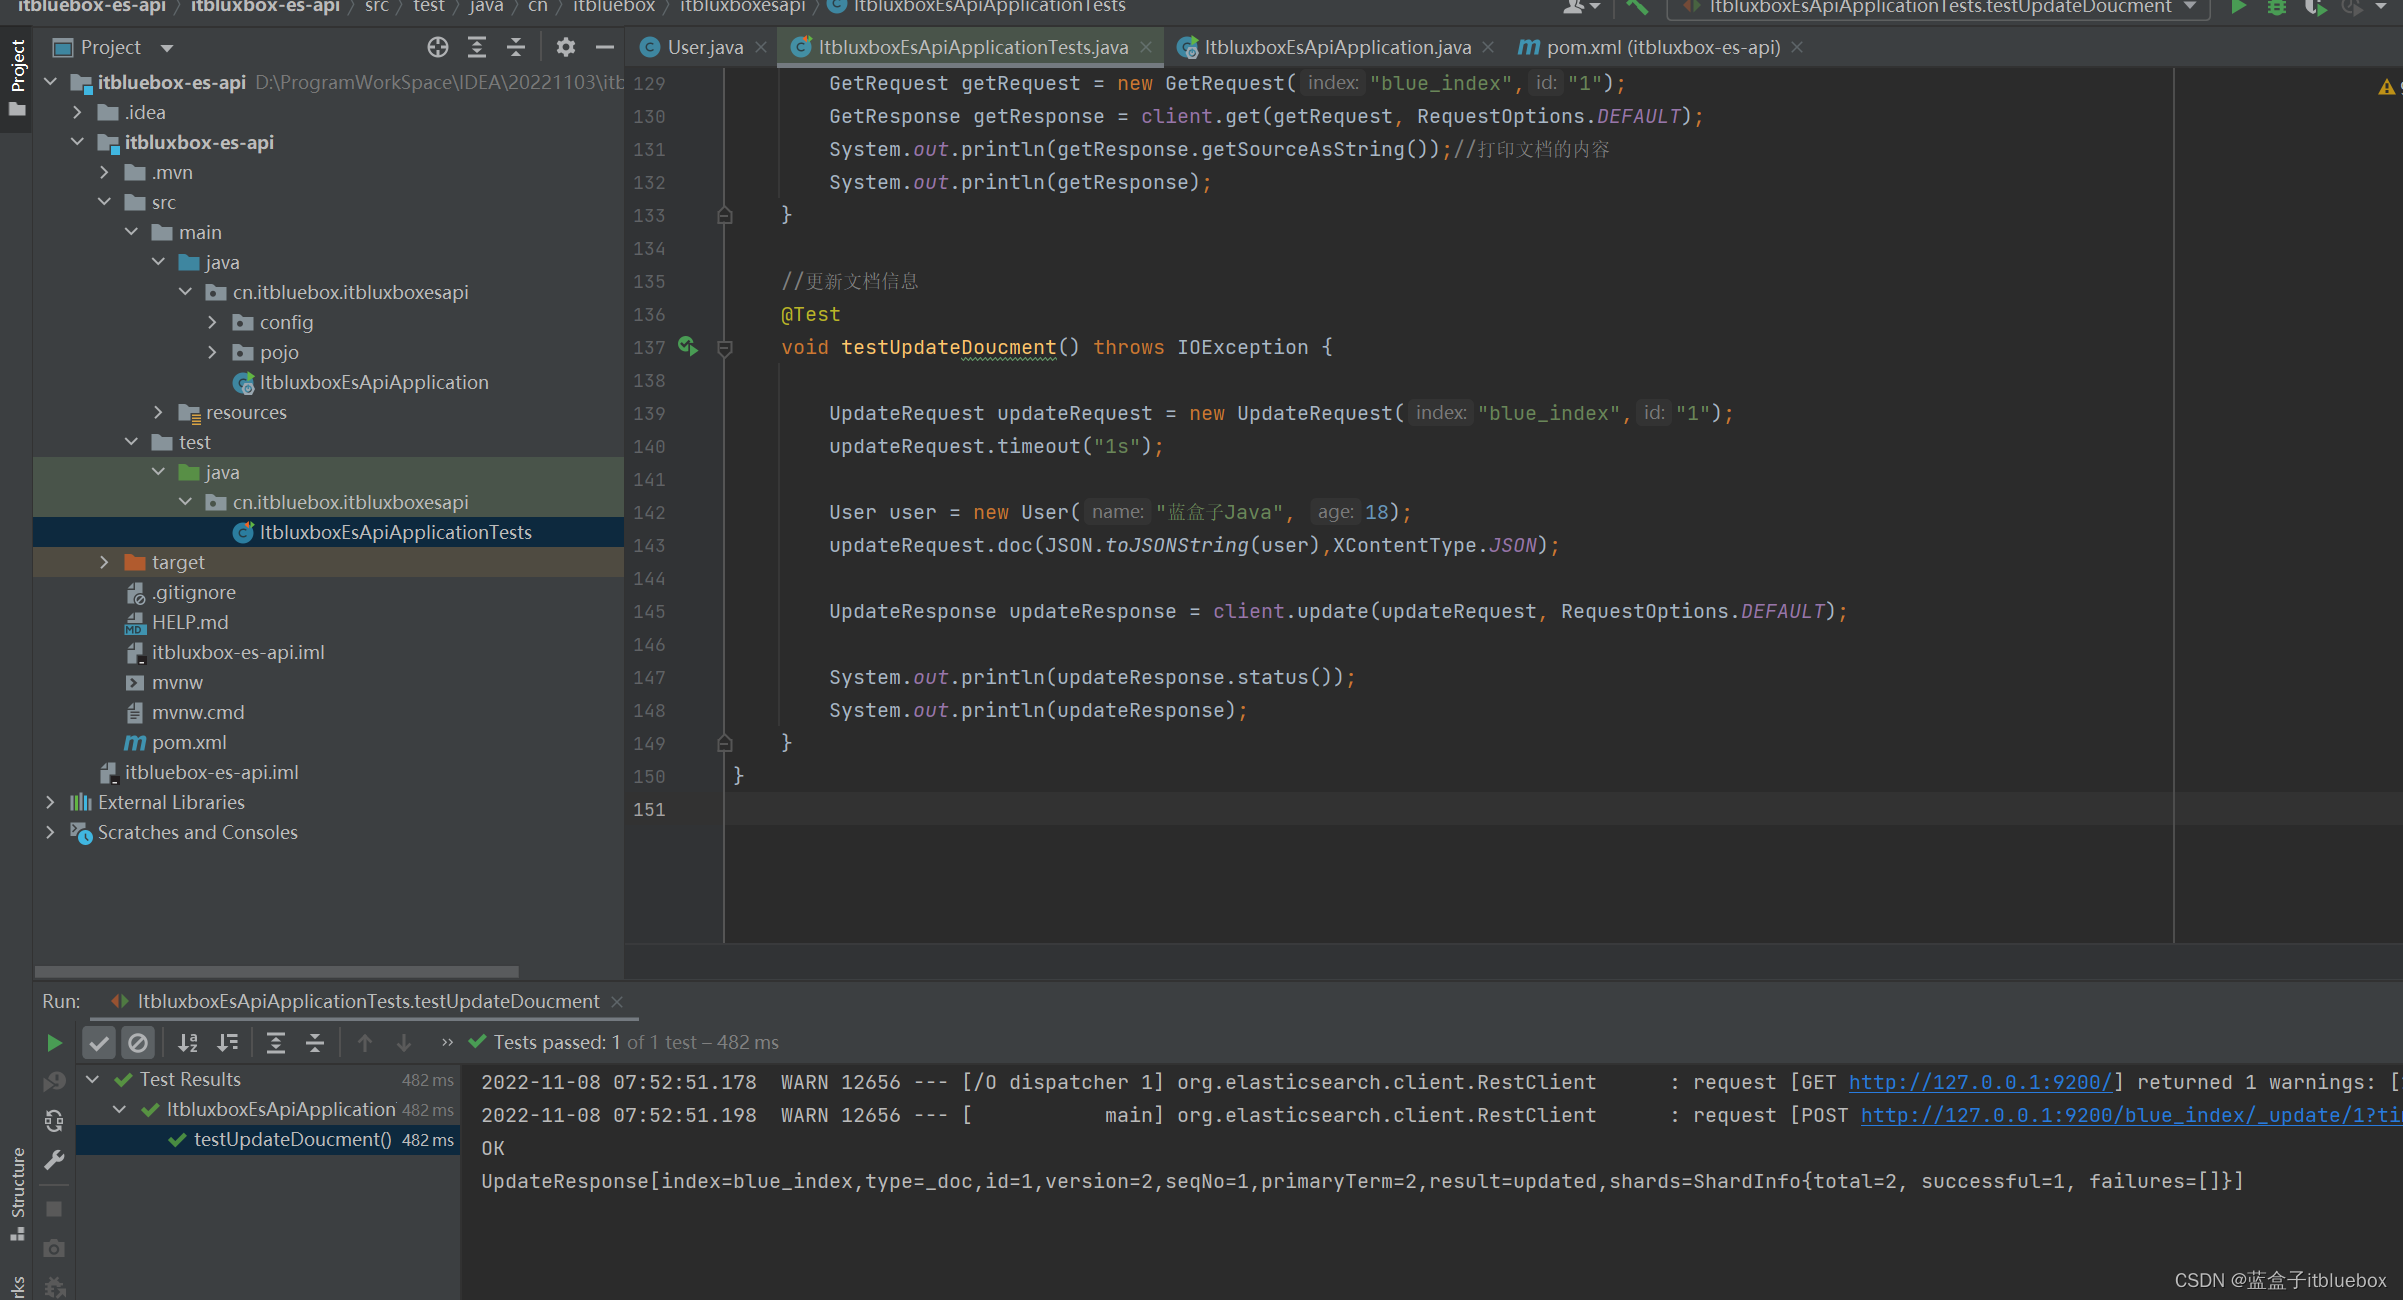
4、更新文档记录
    //更新文档信息
    @Test
    void testUpdateDoucment() throws IOException {


        UpdateRequest updateRequest = new UpdateRequest("blue_index","1");
        updateRequest.timeout("1s");

        User user = new User("蓝盒子Java", 18);
        updateRequest.doc(JSON.toJSONString(user),XContentType.JSON);

        UpdateResponse updateResponse = client.update(updateRequest, RequestOptions.DEFAULT);

        System.out.println(updateResponse.status());
        System.out.println(updateResponse);
    }
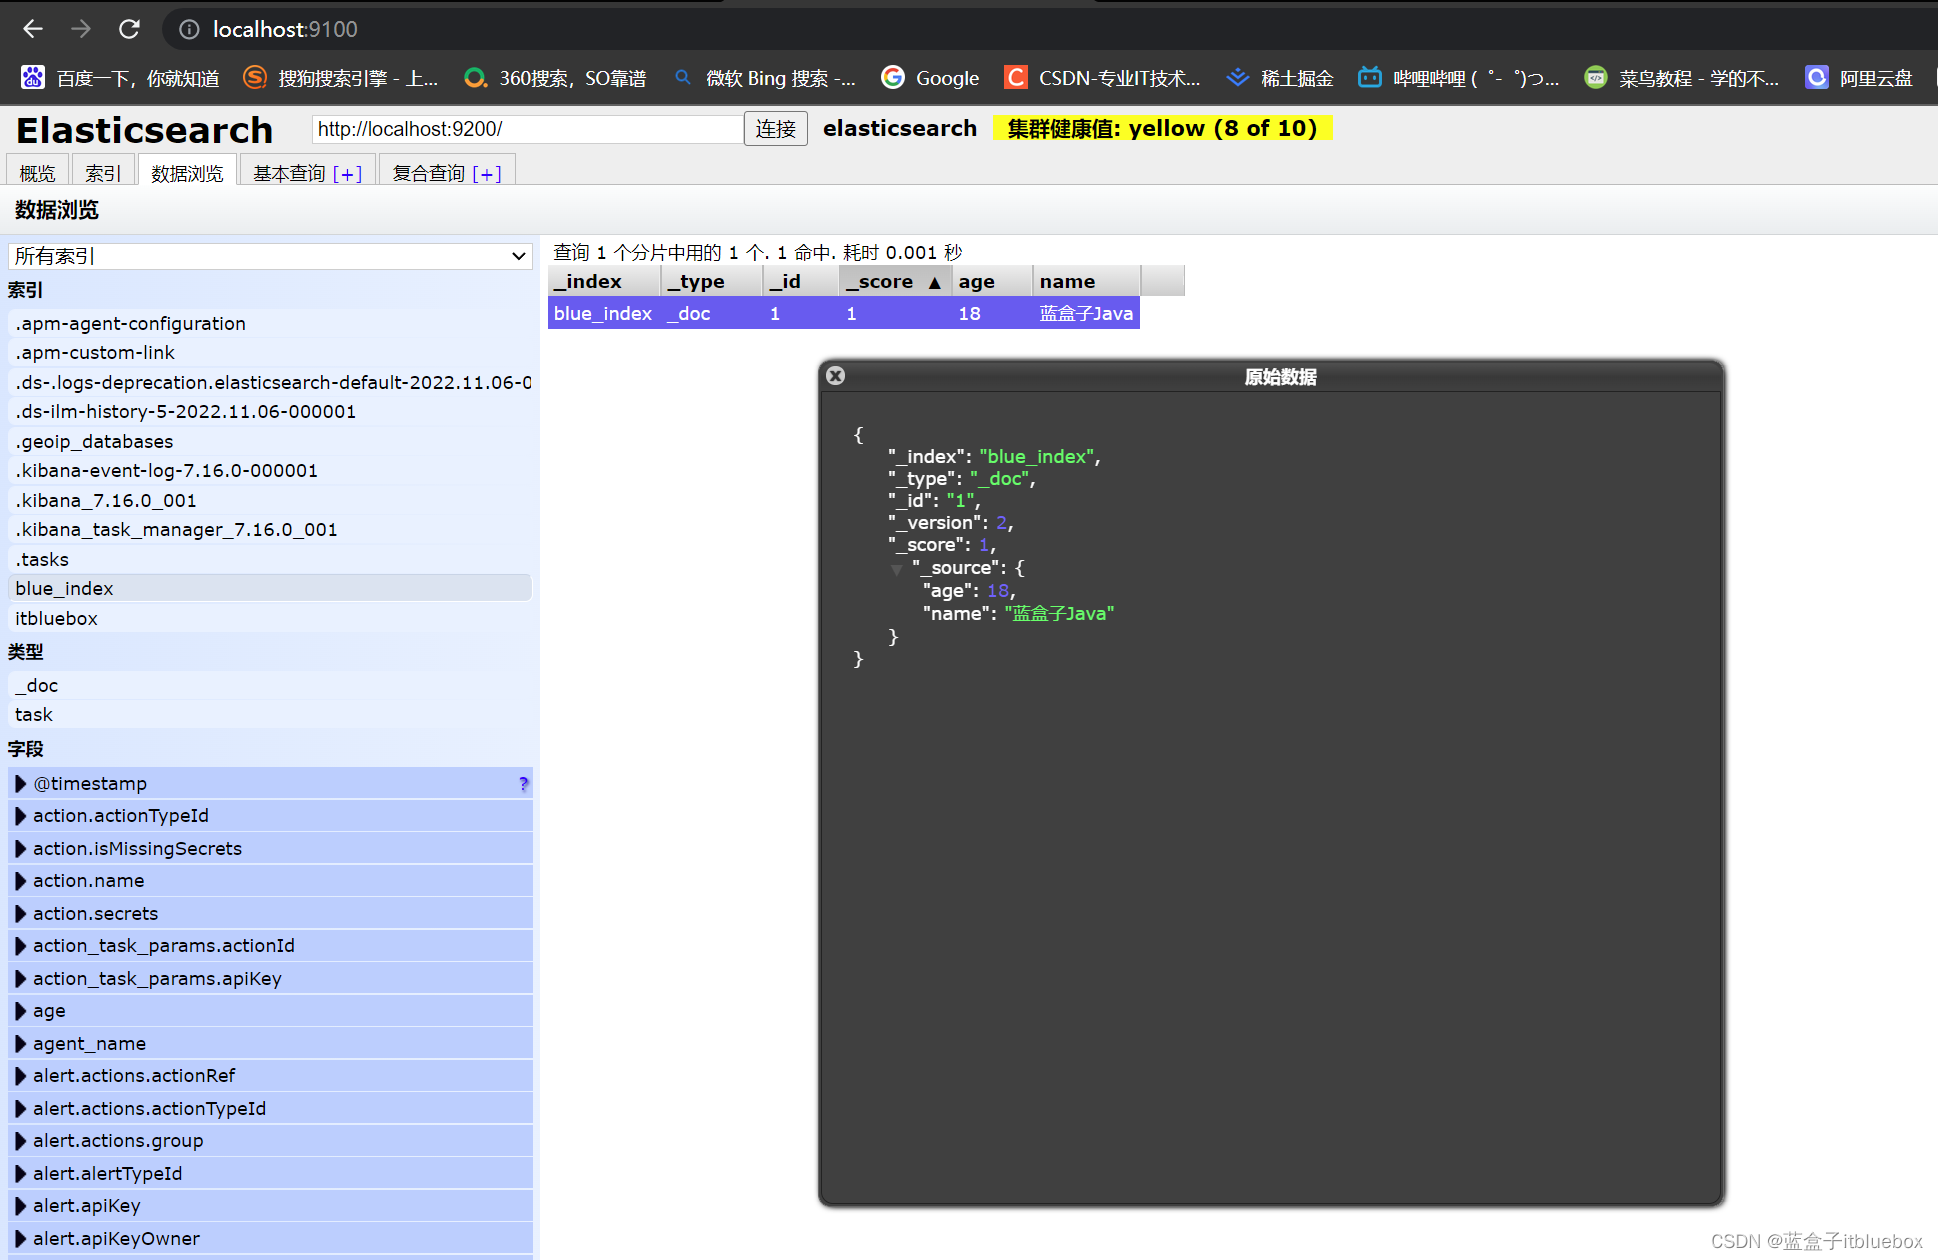
运行测试更新成功
5、删除文档记录
    //删除文档信息
    @Test
    void testDeleteDocument() throws IOException {


        DeleteRequest request = new DeleteRequest("blue_index","1");
        request.timeout("1s");
        DeleteResponse deleteResponse = client.delete(request, RequestOptions.DEFAULT);
        System.out.println(deleteResponse.status());
        System.out.println(deleteResponse);

    }
删除成功
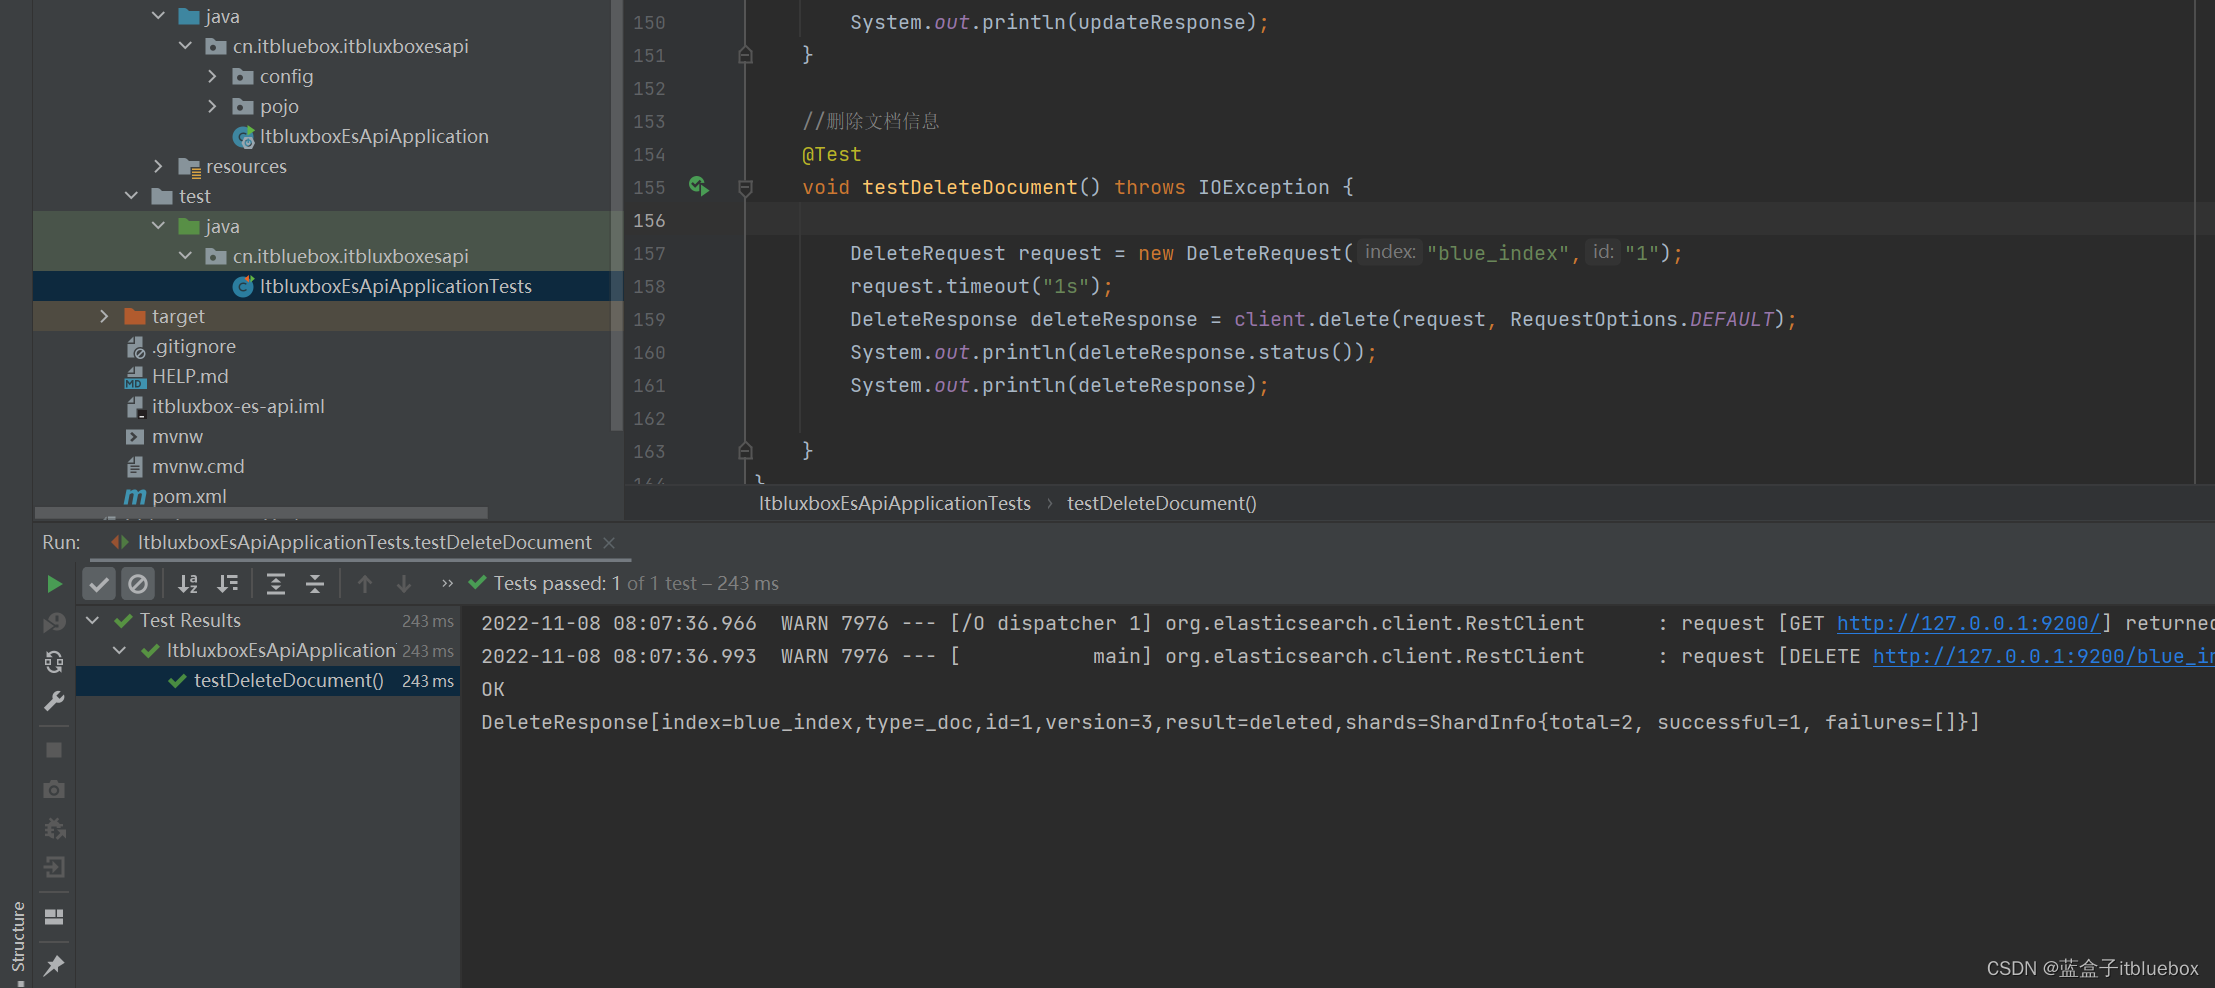
删除成功
6、批量插入数据
/*
批量插入代码
* */
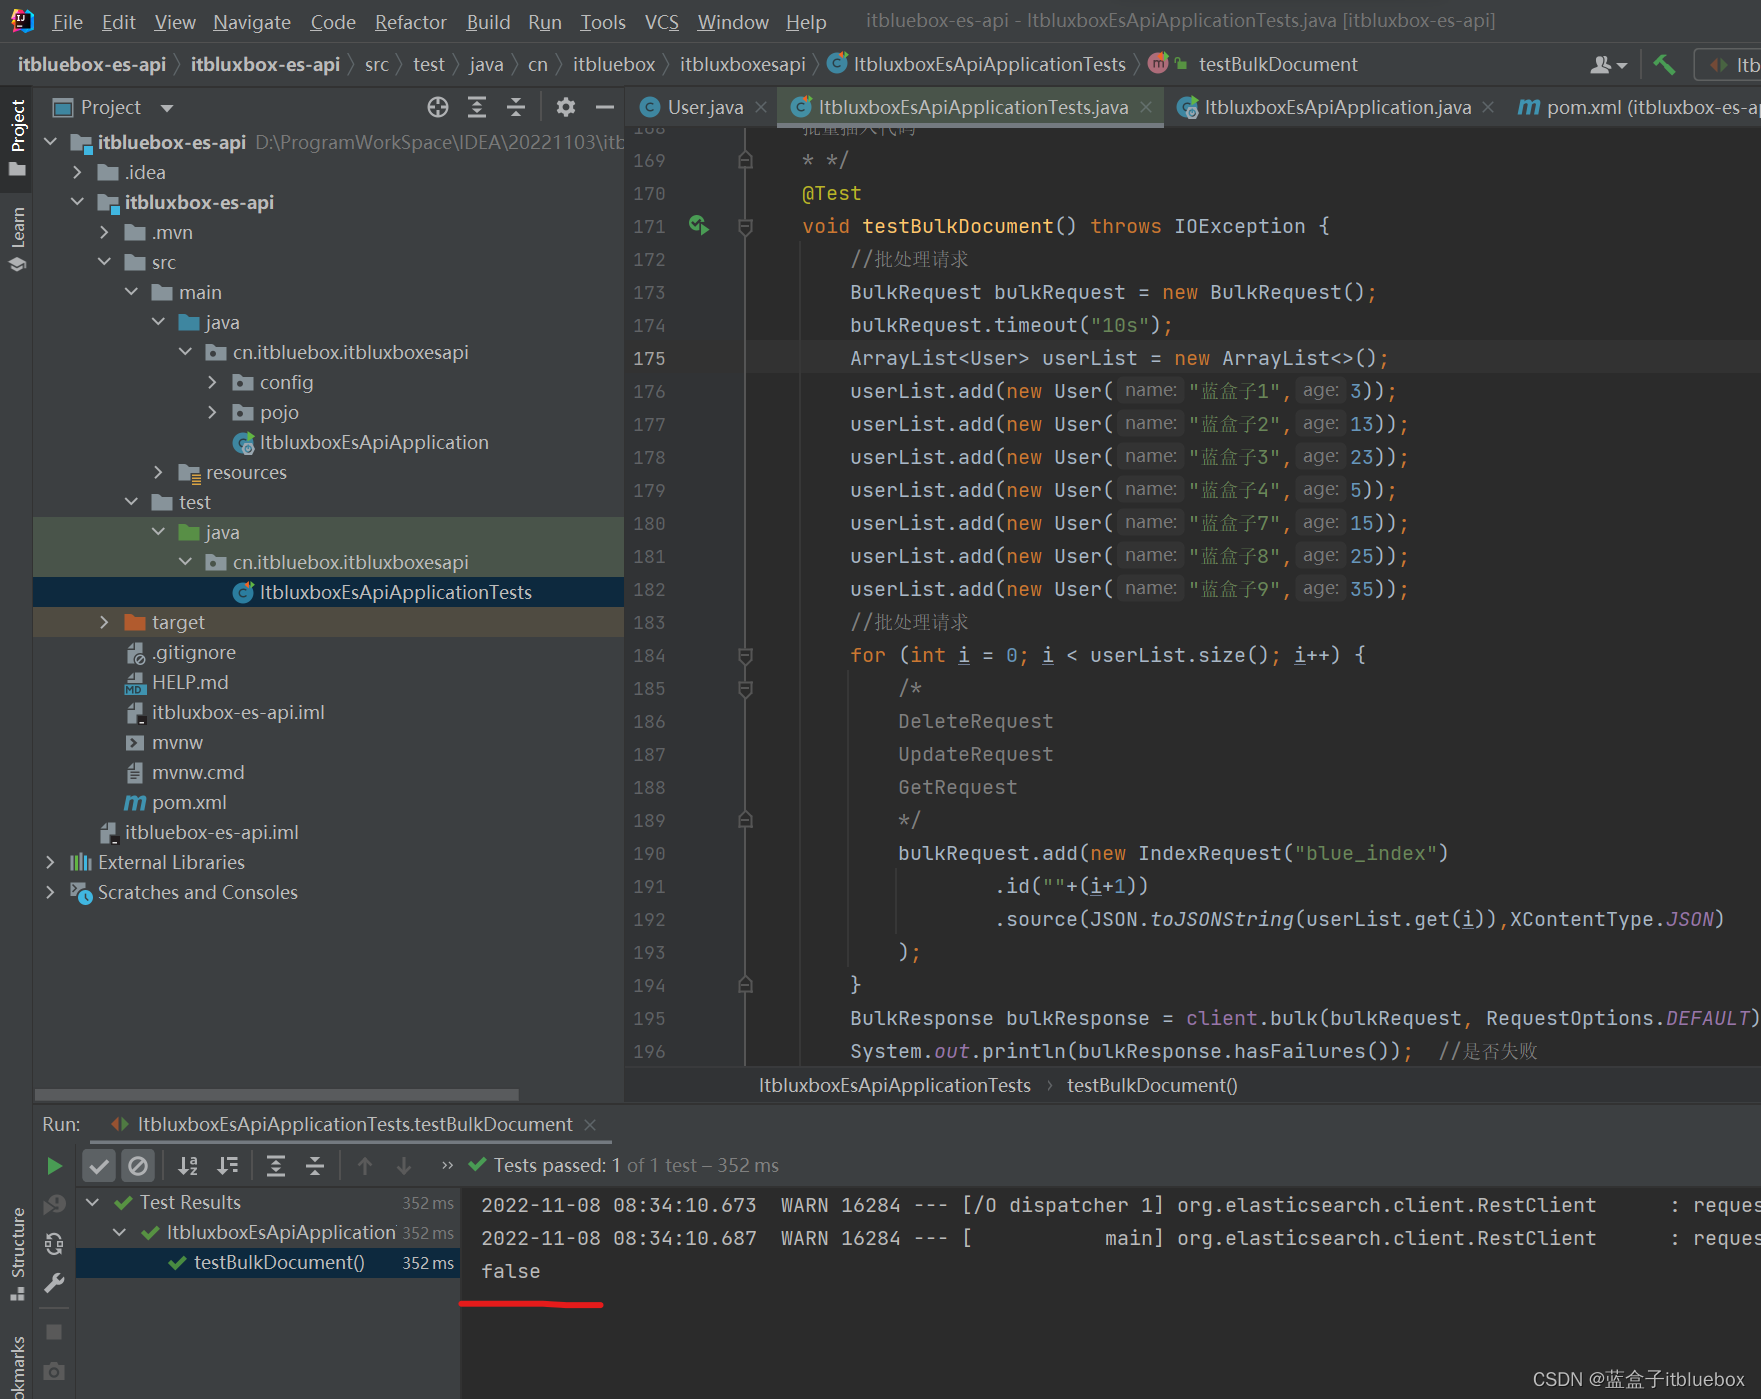
@Test
void testBulkDocument() throws IOException {
//批处理请求
BulkRequest bulkRequest = new BulkRequest();
bulkRequest.timeout("10s");
ArrayList<User> userList = new ArrayList<>();
userList.add(new User("蓝盒子1",3));
userList.add(new User("蓝盒子2",13));
userList.add(new User("蓝盒子3",23));
userList.add(new User("蓝盒子4",5));
userList.add(new User("蓝盒子7",15));
userList.add(new User("蓝盒子8",25));
userList.add(new User("蓝盒子9",35));
//批处理请求
for (int i = 0; i < userList.size(); i++) {
/*
批量删除:DeleteRequest
批量更新:UpdateRequest
*/
bulkRequest.add(new IndexRequest("blue_index")
.id(""+(i+1))
.source(JSON.toJSONString(userList.get(i)),XContentType.JSON)
);
}
BulkResponse bulkResponse = client.bulk(bulkRequest, RequestOptions.DEFAULT);
System.out.println(bulkResponse.hasFailures()); //是否失败
}
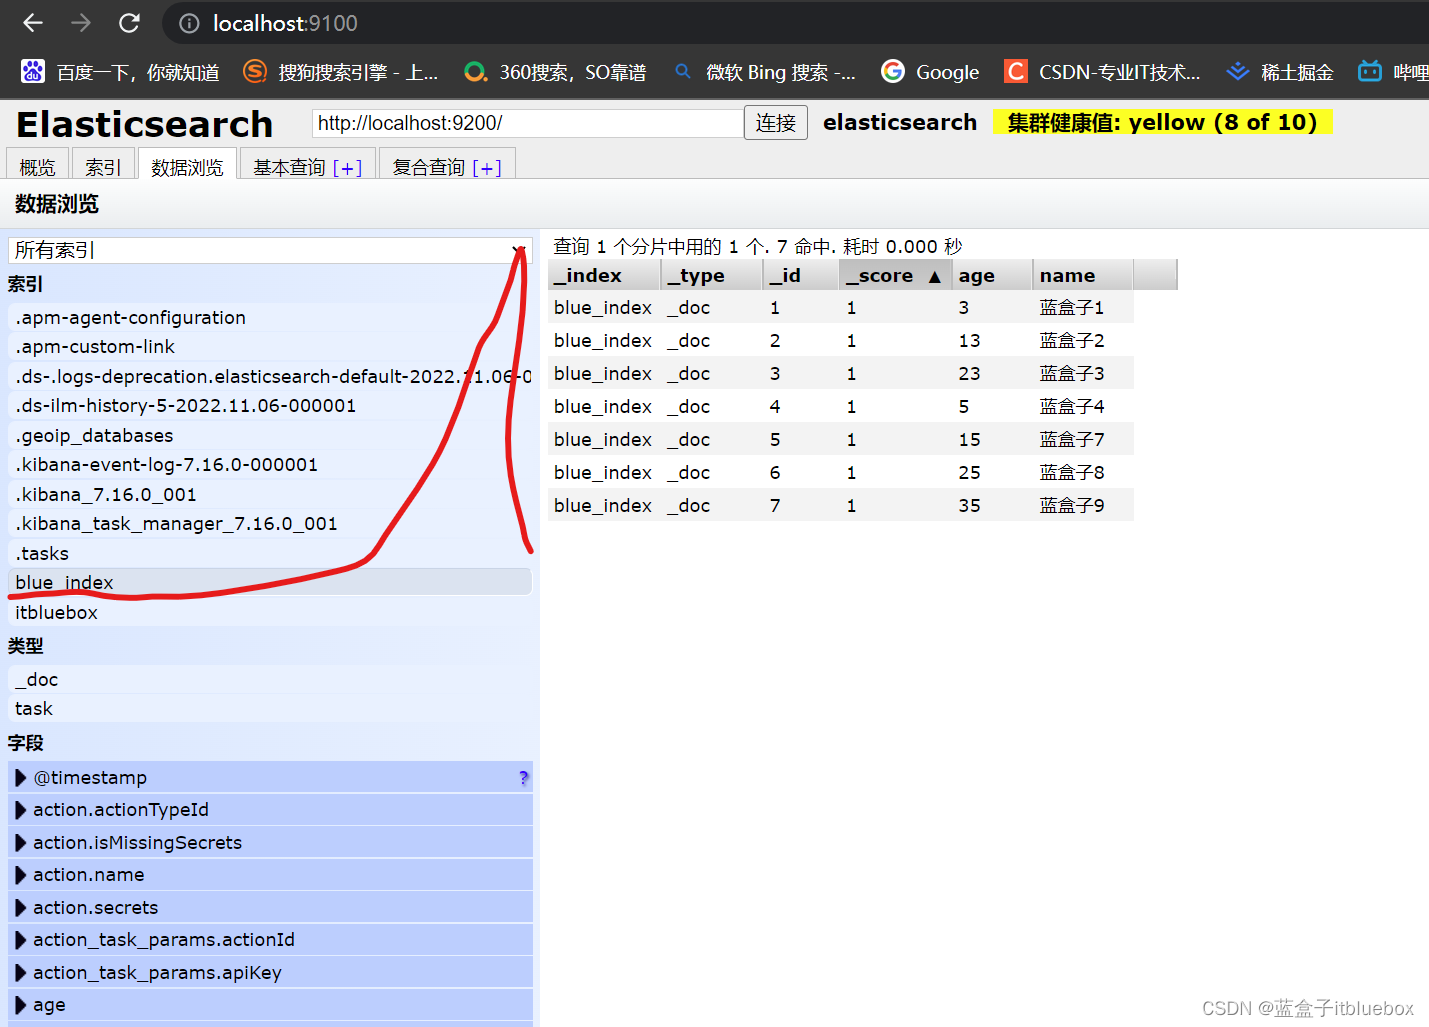
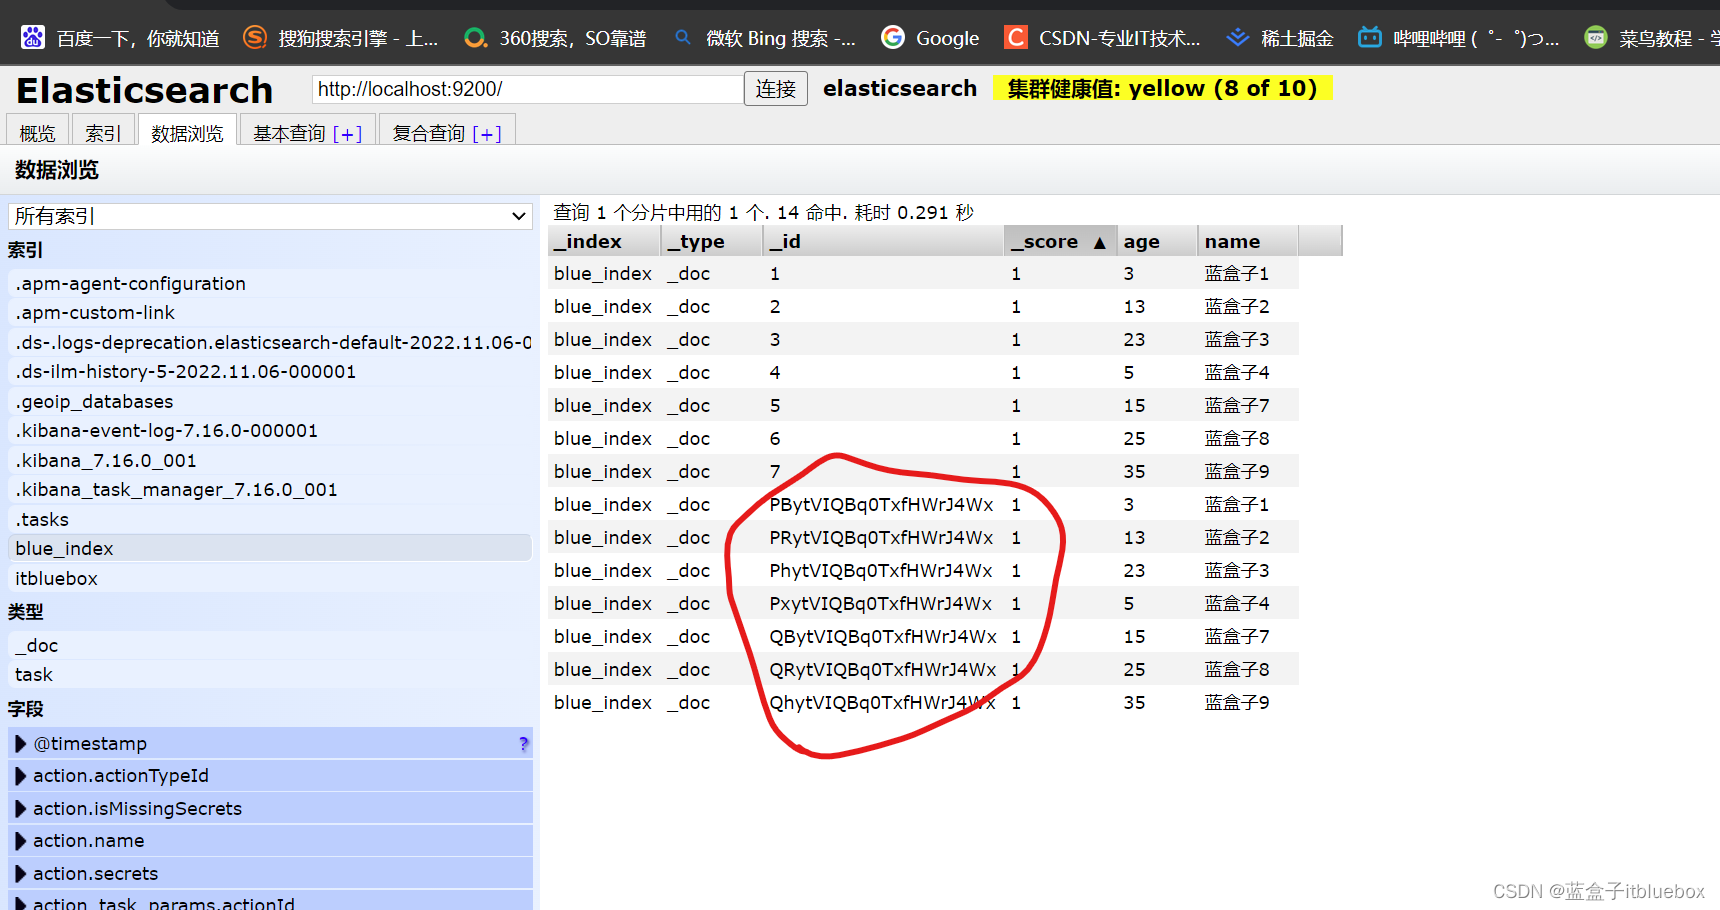
运行测试
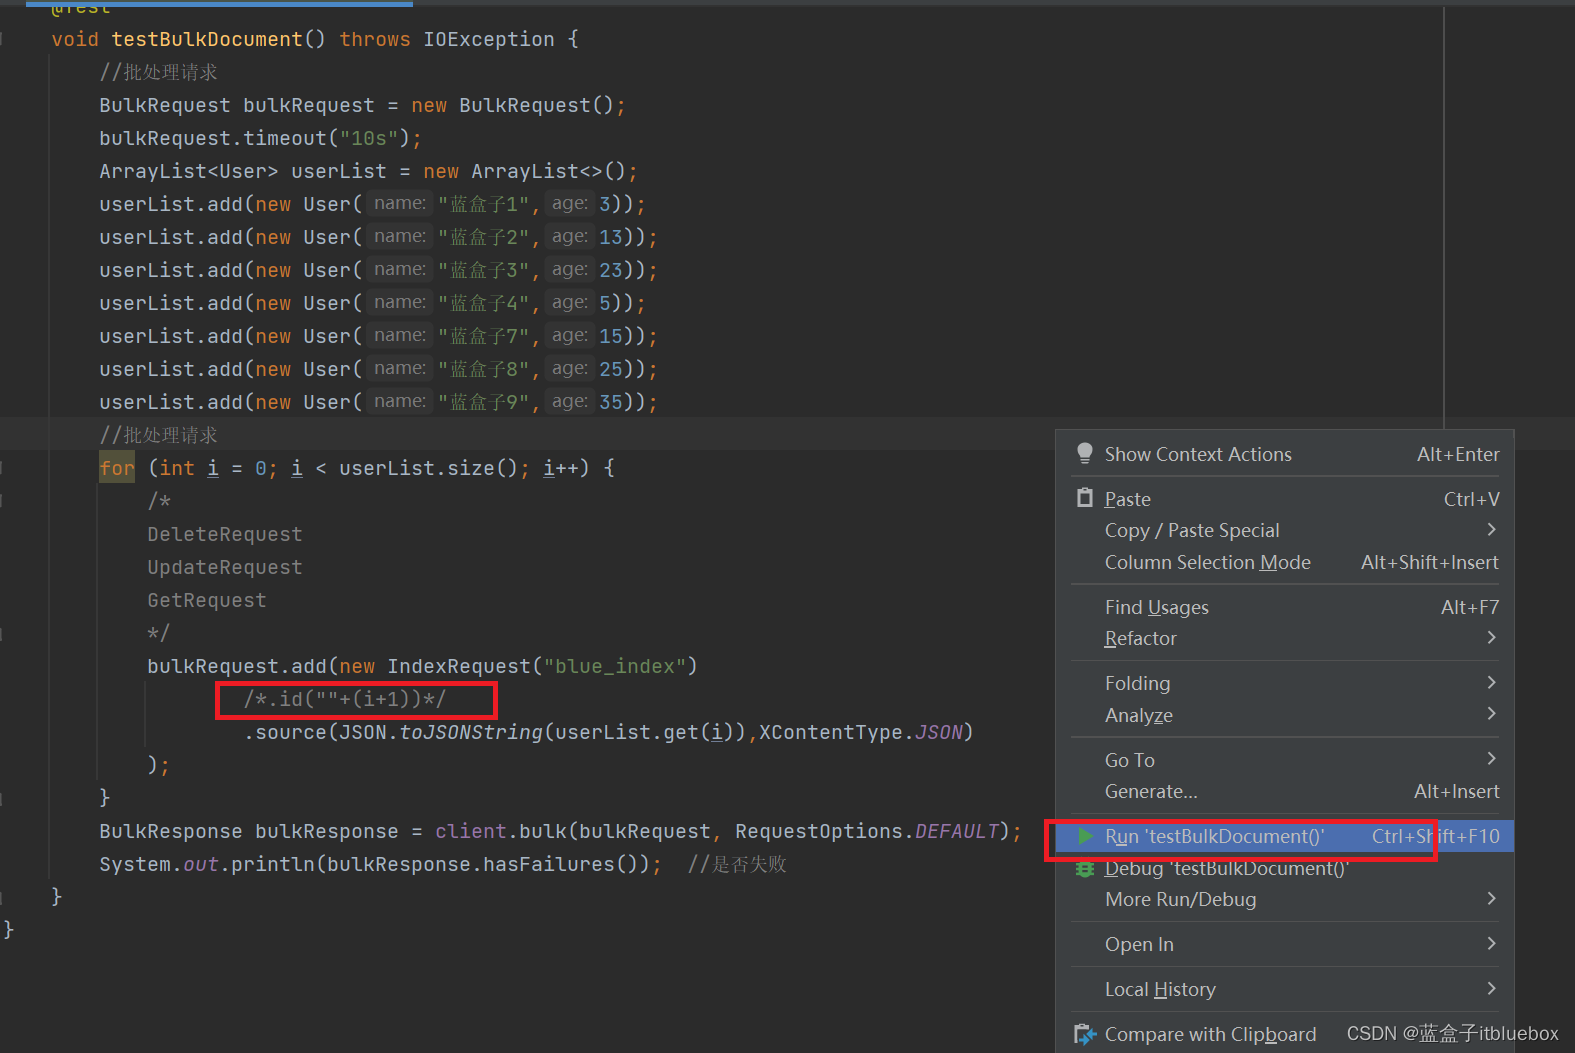
如果不设置id会生成随机id
运行测试
运行成功
7、查询
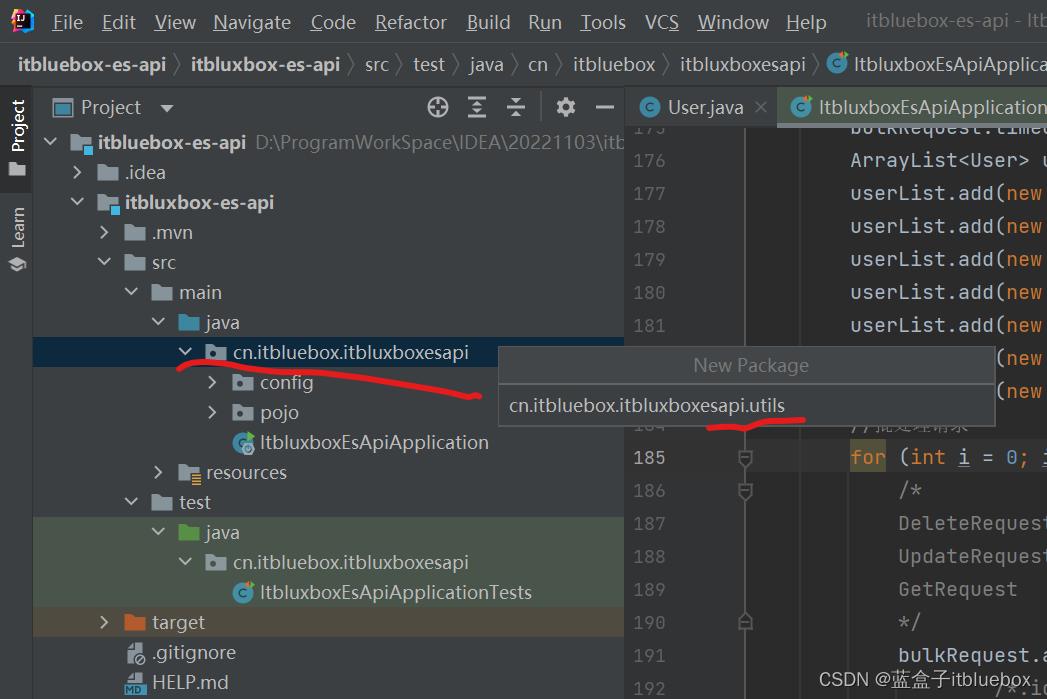
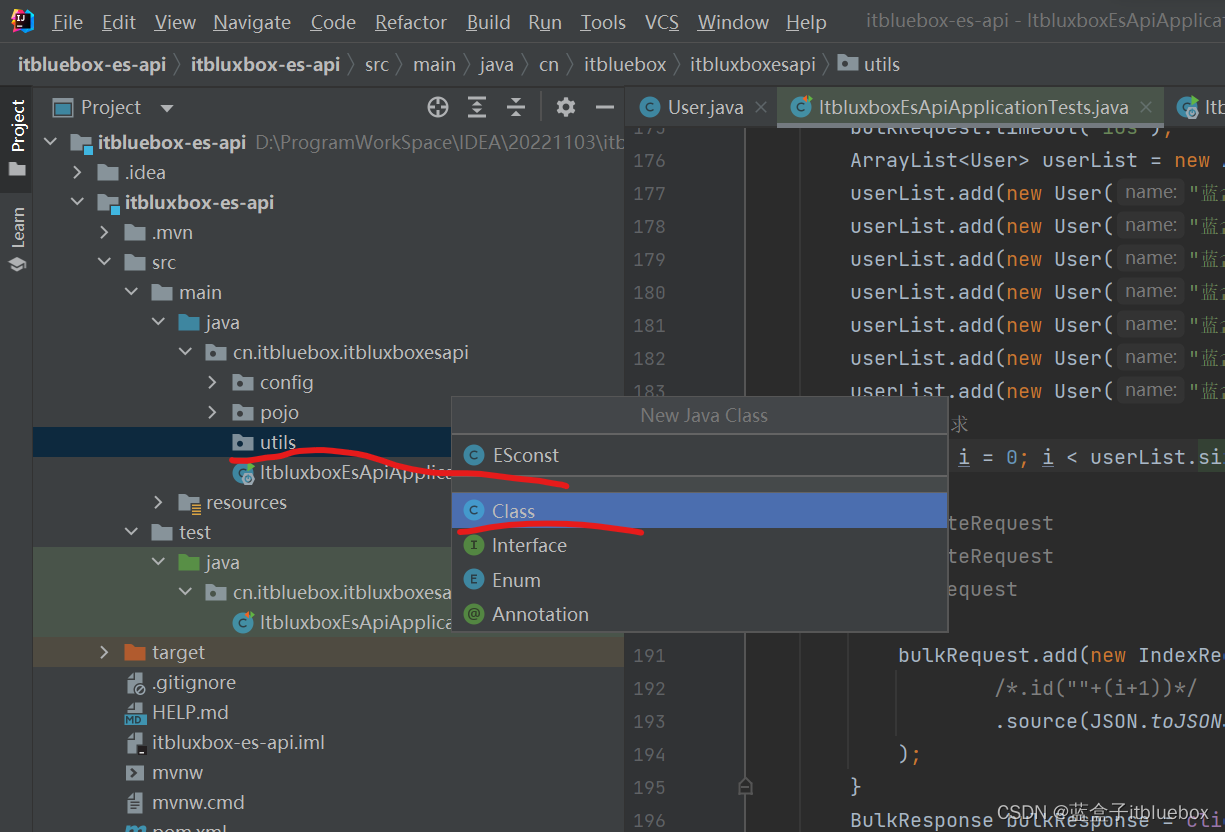
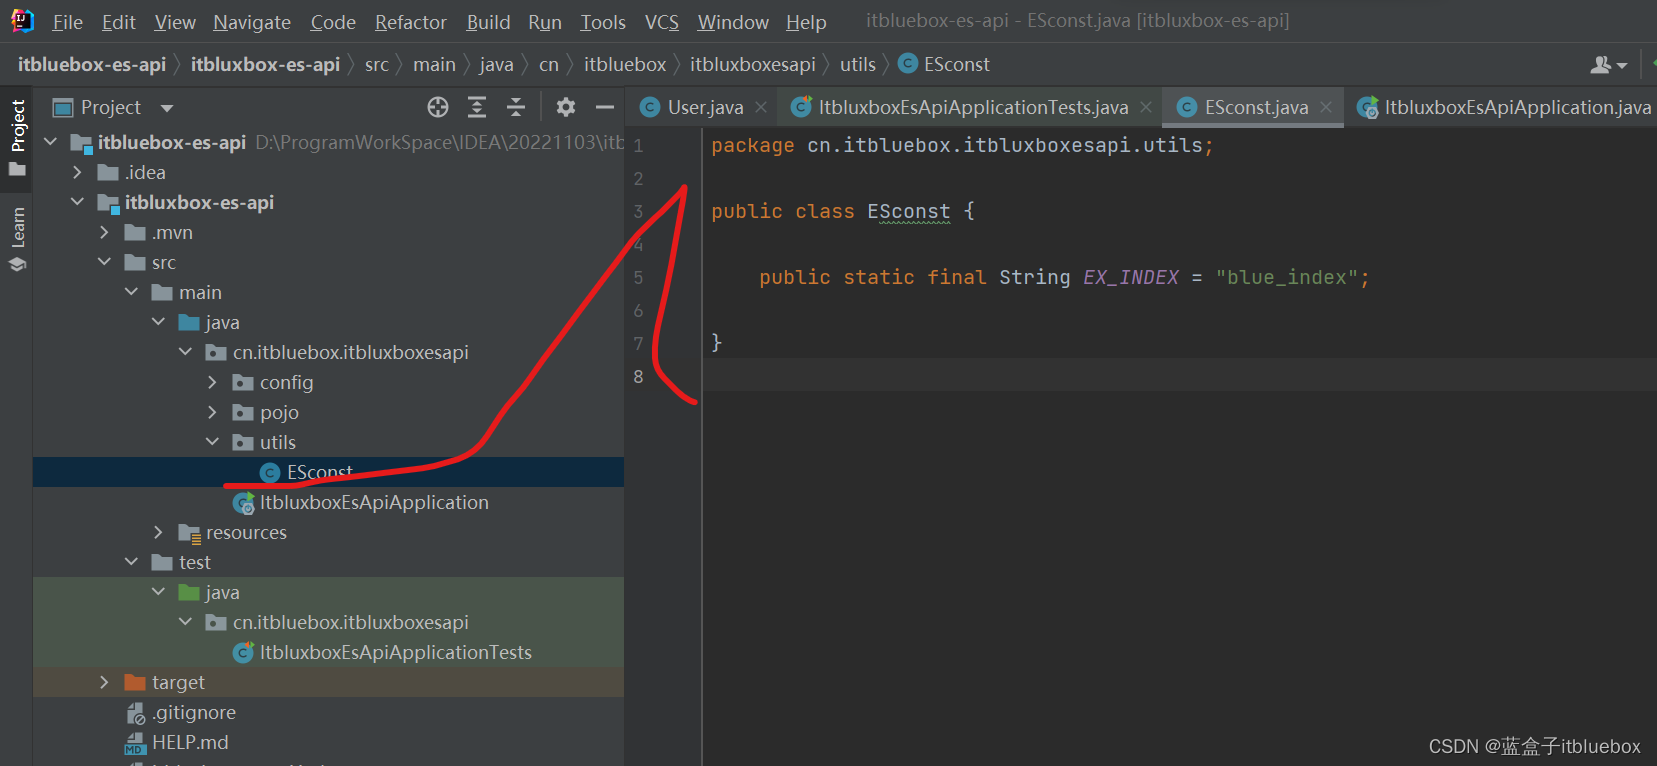
package cn.itbluebox.itbluxboxesapi.utils;

public class ESconst {


    public static final String EX_INDEX = "blue_index";

}
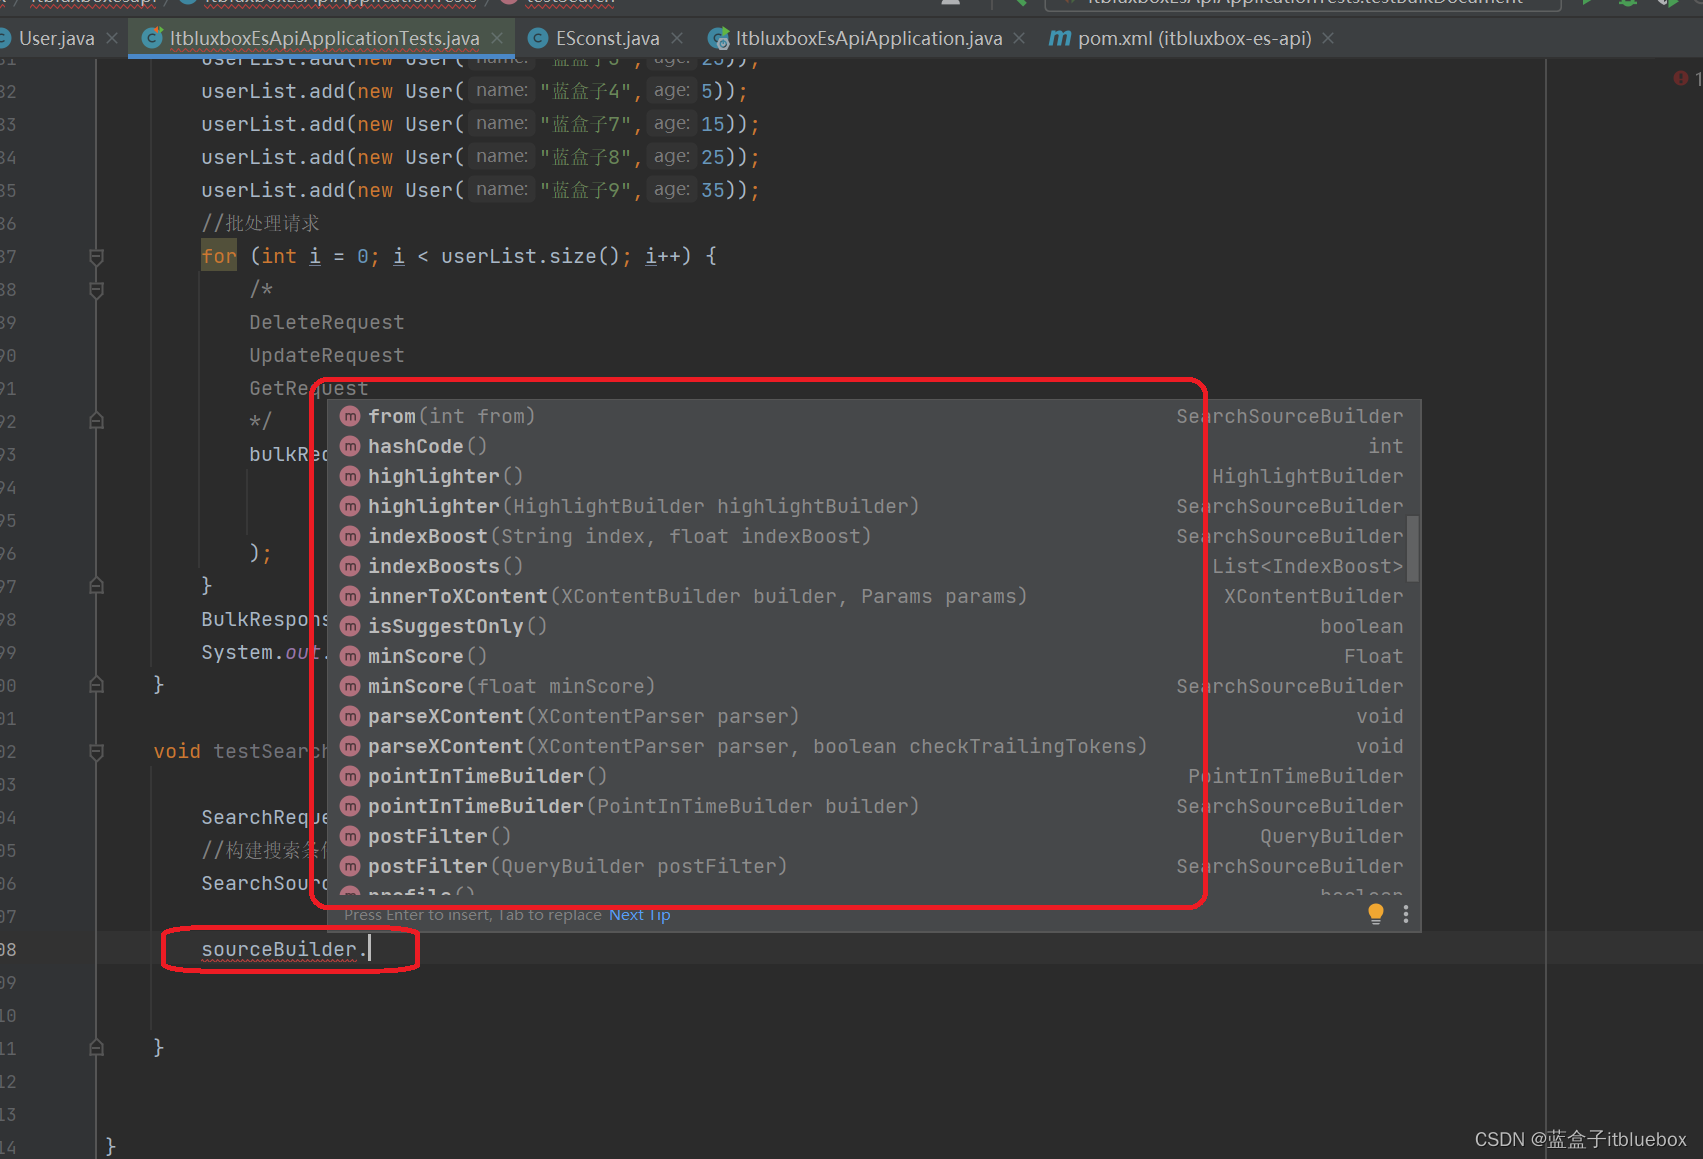
在查询当中调用
查询的时候这里有各种构造器
搜索年龄为3岁的
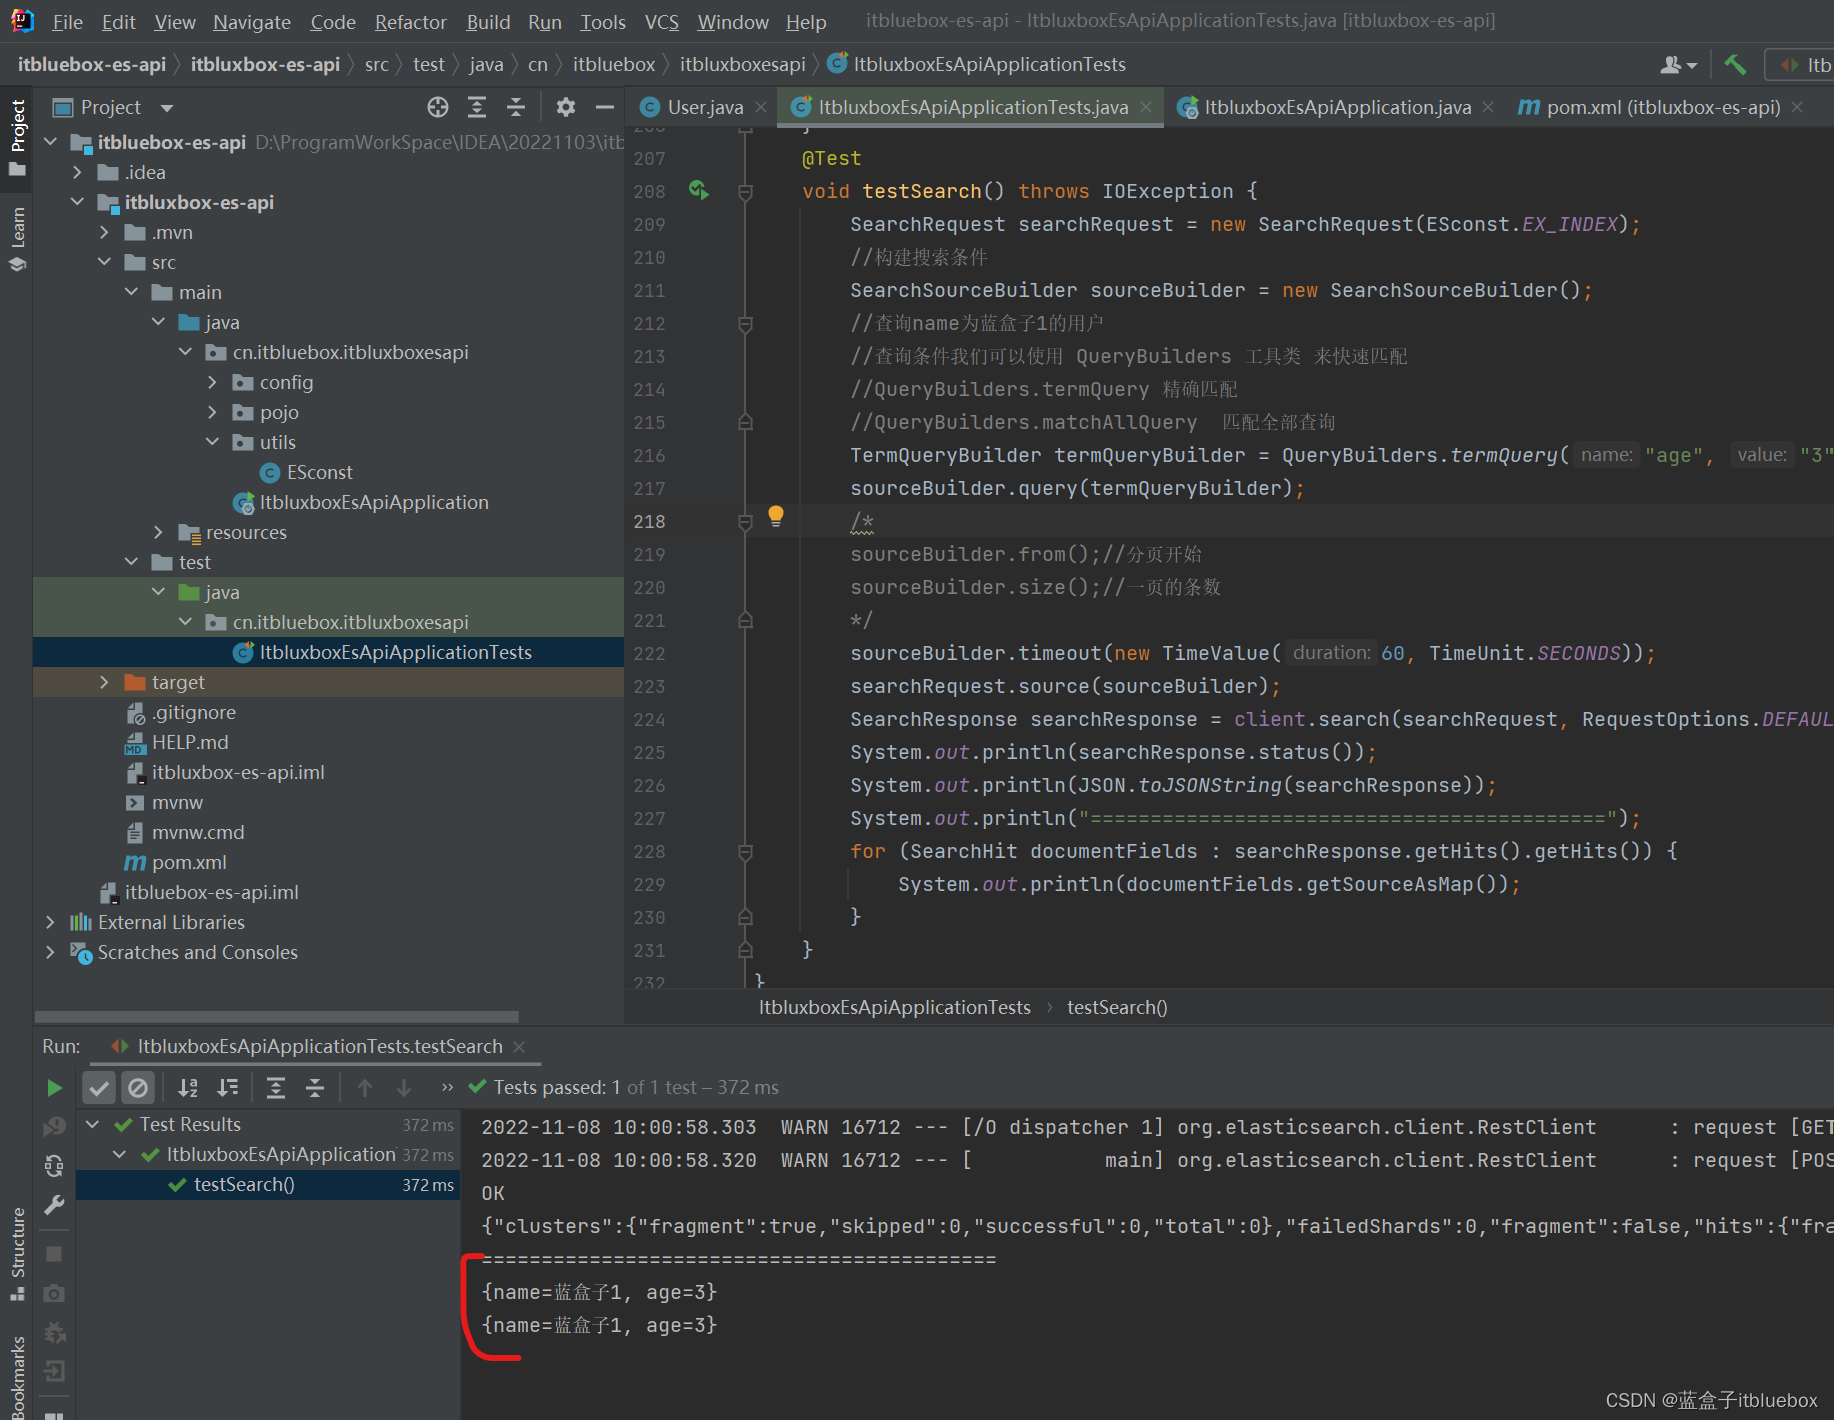
@Test
    void testSearch() throws IOException {


        SearchRequest searchRequest = new SearchRequest(ESconst.EX_INDEX);
        //构建搜索条件
        SearchSourceBuilder sourceBuilder = new SearchSourceBuilder();
        //查询name为蓝盒子1的用户
        //查询条件我们可以使用 QueryBuilders 工具类 来快速匹配
        //QueryBuilders.termQuery 精确匹配
        //QueryBuilders.matchAllQuery  匹配全部查询
        TermQueryBuilder termQueryBuilder = QueryBuilders.termQuery("age", "3");
        sourceBuilder.query(termQueryBuilder);
        /*
        sourceBuilder.from();//分页开始
        sourceBuilder.size();//一页的条数
        */
        sourceBuilder.timeout(new TimeValue(60, TimeUnit.SECONDS));
        searchRequest.source(sourceBuilder);
        SearchResponse searchResponse = client.search(searchRequest, RequestOptions.DEFAULT);
        System.out.println(searchResponse.status());
        System.out.println(JSON.toJSONString(searchResponse));
        System.out.println("===========================================");
        for (SearchHit documentFields : searchResponse.getHits().getHits()) {


            System.out.println(documentFields.getSourceAsMap());
        }
    }
运行测试
SearchRequest 搜索请求
SearchSourceBuilder 条件构造
HighlightBuilder 构建高亮
TermQueryBuilder 构建精确查询
MatchAllQueryBuilder 构建全部查询
xxx QueryBuilder 对应我们刚才看到的所有命令
四、项目实战(创建项目搭建工程)
1、创建新项目
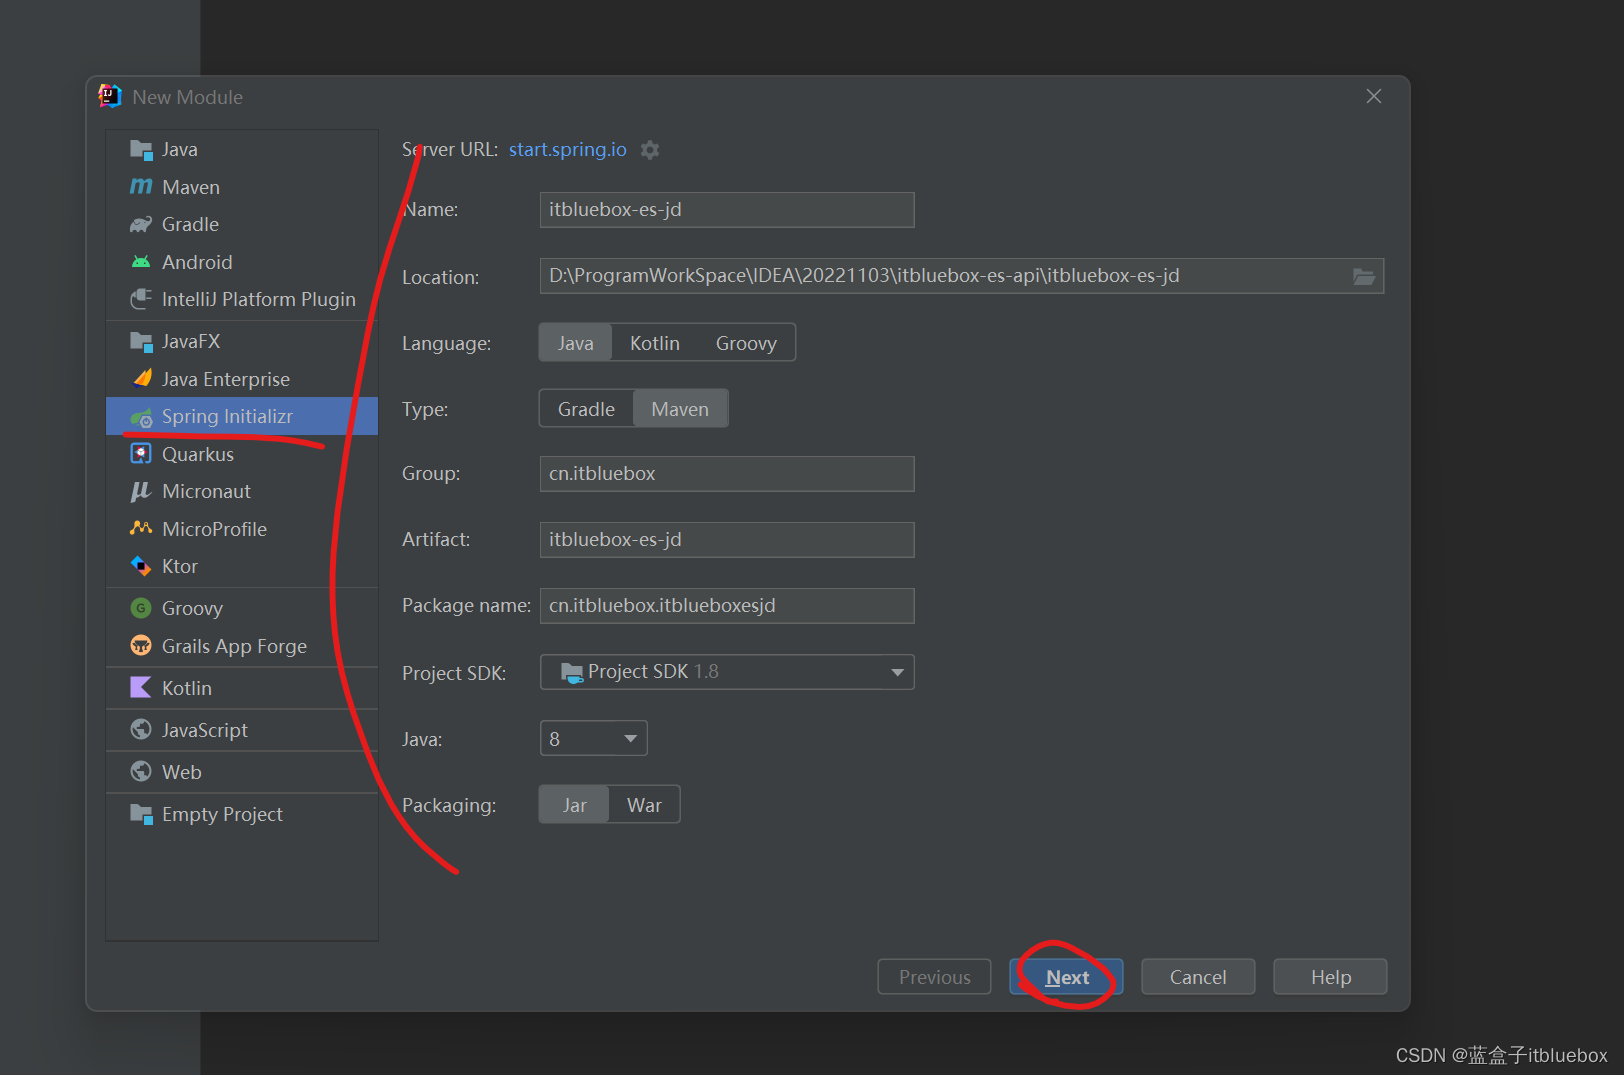
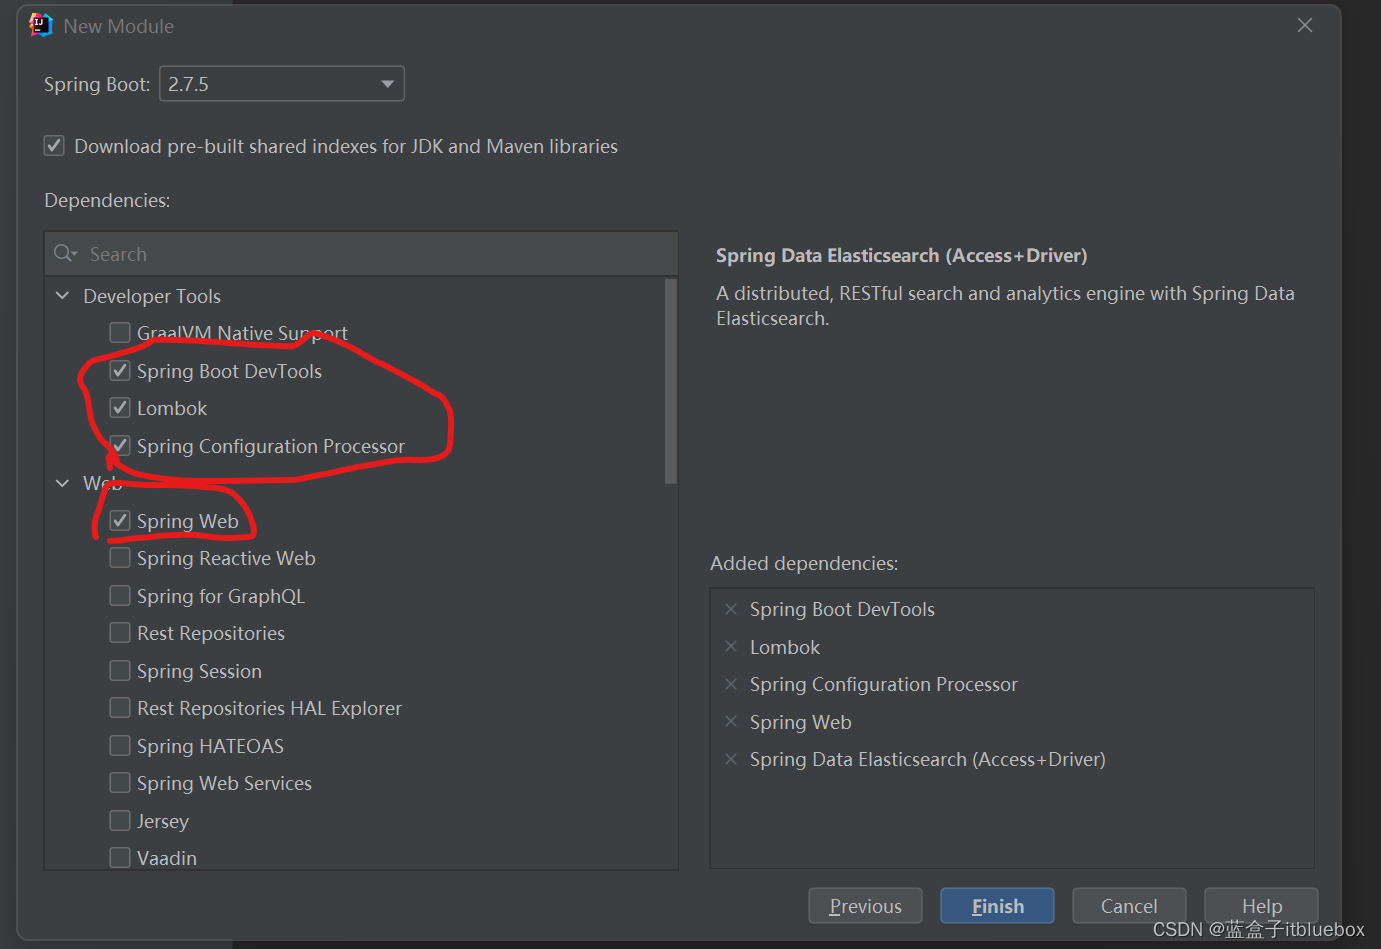
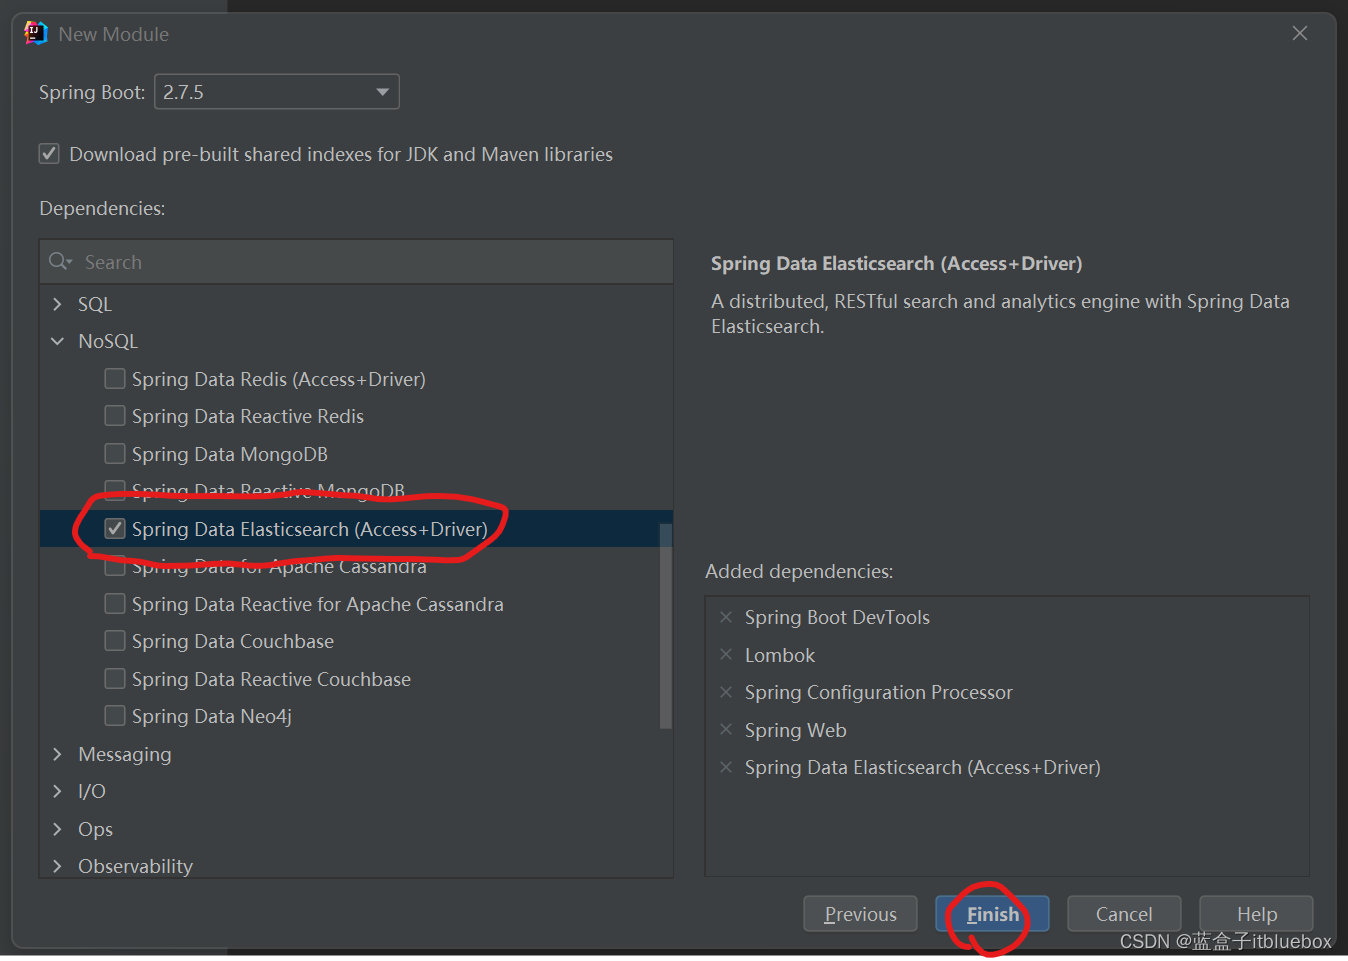
和之前一样选择好对应的依赖
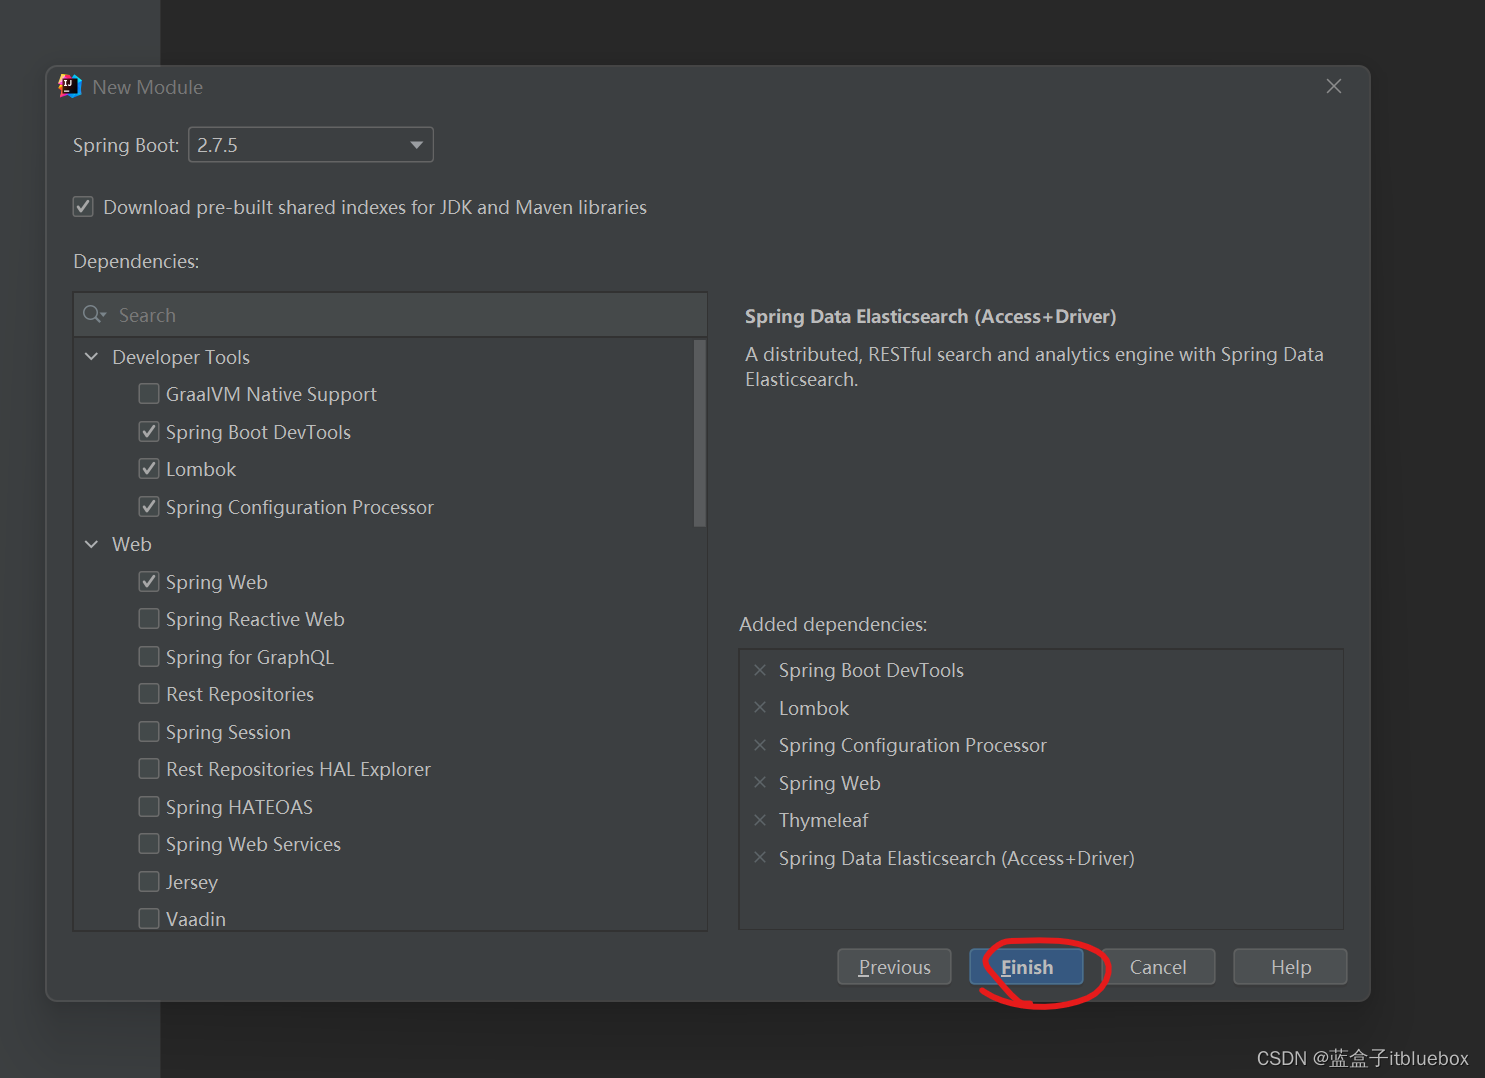
完善好对应的依赖
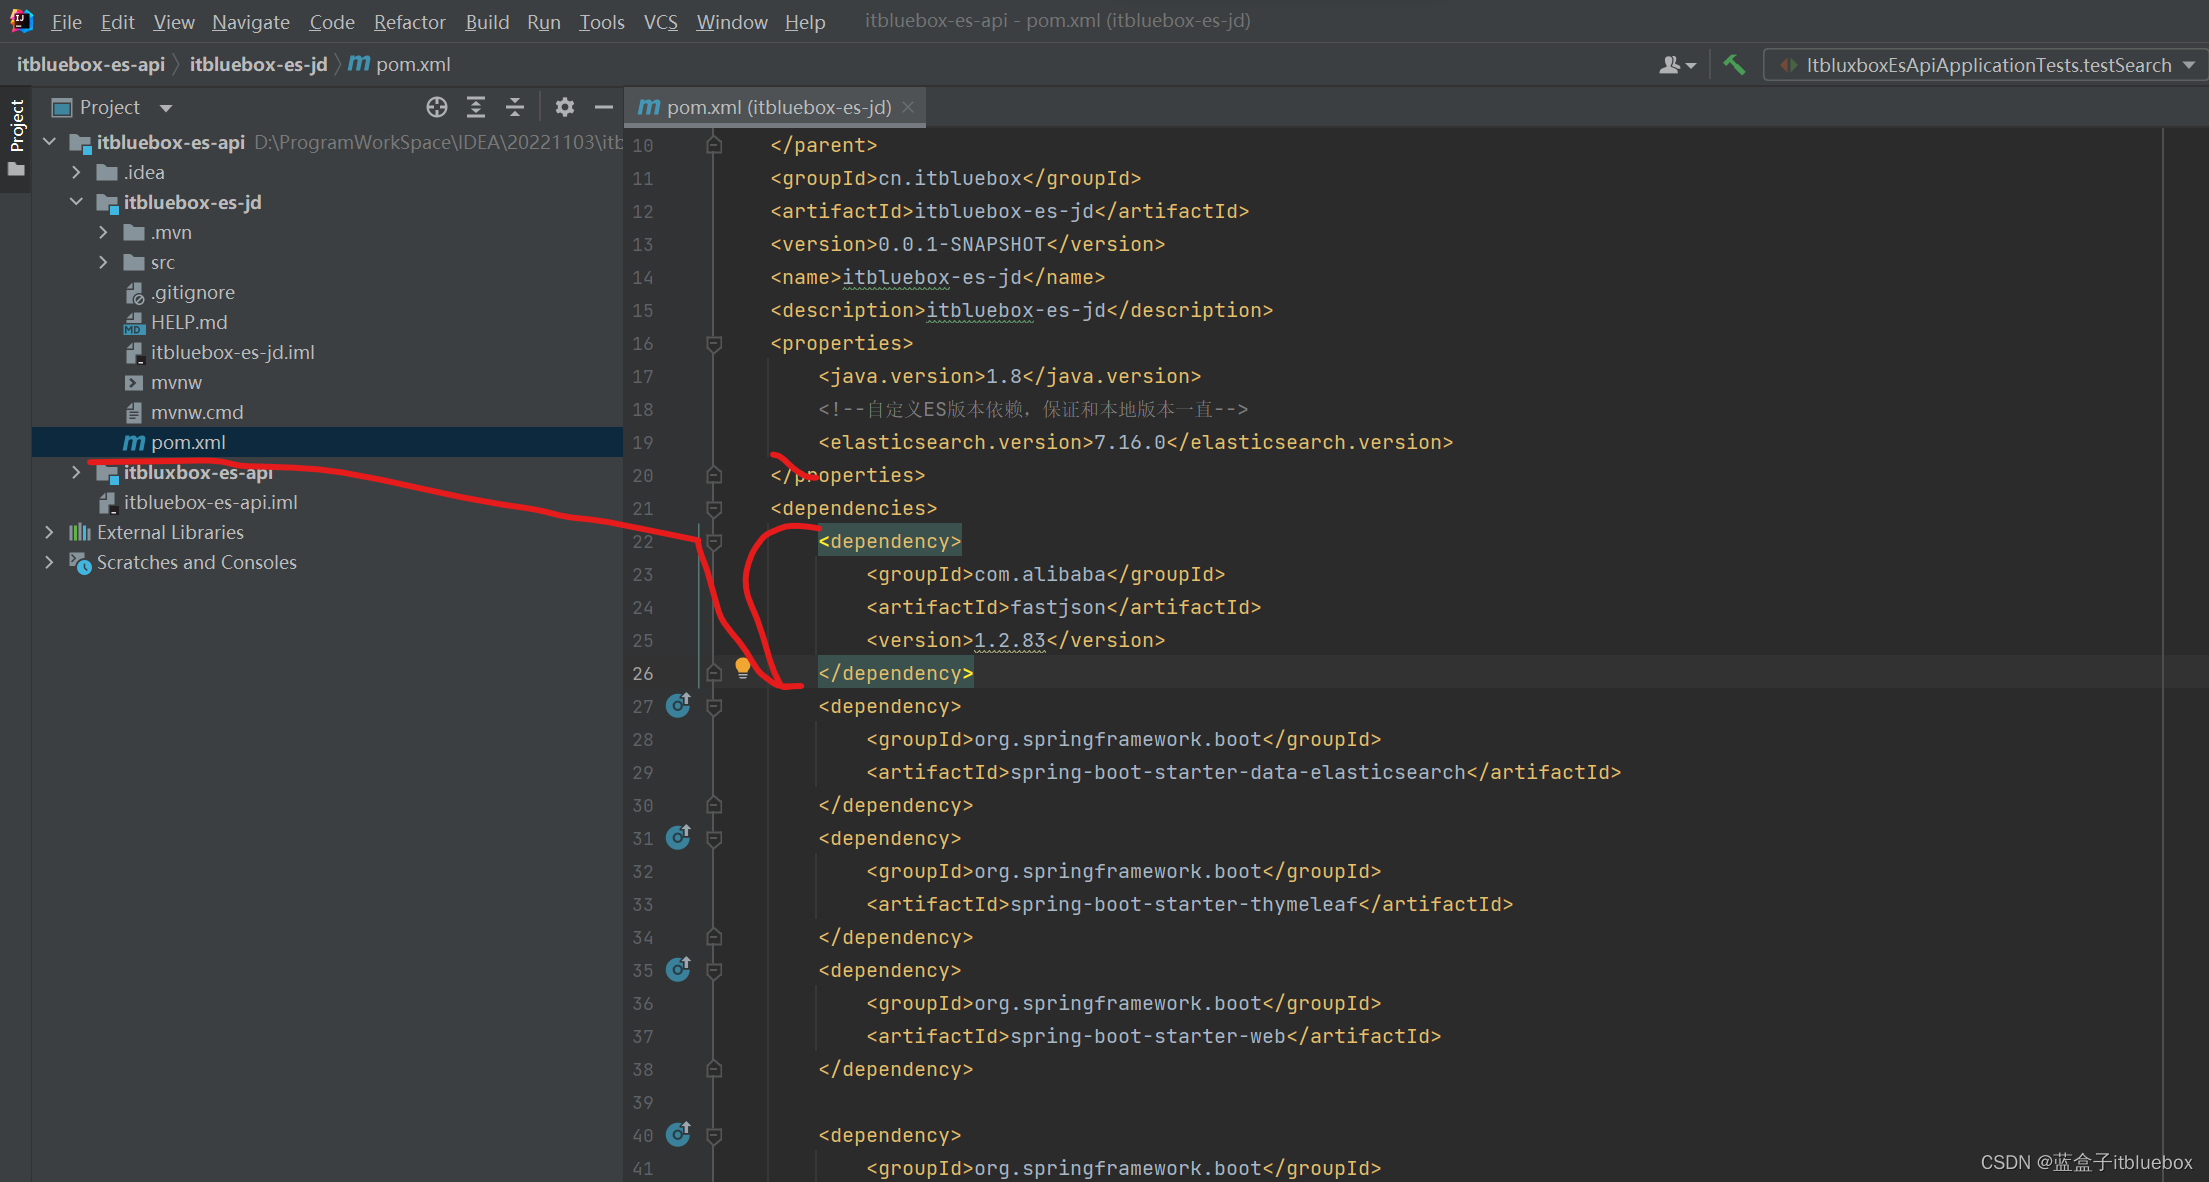
		<!--自定义ES版本依赖,保证和本地版本一直-->
        <elasticsearch.version>7.16.0</elasticsearch.version>
		<dependency>
            <groupId>com.alibaba</groupId>
            <artifactId>fastjson</artifactId>
            <version>1.2.83</version>
        </dependency>
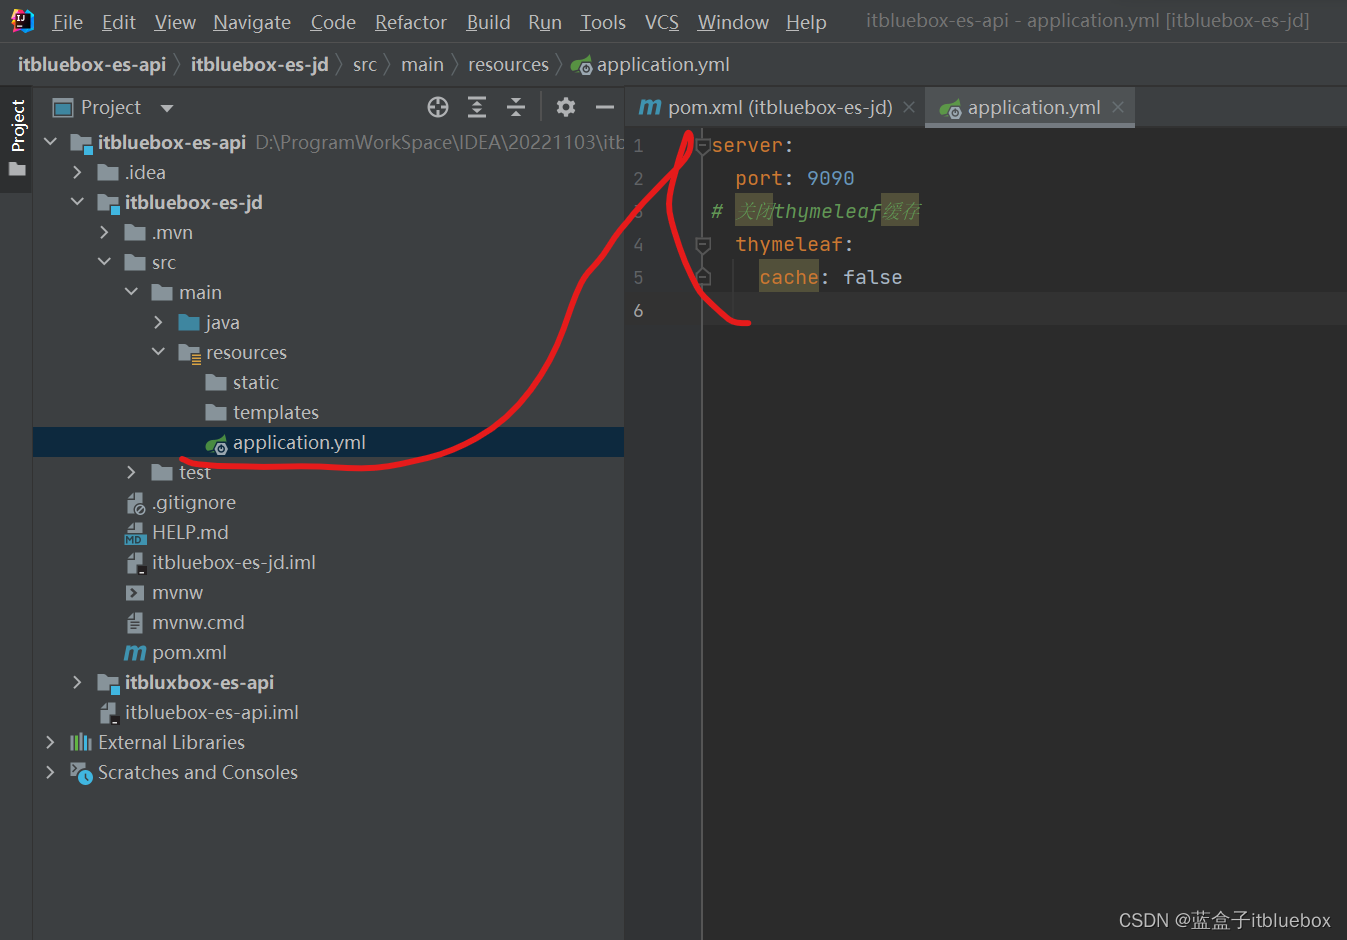
完善yml
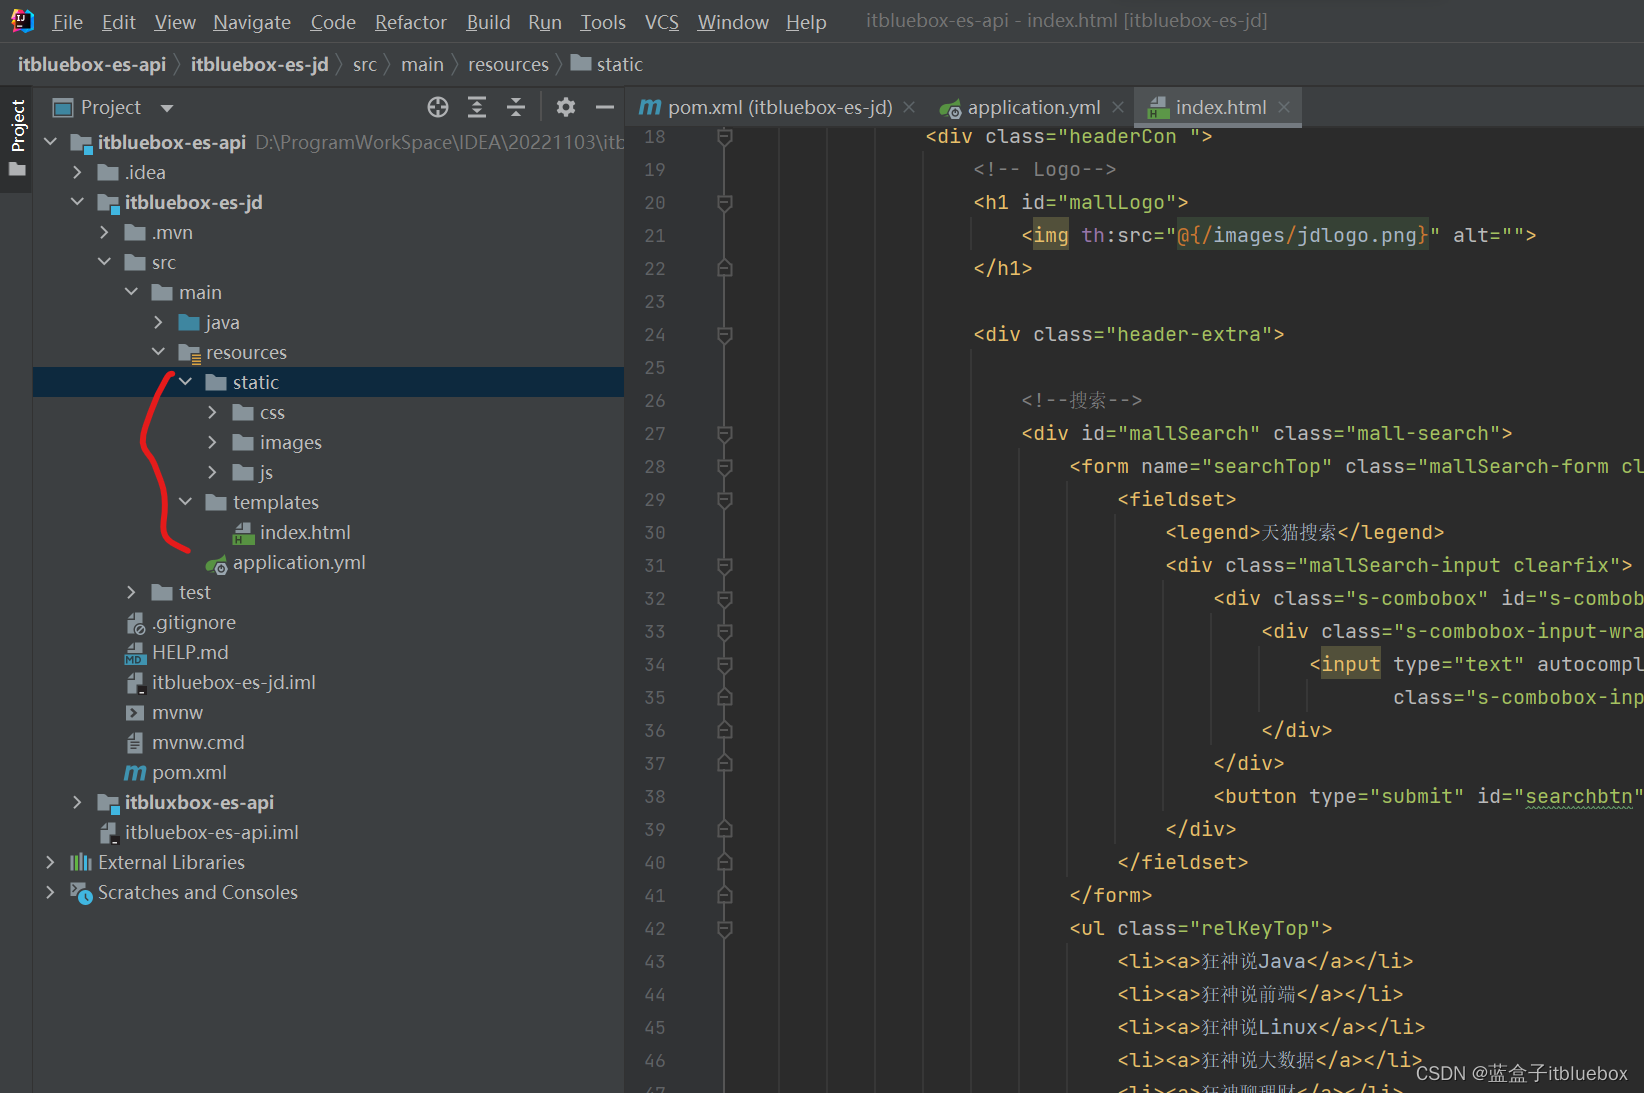
2、引入一些静态资源
静态资源下载地址:https://download.csdn.net/download/qq_44757034/86935691
3、创建controller
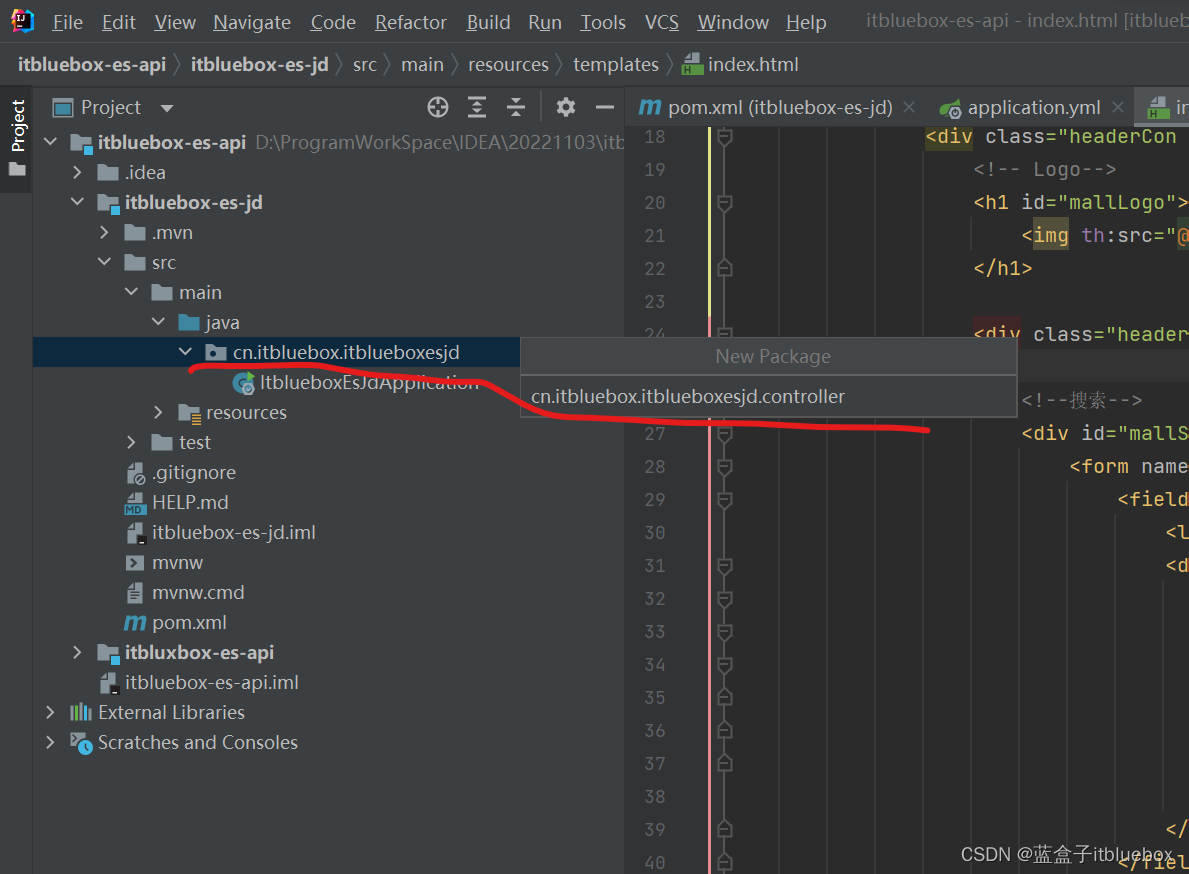
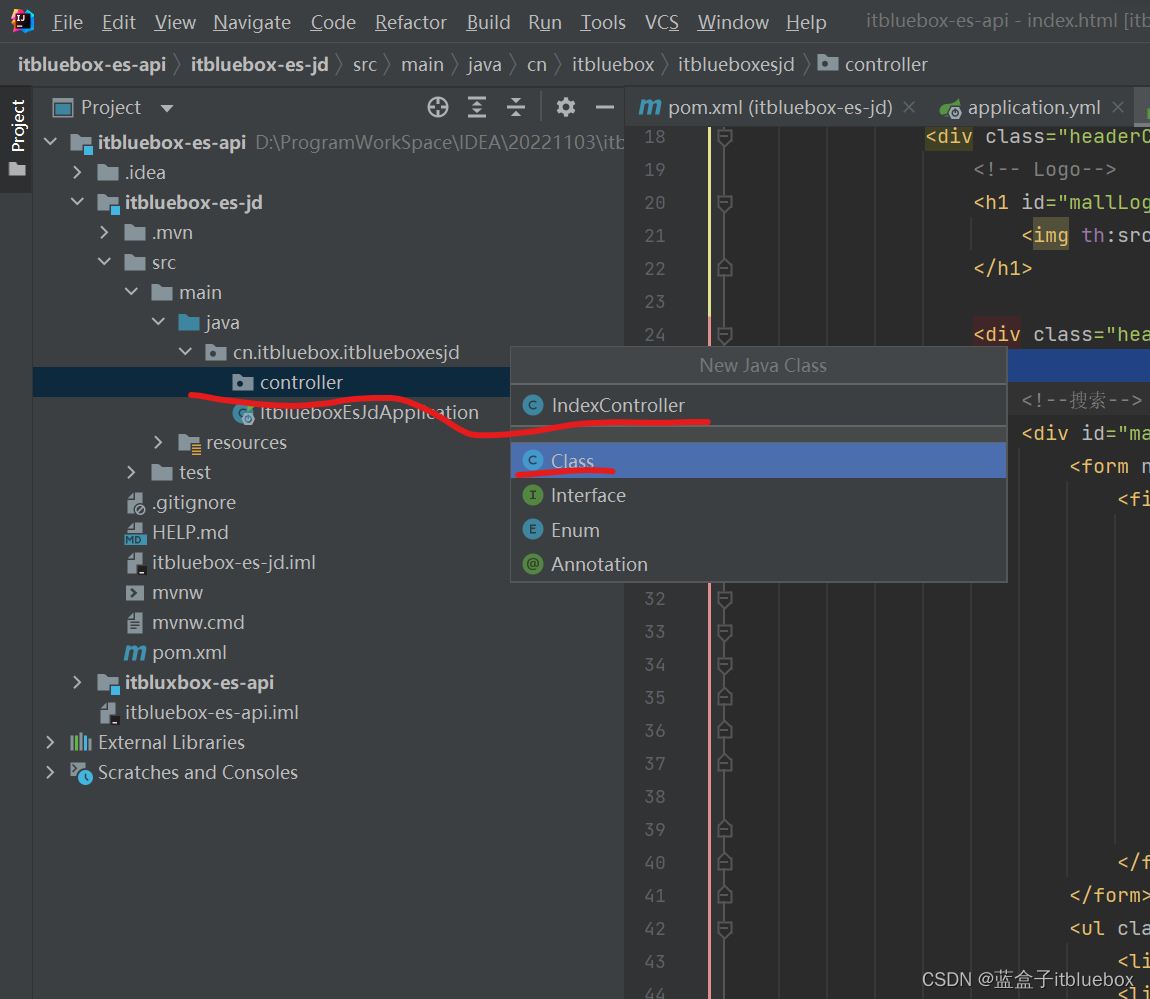
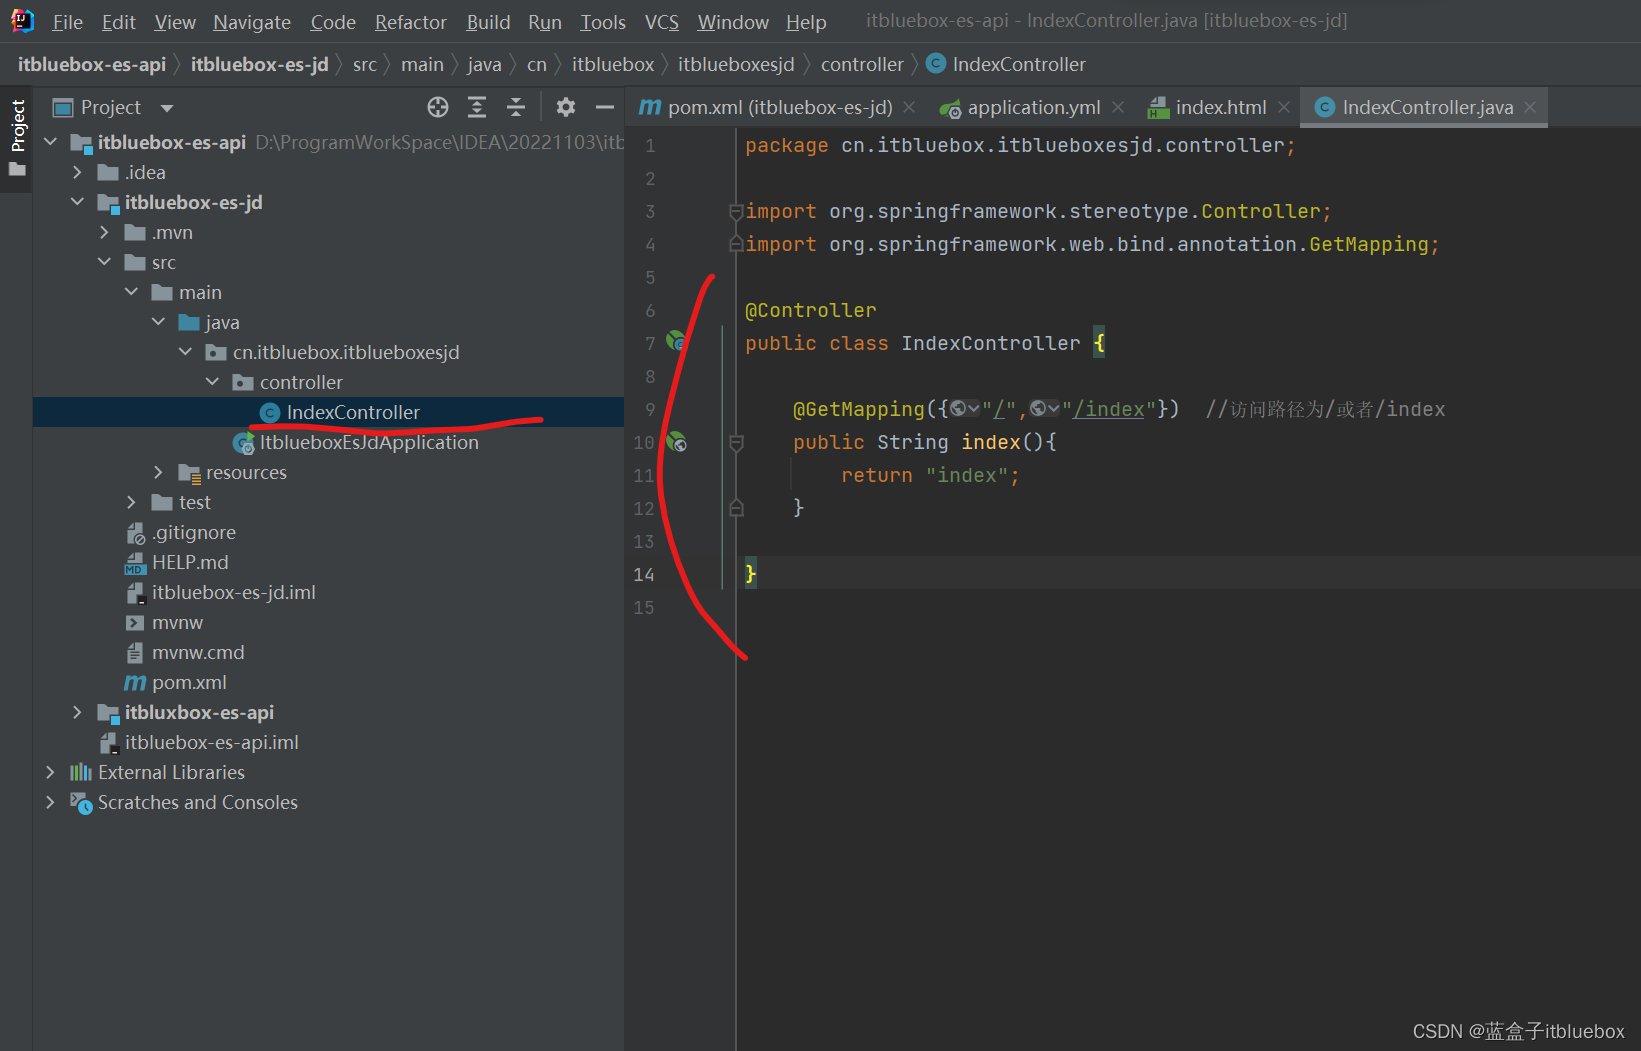
import org.springframework.stereotype.Controller;
import org.springframework.web.bind.annotation.GetMapping;

@Controller
public class IndexController {


    @GetMapping({

    "/","/index"})  //访问路径为/或者/index
    public String index(){


        return "index";
    }

}
启动运行
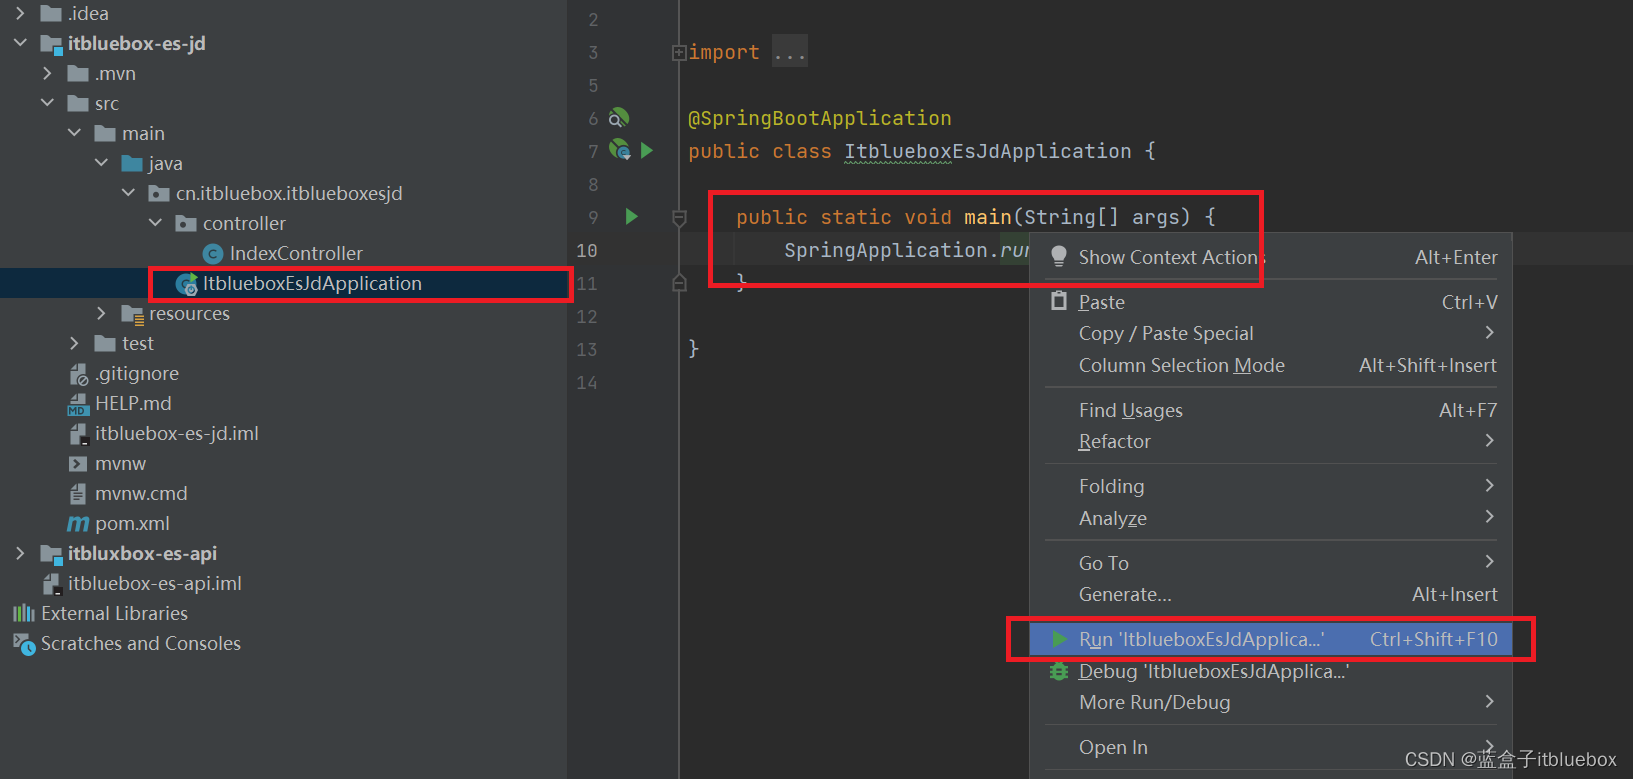
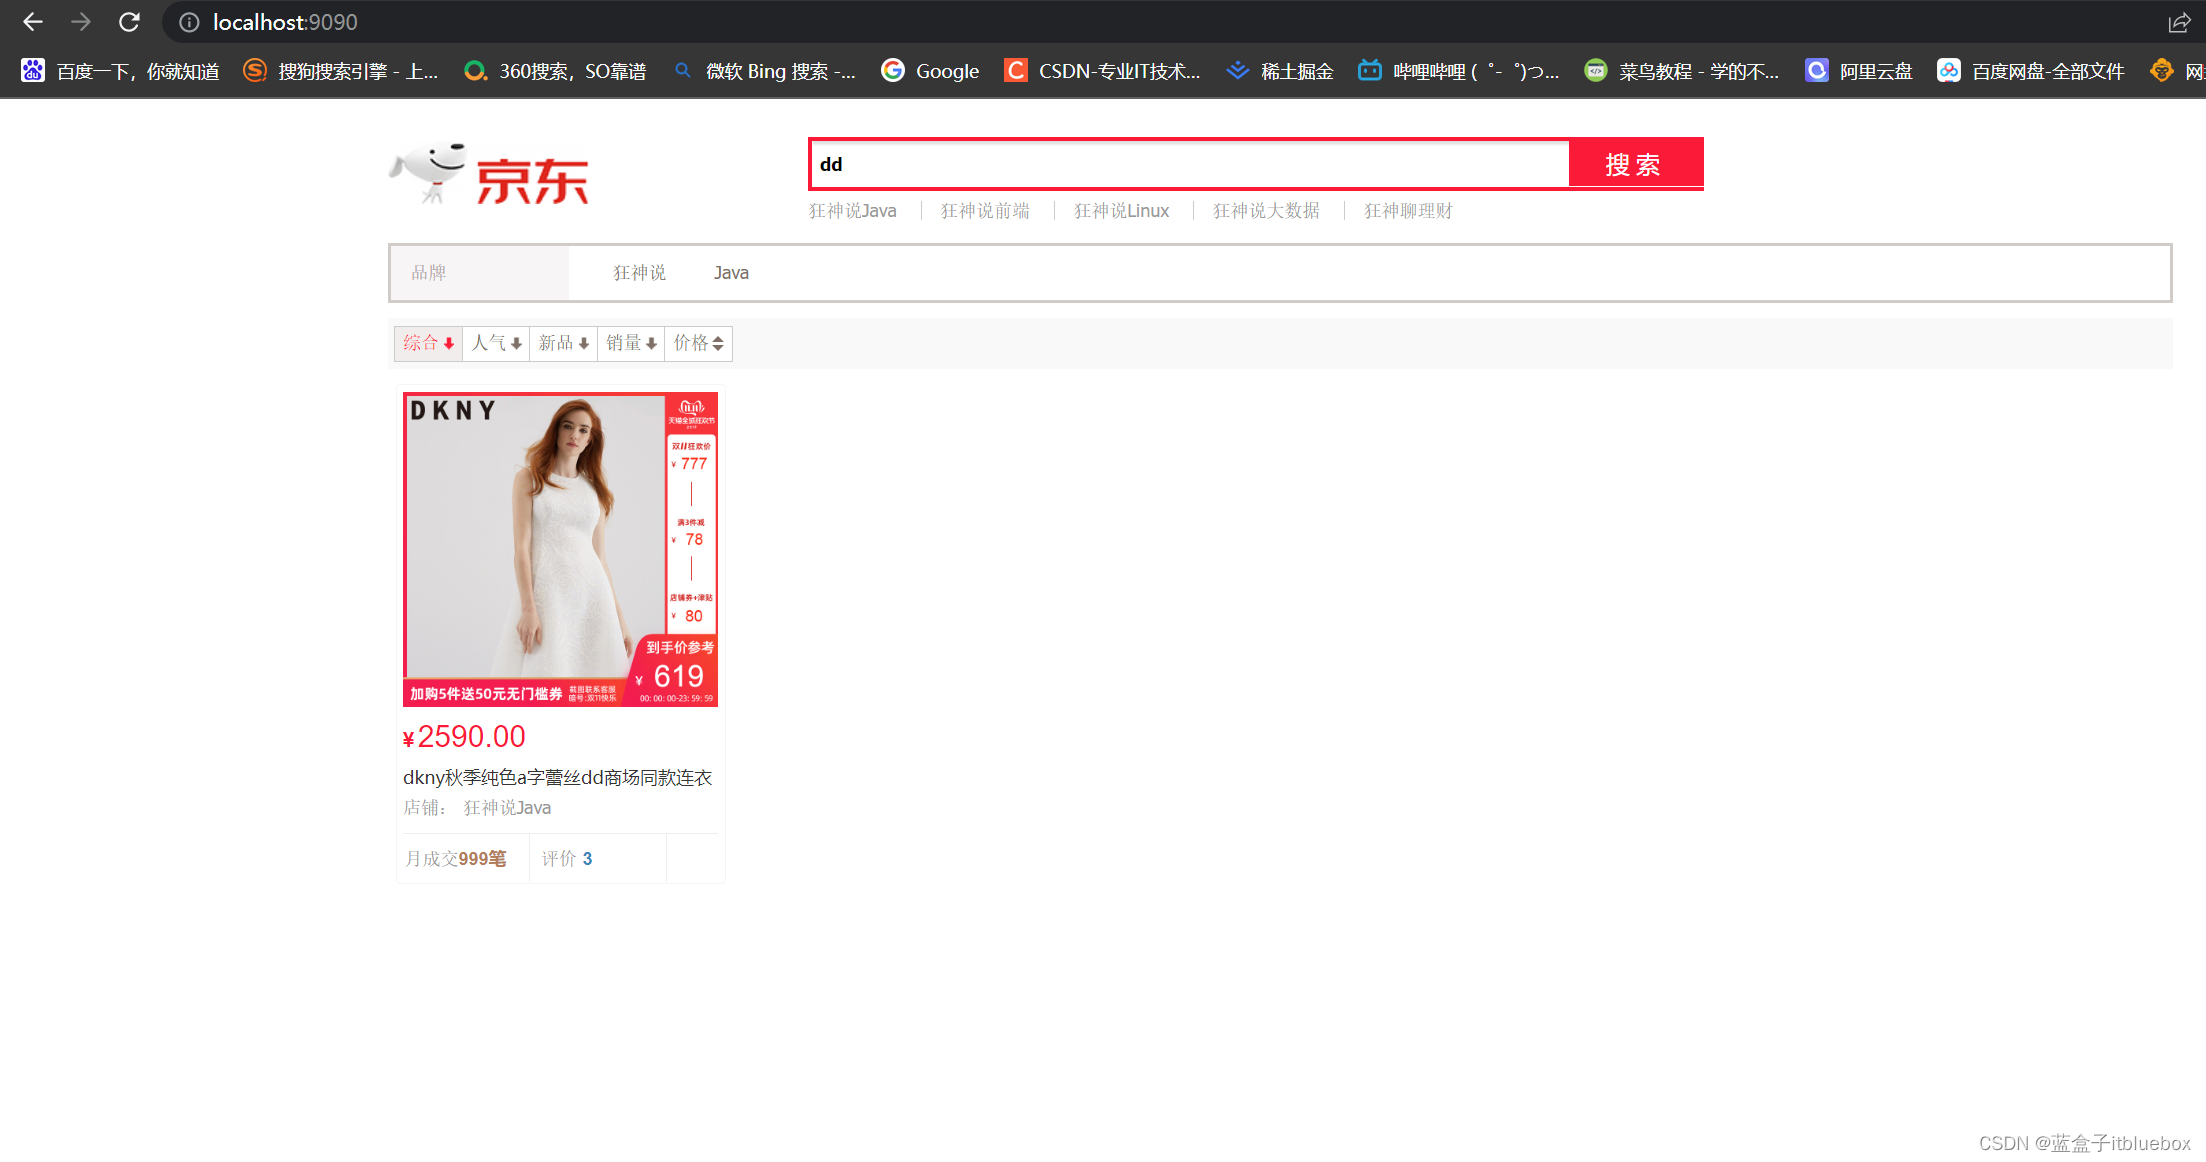
访问:http://localhost:9090/
访问成功:
五、抓取数据
爬取数据(获取请求返回的页面信息,筛选出我们想要的数据就可以了)
jsoup包!或者tika
1、导入依赖(引入jsoup)
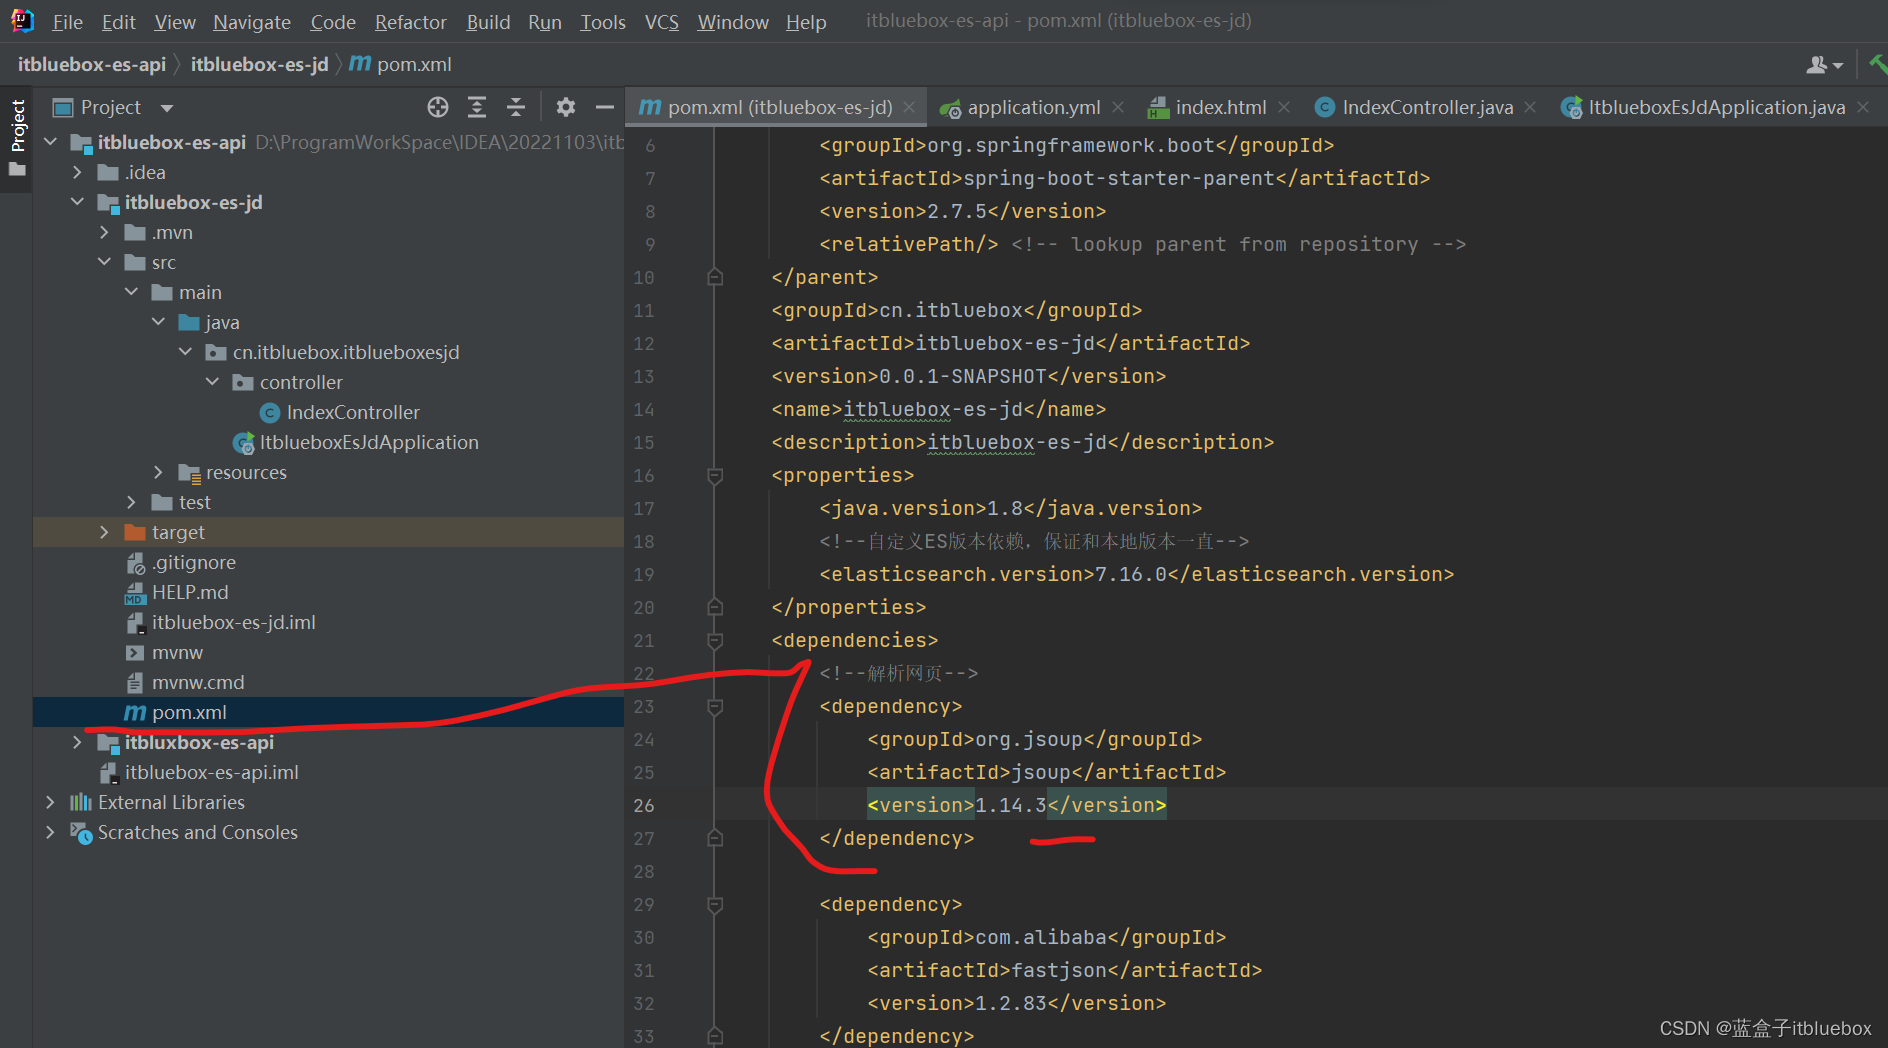
		<!--解析网页-->
        <dependency>
            <groupId>org.jsoup</groupId>
            <artifactId>jsoup</artifactId>
            <version>1.14.3</version>
        </dependency>
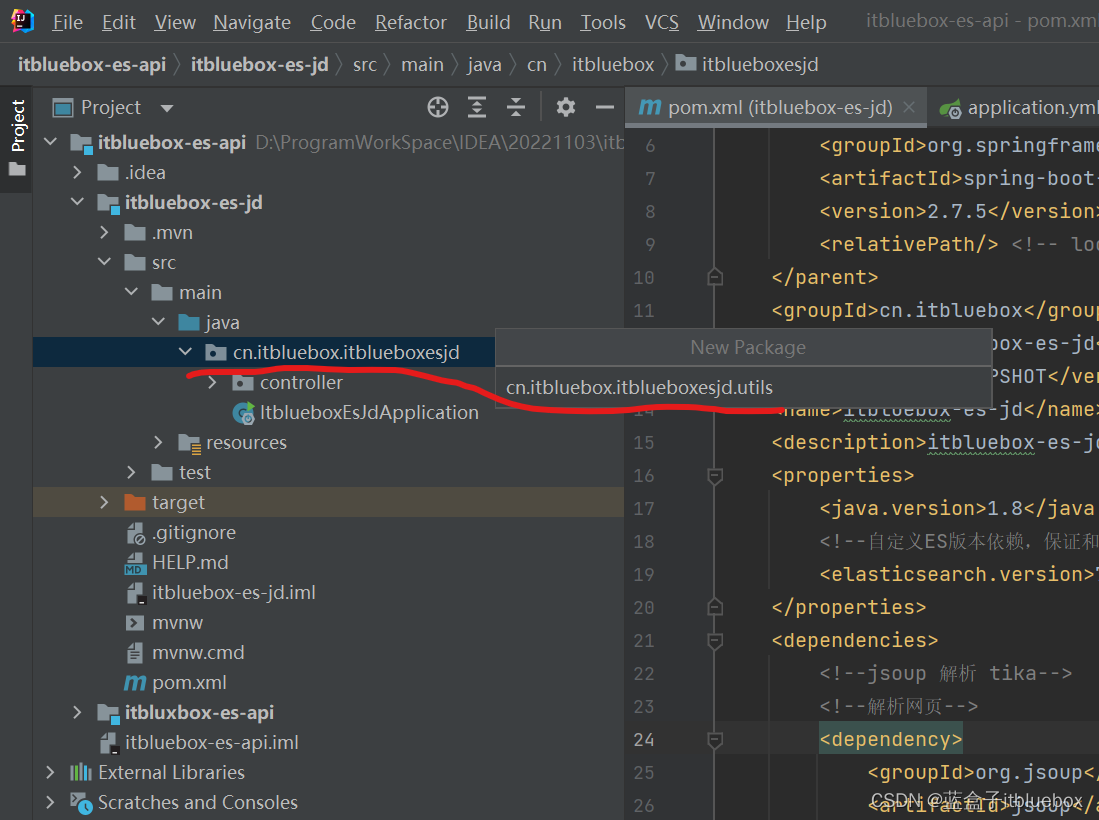
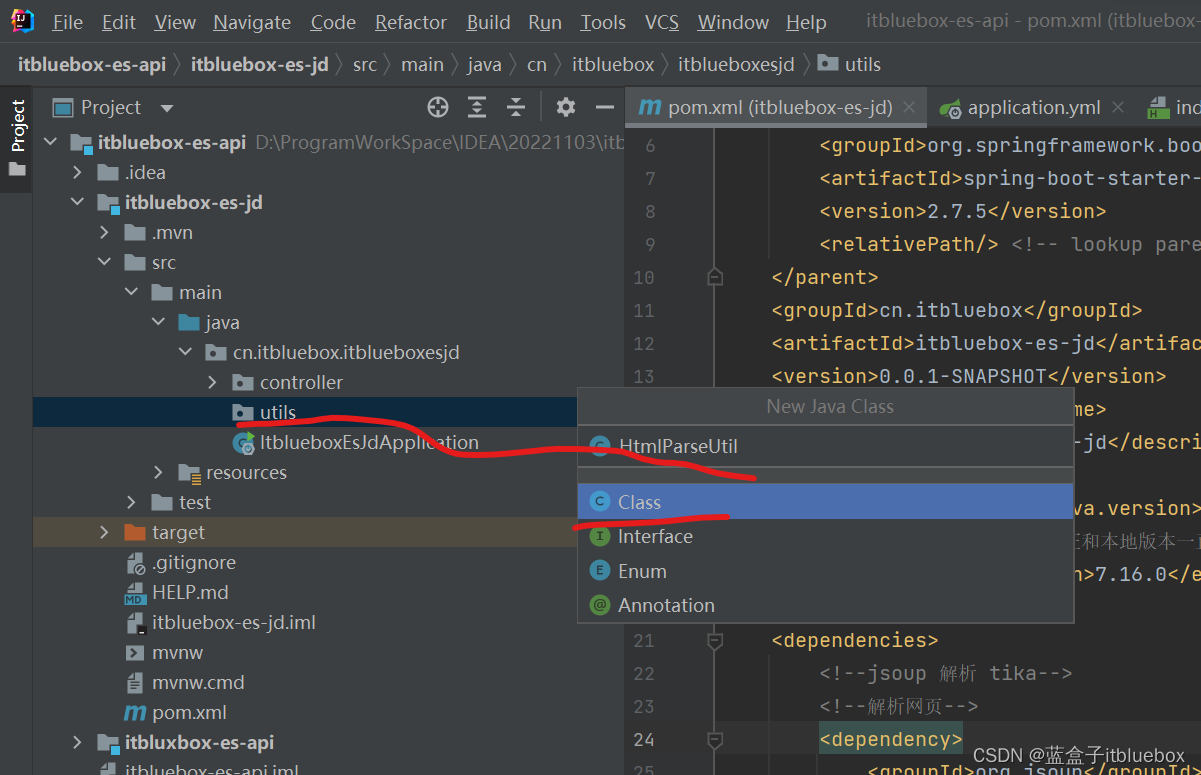
2、编写对应的工具类
创建爬虫工具类
在创建一个对象
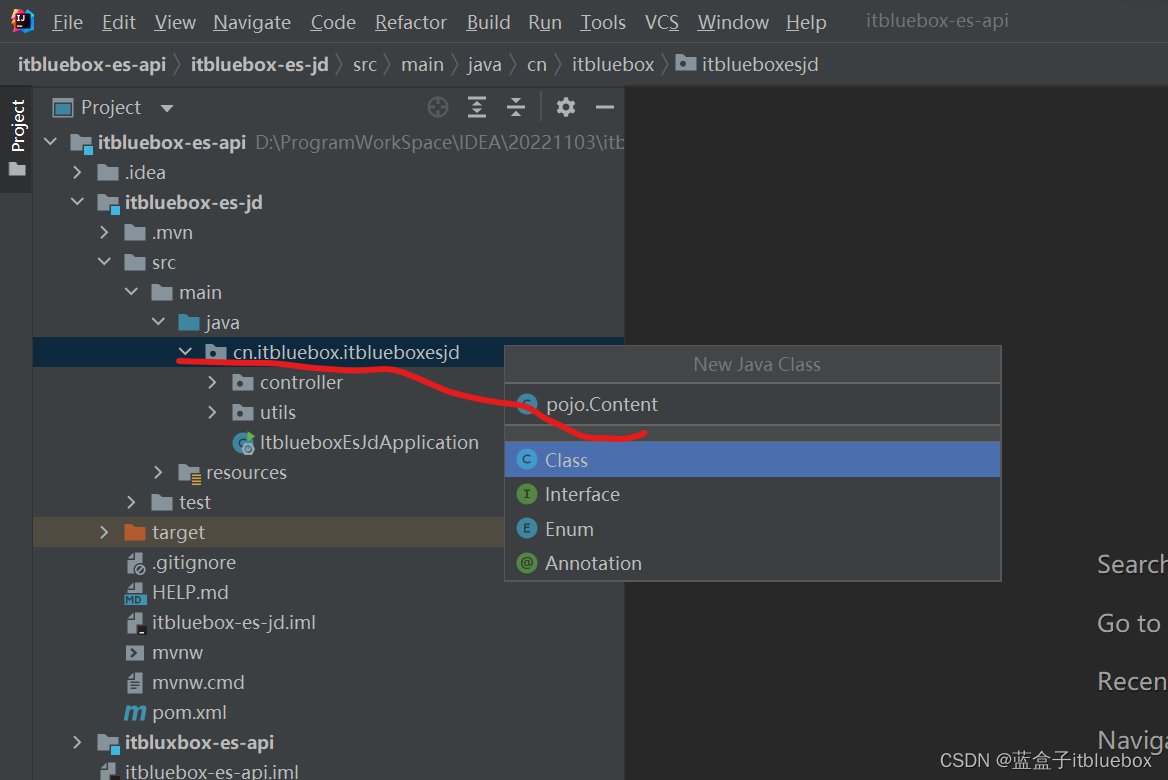
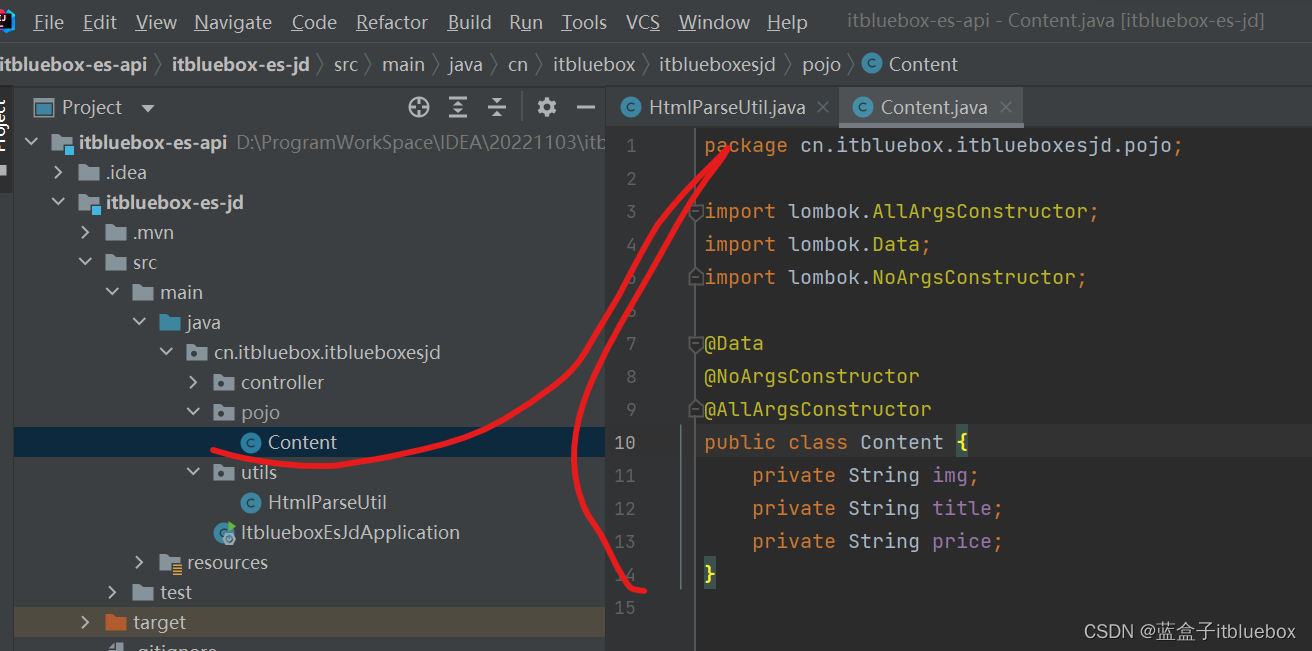
@Data
@NoArgsConstructor
@AllArgsConstructor
public class Content {


    private String img;
    private String title;
    private String price;
}
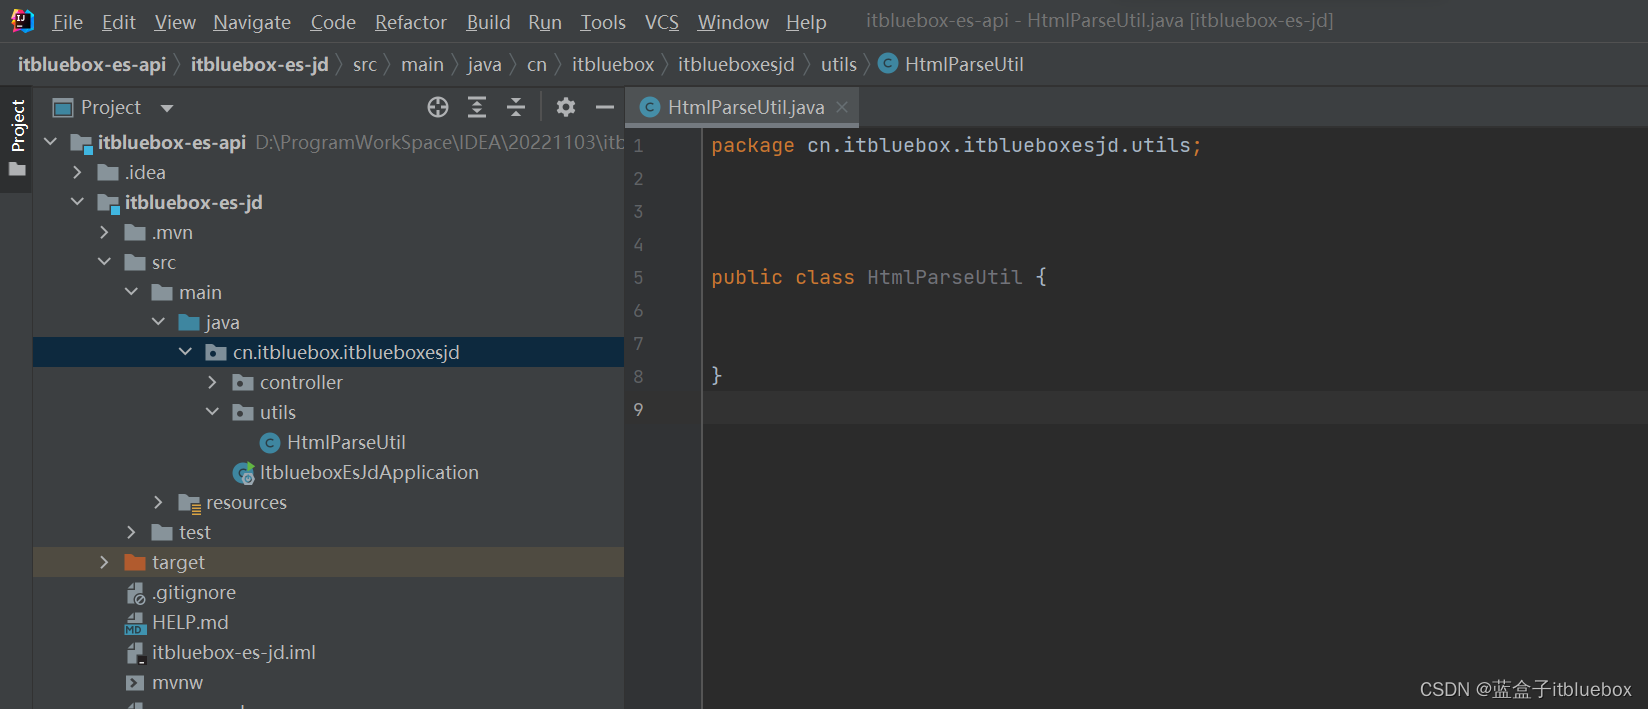
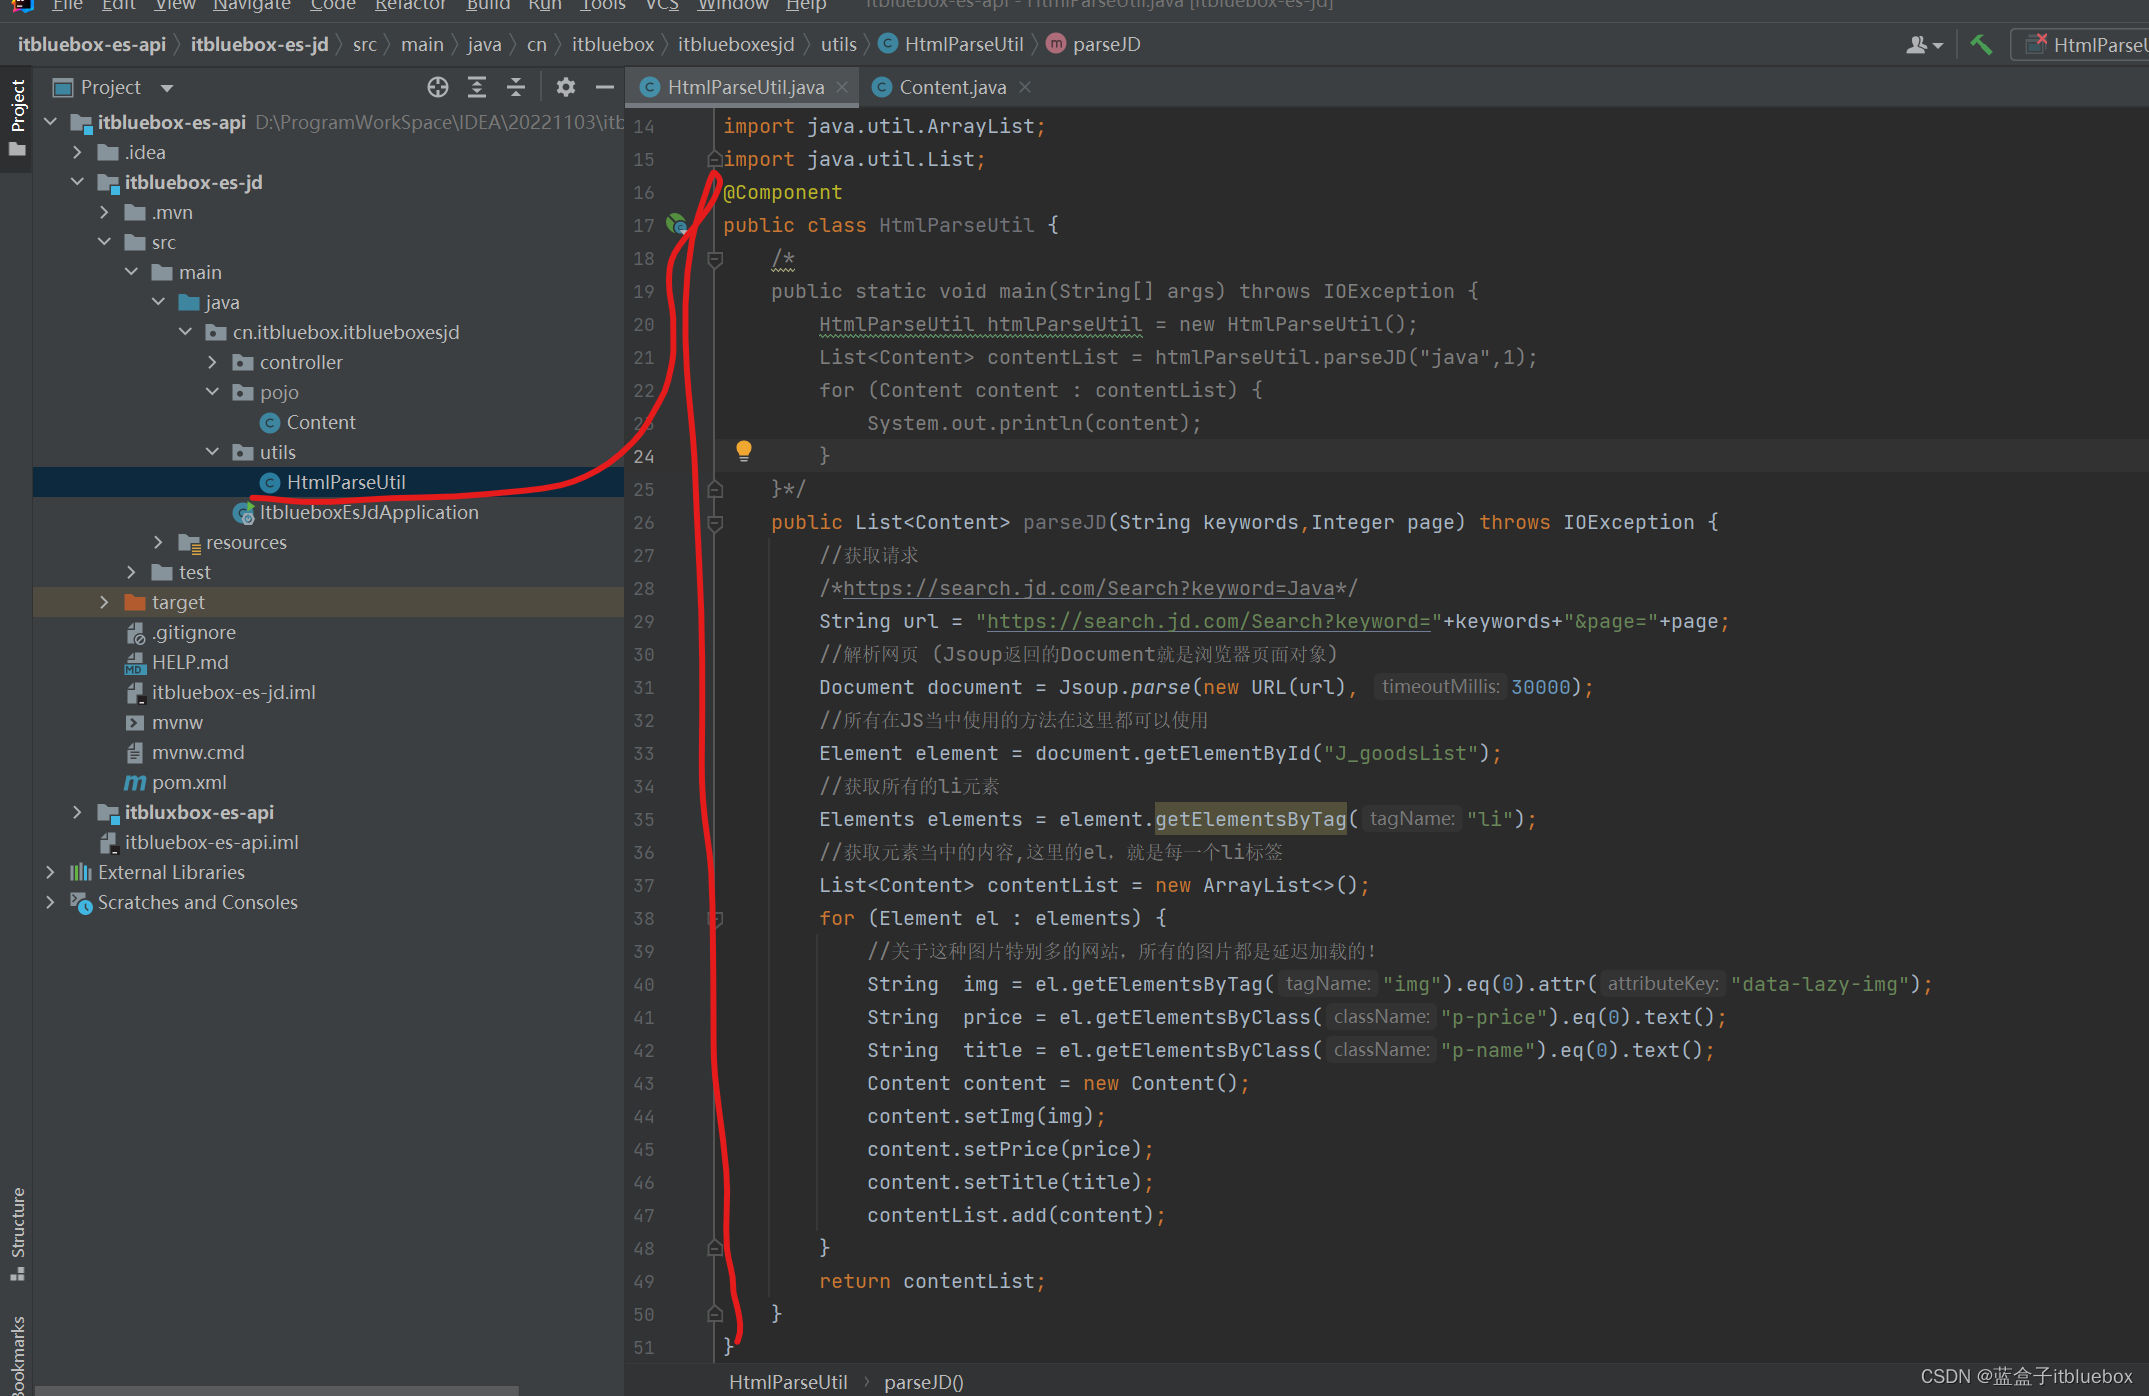
完善爬虫工具类
import cn.itbluebox.itblueboxesjd.pojo.Content;
import org.jsoup.Jsoup;
import org.jsoup.nodes.Document;
import org.jsoup.nodes.Element;
import org.jsoup.select.Elements;
import org.springframework.stereotype.Component;
import org.springframework.stereotype.Controller;

import java.io.IOException;
import java.net.MalformedURLException;
import java.net.URL;
import java.util.ArrayList;
import java.util.List;
@Component
public class HtmlParseUtil {


    /*
    public static void main(String[] args) throws IOException {
        HtmlParseUtil htmlParseUtil = new HtmlParseUtil();
        List<Content> contentList = htmlParseUtil.parseJD("java",1);
        for (Content content : contentList) {
            System.out.println(content);
        }
    }*/
    public List<Content> parseJD(String keywords,Integer page) throws IOException {


        //获取请求
        /*https://search.jd.com/Search?keyword=Java*/
        String url = "https://search.jd.com/Search?keyword="+keywords+"&page="+page;
        //解析网页 (Jsoup返回的Document就是浏览器页面对象)
        Document document = Jsoup.parse(new URL(url), 30000);
        //所有在JS当中使用的方法在这里都可以使用
        Element element = document.getElementById("J_goodsList");
        //获取所有的li元素
        Elements elements = element.getElementsByTag("li");
        //获取元素当中的内容,这里的el,就是每一个li标签
        List<Content> contentList = new ArrayList<>();
        for (Element el : elements) {


            //关于这种图片特别多的网站,所有的图片都是延迟加载的!
            String  img = el.getElementsByTag("img").eq(0).attr("data-lazy-img");
            String  price = el.getElementsByClass("p-price").eq(0).text();
            String  title = el.getElementsByClass("p-name").eq(0).text();
            Content content = new Content();
            content.setImg(img);
            content.setPrice(price);
            content.setTitle(title);
            contentList.add(content);
        }
        return contentList;
    }
}
六、完善项目工程搭建
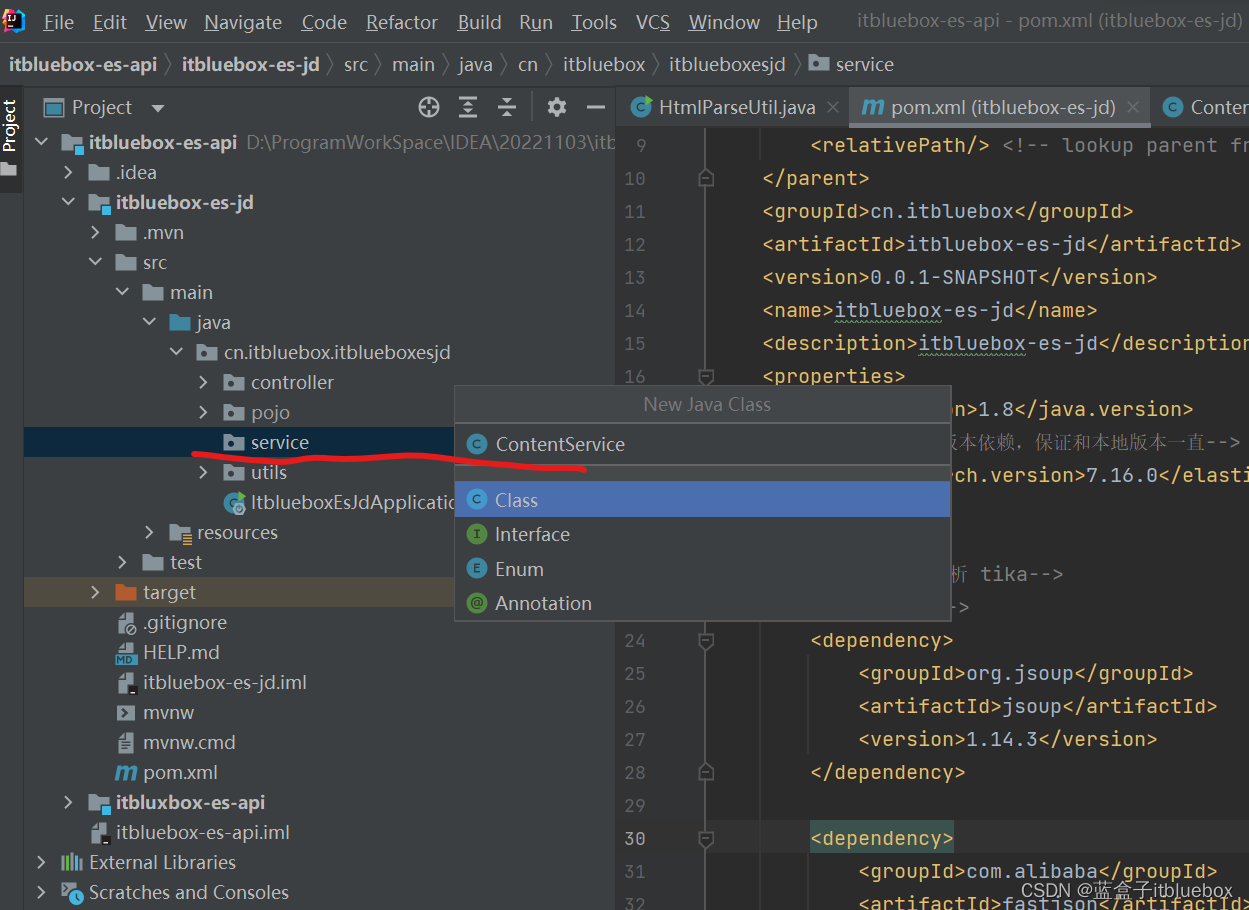
1、完善Service
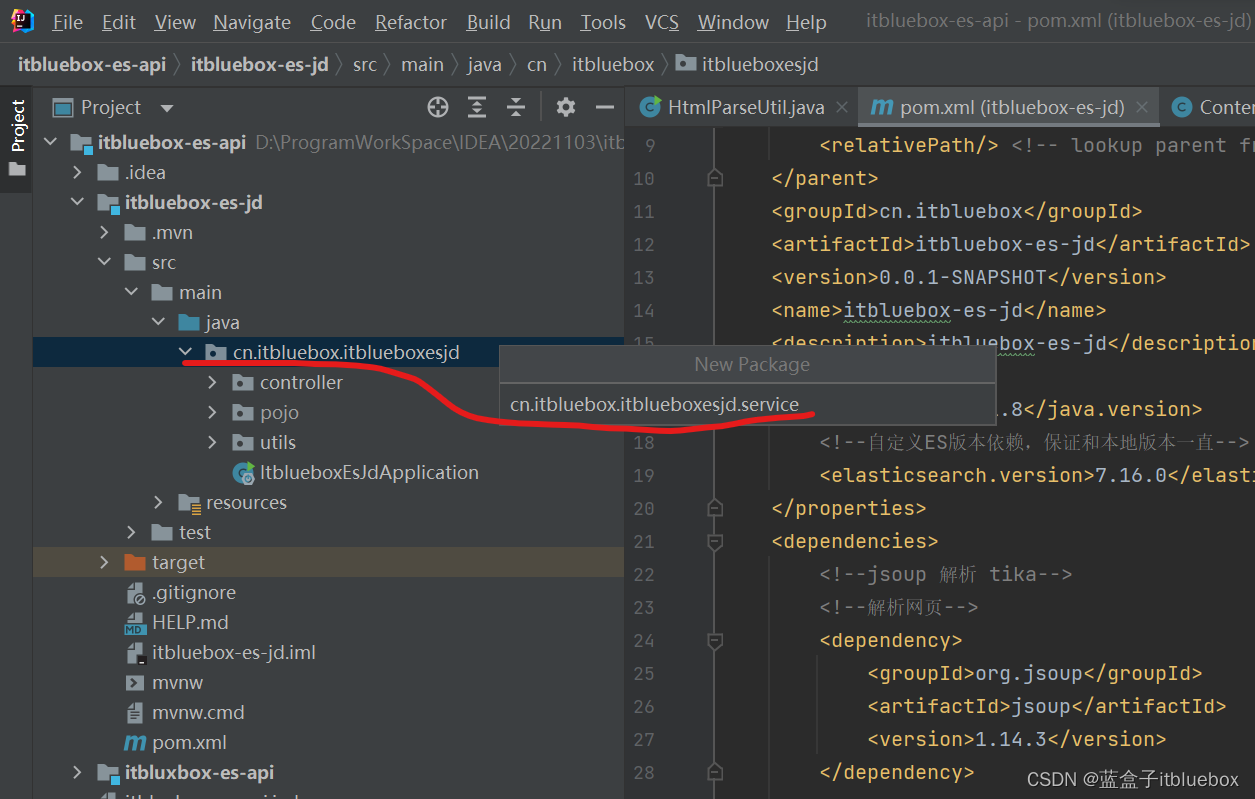
ContentService
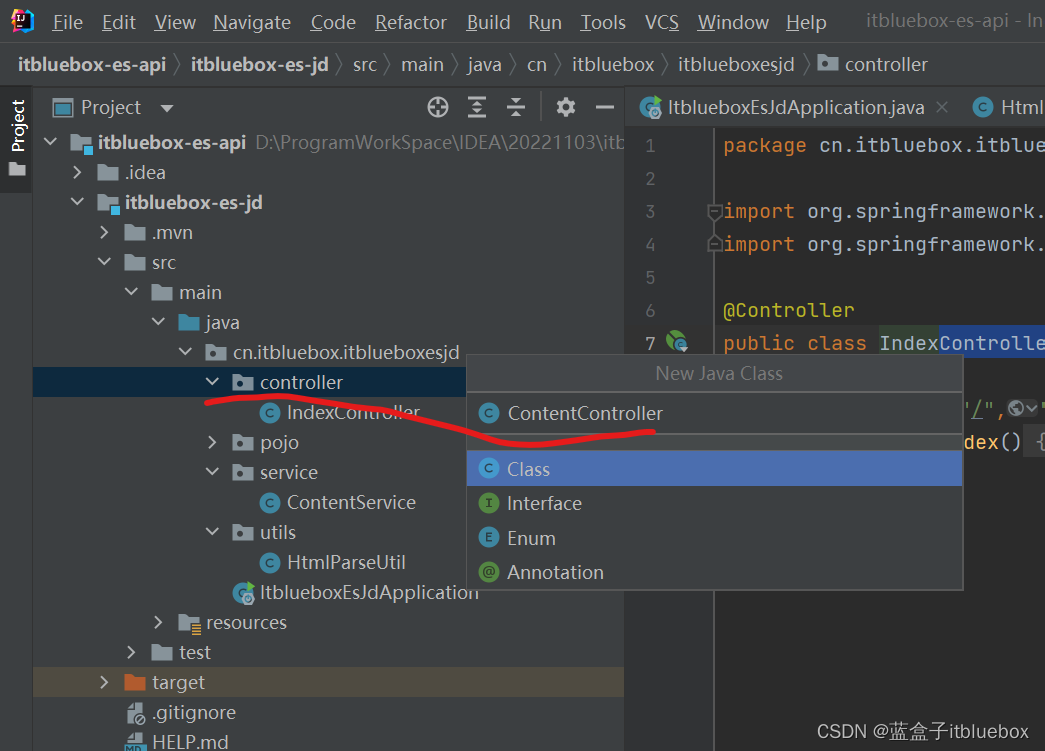
2、完善Controller
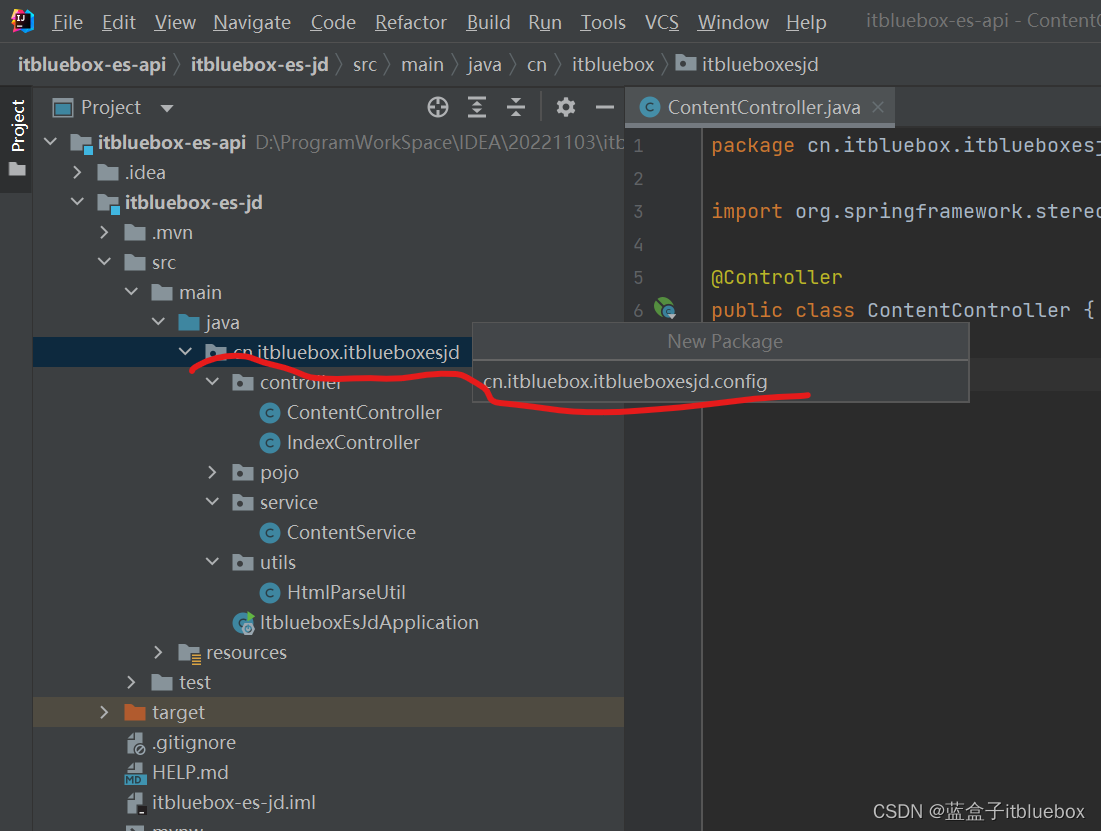
package cn.itbluebox.itblueboxesjd.config;

import org.apache.http.HttpHost;
import org.elasticsearch.client.RestClient;
import org.elasticsearch.client.RestHighLevelClient;
import org.springframework.context.annotation.Bean;
import org.springframework.context.annotation.Configuration;

/*
* Spring两步骤,
* 1、找对象
* 2、放到Spring中待用
* 3、如果是SpringBoot 那么分析源码!
* // xxxx  AutoConfiguaion   xxxxProperties
* */
@Configuration //xml - bean
public class ElasticSearchClientConfig {


    //spring  <beans id='restHighLevelClient' class='RestHighLevelClient'>

    /*
    * 将创建ES链接的代码,注入到Spring的容器当中
    * */
    @Bean
    public RestHighLevelClient restHighLevelClient(){


        RestHighLevelClient client = new RestHighLevelClient(
                RestClient.builder(
                        new HttpHost("127.0.0.1", 9200, "http")
                )
        );
        return client;
    }

}
七、编写业务
1、将数据添加到索引库当中
新建索引
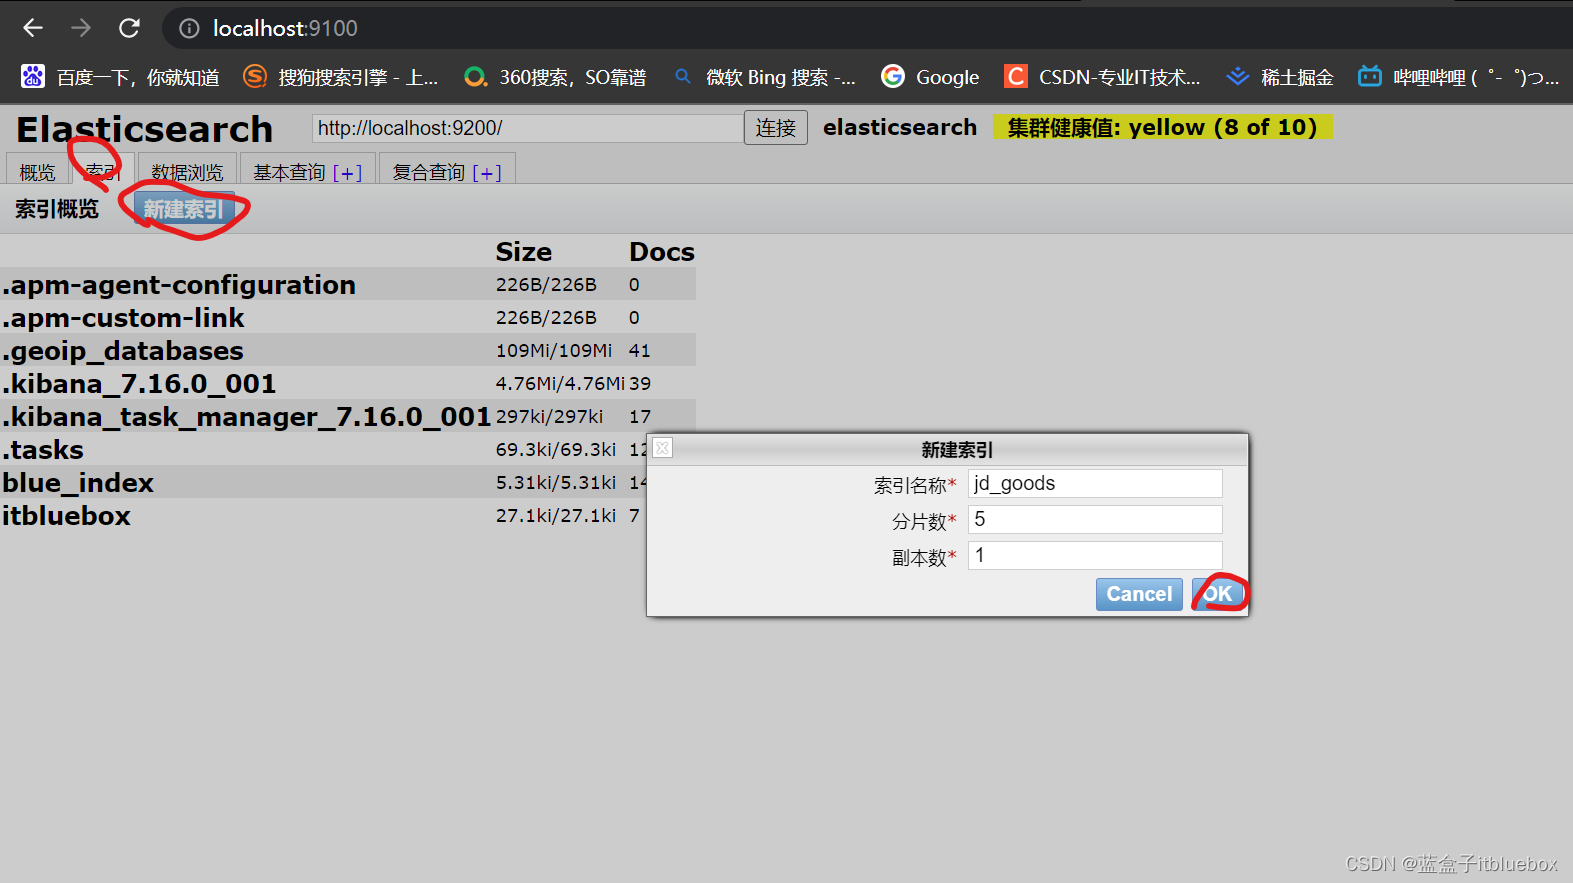
将抓取的数据批量添加到ES当中
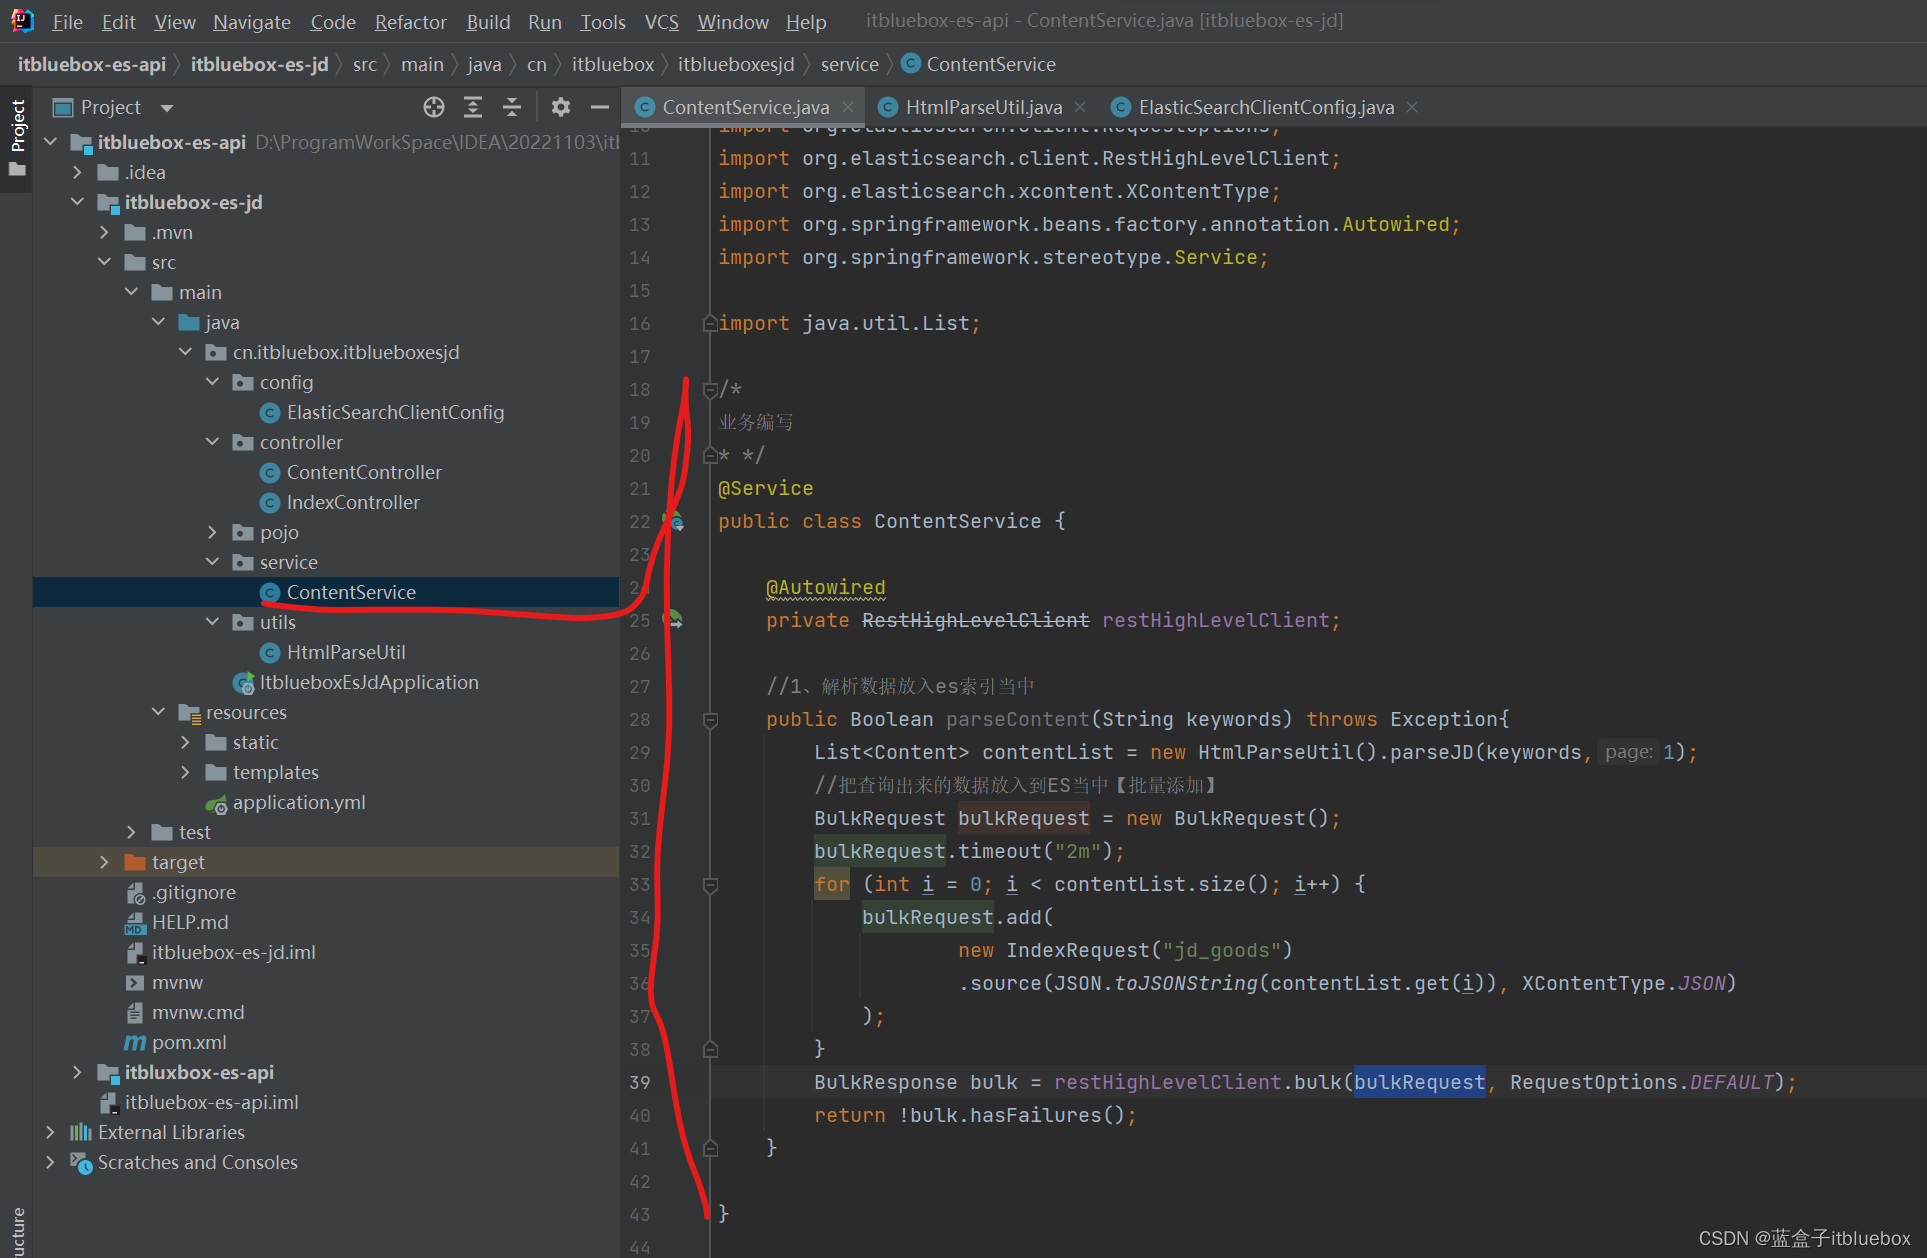
/*
业务编写
* */
@Service
public class ContentService {


    @Autowired
    private RestHighLevelClient restHighLevelClient;

    //1、解析数据放入es索引当中
    public Boolean parseContent(String keywords) throws Exception{


        List<Content> contentList = new HtmlParseUtil().parseJD(keywords,1);
        //把查询出来的数据放入到ES当中【批量添加】
        BulkRequest bulkRequest = new BulkRequest();
        bulkRequest.timeout("2m");
        for (int i = 0; i < contentList.size(); i++) {


            bulkRequest.add(
                    new IndexRequest("jd_goods")
                    .source(JSON.toJSONString(contentList.get(i)), XContentType.JSON)
            );
        }
        BulkResponse bulk = restHighLevelClient.bulk(bulkRequest, RequestOptions.DEFAULT);
        return !bulk.hasFailures();
    }

}
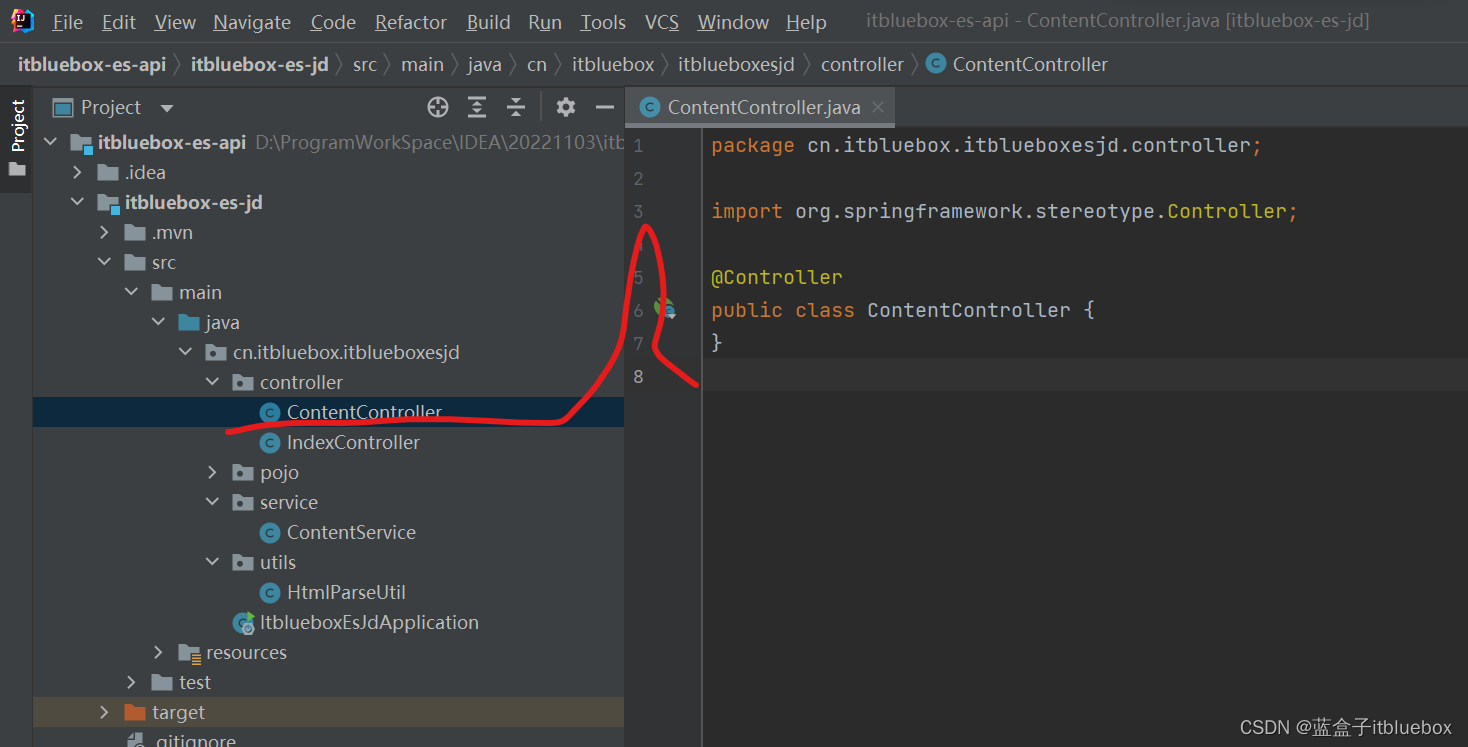
完善ContentController
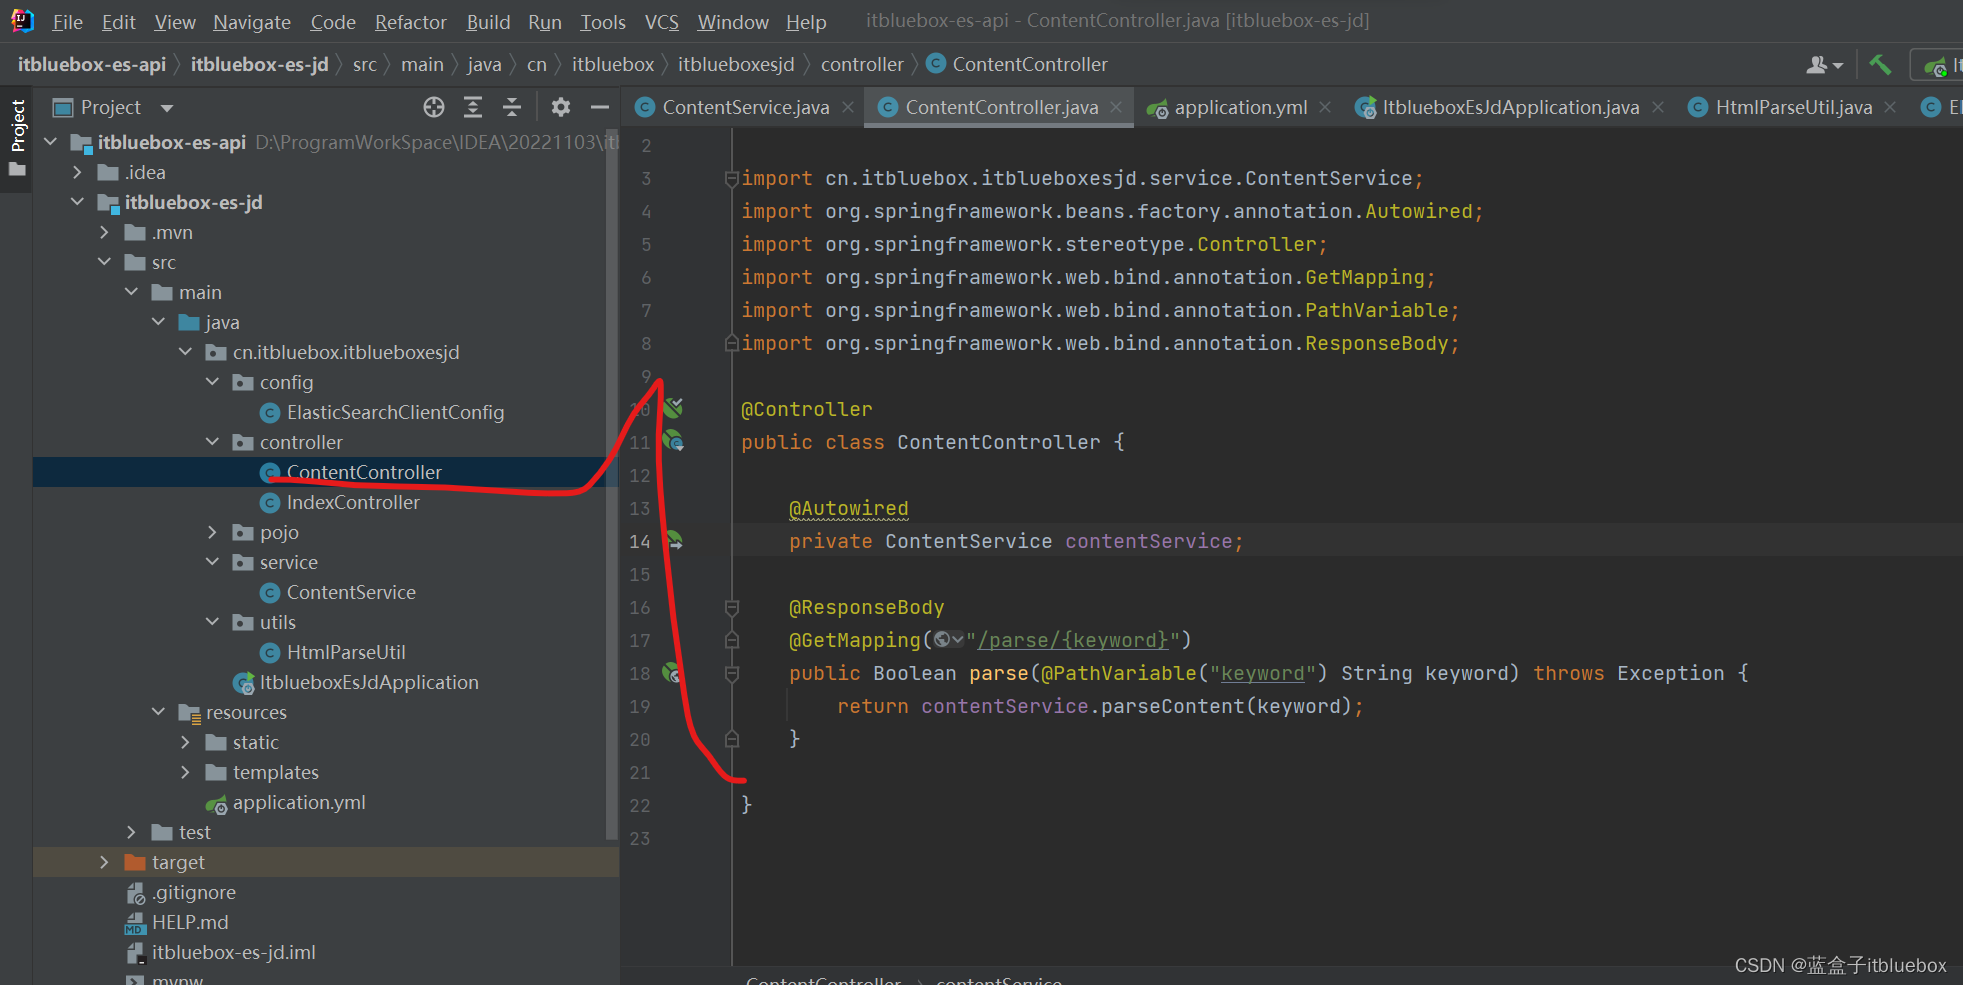
@Controller
public class ContentController {


    @Autowired
    private ContentService contentService;
    @ResponseBody
    @GetMapping("/parse/{keyword}")
    public Boolean parse(@PathVariable("keyword") String keyword) throws Exception {


        return contentService.parseContent(keyword);
    }

}
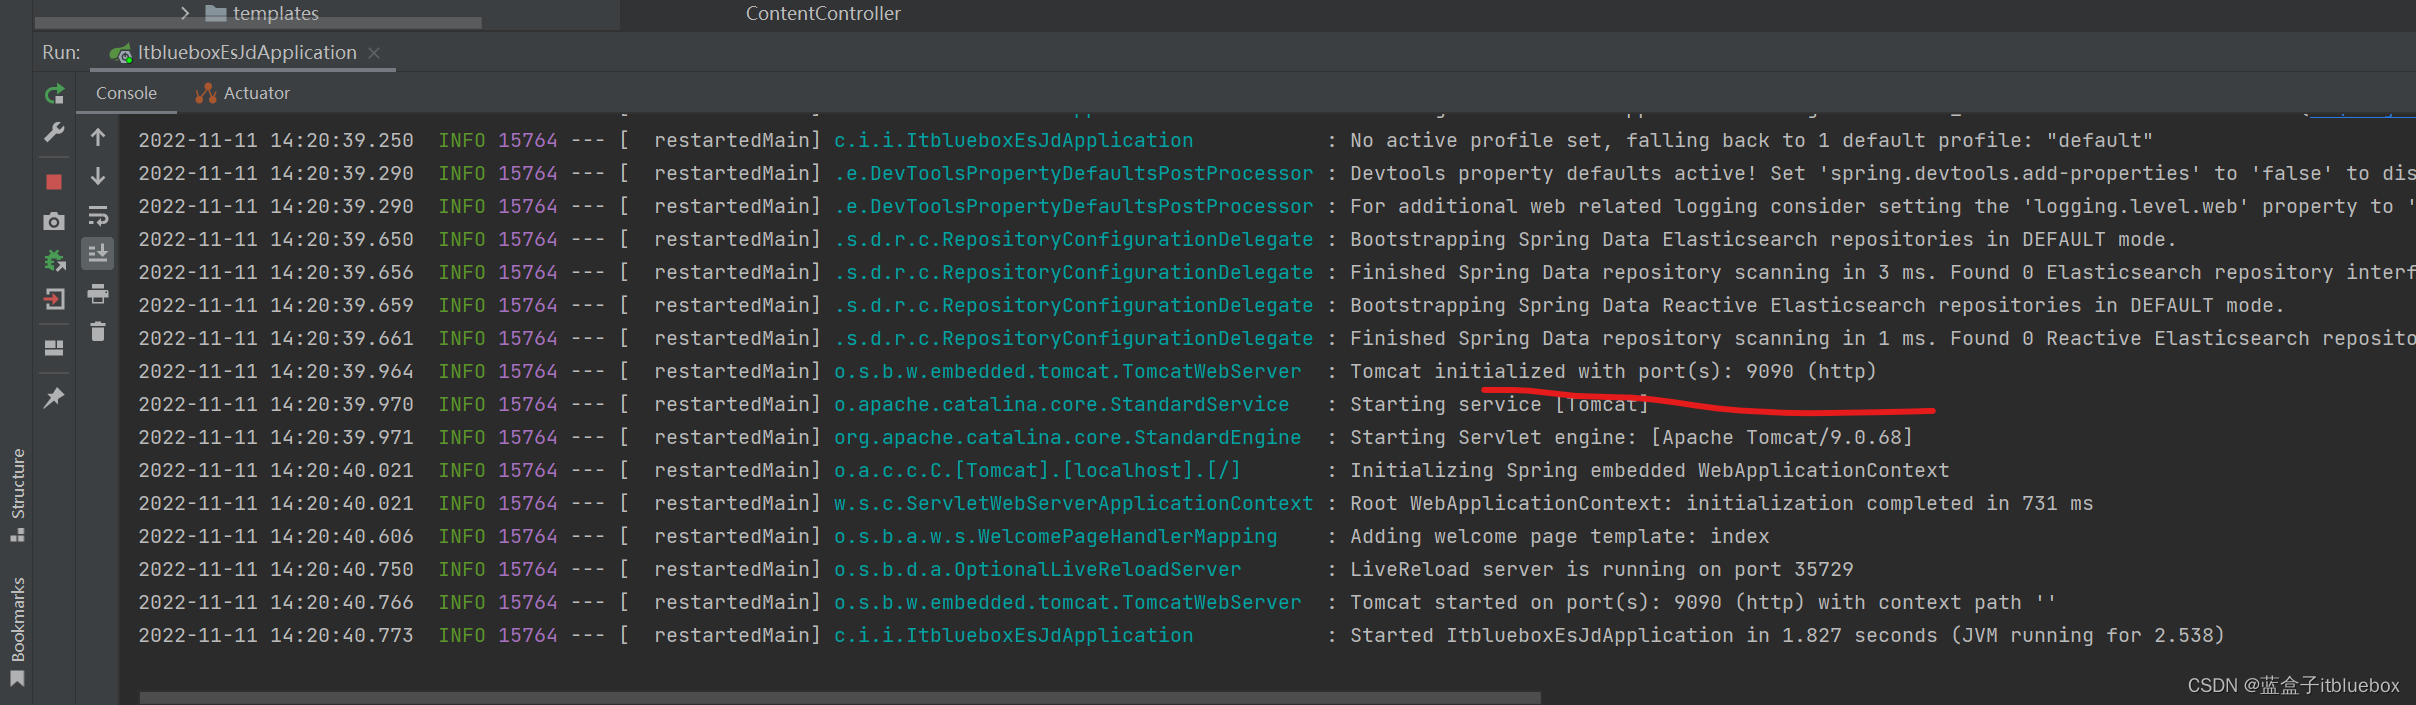
启动项目运行测试
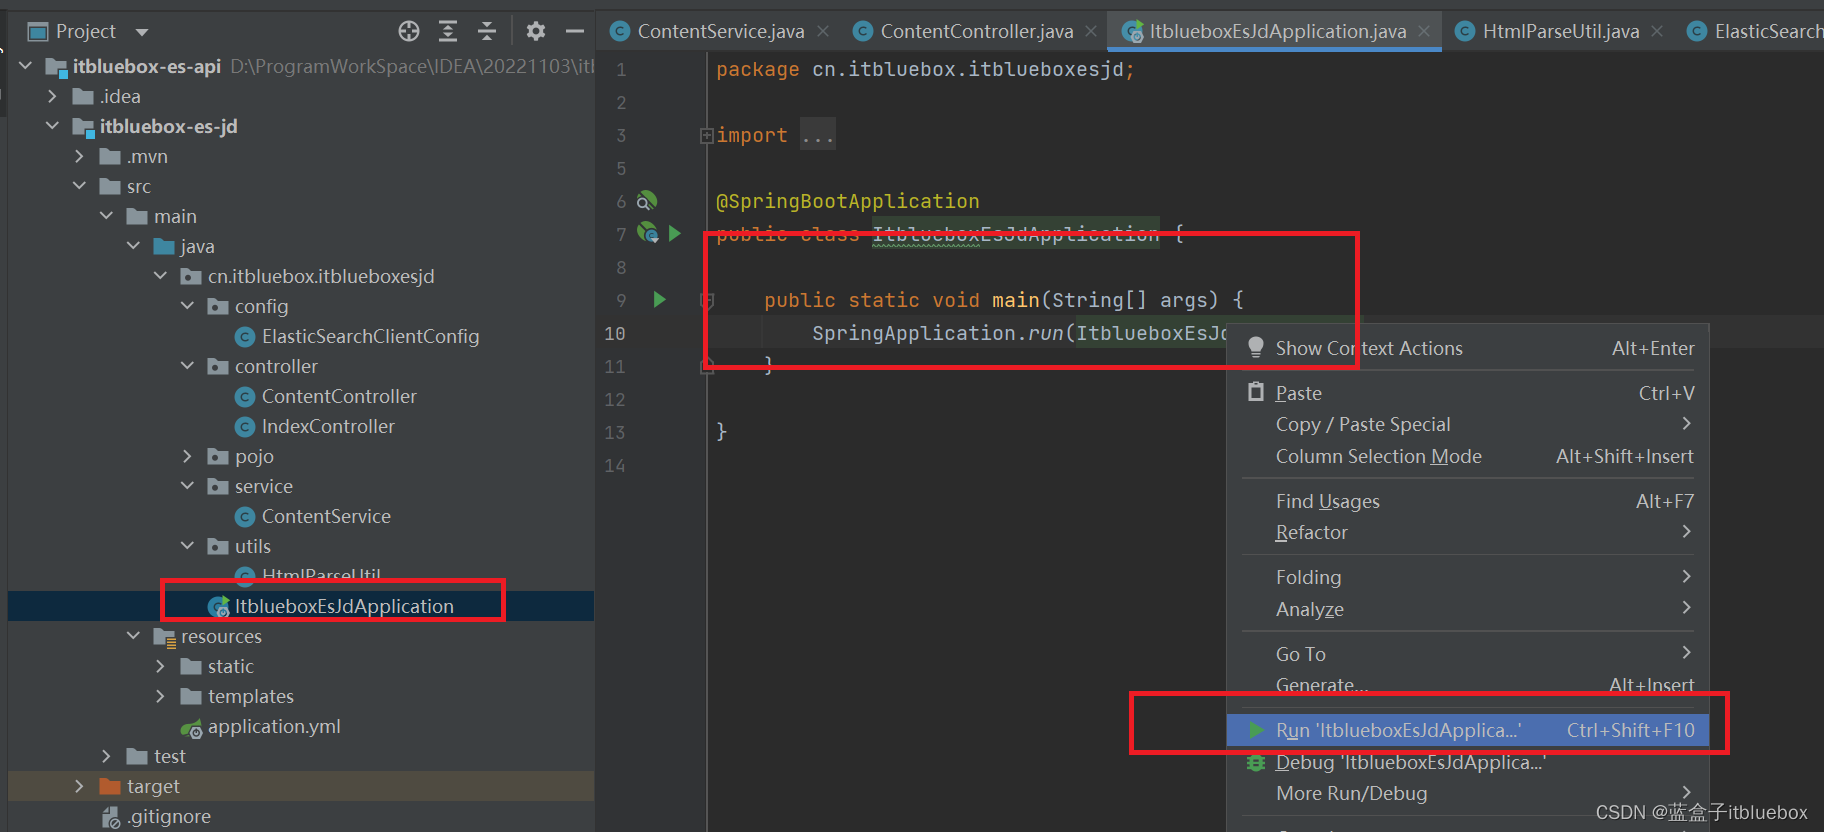
启动成功
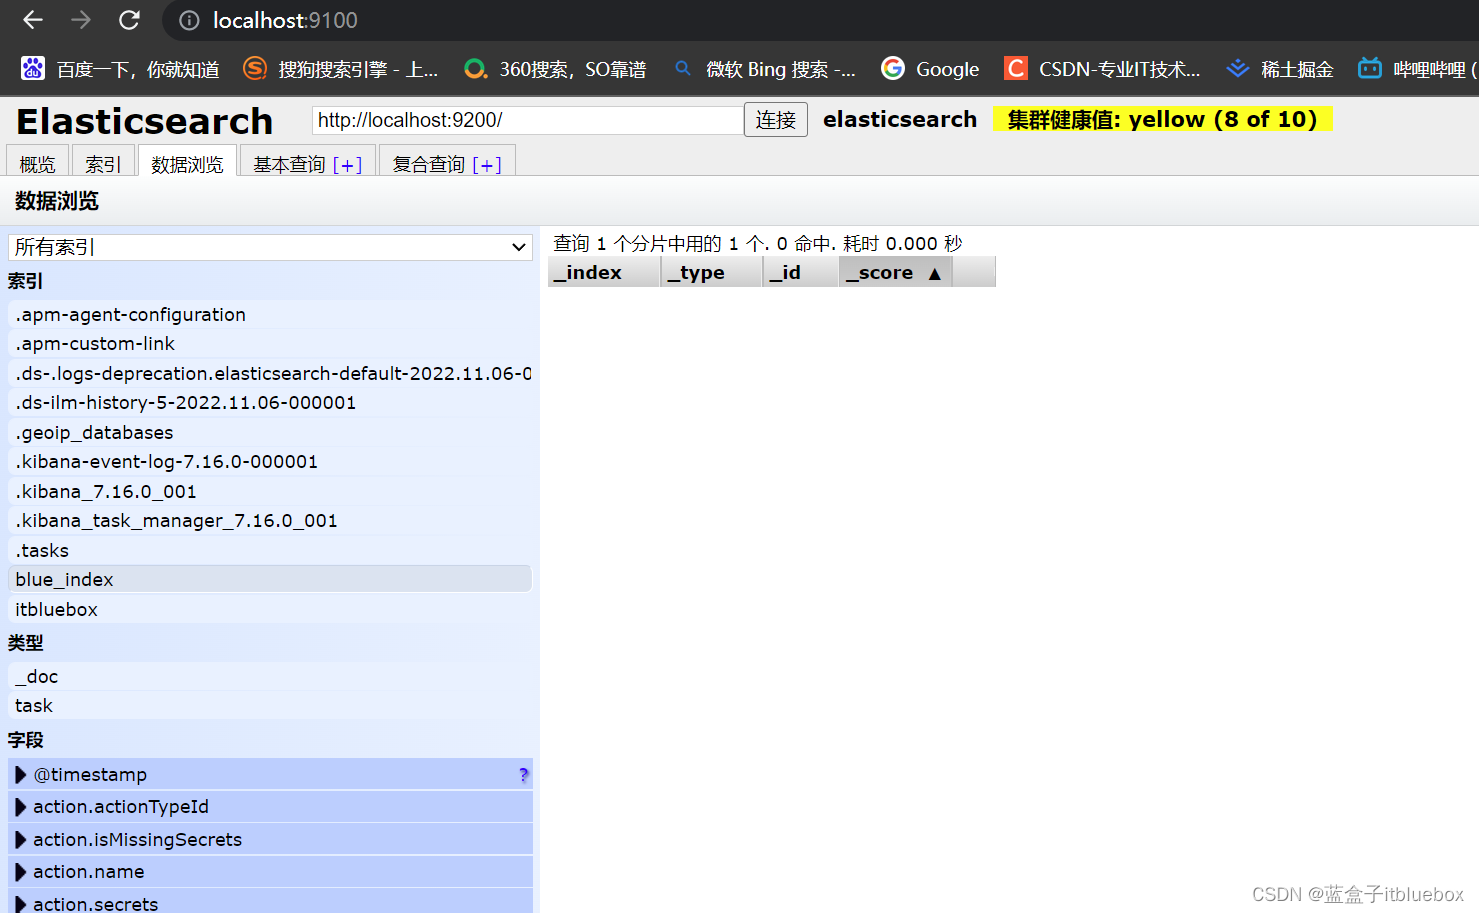
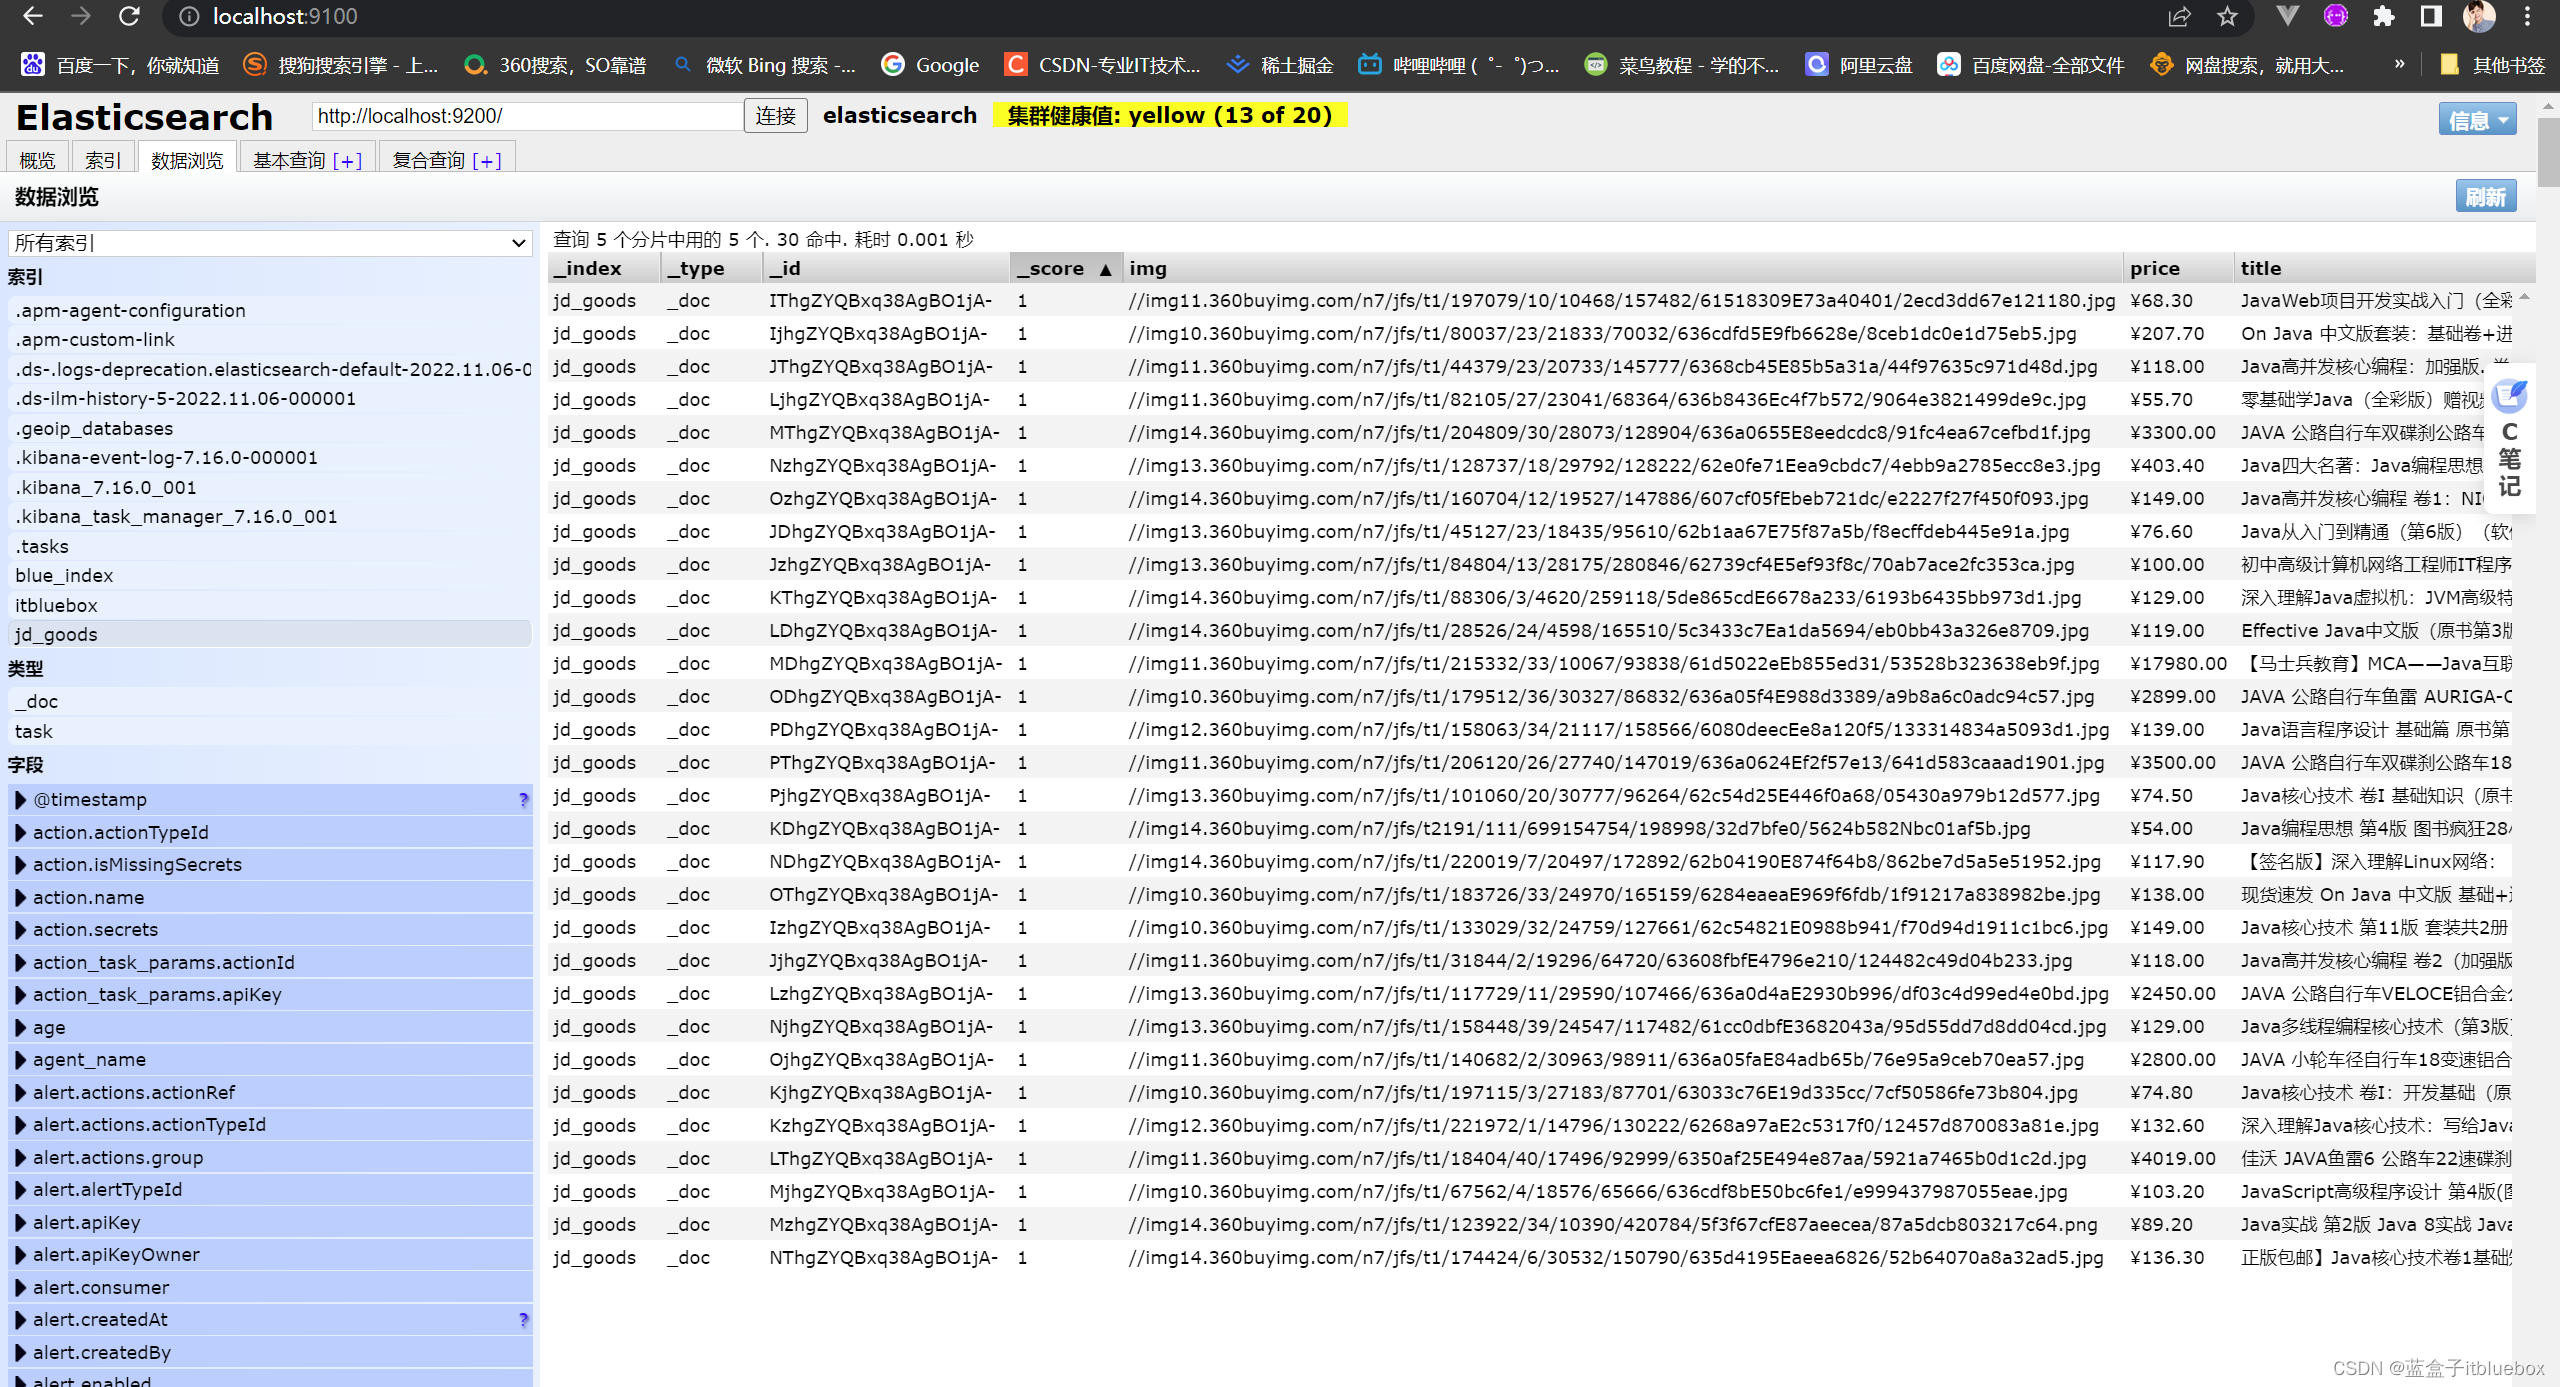
我们可以看到ES当中是没有数据的
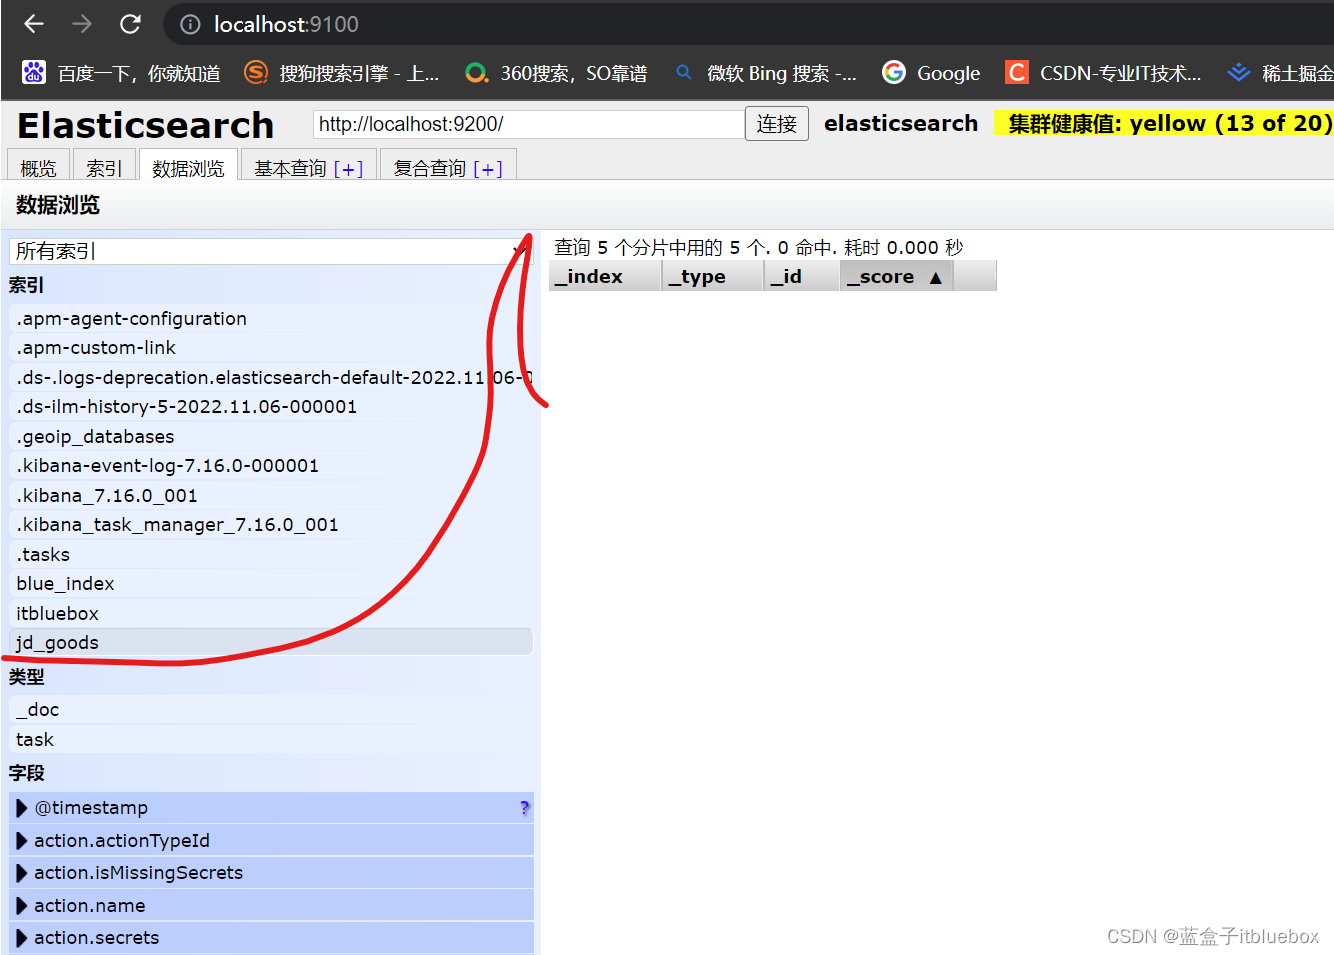

访问:http://localhost:9090/parse/Java
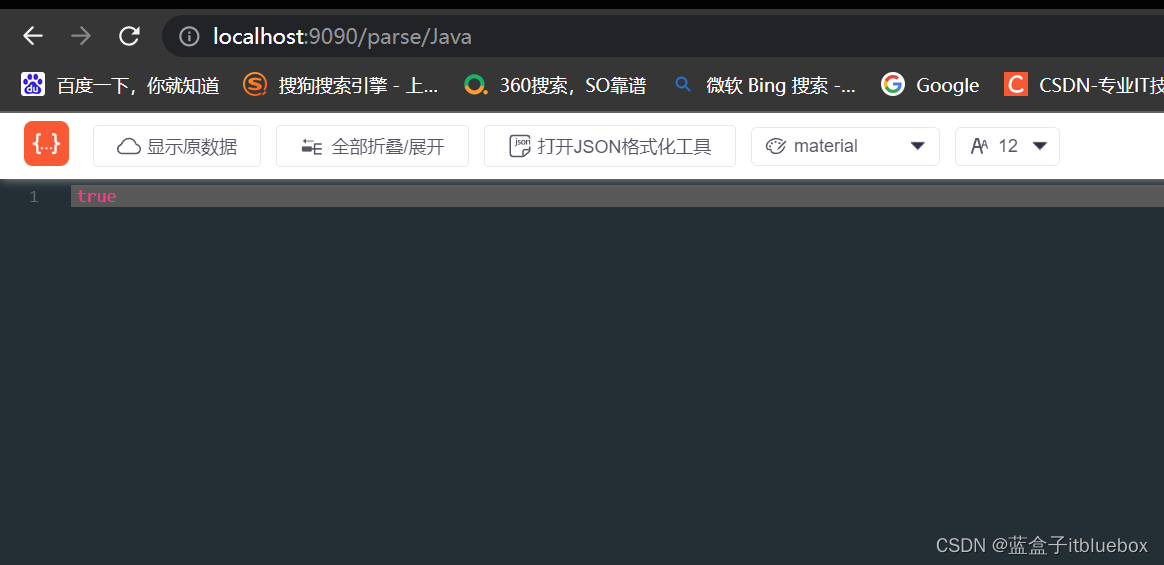
ES当中有了数据
多添加几条数据
http://localhost:9090/parse/Vue
http://localhost:9090/parse/Python
http://localhost:9090/parse/Go
http://localhost:9090/parse/C语言
2、获取数据
完善:ContentService
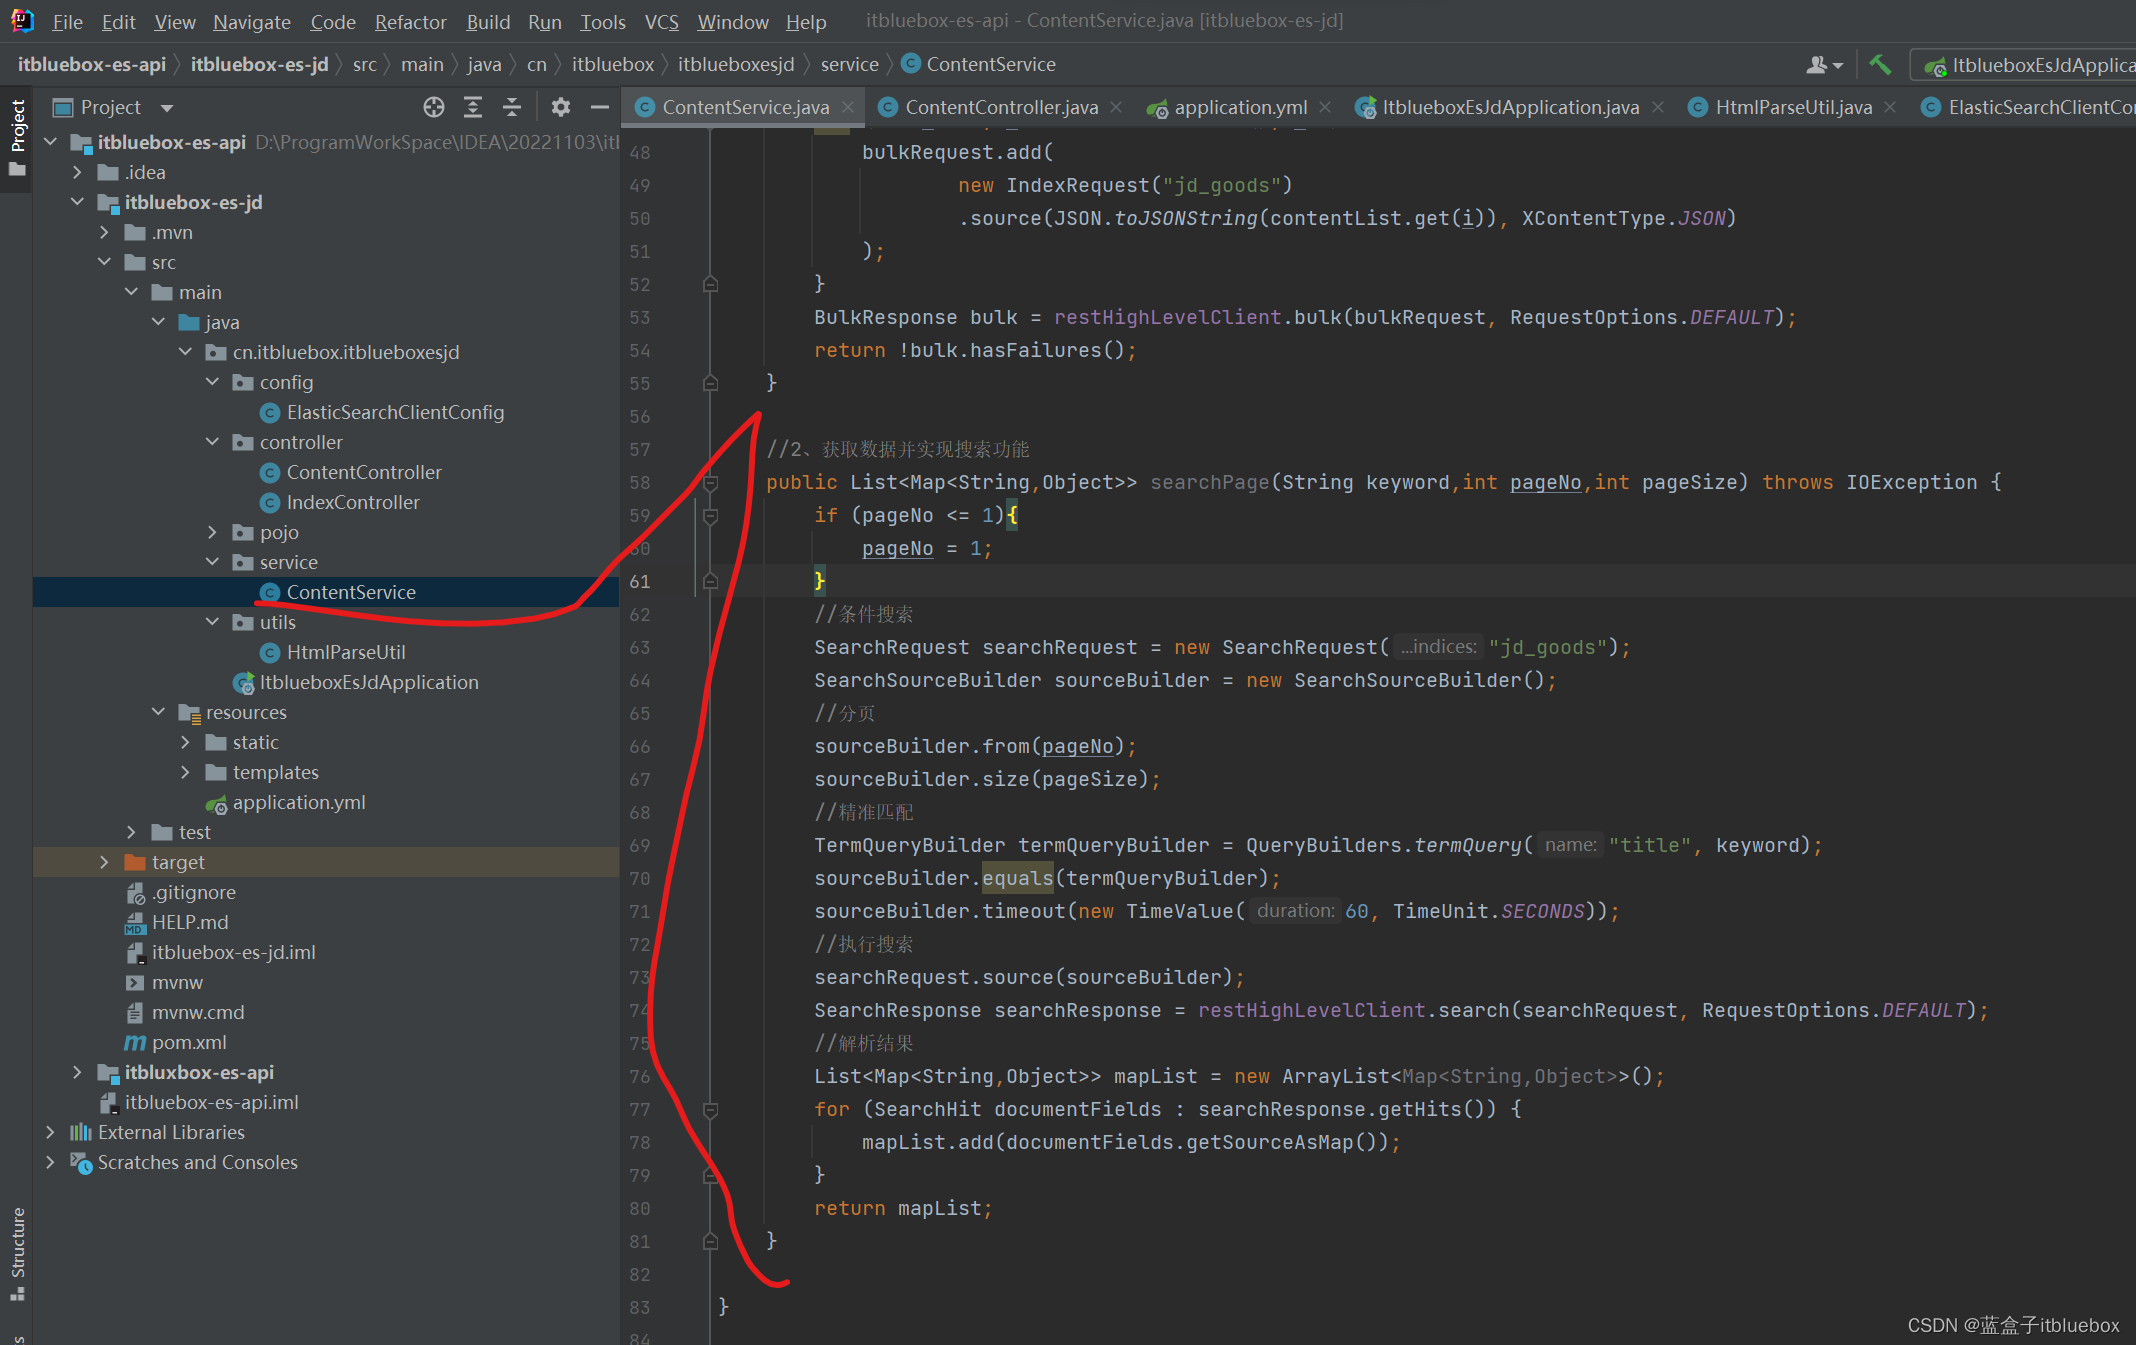
   //2、获取数据并实现搜索功能
    public List<Map<String,Object>> searchPage(String keyword,int pageNo,int pageSize) throws IOException {


        if (pageNo <= 1){


            pageNo = 1;
        }
        //条件搜索
        SearchRequest searchRequest = new SearchRequest("jd_goods");
        SearchSourceBuilder sourceBuilder = new SearchSourceBuilder();
        //分页
        sourceBuilder.from(pageNo);
        sourceBuilder.size(pageSize);
        //精准匹配
        TermQueryBuilder termQueryBuilder = QueryBuilders.termQuery("title", keyword);
        sourceBuilder.equals(termQueryBuilder);
        sourceBuilder.timeout(new TimeValue(60, TimeUnit.SECONDS));
        //执行搜索
        searchRequest.source(sourceBuilder);
        SearchResponse searchResponse = restHighLevelClient.search(searchRequest, RequestOptions.DEFAULT);
        //解析结果
        List<Map<String,Object>> mapList = new ArrayList<Map<String,Object>>();
        for (SearchHit documentFields : searchResponse.getHits()) {


            mapList.add(documentFields.getSourceAsMap());
        }
        return mapList;
    }
完善ContentController
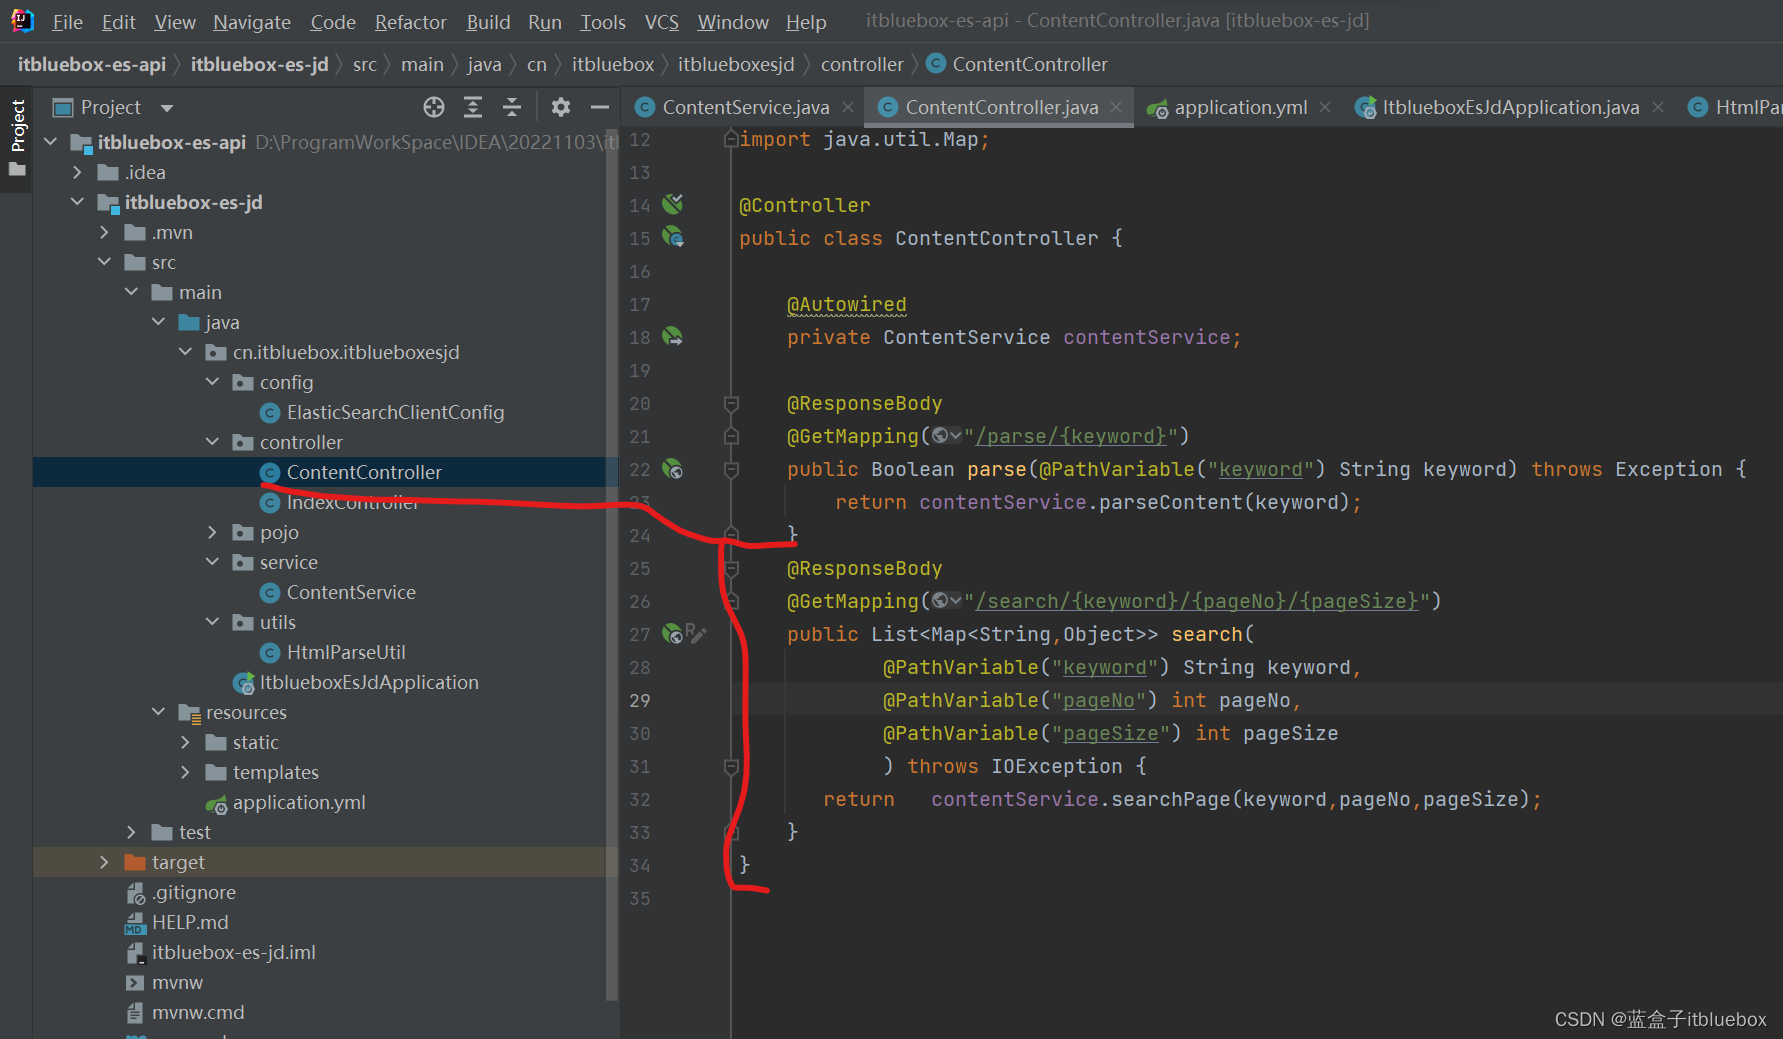
   @ResponseBody
    @GetMapping("/search/{keyword}/{pageNo}/{pageSize}")
    public List<Map<String,Object>> search(
            @PathVariable("keyword") String keyword,
            @PathVariable("pageNo") int pageNo,
            @PathVariable("pageSize") int pageSize
            ) throws IOException {


       return   contentService.searchPage(keyword,pageNo,pageSize);
    }
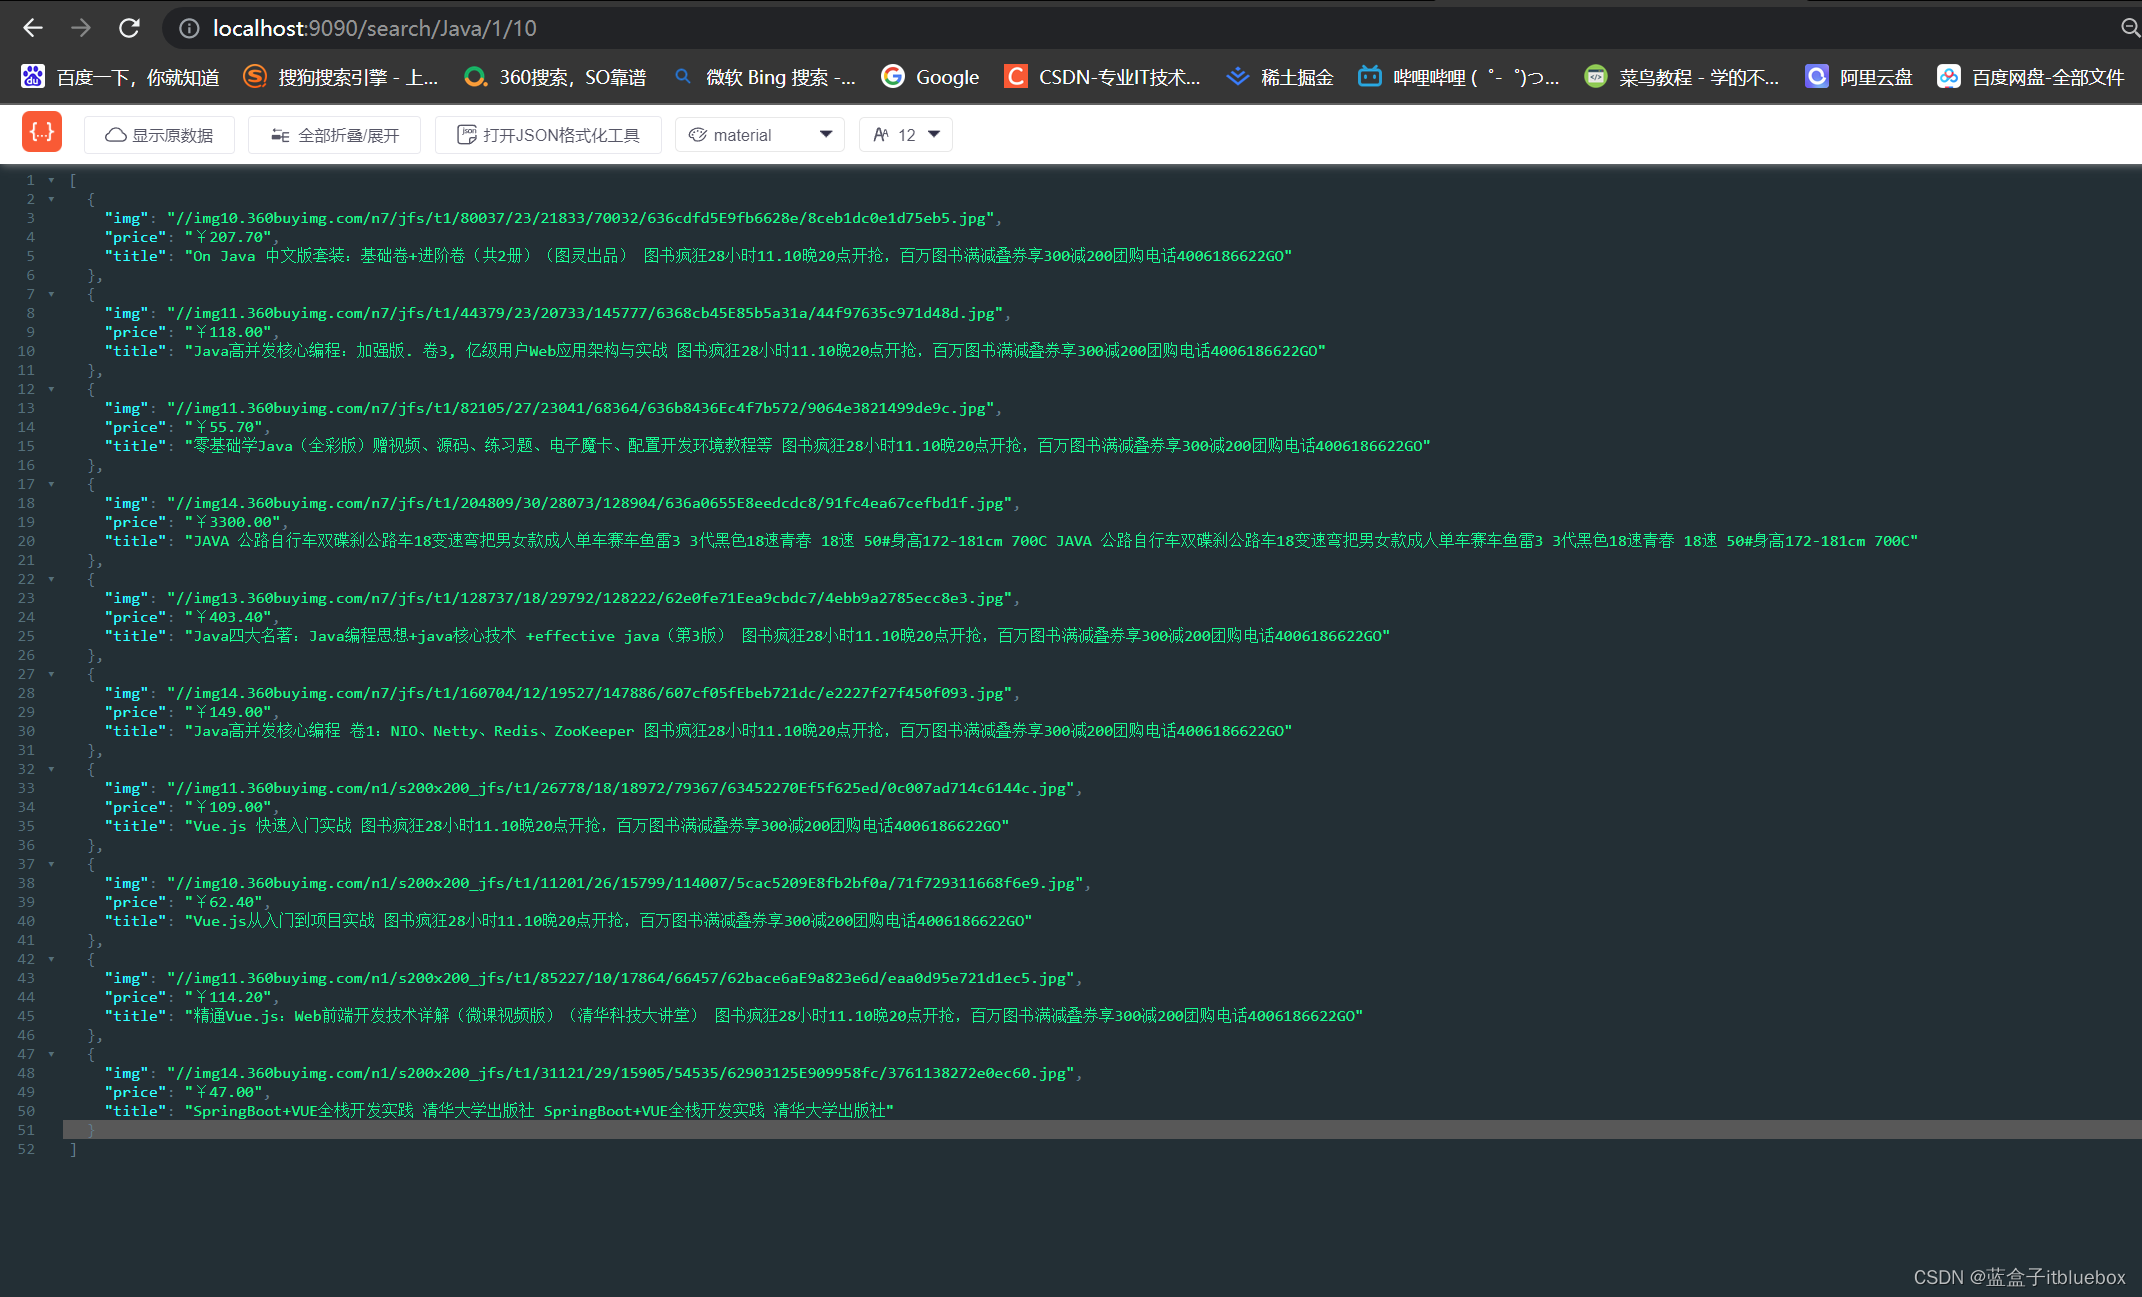
重新启动项目并访问测试
http://localhost:9090/search/Java/1/10
八、编写前端
1、引入一些依赖
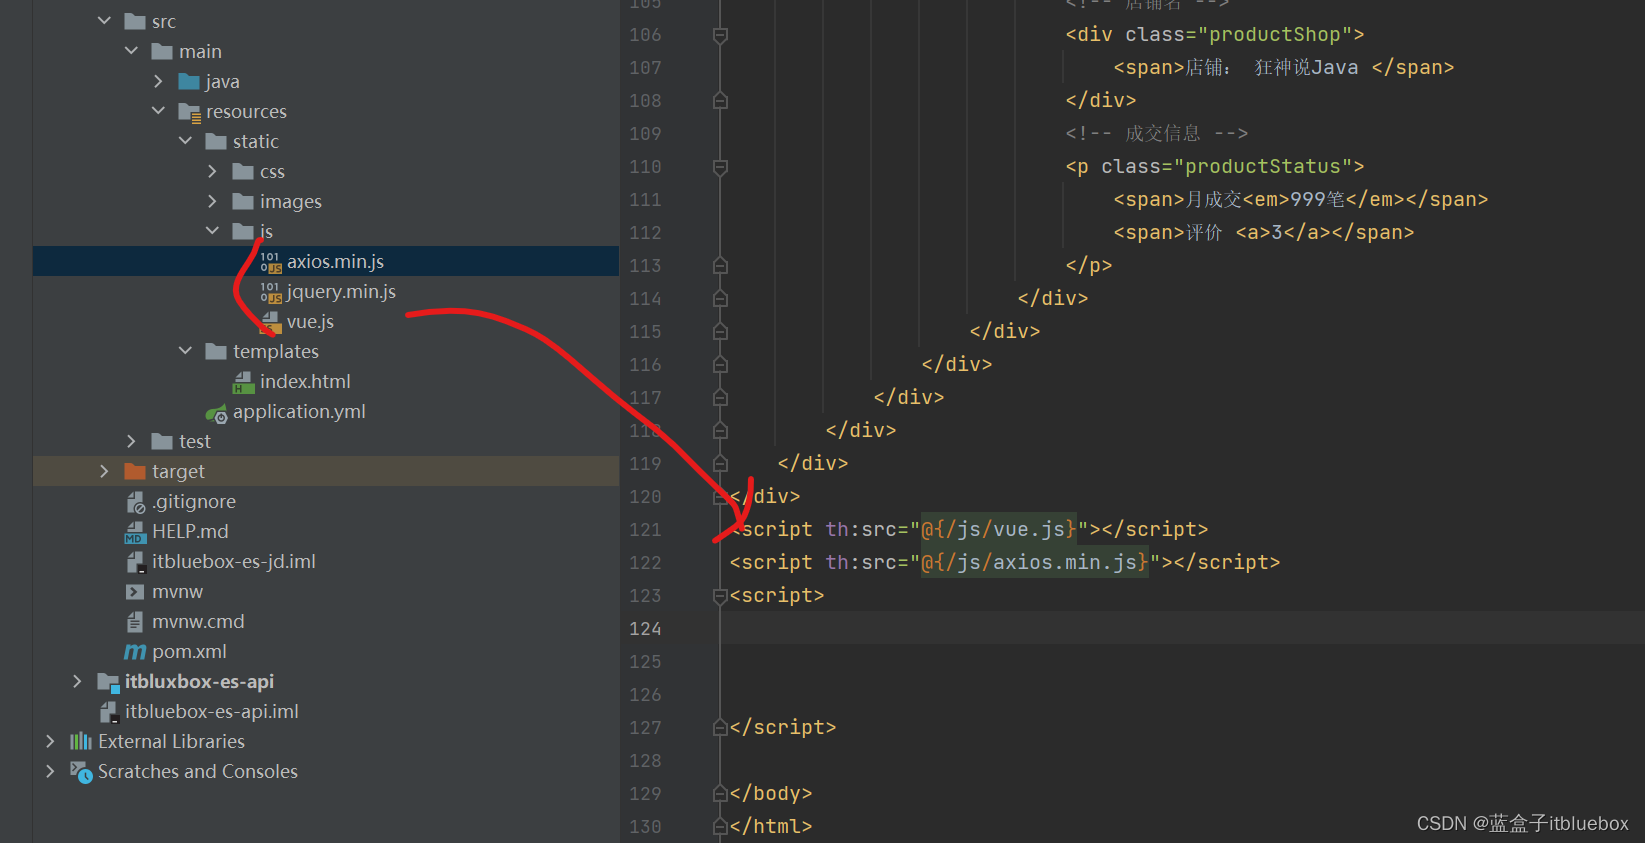
<script th:src="@{/js/vue.js}"></script>
<script th:src="@{/js/axios.min.js}"></script>
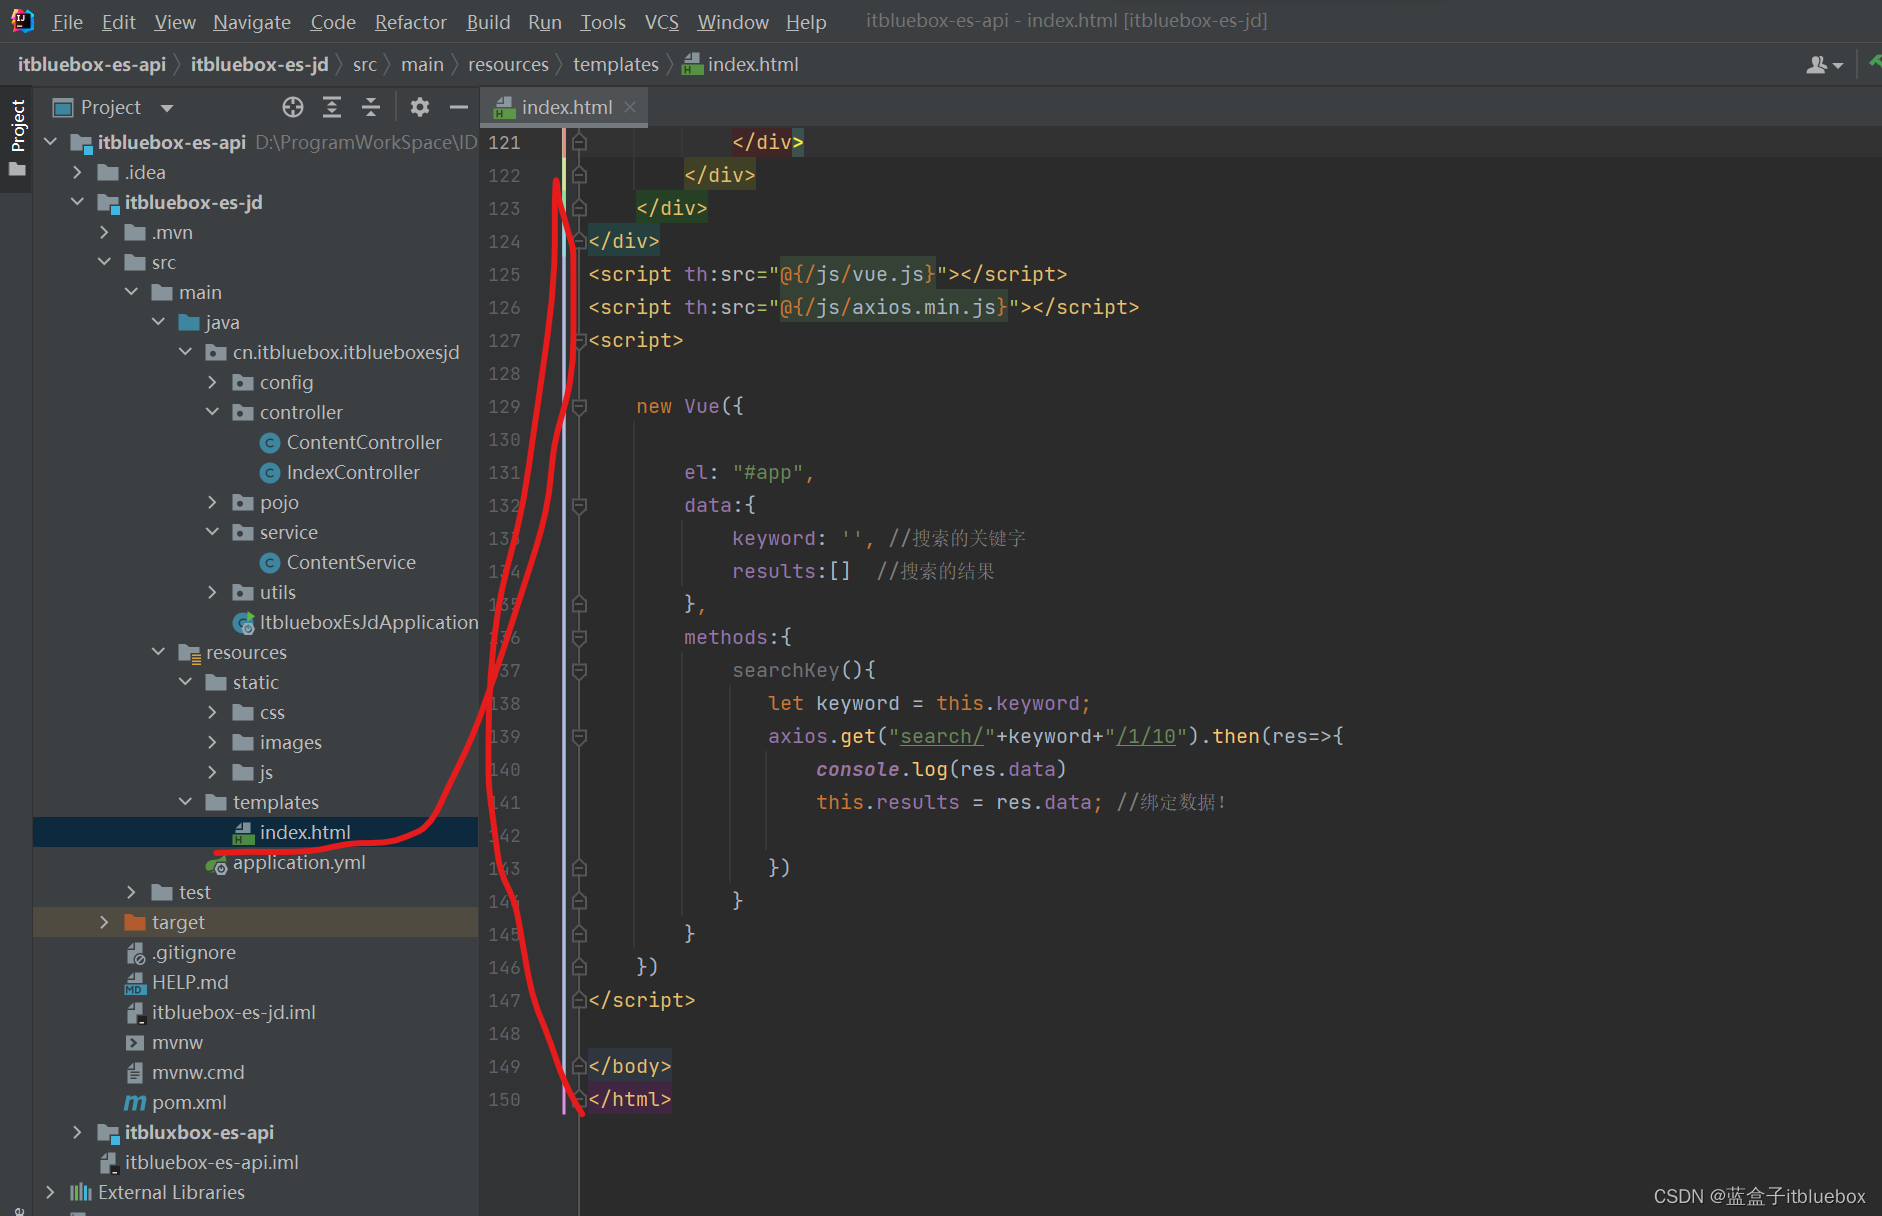
2、编写Vue代码
<!DOCTYPE html>
<html xmlns:th="http://www.thymeleaf.org">
<head>
<meta charset="utf-8"/>
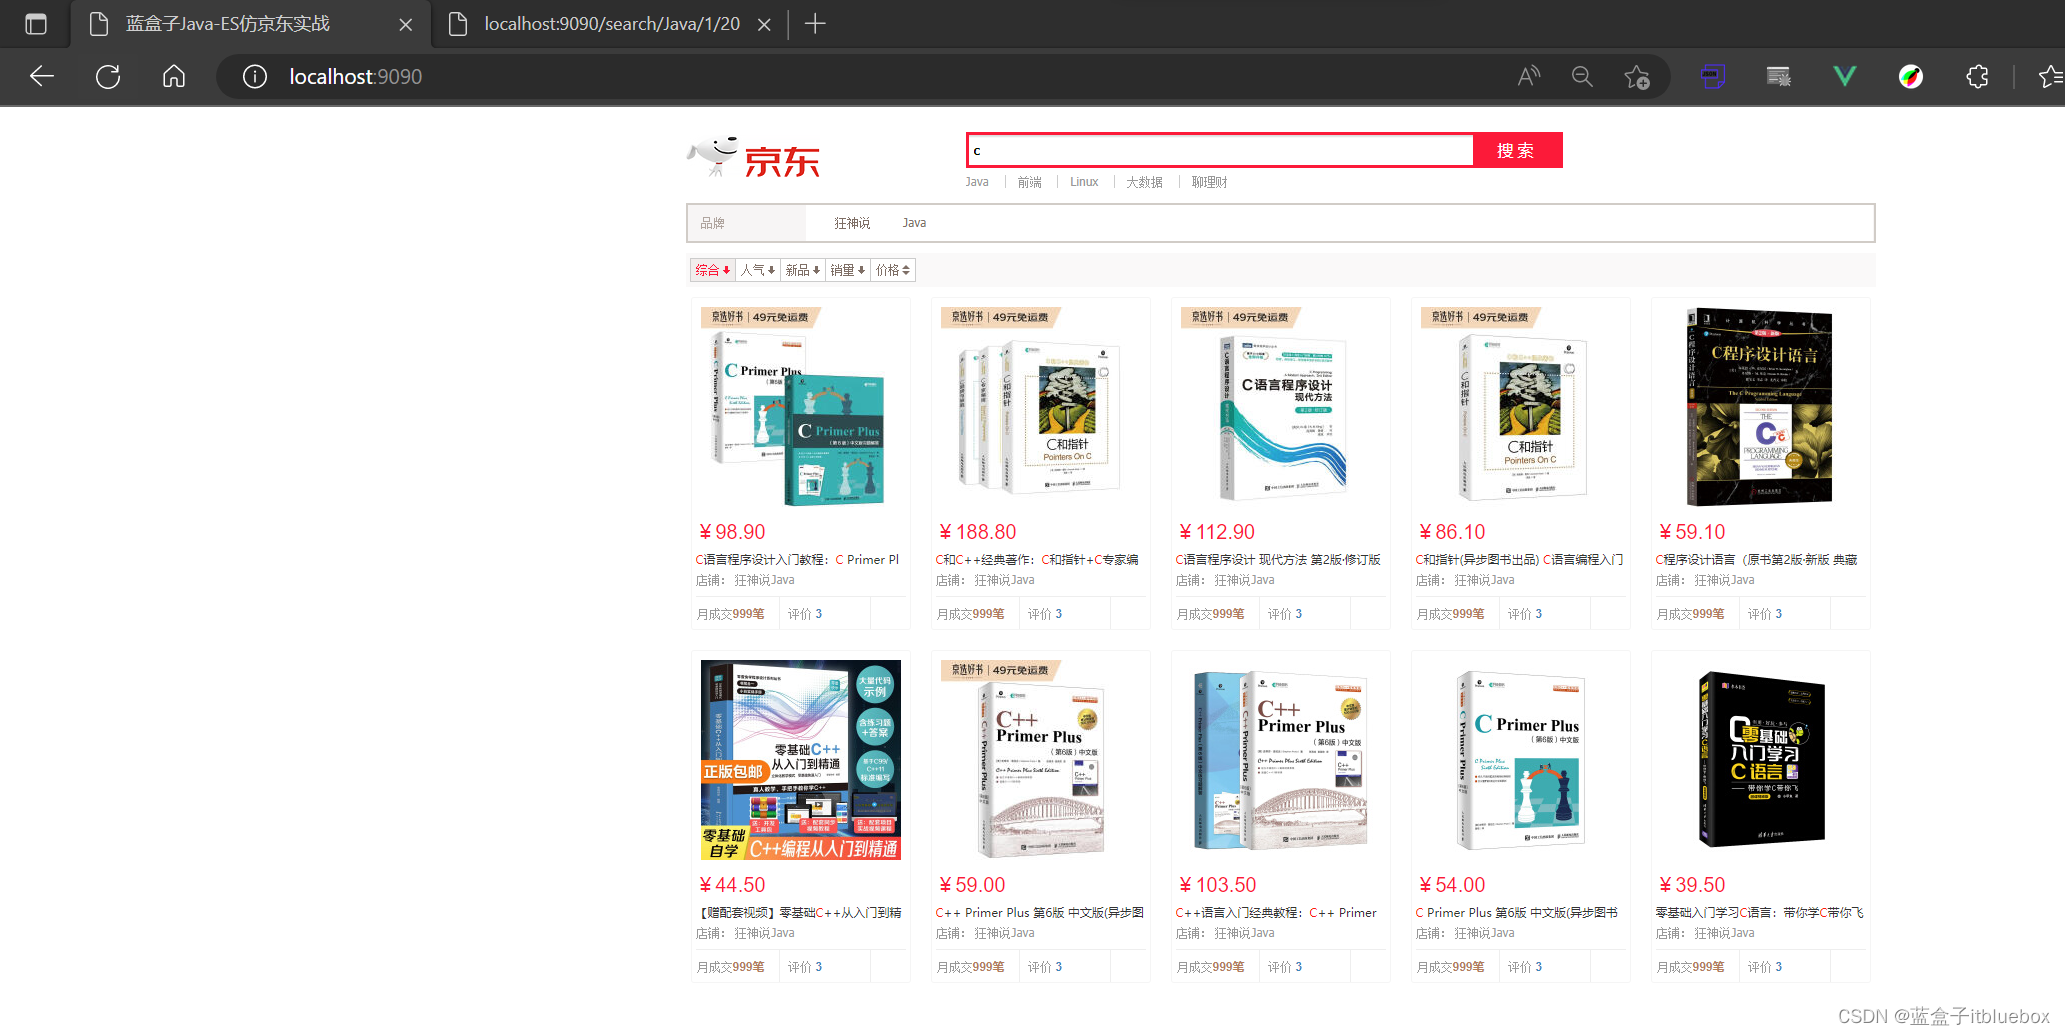
<title>蓝盒子Java-ES仿京东实战</title>
<link rel="stylesheet" th:href="@{/css/style.css}"/>
</head>
<body class="pg">
<div class="page" id="app">
<div id="mallPage" class=" mallist tmall- page-not-market ">
<!-- 头部搜索 -->
<div id="header" class=" header-list-app">
<div class="headerLayout">
<div class="headerCon ">
<!-- Logo-->
<h1 id="mallLogo">
<img th:src="@{/images/jdlogo.png}" alt="">
</h1>
<div class="header-extra">
<!--搜索-->
<div id="mallSearch" class="mall-search">
<form name="searchTop" class="mallSearch-form clearfix">
<fieldset>
<legend>天猫搜索</legend>
<div class="mallSearch-input clearfix">
<div class="s-combobox" id="s-combobox-685">
<div class="s-combobox-input-wrap">
<input v-model="keyword" type="text" autocomplete="off" value="dd" id="mq"
class="s-combobox-input" aria-haspopup="true">
</div>
</div>
<button type="submit" @click.prevent="searchKey()" id="searchbtn">搜索</button>
</div>
</fieldset>
</form>
<ul class="relKeyTop">
<li><a>Java</a></li>
<li><a>前端</a></li>
<li><a>Linux</a></li>
<li><a>大数据</a></li>
<li><a>聊理财</a></li>
</ul>
</div>
</div>
</div>
</div>
</div>
<!-- 商品详情页面 -->
<div id="content">
<div class="main">
<!-- 品牌分类 -->
<form class="navAttrsForm">
<div class="attrs j_NavAttrs" style="display:block">
<div class="brandAttr j_nav_brand">
<div class="j_Brand attr">
<div class="attrKey">
品牌
</div>
<div class="attrValues">
<ul class="av-collapse row-2">
<li><a href="#"> 狂神说 </a></li>
<li><a href="#"> Java </a></li>
</ul>
</div>
</div>
</div>
</div>
</form>
<!-- 排序规则 -->
<div class="filter clearfix">
<a class="fSort fSort-cur">综合<i class="f-ico-arrow-d"></i></a>
<a class="fSort">人气<i class="f-ico-arrow-d"></i></a>
<a class="fSort">新品<i class="f-ico-arrow-d"></i></a>
<a class="fSort">销量<i class="f-ico-arrow-d"></i></a>
<a class="fSort">价格<i class="f-ico-triangle-mt"></i>
<i class="f-ico-triangle-mb"></i>
</a>
</div>
<!-- 商品详情 -->
<div class="view grid-nosku">
<div class="product" v-for="result in results">
<div class="product-iWrap">
<!--商品封面-->
<div class="productImg-wrap">
<a class="productImg">
<img :src="result.img">
</a>
</div>
<!--价格-->
<p class="productPrice">
<em>
{
{
result.price }}
</em>
</p>
<!--标题-->
<p class="productTitle">
<a> {
{
result.title }} </a>
</p>
<!-- 店铺名 -->
<div class="productShop">
<span>店铺: 狂神说Java </span>
</div>
<!-- 成交信息 -->
<p class="productStatus">
<span>月成交<em>999笔</em></span>
<span>评价 <a>3</a></span>
</p>
</div>
</div>
</div>
</div>
</div>
</div>
</div>
<script th:src="@{/js/vue.js}"></script>
<script th:src="@{/js/axios.min.js}"></script>
<script>
new Vue({
el: "#app",
data:{
keyword: '', //搜索的关键字
results:[] //搜索的结果
},
methods:{
searchKey(){
let keyword = this.keyword;
axios.get("search/"+keyword+"/1/10").then(res=>{
console.log(res.data)
this.results = res.data; //绑定数据!
})
}
}
})
</script>
</body>
</html>
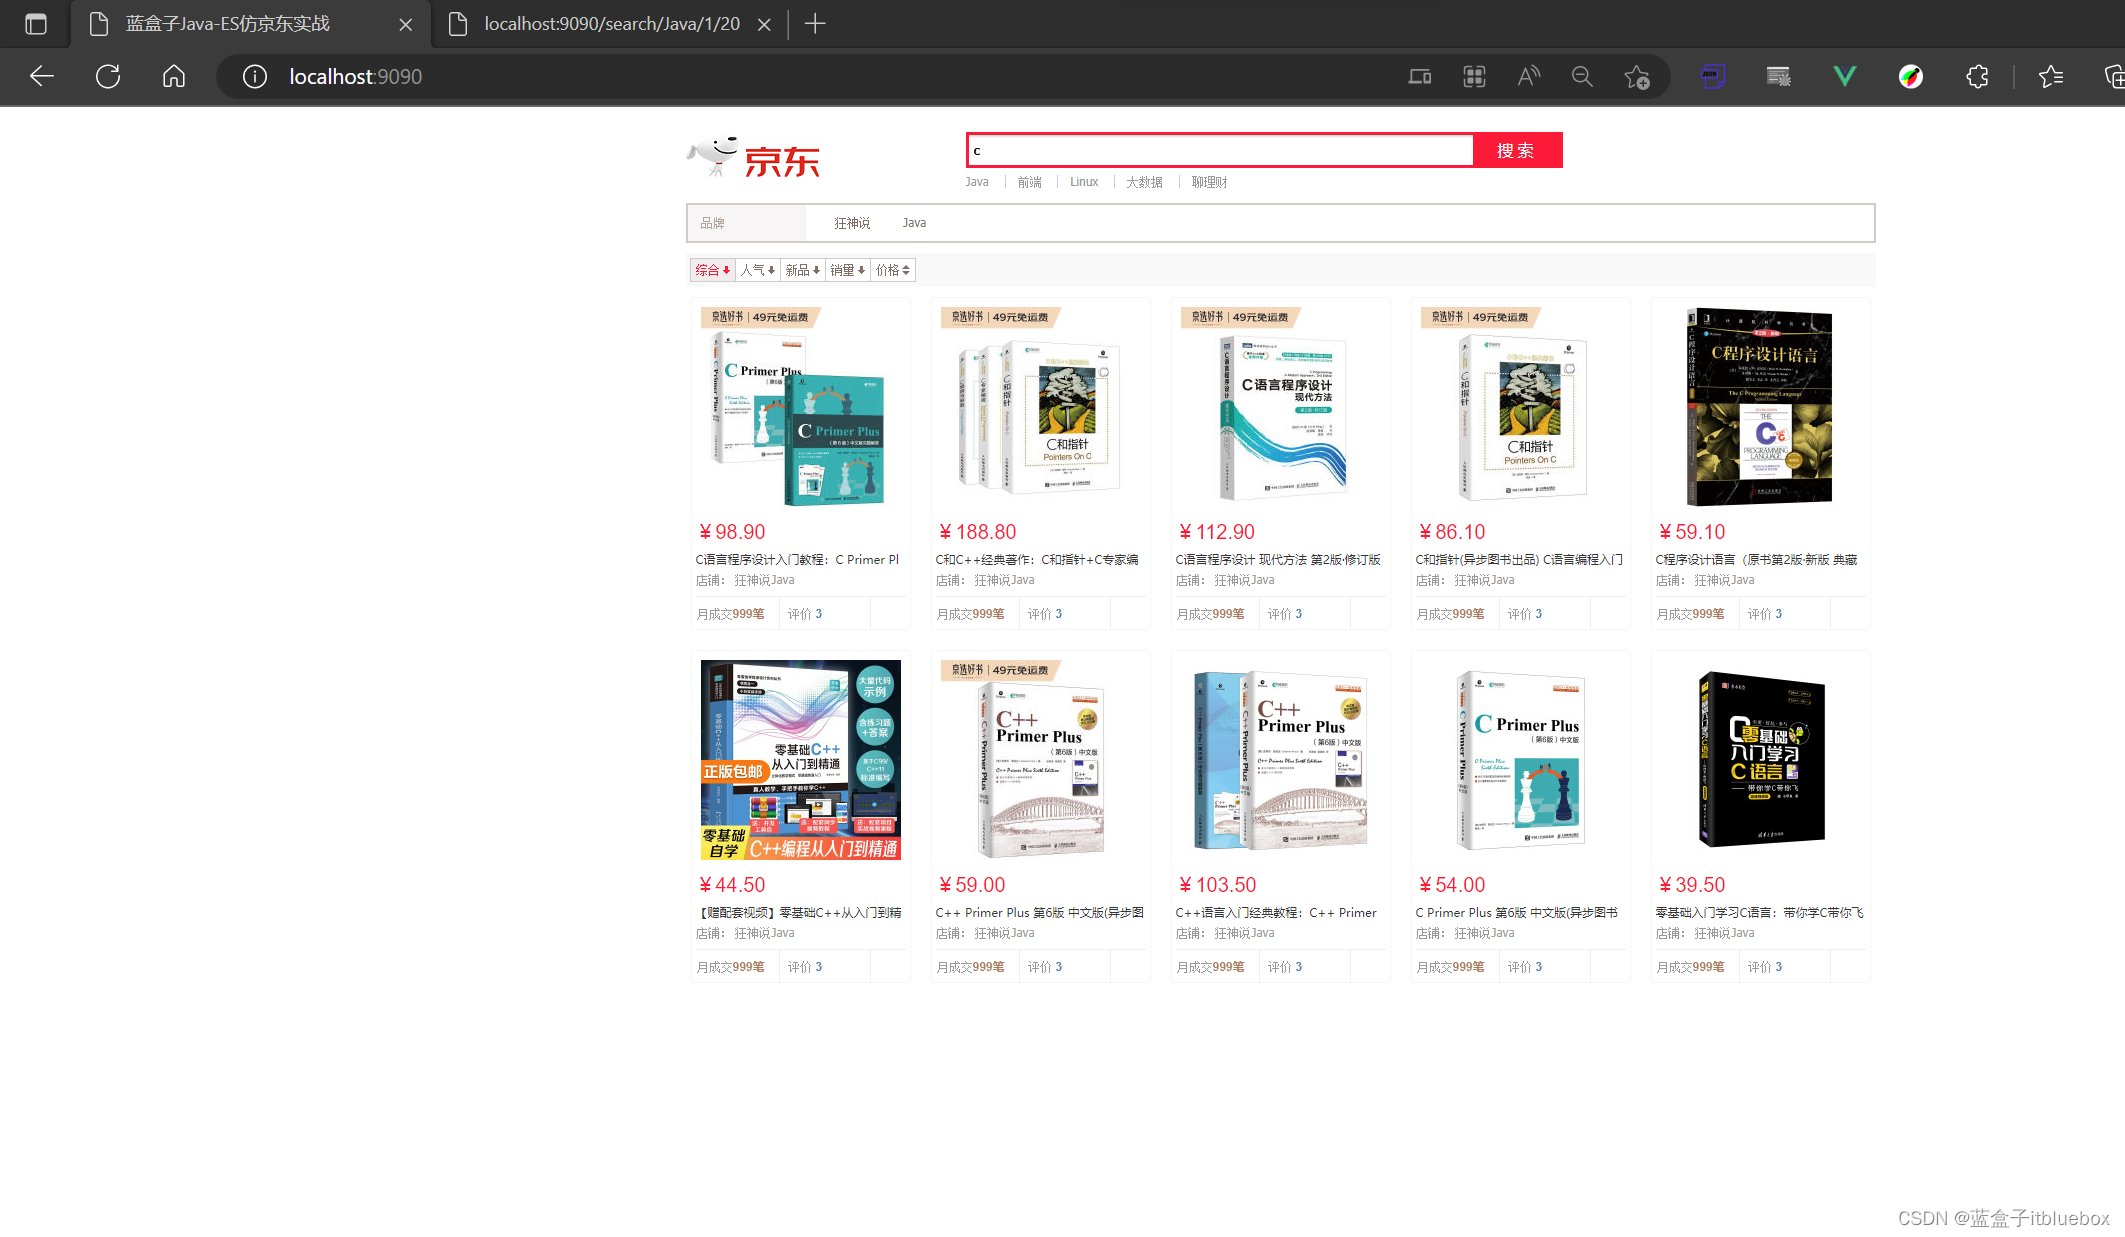
运行测试,访问http://localhost:9090/
九、实现搜索高亮
1、编写searchPageHighLightBuilder方法
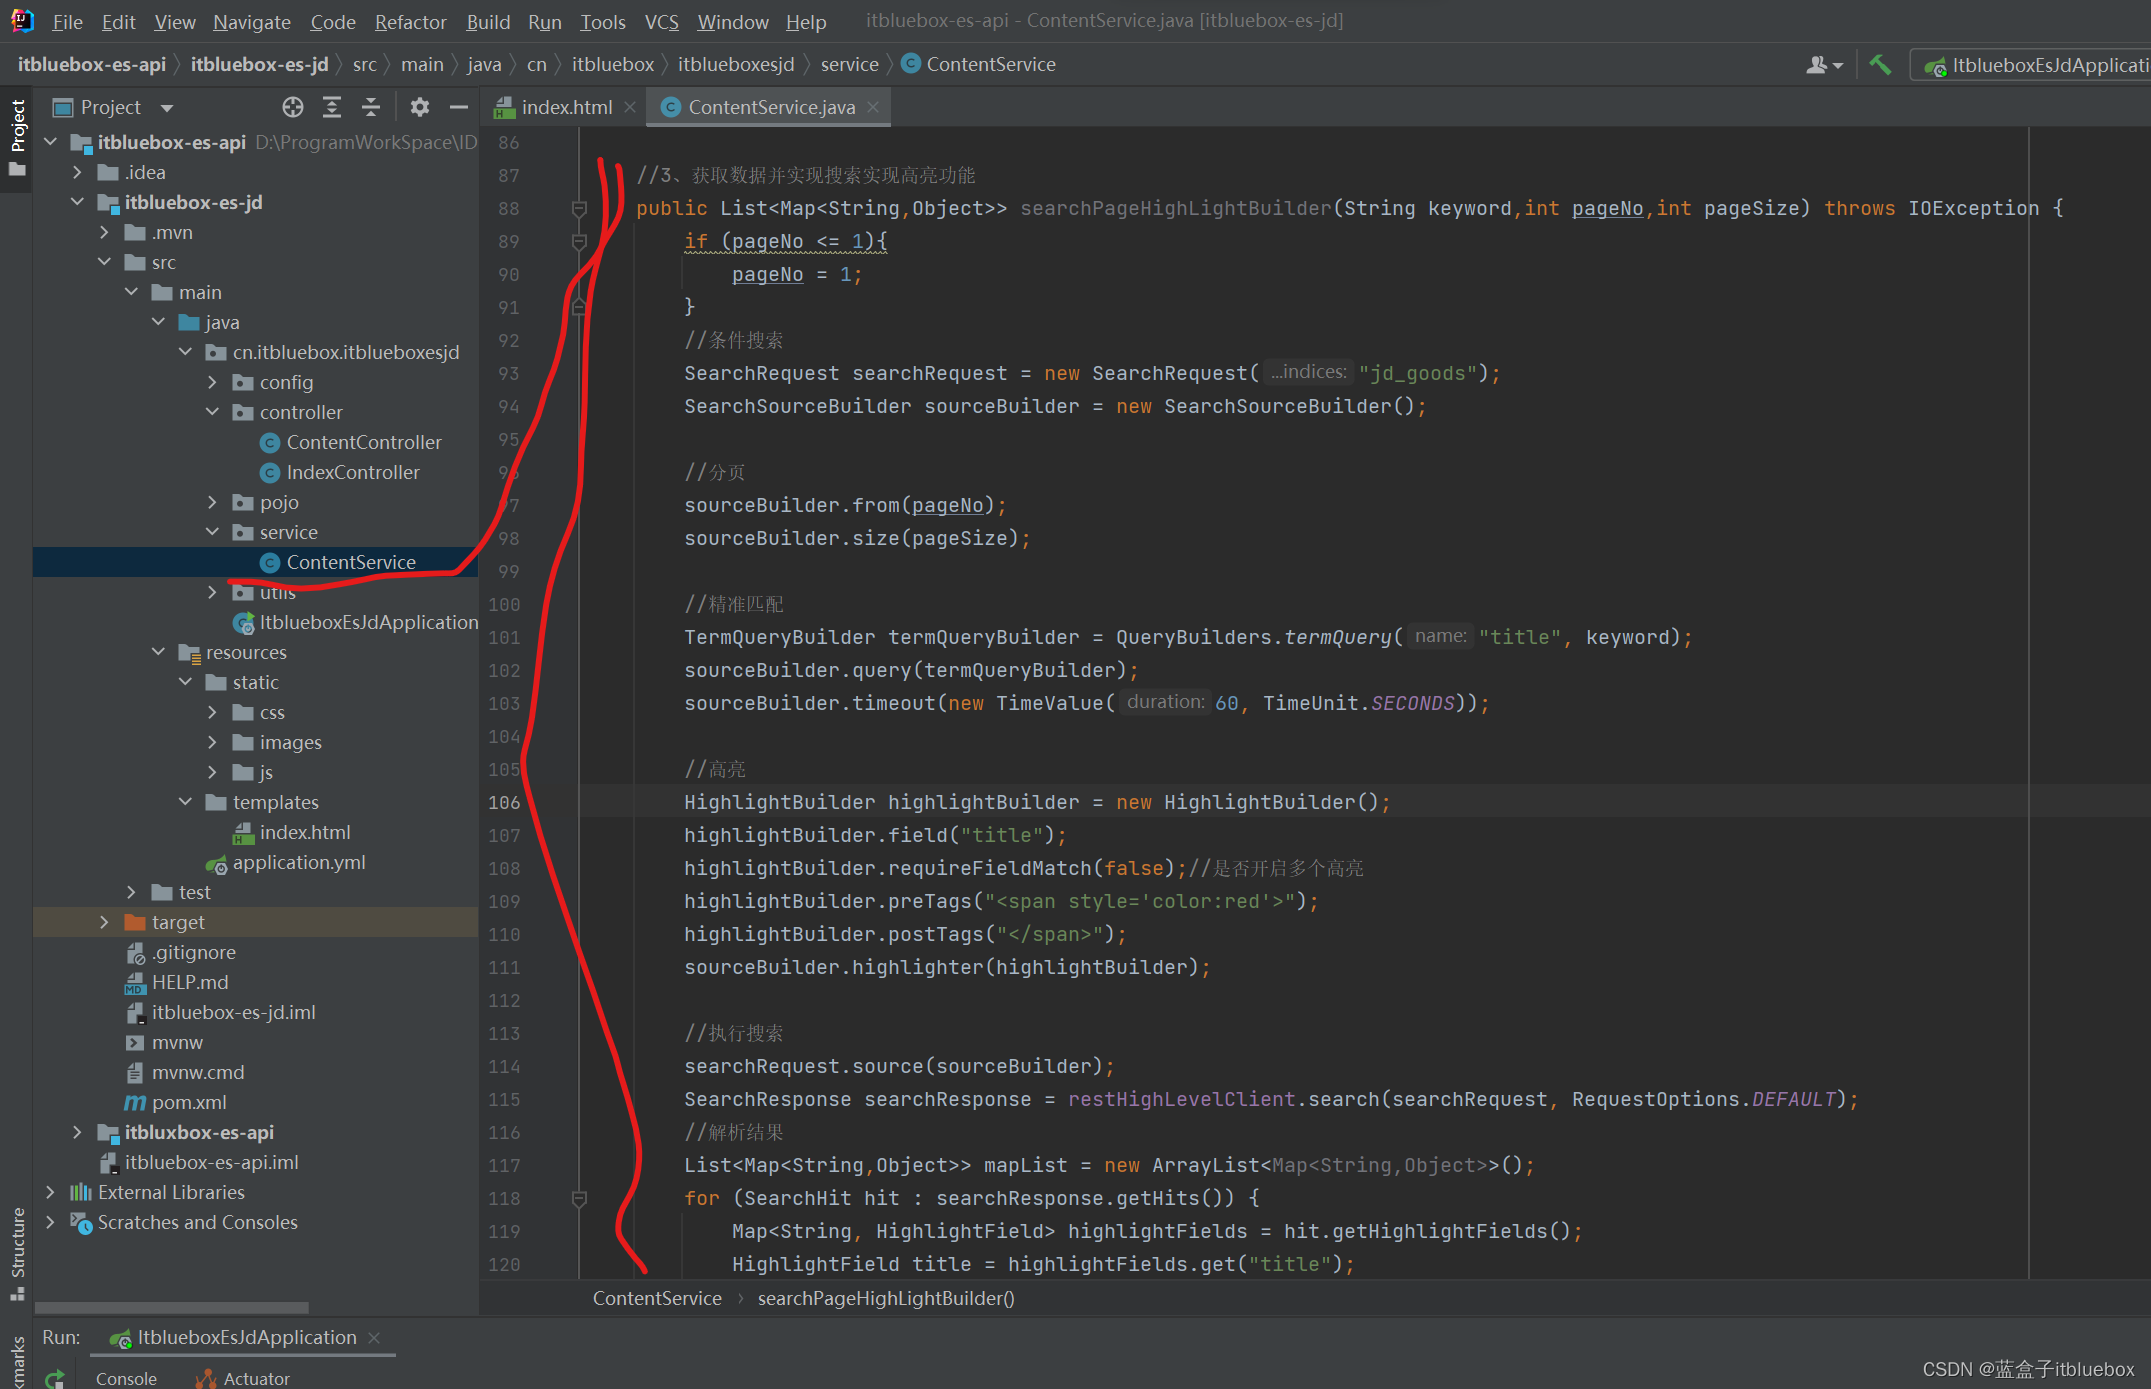
    //3、获取数据并实现搜索实现高亮功能
    public List<Map<String,Object>> searchPageHighLightBuilder(String keyword,int pageNo,int pageSize) throws IOException {


        if (pageNo <= 1){


            pageNo = 1;
        }
        //条件搜索
        SearchRequest searchRequest = new SearchRequest("jd_goods");
        SearchSourceBuilder sourceBuilder = new SearchSourceBuilder();

        //分页
        sourceBuilder.from(pageNo);
        sourceBuilder.size(pageSize);

        //精准匹配
        TermQueryBuilder termQueryBuilder = QueryBuilders.termQuery("title", keyword);
        sourceBuilder.query(termQueryBuilder);
        sourceBuilder.timeout(new TimeValue(60, TimeUnit.SECONDS));

        //高亮
        HighlightBuilder highlightBuilder = new HighlightBuilder();
        highlightBuilder.field("title");
        highlightBuilder.requireFieldMatch(false);//是否开启多个高亮
        highlightBuilder.preTags("<span style='color:red'>");
        highlightBuilder.postTags("</span>");
        sourceBuilder.highlighter(highlightBuilder);

        //执行搜索
        searchRequest.source(sourceBuilder);
        SearchResponse searchResponse = restHighLevelClient.search(searchRequest, RequestOptions.DEFAULT);
        //解析结果
        List<Map<String,Object>> mapList = new ArrayList<Map<String,Object>>();
        for (SearchHit hit : searchResponse.getHits()) {


            Map<String, HighlightField> highlightFields = hit.getHighlightFields();
            HighlightField title = highlightFields.get("title");
            Map<String, Object> sourceAsMap = hit.getSourceAsMap();//这是原来的结果
            //解析高亮的字段,将原来的字段换为高亮的字段即可
            if(title != null){


                Text[] fragments = title.fragments();//获得到对应的高亮字段
                String n_title = "";
                for (Text text : fragments) {


                    n_title += text;
                }
                sourceAsMap.put("title",n_title);//高亮的字段替换调原来的内容即可 替换高亮的字段
            }
            mapList.add(sourceAsMap);
        }
        return mapList;
    }
2、完善
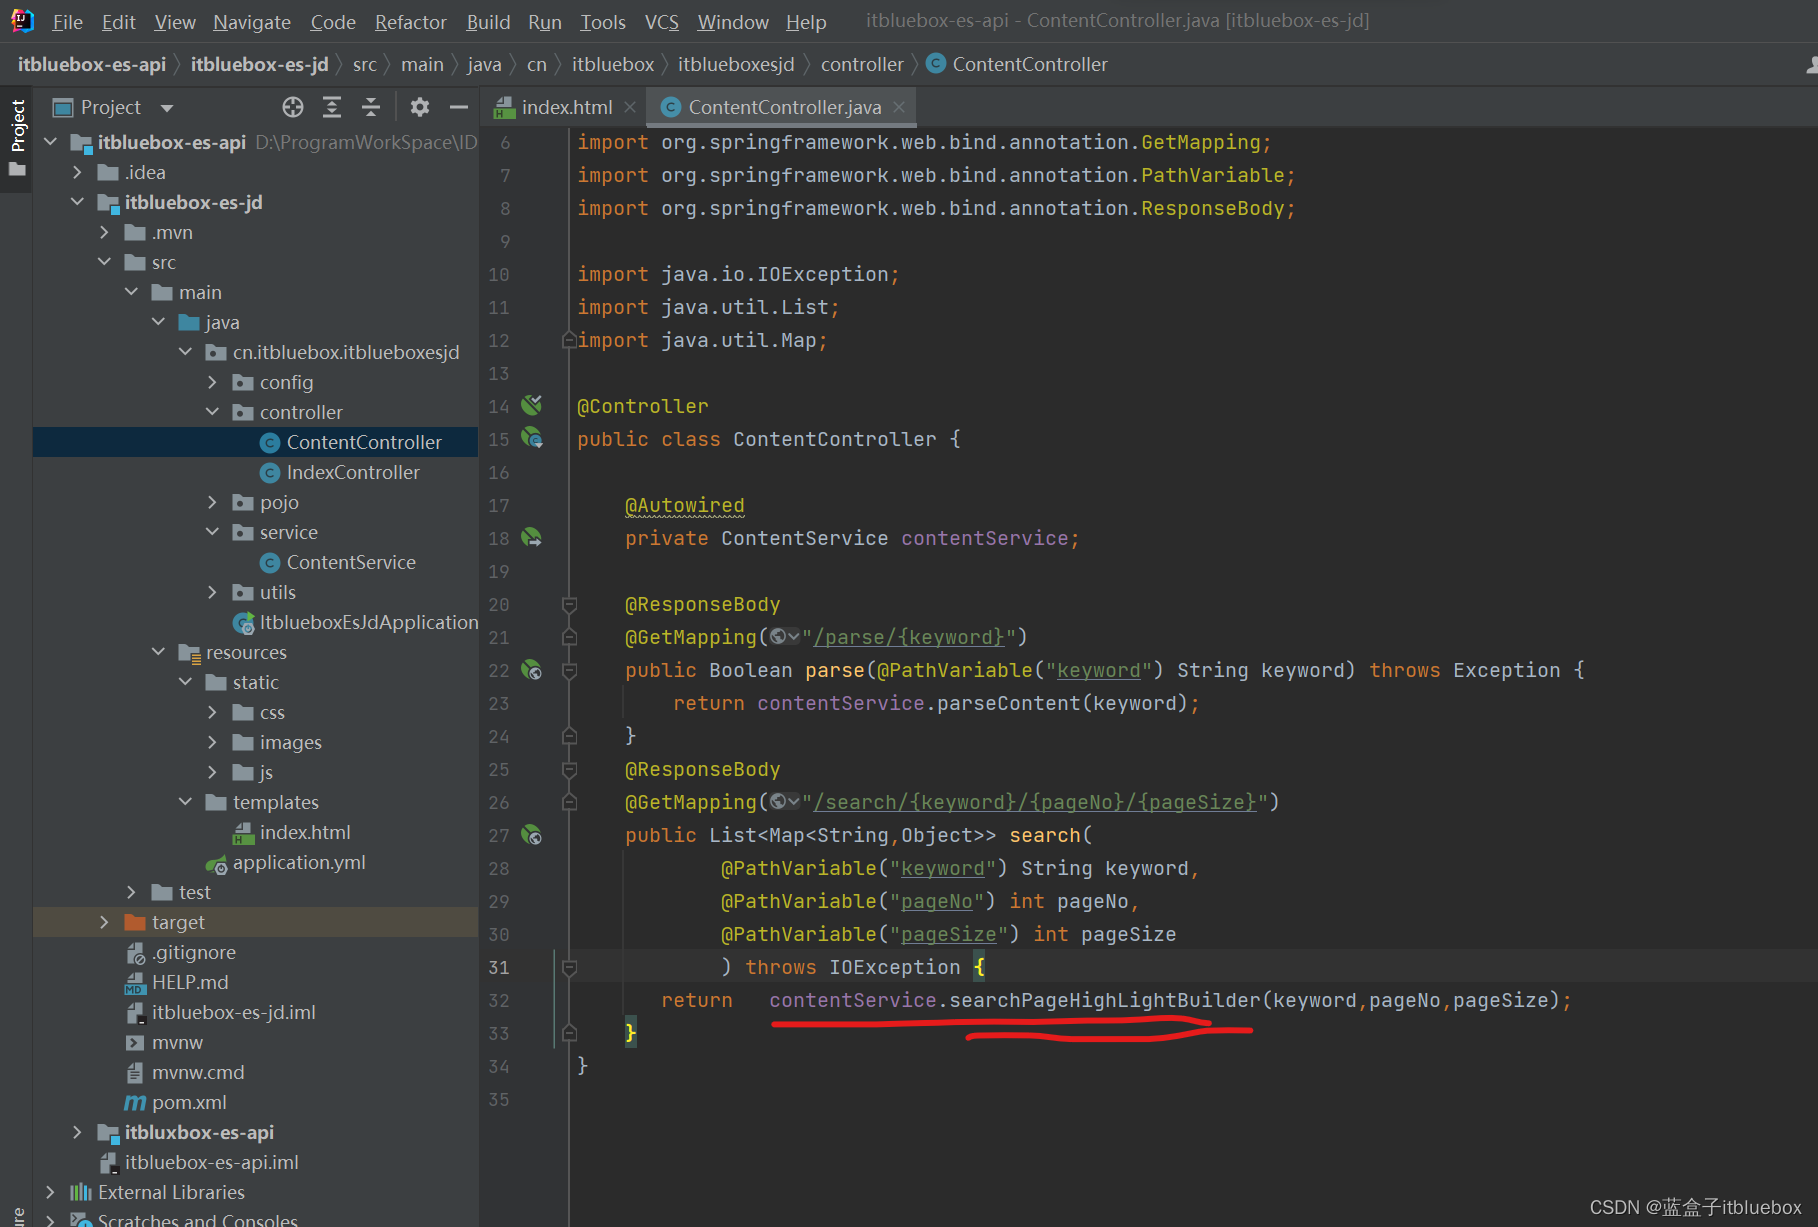
contentService.searchPageHighLightBuilder(keyword,pageNo,pageSize);
3、修改前端页面,的遍历数据的方法
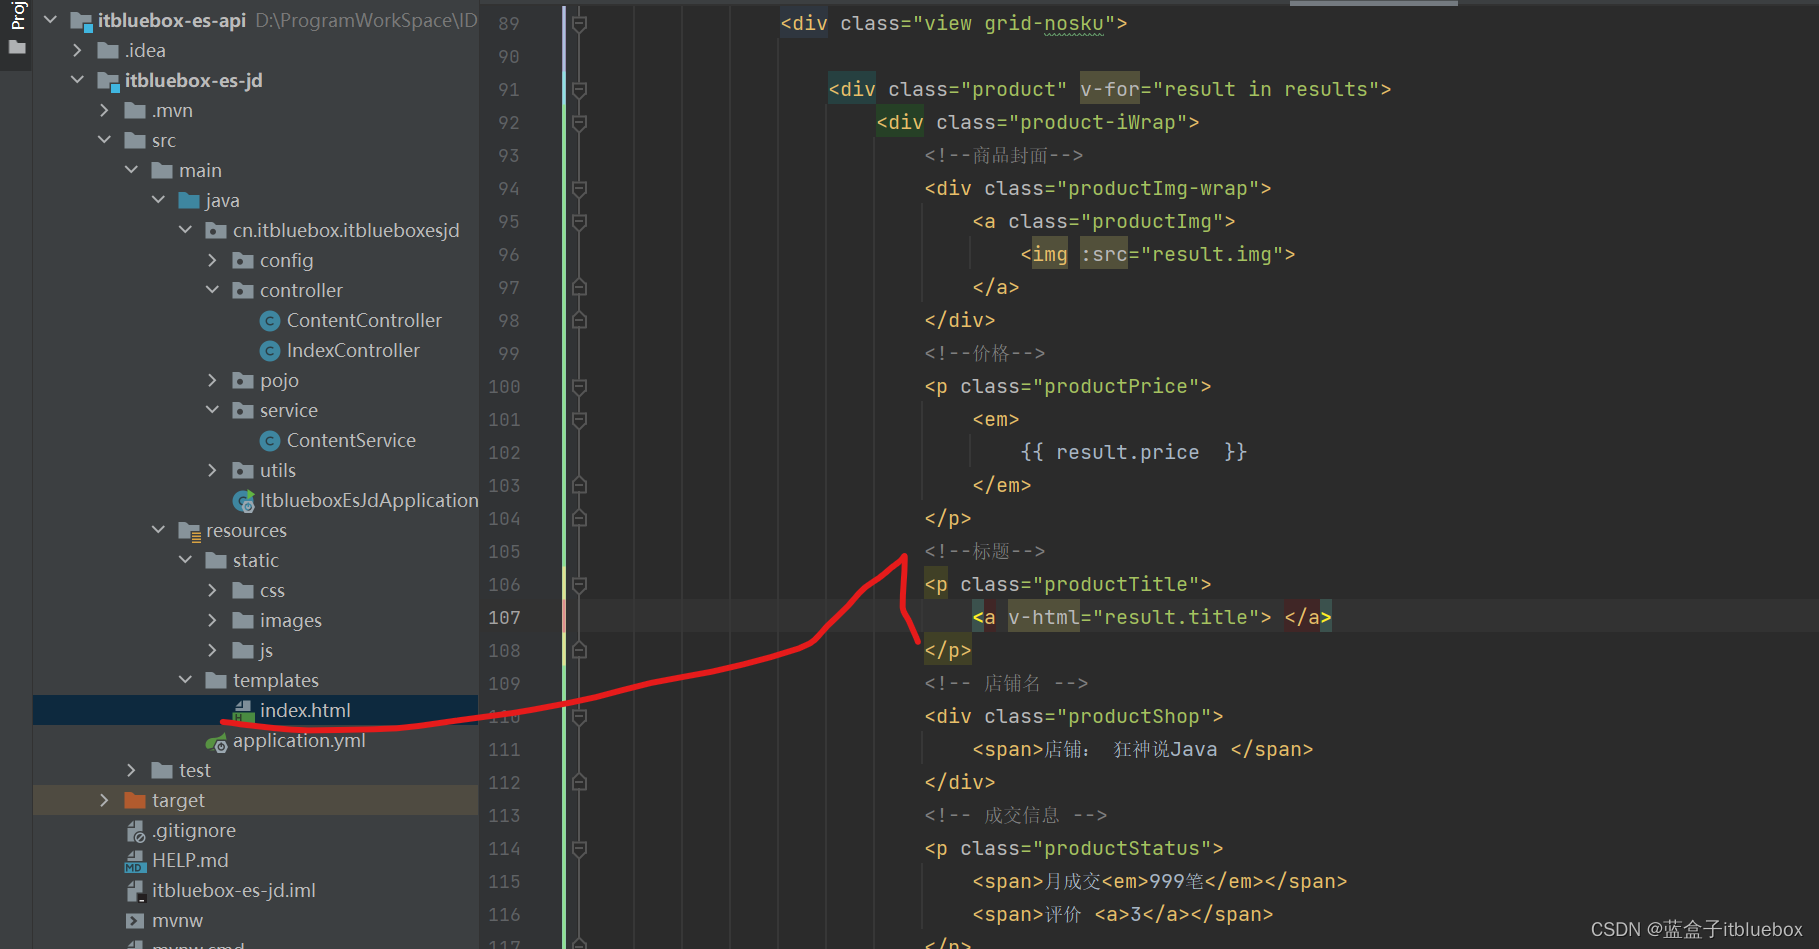
    <!--标题-->
                            <p class="productTitle">
                                <a v-html="result.title"> </a>
                            </p>
搜索,实现高亮显示