还是先在项目中引入依赖
npm install element-ui@2 --save
npm install element-plus --save
npm install vue-cropper@next --save
main.js 参考代码如下
import {

    createApp} from 'vue'
import App from './App.vue'

import ElementPlus from 'element-plus';
import 'element-plus/dist/index.css';

createApp(App).use(ElementPlus).mount('#app')
这样我们element-ui组件库就进来了
因为我们这个是新建的项目 代码就直接写在App.vue里了
App.vue参考代码如下
<template>
  <div id = "app">
      <VueCropper
        ref="cropper"
        :img="options.img"
        style = "width: 400px;height: 300px;"
        :info="true"
        :autoCrop="options.autoCrop"
        :autoCropWidth="options.autoCropWidth"
        :autoCropHeight="options.autoCropHeight"
        :fixedBox="options.fixedBox"
        @realTime="realTime"
      ></VueCropper>
      <div class = "control">
          <el-upload action="#" :show-file-list="false" :before-upload="beforeUpload">
              <el-button size="small">
                  选择
              <i class="el-icon-upload el-icon--right"></i>
              </el-button>
          </el-upload>
          <div>
              <el-button size="small" @click="changeScale(1)">放大</el-button>
          </div>
          <div>
              <el-button size="small" @click="changeScale(-1)">缩小</el-button>
          </div>
          <div>
              <el-button size="small" @click="rotateLeft()">左侧偏转</el-button>
          </div>
          <div>
              <el-button size="small" @click="rotateRight()">右侧偏转</el-button>
          </div>
      </div>
      <div class = "control">
          <el-button type="primary"  @click="Submit()">提交</el-button>
      </div>
  </div>
</template>

<script>
import 'vue-cropper/dist/index.css'

//组件中使用
import {

       VueCropper }  from "vue-cropper";
export default {


  name: 'App',
  components: {

       VueCropper },
  data(){


    return {


      options: {


          img: '', //裁剪图片的地址
          autoCrop: true, // 是否默认生成截图框
          autoCropWidth: 200, // 默认生成截图框宽度
          autoCropHeight: 200, // 默认生成截图框高度
          fixedBox: true // 固定截图框大小 不允许改变
      },
    }
  },
  methods:{


      realTime(data) {


          console.log(data);
      },
       // 上传预处理
      beforeUpload(file) {


          if (file.type.indexOf("image/") == -1) {


              this.$modal.msgError("文件格式错误,请上传图片类型,如:JPG,PNG后缀的文件。");
          } else {


              const reader = new FileReader();
              reader.readAsDataURL(file);
              reader.onload = () => {


              this.options.img = reader.result;
              };
          }
      },
      // 图片缩放
      changeScale(num) {


          num = num || 1;
          this.$refs.cropper.changeScale(num);
      },
      // 向左旋转
        rotateLeft() {


            this.$refs.cropper.rotateLeft();
        },
        // 向右旋转
        rotateRight() {


            this.$refs.cropper.rotateRight();
        },
        Submit(){


            this.$refs.cropper.getCropData(data => {


              console.log(data);
            })
        }
  }
}
</script>

<style>
.control{


    display: flex;
    margin-top:15px;
}
</style>
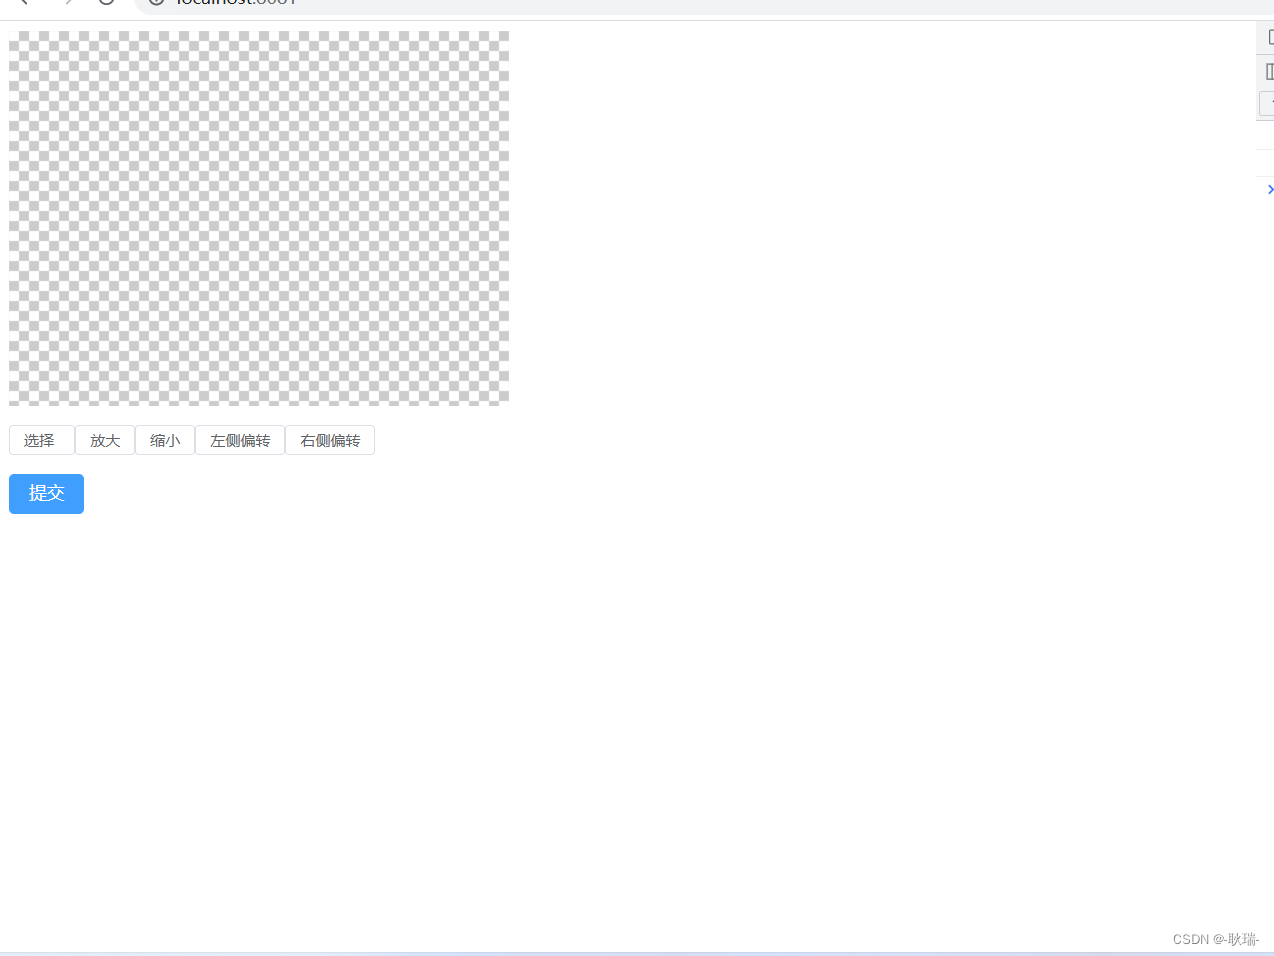
然后我们得到的界面效果就是这样的
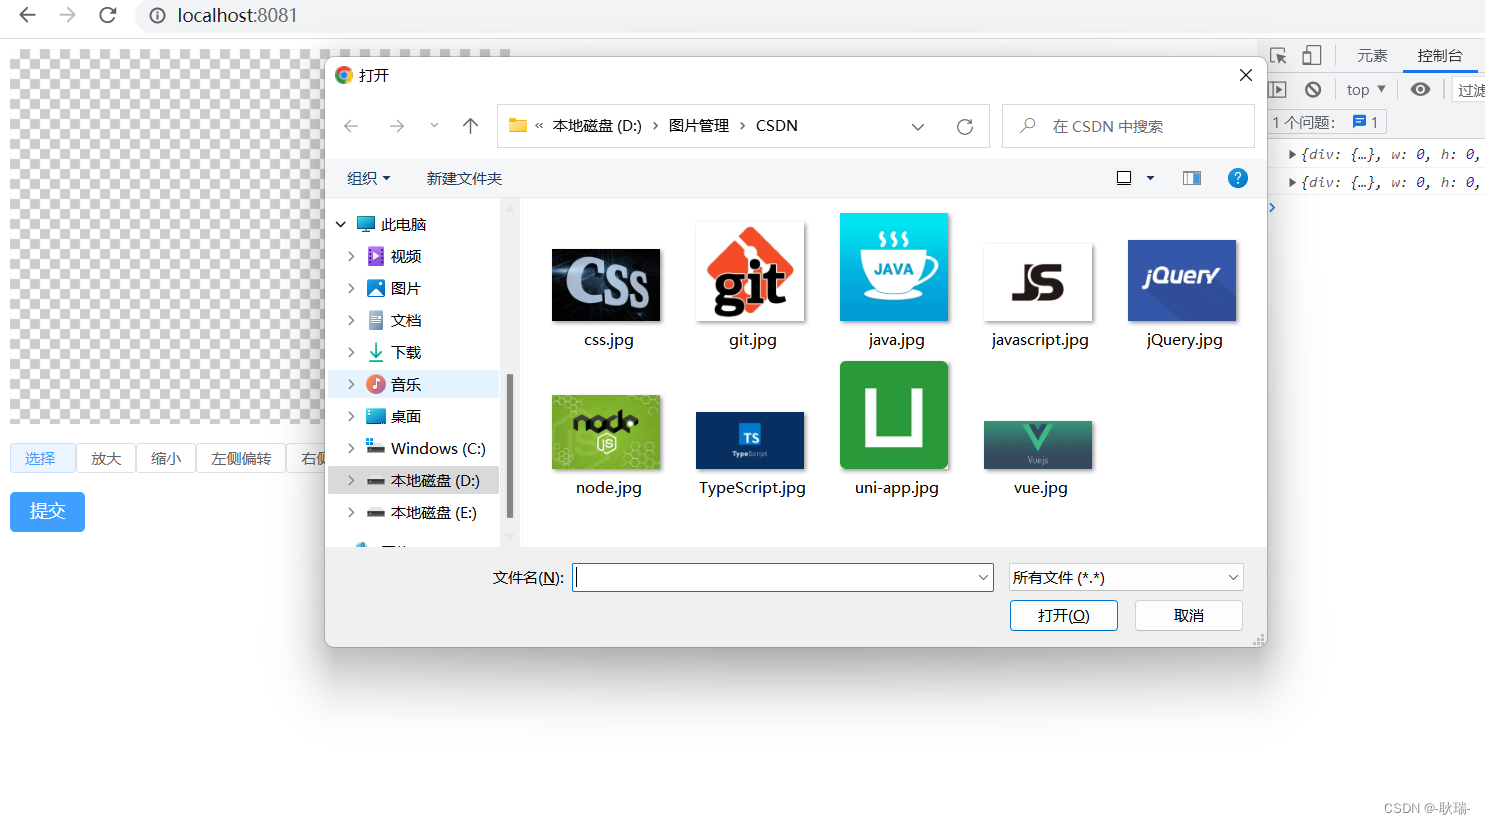
点击选择 选择一张图片上传上去
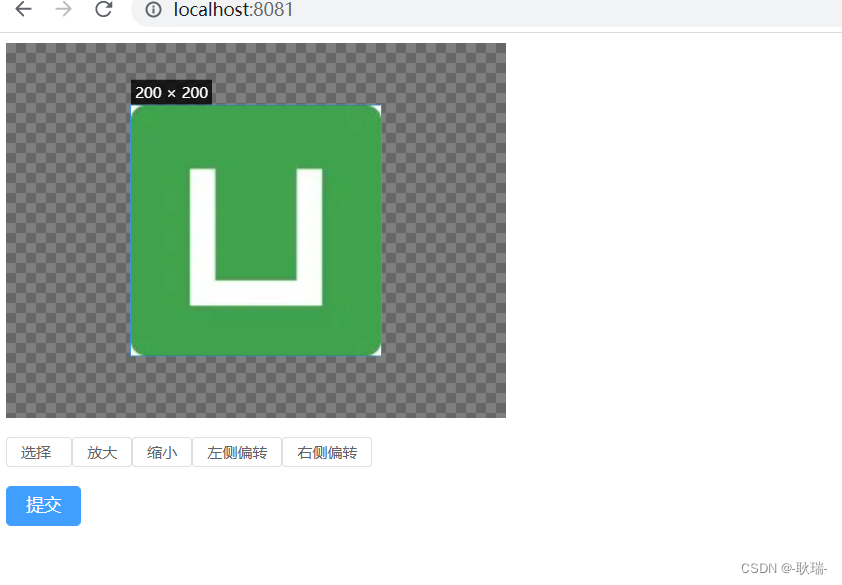
放大缩小 都可以玩一玩
还有偏转
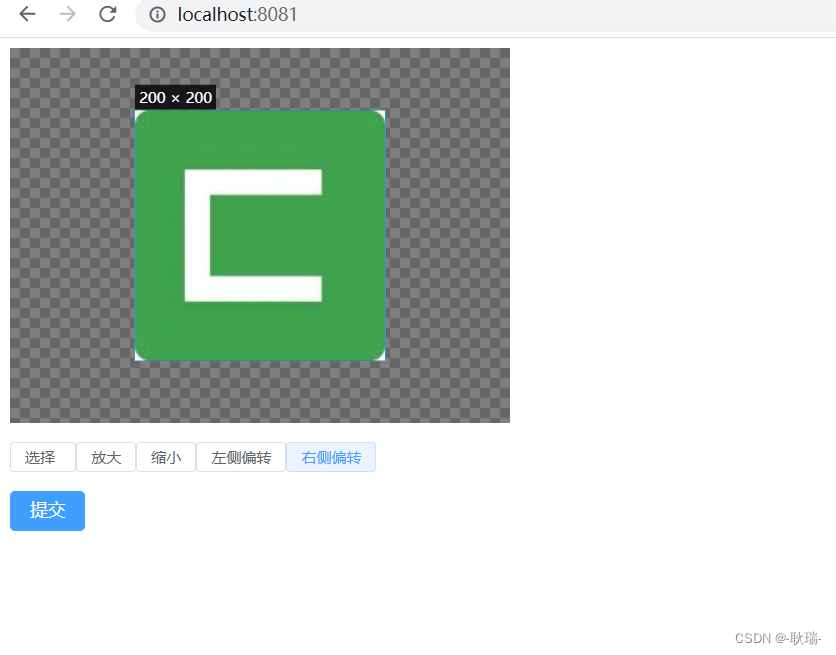
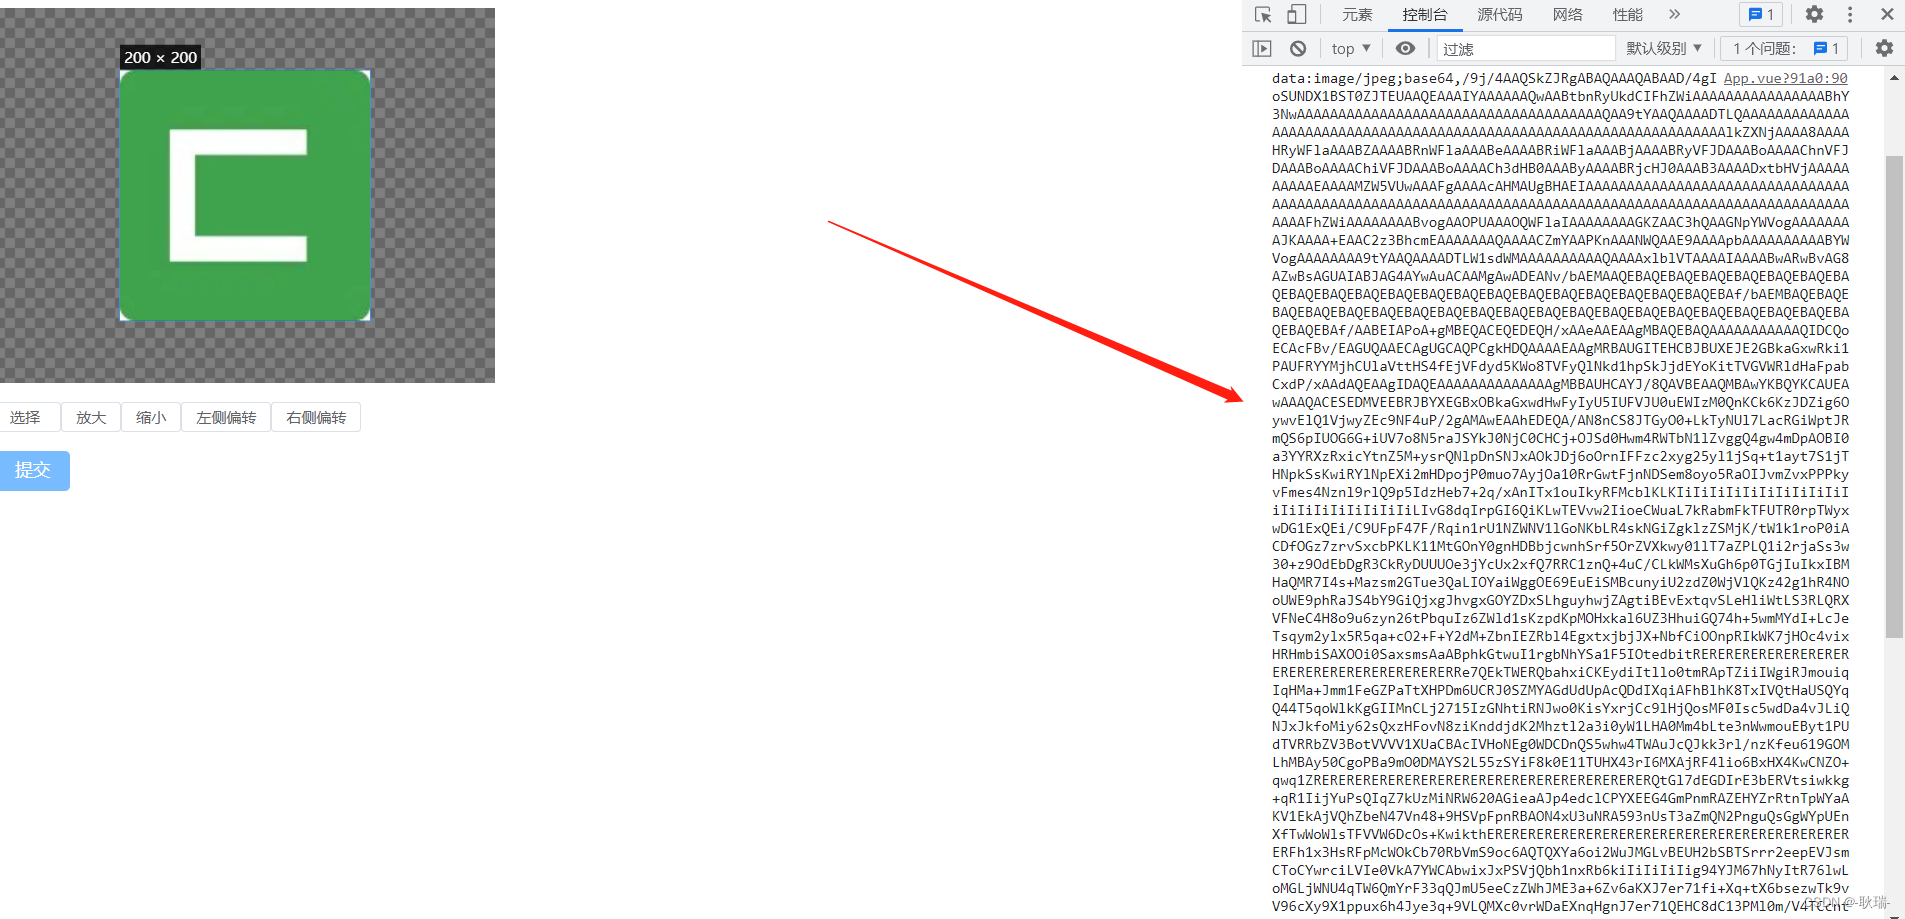
点击提交时这里我们只是在控制台输出了一下处理好的图片加密字符串
上传图片需要后台人员配合处理