B站完整视频:【完结】Unity横版卷轴射击游戏制作教程 【满满的全是干货】 独立游戏 | 游戏开发_哔哩哔哩_bilibili➤内容简介 -- Unity游戏制作要领- 从无到有制作一个完整游戏的全过程- 输入系统(Input System)- 对象池 (Objejct Pooling)- 物品掉落 (Item Loot)- 协程 (Coroutine)- 适合有一定Unity游戏开发基础的同学继续深入学习---------------------------------➤资源包 / 脚本源码 - - GitHub -  https://www.bilibili.com/video/BV1SB4y1w7VY?p=4&spm_id_from=333.851.header_right.history_list.click
资源包/源码:
https://github.com/AtCloudStudio/SaveSystemTutorial![]() https://github.com/AtCloudStudio/SaveSystemTutorialUnity 横版卷轴射击游戏 制作教程: Unity 横版卷轴射击游戏 制作教程
https://github.com/AtCloudStudio/SaveSystemTutorialUnity 横版卷轴射击游戏 制作教程: Unity 横版卷轴射击游戏 制作教程
学习目标:
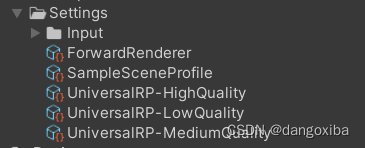
学习简单制作滚动卷轴以及玩家移动,首先先打开我们的Hub,创建一个新项目,版本按老师说要在2020.3.2以上,然后项目选择UPR(通用渲染管道模式)创建好以后点进去,设置好前期工作,先把场景中自带的案例删除,然后把文件保留到只剩这几个
然后打开Package Manager删除不需要的插件
(Input System是后续要安装的,这里有没有无所谓)
然后打开我们已经下载好的资源包,把我重点标记的Shooting Star Tutorial 01导入素材
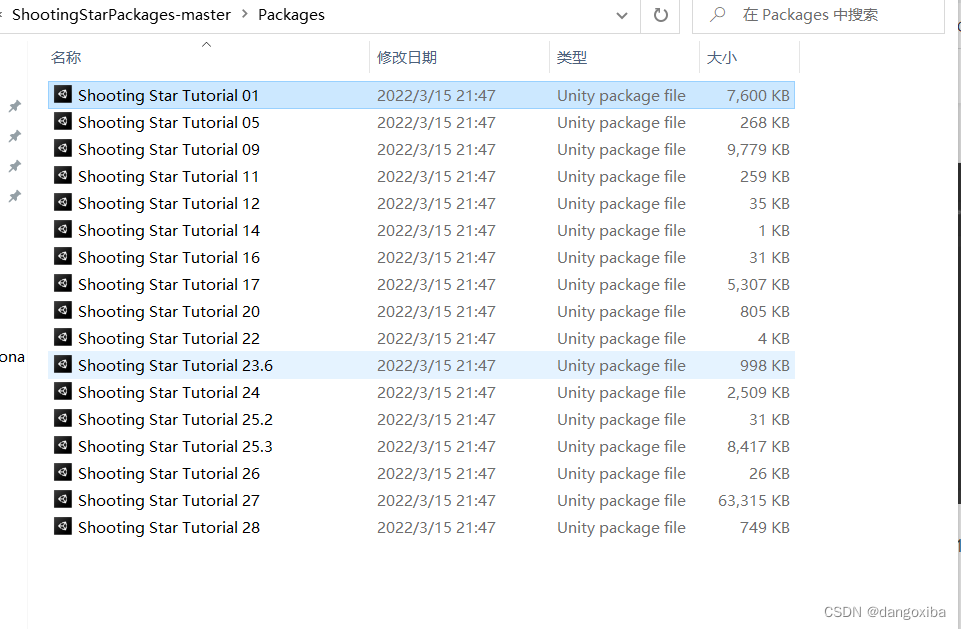
拖进Unity后点击Import,我们的前期工作就算完成了。
学习内容:
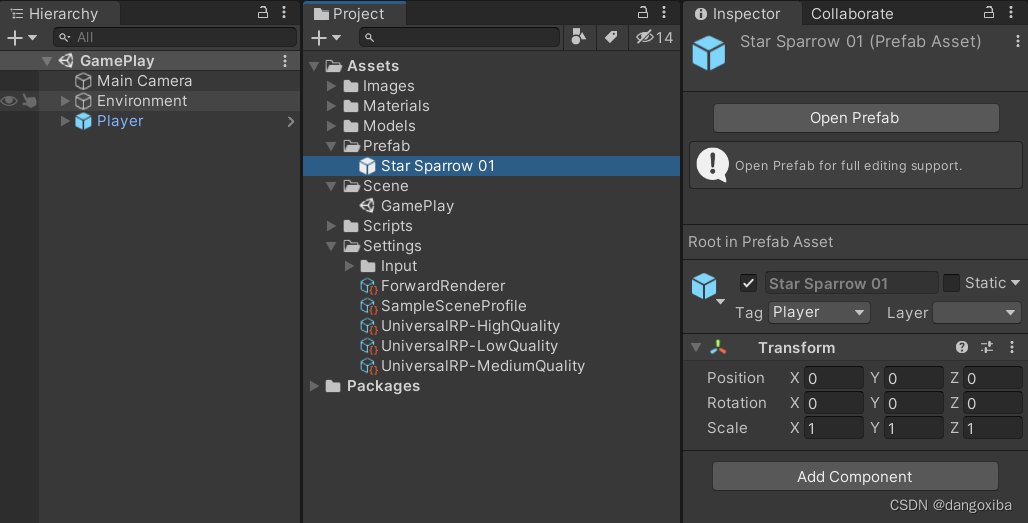
创建一个Scene,点进去后新场景就只有Main Camera和Direction Light,我们将Prefab上自带的战机拖上去HIerachy面板上然后改名加Player
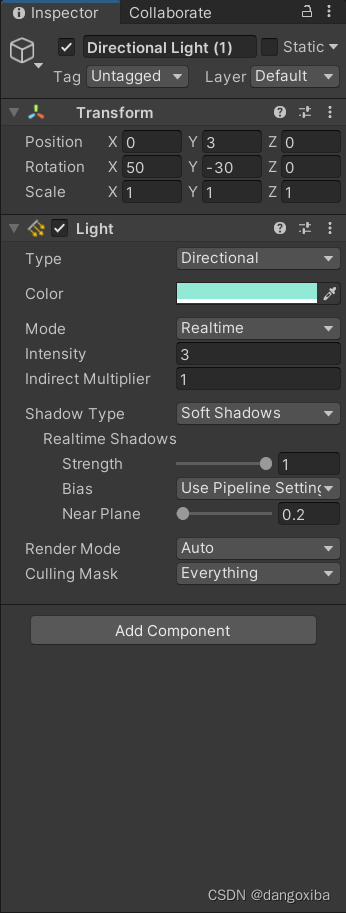
然后为了让场景更亮一些,我们Crtl+ D复制多一个Directional Light (1)更改它的颜色和强度
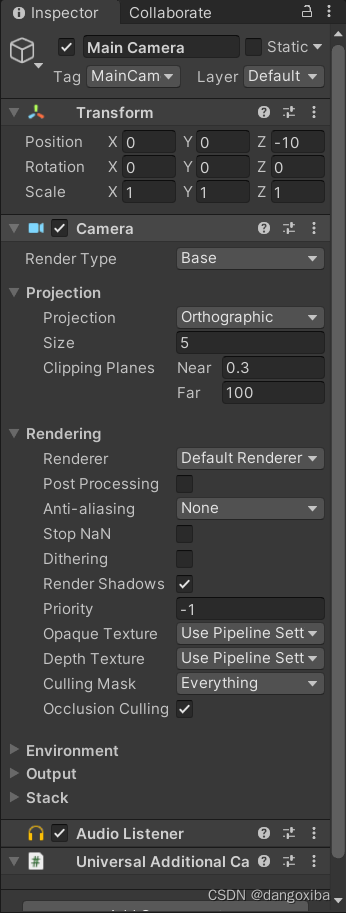
然后更改摄像机的正交,更改它的投影模式,而且摄像机有个能够渲染URP的脚本
接着我们制作一个简易的滚动窗口,新创建一个3D Object -> Quad,然后根据背景图片的大小更改它的大小,但同时也要让背景充满摄像机
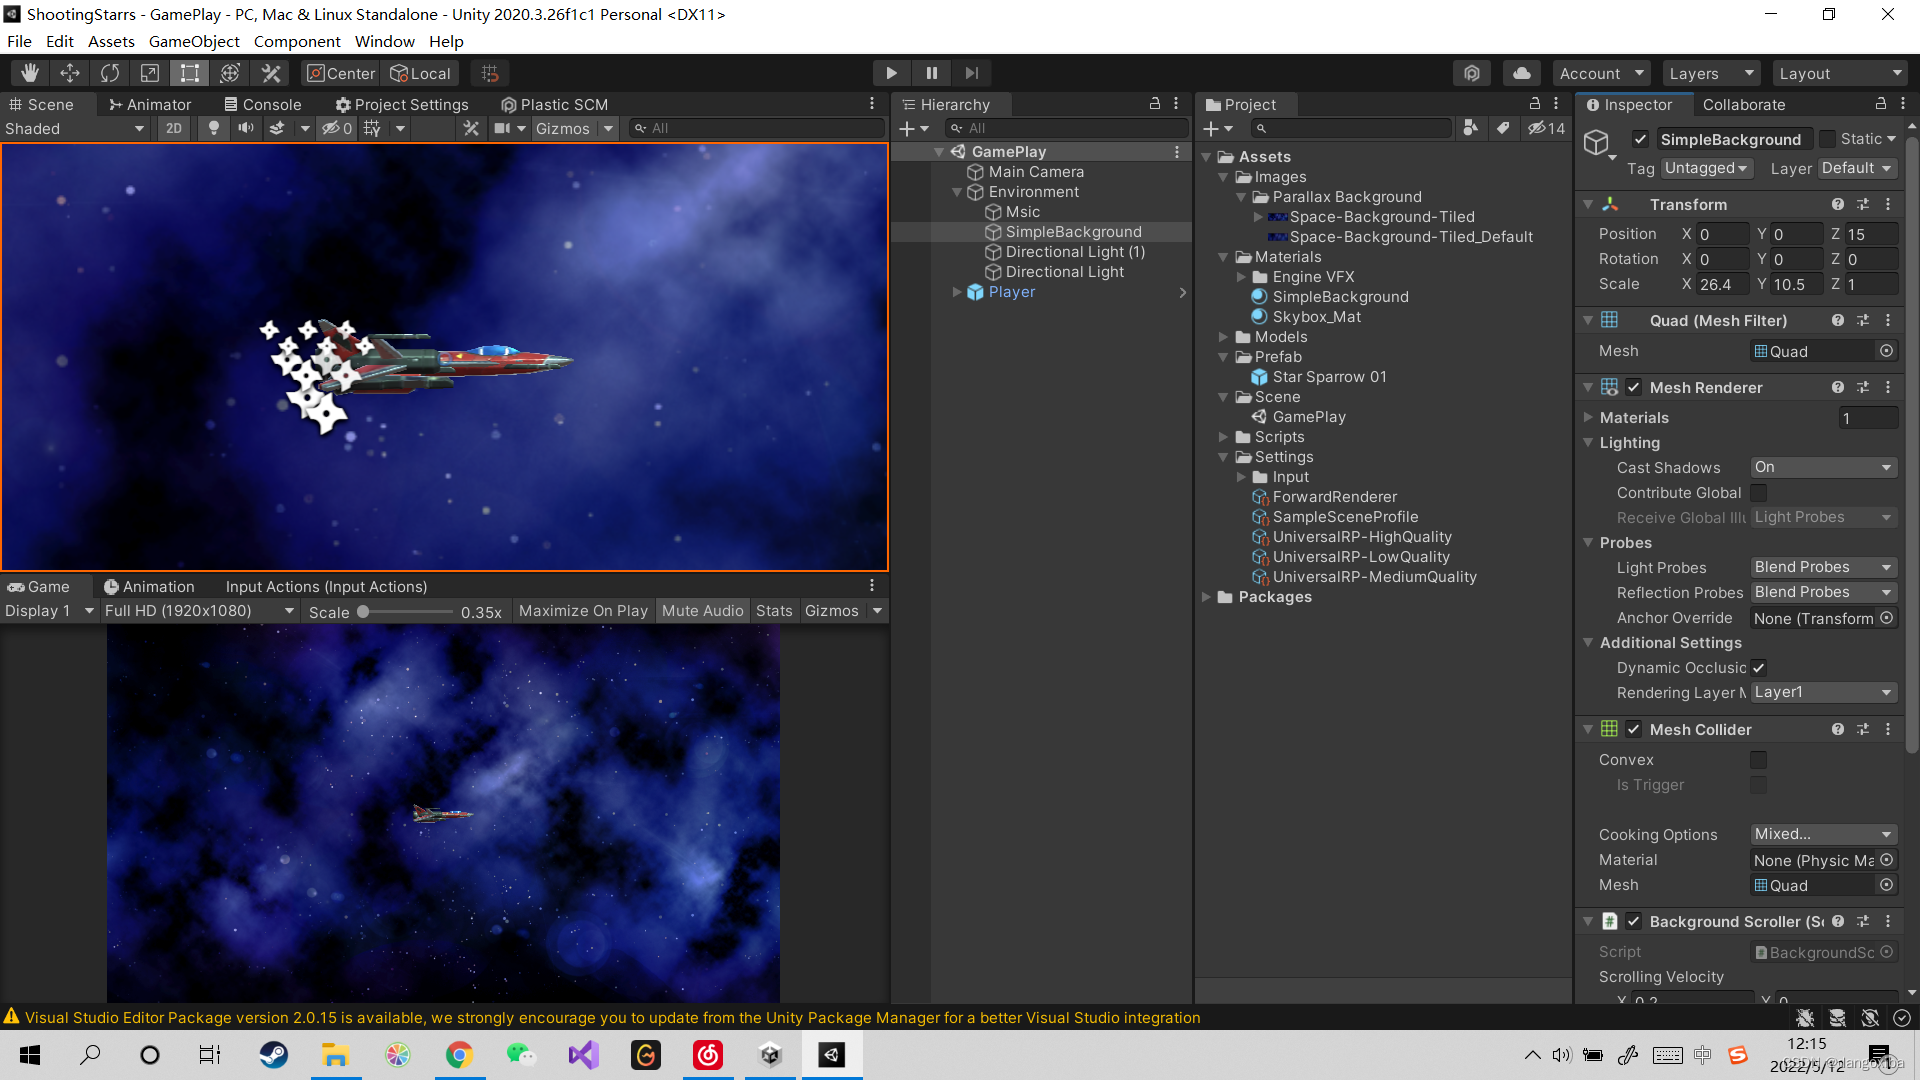
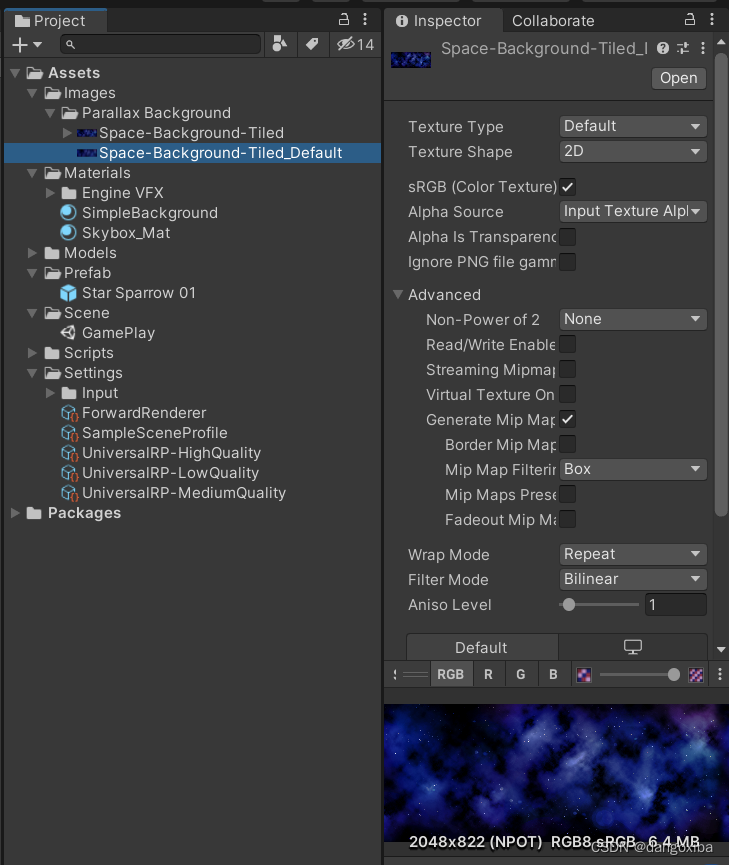
Crtl + D复制多一份背景,类型改为Default
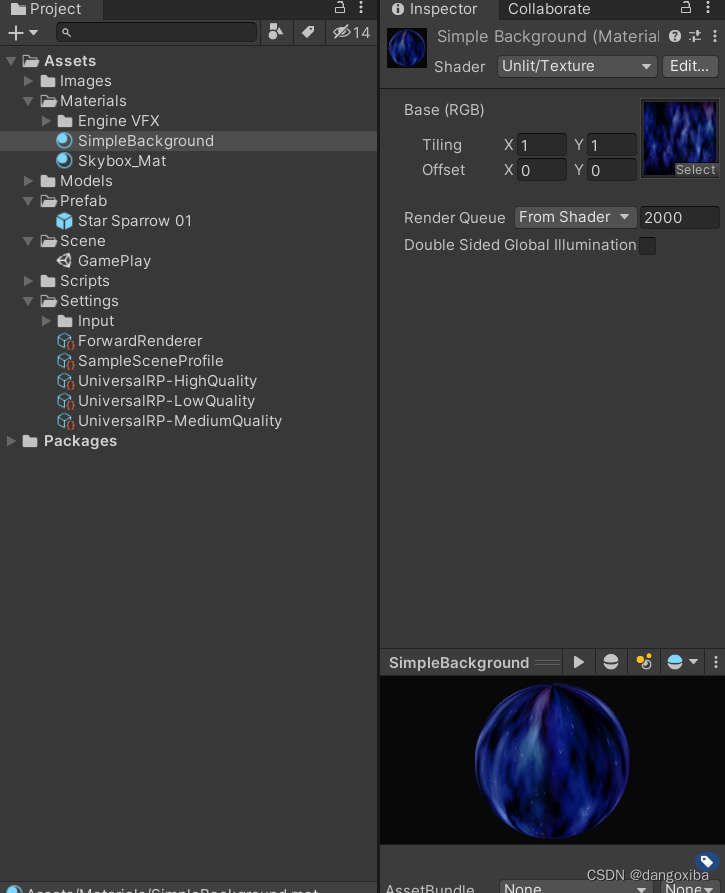
创建一个材质SimpleBackground更改参数并把刚复制的背景拖进来
新建一个脚本BackgroundScroller.cs然后通过更改材质的Offset来实现持续背景滚动
using System.Collections;
using System.Collections.Generic;
using UnityEngine;

public class BackgroundScroller : MonoBehaviour
{
    [SerializeField] Vector2 scrollingVelocity;
    Material material;
    void Start()
    {
        material = GetComponent<Renderer>().material;
    }

    // Update is called once per frame
    void Update()
    {
        material.mainTextureOffset += scrollingVelocity * Time.deltaTime;
    }
}
运行后发现背景可以滚动了
制作玩家内容:
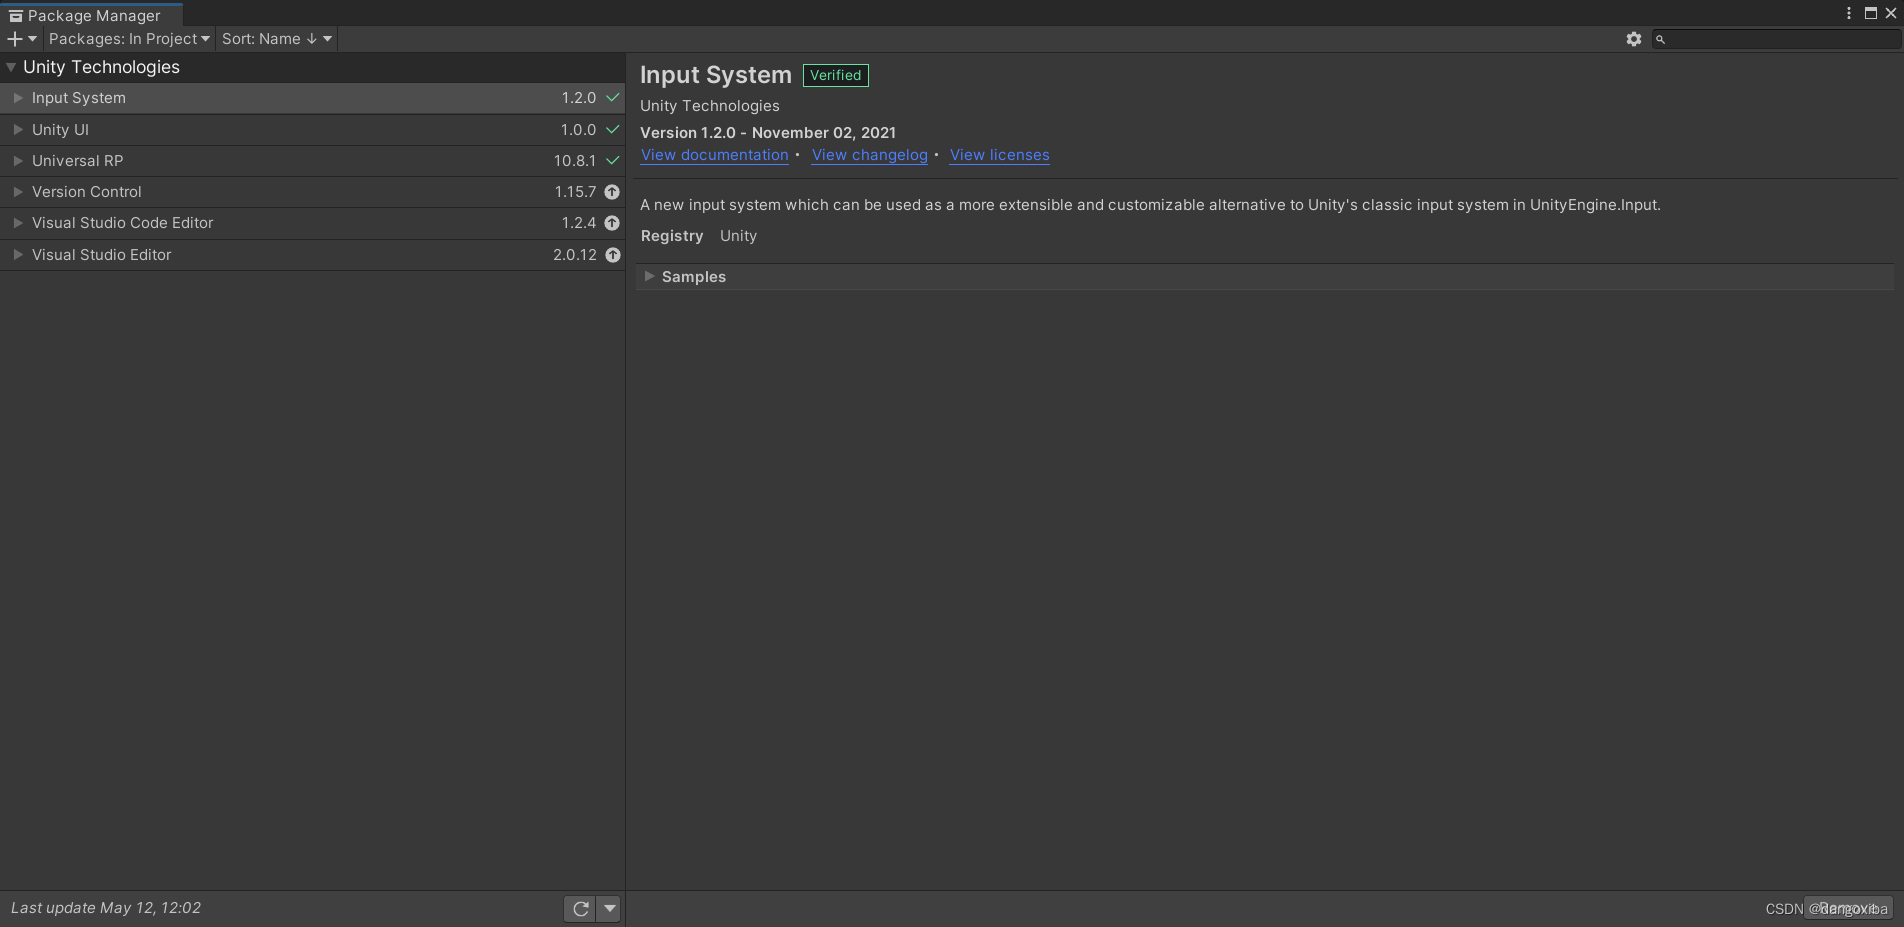
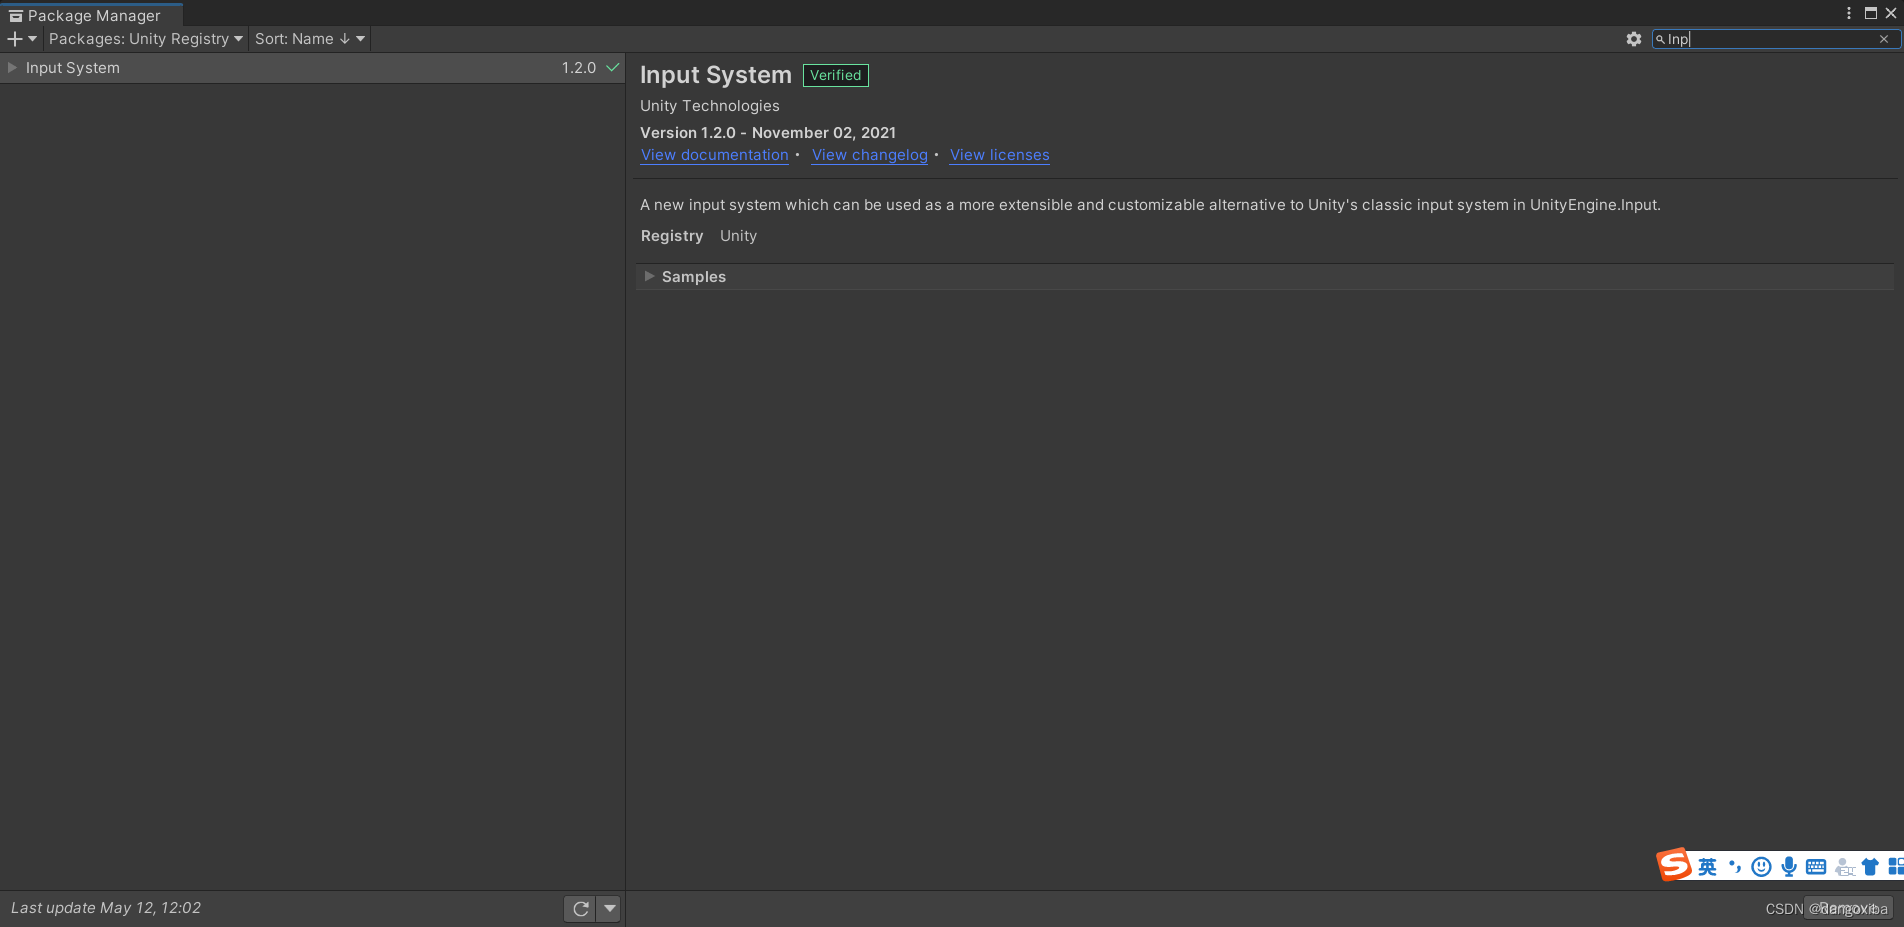
如果说前面的内容你都已经会做了(看我前面的文章都知道的),那么接下来才是我没学过的,首先先去Package Manager上下载Input Systems(直接搜索框搜索)
然后还要检查是否是最新版本
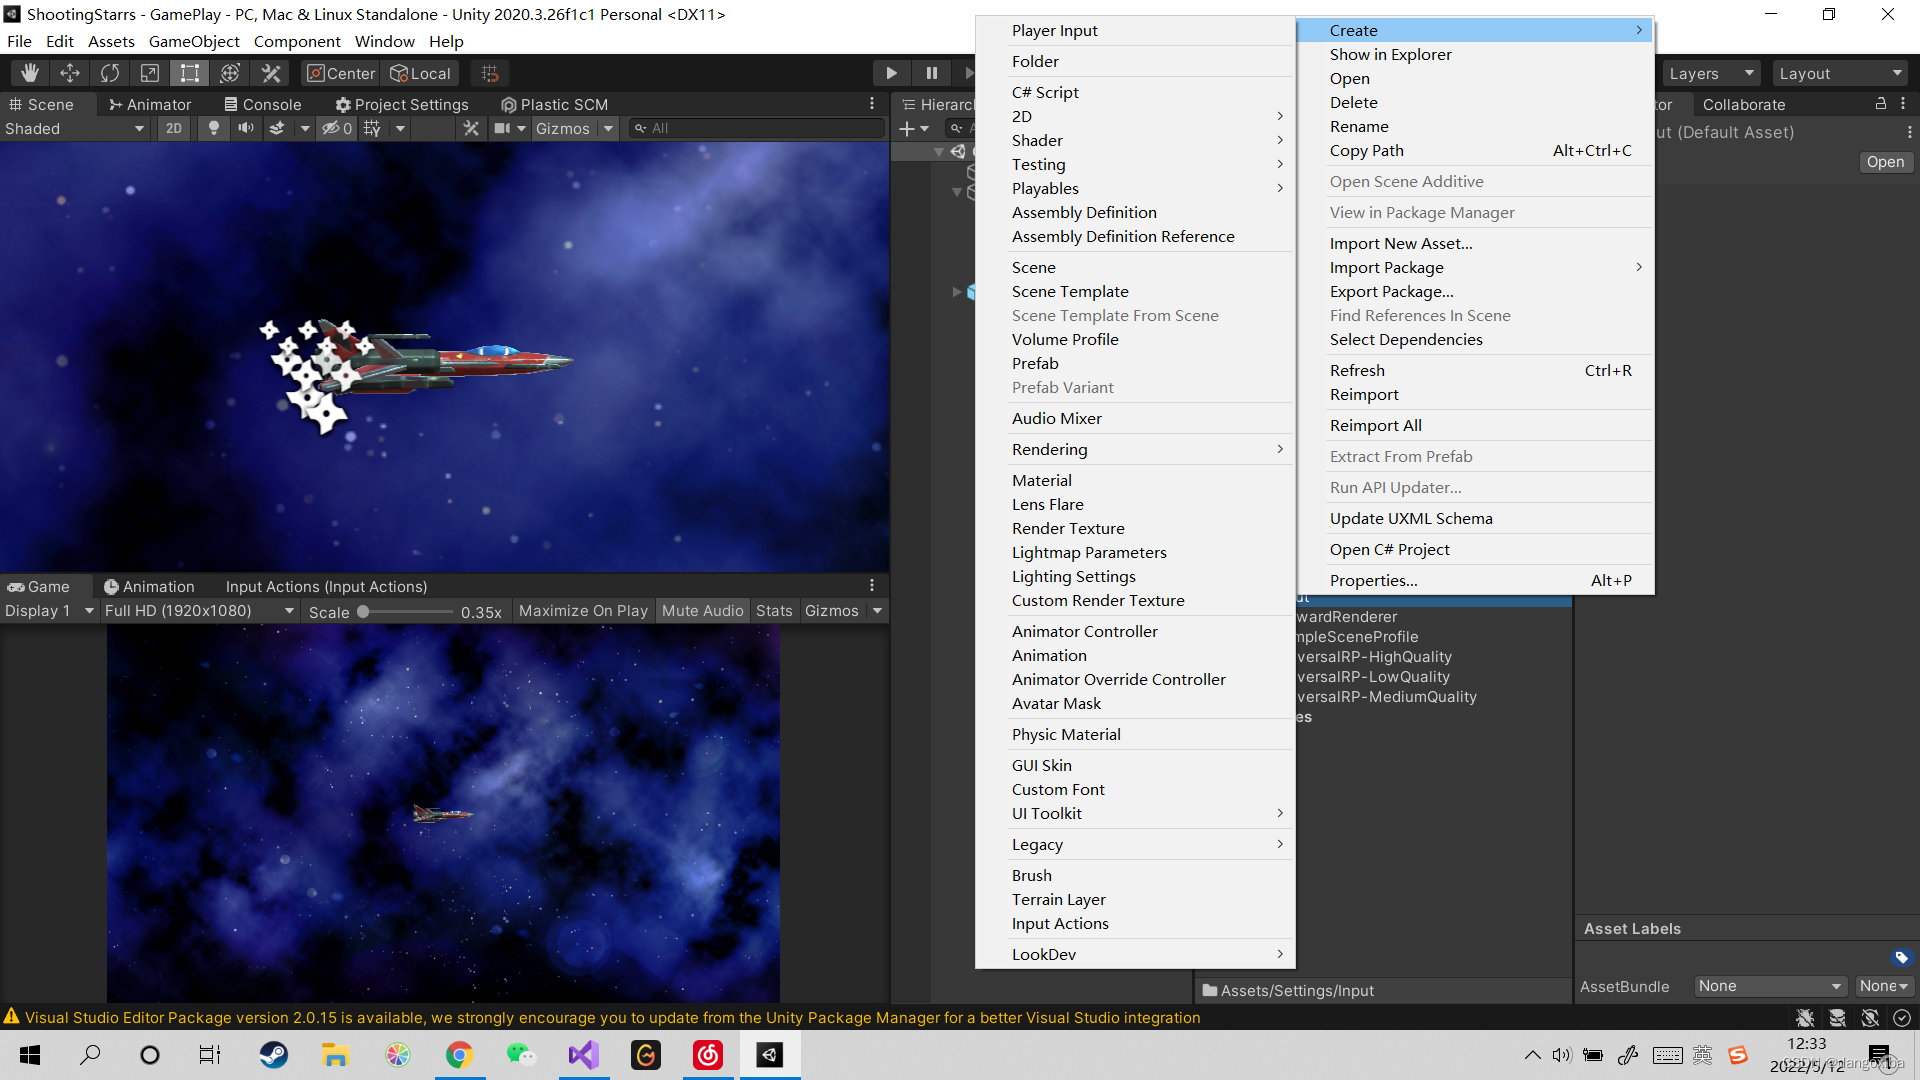
下载成功后在我们的Setting文件夹新建一个Input Actions(最下角)
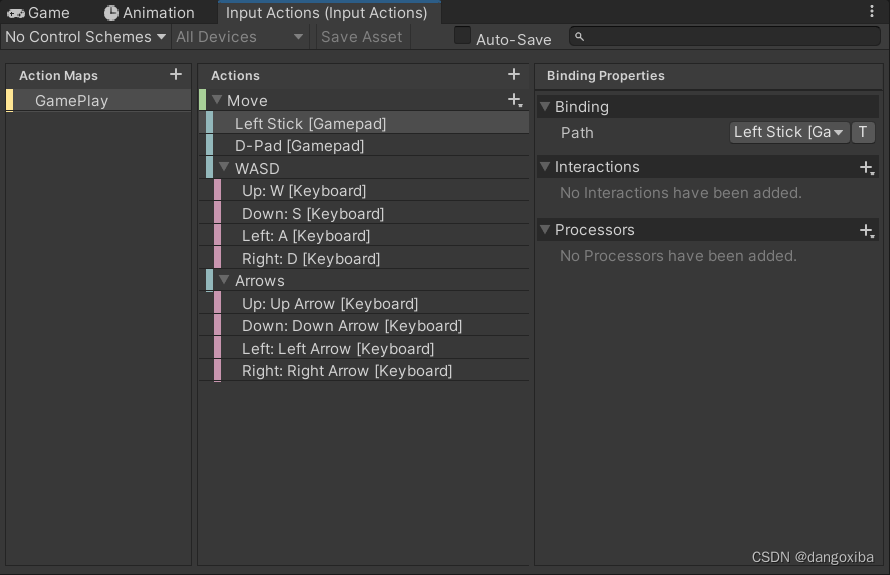
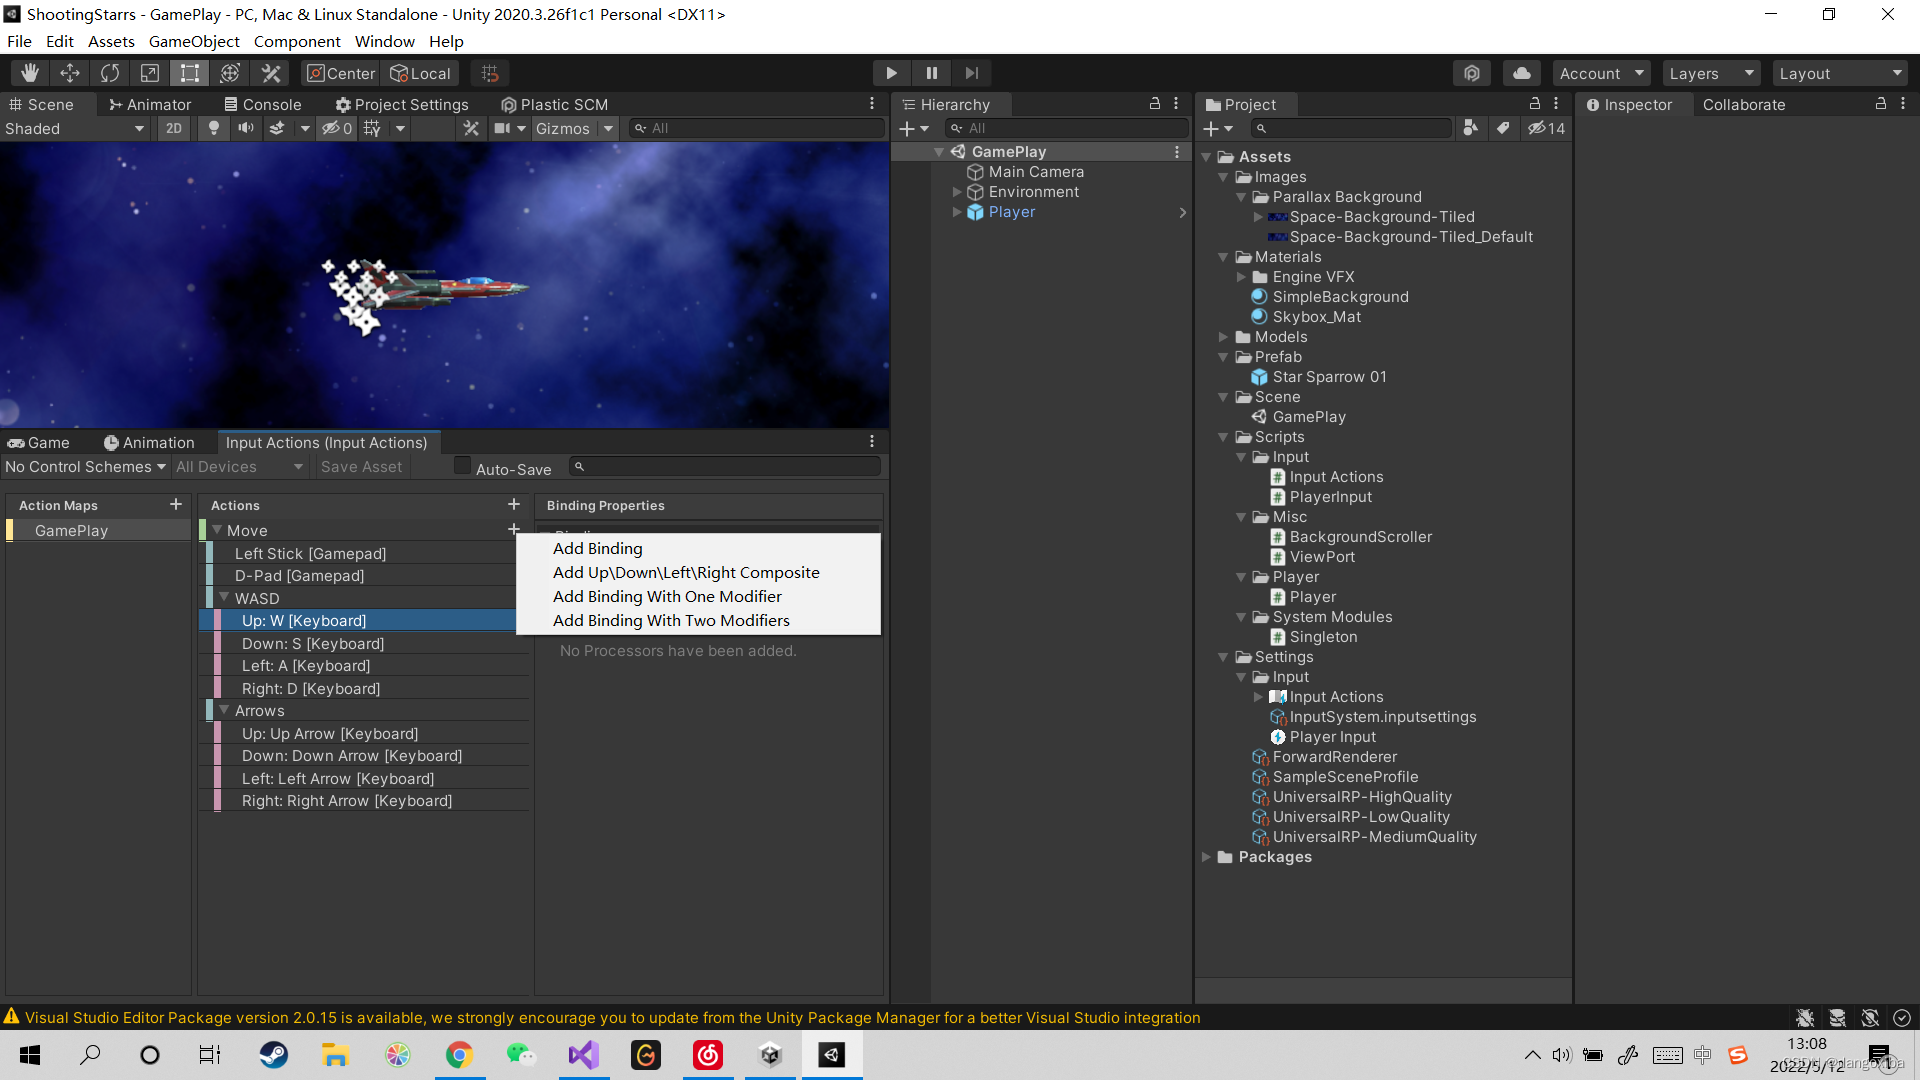
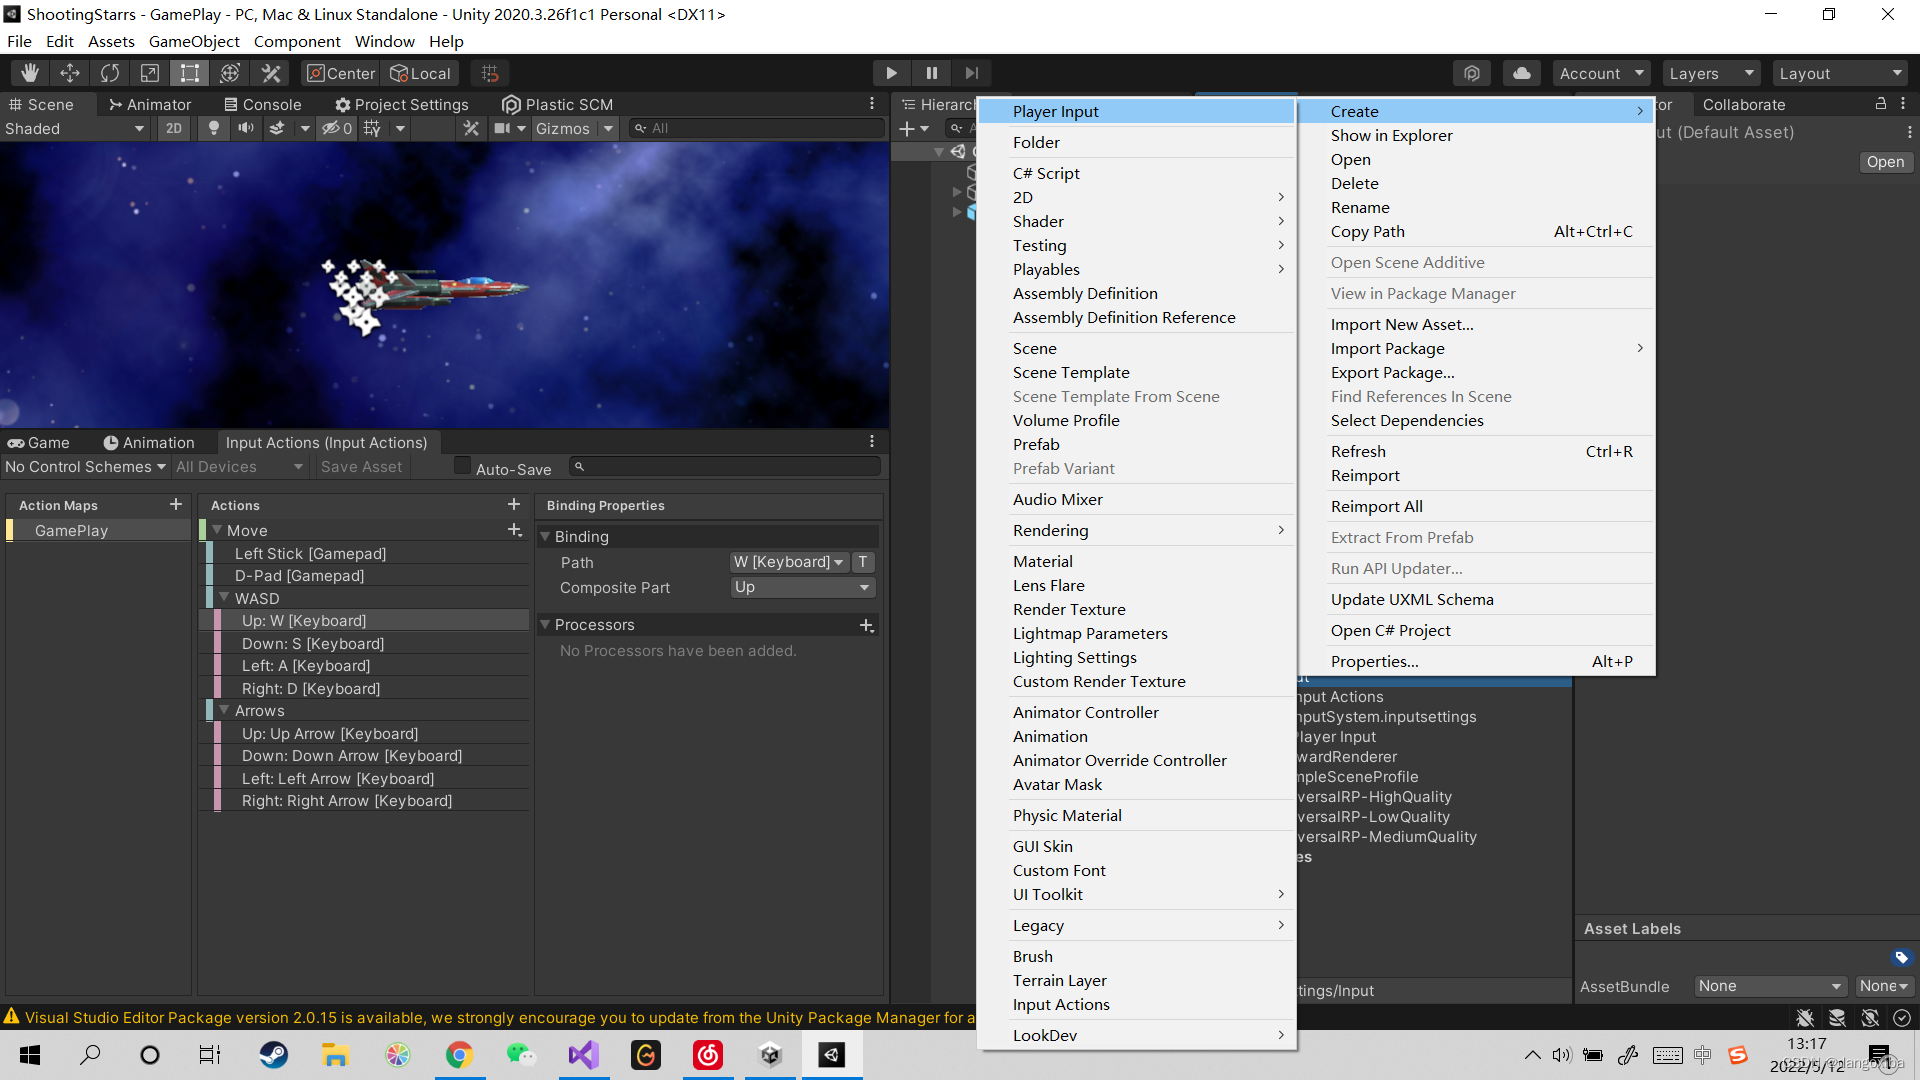
创建好后点进去首先我们先看这一行Action Maps动作表,这个是告诉我们创建这个动作表可以包含各种动作,我们可以创建多个动作表比如用于游戏操作,菜单选择,这里我们创建一个动作表GamePlay,然后我们创建不同类型的动作,对于键盘的要选择第二个那个包含上下左右的
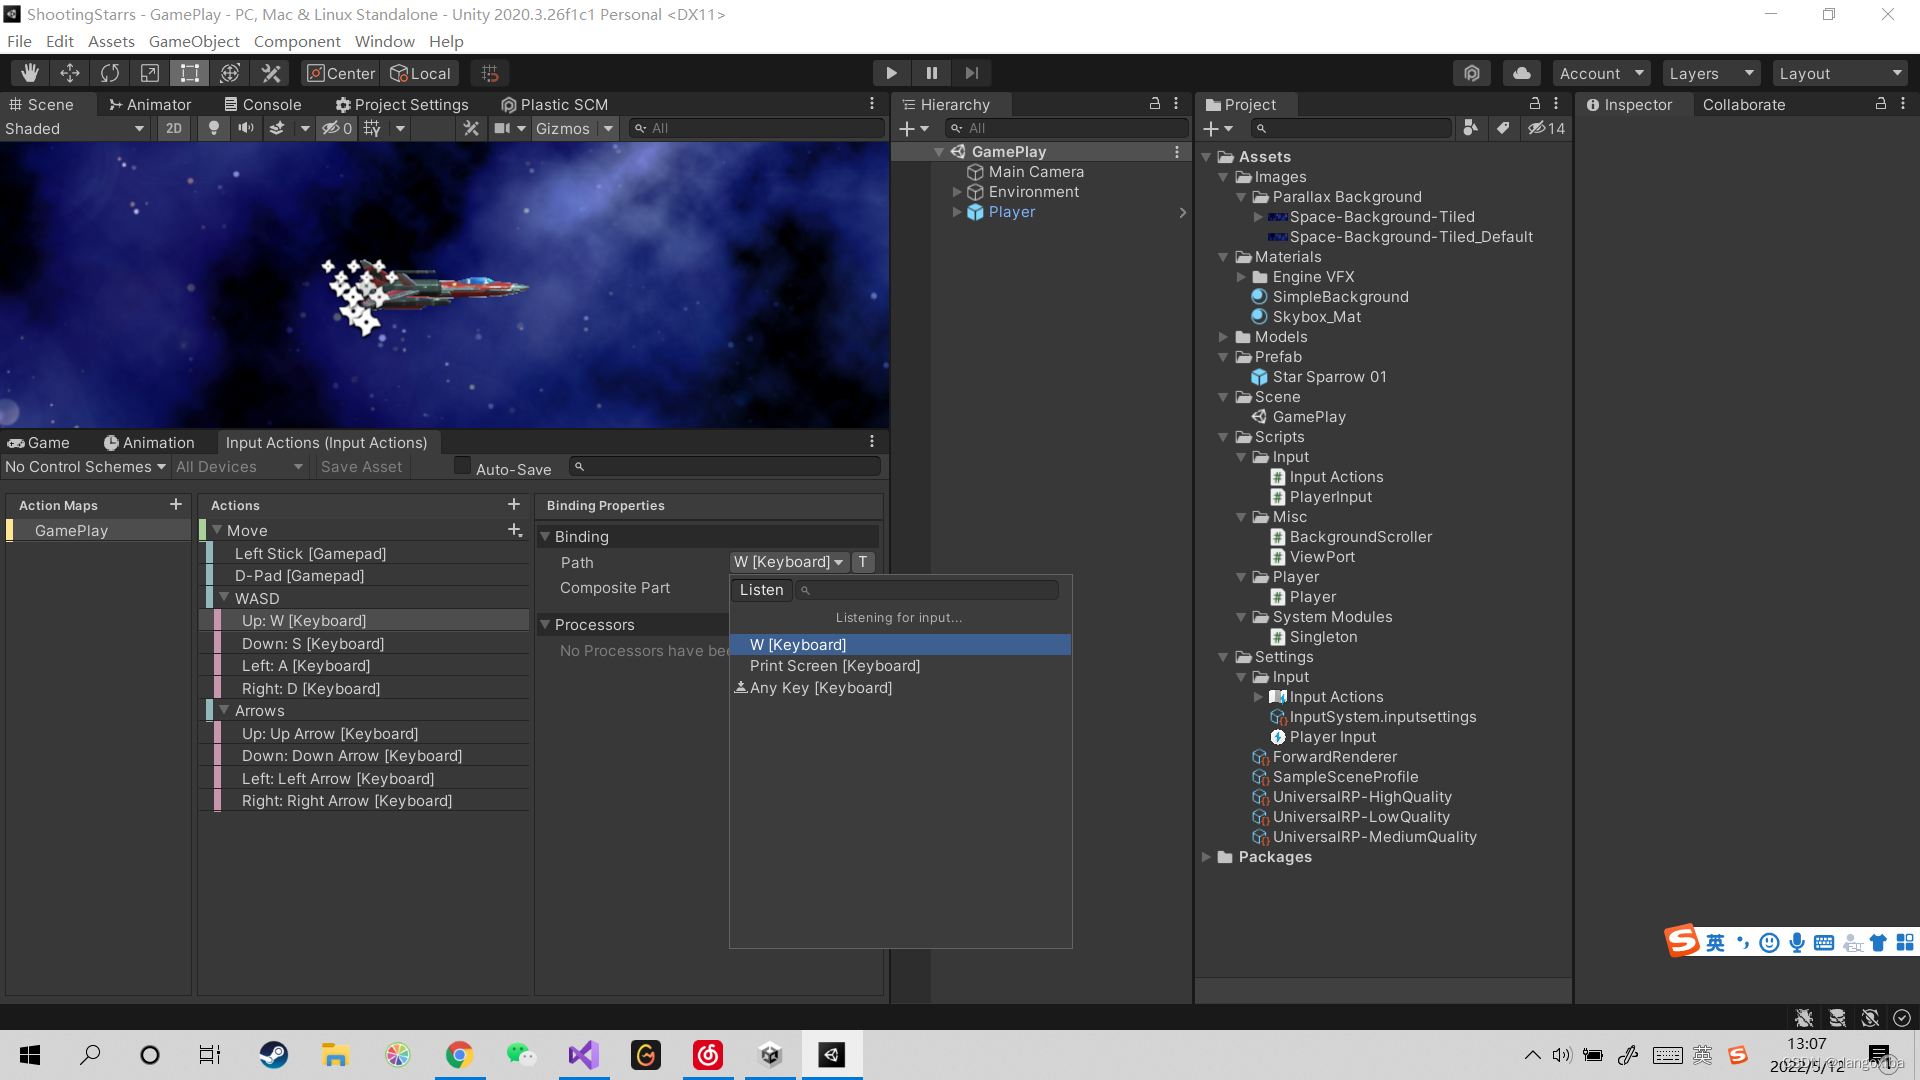
更改Path的时候我们可以点击Listen他就可以监听我们输入的键盘,例如我点击Listen后按了一下W就会被监听到
接着我们点回我们创建的Input Actions然后会发现它的面板上能生成一个C#脚本勾选后点击Apply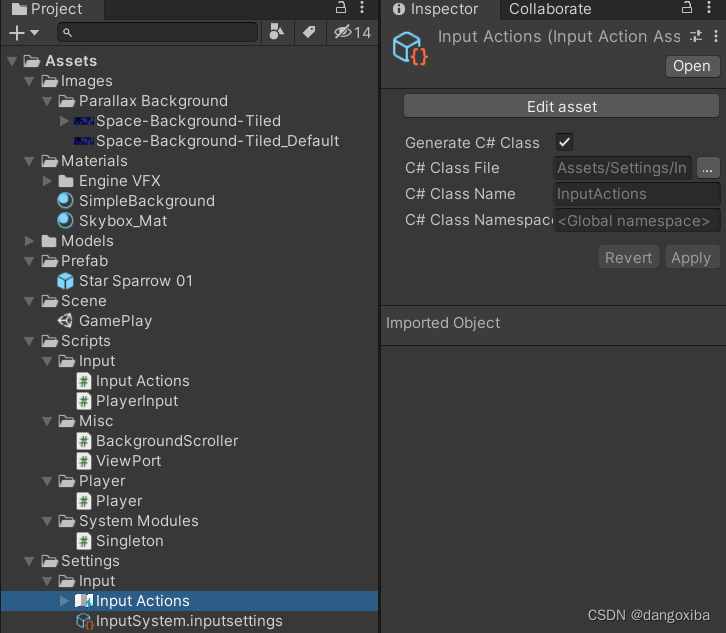
它为我们生成了一个Input Actions,这里要学会分类管理,生成的脚本看上去很复杂,其实上面的都不用理解,看最下面的接口,才是我们要实现的
然后我们创建一个PlayerInput.cs的脚本
涉及到事件,委托,泛型
using System.Collections;
using System.Collections.Generic;
using UnityEngine;
using UnityEngine.InputSystem;
using UnityEngine.Events;
[CreateAssetMenu(menuName ="Player Input")]
public class PlayerInput : ScriptableObject,InputActions.IGamePlayActions //继承我们的IGamePlayActions接口
{
public event UnityAction<Vector2> onMove = delegate { }; //添加Unity自带的动作事件
public event UnityAction onStopMove = delegate { };//添加Unity自带的动作事件
InputActions inputActions;
private void OnEnable()
{
inputActions = new InputActions();
inputActions.GamePlay.SetCallbacks(this); //每次添加新的动作表都要在这里登记它的新的回调函数,这里我们只有一个GamePlay动作表
}
private void OnDisable()
{
DisableAllInput();
}
public void DisableAllInput()
{
inputActions.GamePlay.Disable(); //禁用动作表
}
public void EnableGamePlay()
{
inputActions.GamePlay.Enable(); //允许使用动作表
Cursor.visible = false;
Cursor.lockState = CursorLockMode.Locked; //隐藏+锁定鼠标
}
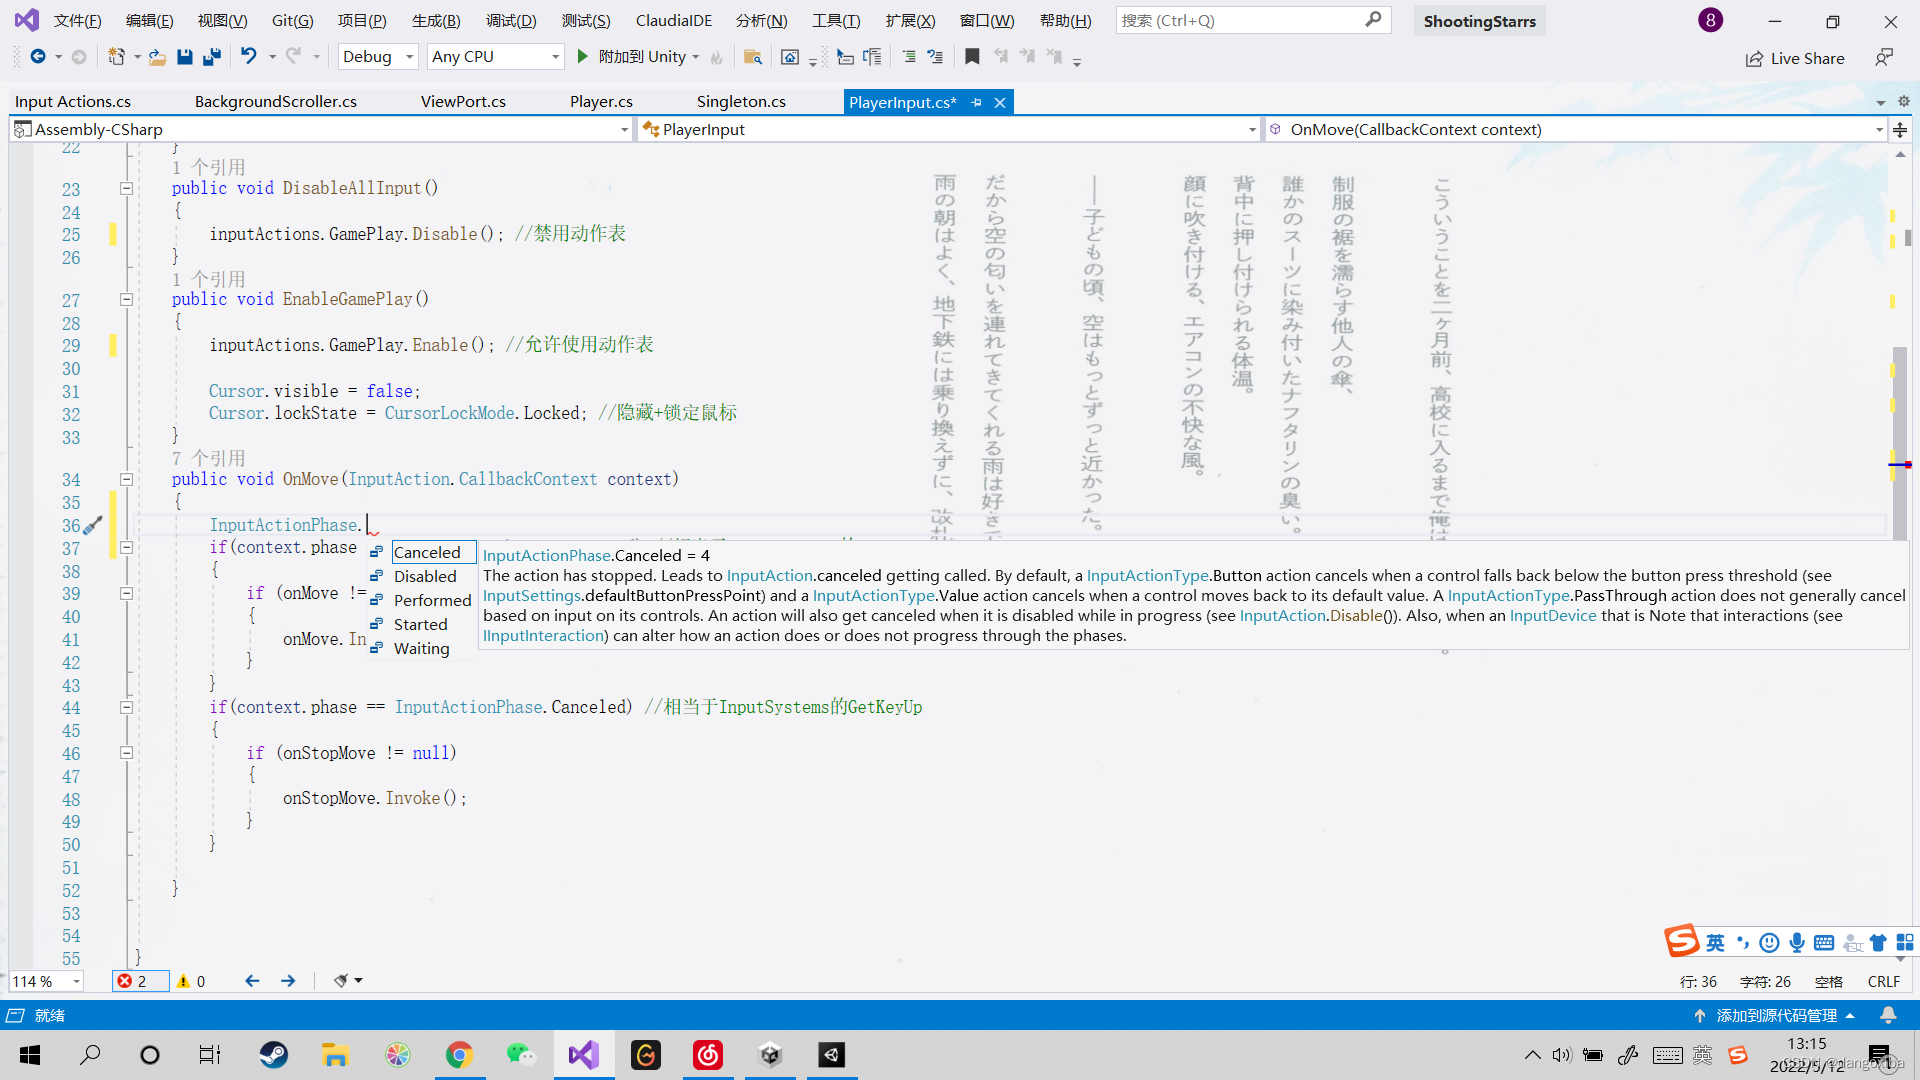
public void OnMove(InputAction.CallbackContext context)
{
if(context.phase == InputActionPhase.Performed) //相当于InputSystems的GetKey
{
if (onMove != null) //确认事件不为空
{
onMove.Invoke(context.ReadValue<Vector2>());
}
}
if(context.phase == InputActionPhase.Canceled) //相当于InputSystems的GetKeyUp
{
if (onStopMove != null)
{
onStopMove.Invoke();
}
}
}
}
需要说明的是,InputSystem用InputActionPhase取代了Input类的而且这里有五种情况
回到Project面板后,创建一个PlayerInput

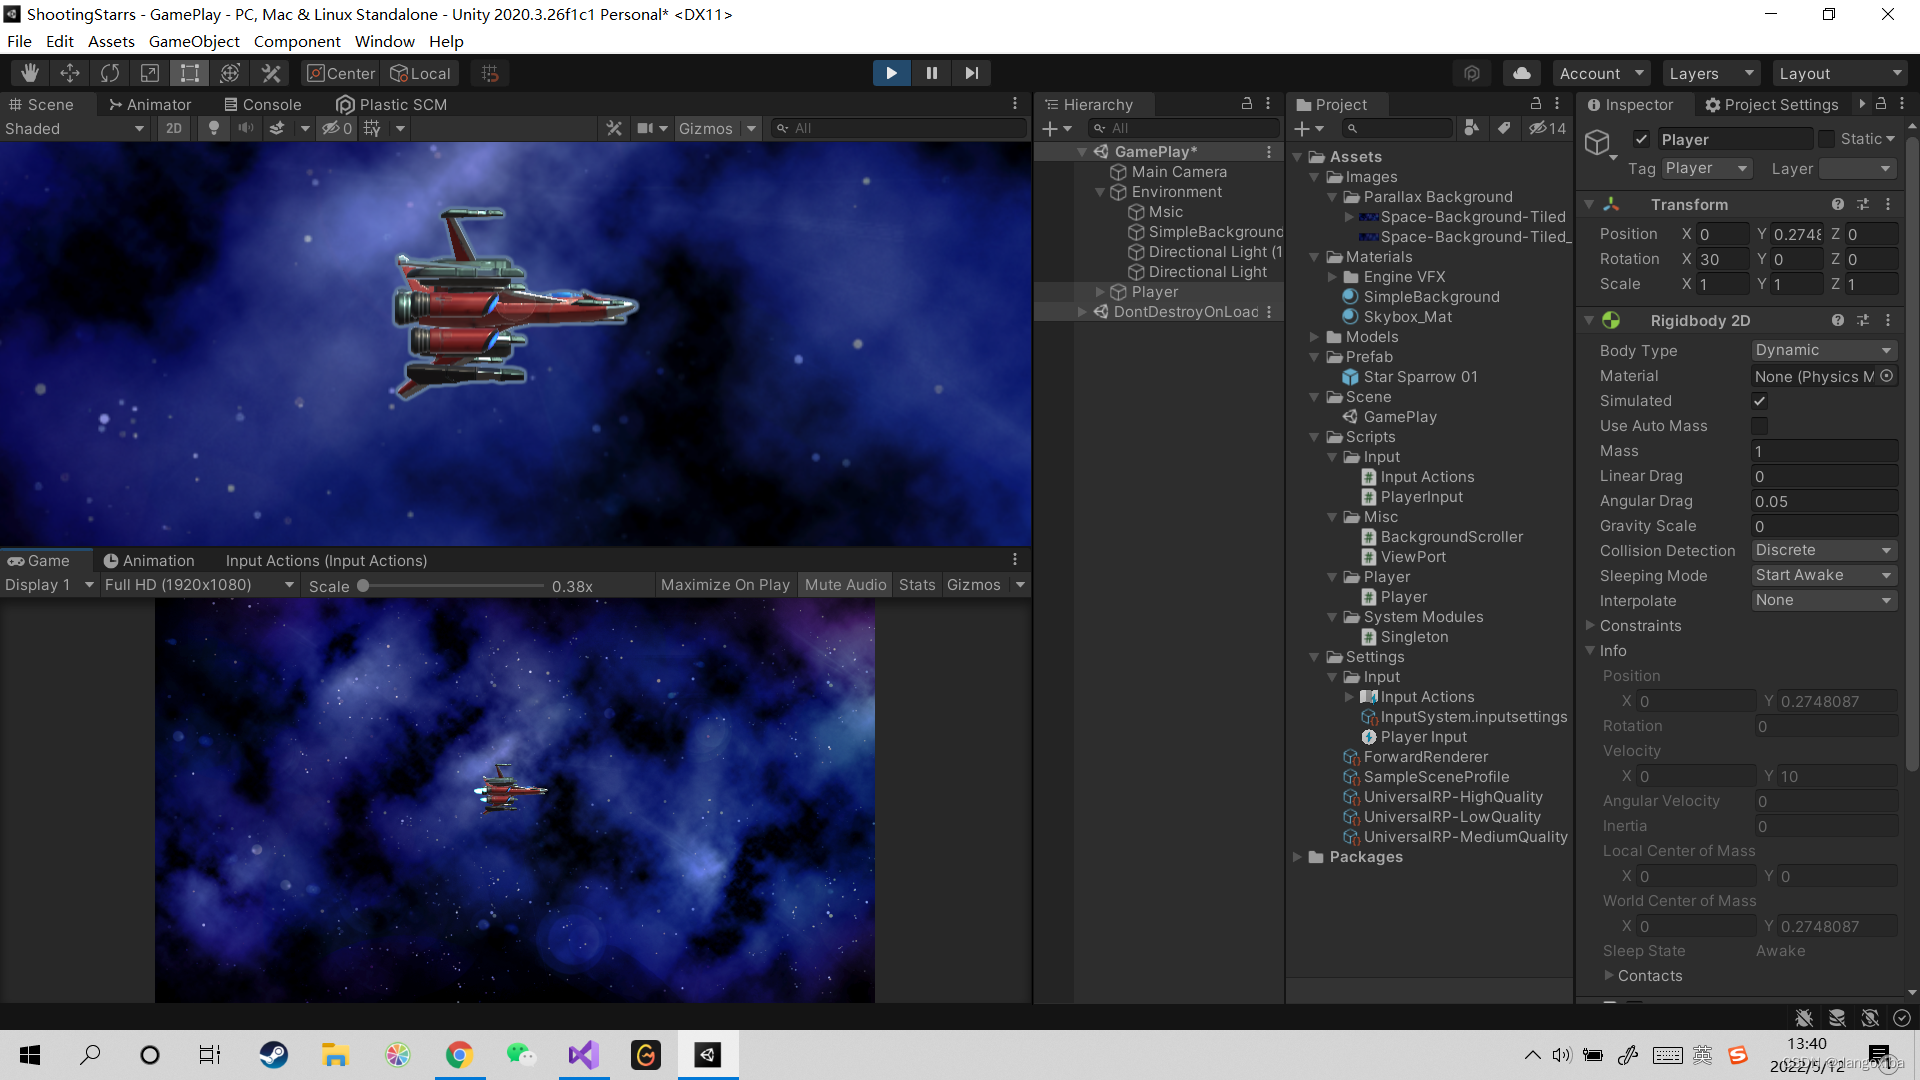
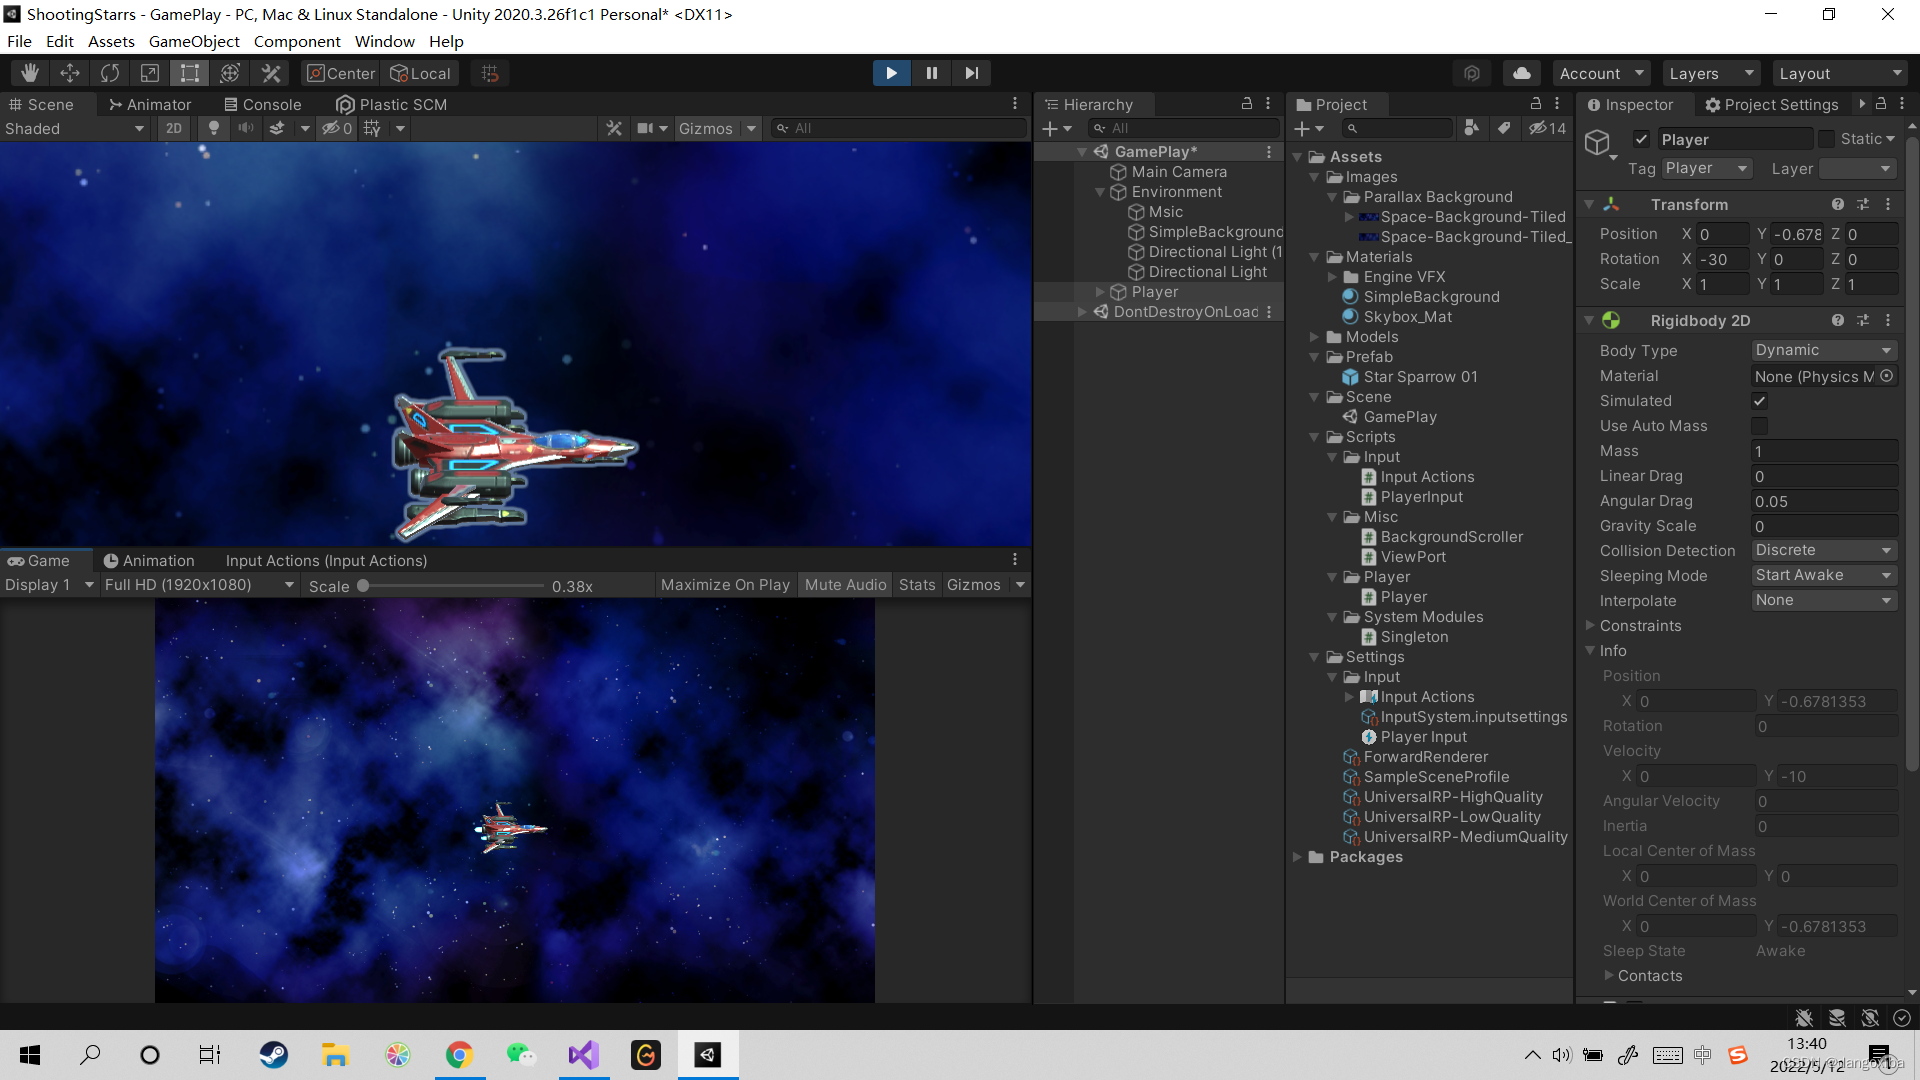
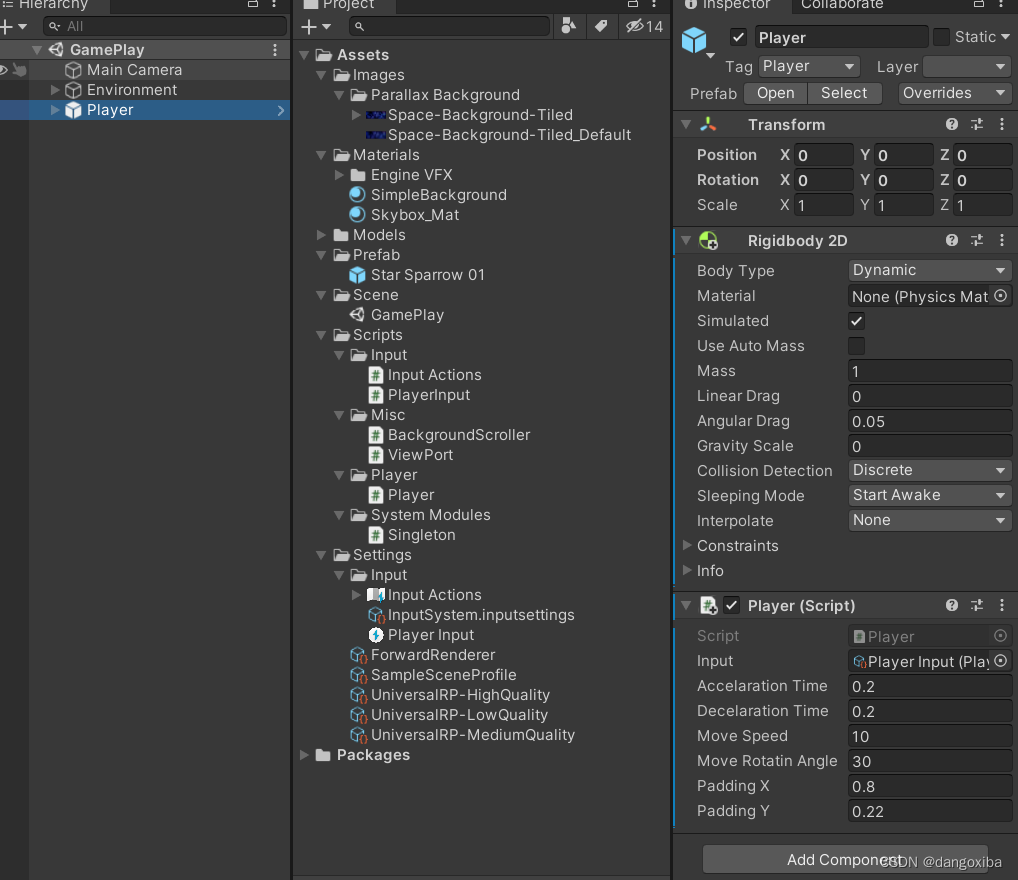
然后再创建一个玩家的总类Player,
首先先为PlayerInput添加委托,然后我们创建协成用来实现Player移动的加减速,为了防止游戏中出现明明已经停止键盘输入但玩家仍在加速的Bug,我们需要在停止输入的时候暂停调用协成,用插值函数来实现加减速以及战机X轴的左右旋转。
using System.Collections;
using UnityEngine;

[RequireComponent(typeof(Rigidbody2D))]
public class Player : MonoBehaviour
{
    [SerializeField] PlayerInput input;

    [SerializeField] float accelarationTime = 3f;
    [SerializeField] float decelarationTime = 3f;
    [SerializeField] float moveSpeed = 10f;
    [SerializeField] float moveRotatinAngle = 50f;

    [SerializeField] float paddingX = 0.2f;
    [SerializeField] float paddingY = 0.2f;

    Rigidbody2D rigi2D;

    Coroutine moveCoroutine;
    private void Awake()
    {
        rigi2D = GetComponent<Rigidbody2D>();
    }
    private void OnEnable()
    {
        //增加委托
        input.onMove += Move;
        input.onStopMove += StopMove;
    }
    private void OnDisable()
    {
        //取消委托
        input.onMove -= Move;
        input.onStopMove -= StopMove;
    }
    void Start()
    {
        rigi2D.gravityScale = 0f;

        input.EnableGamePlay(); //激活动作表
    }


    void Move(Vector2 moveInput) //就是你输入信号的二维值
    {
        //Vector2 moveAmount = moveInput * moveSpeed;
        //rigi2D.velocity = moveAmount;
        if (moveCoroutine != null)
        {
            StopCoroutine(moveCoroutine);
        }

        Quaternion moveRotation = Quaternion.AngleAxis(moveRotatinAngle * moveInput.y,Vector3.right); //right即红色的X轴,初始旋转角度
        moveCoroutine=StartCoroutine(MoveCoroutine(accelarationTime,(moveInput.normalized * moveSpeed),moveRotation));
        StartCoroutine(MovePositionLimitCoroutine());

    }
    void StopMove()
    {
        //rigi2D.velocity = Vector2.zero;
        if (moveCoroutine != null)
        {
            StopCoroutine(moveCoroutine);
        }
        moveCoroutine = StartCoroutine(MoveCoroutine(decelarationTime,Vector2.zero, Quaternion.identity));
        StopCoroutine(MovePositionLimitCoroutine());
    }

    IEnumerator MoveCoroutine(float time,Vector2 moveVelocity,Quaternion moveRotation)
    {
        float t = 0f;

        while(t< time)
        {
            t += Time.fixedDeltaTime / time;
            rigi2D.velocity = Vector2.Lerp(rigi2D.velocity, moveVelocity, t / time);
            transform.rotation = Quaternion.Lerp(transform.rotation, moveRotation, t / time);

            yield return null;
        }
    }

    IEnumerator MovePositionLimitCoroutine()
    {
        while (true)
        {
            transform.position = ViewPort.Instance.PlayerMoveablePosition(transform.position,paddingX,paddingY);

            yield return null;
        }
    }
}
然后我们还需要控制玩家移动到视域之外,首先我们要先创建一个单例模式的总类,方便我们后续其它组件继承它
using System.Collections;
using System.Collections.Generic;
using UnityEngine;

public class Singleton<T> : MonoBehaviour where T : Component //约定泛型类型必须是Component
{
    public static T Instance { get; private set; } //声明一个只读类型的单例

    protected virtual void Awake()
    {
        Instance = this as T;
    }
}
然后创建一个ViewPort.cs的脚本并把它挂载给Environment上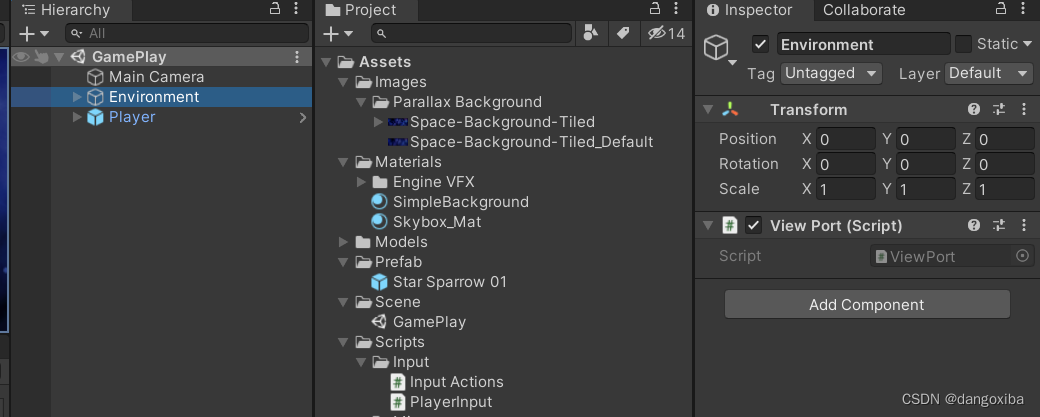
using UnityEngine;

public class ViewPort : Singleton<ViewPort>
{
    float minX, maxX;
    float minY, maxY;
    private void Start()
    {
        Camera mainCam = Camera.main;
        //将视域坐标(1,1)转化为摄像机的世界坐标(1920,1080)
        Vector2 bottomLeft = mainCam.ViewportToWorldPoint(new Vector3(0f, 0f));
        Vector2 topRight = mainCam.ViewportToWorldPoint(new Vector3(1f, 1f));

        minX = bottomLeft.x;
        minY = bottomLeft.y;
        maxX = topRight.x;
        maxY = topRight.y;
    }
    //玩家可移动位置
    public Vector3 PlayerMoveablePosition(Vector3 playerPosition,float paddingX,float paddingY)
    {
        Vector3 position = Vector3.zero;

        position.x = Mathf.Clamp(playerPosition.x, minX+paddingX, maxX-paddingX);
        position.y = Mathf.Clamp(playerPosition.y, minY+paddingY, maxY-paddingY);

        return position;
    }
}
其中PaddingX和PaddingY指的是即使我们限制后战机仍然会有超出屏幕外的部分,min就加上这段距离,max就减去这段距离就好,
别忘了给Player设置好参数,rigibody2D的gravity scale要改成0不然就会掉下去
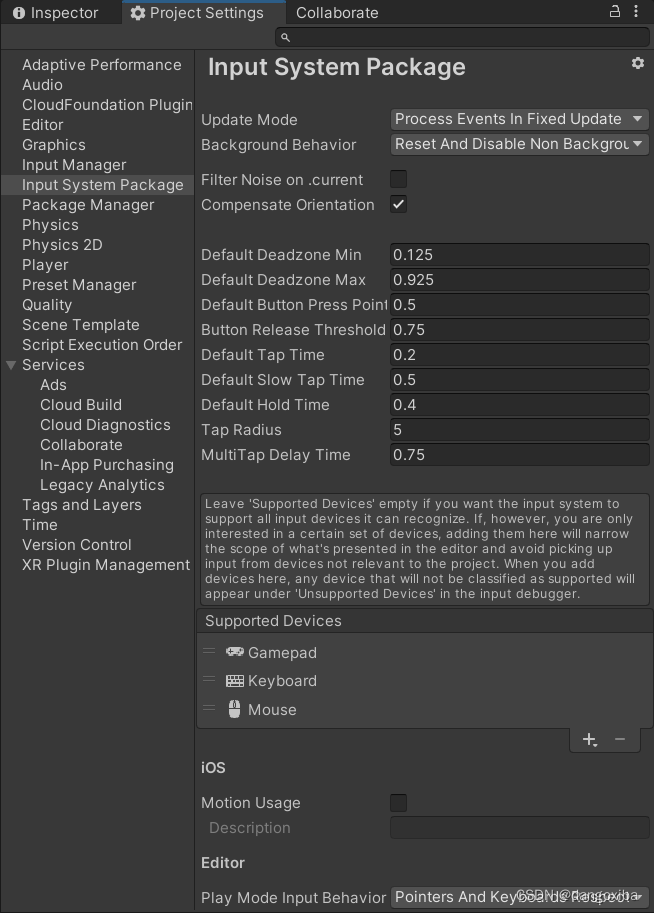
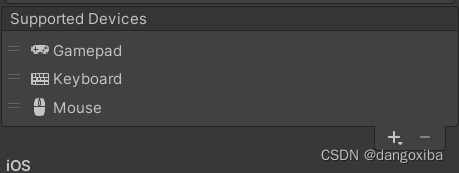
最后我们打开Input Manager Package,把UpdateMode改为FixedUpdate保证再不同的设备中能稳定的帧率运行(1秒50帧),并把支持设备设置为键盘鼠标摇杆
学习产出:
可见战机能发生旋转,有加减速度,屏幕滚动,且不会超出我们的视域范围