一、环境说明
Anaconda下创建的tensorflow环境(cpu版本)(搭建环境可参考:https://blog.csdn.net/bashendixie5/article/details/109803329)
tensorflow 2.3.1
Python 3.7.9
opencv4.4.0(python版本)主要用于导出训练集的图片到本地
opencv4.5.0(c++版本)新建一个c++的项目,使用训练好的模型(创建项目可参考:https://blog.csdn.net/bashendixie5/article/details/109625940)
二、训练代码
样本集下载地址:https://storage.googleapis.com/tensorflow/tf-keras-datasets/mnist.npz
主要训练代码来自于https://tensorflow.google.cn/guide/keras/training_keras_models_on_cloud?hl=en
import tensorflow as tf
from tensorflow import keras
from tensorflow.keras import layers, Sequential
from keras.models import load_model
import cv2
import tensorflow_hub as hub
from tensorflow.python.framework.convert_to_constants import convert_variables_to_constants_v2

#方法1:保存部分训练图片
def saveImg():
    #加载下载好的npz文件,或者load_data(),不带参数就会自行下载
    (x_train, y_train), (x_test, y_test) = keras.datasets.mnist.load_data('D:\\m.npz')

    # 保存训练集前50张图片,主要是为了看看长啥样
    for i in range(50):
        show_pic = x_train[i].copy()
        cv2.imwrite('C:\\Users\\xiaomao\\Desktop\\1\\' + str(i) +'.jpg',show_pic)

#方法2:训练模型并保存h5文件,代码来自官方链接#https://tensorflow.google.cn/guide/keras/training_keras_models_on_cloud?hl=en
def train():
    (x_train, y_train), (x_test, y_test) = keras.datasets.mnist.load_data('D:\\m.npz')
    model = keras.Sequential(
        [
            keras.Input(shape=(28, 28)),
            # Use a Rescaling layer to make sure input values are in the [0, 1] range.
            layers.experimental.preprocessing.Rescaling(1.0 / 255),
            # The original images have shape (28, 28), so we reshape them to (28, 28, 1)
            layers.Reshape(target_shape=(28, 28, 1)),
            # Follow-up with a classic small convnet
            layers.Conv2D(32, 3, activation="relu"),
            layers.MaxPooling2D(2),
            layers.Conv2D(32, 3, activation="relu"),
            layers.MaxPooling2D(2),
            layers.Conv2D(32, 3, activation="relu"),
            layers.Flatten(),
            layers.Dense(128, activation="relu"),
            layers.Dense(10),
        ]
    )
    model.compile(
        optimizer=keras.optimizers.Adam(),
        loss=keras.losses.SparseCategoricalCrossentropy(from_logits=True),
        metrics=keras.metrics.SparseCategoricalAccuracy(),
    )
    model.fit(x_train, y_train, epochs=20, batch_size=128, validation_split=0.1)
    #直接提供了保存的方法
    model.save('D:\\mnist.h5')

#方法3:h5转pb
def h5_to_pb():
    model = tf.keras.models.load_model('D:\\mnist.h5', custom_objects={'KerasLayer': hub.KerasLayer, 'Dense': tf.keras.layers.Dense}, compile=False)
    model.summary()
    full_model = tf.function(lambda Input: model(Input))

    full_model = full_model.get_concrete_function(tf.TensorSpec(model.inputs[0].shape, tf.float32))

    # Get frozen ConcreteFunction
    frozen_func = convert_variables_to_constants_v2(full_model)
    frozen_func.graph.as_graph_def()

    layers = [op.name for op in frozen_func.graph.get_operations()]
    print("-" * 50)
    print("Frozen model layers: ")
    for layer in layers:
        print(layer)

    print("-" * 50)
    print("Frozen model inputs: ")
    print(frozen_func.inputs)
    print("Frozen model outputs: ")
    print(frozen_func.outputs)

    # Save frozen graph from frozen ConcreteFunction to hard drive
    tf.io.write_graph(graph_or_graph_def=frozen_func.graph,
                      logdir="D:\\", name="model.pb", as_text=False)

#测试模型
def test():
    (x_train, y_train), (x_test, y_test) = keras.datasets.mnist.load_data('D:\\m.npz')

    net = load_model('D:/mnist.h5')
    pred_image = cv2.imread("D:/12345.jpg", cv2.IMREAD_GRAYSCALE)
    #pred_image = 255 - pred_image
    pred_image = tf.reshape(pred_image, (1, 28*28))
    #pred_image = tf.reshape(pred_image, (-1, 28 * 28))
    pred = net.predict(pred_image)
    print(f'pred: {tf.argmax(pred, axis=1).numpy()}')

#train()
#test()
#saveImg()
#h5_to_pb()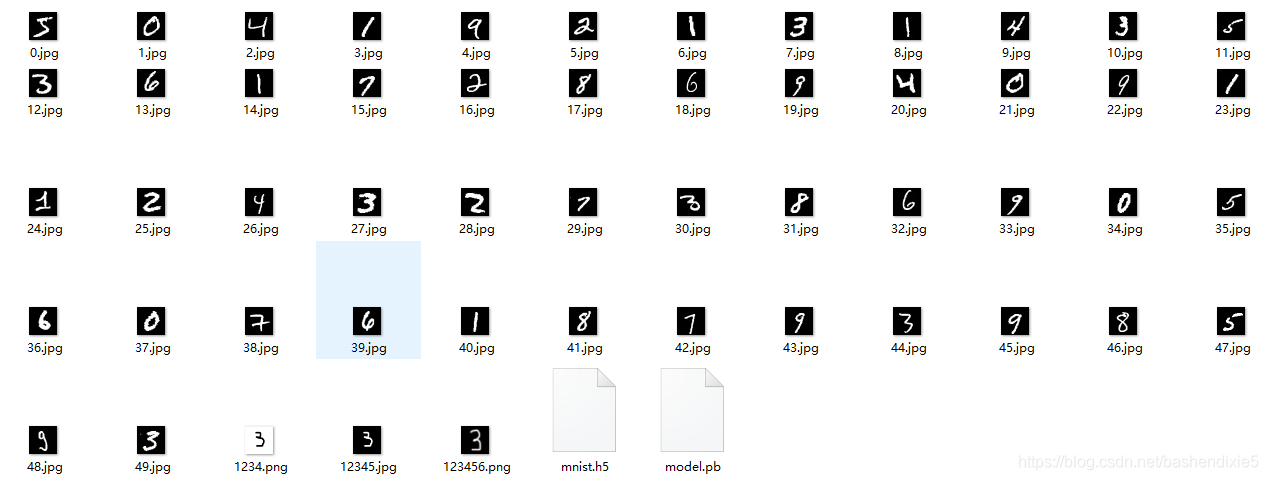
三、OpenCV C++调用pb模型
#include <fstream>
#include <sstream>
#include <opencv2/dnn.hpp>
#include <opencv2/imgproc.hpp>
#include <opencv2/highgui.hpp>
#include <iostream>
using namespace cv;
using namespace std;
using namespace dnn;

int main(int argc, char** argv)
{
    //加载模型
    Net net = readNetFromTensorflow("D:\\model.pb");
    Mat frame = imread("D:\\12345.jpg", IMREAD_GRAYSCALE);
    Mat blob = blobFromImage(frame, 1.0, Size(28, 28), Scalar(), false, false);
    net.setInput(blob);
    Mat pred = net.forward();

    //输出结果
    Point maxLoc;
    minMaxLoc(pred, NULL, NULL, NULL, &maxLoc);
    cout << maxLoc.x << endl;

    //显示图片
    imshow("img", frame);
    waitKey(0);
    return 0;
}
