一、 手工编译安装apache服务
首先将实现下载好的软件包拷贝到/opt目录下
[root@localhost ~]# cd /opt/
[root@localhost opt]# mkdir httpd
[root@localhost opt]# ls
httpd  rh
[root@localhost home]# cd /opt/httpd/
[root@localhost httpd]# ls
apr-1.6.2.tar.gz  apr-util-1.6.0.tar.gz  httpd-2.4.29.tar.bz2
分别对三个文件进行解压缩,就解压到当前路径
[root@localhost httpd]# tar zxvf apr-1.6.2.tar.gz
[root@localhost httpd]# tar zxvf apr-util-1.6.0.tar.gz
[root@localhost httpd]# tar jxvf httpd-2.4.29.tar.bz2
[root@localhost httpd]# ls
apr-1.6.2         apr-util-1.6.0         httpd-2.4.29
apr-1.6.2.tar.gz  apr-util-1.6.0.tar.gz  httpd-2.4.29.tar.bz2
[root@localhost httpd]# mv apr-1.6.2 httpd-2.4.29/srclib/apr   ##将解压缩的文件移动到指定文件夹中
[root@localhost httpd]# mv apr-util-1.6.0 httpd-2.4.29/srclib/apr-util
[root@localhost httpd]# yum install gcc gcc-c++ make pcre-devel expat-devel perl -y    ##安装编译环境软件
进行安装设置
[root@localhost httpd-2.4.29]# ./configure \
> --prefix=/usr/local/httpd \
>  --enable-deflate \
>  --enable-so \
>  --enable-rewrite \
>  --enable-charset-lite \
>  --enable-cgi
[root@localhost httpd-2.4.29]# make
[root@localhost httpd-2.4.29]# make install
[root@localhost httpd-2.4.29]# iptables -F     ##清空防火墙规则
[root@localhost httpd-2.4.29]# setenforce 0    ##关闭增强型安全防护
找到apache的启动脚本文件,并添加到init管理
[root@localhost httpd-2.4.29]# cd /usr/local/httpd/bin/
[root@localhost bin]# cp apachectl /etc/init.d/httpd
[root@localhost bin]# cd /etc/init.d/
[root@localhost init.d]# ls
functions  httpd  netconsole  network  README

在启动脚本文件中加入以下内容
[root@localhost init.d]# vim httpd
# chkconfig: 35 85 21 //35级别自动运行 第85个启动 第21个关闭
# description: Apache is a World Wide Web server
[root@localhost init.d]# chkconfig --add httpd ##添加到启动管理项目
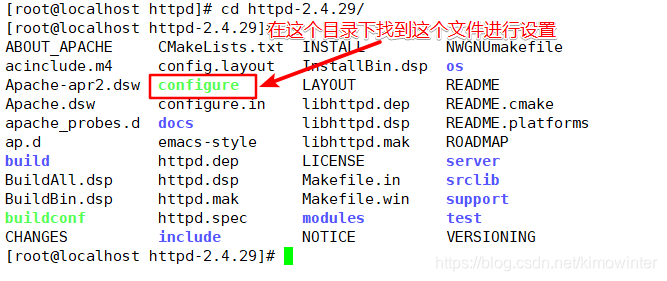
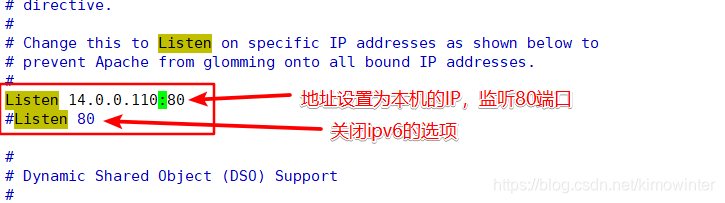
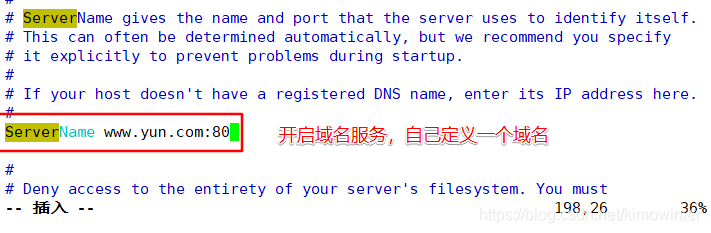
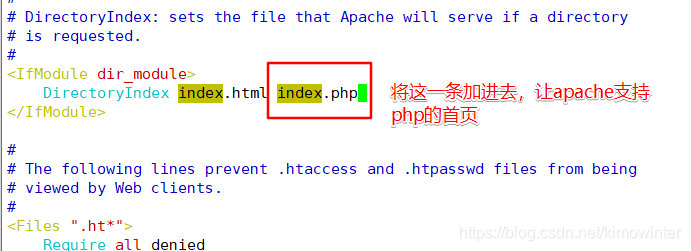
[root@localhost init.d]# vim /usr/local/httpd/conf/httpd.conf ##修改httpd的主配置文件,修改下图两项
[root@localhost init.d]# ln -s /usr/local/httpd/conf/httpd.conf /etc/ ##将配置文件建一个软连接到/etc目录下,方便我们编辑文件
[root@localhost init.d]# ln -s /usr/local/httpd/bin/* /usr/local/bin/ ##将httpd的命令文件建软链接,我们就可以直接使用httpd服务的命令了
[root@localhost init.d]# httpd -t ##检测配置文件的语法错误
Syntax OK
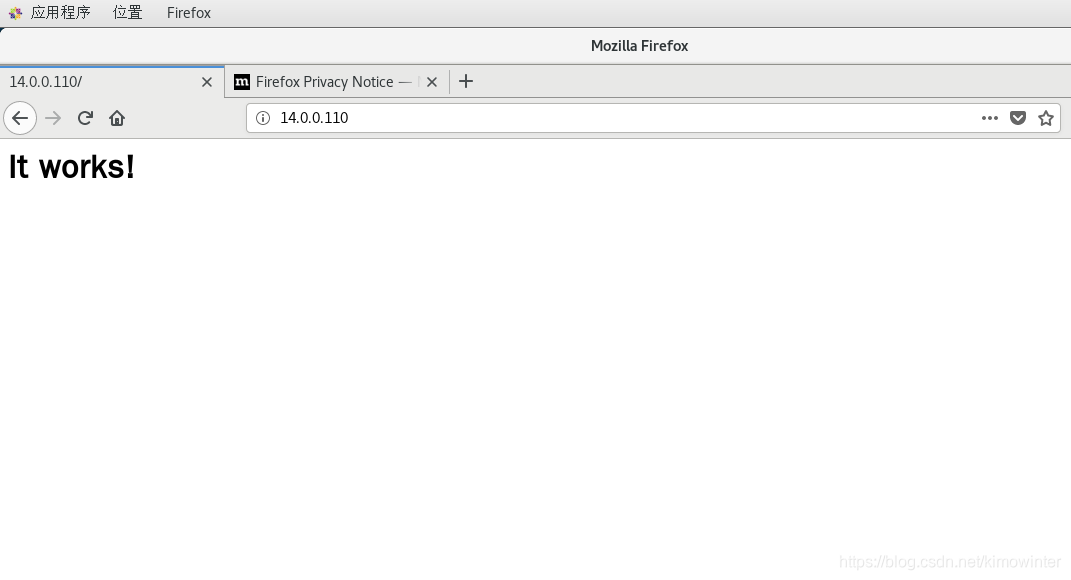
[root@localhost init.d]# systemctl start httpd ##开启服务
二、手工编译安装MYSQL
[root@localhost init.d]# cd /opt
[root@localhost opt]# mkdir mysql
[root@localhost opt]# ls
httpd  mysql  rh
将软件包拷贝进mysql目录
[root@localhost opt]# cd mysql/
[root@localhost mysql]# ls
mysql-5.6.26.tar.gz
安装环境包
[root@localhost mysql]# yum install ncurses-devel autoconf cmake -y
[root@localhost mysql]# tar zxvf mysql-5.6.26.tar.gz   ##解压缩
[root@localhost mysql]# ls
mysql-5.6.26  mysql-5.6.26.tar.gz
[root@localhost mysql]# cd mysql-5.6.26/
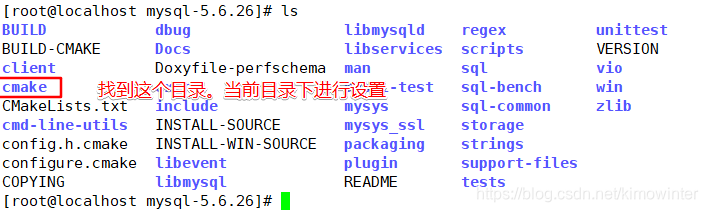
[root@localhost mysql-5.6.26]# cmake \
 -DCMAKE_INSTALL_PREFIX=/usr/local/mysql \
 -DDEFAULT_CHARSET=utf8 \
 -DDEFAULT_COLLATION=utf8_general_ci \
 -DEXTRA_CHARSETS=all \
 -DSYSCONFIDIR=/etc \
 -DMYSQL_DATADIR=/home/mysql/ \
 -DMYSQL_UNIX_ADDR=/home/mysql/mysql.sock
[root@localhost mysql-5.6.26]# make   ##开始编译
[root@localhost mysql-5.6.26]# make install    ##开始安装
[root@localhost mysql-5.6.26]# cp support-files/my-default.cnf /etc/my.cnf    ##将mysql的配置文件复制到/etc目录下,覆盖原来的mysql配置文件
cp:是否覆盖"/etc/my.cnf"? yes
[root@localhost mysql-5.6.26]# cp support-files/mysql.server /etc/init.d/mysqld    ##将mysql的启动脚本复制到启动项并命名为mysqld
[root@localhost mysql-5.6.26]# cd /etc/init.d/
[root@localhost init.d]# ls
functions  httpd  mysqld  netconsole  network  README
[root@localhost init.d]# chmod +x mysqld    ##赋予执行权限
[root@localhost init.d]# chkconfig --add /etc/init.d/mysqld    ##添加到启动管理项目
[root@localhost init.d]# chkconfig --level 35 mysqld on   ##设置为开机自启动
[root@localhost init.d]# vim /etc/profile    ##添加到环境变量
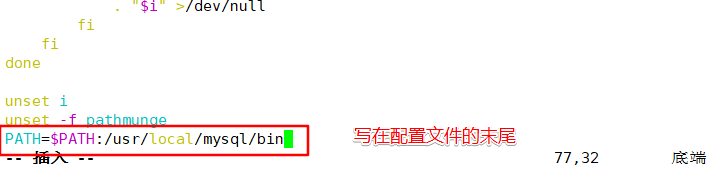
[root@localhost init.d]# source /etc/profile ##加载环境变量
[root@localhost init.d]# echo $PATH ##查看刚刚定义的环境变量
/usr/local/sbin:/usr/local/bin:/usr/sbin:/usr/bin:/usr/local/mysql/bin:/root/bin
[root@localhost init.d]# useradd -s /sbin/nologin mysql ##创建一个mysql程序用户
[root@localhost init.d]# id mysql
uid=1001(mysql) gid=1001(mysql) 组=1001(mysql)
[root@localhost init.d]# chown -R mysql:mysql /usr/local/mysql/ ##将mysql的属主属组设置为mysql
[root@localhost init.d]# cd /usr/local/mysql/scripts/
[root@localhost scripts]# ls ##查看初始数据库的文件
mysql_install_db
[root@localhost scripts]# /usr/local/mysql/scripts/mysql_install_db \
--user=mysql \
--ldata=/var/lib/mysql \
--basedir=/usr/local/mysql \
--datadir=/home/mysql
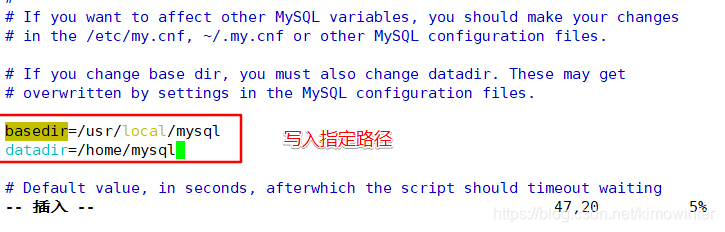
[root@localhost scripts]# vim /etc/init.d/mysqld
basedir=/usr/local/mysql
datadir=/home/mysql
[root@localhost scripts]# service mysqld start   ##开启服务
Starting MySQL. SUCCESS!
[root@localhost scripts]# netstat -antp | grep 3306
tcp6       0      0 :::3306                 :::*                    LISTEN      21932/mysqld
[root@localhost scripts]# mysqladmin -u root -p password "Abc123"    ##创建管理数据库的账户
Enter password:
Warning: Using a password on the command line interface can be insecure.
[root@localhost scripts]# mysql -uroot -p    ##使用创建的账户登录数据库
Enter password:
Welcome to the MySQL monitor.  Commands end with ; or \g.
Your MySQL connection id is 2
Server version: 5.6.26 Source distribution

Copyright (c) 2000, 2015, Oracle and/or its affiliates. All rights reserved.

Oracle is a registered trademark of Oracle Corporation and/or its
affiliates. Other names may be trademarks of their respective
owners.

Type 'help;' or '\h' for help. Type '\c' to clear the current input statement.

mysql> show databases;   ##查看表文件
+--------------------+
| Database           |
+--------------------+
| information_schema |
| mysql              |
| performance_schema |
| test               |
+--------------------+
4 rows in set (0.00 sec)

mysql> exit    ##退出
Bye
三、 手工编译安装php
[root@localhost ~]# yum -y install gd libpng libpng-devel pcre pcre-devel libxml2-devel libjpeg-devel
[root@localhost ~]# cd /opt
[root@localhost opt]# ls
httpd  mysql  rh
[root@localhost opt]# mkdir php
[root@localhost opt]# ls
httpd  mysql  php  rh
[root@localhost opt]# cd php/
将安装包拷贝进来
[root@localhost php]# ls
php-5.6.11.tar.bz2
[root@localhost php]# tar jxvf php-5.6.11.tar.bz2   ##解压软件包
[root@localhost php]# cd php-5.6.11/
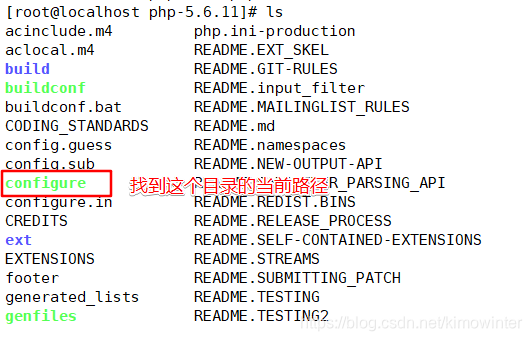
[root@localhost php-5.6.11]# ./configure \ #对php进行设置
--prefix=/usr/local/php5 \
--with-gd \
--with-zlib \
--with-apxs2=/usr/local/httpd/bin/apxs \
--with-mysql=/usr/local/mysql \
--with-config-file-path=/usr/local/php5 \
--enable-mbstring
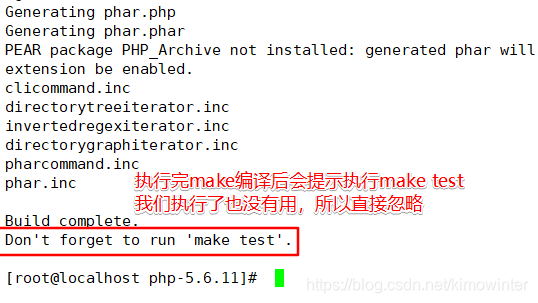
[root@localhost php-5.6.11]# make ##进行编译
[root@localhost php-5.6.11]# make install ##安装
[root@localhost php-5.6.11]# cp php.ini-development /usr/local/php5/php.ini ##将php的配置文件放到指定目录下
[root@localhost php-5.6.11]# ln -s /usr/local/php5/bin/* /usr/local/bin/ ##创建一个软连接方便使用命令
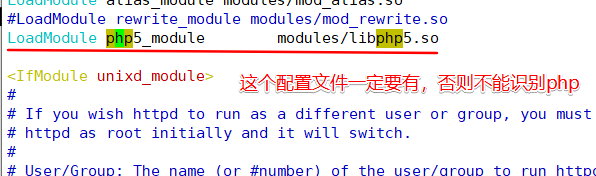
[root@localhost php-5.6.11]# vim /etc/httpd.conf
AddType application/x-httpd-php .php
AddType application/x-httpd-php-source .phps

[root@localhost php-5.6.11]# service httpd restart ##重启httpd服务
[root@localhost php-5.6.11]# cd /usr/local/httpd/htdocs/ ##找到httpd的首页文件
[root@localhost htdocs]# ls
index.html
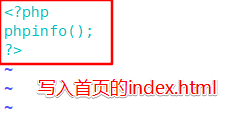
[root@localhost htdocs]# vim index.html
<?php
phpinfo();
?>
[root@localhost htdocs]# mv index.html index.php ##将格式变成php
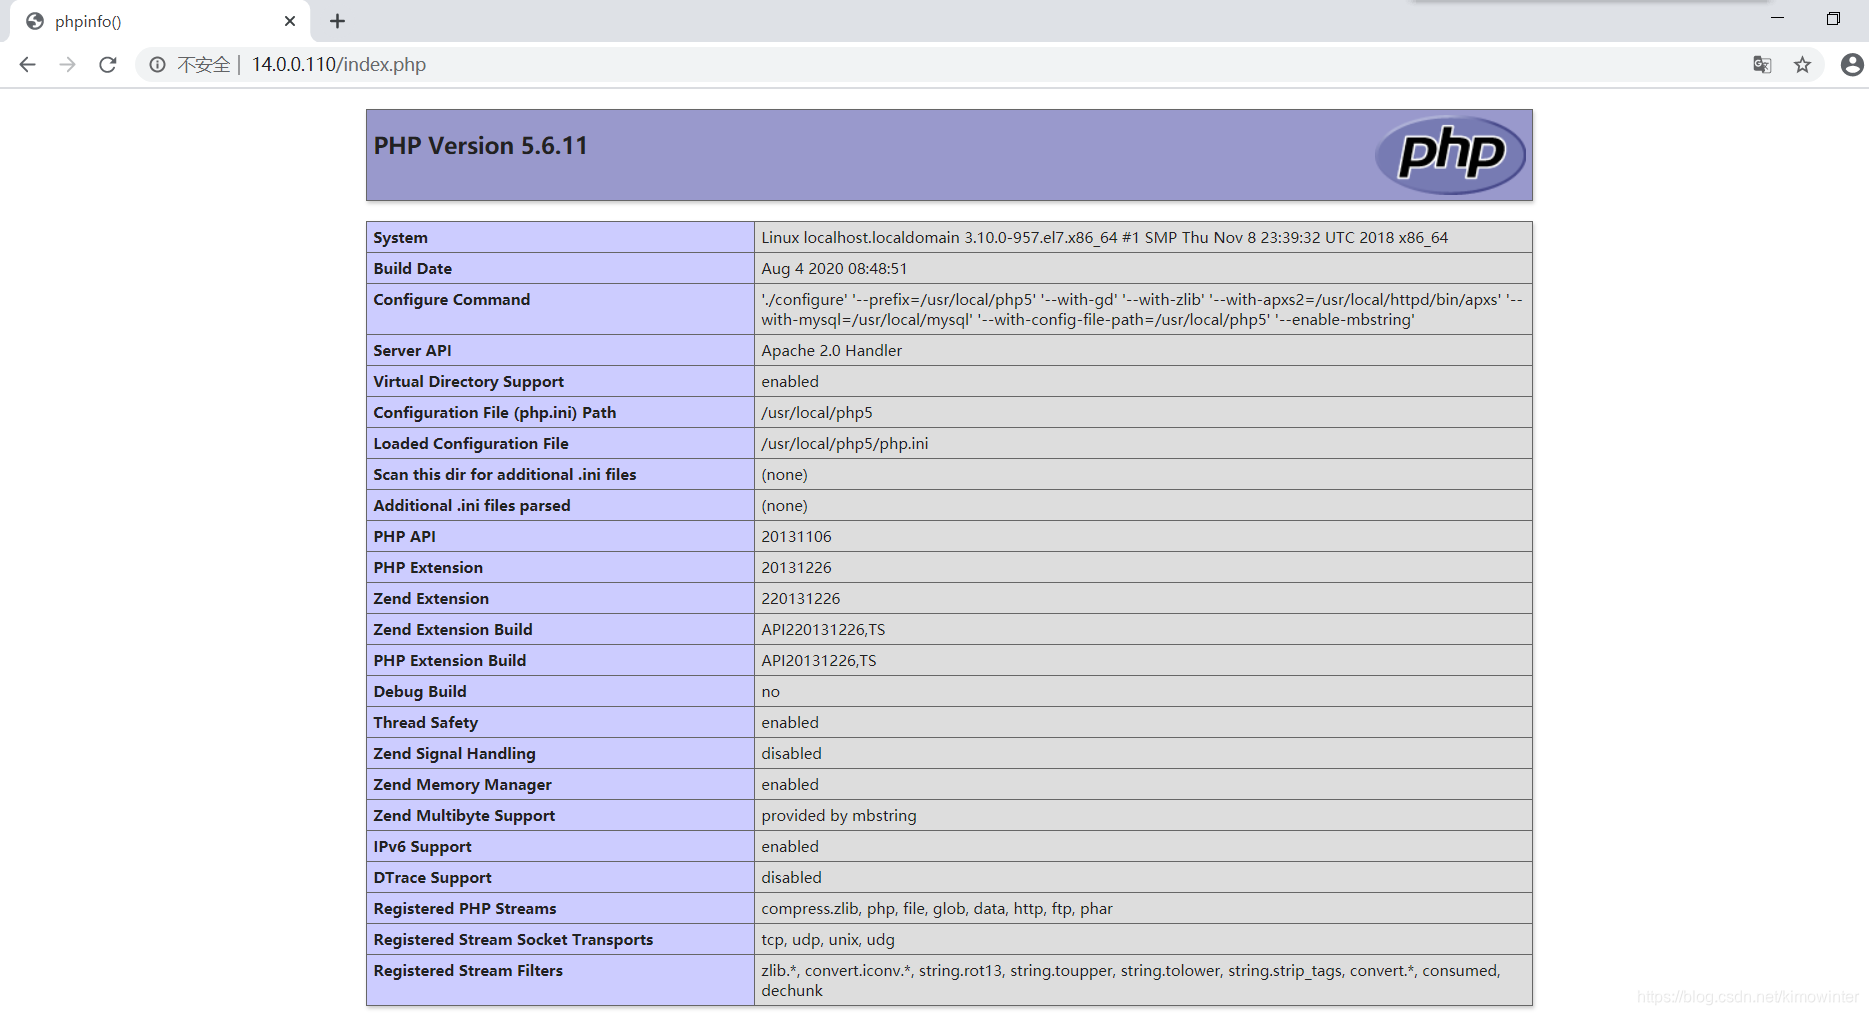
这样一个LAMP架构就搭好了,我在谷歌浏览器中验证
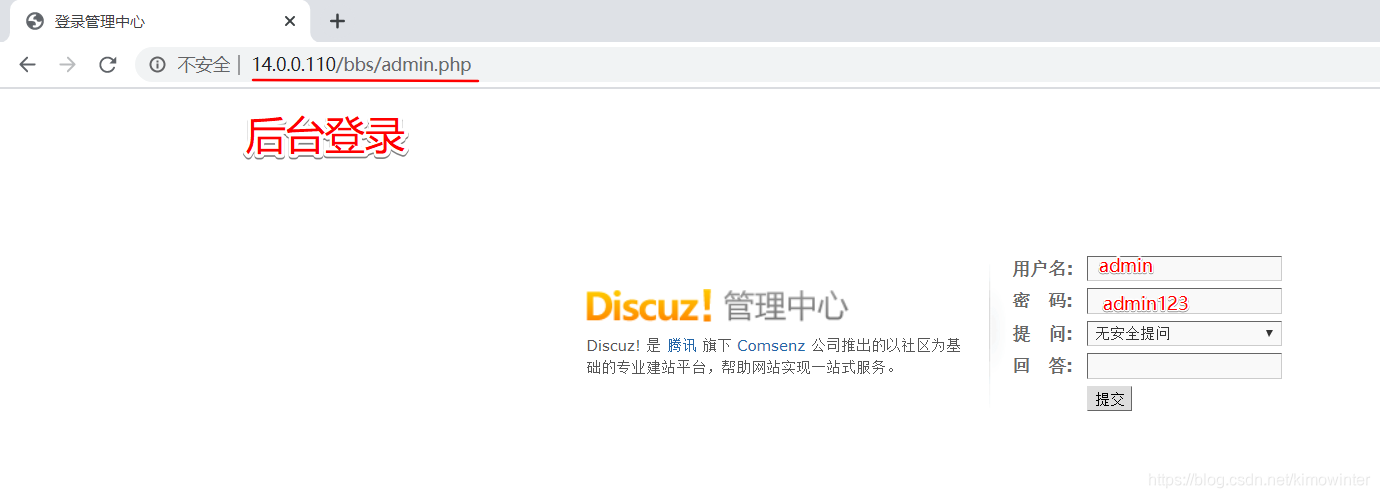
四、 在LAMP架构上安装一个论坛服务
[root@localhost htdocs]# cd /opt
将论坛的安装包拷贝进来
[root@localhost opt]# ls
Discuz_X2.5_SC_UTF8.zip httpd mysql php rh
[root@localhost opt]# unzip Discuz_X2.5_SC_UTF8.zip ##解压缩
[root@localhost opt]# cp -r upload/ /usr/local/httpd/htdocs/bbs ##将upload这个目录复制到httpd的文件夹下,改名为bbs
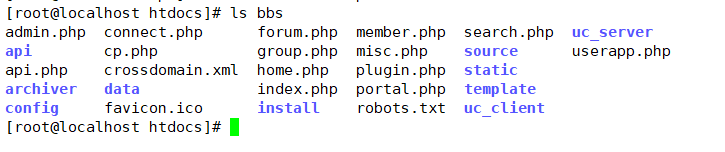
[root@localhost opt]# cd /usr/local/httpd/htdocs/
[root@localhost htdocs]# ls bbs
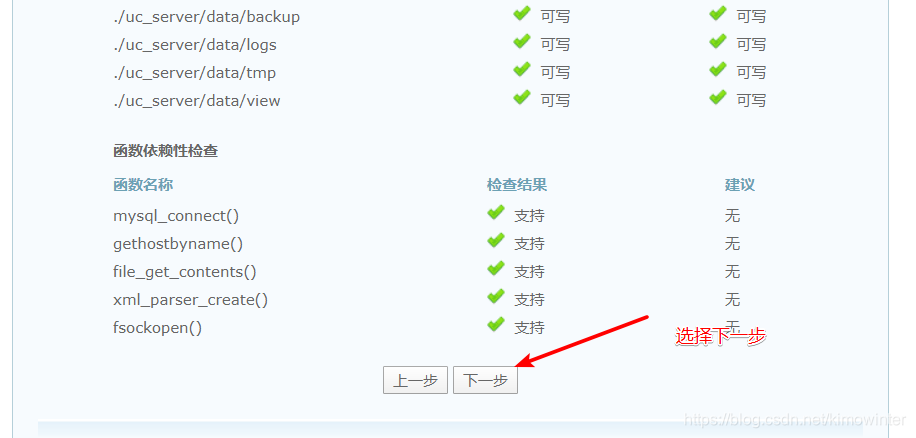
这时候会发现很多目录没有权限
如果这时候安装,会出现以下情况
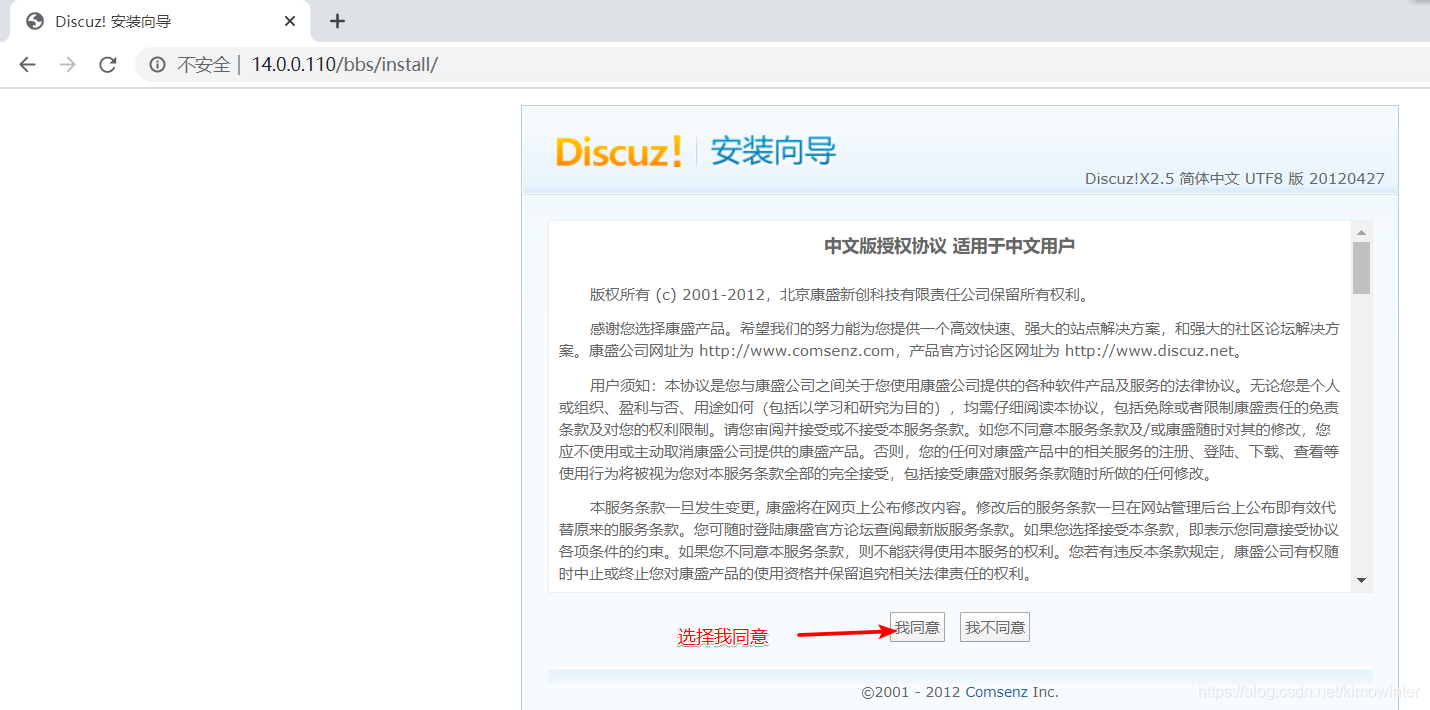
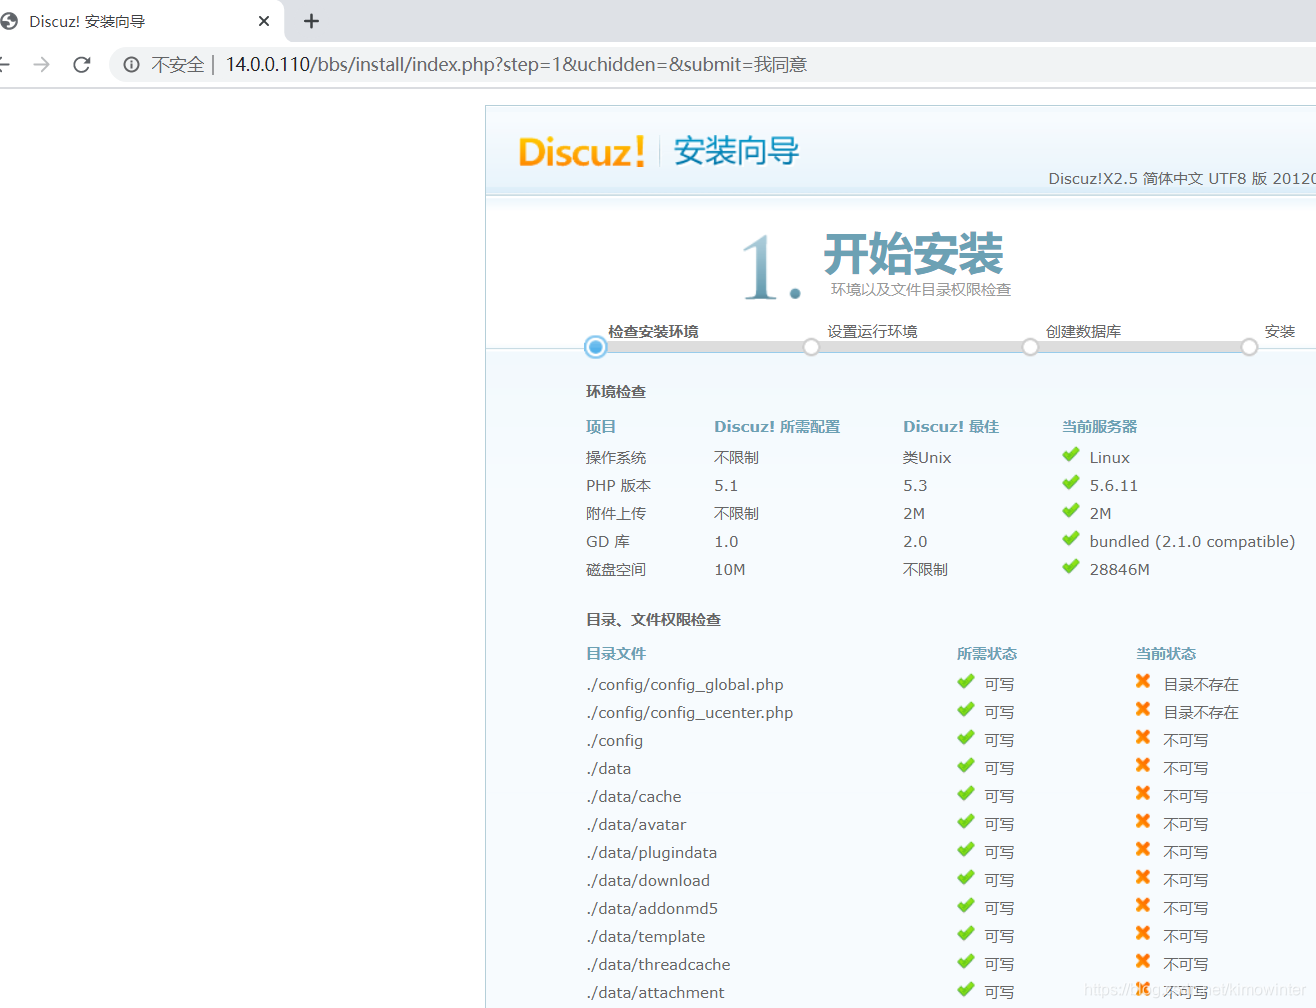
所以要按照安装页面出现的目录给予权限
[root@localhost htdocs]# cd bbs/
[root@localhost bbs]# chown -R daemon ./config
[root@localhost bbs]# chown -R daemon ./data/
[root@localhost bbs]# chown -R daemon ./uc_client/
[root@localhost bbs]# chown -R daemon ./uc_server/data/
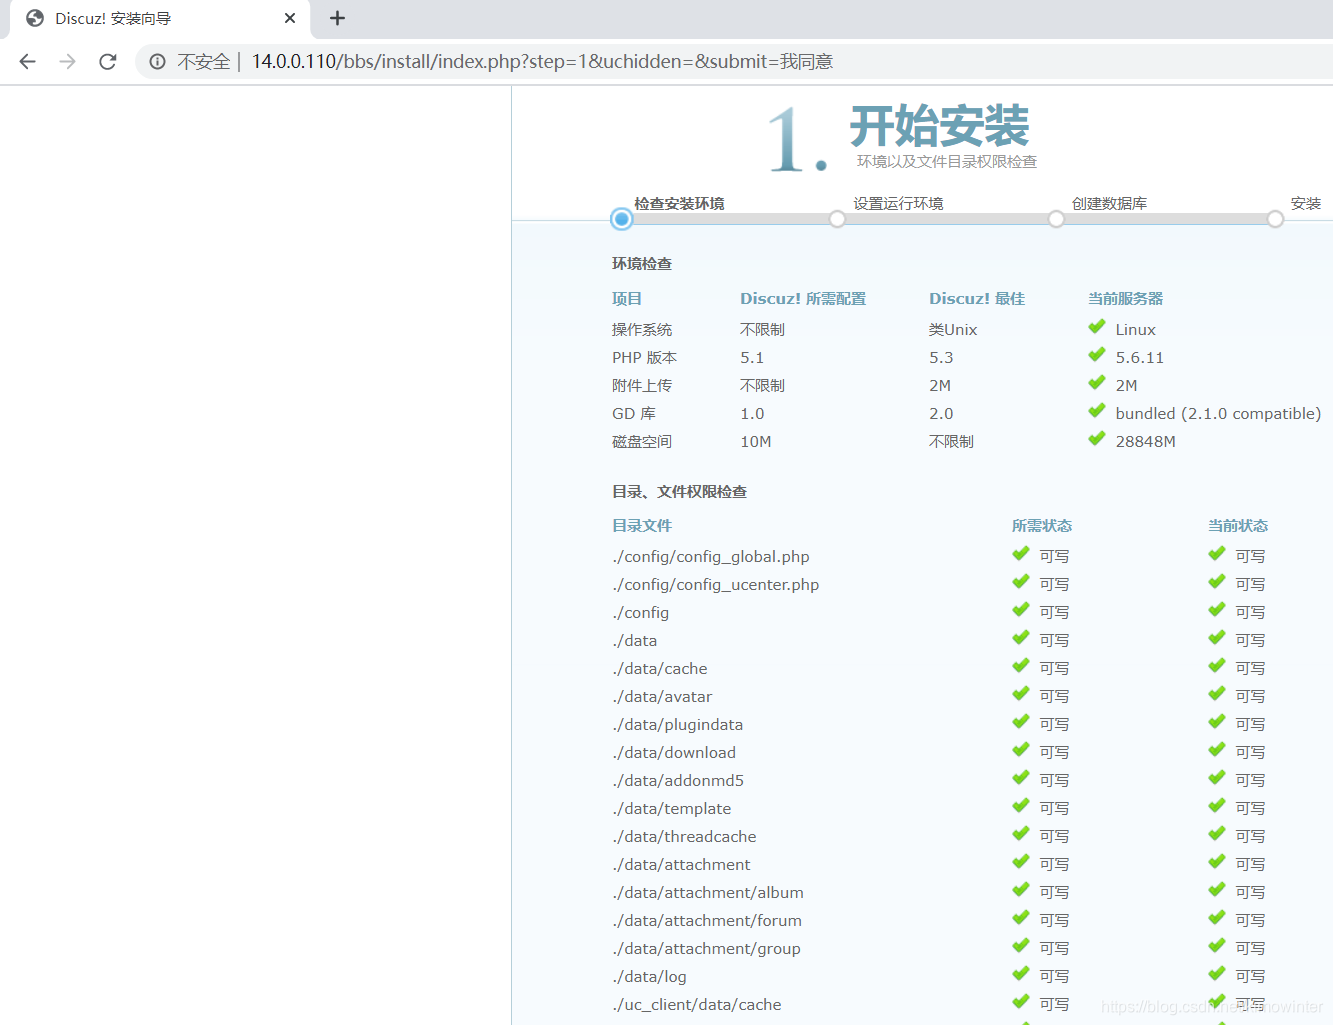
在安装界面刷新一下
[root@localhost bbs]# mysql -u root -p ##使用mysql用户登录数据库
Enter password: ##输入之前设置的密码
Welcome to the MySQL monitor. Commands end with ; or \g.
Your MySQL connection id is 6
Server version: 5.6.26 Source distribution
Copyright (c) 2000, 2015, Oracle and/or its affiliates. All rights reserved.
Oracle is a registered trademark of Oracle Corporation and/or its
affiliates. Other names may be trademarks of their respective
owners.
Type 'help;' or '\h' for help. Type '\c' to clear the current input statement.
mysql> show databases; ##查看数据库
+--------------------+
| Database |
+--------------------+
| information_schema |
| mysql |
| performance_schema |
| test |
+--------------------+
4 rows in set (0.01 sec)
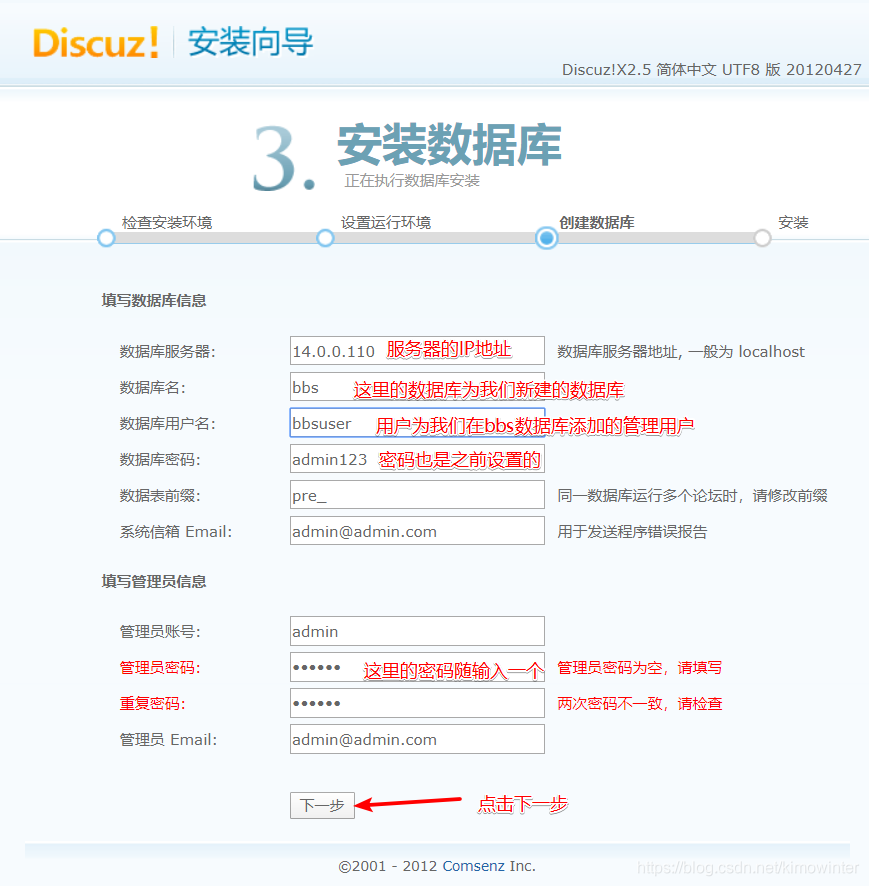
mysql> create database bbs; ##创建数据库bbs
Query OK, 1 row affected (0.00 sec)
mysql> show databases;
+--------------------+
| Database |
+--------------------+
| information_schema |
| bbs |
| mysql |
| performance_schema |
| test |
+--------------------+
5 rows in set (0.00 sec)
mysql> use bbs; ##进入bbs数据库
Database changed
mysql> show tables; ##查看bbs数据表
Empty set (0.00 sec)
mysql> grant all on bbs.* to 'bbsuser'@'%' identified by 'admin123'; ##bbs数据库里创建一个用户管理
Query OK, 0 rows affected (0.01 sec)
mysql> flush privileges; ##刷新数据库
Query OK, 0 rows affected (0.00 sec)
mysql> quit ##退出数据库
Bye
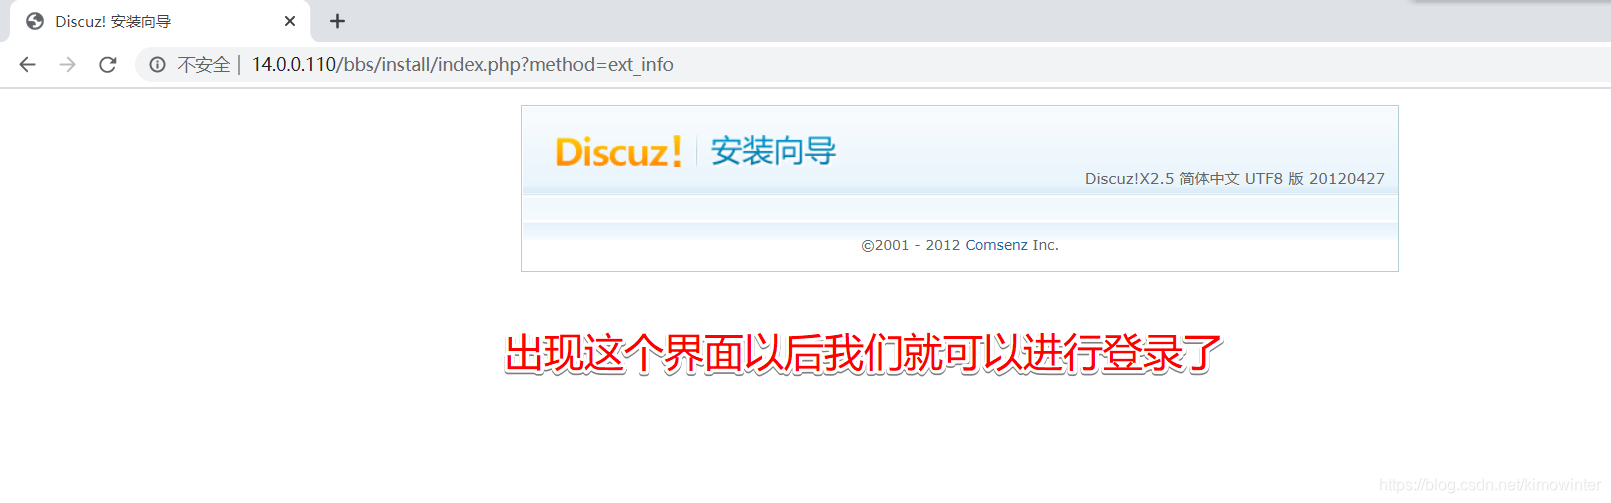
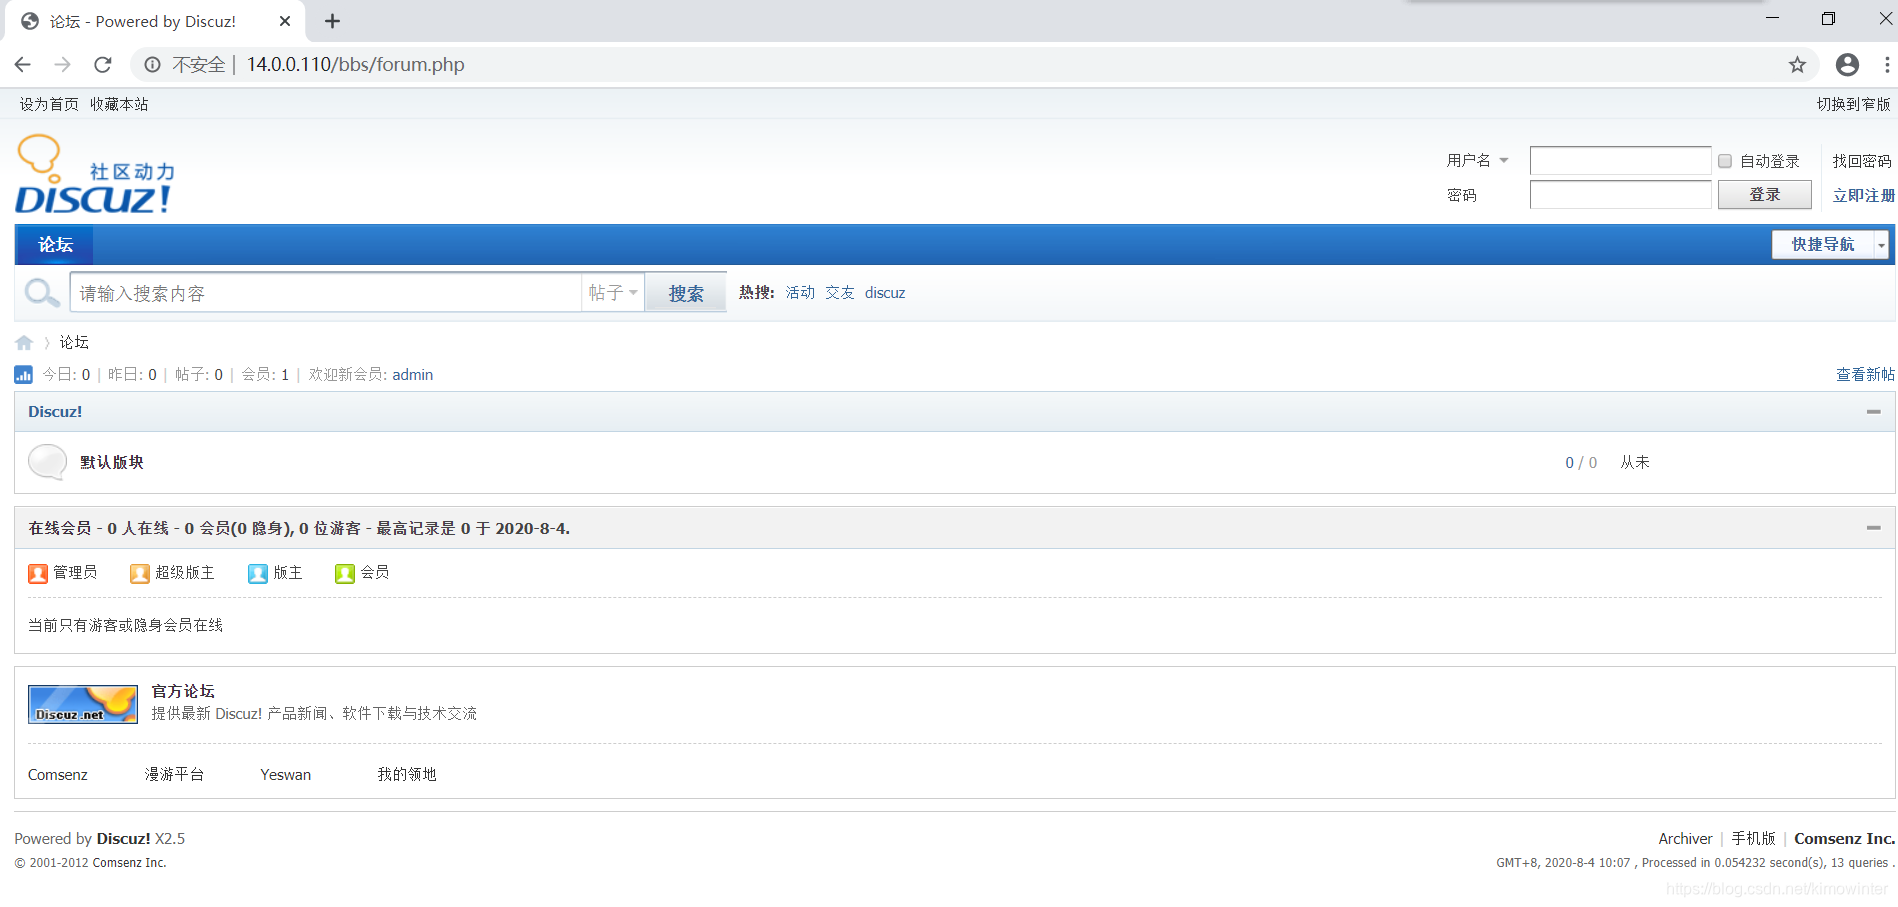
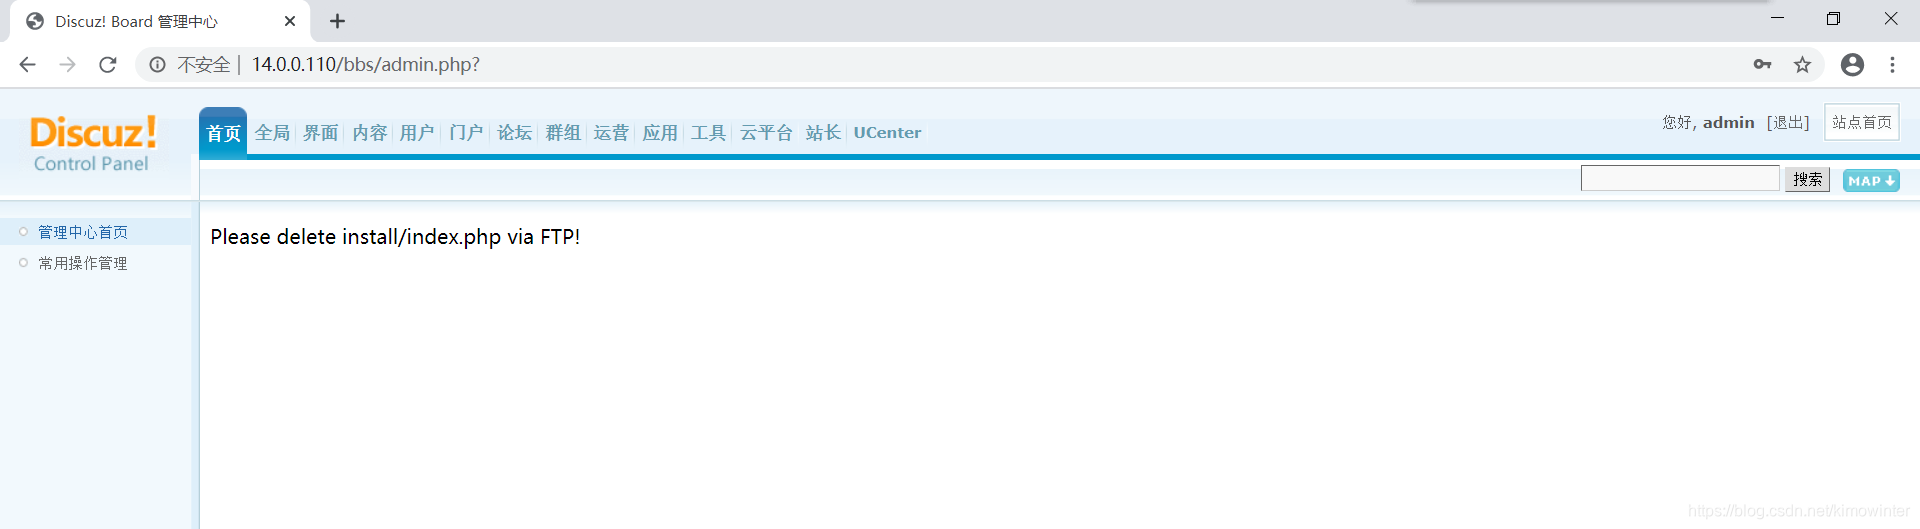
接下来继续安装