第三章 3-4~3-5 Ansible playbooks常用模块介绍
一、Ansible playbooks常用模块介绍
1.1、File模块
name:表示本次任务的名称
file:表示任务的类型
path:表示生成到目标主机中的文件的路径
state=touch:touch表示需要去创建一个文件
mode:表示文件的权限
owner:表示文件所属用户名
group:表示文件所属用户组名称
1.2、Copy模块

name:表示本次任务的名称
copy:表示本次是文件的复制
remote_src=no:表示我们需要将本机中的文件复制到目标主机当中
src:表示源文件的路径
dest:表示目标的文件路径
mode:表示文件的权限
force=yes:表示强制执行
1.3、Stat模块

校验文件是否存在

name:表示本次任务的名称
stat:表示调用的是stat模块
register:表示把前面校验文件是否存在的状态传递给这里的变量
1.4、Debug模块
当script_stat.stat.exists为true时打印“foo.sh exists”语句。

debug:msg:定义条件语句
when:表示条件语句
1.5、Command/Shell模块
第一句的意思是:执行foo.sh文件
第二句的意思是:打印test到test.txt文件中(“>”为重定向符号)
下面两个语句的区别在于shell可以使用重定向符;

1.6、Template模块
这里主要注意的是在下面的传送过程中,文件中的变量可以调用到模板中定义的参数。

src:表示源文件的地址
dest:表示传送的目标主机中的地址
1.7、Packaging模块
下面的语句表示安装一个nginx最新版
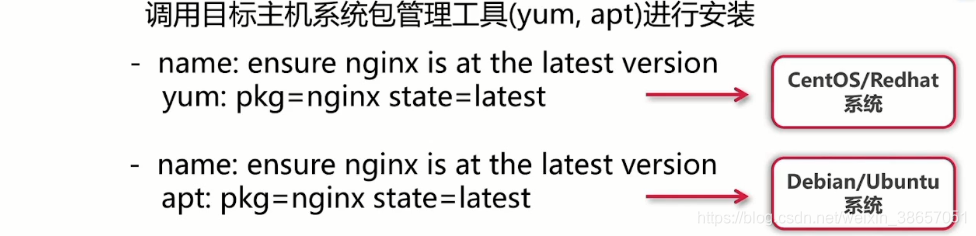
pkg:表示安装包的名称
state:表示版本号
1.8、Service模块
下面的语句表示开启Nginx服务

name:表示服务的名称
state:表示需要达到的服务的状态
1.9、综合上面的模块的案例

二、Ansible playbooks案例演示
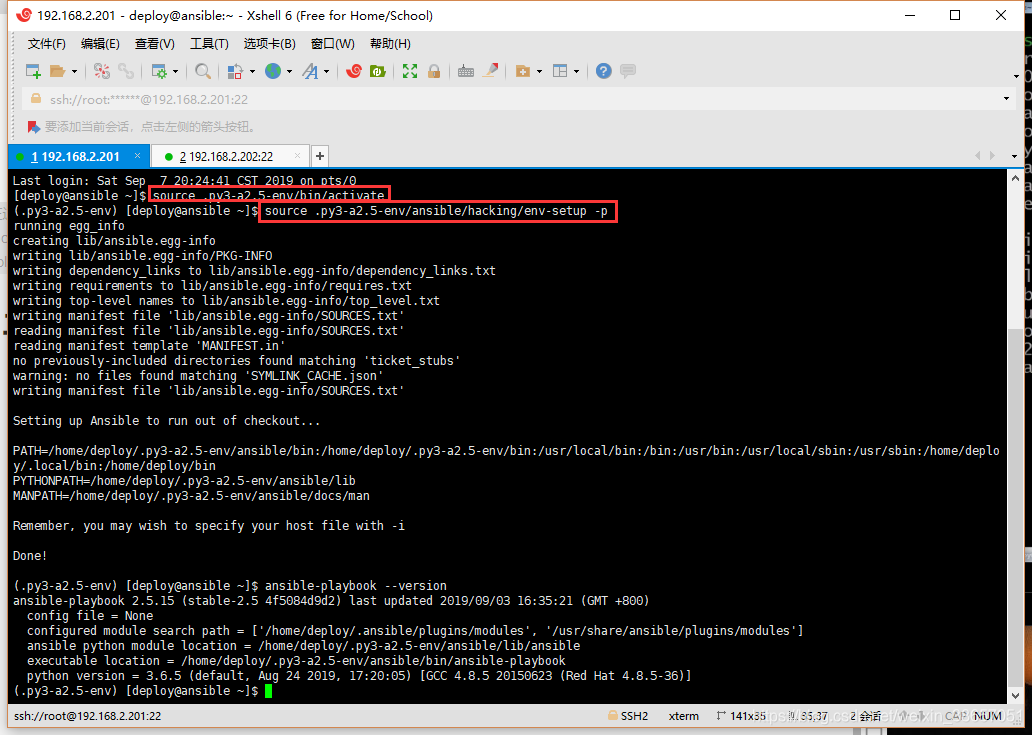
2.1、ansible主机的准备
首先切换到ansible主机的deploy用户,然后使用下面的两个语句,在Python3.6的虚拟环境下启动ansible
下图中,我已经启动了。
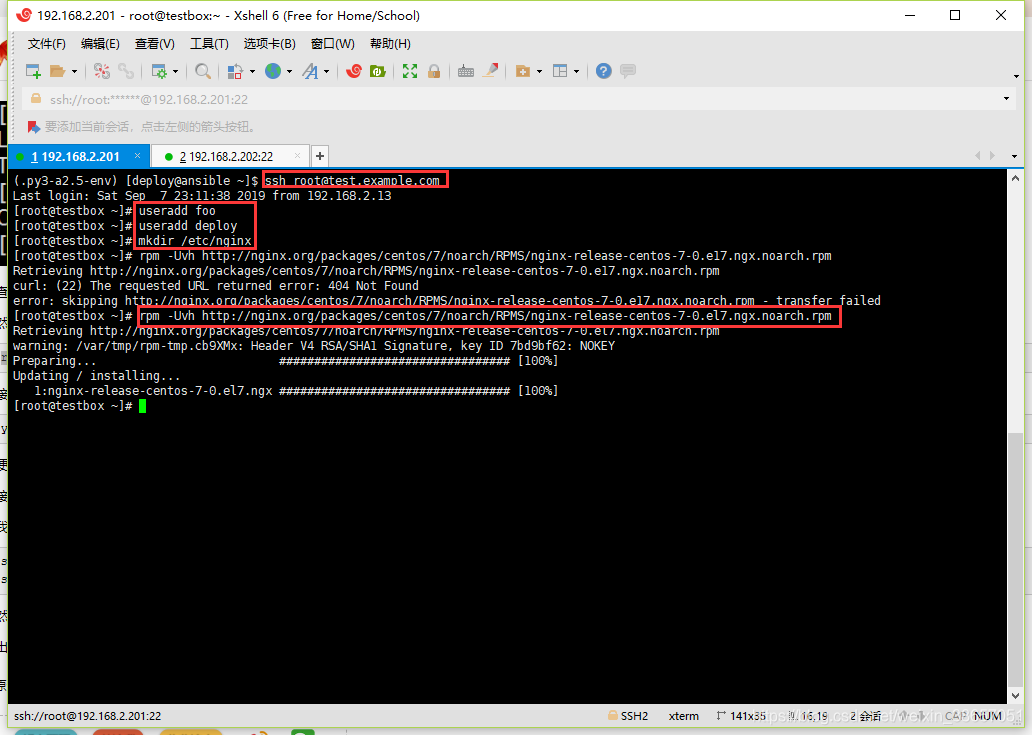
2.2、testbox上准备
# 进入到testbox主机界面
# 创建两个系统用户
useradd foo
useradd deploy
# 创建一个nginx的文件目录
mkdir /etc/nginx
# 安装一个Nginx的yum源,防止playbook运行安装的时候出错
rpm -Uvh http://nginx.org/packages/centos/7/noarch/RPMS/nginx-release-centos-7-0.el7.ngx.noarch.rpm
# 安装完后退出testbox
exit
2.3、文件创建案例-File模块
2.3.1、编写main.yml文件
# 进入到test_playbooks文件夹
cd test_playbooks/
# 编辑main.yml文件
vim roles/testbox/tasks/main.yml

添加一个任务

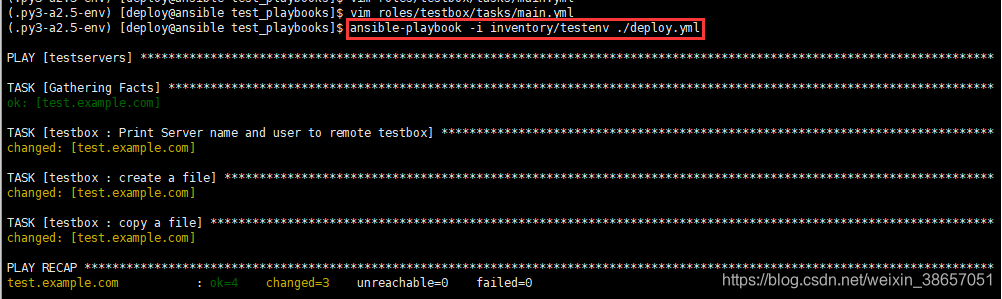
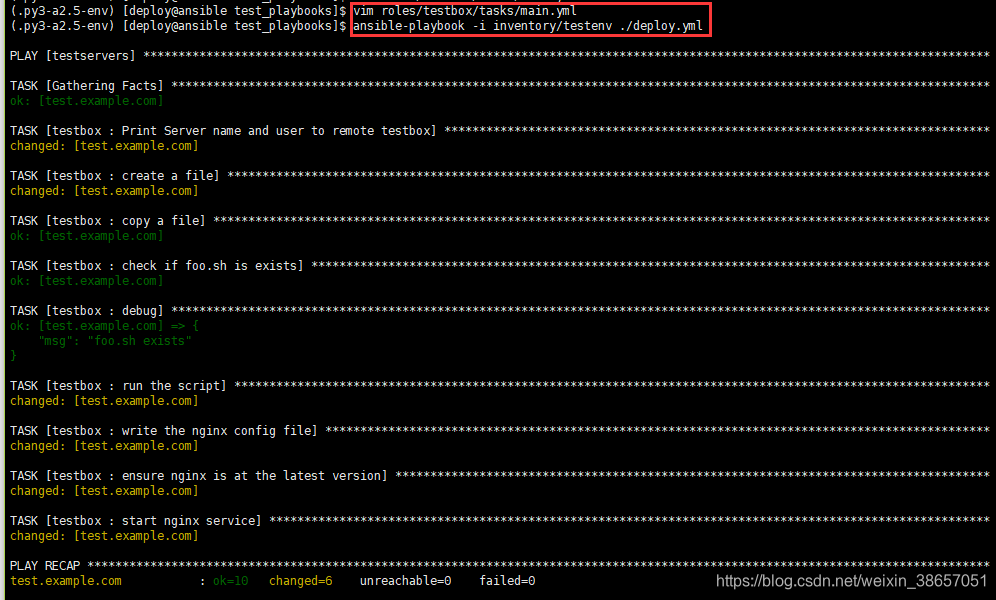
2.3.2、测试
# 测试上面编写的代码
ansible-playbook -i inventory/testenv ./deploy.yml
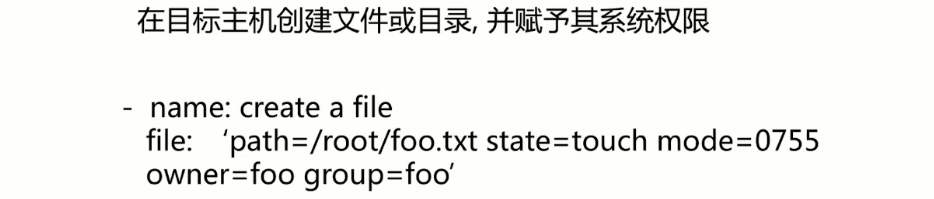
- name: create a file
  file: 'path=/root/foo.txt state=touch mode=0755 owner=foo group=foo'

小窍门:
# 可以使用下面的代码去查看是否创建了该文件,如果创建会返回该文件的相关信息
ssh [email protected] ls -al /root/foo.txt

2.4、文件复制案例-Copy模块
2.4.1、环境准备
首先在/roles/testbox文件夹下创建一个files文件夹
# 创建files文件夹
mkdir roles/testbox/files
# 创建并编写foo.sh文件
vim roles/testbox/files/foo.sh

2.4.2、编写main.yml文件
# 编写main.yml文件
vim roles/testbox/tasks/main.yml
- name: copy a file
  copy: 'remote_src=no src=roles/testbox/files/foo.sh dest=/root/foo.sh mode=0644 force=yes'

2.4.3、测试脚本
2.5、案例-Stat,Debug模块
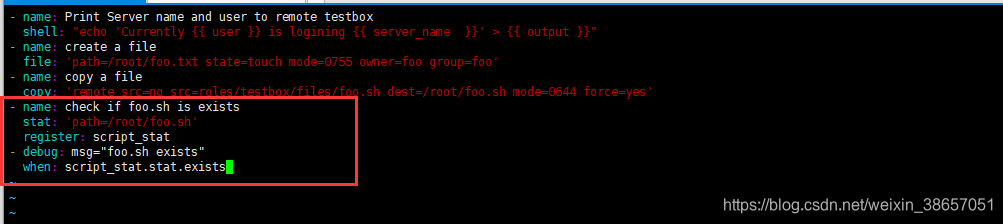
2.5.1、编写main.yml文件
- name: check if foo.sh is exists
  stat: 'path=/root/foo.sh'
  register: script_stat
- debug: msg="foo.sh exists"
  when: script_stat.stat.exists
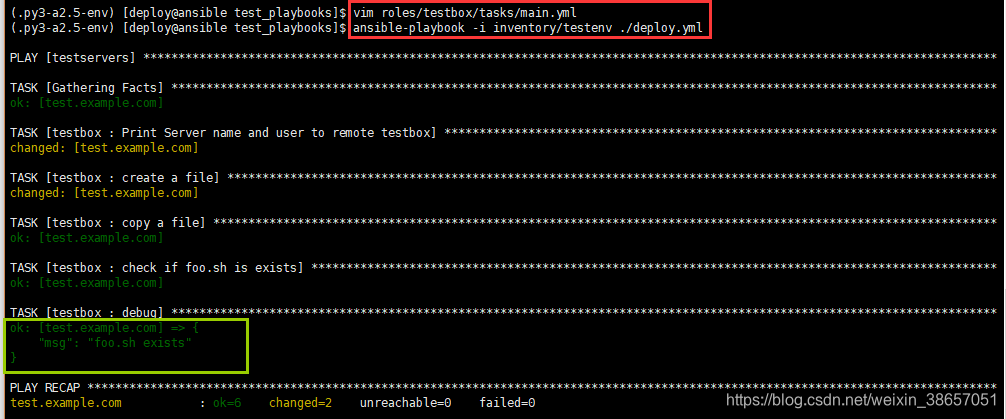
2.5.2、测试
2.6、案例-Command模块
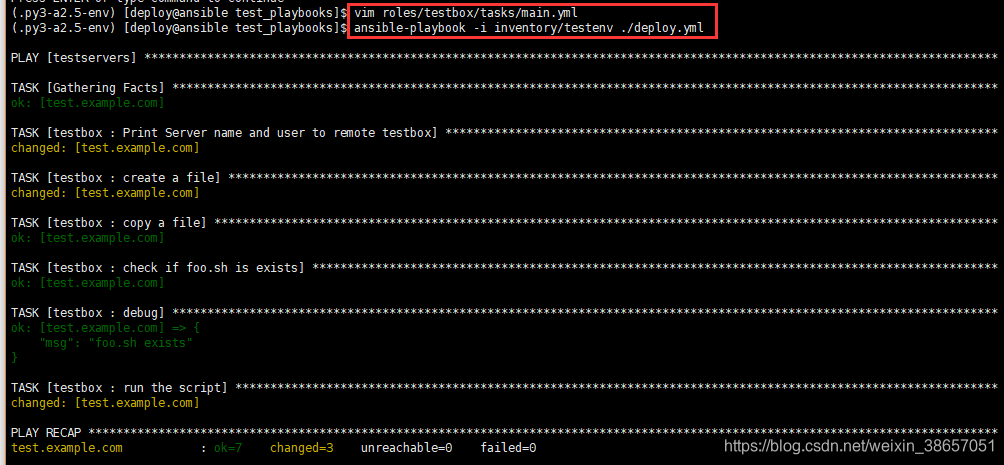
2.6.1、编写main.yml文件
- name: run the script
  command: 'sh /root/foo.sh'

2.6.2、测试
2.7、案例-Template模块
2.7.1、编写testenv文件
首先我们需要准备环境,在testenv清单文件中添加一些配置项

在roles/testbox/目录下创建templates目录
# 创建文件夹
mkdir roles/testbox/templates
# 创建Nginx的模板文件
vim roles/testbox/templates/nginx.conf.j2
2.7.2、编写nginx.conf.j2文件
# For more information on configuration, see:
user              {{ user }};
worker_processes  {{ worker_processes }};

error_log  /var/log/nginx/error.log;

pid        /var/run/nginx.pid;

events {
    worker_connections  {{ max_open_file }};
}


http {
    include       /etc/nginx/mime.types;
    default_type  application/octet-stream;

    log_format  main  '$remote_addr - $remote_user [$time_local] "$request" '
                      '$status $body_bytes_sent "$http_referer" '
                      '"$http_user_agent" "$http_x_forwarded_for"';

    access_log  /var/log/nginx/access.log  main;

    sendfile        on;
    #tcp_nopush     on;

    #keepalive_timeout  0;
    keepalive_timeout  65;

    #gzip  on;

    # Load config files from the /etc/nginx/conf.d directory
    # The default server is in conf.d/default.conf
    #include /etc/nginx/conf.d/*.conf;
    server {
        listen       {{ port }} default_server;
        server_name  {{ server_name }};

        #charset koi8-r;

        #access_log  logs/host.access.log  main;

        location / {
            root   {{ root }};
            index  index.html index.htm;
        }

        error_page  404              /404.html;
        location = /404.html {
            root   /usr/share/nginx/html;
        }

        # redirect server error pages to the static page /50x.html
        #
        error_page   500 502 503 504  /50x.html;
        location = /50x.html {
            root   /usr/share/nginx/html;
        }

    }

}
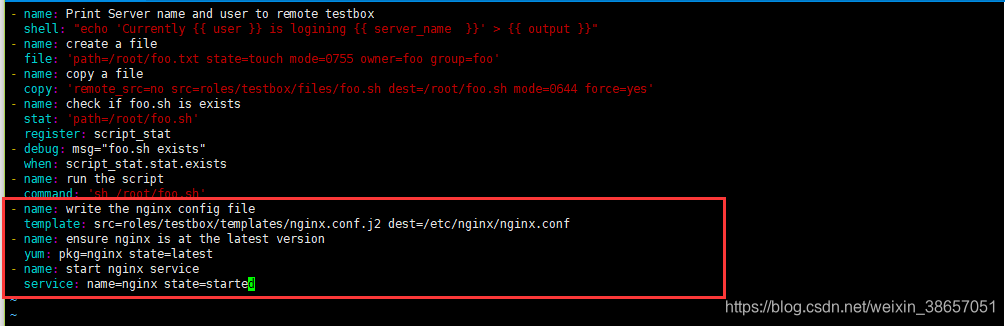
2.7.3、编写main.yml文件
下面的文件中添加了三个任务,分别是:
- 1.将Nginx的配置文件通过template模板方式传送到目标服务器上
- 2.保证Nginx服务是最新的版本
- 3.启动Nginx服务
- name: write the nginx config file
  template: src=roles/testbox/templates/nginx.conf.j2 dest=/etc/nginx/nginx.conf
- name: ensure nginx is at the latest version
  yum: pkg=nginx state=latest
- name: start nginx service
  service: name=nginx state=started
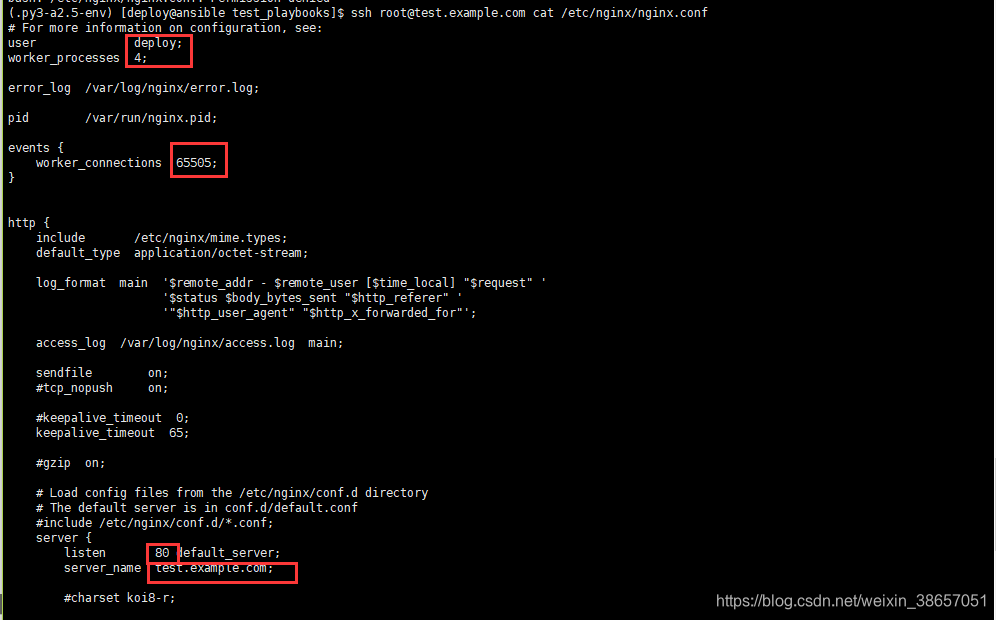
2.7.4、测试
运行成功后可以使用下面的语句查看生成通过Template模块,从下面的截图中可以看到之前nginx.conf.j2上的变量已经被testenv上配置的变量所替换。
ssh [email protected] cat /etc/nginx/nginx.conf
查看testbox主机的Nginx服务是否已开启
ssh [email protected] ps -ef | grep nginx

自此可以看到把上面常用模块的连贯案例已实现成功!!!
