prefacio
Primero, hablemos de todo el proceso de migración. Primero, debe descargar el código fuente del sitio web oficial de mysql, luego compilar e instalar el código fuente en el entorno de la máquina virtual y generar programas ejecutables, archivos de encabezado y archivos de biblioteca. Luego, para la prueba de simulación, debe configurar la computadora bajo Windows.Para el entorno de servicio de mysql, lo mismo va al sitio web oficial de mysql para descargar el paquete de instalación en Windows.Después de configurar el entorno de Windows, puede usar los archivos compilados. del código fuente para las pruebas de simulación.
Hay dos métodos. El primero es poner el programa ejecutable compilado y la biblioteca dinámica en su placa de desarrollo y luego conectarse manualmente. El segundo método es usar el archivo de encabezado y la biblioteca estática para escribir una conexión de programa en lenguaje C. Ambos métodos son factibles.
trabajo preliminar
Descarga el archivo primero
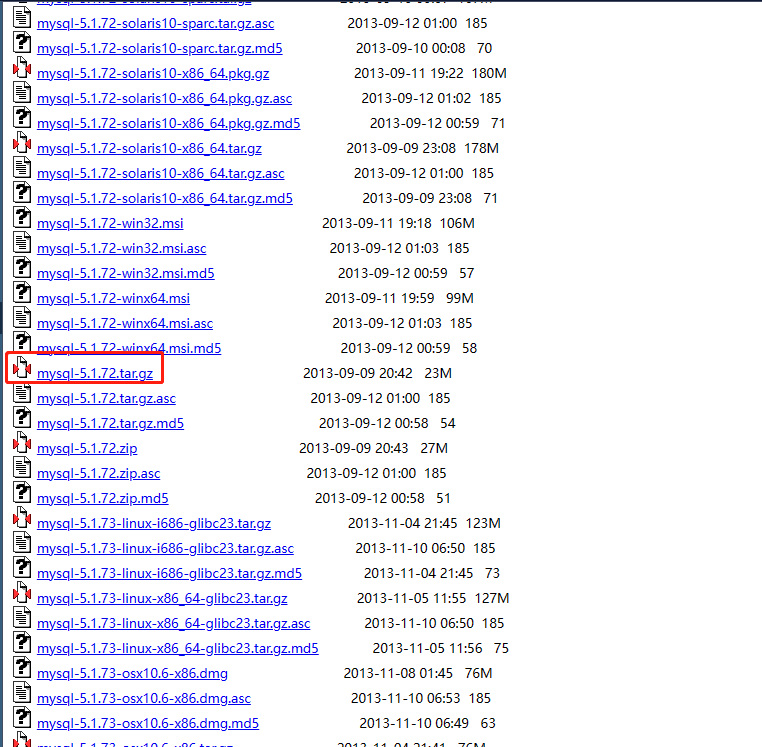
Descarga del código fuente de Mysql, estoy usando la versión mysql-5.1.72 aquí
Índice de /sites/ftp.mysql.com/Downloads/MySQL-5.1 (mirrorservice.org)
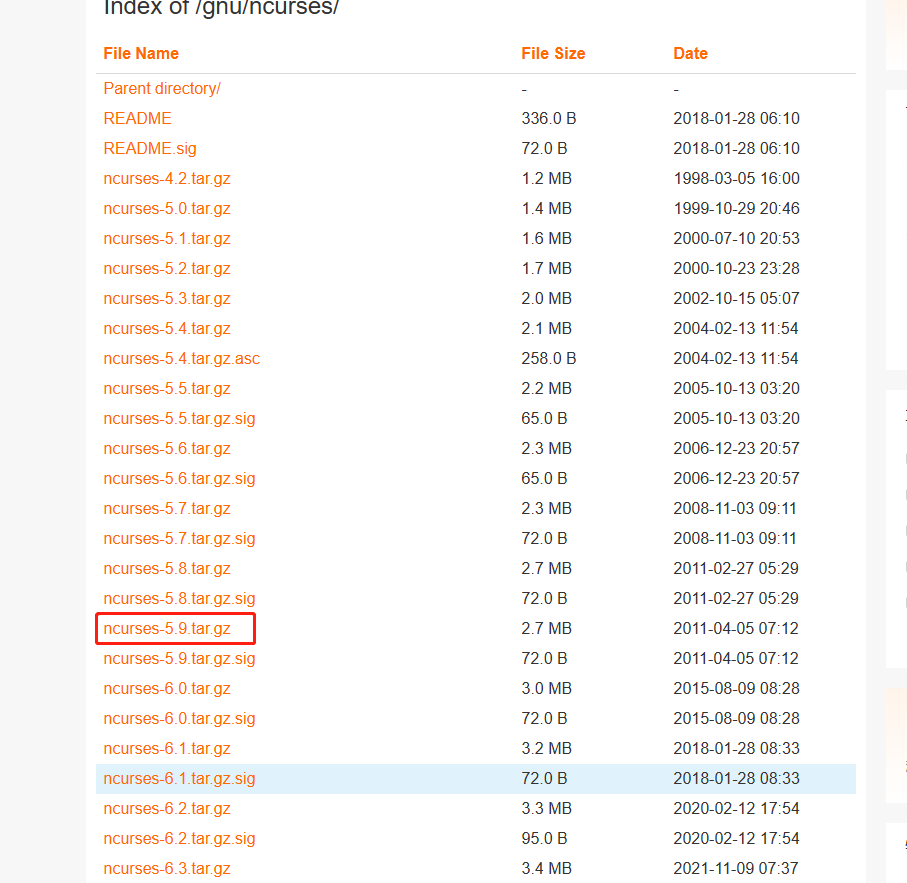
Luego descargue ncurses, esta es la dependencia necesaria para compilar el código fuente de mysql, la versión que uso aquí es 5.9
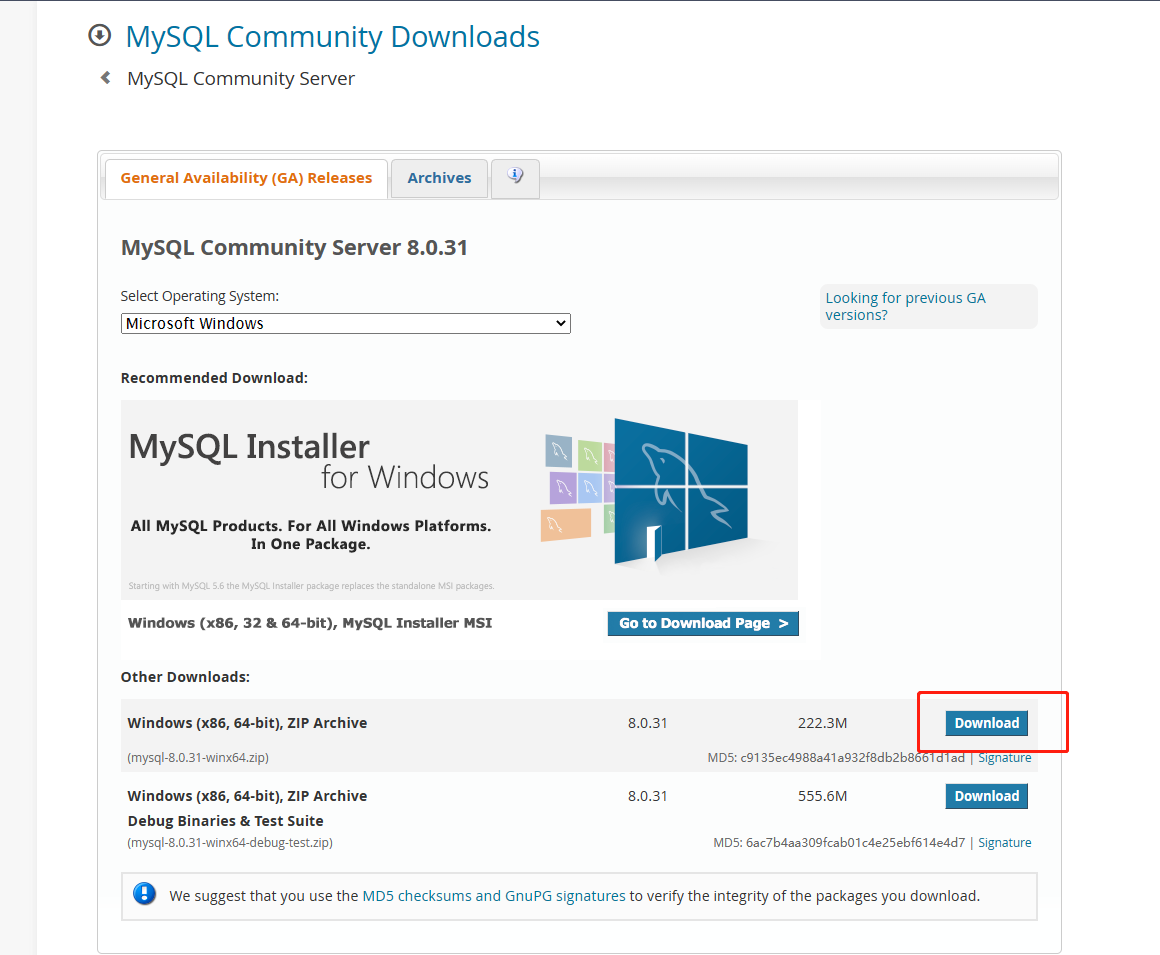
Finalmente, descargue el paquete mysql en Windows, descárguelo aquí
MySQL :: Descargar servidor de la comunidad MySQL
Entorno del compilador
Permítanme hablar sobre el entorno que uso, puede que no sea el mismo que el mío
La máquina virtual está usando la versión 16.04 de 32 bits
Ubuntu 16.04.7 LTS (Xenial Xerus)
El compilador está usando arm-none-linux-gnueabi-gcc, usando la versión 2014.05-29
Si no sabe cómo instalar el compilador, puede consultar mi artículo
compilar mysql
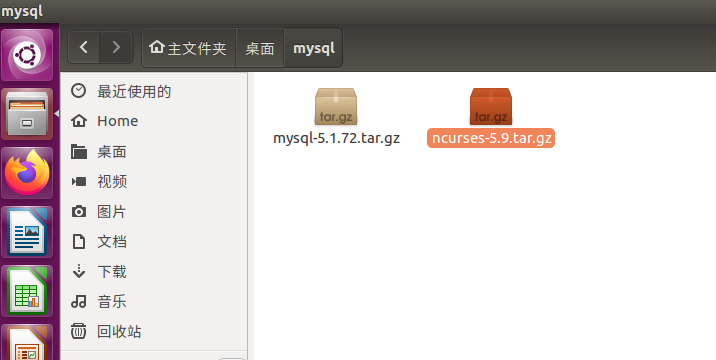
在ubuntu下,桌面新建一个文件夹mysql,将下好的源码放在这个文件夹里
- 编译PC版本的mysql备用
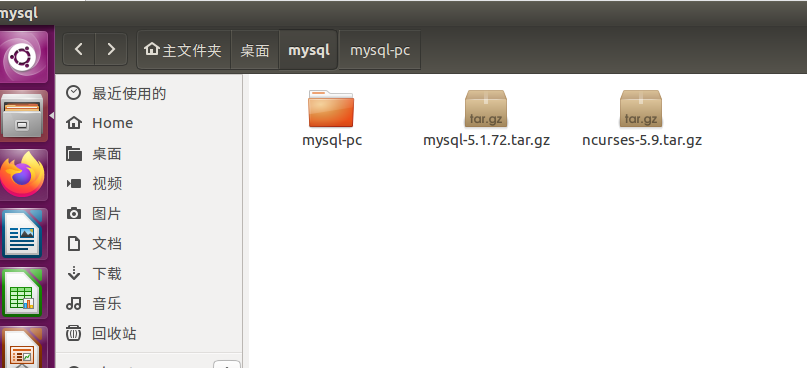
将mysql的源码解压出来,然后重命名为mysql-pc
点进mysql-pc这个文件夹,打开终端,输入一下代码进行编译
# 设置configure
./configure
# 编译
make -j4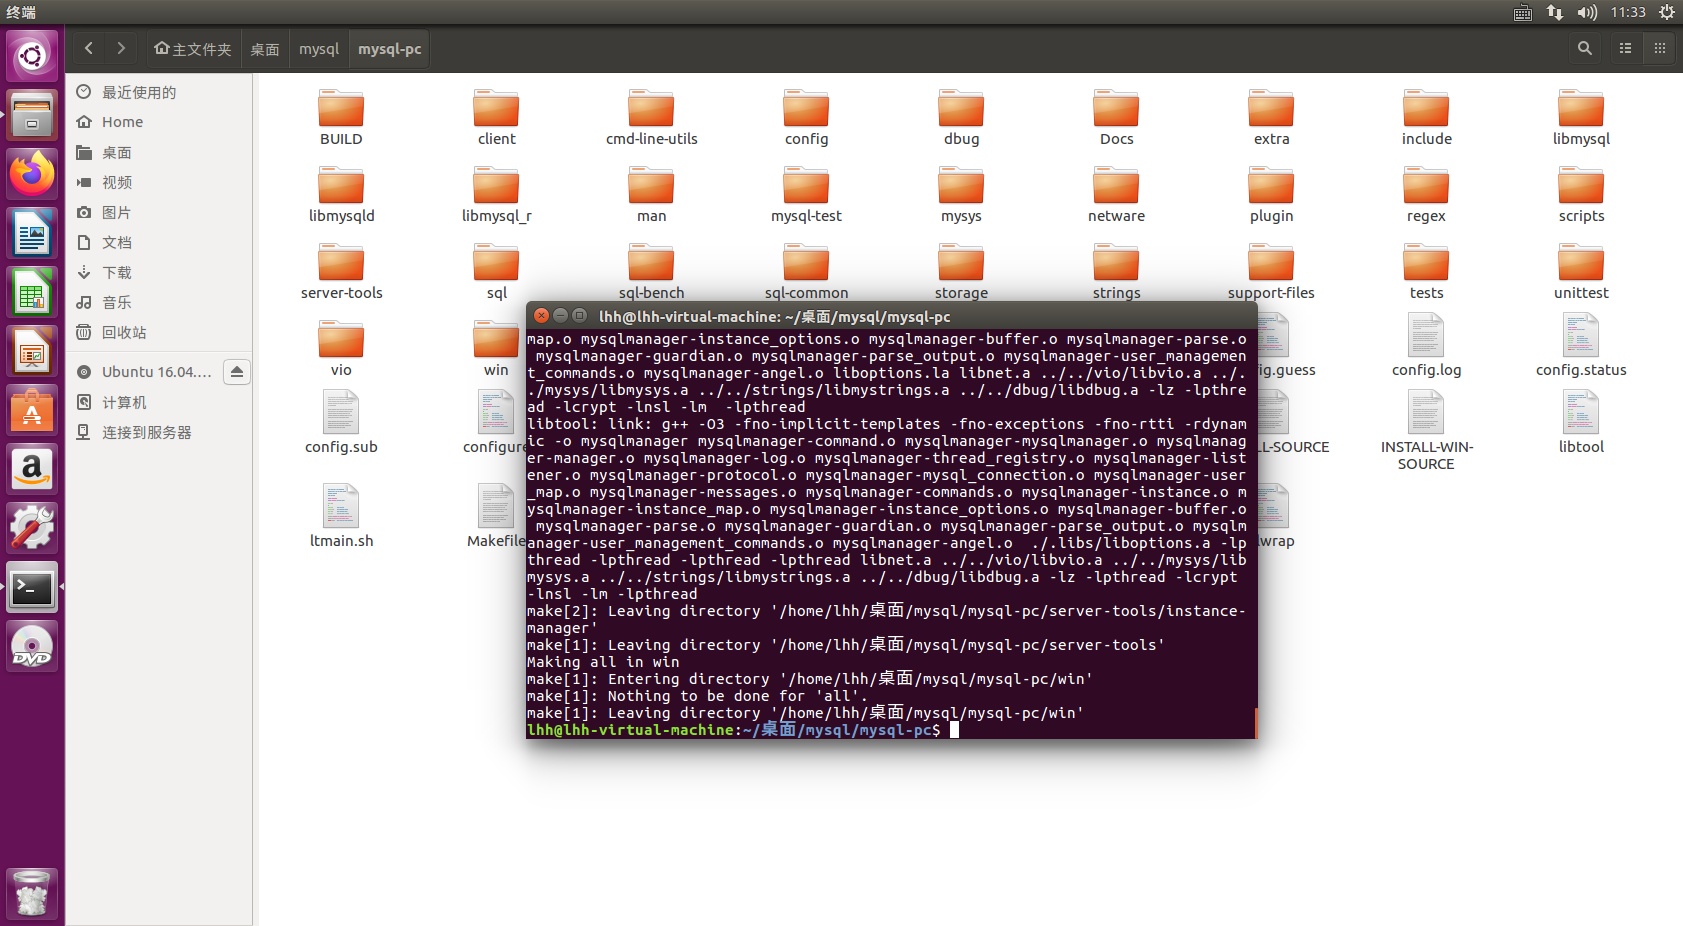
- 编译ncurses源码
同样,将其解压出来,然后再建一个文件夹ncurses-lib
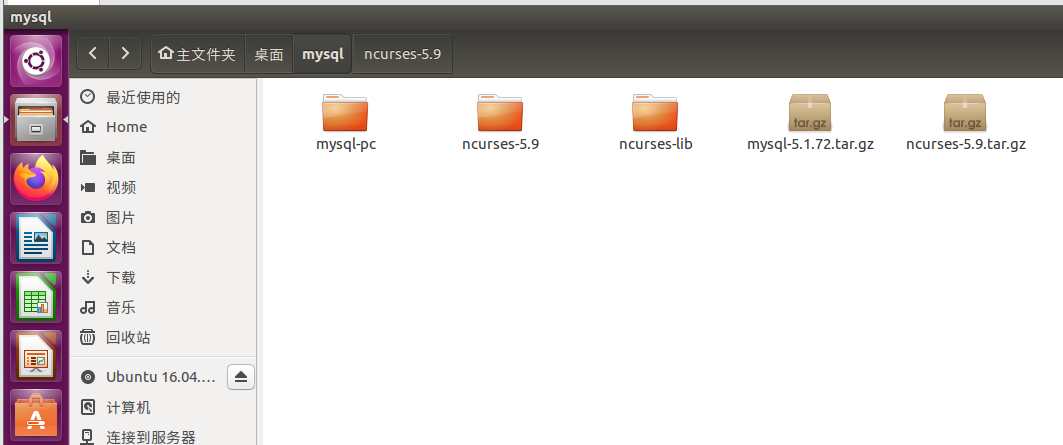
点进ncurses-5.9这个文件夹,然后打开终端,输入以下代码进行编译
./configure --host=arm-none-linux-gnueabi --prefix=/home/lhh/桌面/ncurse-lib --enable-static
# --host=arm-none-linux-gnueabi 编译器选择
# --prefix=/home/lhh/桌面/ncurse-lib 最终生成文件的路径
# 这两个需要按照你实际的来设置
make -j4 # 编译
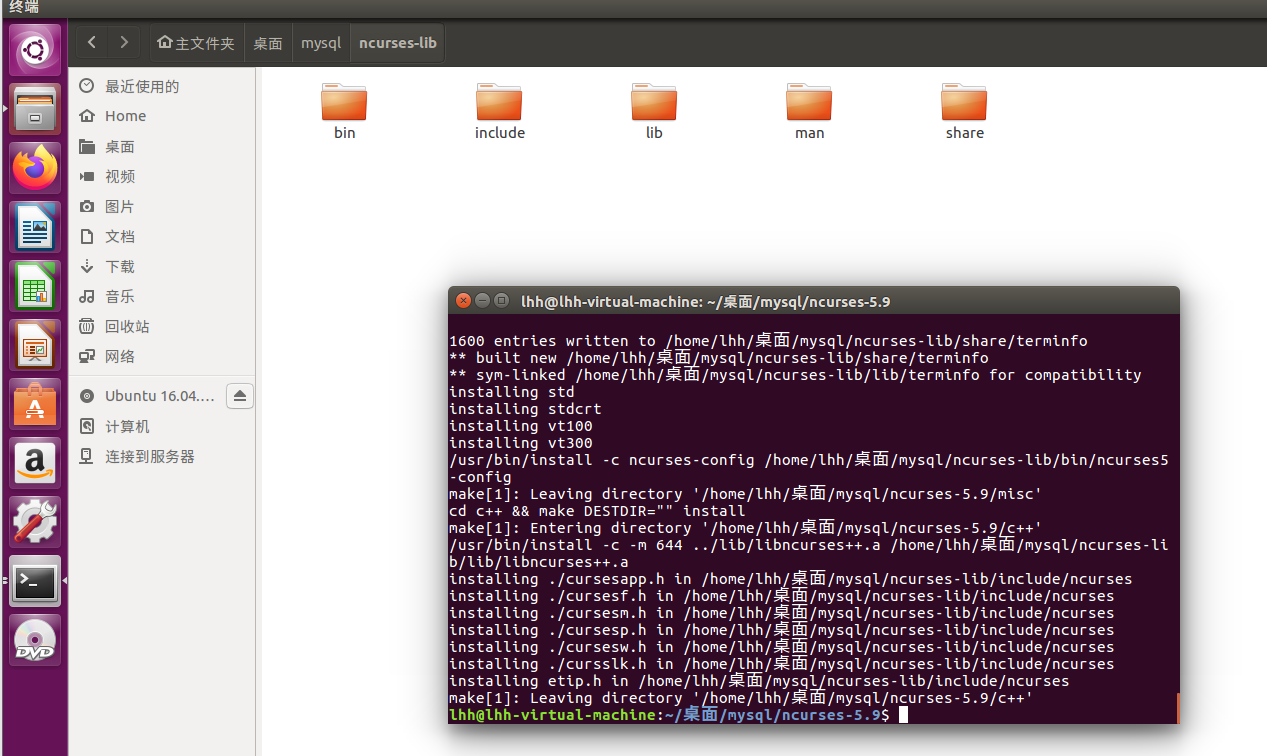
make install #安装完成后会在ncurses-lib这个文件夹生成以下文件
- 编译mysql源码
首先将mysql的源码包再解压一份出来
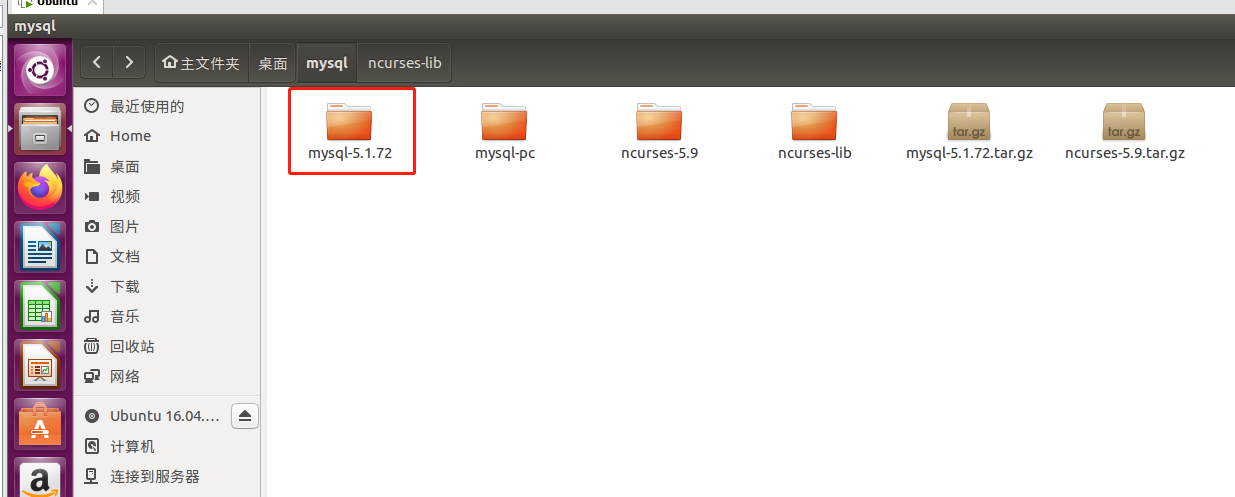
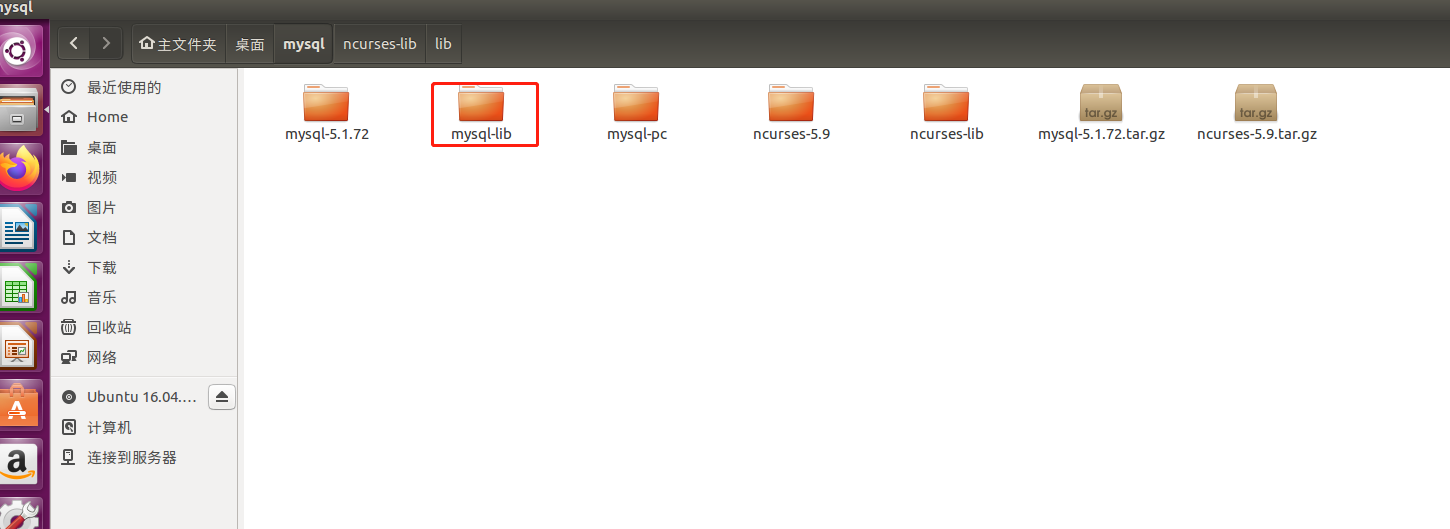
再建一个文件夹mysql-lib
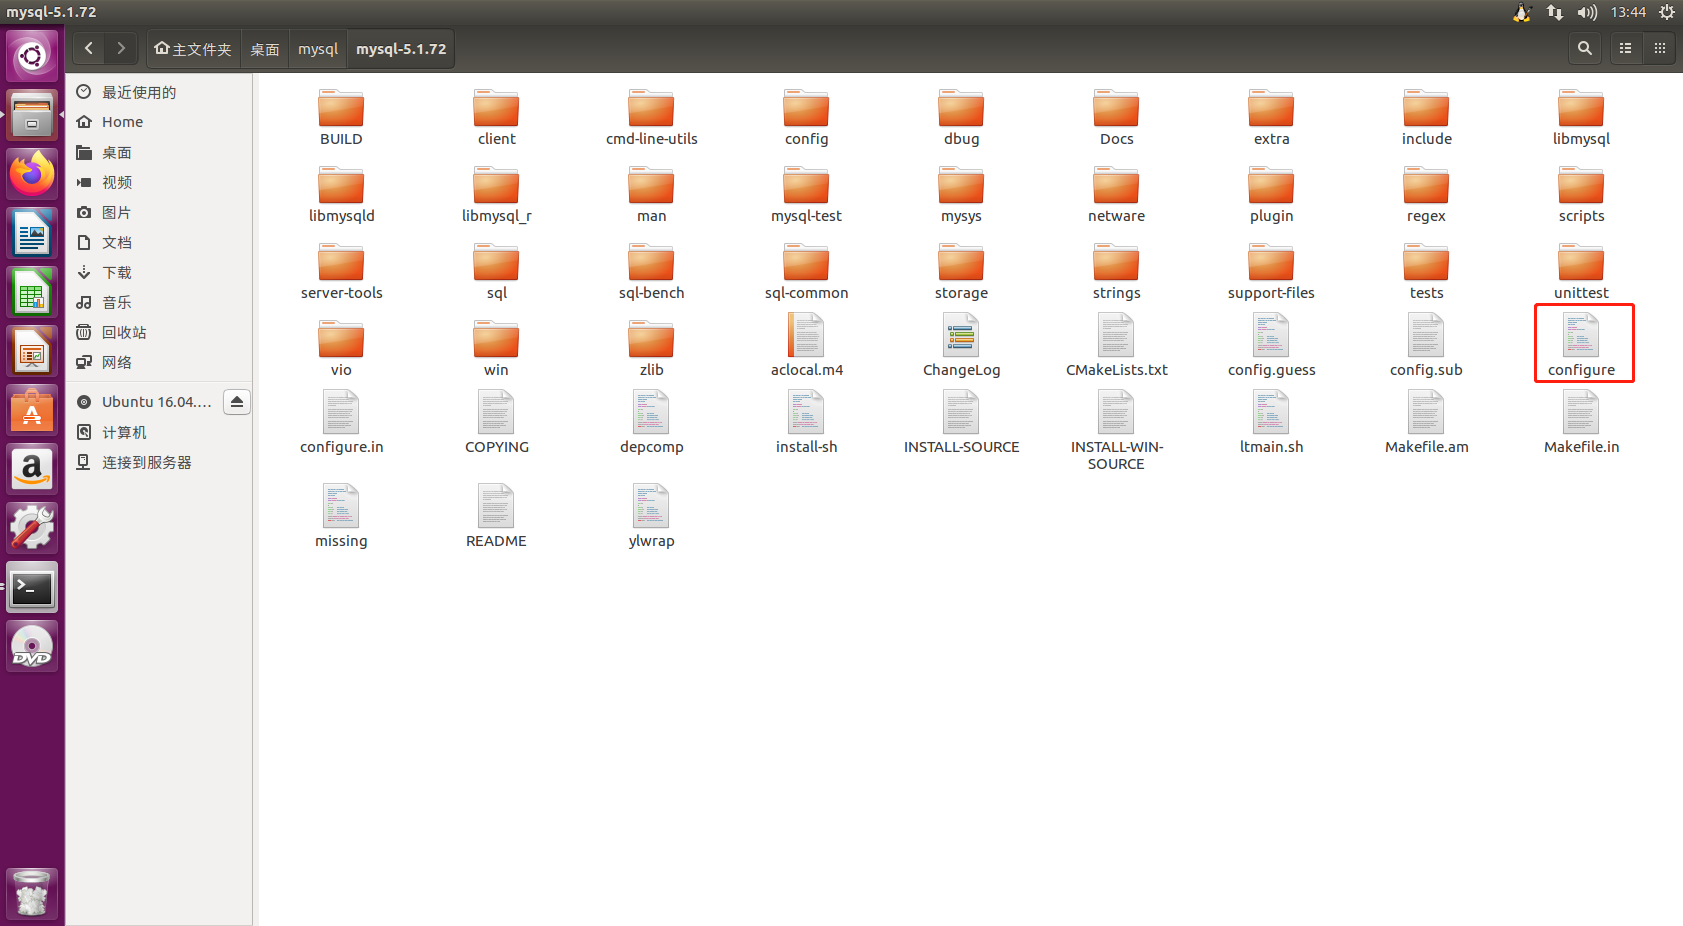
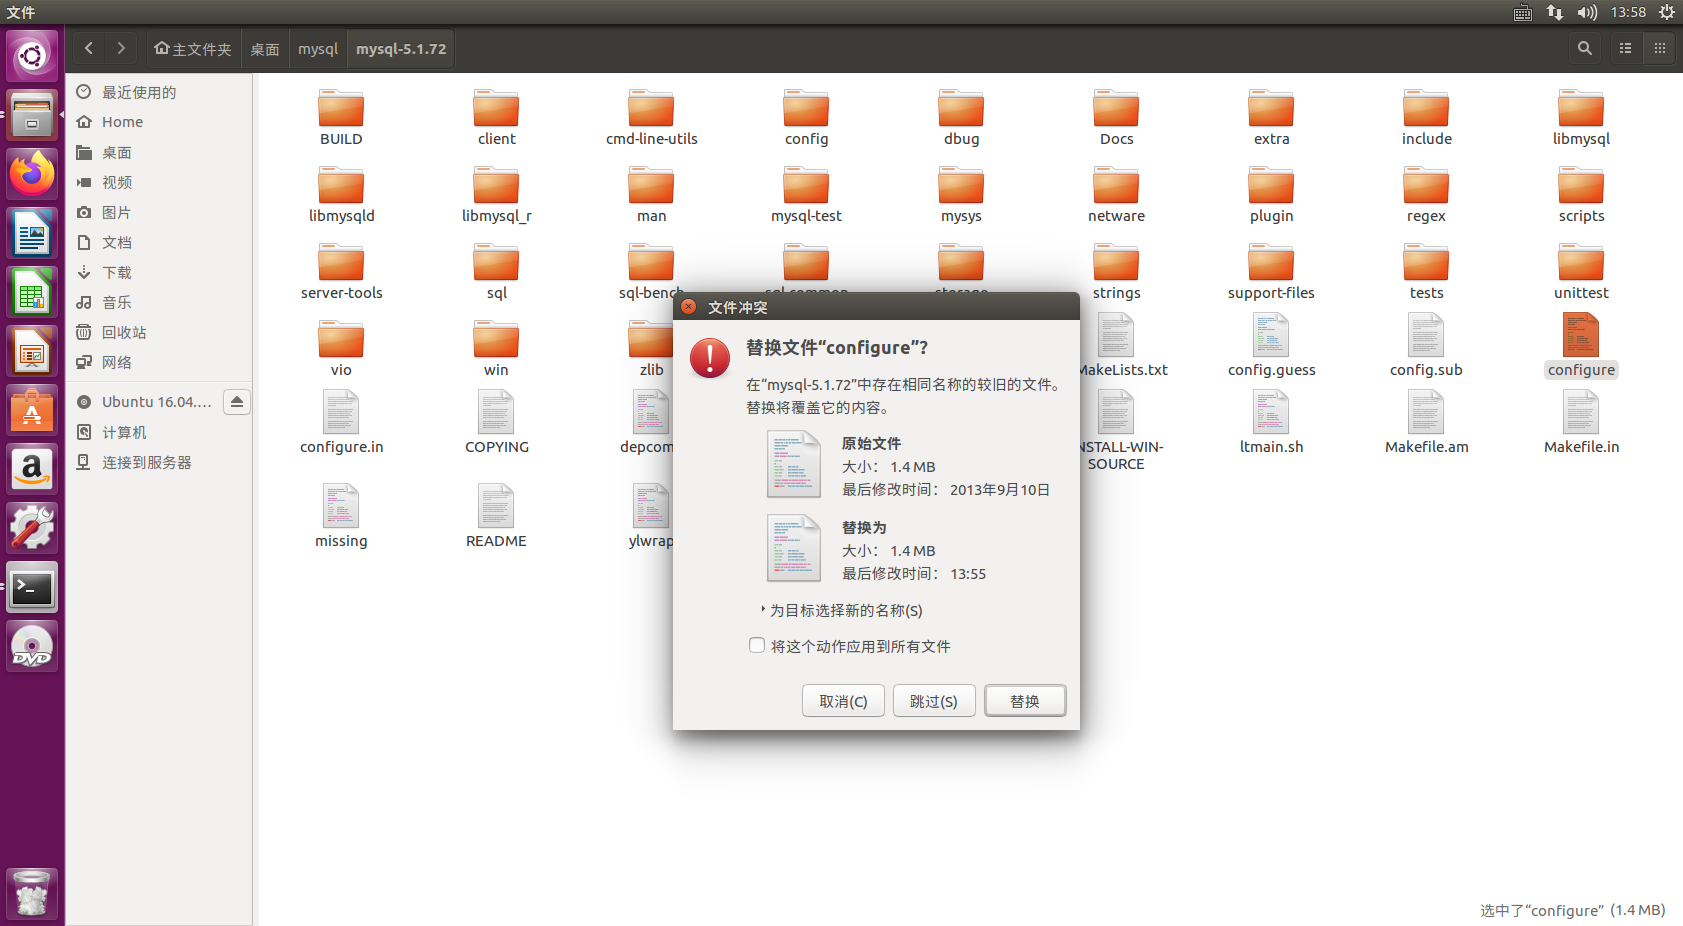
进入源码文件夹,首先找到一个configure的文件
将其复制到windows上,然后用合适的文本编译器打开,在26303、48121、48227、48440行的位置找到以下内容
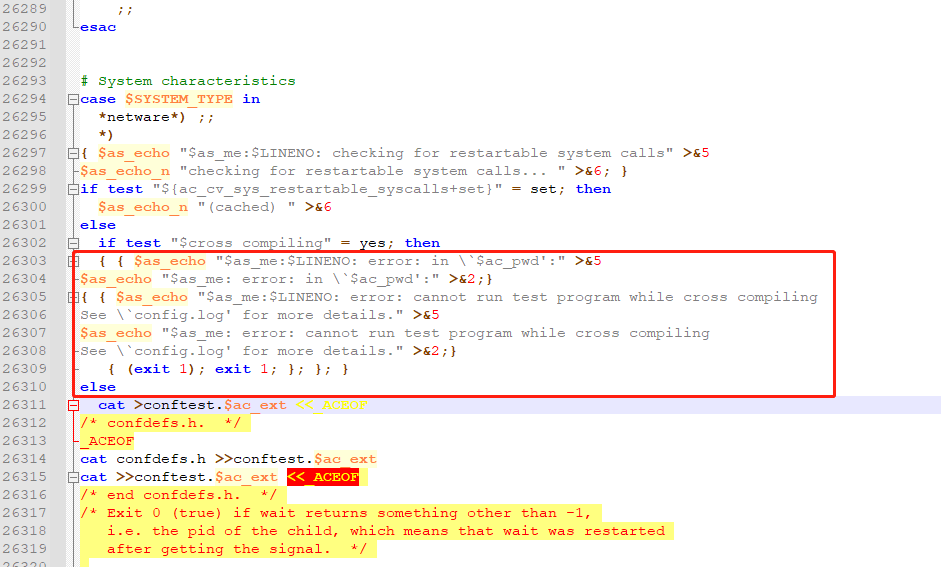
将其注释
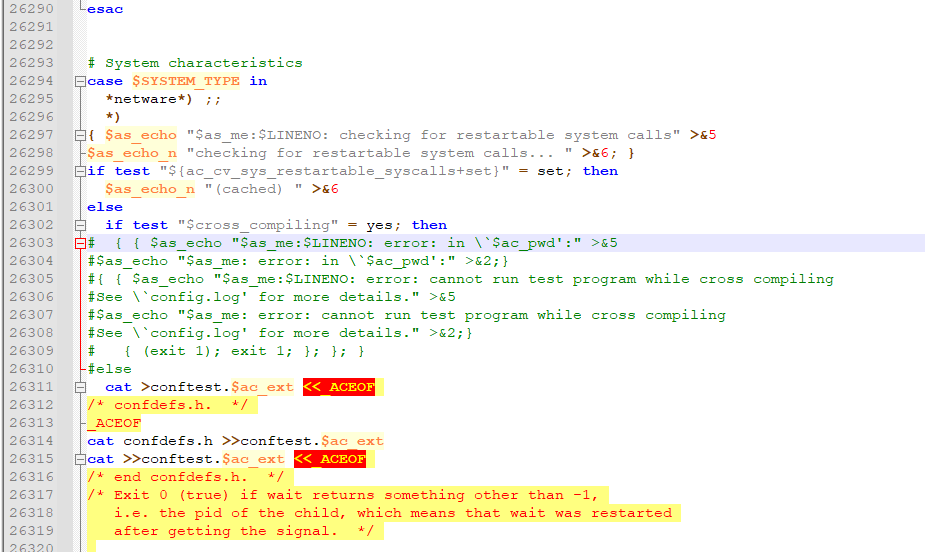
如果位置不对的话直接查找以下内容来找
{ { $as_echo "$as_me:$LINENO: error: cannot run test program while cross compiling接着保存将这个文件替换掉虚拟机源码里的configure文件
然后打开终端执行以下命令
./configure --host=arm-none-linux-gnueabi --enable-static --with-named-curses-libs=/home/lhh/桌面/mysql/ncurses-lib/lib/libncurses.a --prefix=/home/lhh/桌面/mysql/mysql-lib --without-debug --without-docs --without-man --without-bench --with-charset=gb2312 --with-extra-charsets=ascii,latin1,utf8
# --host --prefix 这个按实际的来,上面讲过,这里就不解释了
# --with-named-curses-libs 这个就是之前ncurses源码编译出来的库文件
完成后不着急使用make指令,首先在当前目录下的sql文件夹中找到这个文件sql_parse.cc
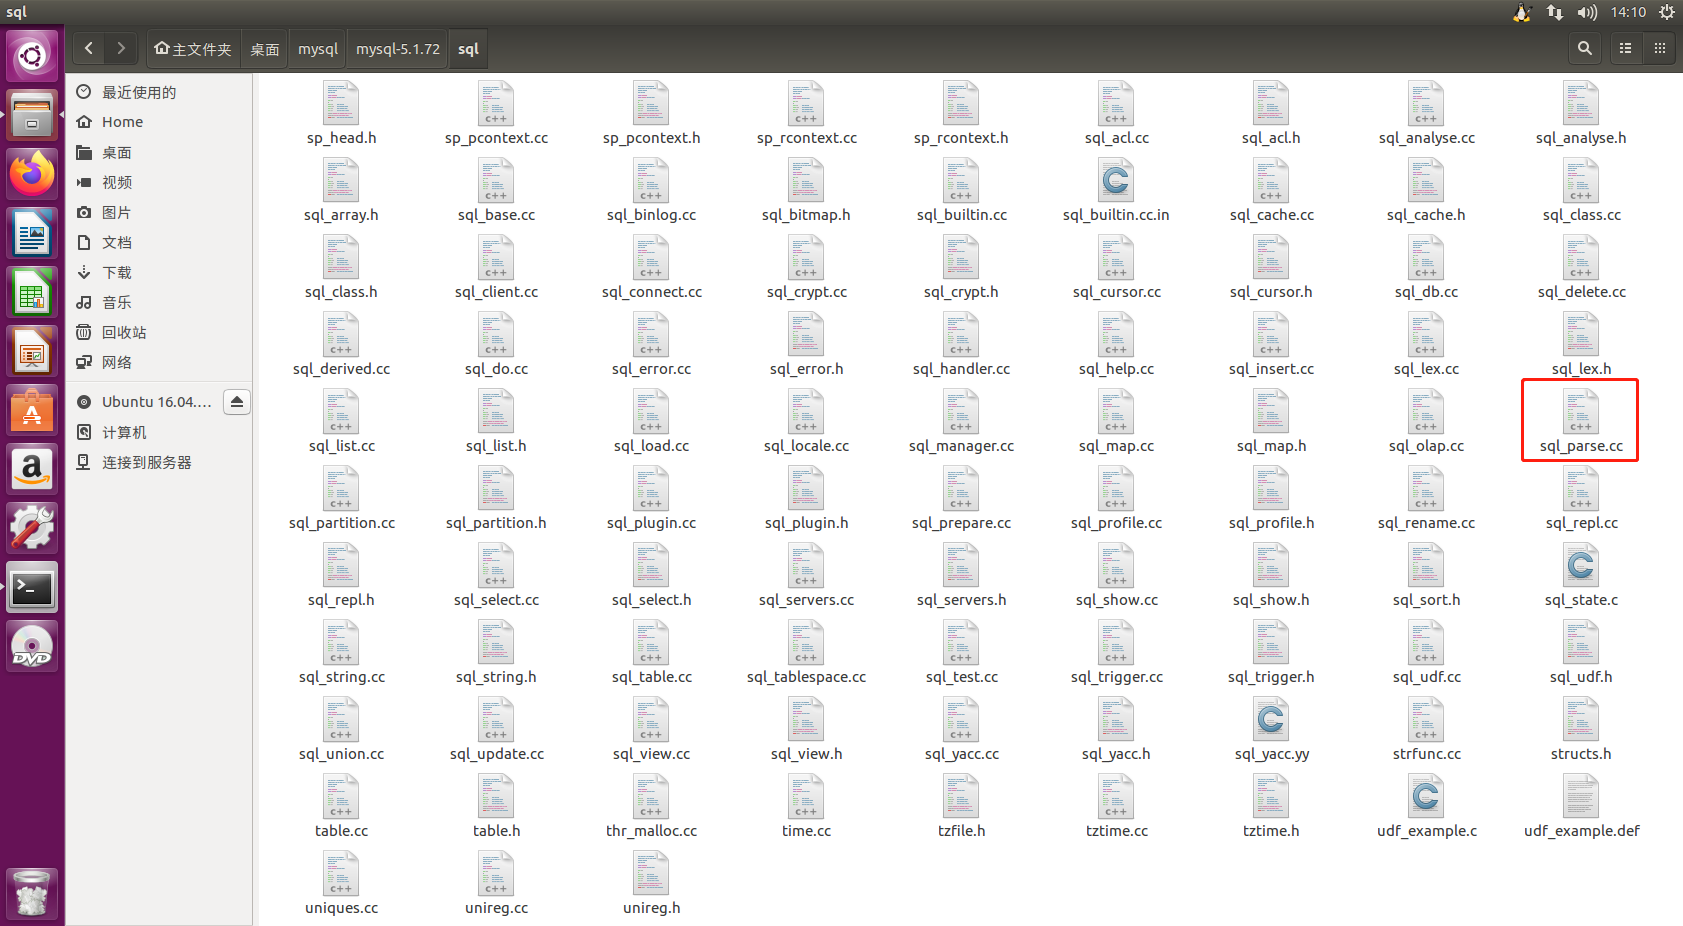
同样的,将其复制出来,然后找到5636行的位置,添加代码
#define STACK_DIRECTION 1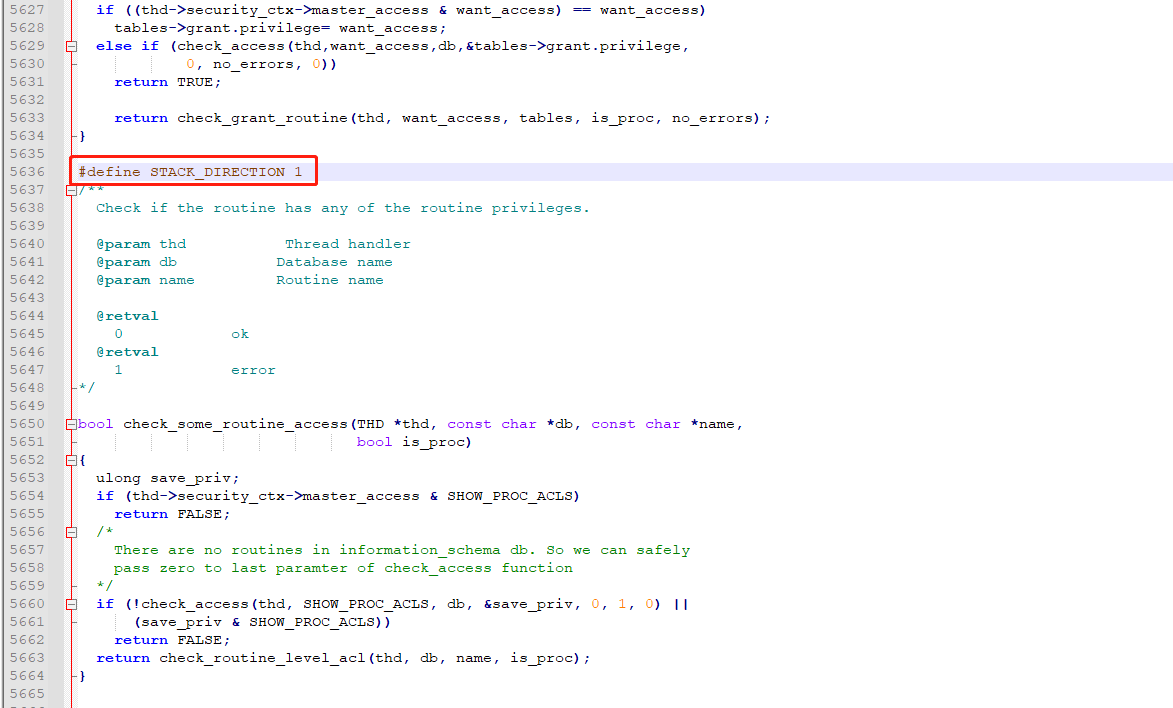
完成后再将其复制替换到虚拟机
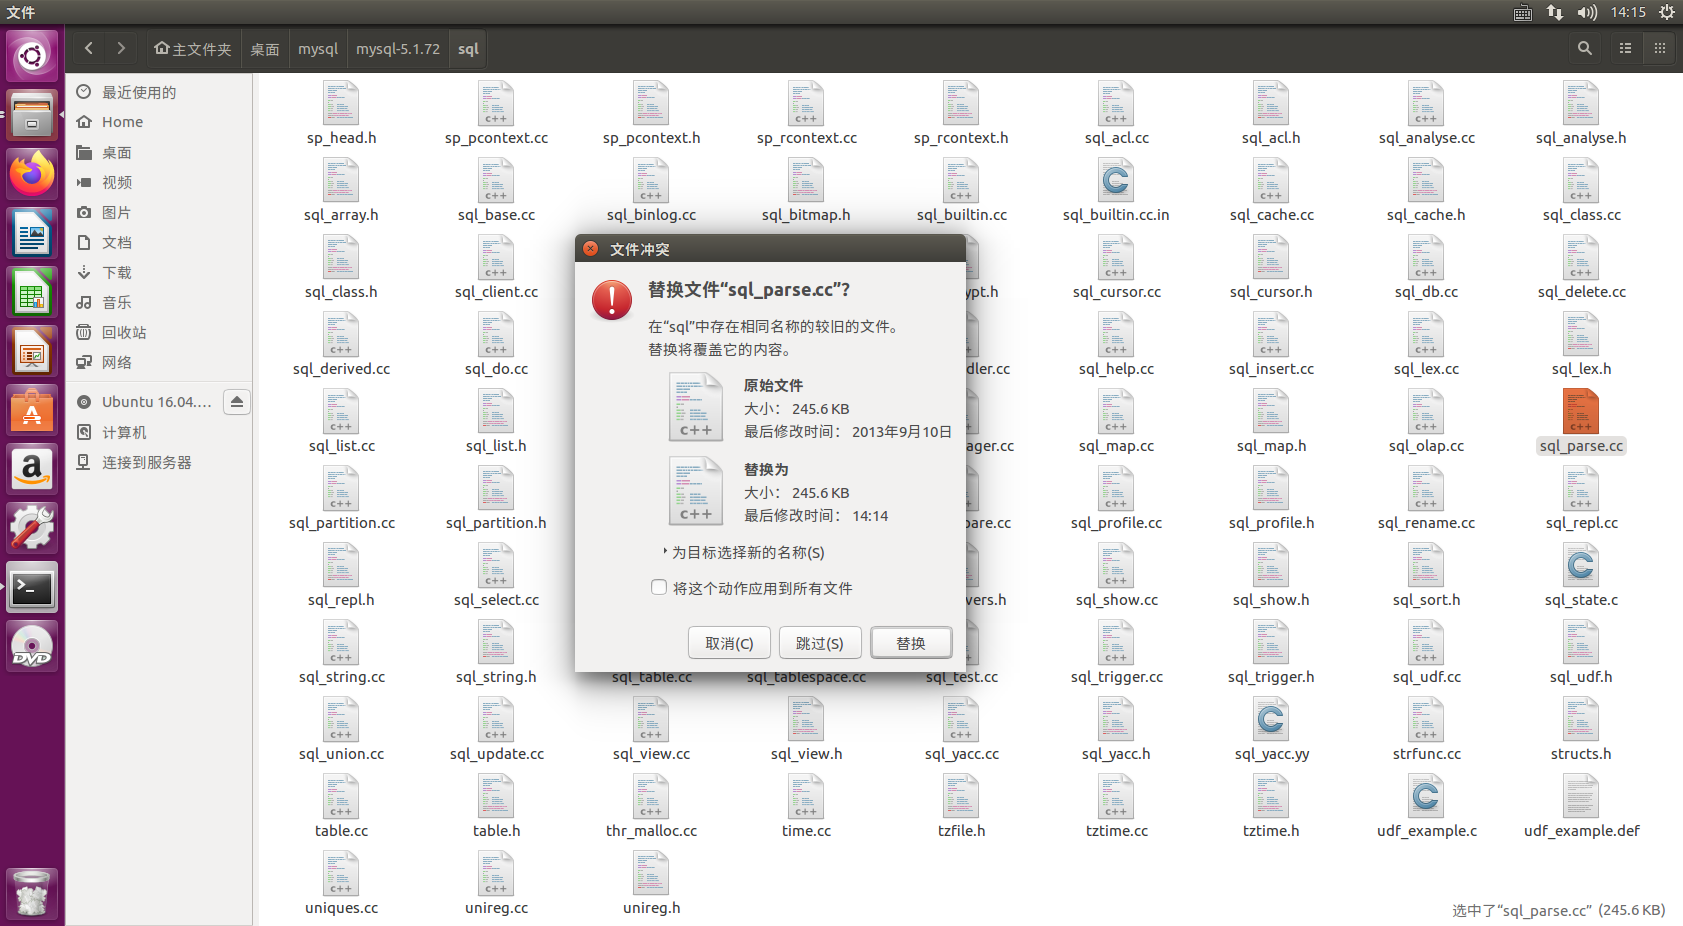
接着在终端执行以下代码,将之前编译的PC版的文件替换过来
cp ../mysql-pc/sql/gen_lex_hash sql/
touch -m sql/gen_lex_hash
cp ../mysql-pc/sql/lex_hash.h sql/
touch -m sql/lex_hash.h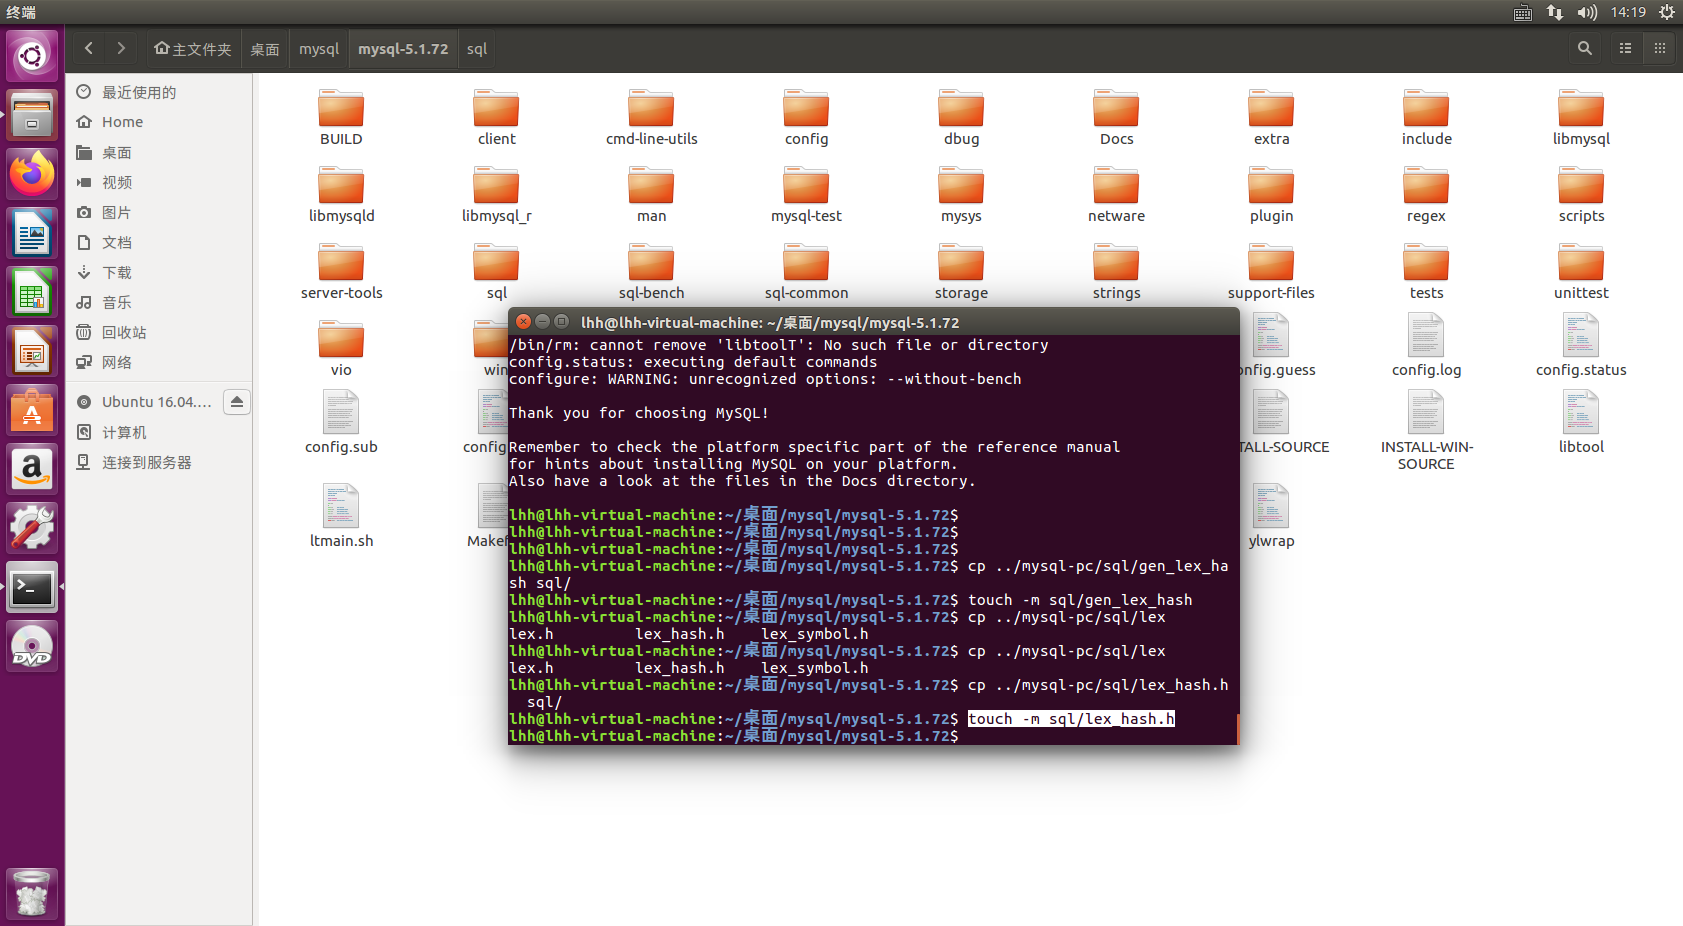
否者make的时候会出现错误
make[2]: Leaving directory `/opt/mysql-5.5.3-m3/sql' ./gen_lex_hash > lex_hash.h-t
如果执行完以上操作还是出现这个错误,那么就再执行一遍上面的代码,再make
make没问题后,再执行
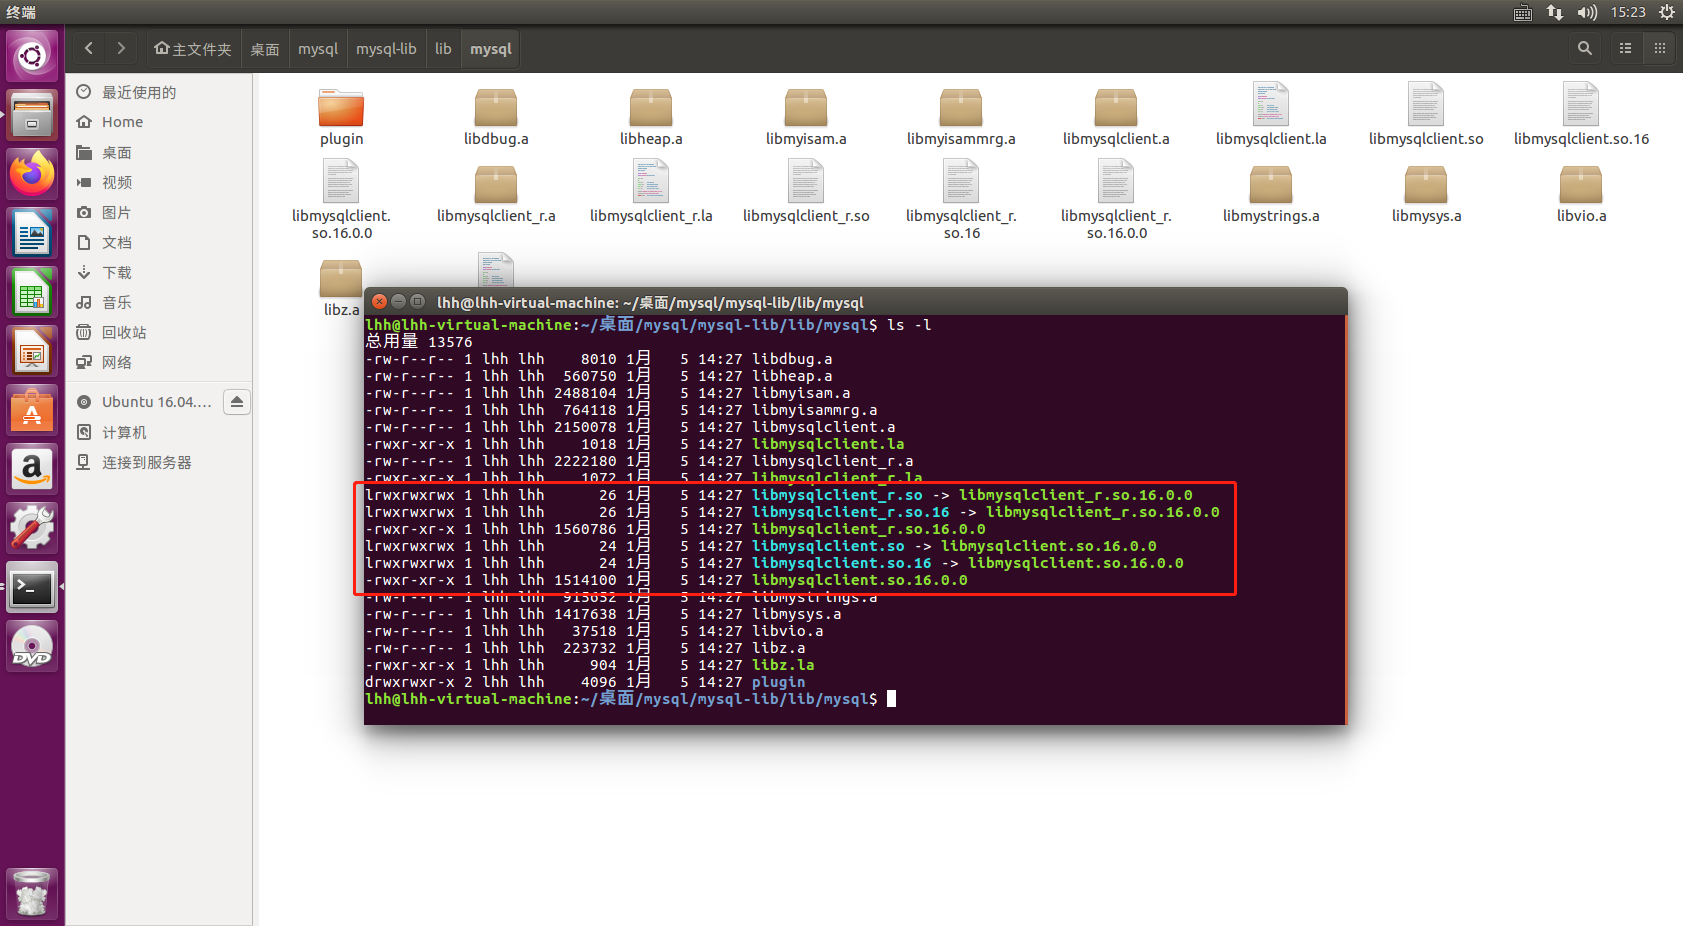
make install最后会在mysql-lib的文件夹中生成我们所需的文件
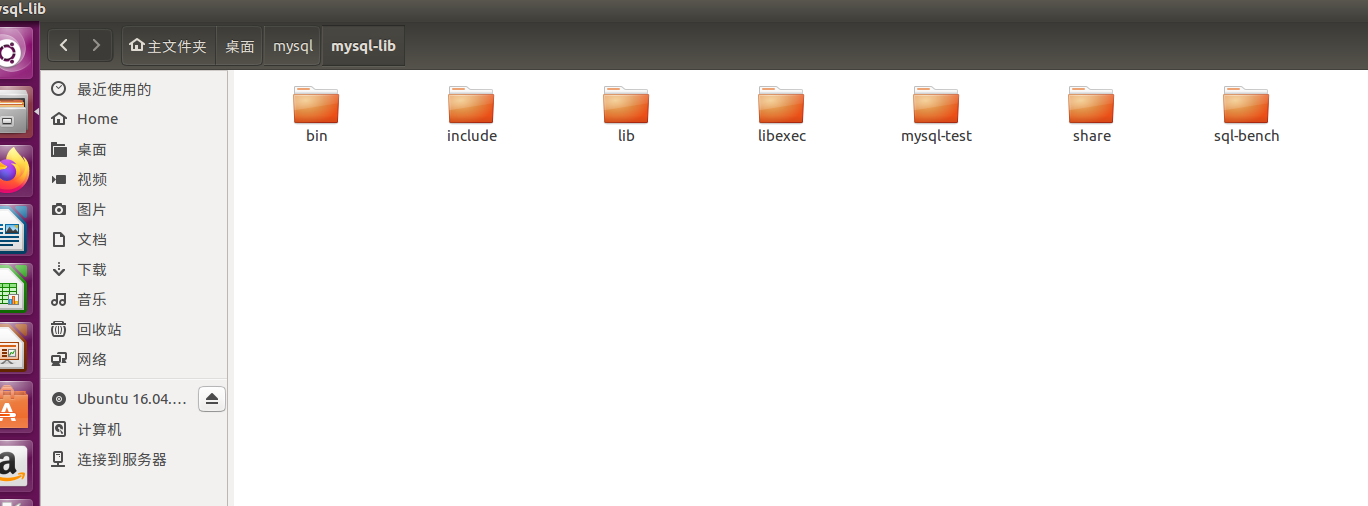
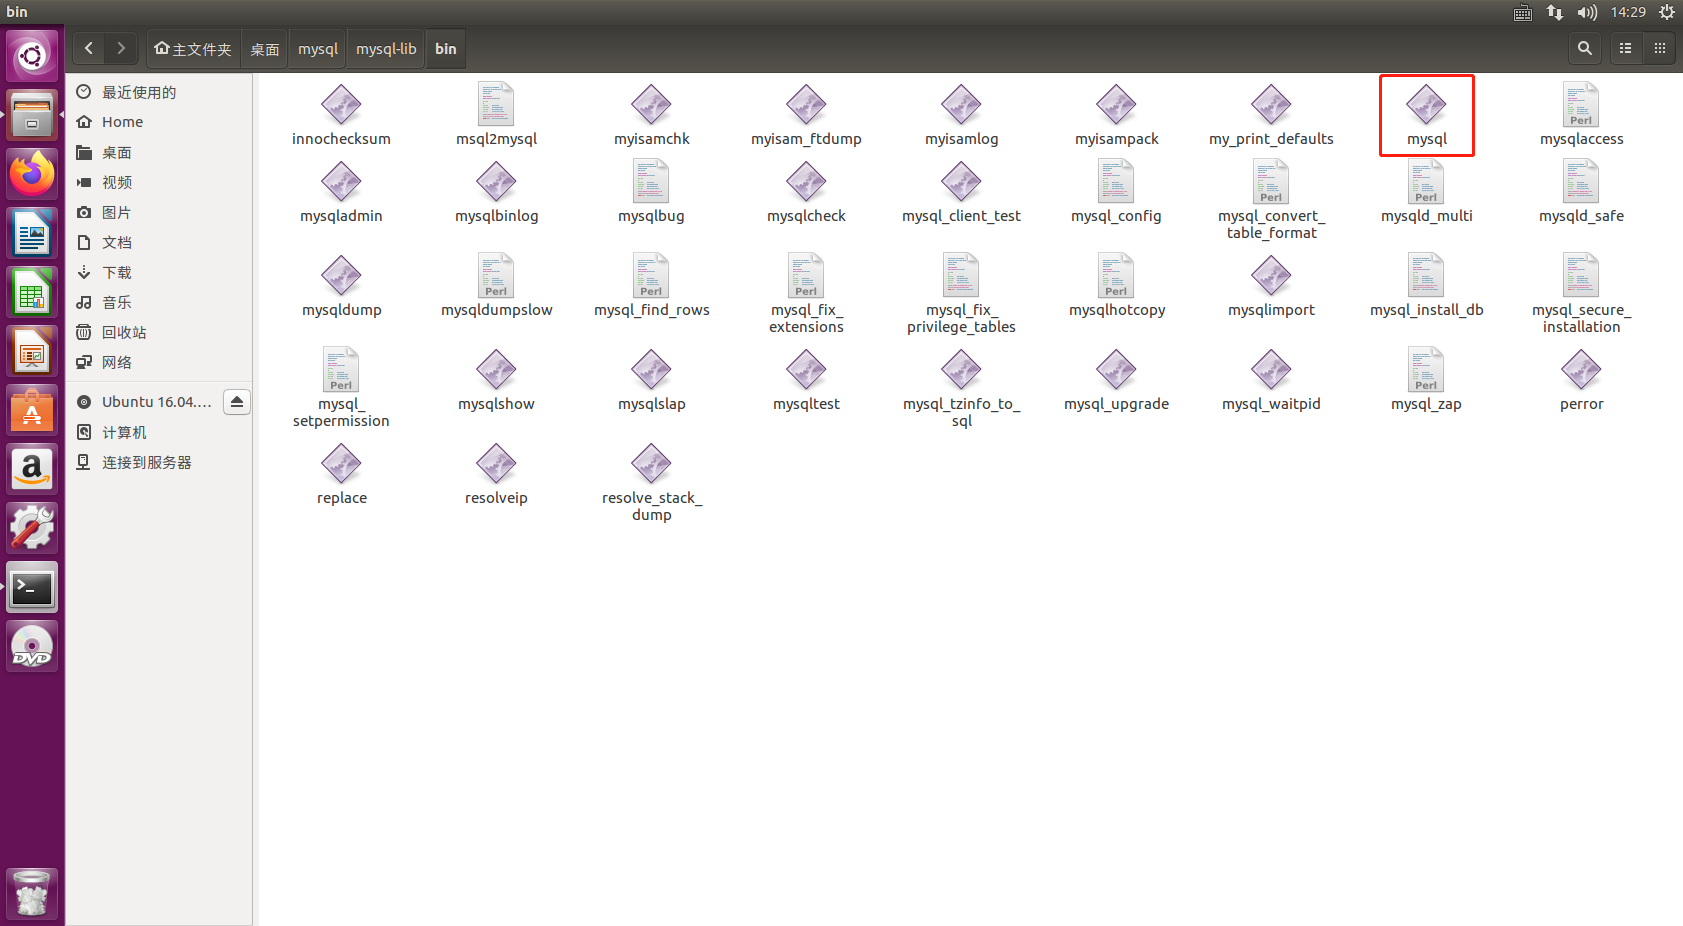
其中可执行文件在bin目录下
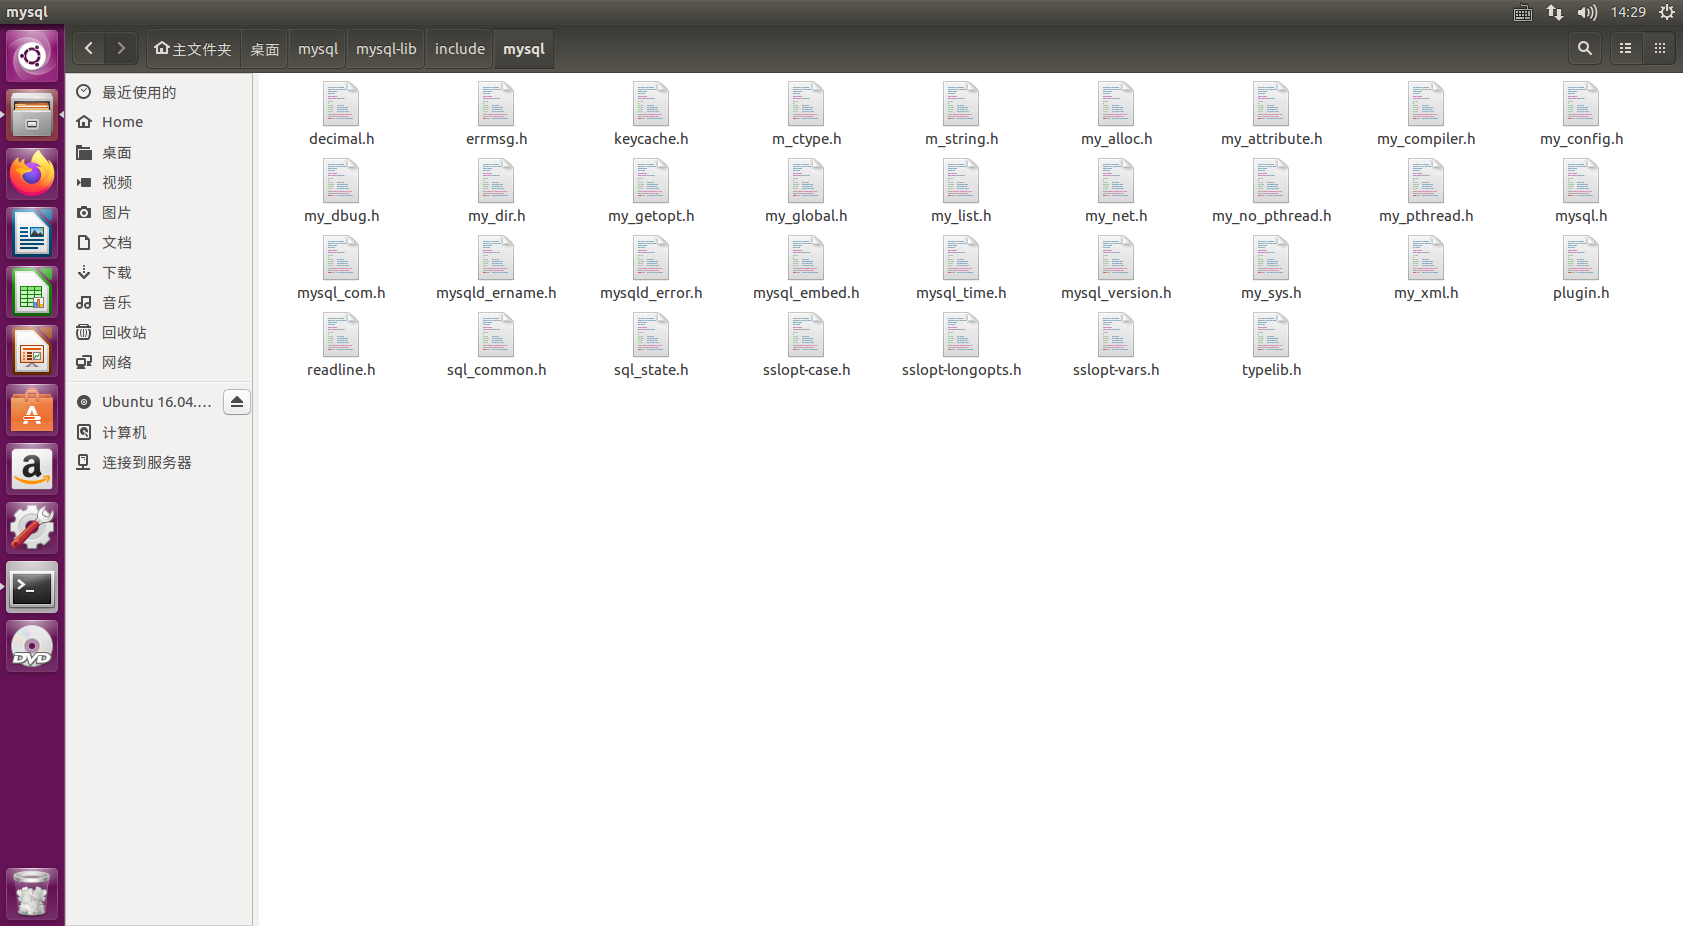
头文件在incldue文件下
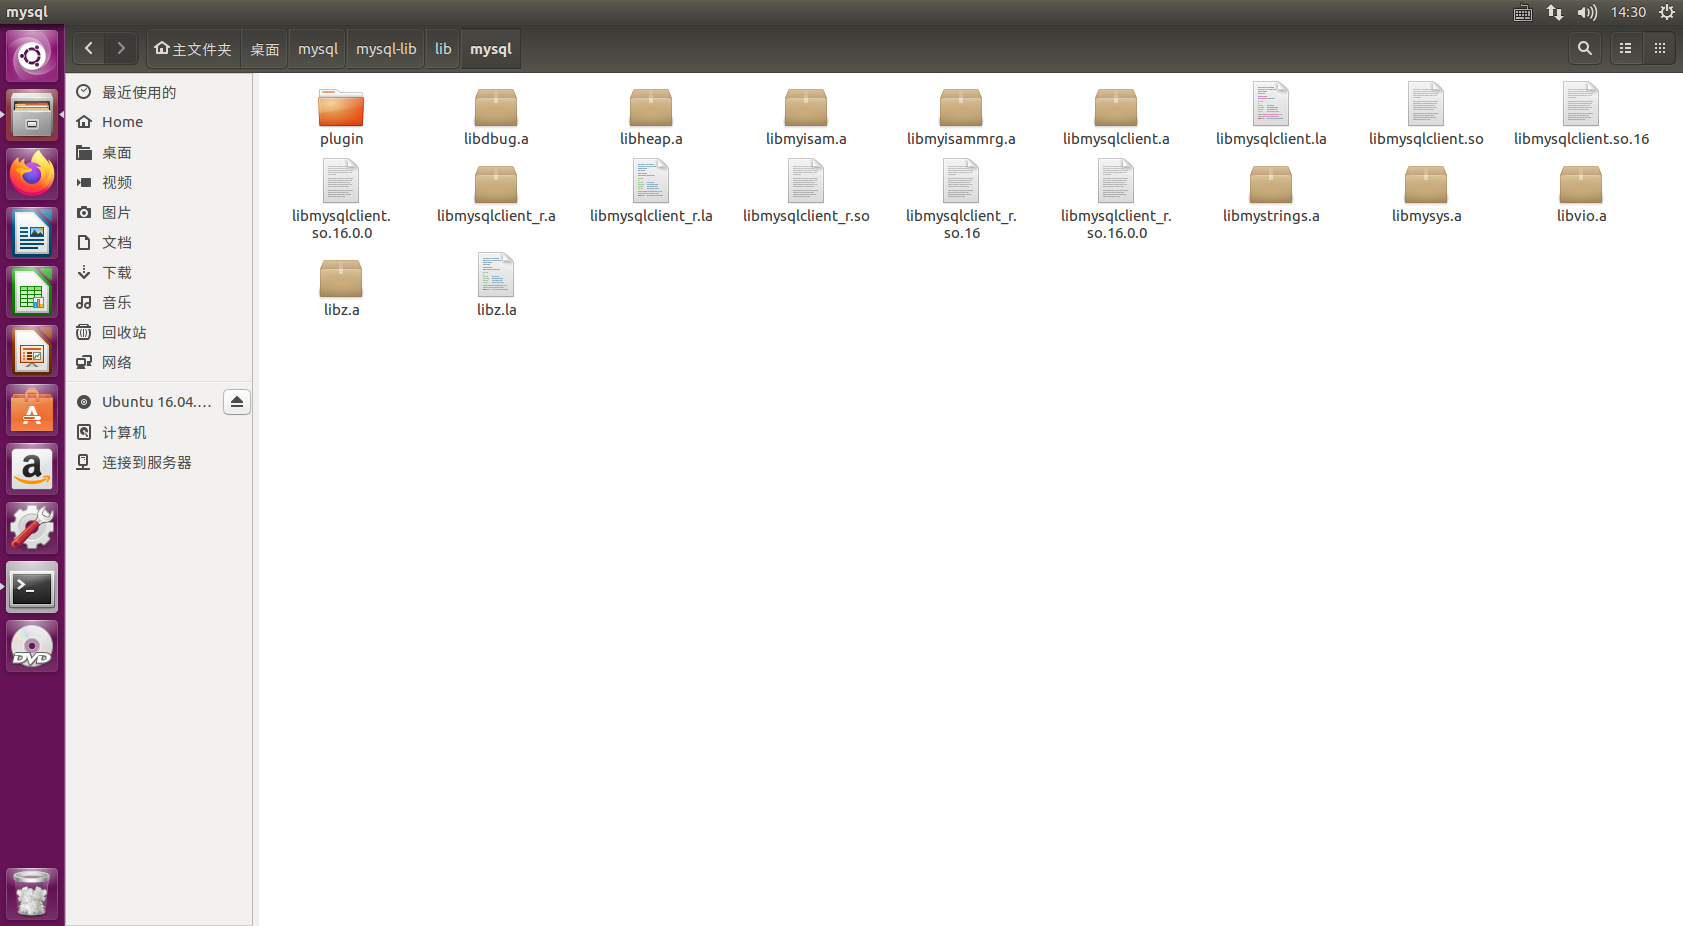
库文件在lib目录下
至此,mysql的源码完成编译
编译mysql源码时,如果出现其他报错信息,不一定是你的步骤错了,有可能是你虚拟机环境的问题,可能少了什么依赖,本人编译的时候也碰到过其他报错,后面百度才知道是虚拟机环境的少了一些依赖,安装即可。
windows下mysql环境配置
1.安装mysql
将我们之前下载的最新的8.0安装包解压到任意位置,我这里是放在了这个目录下

点进这个目录,新建一个文件my.ini,用记事本打开,里面添加内容
[mysqld]
basedir = D:\Program Files\mysql-8.0.31-winx64\
datadir = D:\Program Files\mysql-8.0.31-winx64\data
port =3306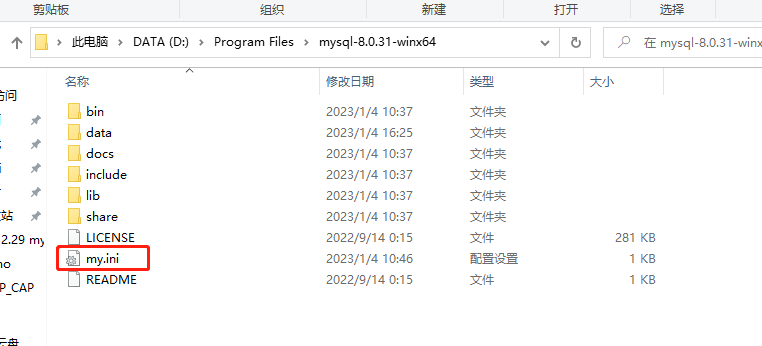
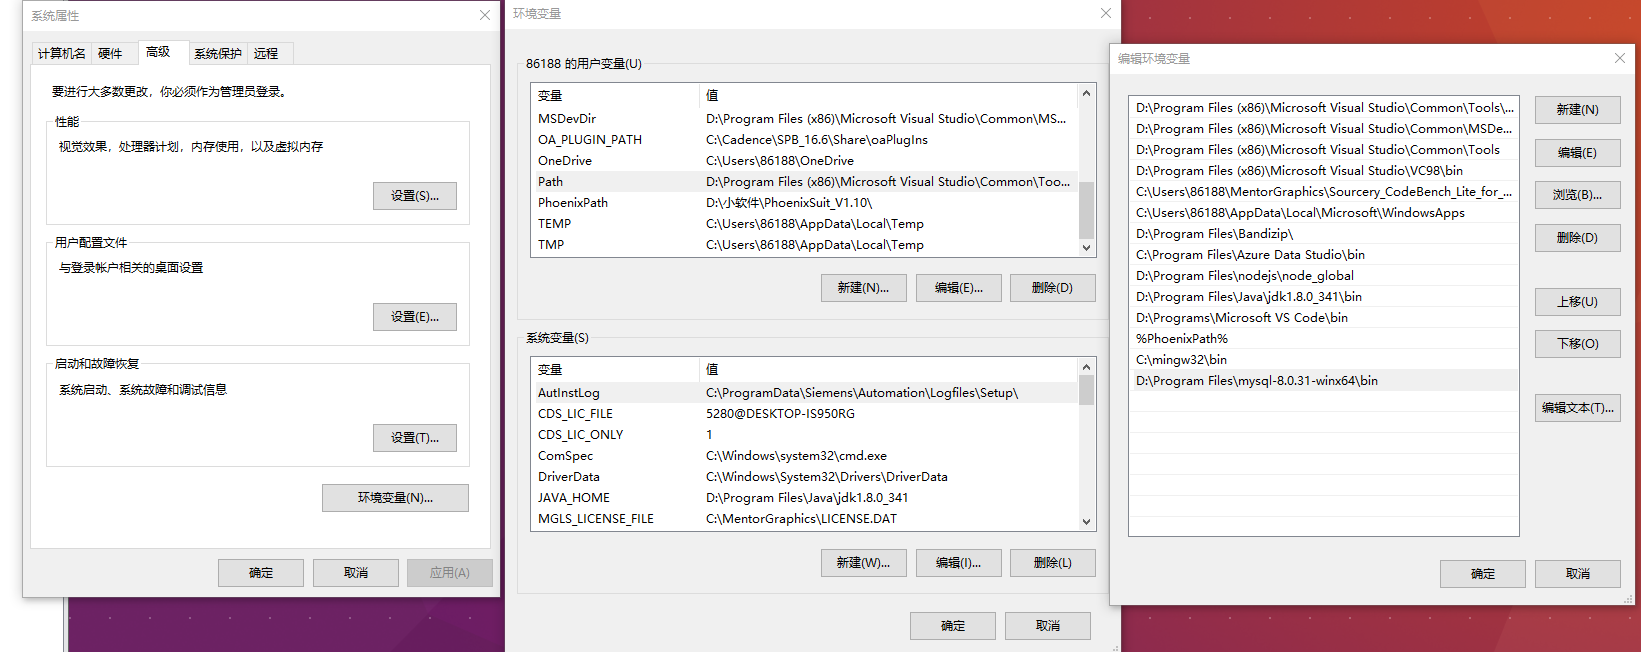
然后,添加环境变量
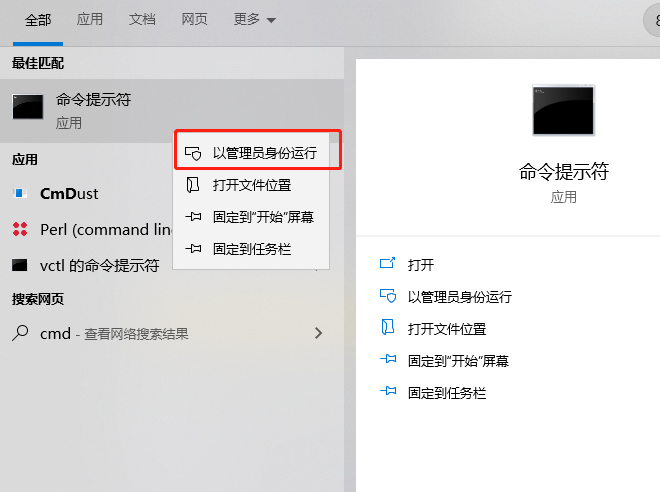
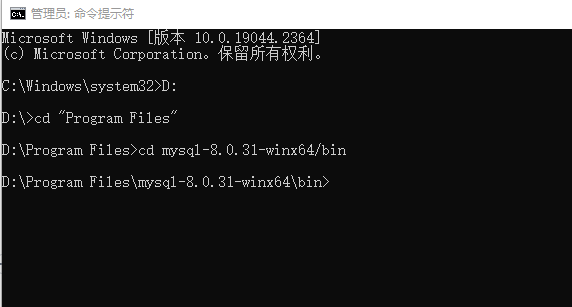
接着用以管理员方式打开命令行
切换到mysql软件目录下的bin目录
先初始化数据库
mysqld --initialize --console
下方信息中这个是root用户的初始密码
接着安装数据库
mysqld --install安装成功后,开启数据库服务
net start mysql登录数据库,密码就是上面说的初始密码
mysql -u root -p最后修改密码,将root用户的密码设置为root(可根据自己意愿设置)
ALTER USER 'root'@'localhost' IDENTIFIED BY '123456';2.开放root用户连接,使其可以通过外部连接
首先找到电脑高级防火墙设置,新建一个规则,选择端口
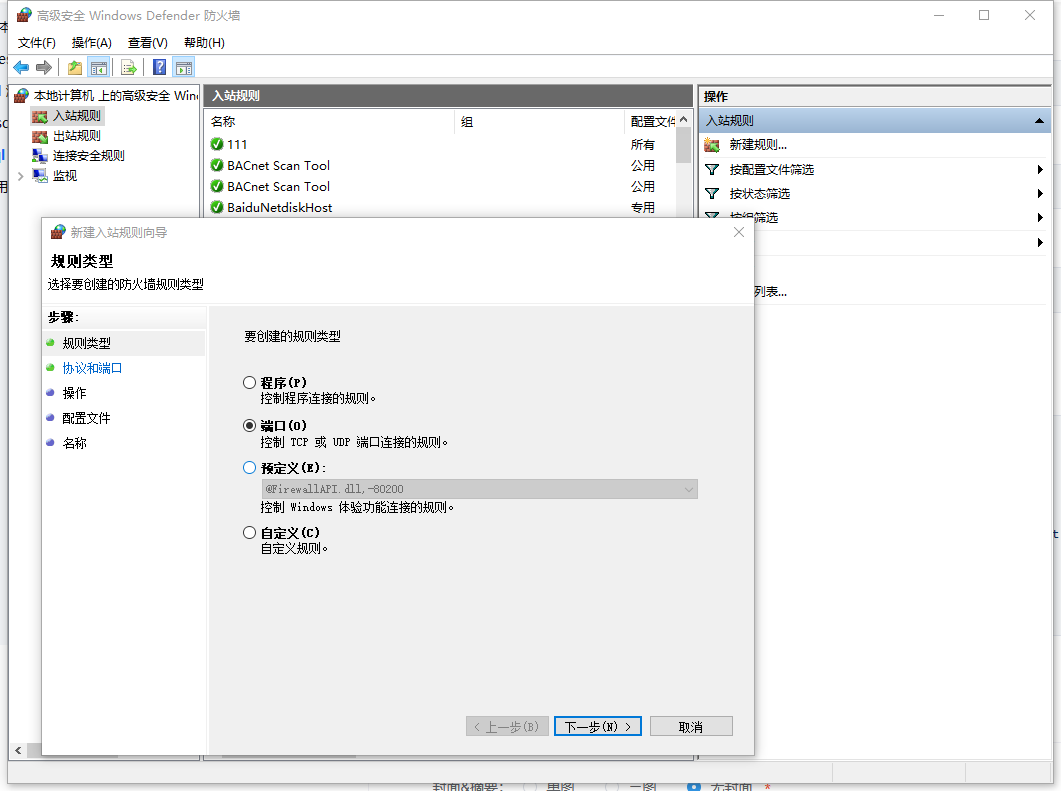
端口号设置为3306,也就是mysql的端口
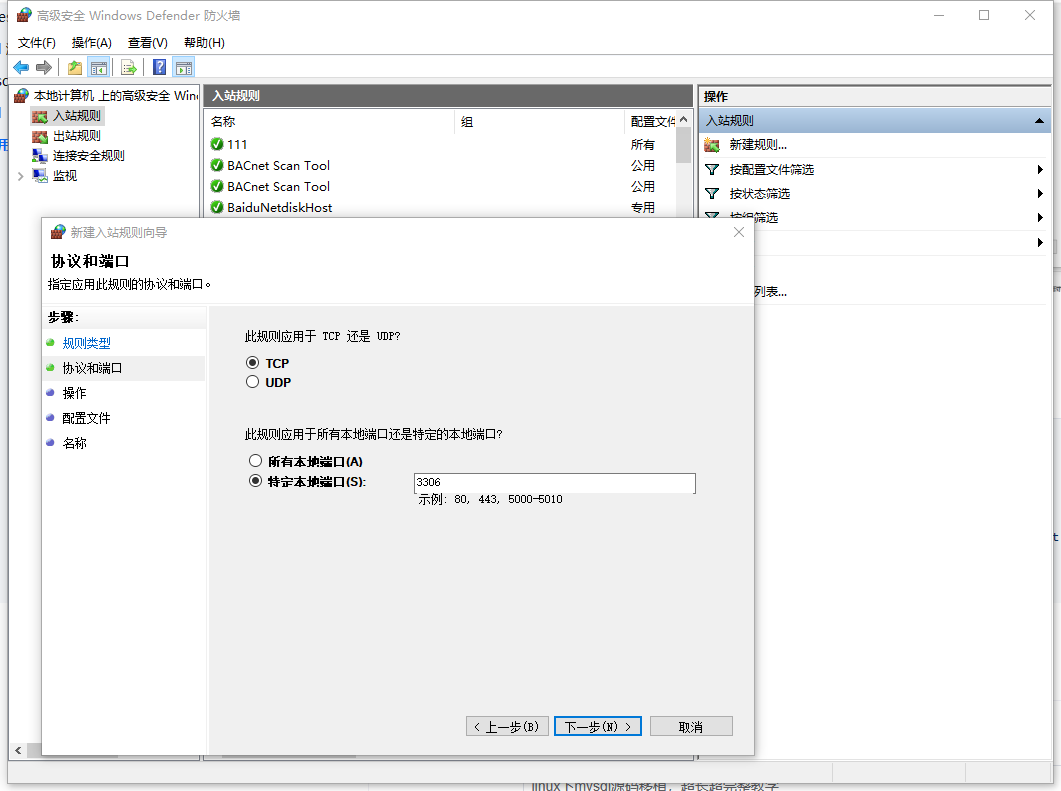
接着一直点下一步即可
完成了以上设置后,登录上mysql,进行以下设置
# 使用mysql数据库
use mysql;
# 修改连接权限
update user set host='%' where user='root';
# 授权远程连接,这一条要执行两次,第一次执行时会报错,第二次执行可以成功
Grant all privileges on root.* to 'root'@'%';
# 更改加密方式
alter user root identified with mysql_native_password by '123456';
# 执行刷新权限
flush privileges;
模拟测试
- 使用可执行文件测试
将之前编译好的可执行文件mysql放到arm开发板的/bin目录下,并且赋权限
chmod 777 mysql再将库文件下的这六个文件,先进行压缩打包,再放到arm开发板的/lib目录下
最后就可以进行测试连接
mysql -h 192.168.0.13 -u root -p
# -h 192.168.0.13 电脑的以太网ip,根据你的情况设置
# -u root 连接root用户,密码就是root用户的密码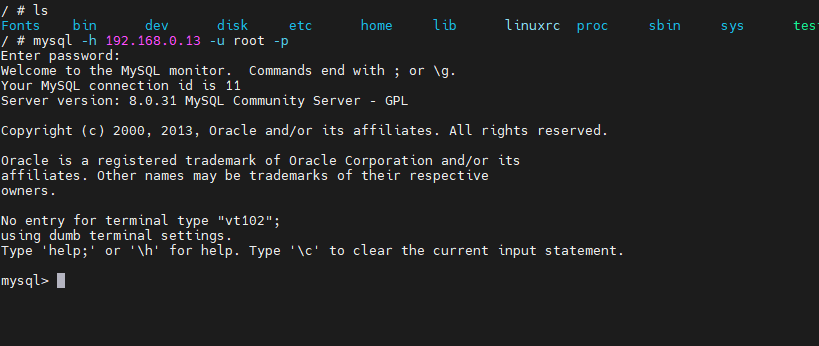
- 使用C语言编程连接
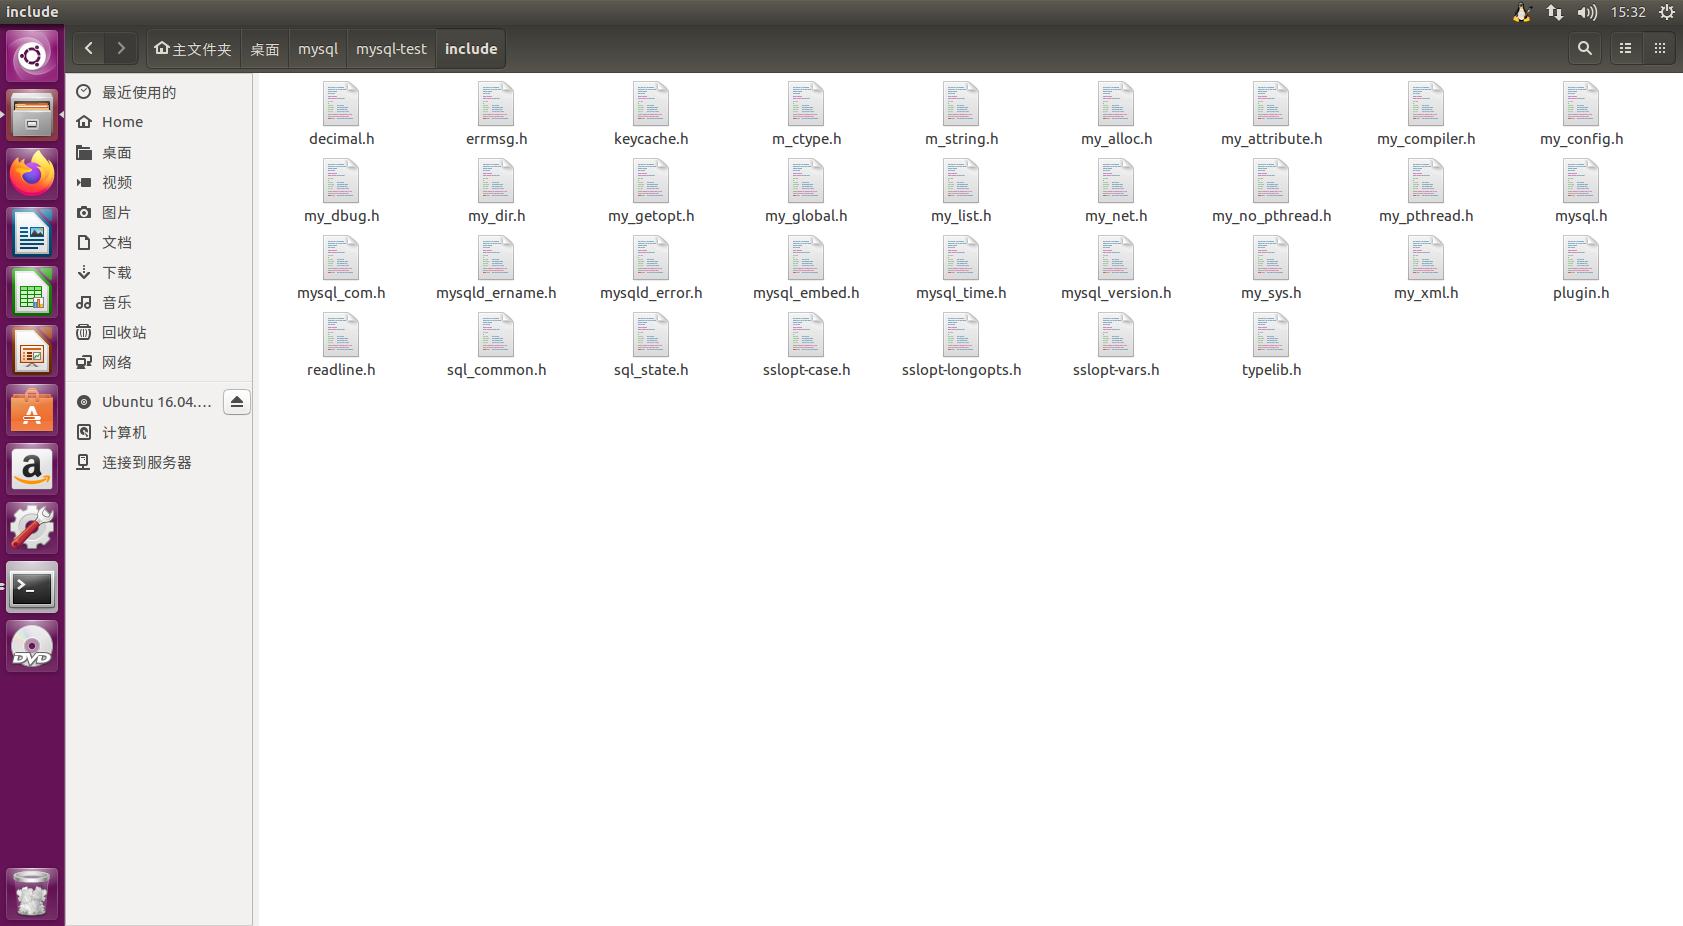
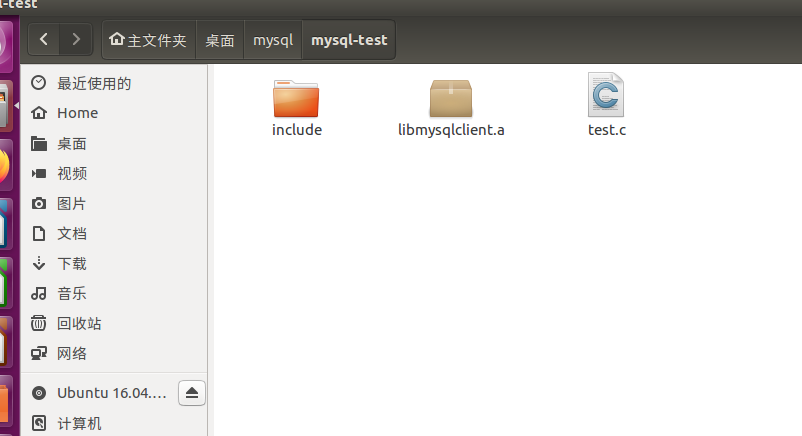
虚拟机新建一个文件夹mysql-test,再建一个include文件夹,将之前编译好的include下的头文件全部复制到这个include文件夹里
接着把之前编译好的lib目录下的文件libmysqlclient.a,也复制到mysql-test目录下,最后新建一个c文件test.c
test.c输入以下代码
#include <stdio.h>
#include "include/mysql.h"
int main()
{
    MYSQL mysql;
    MYSQL_RES *my_res;
    MYSQL_ROW my_row;
    MYSQL_FIELD *my_field;

    int res,i;
    int rows;

    if(mysql_init(&mysql) == NULL)    //初始化句柄mysql
    {
        printf("mysql_init failure!\n");
        return 1;
    }
    printf("mysql_init!\n");
    if (mysql_library_init(0, NULL, NULL) != 0)     //初始化mysql数据库
    {
        printf("mysql_library_init failure!\n");
        return 1;
    }
    printf("mysql_library_init!\n");

    if (NULL == mysql_real_connect
            (&mysql,
            "192.168.0.13",
            "root",
            "root",
            "test",
            3306,
            NULL,
            0)
    )                        //与mysql服务器建立连接
    {
        printf("mysql_real_connect failure!\n");
        return 1;
    }
    printf("mysql_real_connect!\n");
    printf("connect success!\n");

    if(mysql_set_character_set(&mysql, "utf8") != 0)    //设置中文字符集
    {
        printf("mysql_set_character_set failure!\n");
        return 1;
    }
    printf("mysql_set_character_set!\n");
    if(mysql_query(&mysql, "insert into test values (3, '李四', 10)") != 0) //插入一条信息
    {
        printf("mysql_query failure!\n");
    }
    printf("mysql_query!\n");

    res = mysql_query(&mysql, "select * from test;");
    my_res = mysql_store_result(&mysql);

    rows = mysql_num_fields(my_res);
    my_field = mysql_fetch_fields(my_res);
    for(i=0; i<rows; i++)
        printf("%s\t", my_field[i].name);
    printf("\n-------------------------------------\n");

    while( 1 )//查看数据表所有信息
    {
        my_row = mysql_fetch_row(my_res);
        if( NULL == my_row )
            break;
        for(i=0; i<rows; i++)
        {
            if( my_row[i] == NULL )
                printf("NULL\t");
            else
                printf("%s\t", (char*)my_row[i]);
        }
        printf("\n");
    }


    mysql_close(&mysql);
    mysql_library_end();
    return 0;
}
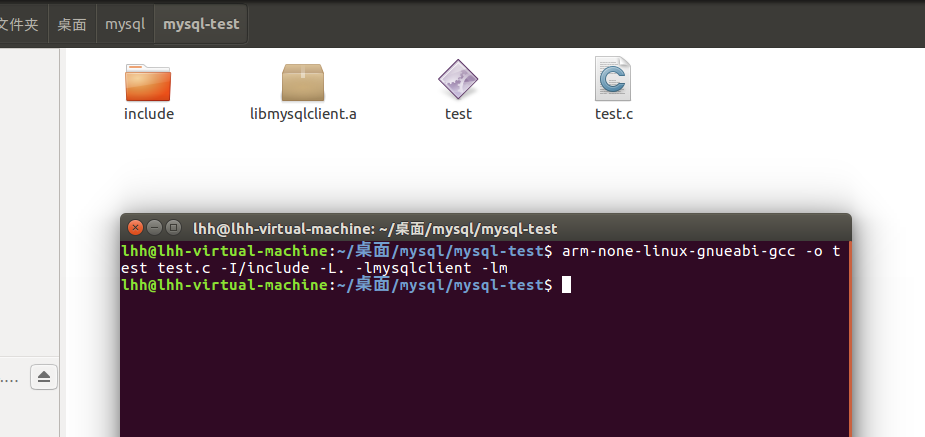
然后打开终端,执行编译
arm-none-linux-gnueabi-gcc -o test test.c -I/include -L. -lmysqlclient -lm最后会生成一个可执行文件test
将这个文件放到arm开发板里,然后赋权限
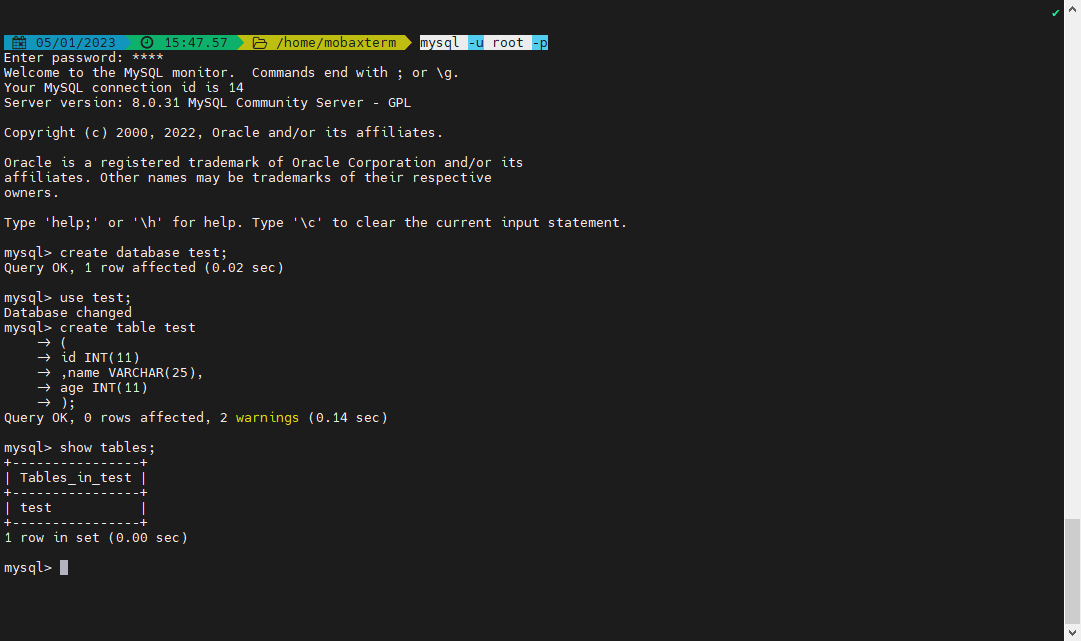
chmod 777 test在执行之前先在windows下创建一个数据库test,再创建一个数据表test
# 连接数据库
mysql -u root -p
# 创建数据库test
create database test;
# 使用数据库test
use test;
# 创建数据表test
create table test
(
id INT(11),
name VARCHAR(25),
age INT(11)
);
完成后,在arm开发板执行程序
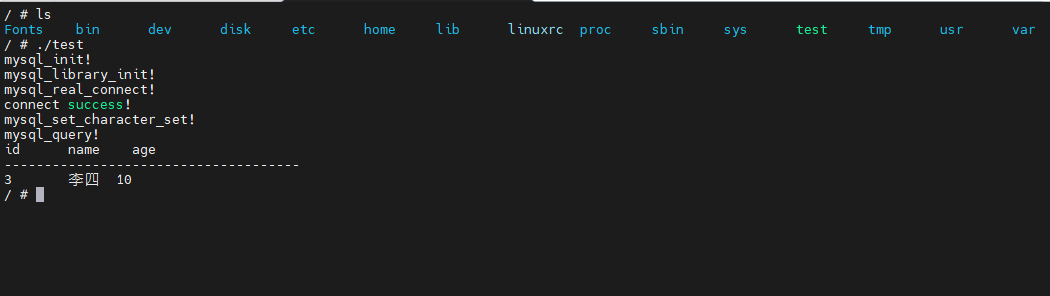
再用windows下的mysql查看表数据
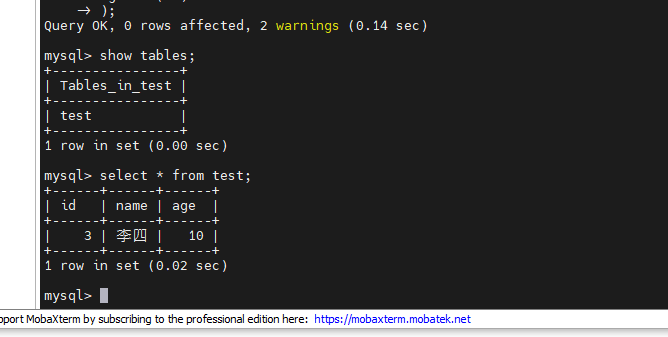
可以看到数据已经成功插入,程序功能没问题。
总结
至此,整个移植功能完美实现,整个流程走下来对于linux下的编程应用也会有很大的提示,其中的难点主要就是mysql源码的编译,而且这个在网上基本找不到教程,windows下的mysql配置如果还有问题的话,可以百度,这个网上教程很多,或者可以私聊我,如果我的文章有帮助到你的话可以帮忙点个赞。