Official website: Git - Downloads https://git-scm.com/downloads

Because the download speed of the official website address is relatively slow, it is recommended to use the domestic mirror download
Taobao mirror address:
CNPM Binaries Mirror![]() http://npm.taobao.org/mirrors/git-for-windows/
http://npm.taobao.org/mirrors/git-for-windows/
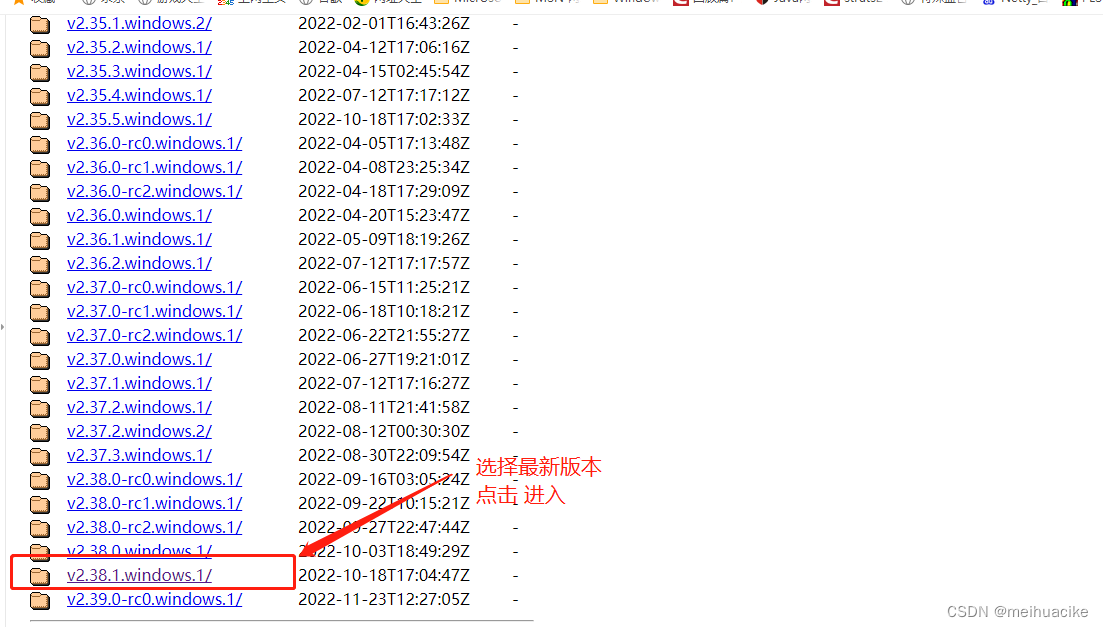


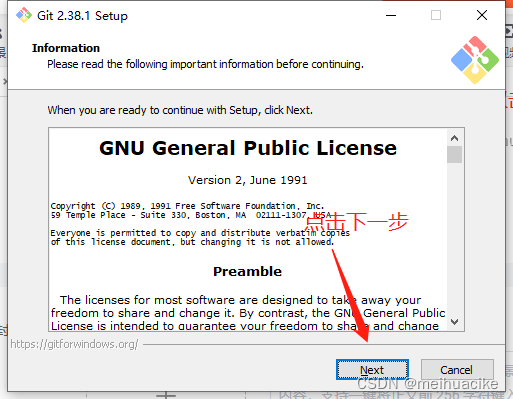

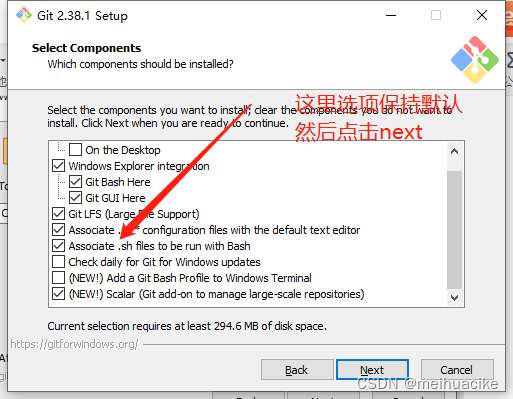
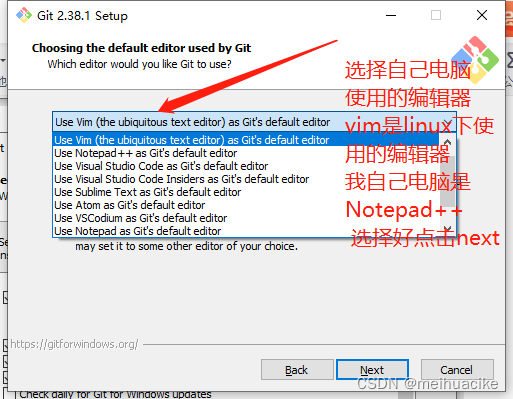
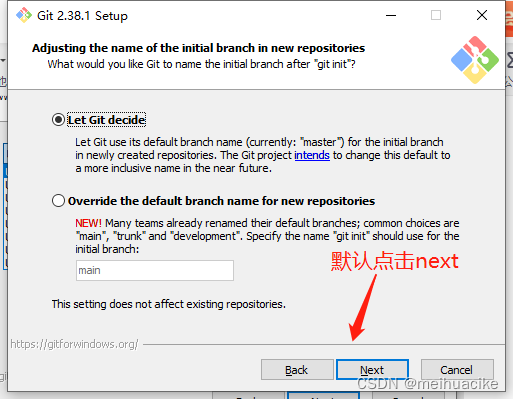
Click the above operation until the installation is successful
The installation is complete and there are three new items in the view menu
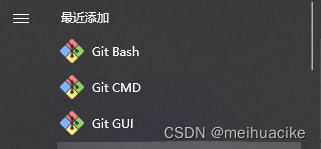
Git GUI graphical interface git, not suitable for beginners
Command line under Git CMD windows
Git Bash command line under Linux and unix
Uninstall start menu mail click
git common commands
$ git config --global user.name name
$ git config --global user.email mailbox here mailbox git does not check
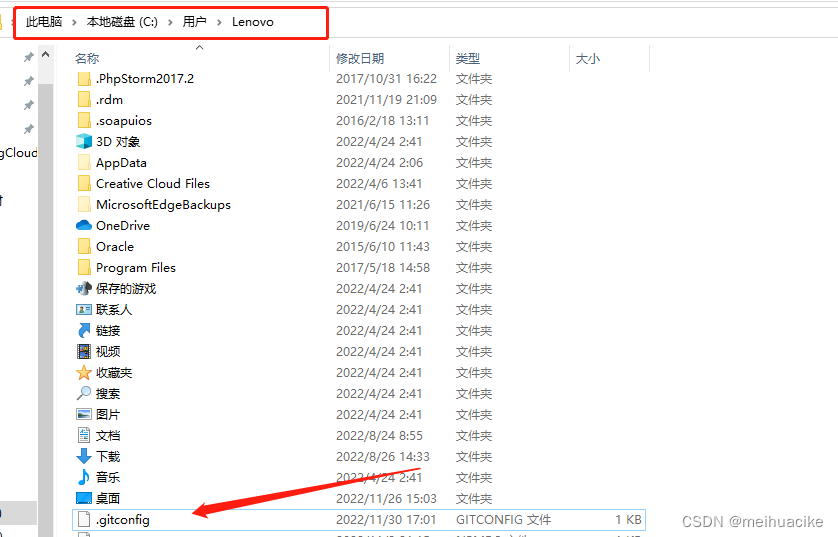
Check whether the user name and email address are set up. You can check the users under the c drive.
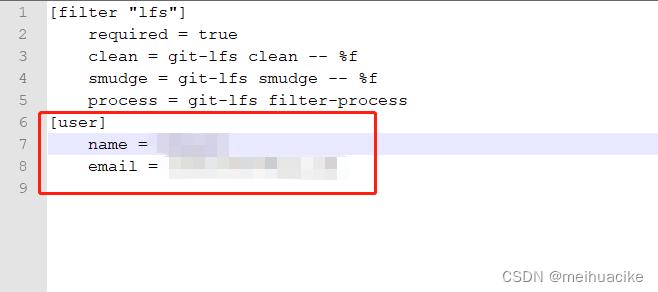
Note: The git account here is not the same as the one that logs in to github in the future
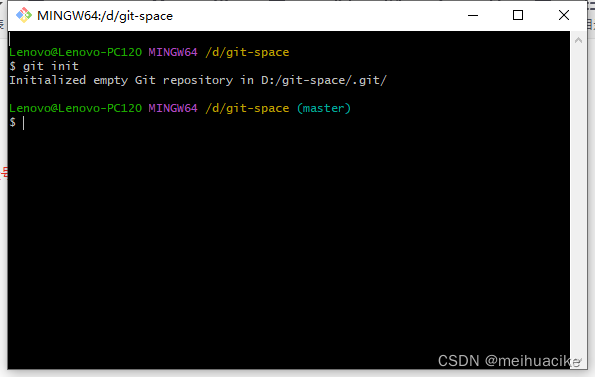
Initialize the local library and put it in the git directory under the D drive
Syntax: git init
git ll view displayed files
git ll -a View hidden files under Linux
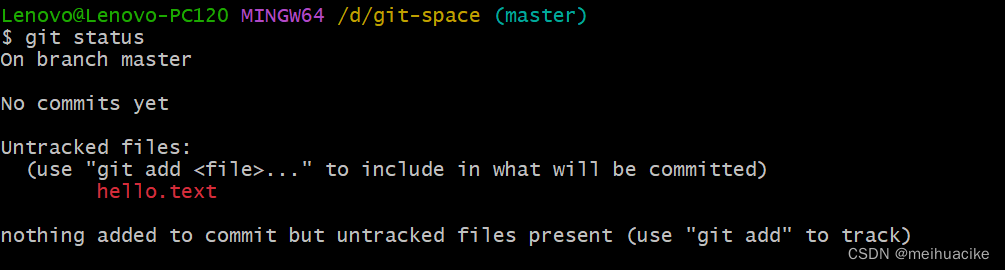
View the git status of the local library
Syntax: git status
vim hello.txt Edit a text file Enter i to enter the editor
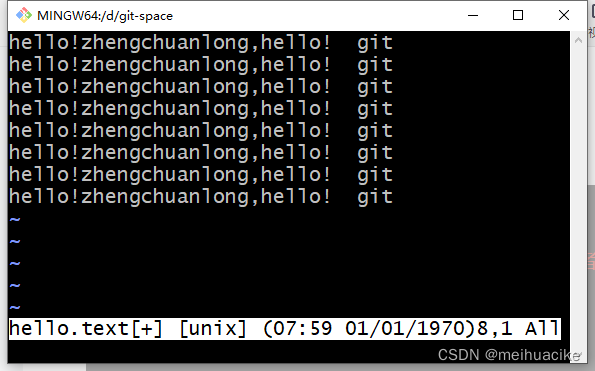
After entering, click Esc to bring up the editing interface, then click yy to copy, p to paste
Enter: w: q to save and exit
cat hello.txt View text content
tail -nl hello.txt View the last line at the end
View git status again as shown below
The first line is under the master branch
The second line has not been added yet
The third line hello.txt is red, indicating that this file exists but has not been tracked
How can it be tracked? You need to execute the statement in the brackets, that is, the git add command to add the file to the temporary storage area

Add to staging area directive
git add hello.txt

git status again
The first line is under the master branch
The second line is not committed
The third line now finds that the color of the file has changed from red to green, indicating that git has tracked the file and exists in the temporary storage area.
You can delete the files in the temporary storage area by command git rm --cached hello.text Note that the files in the work area are not deleted


Check git status again at this time
It can be seen that the color of the file name in the third line turns red again, indicating that the temporary storage area does not exist and is deleted by the above command, unless the git add file is added to the temporary storage area again.
After the temporary storage area is added, the local library must be submitted
Submit the local library
Syntax: $ git commit -m "first c" hello.text
"first c" is the committed version hello.text is the committed file
Check the status after submitting the local library. git status can see that there is nothing to submit in the master branch. The working tree is clean

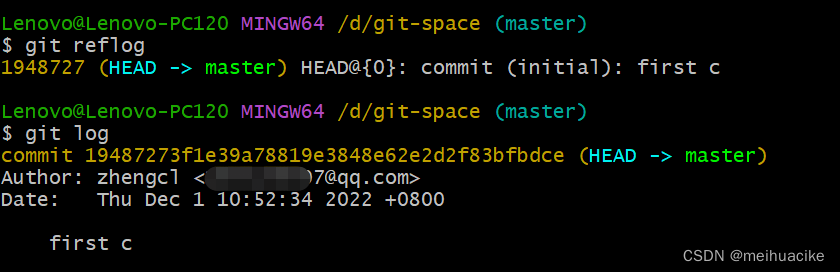
Use the git reflog command to view the version of first c submitted on the master branch
1948727 is viewing the first seven digits of the version number
Use the git log command to view the specific details of the current submission, the version submitted by the author, the date and the branch pointed to by the pointer
19487273f1e39a78819e3848e62e2d2f83bfbdce This is the complete version number
modify file
When we use vim hello.txt to modify the first line to add the number 222222, then esc:wq to save and exit
Then git status to view the status, the modified color is red, indicating that it has not been tracked or the pointer is not pointing

git add to add files and check the git status status color again from red to green, then the files are added to the temporary storage area

$ git commit -m "second c" hello.text Use this command to submit to the local library
The following log outputs 1 line modified, 1 line added, and 1 line deleted
The principle is to delete the data before the modification and then add the modified data.
Use git reflog to view the version information The following figure shows two version information first c and second c
then the pointer points to the second version

To sum up the above operation steps, as long as it is modified, it will appear in a different state, then add a temporary storage area and submit it to the local library
version shuttle
First check the version number by checking the version command git reflog or git log
Then git reset --hard version number shuttles to the specified version
The following is the version shuttle to version 2, just specify the version number
Check the version log after the shuttle, you can see that the pointer points to version 2
We can open the directory where our .git is located to view refs--master After opening, we can see that the content of the file is the version number
It means that the current pointer only wants the current version number recorded in the master branch
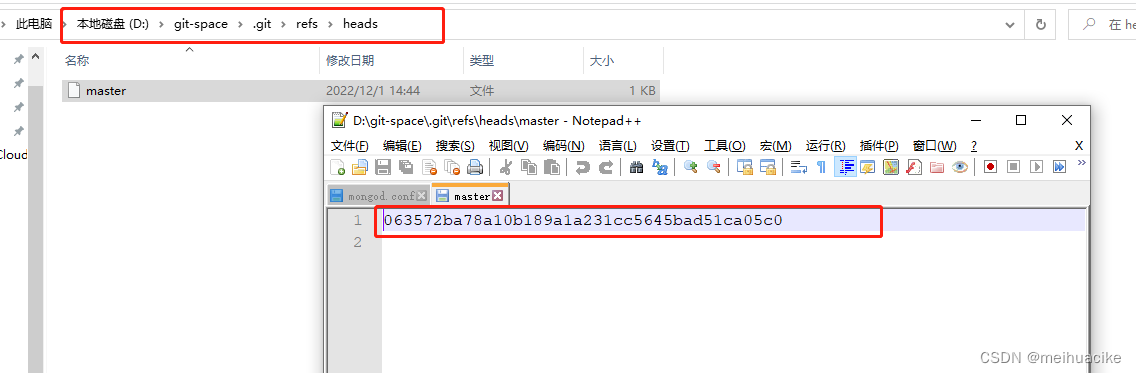
Then the content of the file that the version wants will also correspond to the version. After that, the content will be the content pointed to by the version 063572ba78a10b189a1a231cc5645bad51ca05c0
To sum up the above, you can freely shuttle the specified version number, then the content will be changed accordingly. The corresponding version number, there is always only one text content file, but there can be multiple versions, but the version corresponding to the pointer is different, and the corresponding content changes.
Branch introduction
For version control, multiple tasks need to be advanced at the same time, then we can create multiple different branches for each task. The branch is separated from the main line branch without interfering with each other. After the development is completed, it is merged into the main branch, so that the purpose of parallel development can be achieved.
View branch instructions
git branch -v

create branch syntax
git branch branch name
The following figure creates a dev branch and then git branch -v to view the version of the branch, you can see the dev branch

switch branch
Command git checkout branch name

After creating the branch, execute vim hello.txt for the dev branch, :wq save and exit
Then git add is added to the staging area git commit -m "dev version number" file
merge branch
Syntax: git merge dev
It is to merge the specified branch into the current branch, which means to merge the dev branch into the current master
This case is a normal merge of branches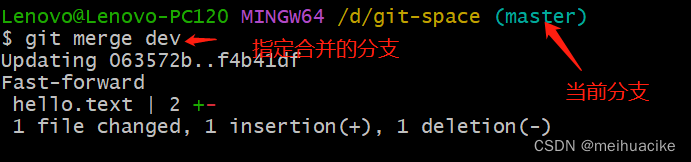
Another case is the merge of code conflicts
In the situation that occurs, two branches have two completely different modifications at the same location in the same file. At this time, git cannot help us determine which one to use, so the new code content must be manually determined
First of all, we modify hello.text under the master branch now, and add master test content git add to the temporary storage area
git commit -m “master test”
Then switch to the dev branch to add the last line of dev test and then git add hello.text and then git commit -m “dev test” hello.txt
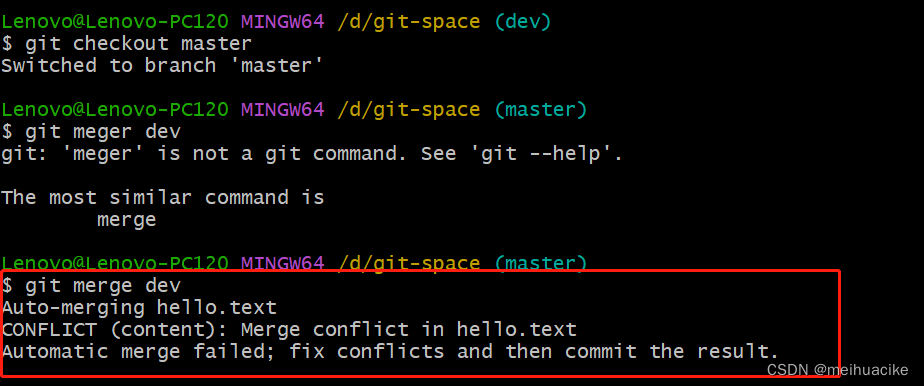
Switch back to the master branch and merge the dev branch on the master branch
After merging, it is found that in the red box, there are two conflicting branches because the same file has been modified
We should see that <<<<<<< and ====== is the code of the current branch ====== and >>>>>>>> is the content of the branch code that needs to be merged, It is the conflicting content that needs to be adjusted manually 
Then we enter the vim hello.text file to view the content of the file and adjust the conflicting part, which is to keep the ones that need to be kept after the update and delete the other redundant ones. Esc: wq save and exit

After saving and exiting, then git add hello.txt
Note here that you cannot specify the file name when committing. If you specify the file name, an error will be reported because you don’t know which file it is as shown in the figure below.

The correct way is to remove the file name

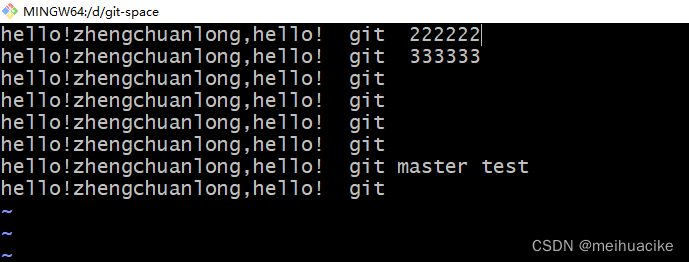
The following is the hello.txt file that was merged successfully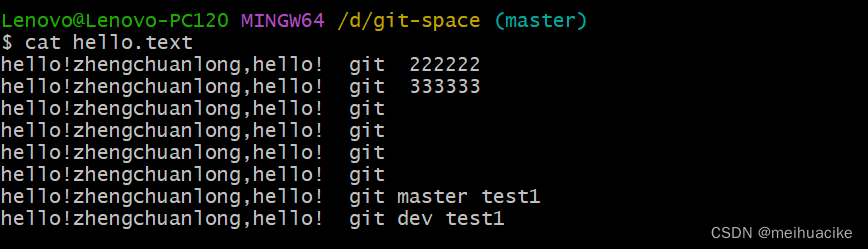
After the master branch is switched to the dev branch, cat hello.txt to view the content of the branch is different from the master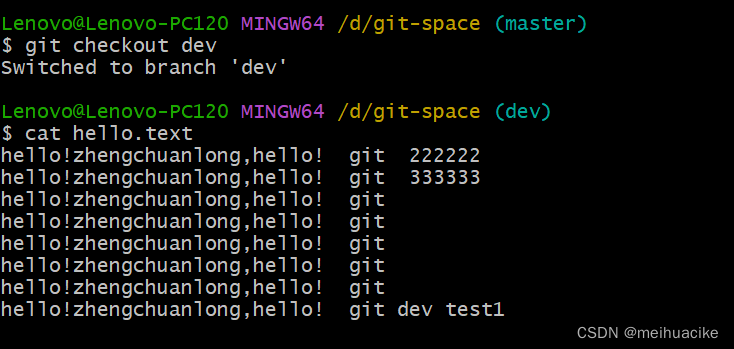
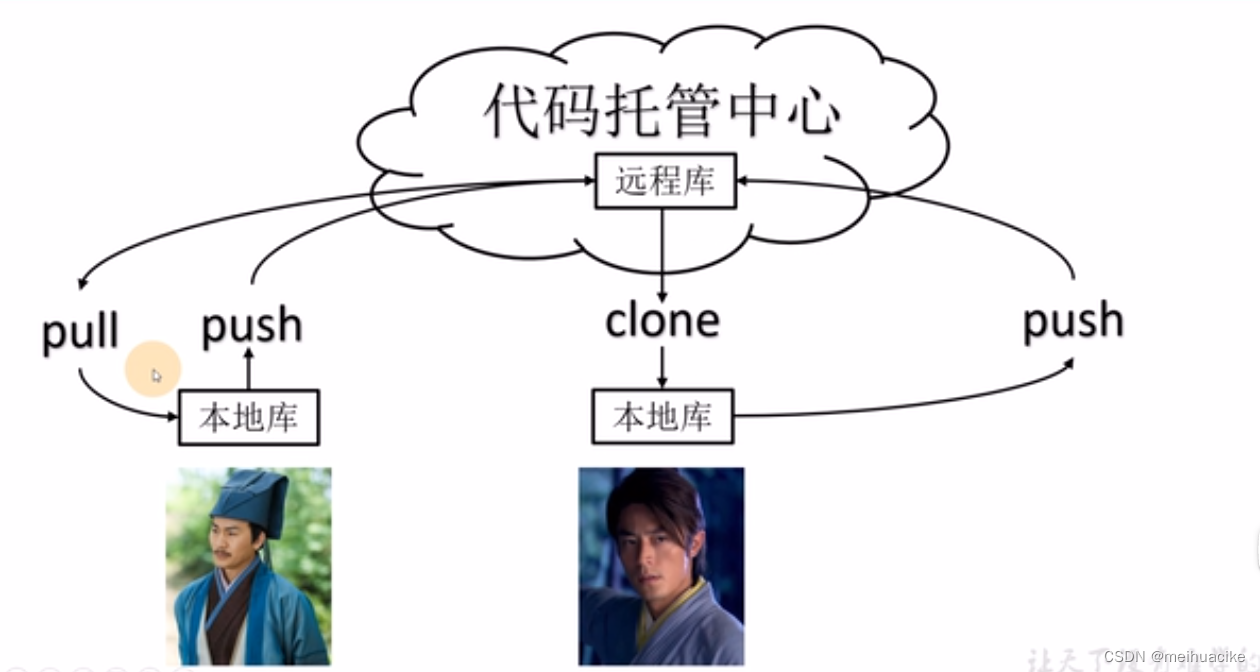
teamwork
Collaborate within the team Look at the pictures and talk
Collaborate across teams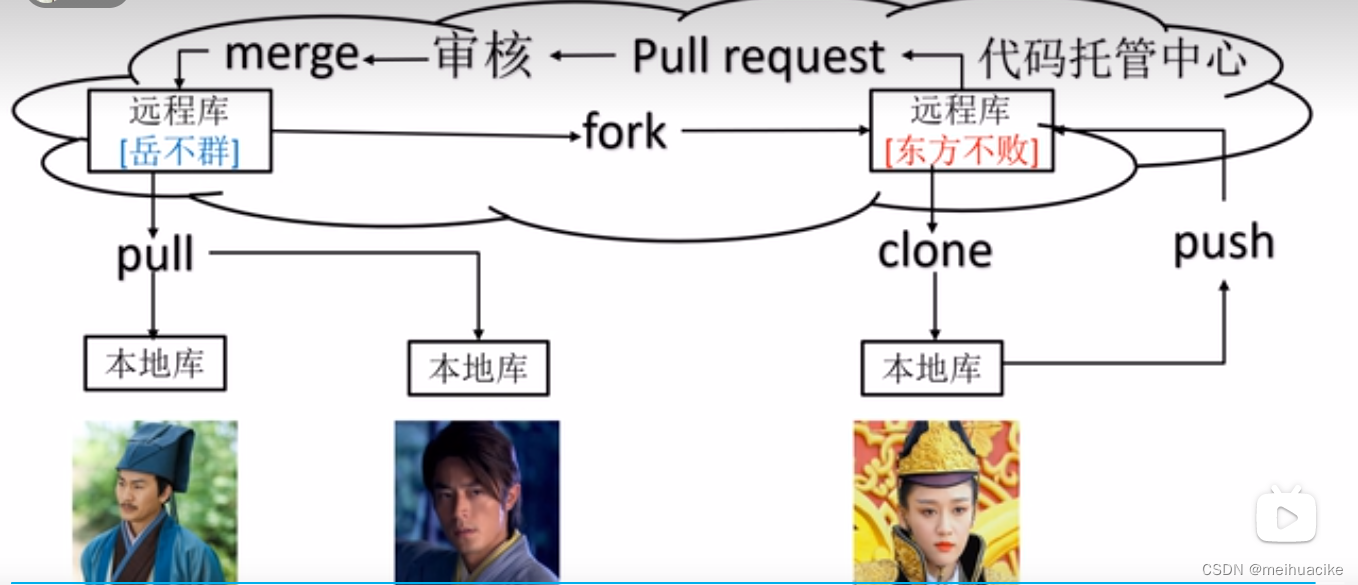
Create a remote warehouse created on github
The following commands are used to create remote warehouses using git
