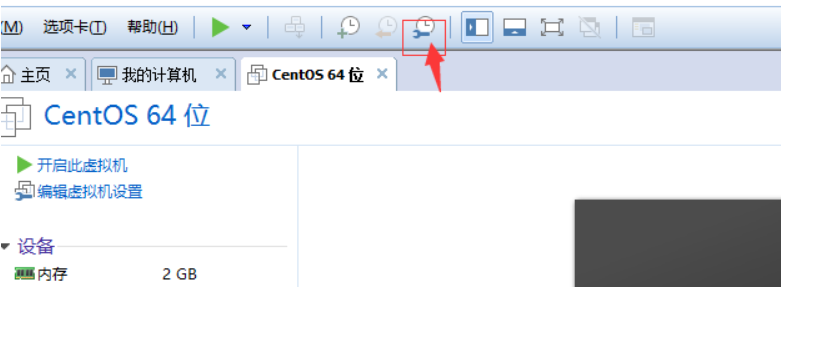
Snapshot
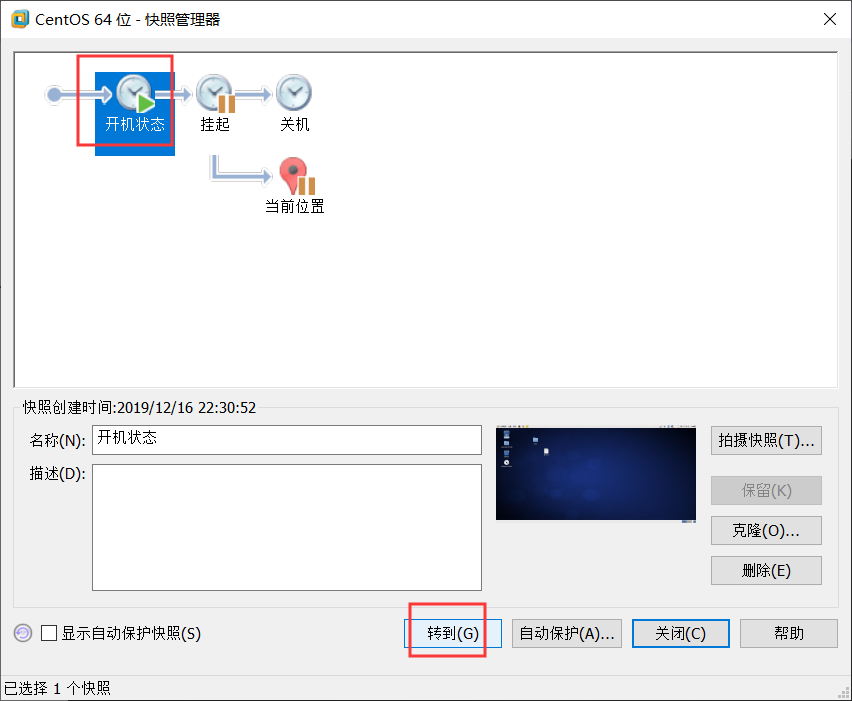
1. What is a snapshot
when made a mistake irreversible, can be used to restore a snapshot of the system.
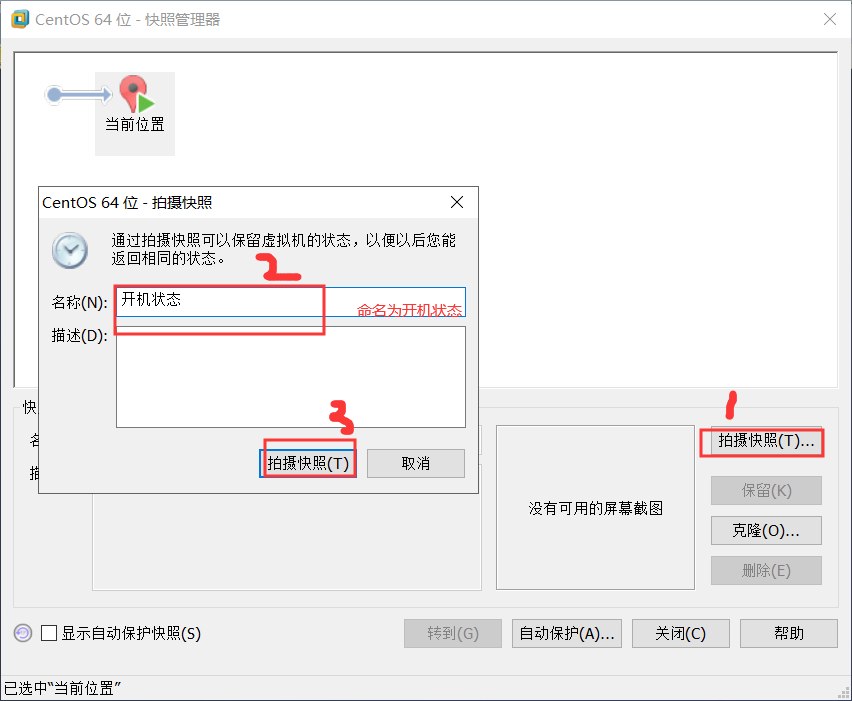
2. create three snapshots (You can also create any)
# 1. Power status snapshot
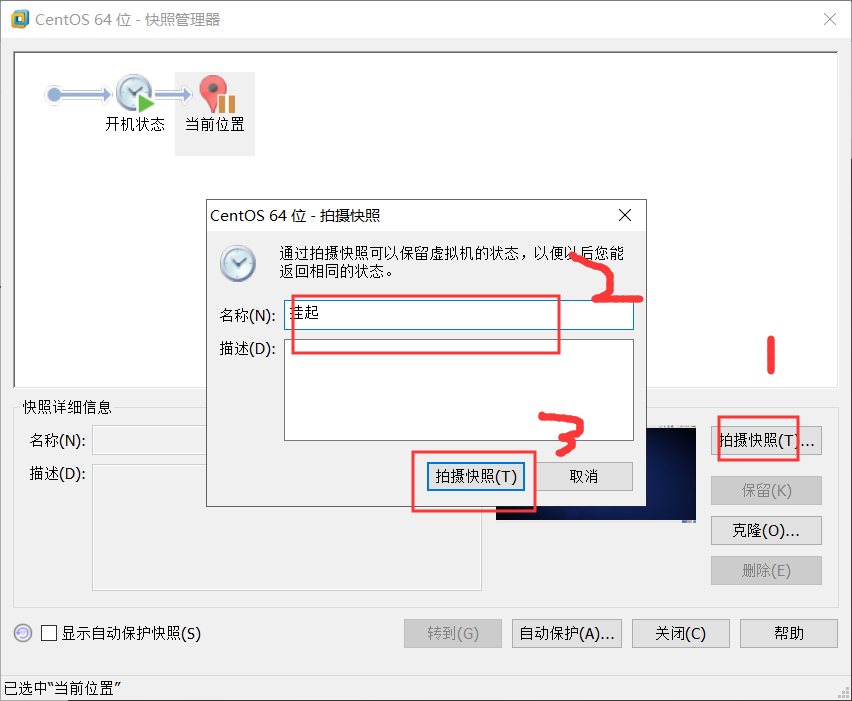
# 2. Suspend state snapshot

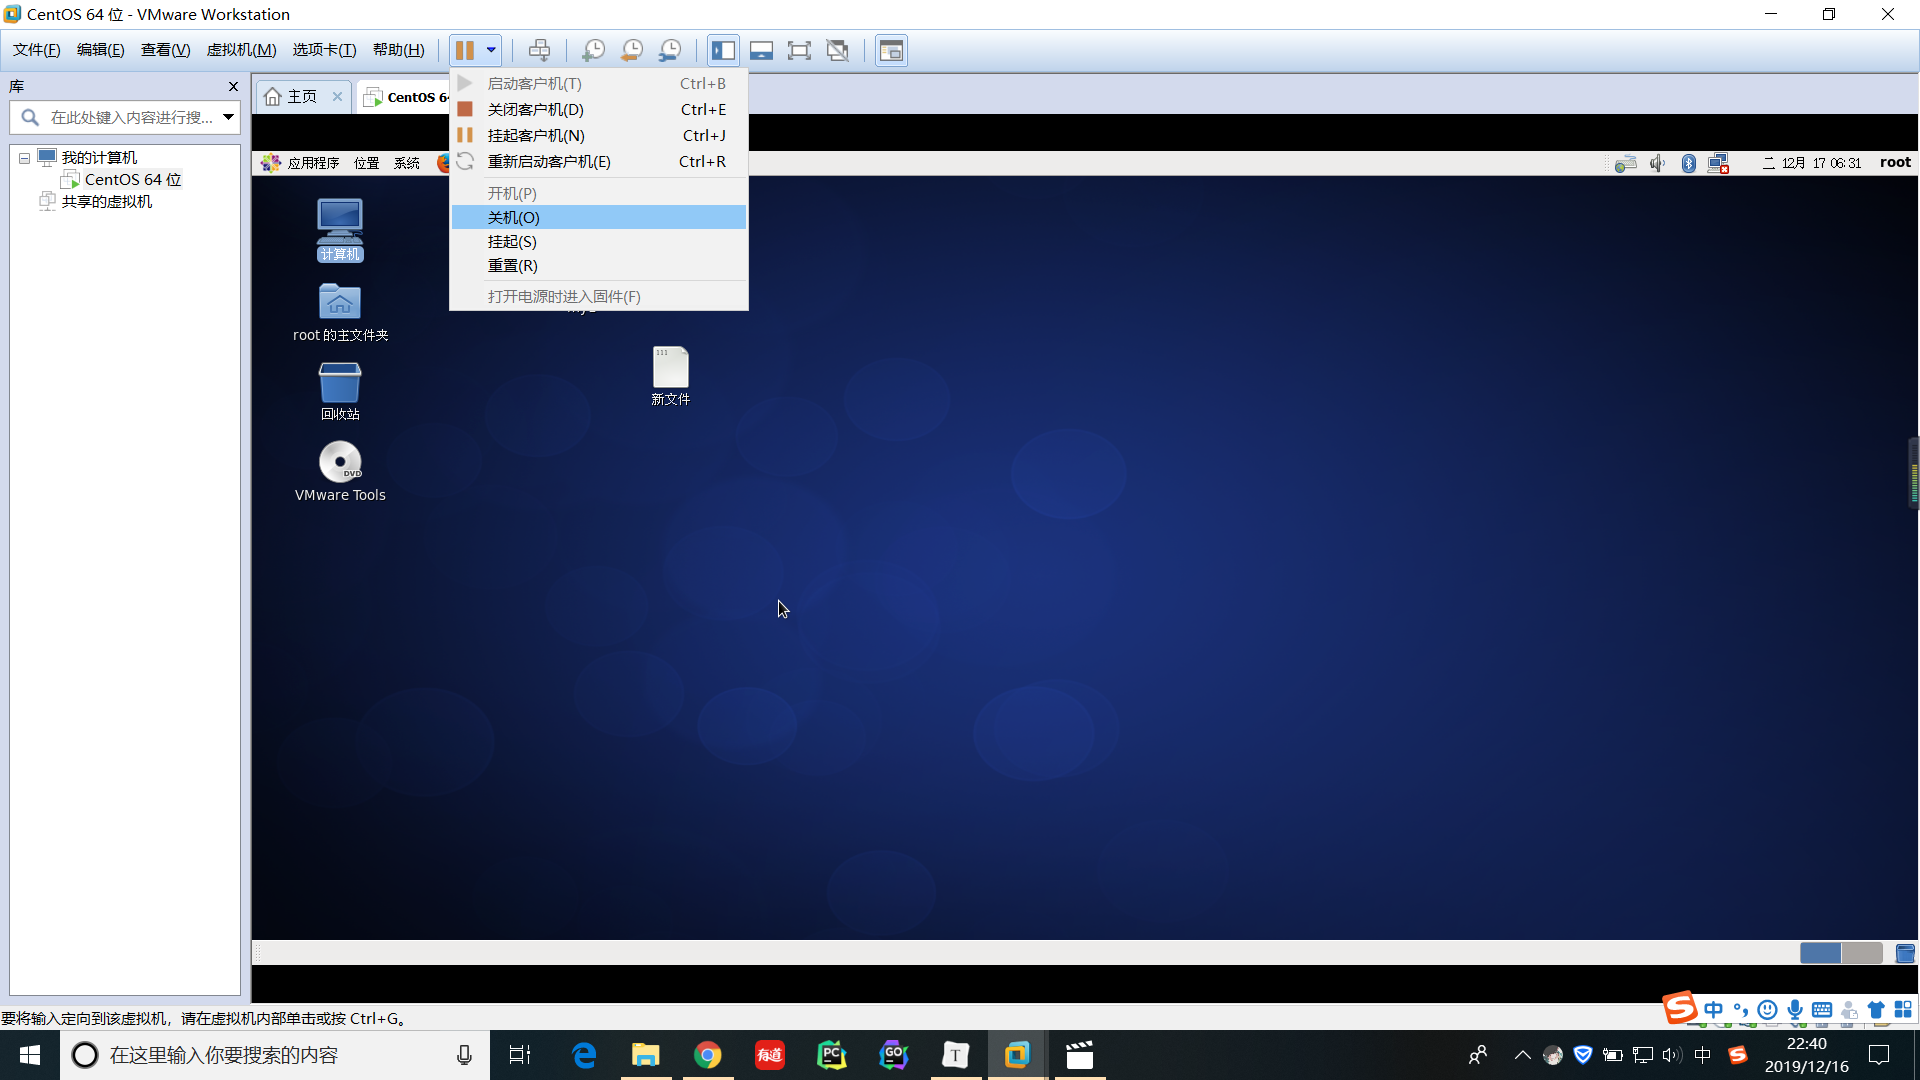
# 3. Shutdown state snapshot

3. Recovery (optionally any state recovery)
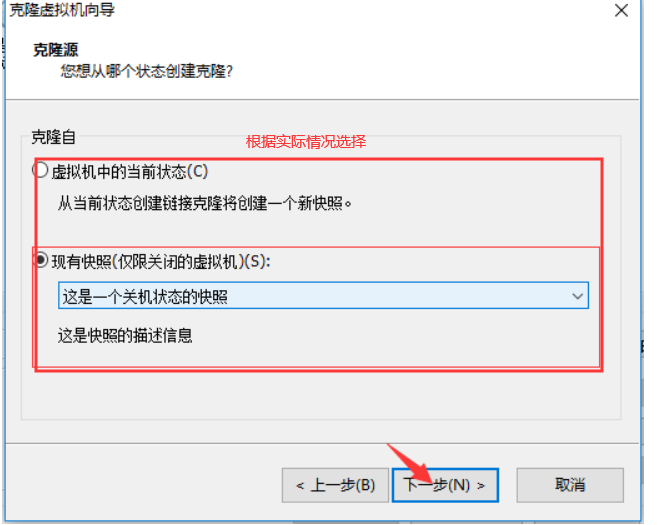
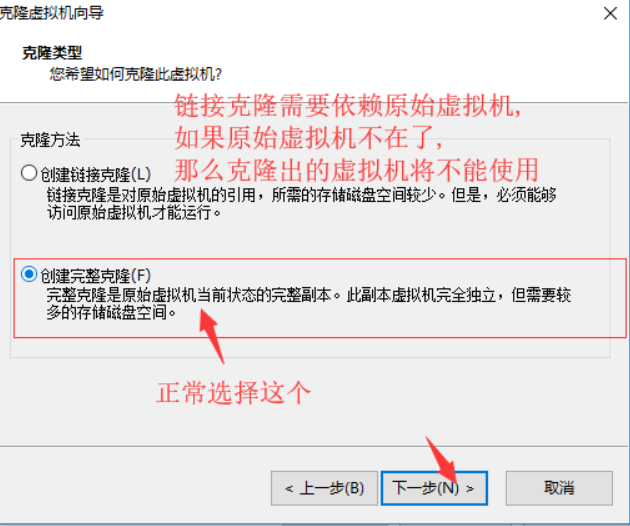
clone
1. What cloning (cloning only for the next shutdown snapshot)
That is, to a virtual machine as a master, a copy of a virtual machine out exactly the same, including the data inside
2. How to use


Linux Directory Structure

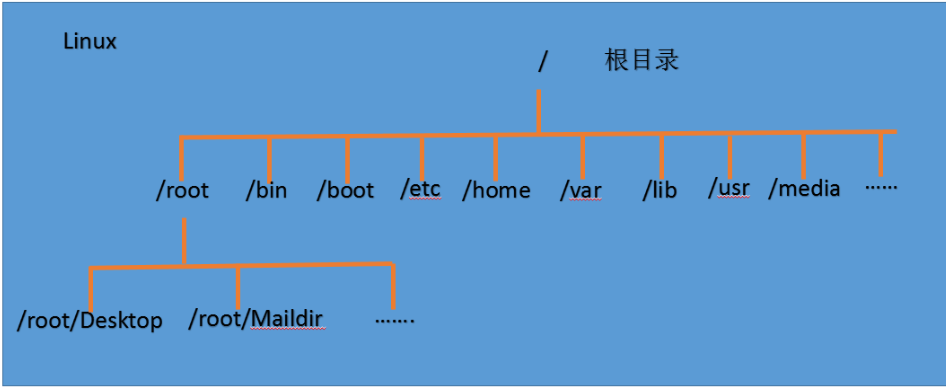
A deep understanding of Linux file directory tree is very important, only remember them, you can switch back and forth from the command line, where to go where to go
For Linux, everything is a file
For example, cpu cpu is mapped to under / dev directory
Suppose, for example, a hard disk (disk) is mapped to the disk under the / dev directory
3.2 /sbin
System management command system administrators
3.3 /home
Store home directories ordinary users, each user in Linux has its own directory, the directory is usually named after the user's account
3.4 /root
System Administrator user's home directory
3.5 /boot
Some of the core is stored in files that are used when you start Linux
3.6 /lib
Library file storage directory
3.7 /etc
Management system to store all the required configuration files, such as mysql configuration file, my.conf
3.8 /usr
Many applications and files are placed in the user directory, a bit like the program files directory under Windows
3.9 / proc, do not move
This is the system memory map
3.10 / srv, do not move
service abbreviation, is stored in the data after some of the services you want to use to start
3.11 / sys, do not move
System-related documents
3.12 /tmp
Used to store temporary files
3.13 /dev
Similar to the windows device manager, all the hardware in the form of file storage
3.14 /media
Linux会识别一些设备,例如U盘,光驱等等,识别后,Linux会把识别的设备挂载到这个目录下
3.15 /mnt
用于让用户临时挂载别的文件系统,我们可以将外部的存储挂载在/nmt/上,然后进入该目录就可以查看里面的内容的,如我们之前设置的共享文件夹
3.16 /opt
正常这个文件夹是用来放安装包的
3.17 /usr/local
安装后的程序存放的地方
3.18 /var
存放经常需要被修改的文件,比如各种日志文件
3.19 /selinux
全名--- security enhanced linux,安全加强linux
这个类似于windows中的杀毒软件,是一种安全系统,比如收到攻击的时候这个文件会被触发

手动开启:
chkconfig --level 5 sshd on
service sshd restart


#3.输入用户名和密码
#4.测试:
1.在/home目录下创建文件
cd /home
touch hello.py
2.重启服务器
reboot

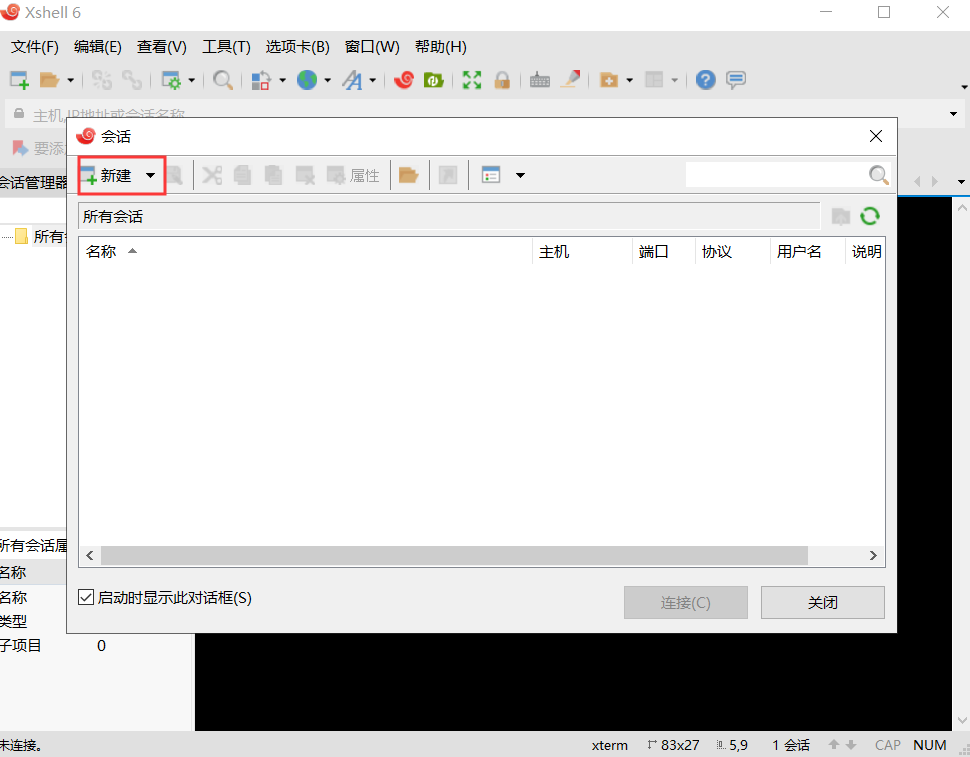
2.2配置

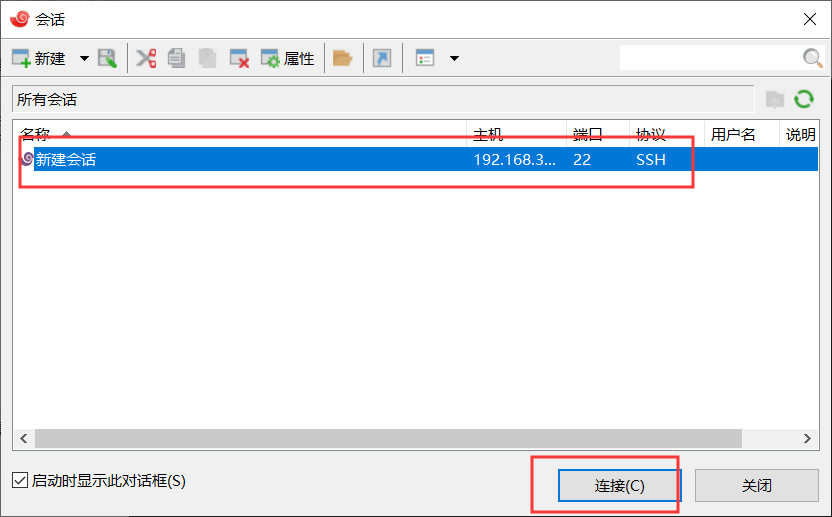
2.3链接

2.4输入用户名和密码
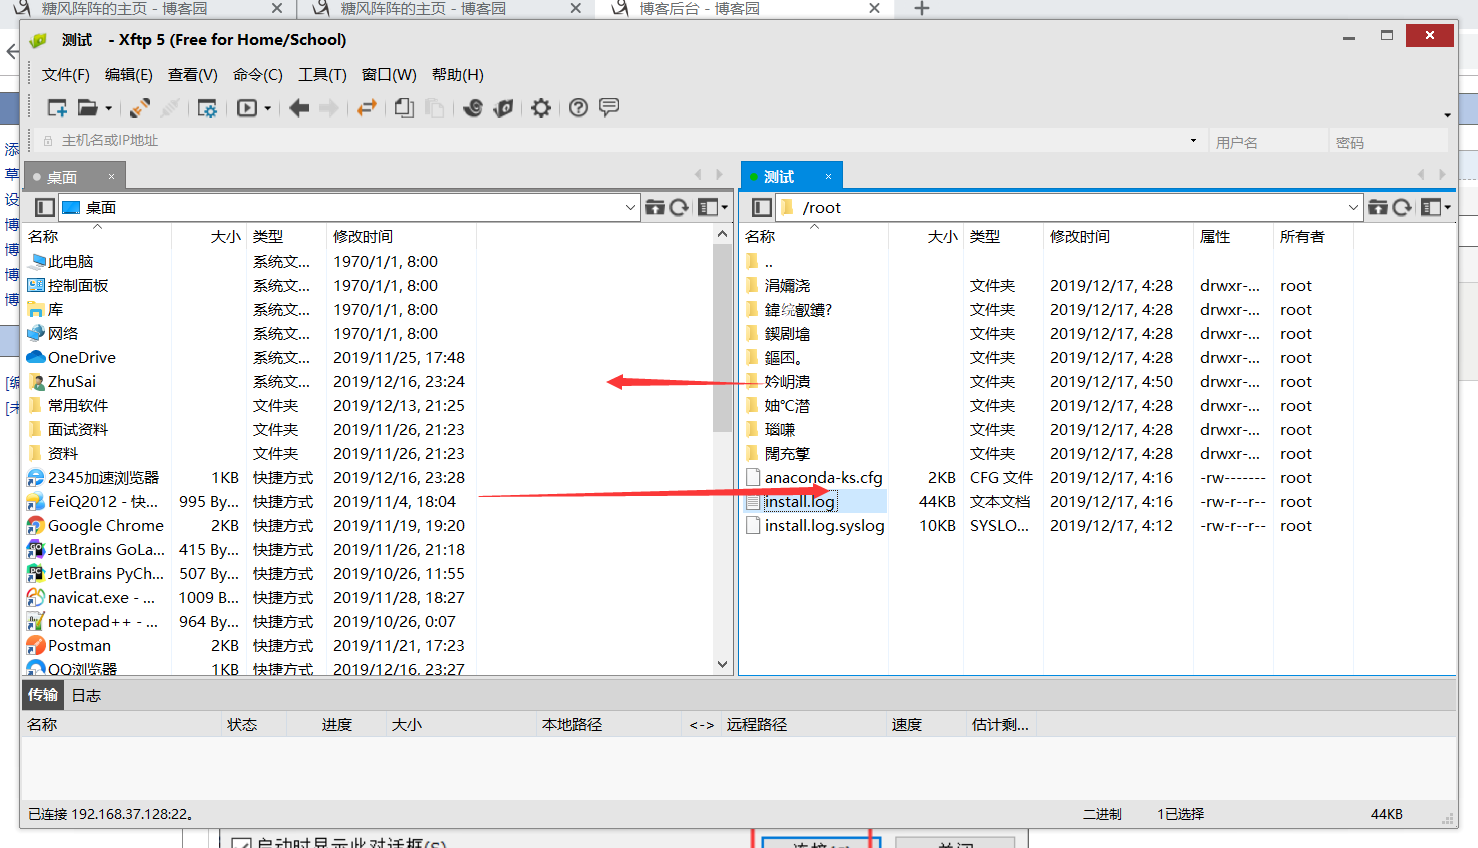
2.5文键左右相互拖拽几可以了
2.6乱码解决

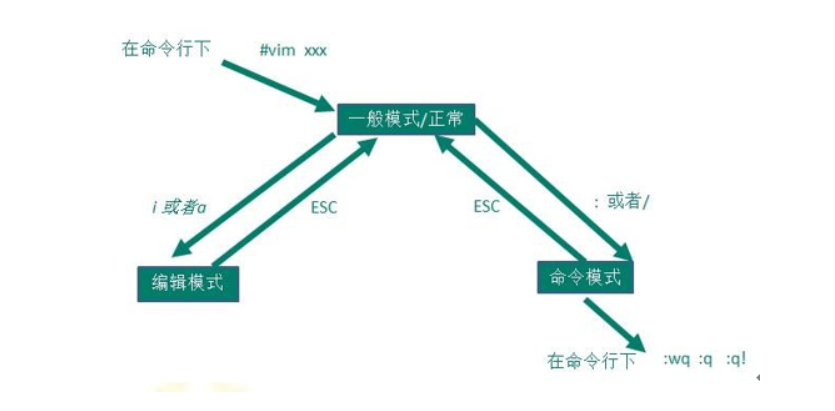
**vi** 和 **vim** 类似于windows的文本编辑器

所有的Linux系统都会内置**vi文本编辑器**

**vim**可以看做是vi增强版,具有**程序编辑能力**,支持**语法高亮**,**代码补全**,**编译**及**错误跳转**等功能,因此被广泛使用

如果Linux中没有vim这个命令,可以手动下载:
yum install vim
1.1 正常模式
正常模式下,我们可以使用快捷键对文本进行操作,比如:复制--yy 粘贴:p
以vim打开文档,直接进入的就是一般模式,这个模式下,我们可以使用[上下左右]来移动光标.delet删除末尾字符,等等(具体的快捷键后面会说)
1.2 插入模式
在插入模式下,程序员可以输入内容
按下i,o,a,r,I,O,A,R中任意一个键,会进入插入模式.
正常习惯按i,因为好记,insert
1.3 命令行模式
这个模式下,程序员可以输入相关指令,来完成比如:存盘,离开,显示行号等功能(具体指令后面会说)
2.
3.
1.拷贝当前行,并粘贴
    拷贝:yy    粘贴:p
2.拷贝当前行向下5行,并粘贴
    拷贝5行:5yy
3.删除当前行
    删除:dd
4.删除当前行向下5行
    删除5行:5dd
5.光标移至最后一行
    G
6.光标移至首行
    gg
7.移动到第7行
    7gg
8.撤销
    u
4.
1.查找某个关键字
    /关键字
2.取消高亮
    :nohl
3.显示行号
    :set nu
4.取消行号
    :set nonu