Reproduced
Send nacos-server-1.1.3
Link: https: //pan.baidu.com/s/11r3OeffHN8AwKLurmmzJmg Password: wdu2
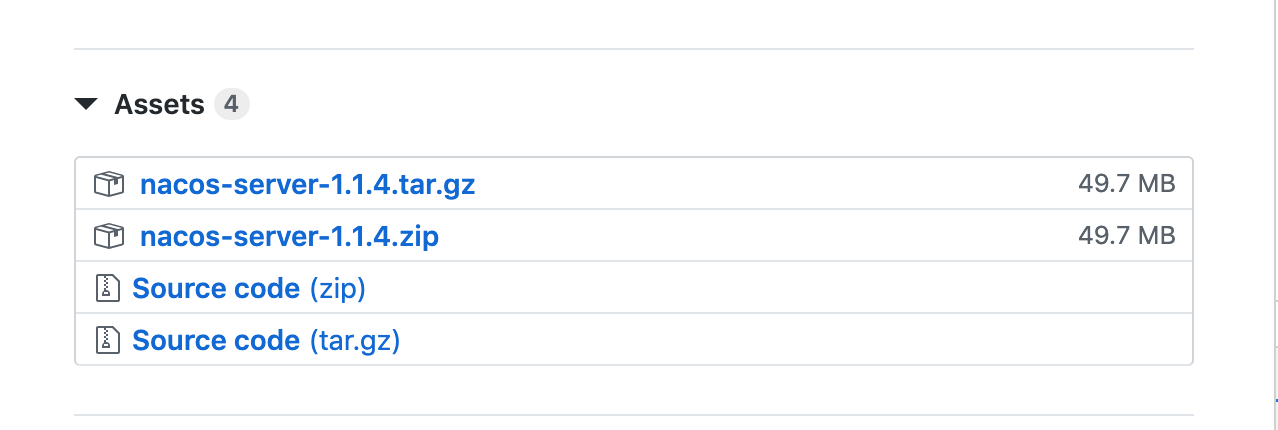
Download ↓↓↓↓
https://github.com/alibaba/nacos/releases
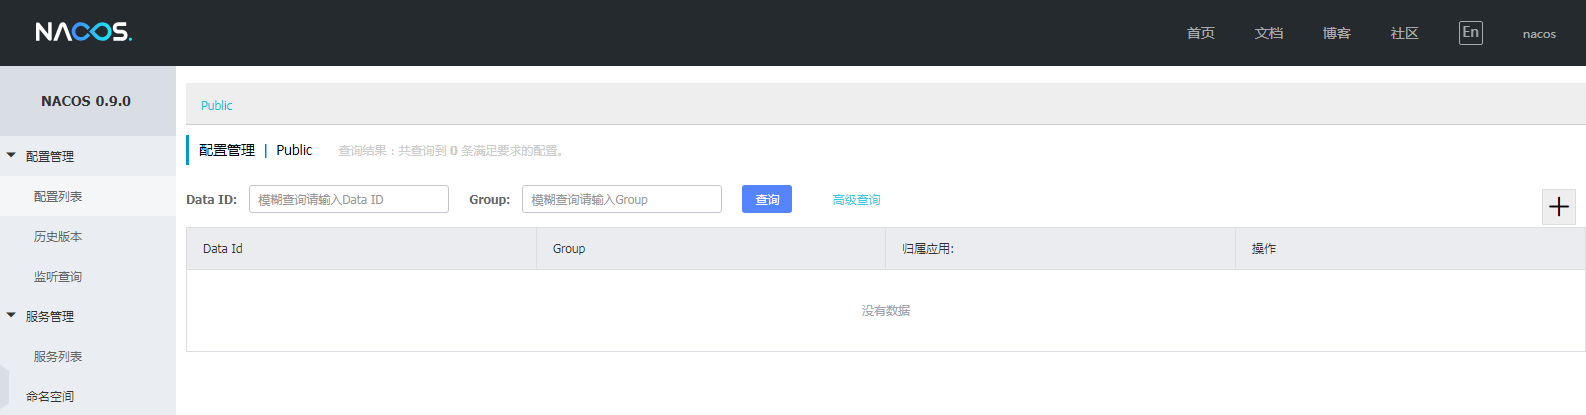
single vision
For stand-alone version of the main test, mean nothing, you download a zip pack and unpack, go to the bin directory, double-click startup.cmd to run, then visit HTTP: // localhost: 8848 / nacos , login user name / password nacos / nacos
Prior to version 0.7, when using the stand-alone mode nacos embedded database for data storage, and convenient to observe the basic situation of data storage. Version 0.7 adds support for mysql data source capabilities
- 1. Install the database, Version: 5.6.5+
- 2. Initialize the mysql database, the database initialization file: nacos-mysql.sql (in the conf directory)
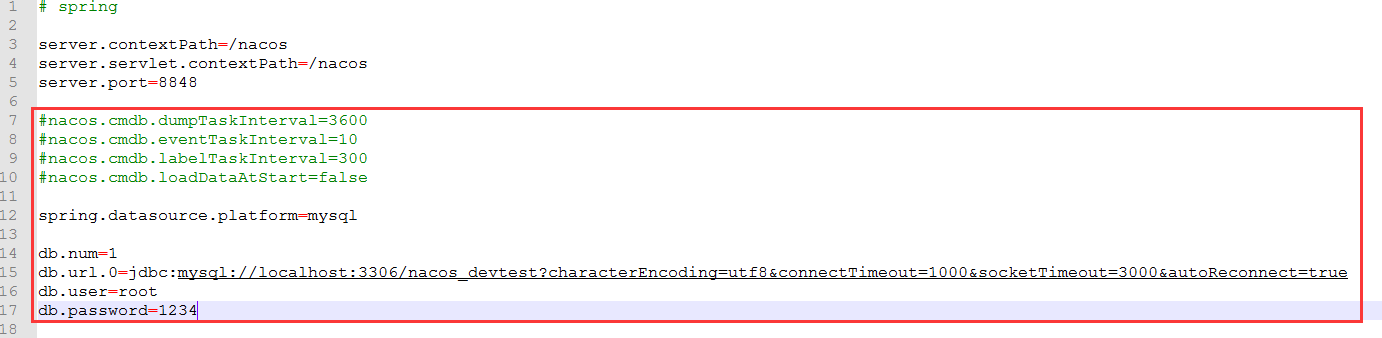
- 3. Modify conf / application.properties file, add support for mysql data source configuration (currently only supports mysql), add url mysql data source, user name and password.
as follows:
spring.datasource.platform=mysql

db.num=1
db.url.0=jdbc:mysql://11.162.196.16:3306/nacos_devtest?characterEncoding=utf8&connectTimeout=1000&socketTimeout=3000&autoReconnect=true
db.user=
db.password=
First create the database:

Then modify the properties file
Start saving.
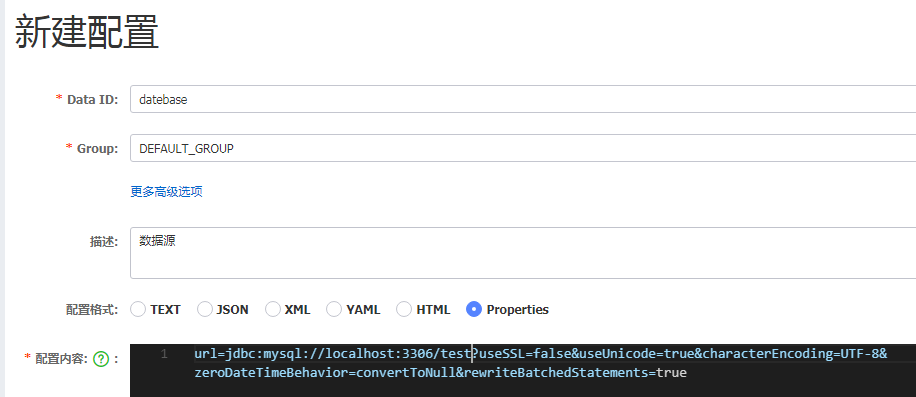
Create a new configuration on the page, click the plus sign

--
This time we look at the database

Stand-alone version that's all
Clusters
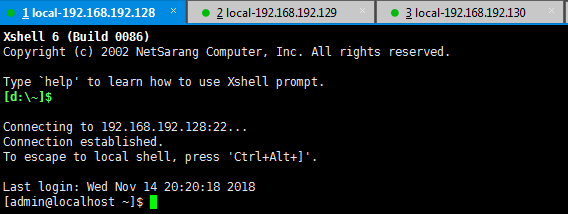
Let's open the three machines
Nacos then uploaded to each server
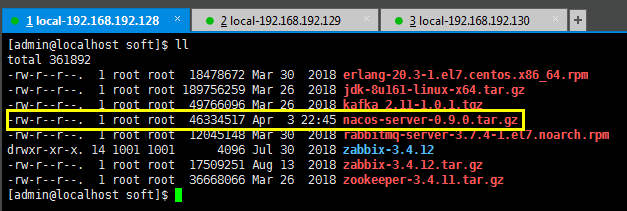
First switch the root, in the extract to the specified folder (three machines must be unpacked)
[admin@localhost soft]$ su root
Password:
[root@localhost soft]# tar -zxvf nacos-server-0.9.0.tar.gz -C /usr/local/
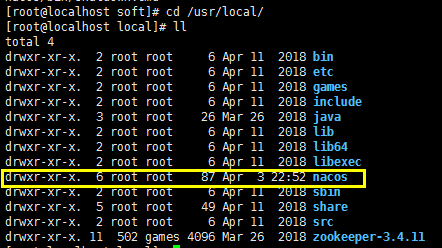
Enter the catalog
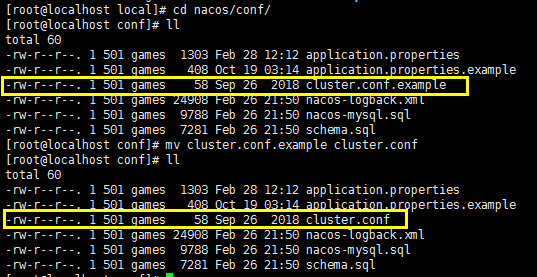
Conf directory, there are configuration files cluster.conf
Change of name, and then modify the content
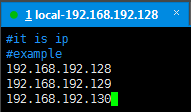
Modify the contents of three nodes have to do is :()
192.168.192.128
192.168.192.129
192.168.192.130
Enter : wq to save and exit
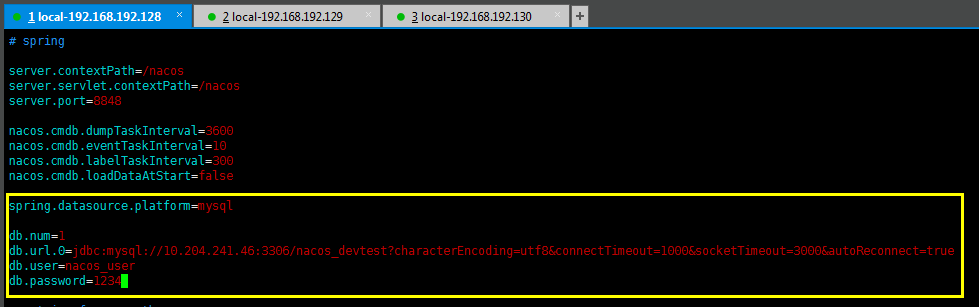
Now set the database, we directly use the virtual machine to access the local database on the production of the best [from the master database or availability]. Because root can only log on locally, so we have to create a new user. Open the MySQL command line (in Navicat inside, right database, call up the command-line interface)
mysql> create user 'nacos_user'@'%'IDENTIFIED BY '1234';
Query OK, 0 rows affected
mysql> GRANT all privileges ON nacos_devtest.* to 'nacos_user'@'%';
Query OK, 0 rows affected
mysql> flush privileges;
Query OK, 0 rows affected
Note: The above% representatives can log from any remote host
Now back to the virtual machine configuration file application.properties (three nodes have to do) Note MySQL address
spring.datasource.platform=mysql

db.num=1
db.url.0=jdbc:mysql://10.204.241.46:3306/nacos_devtest?characterEncoding=utf8&connectTimeout=1000&socketTimeout=3000&autoReconnect=true
db.user=nacos_user
db.password=1234
Finally, open the firewall port 8848 (three nodes)
[root@localhost conf]# firewall-cmd --zone=public --add-port=8848/tcp --permanent
success
[root@localhost conf]# systemctl restart firewalld
Finally, open your browser, just access one machine: http://192.168.192.128:8848/nacos

Check database (second above are newly added)

Out of service
[root@localhost conf]# ../bin/shutdown.sh
The nacosServer(3382) is running...
Send shutdown request to nacosServer(3382) OK
[root@localhost conf]#
This cluster environment to build success