
Construction of Web Hosting

A total supports three types of web hosting
companies commonly used is the first host-based virtual domain name
-based virtual host IP addresses, two network cards on a single physical host
port-based virtual hosts
Construction of the name-based virtual hosting
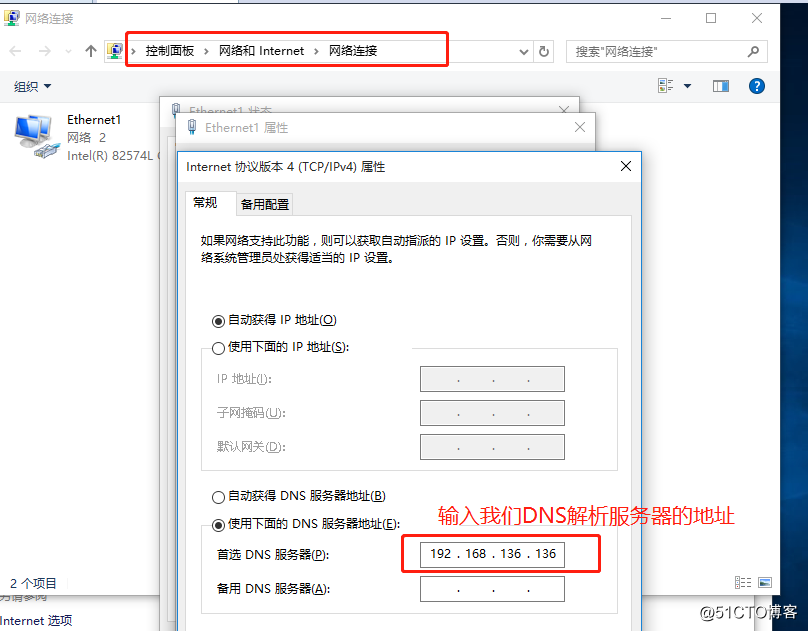
Environmental requirements: a linux as DNS and web servers, WIN10 client as a test
In our first Linux install two packages
[root@localhost ~]# yum install bind httpd -y
已安装:
  bind.x86_64 32:9.11.4-9.P2.el7       httpd.x86_64 0:2.4.6-90.el7.centos

作为依赖被安装:
  apr.x86_64 0:1.4.8-5.el7
  apr-util.x86_64 0:1.5.2-6.el7
  bind-export-libs.x86_64 32:9.11.4-9.P2.el7
  httpd-tools.x86_64 0:2.4.6-90.el7.centos
  mailcap.noarch 0:2.1.41-2.el7

作为依赖被升级:
  bind-libs.x86_64 32:9.11.4-9.P2.el7
  bind-libs-lite.x86_64 32:9.11.4-9.P2.el7
  bind-license.noarch 32:9.11.4-9.P2.el7
  bind-utils.x86_64 32:9.11.4-9.P2.el7
  dhclient.x86_64 12:4.2.5-77.el7.centos
  dhcp-common.x86_64 12:4.2.5-77.el7.centos
  dhcp-libs.x86_64 12:4.2.5-77.el7.centos
Configuring DNS master configuration file
需要改两处
[root@localhost ~]# vim /etc/named.conf
options {
        listen-on port 53 { any; };    //监听所有地址
        listen-on-v6 port 53 { ::1; };
        directory       "/var/named";
        dump-file       "/var/named/data/cache_dump.db";
        statistics-file "/var/named/data/named_stats.txt";
        memstatistics-file "/var/named/data/named_mem_stats.txt";
        recursing-file  "/var/named/data/named.recursing";
        secroots-file   "/var/named/data/named.secroots";
        allow-query     { any; };   //允许其他所有主机可以进行解析
Configuring DNS zone configuration file
我们加入两个需要解析的域名区域配置
在正向解析上复制5行
[root@localhost ~]# vim /etc/named.rfc1912.zones
zone "accp.com" IN {    //你需要解析的域名
        type master;
        file "accp.com.zone";    //区域数据配置文件
        allow-update { none; };
};

zone "kgc" IN {
        type master;
        file "kgc.com.zone";
        allow-update { none; };
};
zone "1.0.0.0.0.0.0.0.0.0.0.0.0.0.0.0.0.0.0.0.0.0.0.0.0.0.0.0.0.0.0.0.ip6.arpa" IN {
Configuring DNS zone data configuration file
[root@localhost ~]# cd /var/named/
[root@localhost named]# ls
data  dynamic  named.ca  named.empty  named.localhost  named.loopback  slaves
 [root@localhost named]# cp -p named.localhost accp.com.zone  //把模板复制到数据区域配置文件中
[root@localhost named]# vim accp.com.zone  //配置

$TTL 1D
@       IN SOA  @ rname.invalid. (
                                        0       ; serial
                                        1D      ; refresh
                                        1H      ; retry
                                        1W      ; expire
                                        3H )    ; minimum
        NS      @
        A       127.0.0.1
www IN  A       192.168.136.136  //添加域名解析的地址

[root@localhost named]# cp -p accp.com.zone kgc.com.zone
[root@localhost named]# vim kgc.com.zone  //这个只要复制过来不需要过来,我们是基于不同的域名解析
Open service
[root@localhost named]# systemctl stop firewalld.service
[root@localhost named]# setenforce 0
[root@localhost named]# systemctl start named
To test the win10 client can resolve to address
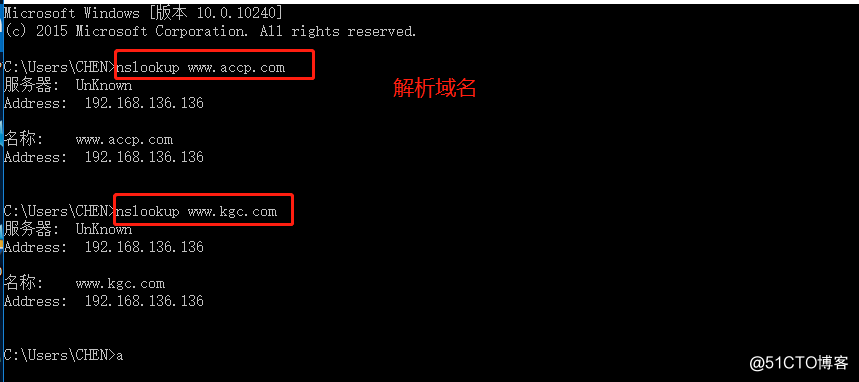
Add a virtual host configuration file child, do not write in the main configuration file, the system will be slow to load.
[root@localhost named]# cd /etc/httpd/
[root@localhost httpd]# ls
conf  conf.d  conf.modules.d  logs  modules  run
[root@localhost httpd]# cd conf
[root@localhost conf]# ls
httpd.conf  magic
[root@localhost conf]# mkdir extra    //创建一个扩展的文件夹,里面放入子配置文件,方便我们以后管理
[root@localhost conf]# ls
extra  httpd.conf  magic
[root@localhost conf]# cd extra/
Configuration sub-profiles
[root@localhost extra]# vim vhost.conf
<VirtualHost *:80> //标签虚拟主机 ,*代表所有网络
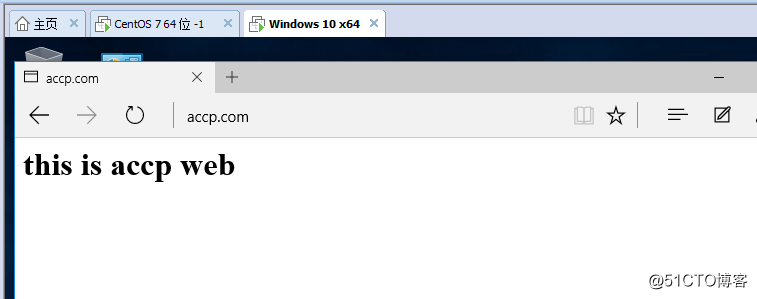
DocumentRoot "/var/www/html/accp/" //指定站点
ServerName www.accp.com //定义域名
ErrorLog "logs/www.accp.com.error_log" //网址要有日志文件,错误日志文件
Customlog "logs/www.accp.com.access_log" common //访问日志文件
<Directory "/var/www/html"> //站点需要设置权限,让所有网络能访问这个网页
Require all granted
</Directory>
</VirtualHost> //结尾标签
<VirtualHost *:80>
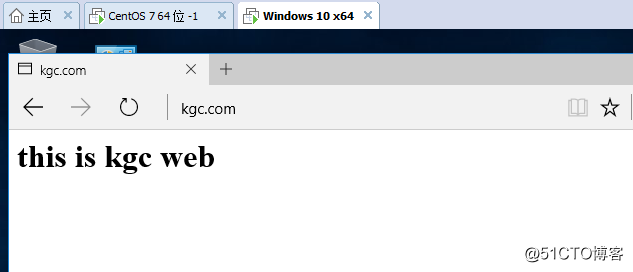
DocumentRoot "/var/www/html/kgc/"
ServerName www.kgc.com
ErrorLog "logs/www.kgc.com.error_log"
Customlog "logs/www.kgc.com.access_log" common
<Directory "/var/www/html">
Require all granted
</Directory>
</VirtualHost>
~ Create two default page in the site
[root@localhost httpd]# cd /var/www/html
[root@localhost html]# mkdier accp kgc //创建两个站点目录
[root@localhost html]# mkdir accp kgc
[root@localhost html]# ls
accp kgc
[root@localhost html]# cd accp
[root@localhost accp]# vim index.html //编辑网页写入内容
h1>this is accp web</h1>
[root@localhost accp]# cd ../kgc/
[root@localhost kgc]# vim index.html
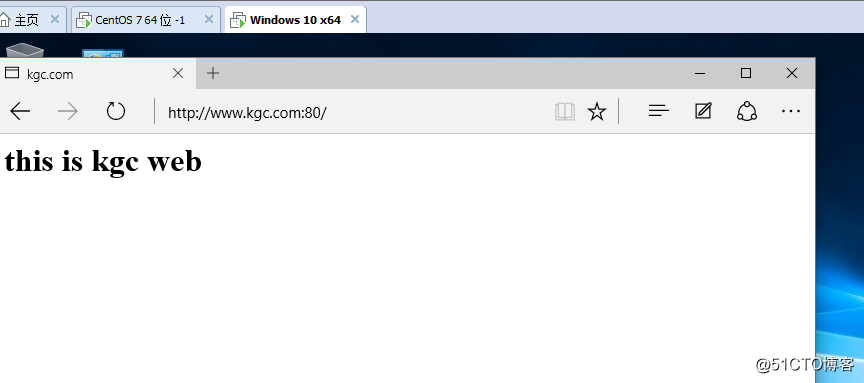
<h1>this is kgc web</h1>
Call sub-profiles in the main configuration file
[root@localhost kgc]# cd /etc/httpd/
[root@localhost httpd]# cd conf
[root@localhost conf]# ls
extra  httpd.conf  magic
[root@localhost conf]# vim httpd.conf

#Load config files in the "/etc/httpd/conf.d" directory, if any.
IncludeOptional conf.d/*.conf
Include conf/extra/vhost.conf   //调用子配置文件
Enabling web services, and to win10 clients can not get to test pages based on different domain name
The port-based virtual hosts
Child profile is created based on a virtual host ports
[root@localhost conf]# cd extra/
[root@localhost extra]# vim vhost.conf
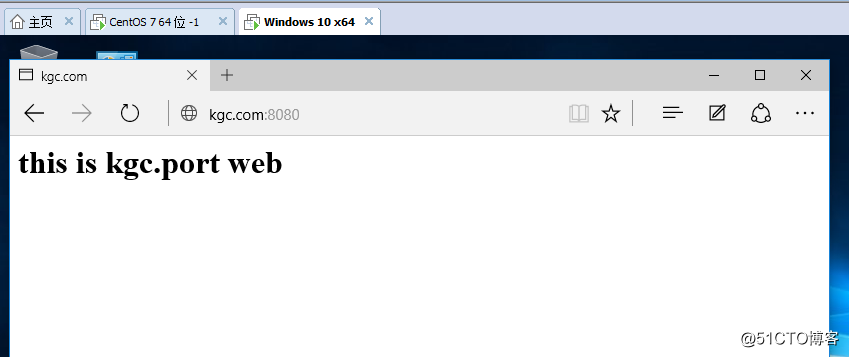
22 <VirtualHost *:8080> //端口加上8080
23 DocumentRoot "/var/www/html/kgc.port/"
24 ServerName www.kgc.port.com
25 ErrorLog "logs/www.kgc.port.com.error_log"
26 Customlog "logs/www.kgc.port.com.access_log" common
27 <Directory "/var/www/html">
28 Require all granted
29 </Directory>
30 </VirtualHost>
To the next site directory, do a default web port
[root@localhost extra]# cd /var/www/html/
[root@localhost html]# ls
accp  kgc
[root@localhost html]# mkdir kgc.port
[root@localhost html]# cd kgc.port/
[root@localhost kgc.port]# vim index.html

<h1>this is kgc.port web</h1>
~
In the main configuration file open join a listen address
[root@localhost kgc.port]# vim /etc/httpd/conf/httpd.conf

Listen 192.168.136.136:80
Listen 192.168.136.136:8080
#Listen 80
Open service, see the port has not been provided out
[root@localhost kgc.port]# systemctl restart httpd
[root@localhost kgc.port]# netstat -ntap
Active Internet connections (servers and established)
Proto Recv-Q Send-Q Local Address           Foreign Address         State       PID/Program name
tcp        0      0 0.0.0.0:111             0.0.0.0:*               LISTEN      1/systemd
tcp        0      0 192.168.136.136:8080    0.0.0.0:*               LISTEN      59009/httpd
tcp        0      0 192.168.136.136:80      0.0.0.0:*               LISTEN
With the client win10 test based on a different page access port
80 port or the original page
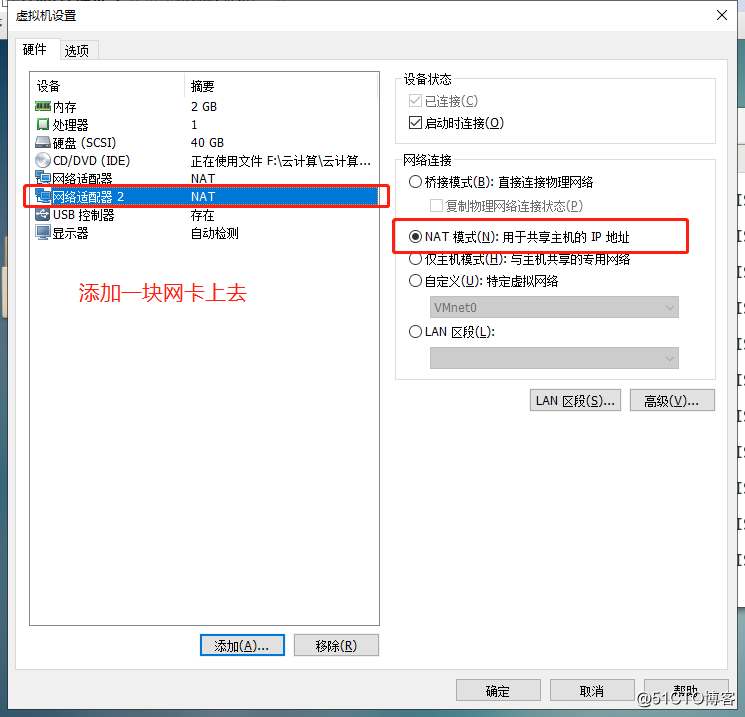
The IP-based virtual hosts
Add a card
[root@localhost ~]# ifconfig
ens33: flags=4163<UP,BROADCAST,RUNNING,MULTICAST>  mtu 1500
        inet 192.168.136.136  netmask 255.255.255.0  broadcast 192.168.136.255
        inet6 fe80::e3c7:14af:6e4d:7216  prefixlen 64  scopeid 0x20<link>
        ether 00:0c:29:c9:dd:05  txqueuelen 1000  (Ethernet)
        RX packets 101  bytes 10639 (10.3 KiB)
        RX errors 0  dropped 0  overruns 0  frame 0
        TX packets 113  bytes 12291 (12.0 KiB)
        TX errors 0  dropped 0 overruns 0  carrier 0  collisions 0

ens36: flags=4163<UP,BROADCAST,RUNNING,MULTICAST>  mtu 1500
        inet 192.168.136.138  netmask 255.255.255.0  broadcast 192.168.136.255
        inet6 fe80::658e:4c2d:2273:9cf5  prefixlen 64  scopeid 0x20<link>
        ether 00:0c:29:c9:dd:0f  txqueuelen 1000  (Ethernet)
        RX packets 108  bytes 14566 (14.2 KiB)
        RX errors 0  dropped 0  overruns 0  frame 0
        TX packets 42  bytes 5695 (5.5 KiB)
        TX errors 0  dropped 0 overruns 0  carrier 0  collisions 0
To begin configuring the sub configuration file
[root@localhost ~]# cd /etc/httpd/conf/extra/
[root@localhost extra]# ls
vhost.conf
[root@localhost extra]# vim vhost.conf 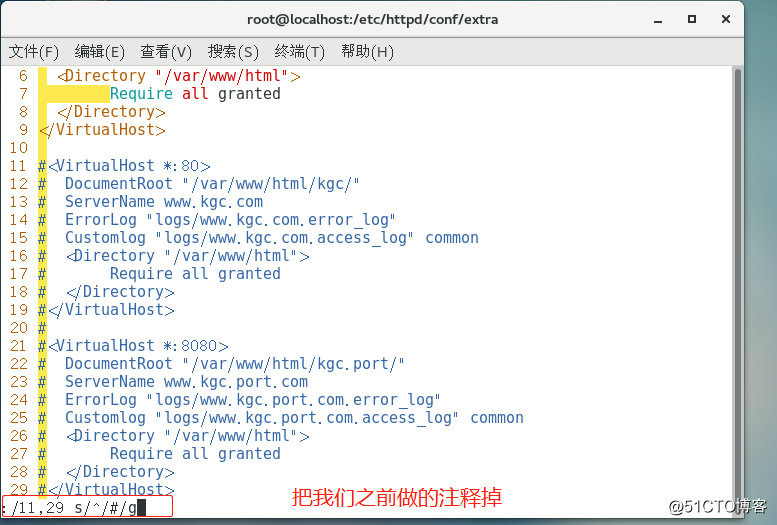
<VirtualHost 192.168.136.138:80> //“*”改成第二块网卡的地址
2 DocumentRoot "/var/www/html/accp/"
3 ErrorLog "logs/www.accp.com.error_log"
4 Customlog "logs/www.accp.com.access_log" common
5 <Directory "/var/www/html">
6 Require all granted
7 </Directory>
8 </VirtualHost>
9
10
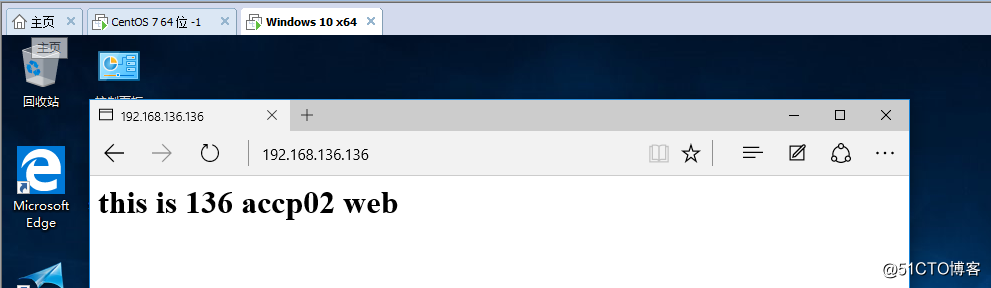
11 <VirtualHost 192.168.136.136:80> //改成第一块网卡的地址
12 DocumentRoot "/var/www/html/accp02/" //重新在站点下写一个网页
13 ErrorLog "logs/www.accp02.com.error_log"
14 Customlog "logs/www.accp02.com.access_log" common
15 <Directory "/var/www/html">
16 Require all granted
17 </Directory>
18 </VirtualHost>
19 To the next site to create a web content
[root@localhost extra]# cd /var/www/html/
[root@localhost html]# mkdir accp02
[root@localhost html]# cd accp02
[root@localhost accp02]# vim index.html
<h1>this is 136 accp02 web</h1>
~
~
~
[root@localhost accp02]# vim ../accp/index.html
<h1>this is 128 accp web</h1>
~
~
~
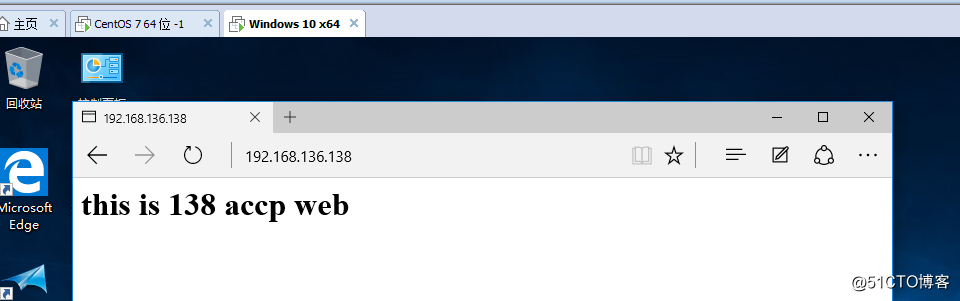
Add address monitor 138 in the main configuration file, open Service
#prevent Apache from glomming onto all bound IP addresses.
Listen 192.168.136.136:80
Listen 192.168.136.138:80
#Listen 192.168.136.136:8080
#Listen 80

[root@localhost extra]# systemctl status httpd
To test client, I remember before we give the client specifies dns resolve address to get automatic acquisition, or your client can not access, not access Web site
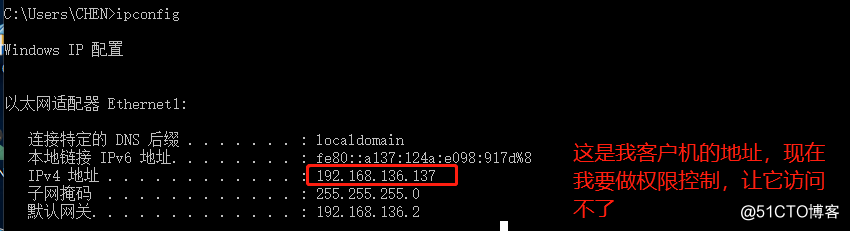
Aapache access control (client access control)
To sub-profile, which is also known as the container do the client access controls, like when black and white list, I how all this container system commands are to achieve, does not recognize the command access control list from top to bottom like ACL.
[root@localhost ~]# cd /etc/httpd/conf/extra/
[root@localhost extra]# ls
vhost.conf
[root@localhost extra]# vim vhost.conf
<VirtualHost 192.168.136.138:80>
DocumentRoot "/var/www/html/accp/"
ErrorLog "logs/www.accp.com.error_log"
Customlog "logs/www.accp.com.access_log" common
<Directory "/var/www/html">
<RequireAll> //要加入子容器的标签
Require not ip 192.168.136.137 //拒绝这个地址访问,也可以拒绝网段比如 Require not ip 192.168.136.0/24
Require all granted
</RequireAll> //结尾标签
</Directory>
</VirtualHost>
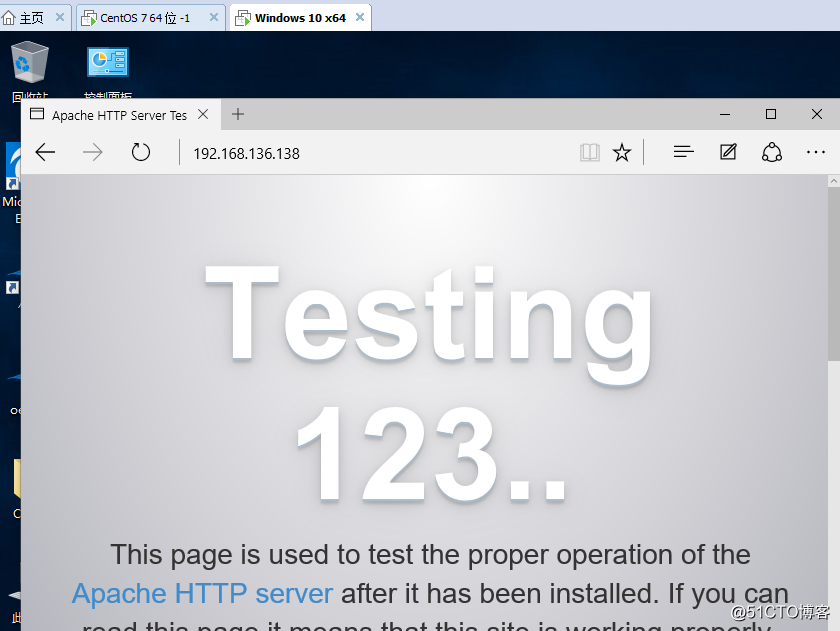
[root@localhost extra]# systemctl restart httpd //重启服务To the client to test
Because doing so access control, you can only access the web service default Web site
User login access control
[root@localhost extra]# cd /etc/httpd/conf
[root@localhost conf]# htpasswd -c /etc/httpd/conf/pwd chen01 //创建一个chen01用户,放在路径底下,起个名字pwd. htpasswd:用YUM安装直接可以使用,如果手工编译安装,要把这个命令加到/usr/local/bin系统识别的命令底下。
New password:   //输入你的密码
Re-type new password:   //重复输入
Adding password for user chen01
[root@localhost conf]# ls
extra  httpd.conf  magic  pwd
[root@localhost conf]# cat pwd
chen01:$apr1$lOLJMVUo$EZ7qupc1bHN3k38OUw/1F.
[root@localhost conf]# htpasswd /etc/httpd/conf/pwd chen02  //如果这个目录已存在,就不要加-c了
New password:
Re-type new password:
Adding password for user chen02
[root@localhost conf]# cat pwd
chen01:$apr1$lOLJMVUo$EZ7qupc1bHN3k38OUw/1F.
chen02:$apr1$5cbb6tpU$mt5EZG/8y7qXhyi1Pz2Lk1
[root@localhost conf]#
Add to them the container specify an IP user login access control
[root@localhost extra]# vim vhost.conf