-
VMWare virtual machine installation
Download ( http://www.onlinedown.net/soft/2062.htm )

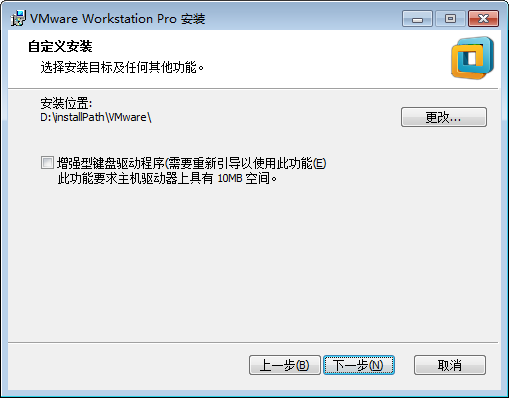
Very simple installation steps (except the installation path selection), installation fool
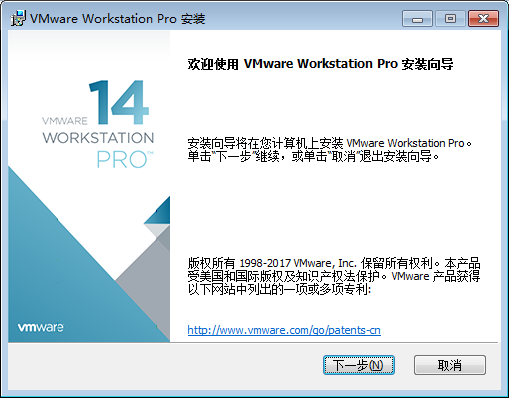
Consent agreement

Select the installation path

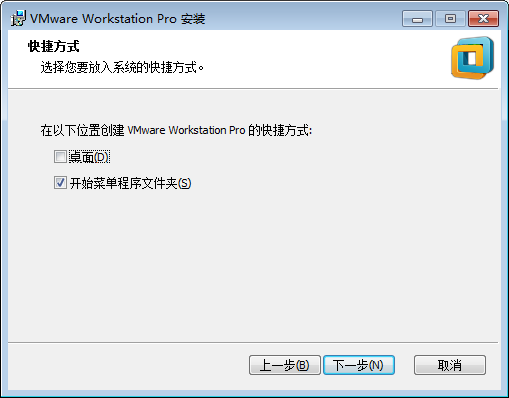
installation
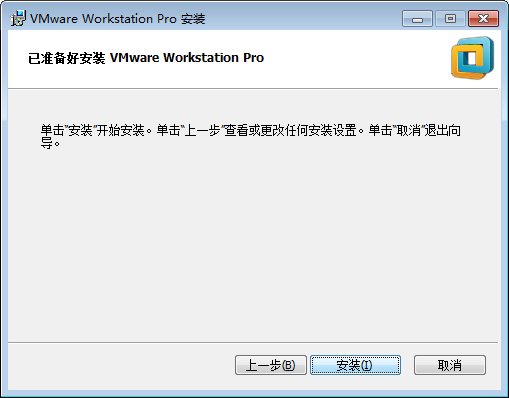
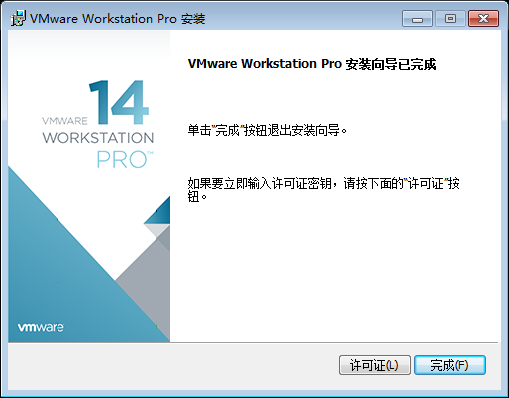
carry out
The software also can be cracked, registration code can be found online or go to:
With this registration code: 5A02H-AU243-TZJ49-GTC7K-3C61N
-
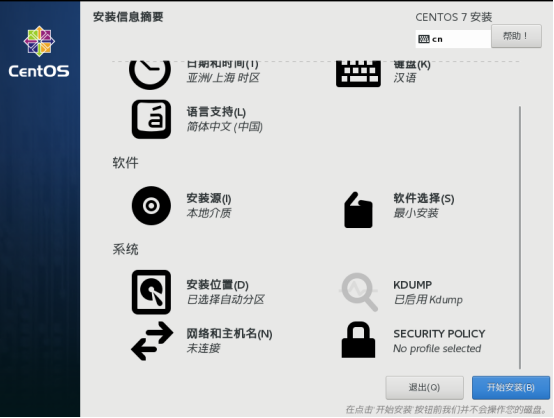
Centos installation diagram
Mirror system: the installation is centos7

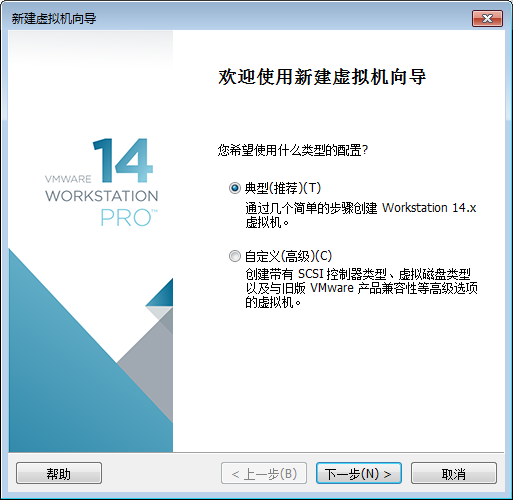
In the VM installation on centos7 , File ---> New Virtual Machine

Select a typical installation , the next step
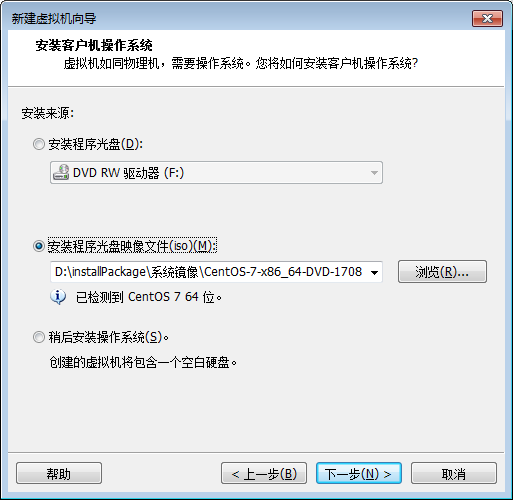
Select centos image file (you browse the image file path), the next step
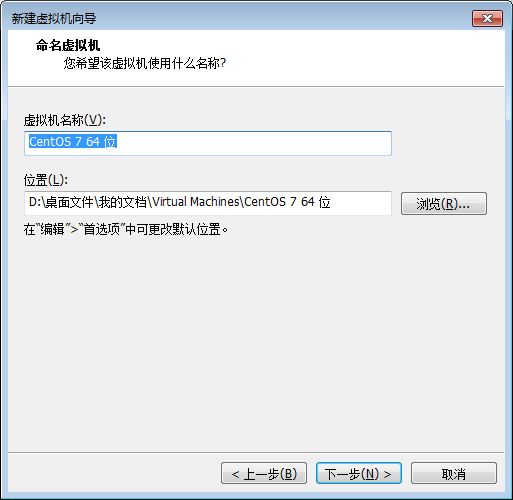
Set the name of the virtual machine, and set centos installation directory
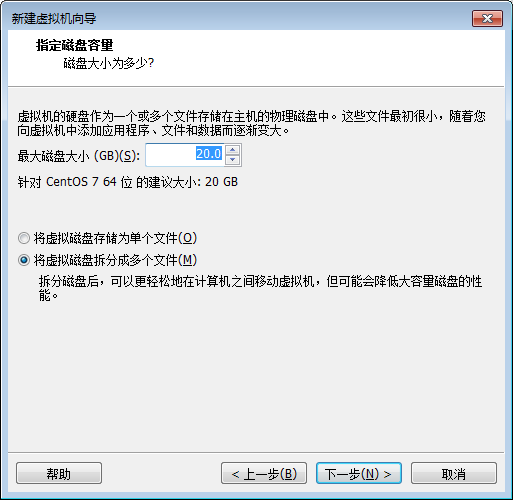
Take the default configuration, the next step
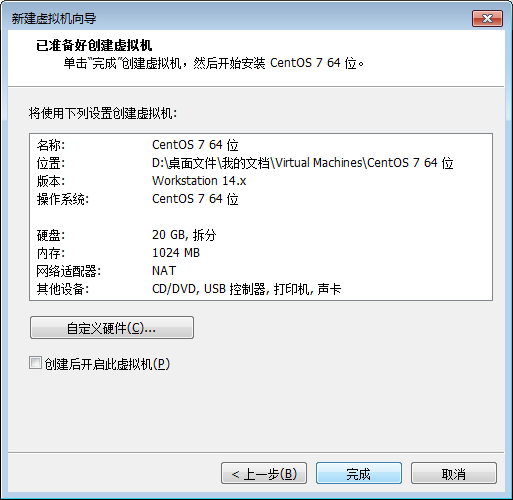
carry out
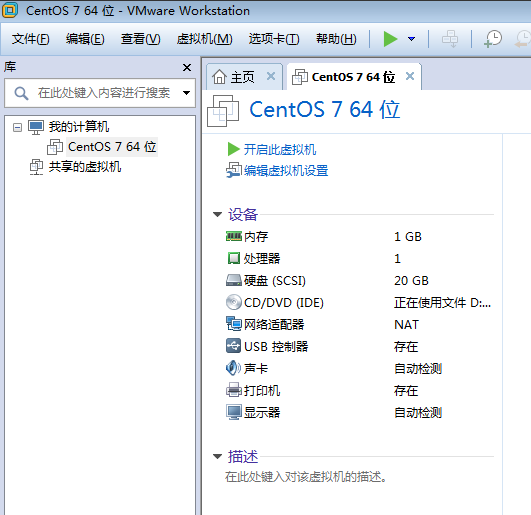
Open virtual machine
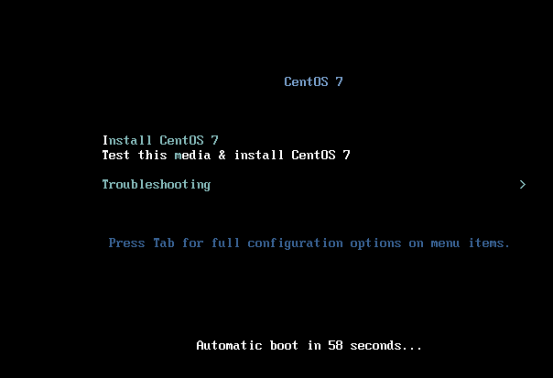
Select the default: the Test Media & the this install CentOS 7, Enter
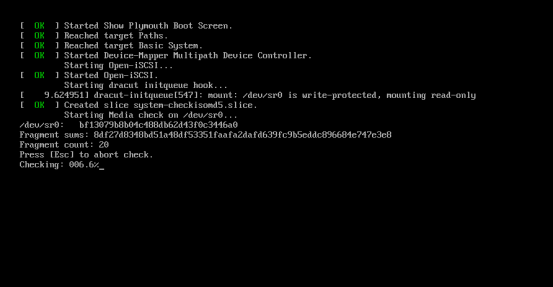
During installation, do not operate
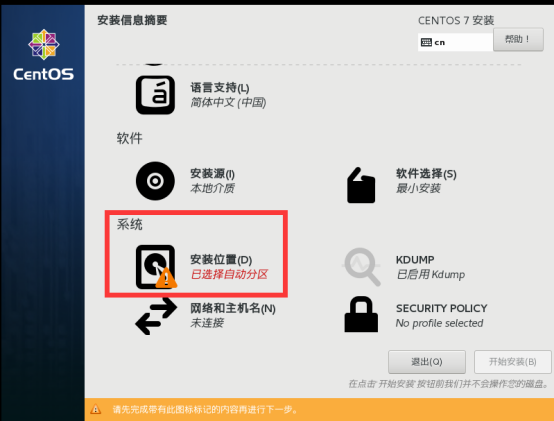
Select Chinese, Simplified Chinese, continue

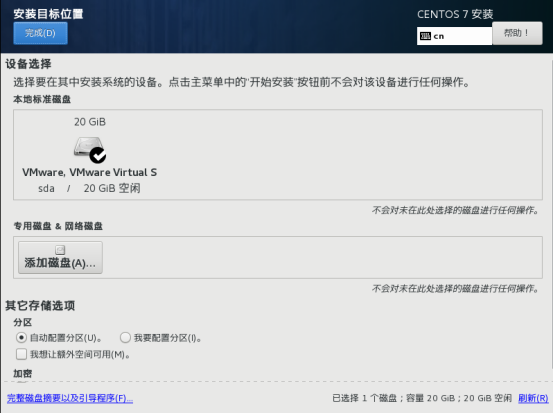
Click Install Location
start installation
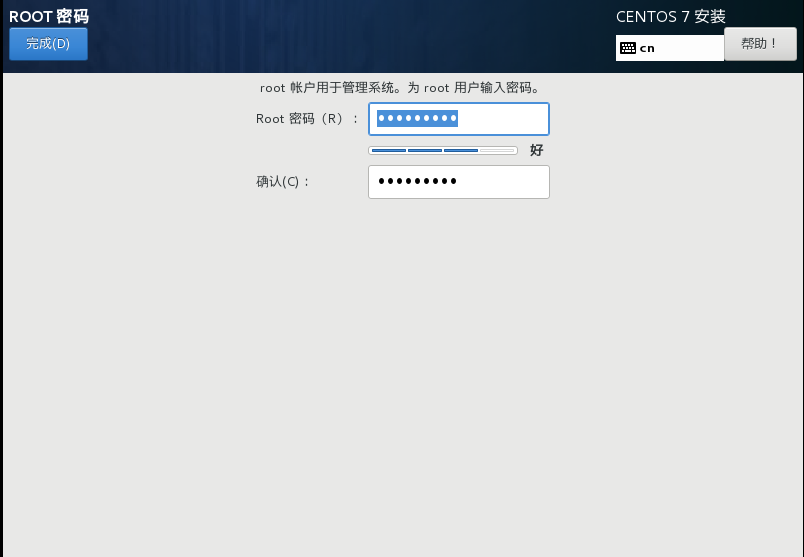
Click the root password
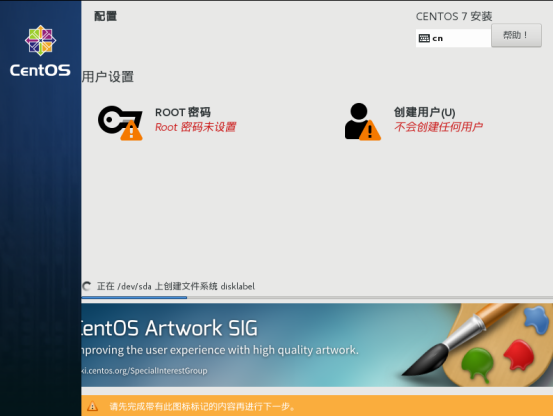
set password
Then he waits for a successful installation (usually takes a few minutes)
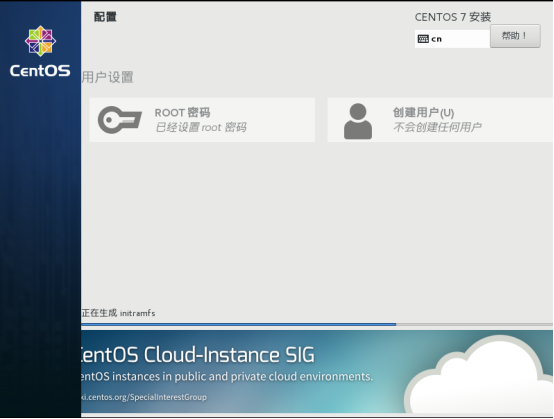
After successful installation restart his
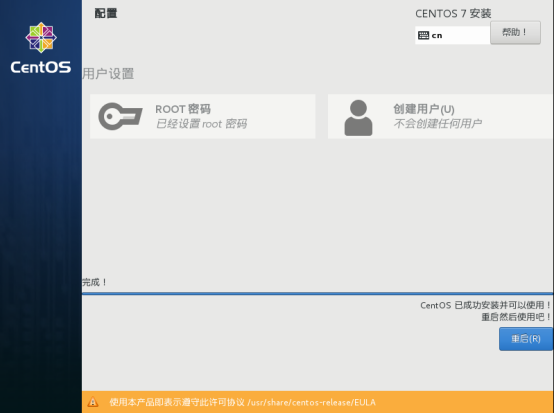
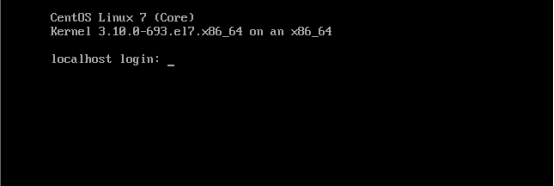
Successful start
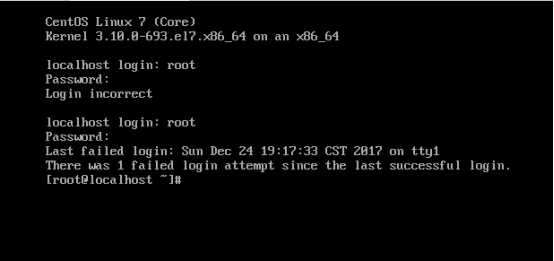
Enter the username and password you previously set ( Note: The password is not visible, go in the password is correct, the error will re-enter )
Installation finished, can be used to enter the
-
Use XShell and WinSCP tools
Explanation:
(1) XShell is a remote connection centos tool, command
(2) WinSCP connecting remotely centos tool, file transfer action effect
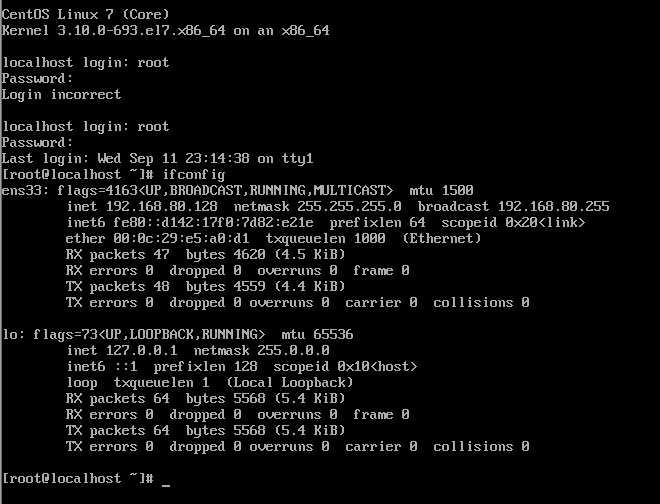
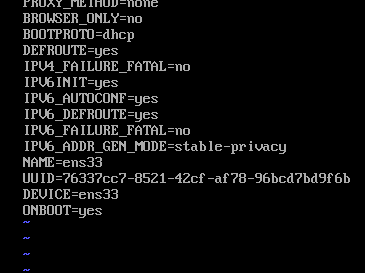
In centos , enter the command ifconfig , see centos the IP address of the remote connection
Note: There are some small partner does not show when viewing the IP, do not worry there is a corresponding solution
Proceeds to modify the network settings of the interface CD / etc / sysconfig / Network-scripts / , the transport, below

See a file
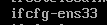
Using the vi editor to edit the file, vi the ifcfg-ens33 Enter

Click to insert into edit mode, modify the last line ONBOOT = yes
Press esc health, after a single input: WQ enter, save and exit
Restart network services service network restart

Test again, enter ifconfig , see if there ID address
Look out my IP has shown a
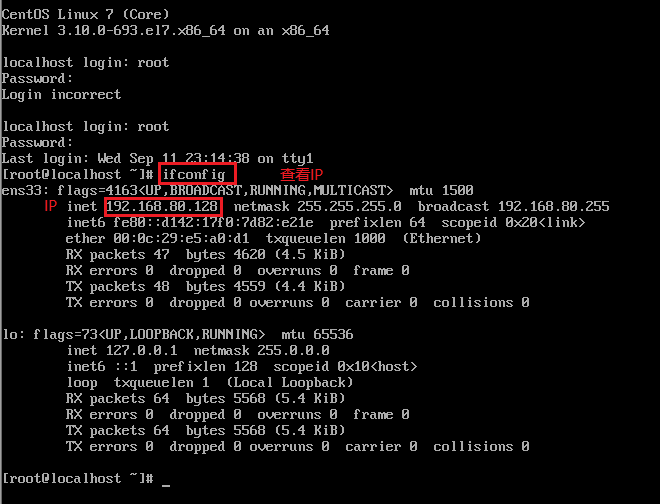
SecureCRTPortable centos remote connection tools, double-click it to connect on the line

Double-click to open, use Quick Connect, enter just get IP
After the pop-up box will open to let you enter the account password just set in the emulator
connection succeeded

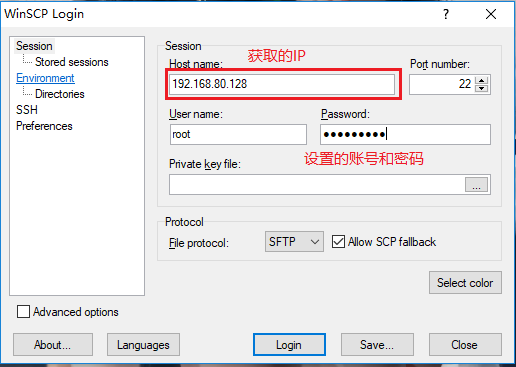
WinSCP installation

Next on the line fool
turn on
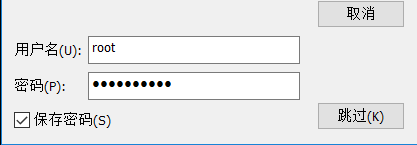
Enter the IP address, account number and password set
Click YES on the line

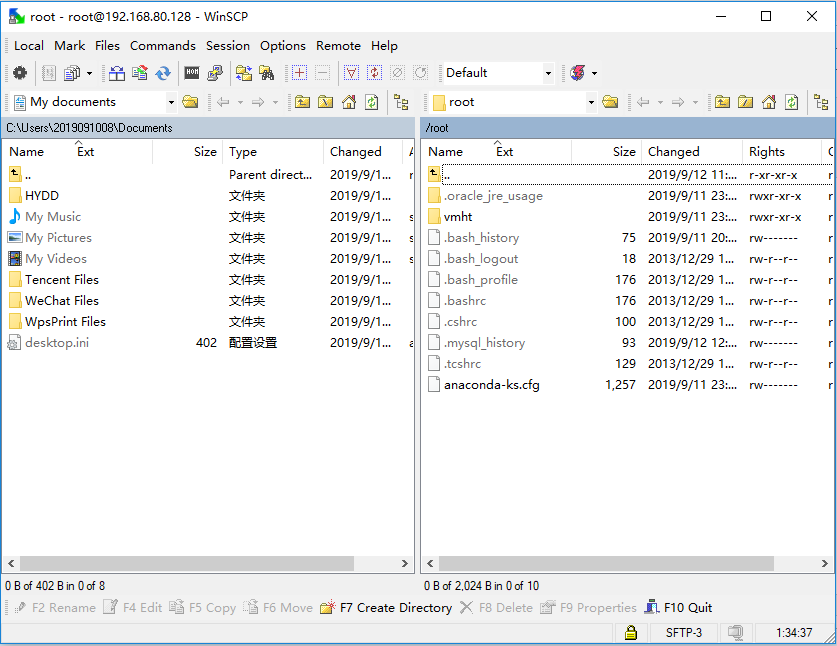
After a successful connection
-
JDK installation diagram
Download centos version of the JDK, download the latest version 1.9 is not recommended, because the latest version does not contain the jre.
Download Path: http://www.oracle.com/technetwork/java/javase/downloads/index.html
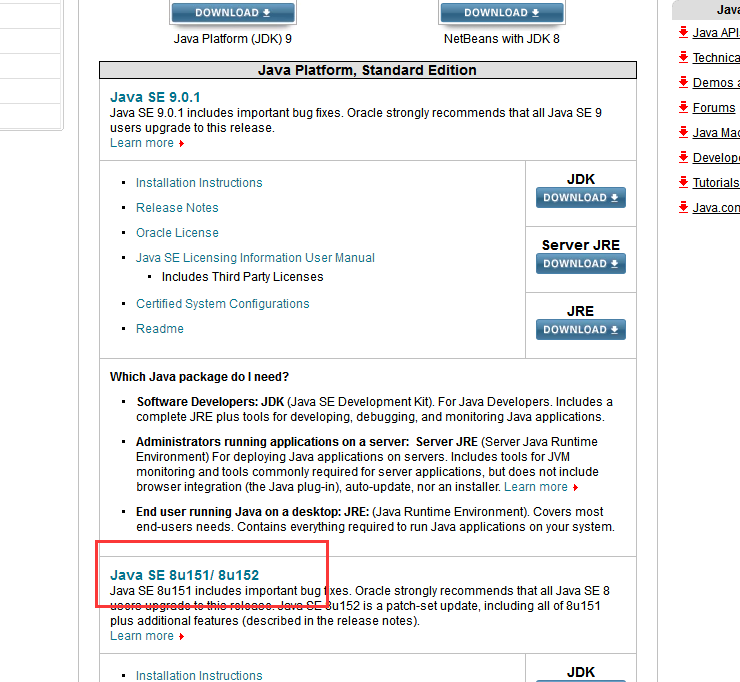
Select 1.8_151 version, agreed to accept, then select the corresponding version of their own centos

WinSCP by the window in the JDK installation package downloaded, transmitted to the centos
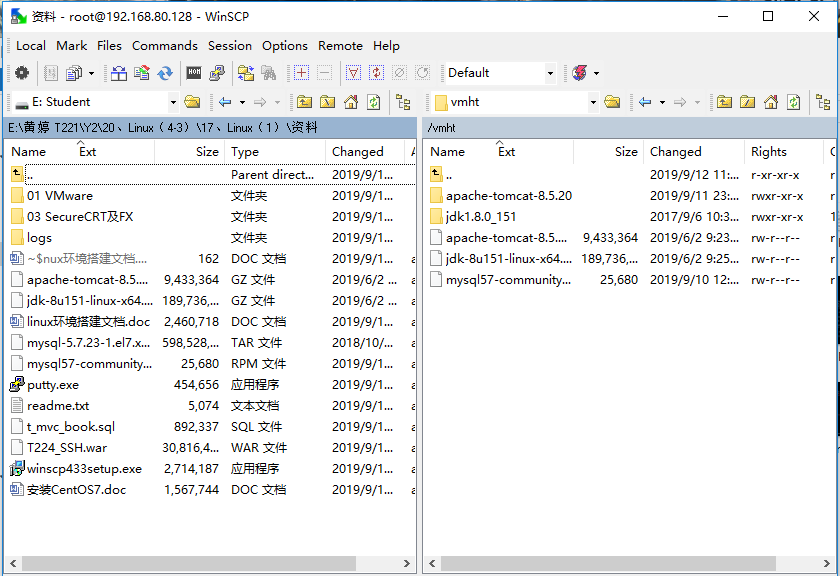
Decompression, installation package using the command tar -axvf

Enter, slowly waiting for him to finish decompression

Configure the environment variables, you need to modify / etc / profile file, use the command
Vi / etc / profile, click insert to enter the edit mode: Add the following to the end of the file:
export JAVA_HOME=/vmht/jdk1.8.0_151
export JRE_HOME=${JAVA_HOME}/jre
export CLASSPATH=.:${JAVA_HOME}/lib:${JRE_HOME}/lib
export PATH=${JAVA_HOME}/bin:$PATH
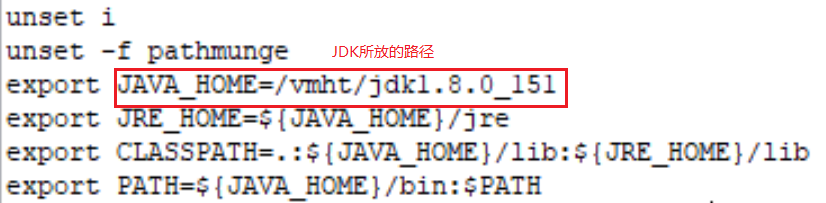
Click esc, and then enter: wq to save and exit

Check the configuration is successful jdk

-
Configuration illustrated TomCat
The official website tomcat:
URL: http://tomcat.apache.org/
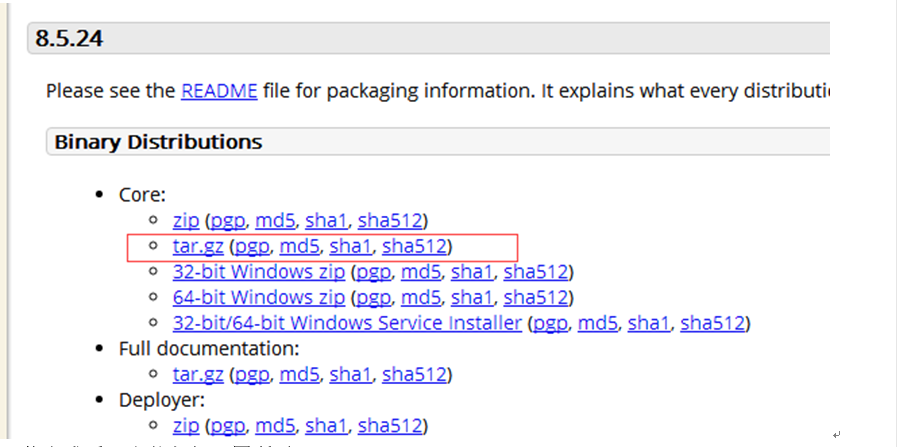
1. Extract Tomcat
2. configure the environment variables
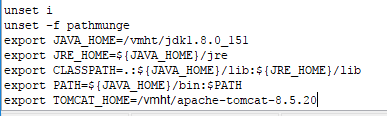
. 1) VI / etc / Profile
2) disposed in the rearmost Tomcat environment variables:
#tomcat
Export the TOMCAT_HOME = / vmht /-Apache Tomcat-8.5.20 (Tomcat decompression path)
. 3) Source / etc / Profile
4) start tomcat: ./ startup.sh
Decompression

Configuration Environment
Whether monitoring success
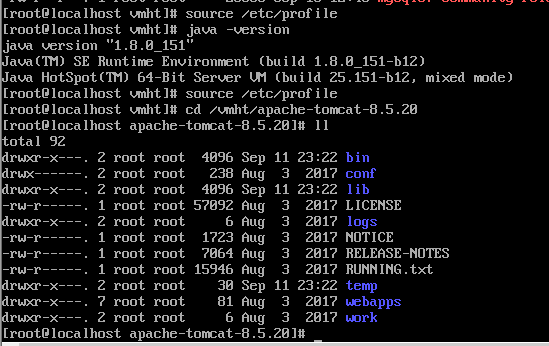
Start tomcat
Access, enter in your browser
http: // IP Address: 8080
(1) was added to the firewall port 8080
firewall-cmd --zone=public --add-port=8080/tcp --permanent

(2) update the firewall rules
firewall-cmd --reload

(3) Check the firewall ports open
firewall-cmd--zone=public--list-ports

success

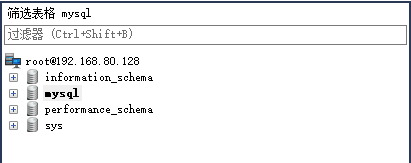
My host connection sql

success
-
Web deployment project
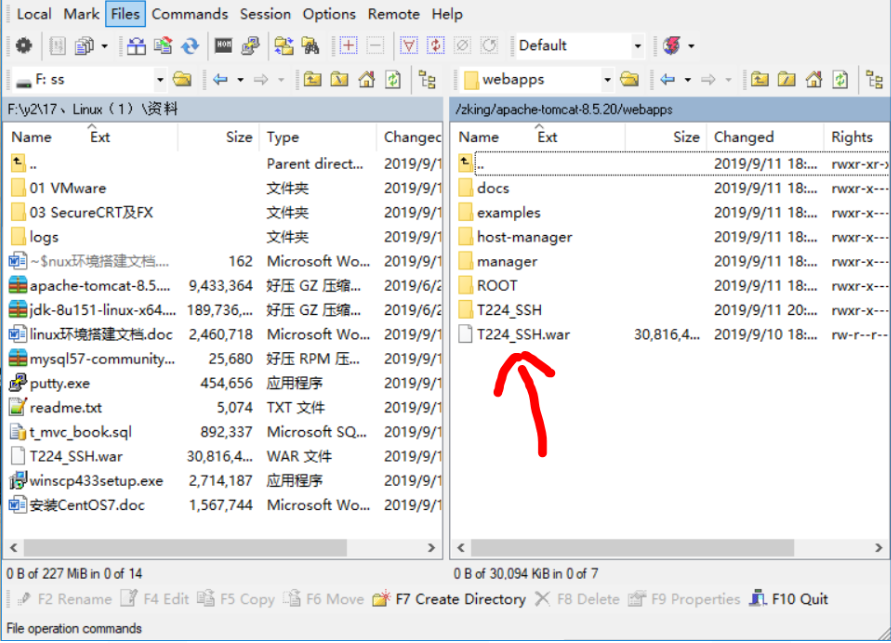
Restart tomcat to