vue Notes (1) Part acquaintance: https://blog.csdn.net/qq_43537987/article/details/93402865
vue Notes (2) in vue Ajax: https://blog.csdn.net/qq_43537987/article/details / 93,403,293
VUE notes (3) animation: https://blog.csdn.net/qq_43537987/article/details/93403565
VUE Notes (4) of the component: https://blog.csdn.net/qq_43537987/article/details/ 93,403,973
VUE Notes (5) ref is used https://blog.csdn.net/qq_43537987/article/details/93404091
VUE notes (6) route: https://blog.csdn.net/qq_43537987/article/details/93404522
Notes vue (7) watch, methods, computed using the nrm: https://blog.csdn.net/qq_43537987/article/details/93404903
vue Notes (. 8) webapck: https://blog.csdn.net/qq_43537987 / article / details / 93405173
Vue.js
note:
Sometimes the use npm i node-sass -Dis not installed, this time, you must usecnpm i node-sass -D
json data can not be annotated
Use render rendering function in the general assembly page
- This approach would direct replacement app out
- For example in this case is 123 did not show up
- If you do not want to replace the contents of the app, use the normal method to use components
<div id="app"><p>123</p></div>
<script>
  var login = {
      template:'<h1>登录</h1>'
  };
  var vm  = new Vue({
      el:'#app',
      data:{},
      methods:{},
      render:function (createElements) {//createElements是一个方法,调用它,能够把指定的组件模板,渲染为html结构 ,名字随便起,create。。。。都行
          return createElements(login)
      }
  })
</script>
Use template object built using webpack Vue project?
-
Method 1: Modify mian property is vue.js (prior to runtime-common.js)
-
Method 2: mian.js is modified
import Vue from '../node_modules/vue/dist/vue.js' -
Method 3:
-
main.js
import Vue from 'vue' -
webpack.config.js
resolve: {
    alias: {
      'vue$': 'vue/dist/vue.js'
    }
  }
-
- In
webpack.config.jsthe AddresolveAttribute:
resolve: {
    alias: {
      'vue$': 'vue/dist/vue.js'
    }
  }
Configuration parsing .vue components page in webpack the (not so that with how the series ??? !!!!!!)
The version number again forced to pit:
No matter what the version number, be sure to match! !
 "vue-loader": "^14.2.4",
 "vue-template-compiler": "^2.6.10",
 "vue": "^2.6.10",
- Run
npm i vue -Swill depend vue installed to run; - Run
npm i vue-loader vue-template-compiler -Dthe install package vue analysis and conversion for the development of dependence; - Run
npm i style-loader css-loader -Dwill parse CSS conversion packages installed for the development of dependence, because .vue file will write CSS styles; - In the
webpack.config.jsmiddle, add the followingmodulerules:
module: {

    rules: [

      { test: /\.css$/, use: ['style-loader', 'css-loader'] },

      { test: /\.vue$/, use: 'vue-loader' }

    ]

  }
- Creating
App.vueComponents page:
    <template>

      <!-- 注意:在 .vue 的组件中,template 中必须有且只有唯一的根元素进行包裹,一般都用 div 当作唯一的根元素 -->

      <div>

        <h1>这是APP组件 - {{msg}}</h1>

        <h3>我是h3</h3>

      </div>

    </template>


    <script>

    // 注意:在 .vue 的组件中,通过 script 标签来定义组件的行为,需要使用 ES6 中提供的 export default 方式,导出一个vue实例对象 ,
    //导入:import
    //组件自己的数据和方法

    export default {

      data() {

        return {

          msg: 'OK'

        }

      }

    }

    </script>

    <style scoped>

    h1 {

      color: red;

    }

    </style>
- Creating
main.jsentry file:
    // 导入 Vue 组件

    import Vue from 'vue'


    // 导入 App组件

    import App from './components/App.vue'


    // 创建一个 Vue 实例,使用 render 函数,渲染指定的组件

    var vm = new Vue({

      el: '#app',

      render: c => c(App)

    });
ES6 the syntax summary
- Use
export defaultandexportexport module members; corresponding to the ES5module.exportsandexport - Use
import ** from **andimport '路径'alsoimport {a, b} from '模块标识'import other modules - Use the arrow function:
(a, b)=> { return a-b; }
export default export and use
export default
-
Use export-default members exposed outwardly, you may be used to receive any variable
-
In one module may be used to export and export-default simultaneously
-
In one module, export-default outwardly exposed only once
export default {
    name:'zs',
    age:20
}
export
- Using the export member outwardly exposed, only the form of {} is received, this form is called export demand []
- a plurality of members may be exposed outwardly export, while, if certain members, we do not need to be at the time of import} {not defined
- Export and received the name must be consistent
test.js
export var title = 'hello'
export var content = '哈哈哈'
main.js
import {title,content} from './test.js'
console.log(title+'-----'+content)
- If I have a change of name may look cheap to do so
import {title as title123,content} from './test.js'
console.log(title123+'-----'+content)
In the page assembly vue, vue-router routing module integrated
NPM
npm install vue-router
When used with the module system, must be Vue.use()explicitly installed router follows:
import Vue from 'vue'
import VueRouter from 'vue-router'

Vue.use(VueRouter)
- Import routing module:
import VueRouter from 'vue-router'
- Routing module installation:
Vue.use(VueRouter);
- Importing components need to show:
import login from './components/account/login.vue'

import register from './components/account/register.vue'
- Create a route object:
var router = new VueRouter({

  routes: [

    { path: '/', redirect: '/login' },

    { path: '/login', component: login },

    { path: '/register', component: register }

  ]

});
- The routing object, the mount Vue instance:
var vm = new Vue({

  el: '#app',

  // render: c => { return c(App) }

  render(c) {

    return c(App);

  },

  router // 将路由对象,挂载到 Vue 实例上

});
- Transformation App.vue components in the template, add
router-linkandrouter-view:
    <router-link to="/login">登录</router-link>

    <router-link to="/register">注册</router-link>

    <router-view></router-view>
css scope of the component in question
- If you want to add style to a separate component to add scoped attribute, or tell each component added style
- scoped is implemented by selecting the attribute css
- Note: To pilot packages and configuration css, scss, less so on
//假设这是login组件的代码部分
<style scoped>
h1 {
  color: red;
}
</style>
- If the file you want to write scss or less, add the lang attribute
- Ordinary style only supports plain style, if you want to enable scss or less, add the lang attribute
<style lang="scss">
    body {
        div{

        }
    }
</style>
What use are hungry components of MintUI
- Import all MintUI components:
import MintUI from 'mint-ui'
- Import stylesheet:
import 'mint-ui/lib/style.css'
- Use MintUI in vue in:
Vue.use(MintUI)
- Examples of use:
<mt-button type="primary" size="large">primary</mt-button>
Js Mint UI components using the
app.vueCode
<template>
  <div>
    <h1>这是 App 组件</h1>
    <router-link to="/login">登录</router-link>
    <router-link to="/register">注册</router-link>
    <router-link to="/container">我是你爸爸</router-link>
    <router-view></router-view>
    <mt-button type="danger" @click="show">danger</mt-button>
    <mt-button plain>plain</mt-button>
  </div>
</template>

<script>
    import { MessageBox } from 'mint-ui';
  export default {
      data(){
          return {};
      },
      methods:{
          show(){
              MessageBox({
                  title: '提示',
                  message: '确定执行此操作?',
                  showCancelButton: true
              });

          }
      }
  }
</script>
<style>

</style>
Mint UI introduced on demand
The introduction of demand
Means Babel-Component-plugin , we can introduce components that need to achieve the goal of reducing the volume of the item.
First, install babel-plugin-component:
npm install babel-plugin-component -D
Then, .babelrc amended as follows:
{
  "presets": [
    ["es2015", { "modules": false }]
  ],
  "plugins": [["component", [
    {
      "libraryName": "mint-ui",
      "style": true
    }
  ]]]
}
If you only want to introduce some components, such as Button and Cell, you need to write the following in main.js in:
import Vue from 'vue'
import { Button, Cell } from 'mint-ui'
import App from './App.vue'

Vue.component(Button.name, Button)
Vue.component(Cell.name, Cell)
/* 或写为
 * Vue.use(Button)
 * Vue.use(Cell)
 */

new Vue({
  el: '#app',
  components: { App }
})
import { Button, MessageBox} from 'mint-ui'

Vue.component(Button.name, Button)
Vue.component(MessageBox.name, MessageBox)
Use MUI components
- Note: MUI Unlike Mint-UI, MUI only useful section of developed code fragment, which provide style configuration, supporting HTML snippet on Bootstrap similar, but is a real Mint-UI component library, using VUE art package out of the set of components, and can be seamlessly integrated VUE development. Therefore, speaking from experience, Mint-UI better, because it is someone else to help us develop Vue good ready-made components.
- Any project can use bootstrap and MUI, but Mint-UI is only applicable to the project vue
- MUI is not available to download NPM need to manually download on github
- Import MUI style sheet:
import '../lib/mui/css/mui.min.css'
- In
webpack.config.jsadding new loader rules:
{ test: /\.(png|jpg|gif|ttf)$/, use: 'url-loader' }
- According to the official documentation and example, try using related components
Directly to:
   <button type="button" class="mui-btn mui-btn-success">绿色</button>
    <button type="button" class="mui-btn mui-btn-warning">黄色</button>
    <button type="button" class="mui-btn mui-btn-danger">红色</button>
    <button type="button" class="mui-btn mui-btn-royal">紫色</button>
The source project hosted in the oschina
-
gitee.com -> Settings -> SSH Public Key
-
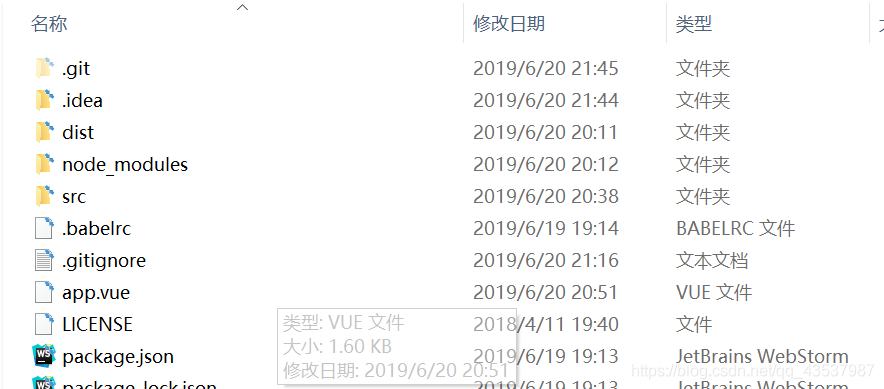
.Gitignore you create files in the root directory of the project
node_modules .idea .vscode .git -
Open source license LICENSE (copied directly into the project root directory)
- Click on the picture -> Modify -> SSH public key of how to generate SSH public key
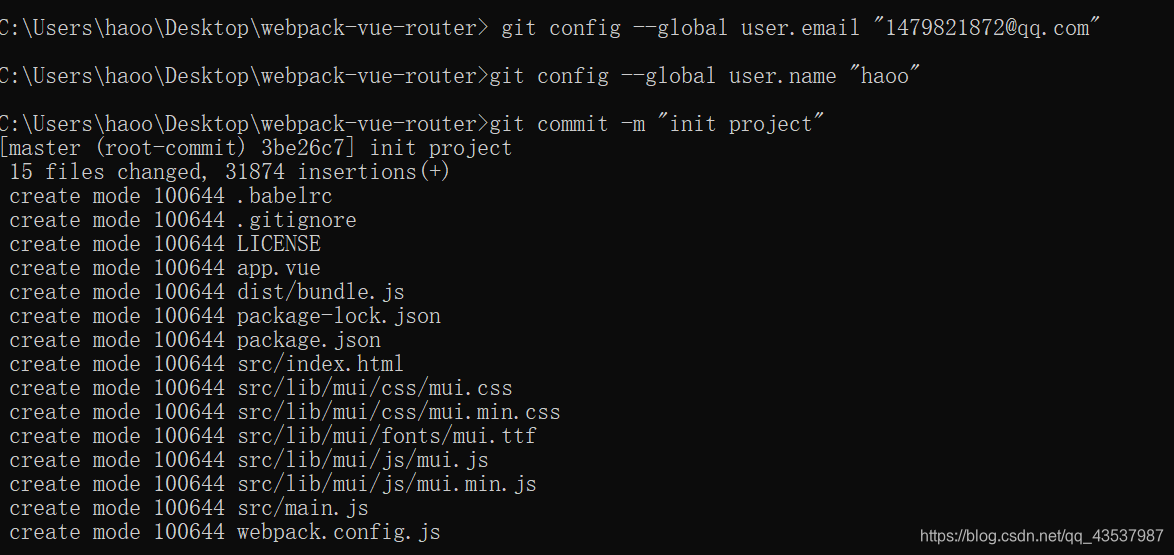
- Create your own empty storage, use
git config --global user.name "用户名"and thegit config --global user.email ***@**.comuser's name and mailbox submitted to the global configuration - Use
git initlocal project initialization
- https://blog.csdn.net/as091313/article/details/86279044
- git status
- Use
git add .will host all the files to git - Use
git commit -m "init project"the projects submitted by local
- Use
git remote add origin 仓储地址local projects and remote storage connections and the use of aliases origin of the most remote storage - Use
git push -u origin masternative code to push warehousing
The basic component is provided App.vue
mui expand icon
- Using the navigation bar head is fixed
Mint-UItoHeaderthe component; - The bottom of the tab use
muioftabbar; - Shopping cart icon ( MUI expand icon ), using
icons-extrathemui-icon-extra mui-icon-extra-cartsame time, it should depend on the font icon filemui-icons-extra.ttf, copied tofontsthe directory! - The tab at the bottom, transformed into
router-linkto achieve the switching of a single page; - Tab Bar routing activation time setting highlighted in two ways:
- Global Settings style as follows:
 	.router-link-active{

      	color:#007aff !important;

    }
- Or
new VueRouterwhen, bylinkActiveClassspecified categories highlighted:
 	// 创建路由对象

    var router = new VueRouter({

      routes: [

        { path: '/', redirect: '/home' }

      ],

      linkActiveClass: 'mui-active'

    });