1, first start IntelliJIDEA development environment, and then select Create New Project, you can see a new window.
We chose Spring Initializr, and you want to switch the JDK version, shown in Figure 2-6.
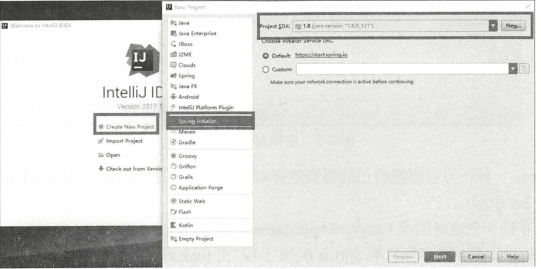
2. Similarly, the figure is where I boxed content changes according to their needs. Note that here chose to War packaged form, and then click Next, turn to the starter can be selected window, shown in Figure 2-8.

You can add core items in the web

This is the end of a very basic project configuration
3, add a new method in Demo1Application, and now because there is no configuration jsp severlet, write a json output

In page, enter http: // localhost: 8080 / tt
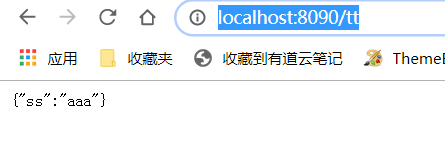
Output jsp page
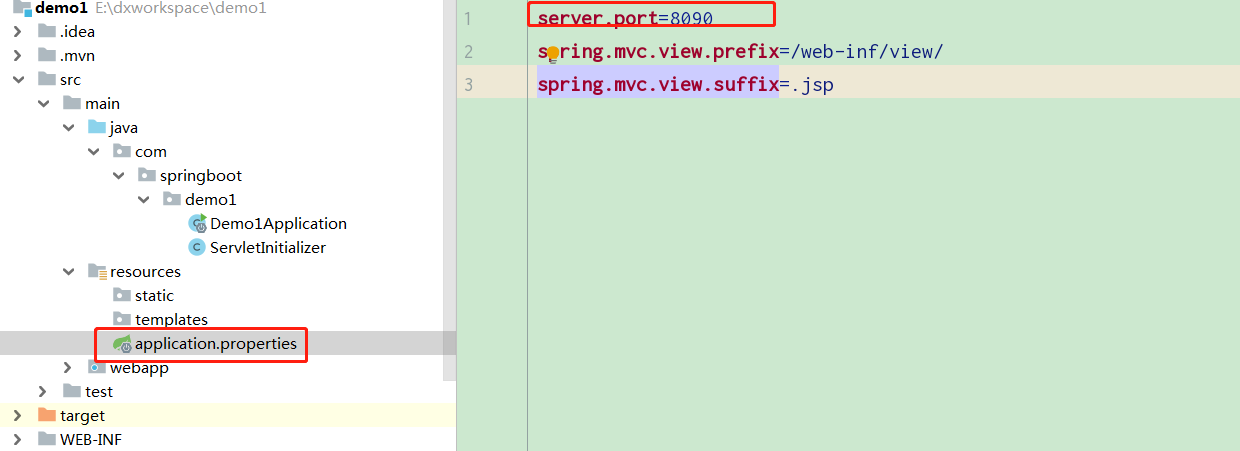
, 4-port configuration, as is the practice project, may, here and modify port conflicts being used
The following two acts of view resolver configuration
5,新增JSP和JSTL的Maven依赖配置pom.xml
<dependency>
<groupId>org.apache.tomcat.embed</groupId>
<artifactId>tomcat-embed-jasper</artifactId>
<scope>provided</scope>
</dependency>
<dependency>
<groupId>javax.servlet</groupId>
<artifactId>jstl</artifactId>
<scope>provided</scope>
</dependency>
6,此时项目里没有webapp目录,并且不能创建jsp文件,
①,此时先创建webapp
②,配置web
以下引用
IDEA创建maven项目,没有webapp项目目录如何解决
点击文章中所说的web后,上面的文件框会自动配置web.xml不用管
下面的文件框就配置webapp这个目录就可以
https://blog.csdn.net/u010811263/article/details/80852706
③,写入测试代码
@RequestMapping("/index")
    public String index() {
        return "index";
    }
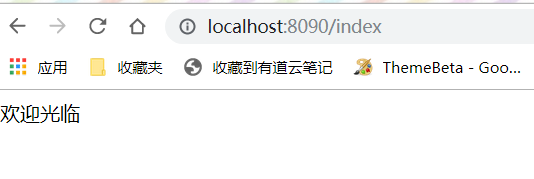
点击创建,测试页面(对应配置的路径)

7,测试页面