[Image Segmentation] [Deep Learning] Pytorch implementation and source code explanation of PFNet official code under Windows 10
Tip: I have recently started to conduct research on [Image Segmentation], record relevant knowledge points, and share methods that have been solved for problems encountered in learning.
Article directory
Preface
PFNet was developed by Haiyang Mei and others from Dalian University of Technology in "Camouflaged Object Segmentation with Distraction Mining [CVPR-2021]"[Paper address] The model proposed in the article, which imitates the predation process in nature, PFNet contains two key modules, namely the positioning module (PM) and the focusing module (FM). PM aims to imitate the detection process in predation, locating potential target objects from a global perspective, and then uses FM to perform the recognition process in predation, gradually refining the rough prediction by focusing on fuzzy areas.
Before analyzing the PFNet network in detail, the first task is to build the operating environment required by PFNet[Pytorch-demo address] , and complete the model training and testing work, it is meaningful to carry out follow-up work.
[PM positioning module analysis]
[FM focus module analysis]
[Loss function module analysis]< /span>
PFNet model running environment construction
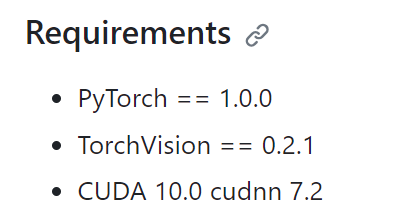
The requirements for code running are mentioned here. pytorch is greater than or equal to 1.0.0, torchvision is greater than or equal to 0.2.1, CUDA is greater than or equal to 10.0, and cudnn is greater than or equal to 7.2.
- Check the CUDA version supported by the host (highest)
# 打开cmd,执行下面的指令查看CUDA版本号
nvidia-smi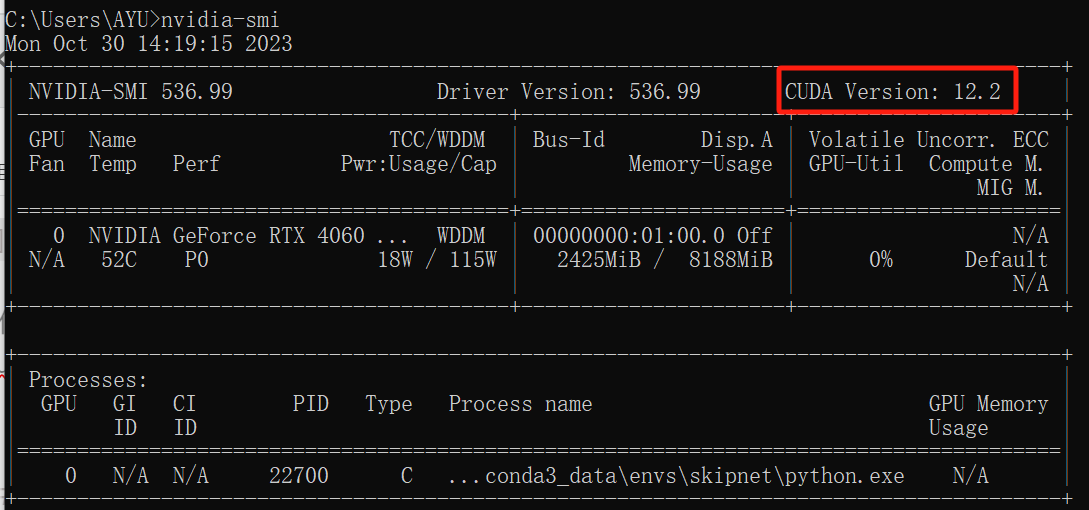
- Install the GPU version of torch [Official website]
The blogger’s cuda version is 12.2, but here The highest cuda version is 12.1, and the 11.8 chosen by the blogger is no problem.
For other cuda versions of torch, please find the corresponding installation commands in [Previous versions]. - Blogger installation environment reference
# 创建虚拟环境
conda create -n PFNet python=3.9
# 查看新环境是否安装成功
conda env list
# 激活环境
ctivate PFNet
# 下载githup源代码到合适文件夹,并cd到代码文件夹内
git clone https://github.com/Mhaiyang/CVPR2021_PFNet.git
# 分别安装pytorch和torchvision
pip3 install torch torchvision torchaudio --index-url https://download.pytorch.org/whl/cu118
# 查看所有安装的包
pip list
conda list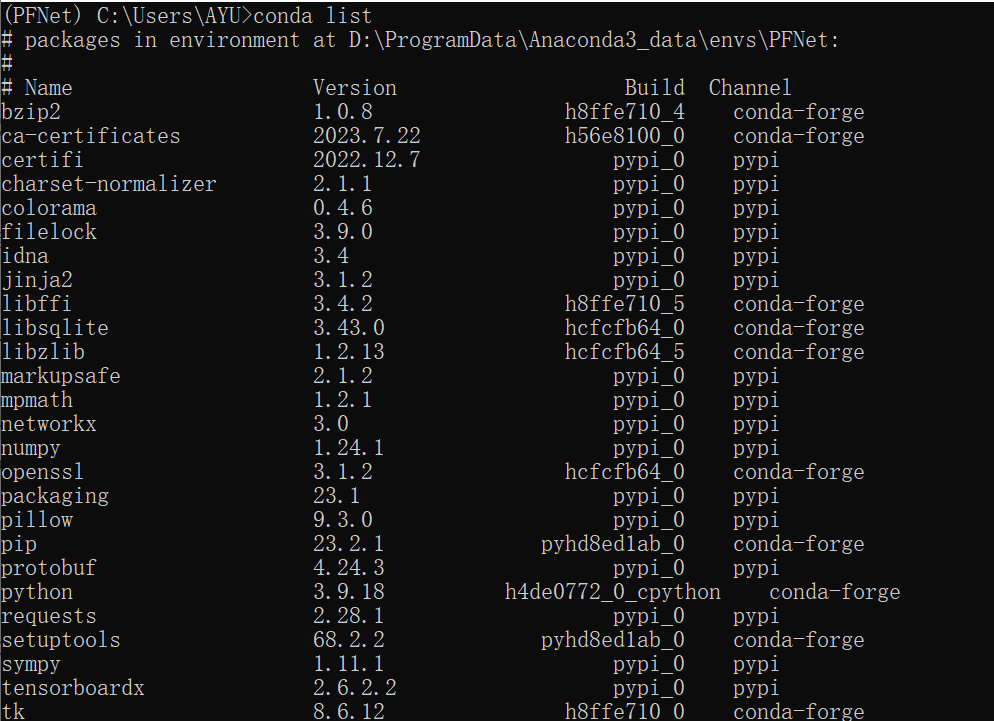
PFNet model running
Dataset and model weight download
| name | download link | illustrate |
|---|---|---|
| Training set | 【谷歌云盘】【 Baidu 网盘:djq2】 | The training sets of CAMO and COD10K are used as training sets |
| test set | 【谷歌云盘】【 Baidu 网盘:z83z】 | All CHAMELEON data sets, CAMO test set and COD10K test set are used as test sets |
| resnet50-19c8e357.pth | download link | Pre-training weights, used to initialize your own model before training |
| PFNet.pth | Google Cloud Drive | The trained network weights provided by the source code author can be directly used for testing. |
After the download is completed, you need to place the data set and model weights according to a certain directory structure and view the config.py file.
import os
# 预训练权重
backbone_path = './backbone/resnet/resnet50-19c8e357.pth'
# 数据集放置目录
datasets_root = './data'
# 训练集目录结构
cod_training_root = os.path.join(datasets_root, 'train')
# 测试集目录结构
chameleon_path = os.path.join(datasets_root, 'test/CHAMELEON')
camo_path = os.path.join(datasets_root, 'test/CAMO')
cod10k_path = os.path.join(datasets_root, 'test/COD10K')
# 没有这个数据集
# nc4k_path = os.path.join(datasets_root, 'test/NC4K')
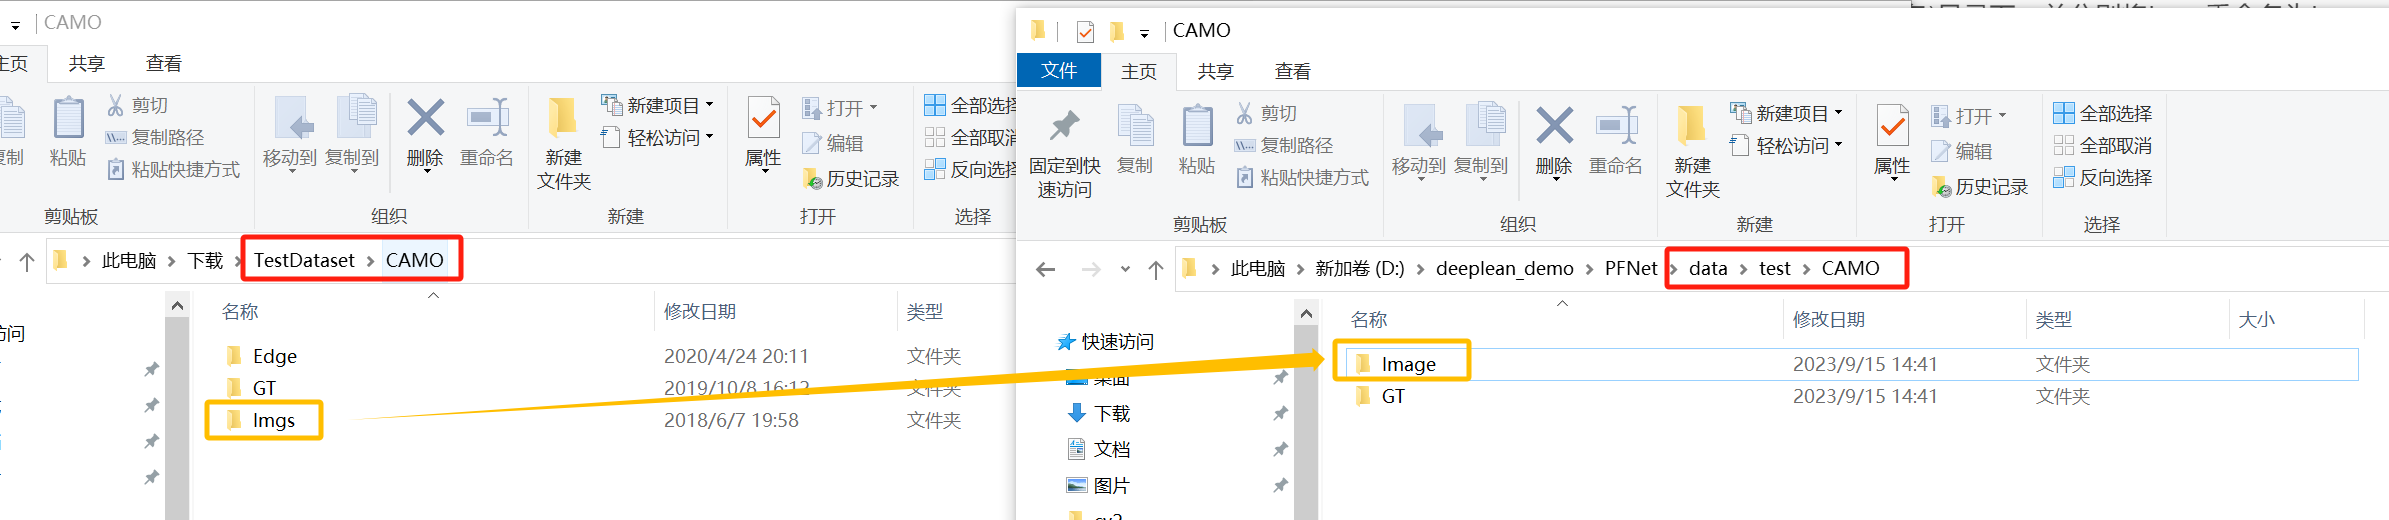
Unzip the downloaded training set and copy it to the data/train directory, and rename Imgs and GT to Image and mask respectively.

Unzip the downloaded test set and copy it to the data/test/xxx (data name) directory, and rename Imgs to Image respectively. GT is not a required item, just for convenience Compared.
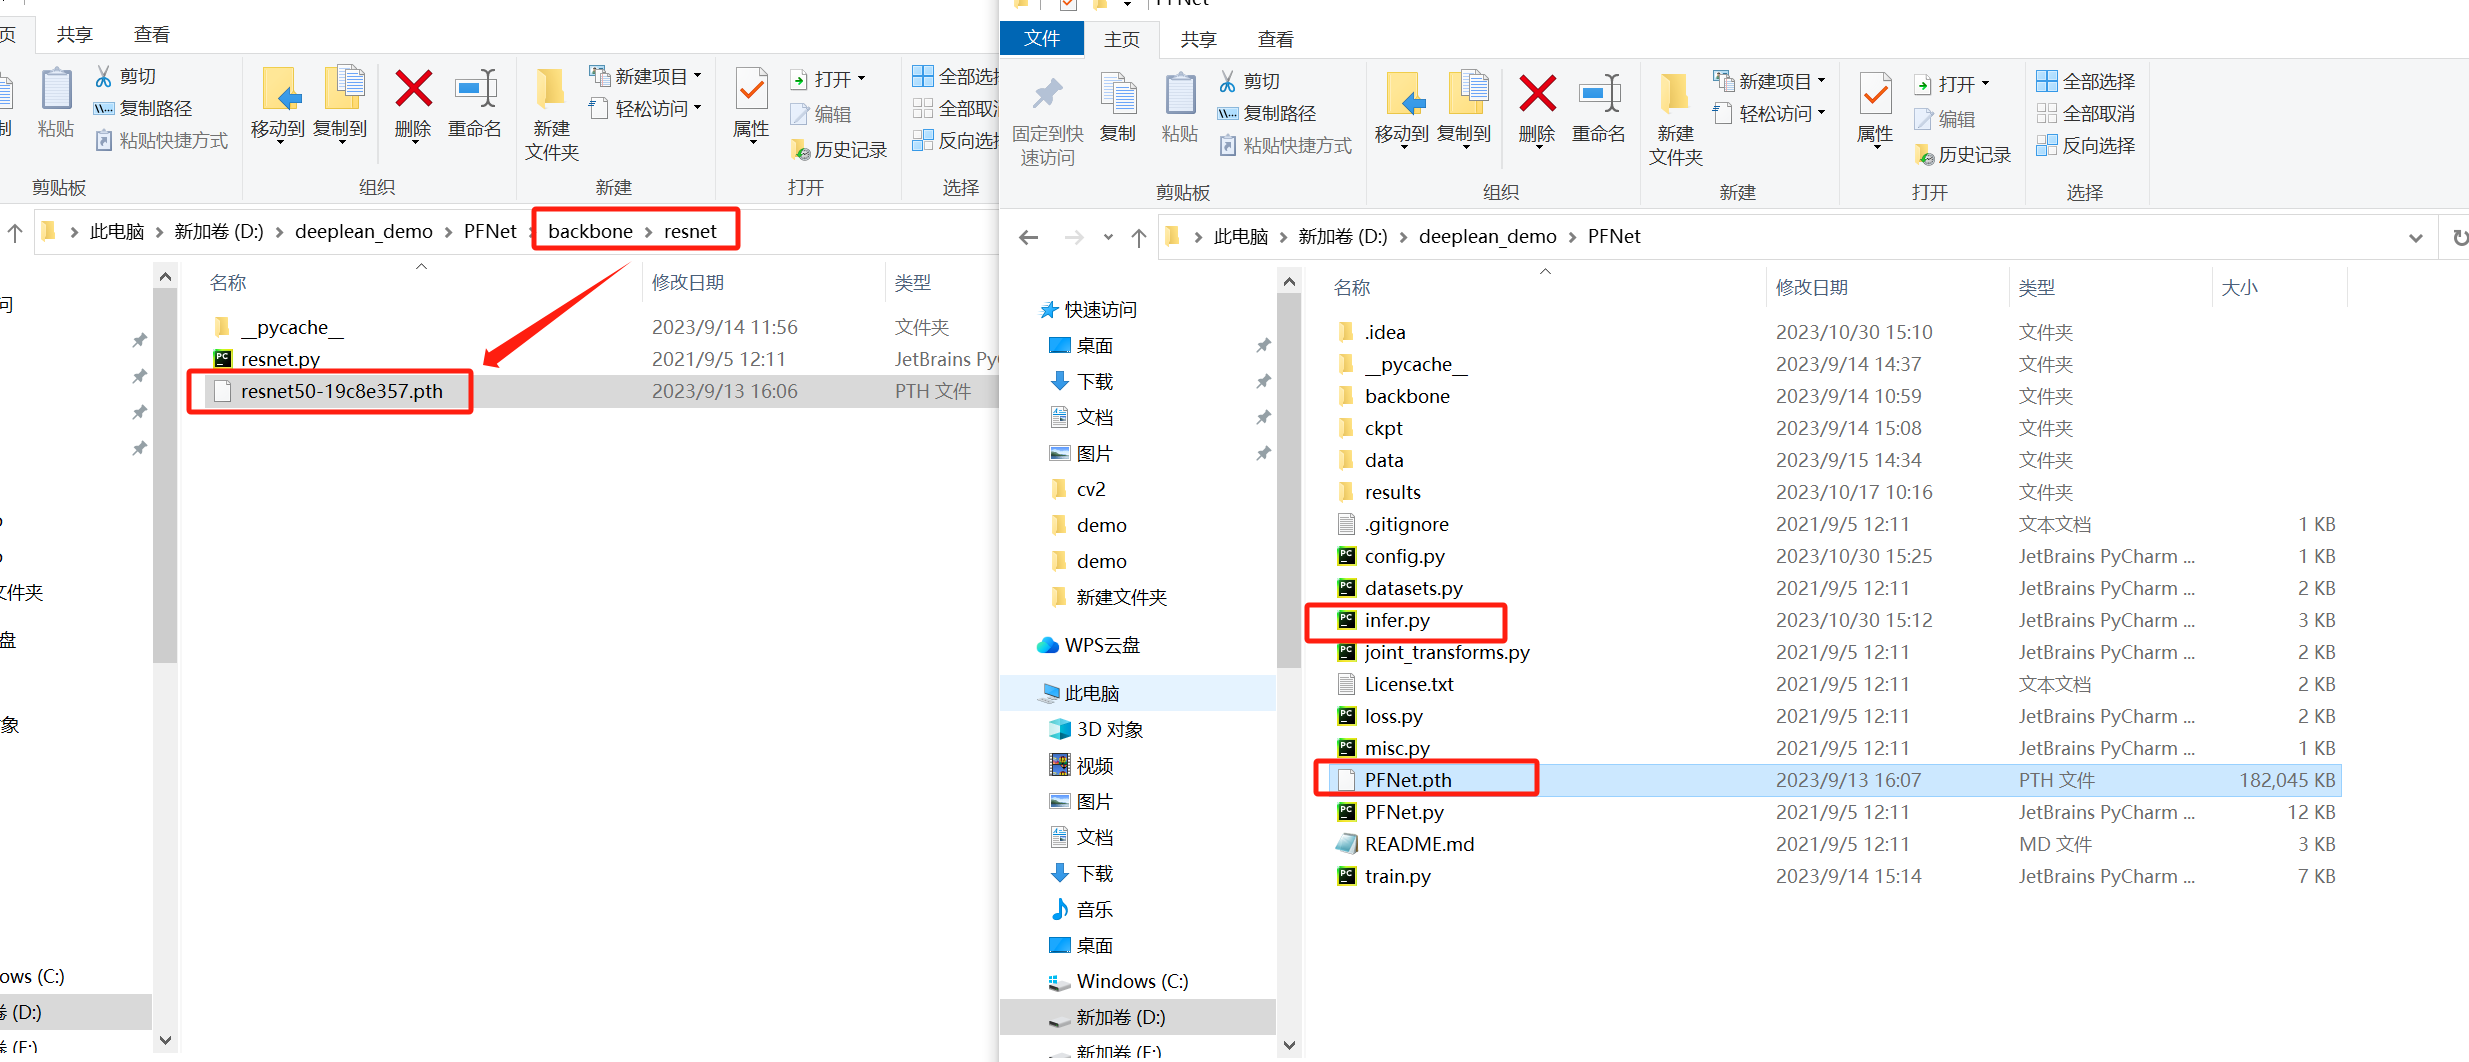
Copy the downloaded pre-trained weight resnet50-19c8e357.pth to the backbone/resnet directory, and copy the trained weight PFNet.pth to the same directory as infer.py.
PFNet training and testing
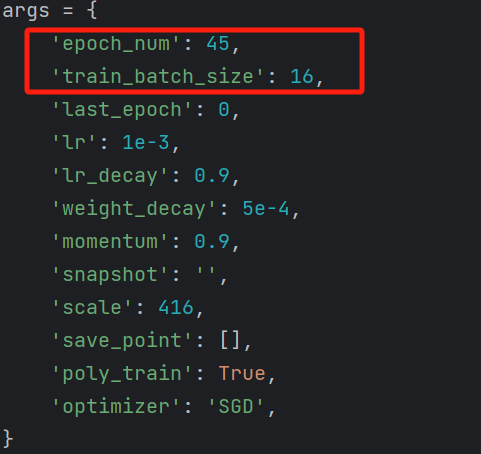
- Training: You can run train.py directly, or you can modify some of the training parameters epoch_num and train_batch_size in the code according to the hardware conditions to modify the training times and training batchsize. The detailed code content will be introduced in a subsequent blog post.
Training is in progress, and the training weights are saved in the ckpt/PFNet directory:

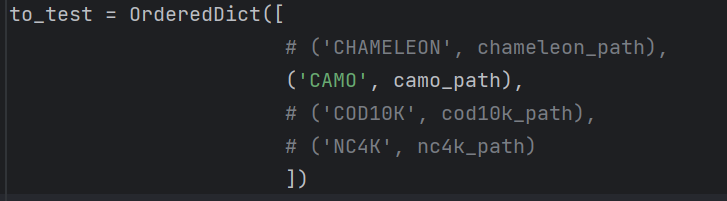
- Test: You can run infer.py directly, or you can modify the contents of some test parameters OrderedDict in the code according to task requirements, and selectively test the desired data set instead of testing all data sets.
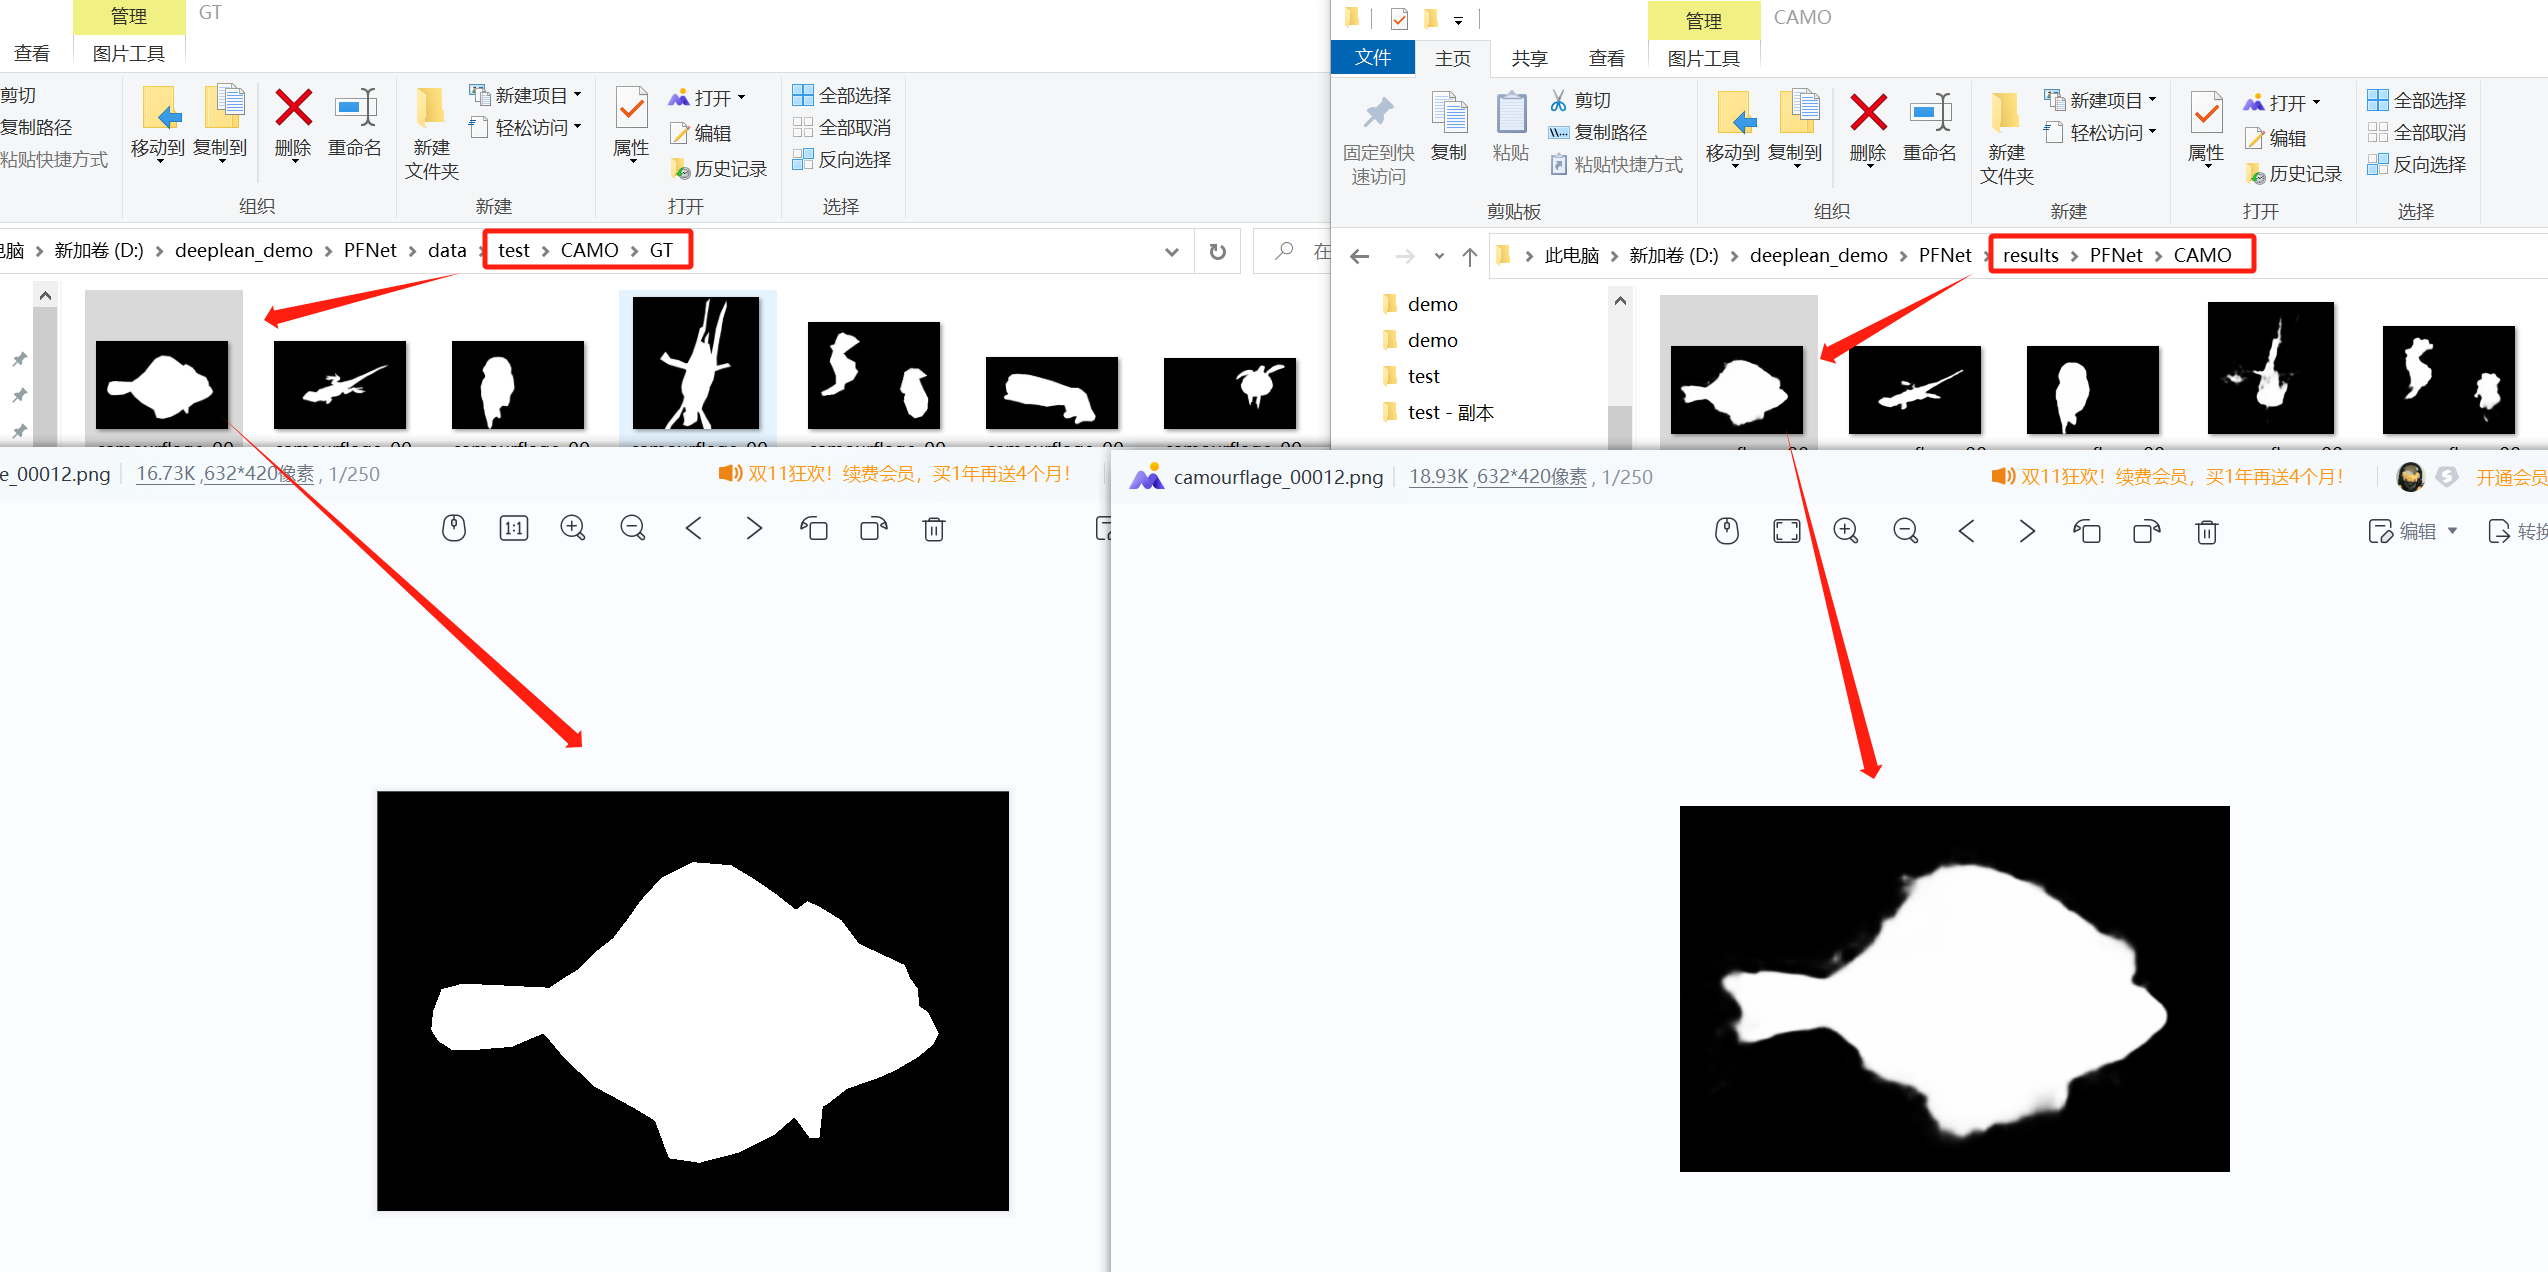
The test results are saved under results/PFNet/xxx (corresponding to the data set), and you can compare and view the effects:
Summarize
The installation process of PFNet and the use of PFNet are introduced in as simple and detailed manner as possible. Later, I will explain the principles and code of PFNet based on the knowledge I have learned and my personal understanding.