What is RabbitMQ? ? ?
RabbitMQ is an open source implementation of AMQP (Advanced Message Queue Advanced Message Queuing Protocol) developed by erlang, which
can implement asynchronous message processing
To put it concisely and concisely: RabbitMQ is a message broker: it accepts and forwards messages
Advantages of rabbitmq:
Based on Erlang language development, it has the advantages of high concurrency, supports distribution,
has a message confirmation mechanism, message persistence mechanism, high message reliability and cluster reliability, is simple and easy
to use, stable operation, cross-platform, multi-language and
open source
Features of Queue:
Messages are consumed sequentially based on the first-in-first-out principle.
Messages can be persisted to disk node servers.
Messages can be cached to memory node servers to improve performance.
1. RabbitMQ stand-alone deployment
官方版本 https://www.rabbitmq.com/
https://www.rabbitmq.com/download.html #官网下载地址
https://github.com/rabbitmq/rabbitmq-server/releases #github 下载地址
服务器环境:
Ubuntu 1804 安装单机版 RabbitMQ:
https://www.rabbitmq.com/install-debian.html#apt
The first way: apt direct installation (version is not selectable, installed by default)
1. Check the version of the software in the current system
apt-cache madison rabbitmq-server
2. Configure host name resolution
[root@mq-sever1 ~]#cat /etc/hosts
10.0.0.101 mq-sever1 mq
3. Execute the installation
apt -y install rabbitmq-server
4.RabbitMQ plug-in management
port usage instructions
5672 #客户端使用,类似于mysql 3306
15672 #web界面,可以显示rabbitmq的运行状态
25672 #集群通信使用
查看有哪些插件
rabbitmq-plugins list
开启web界面管理插件
rabbitmq-plugins enable rabbitmq_management
(Before version 3.8.4, the account password defaulted to guest login)
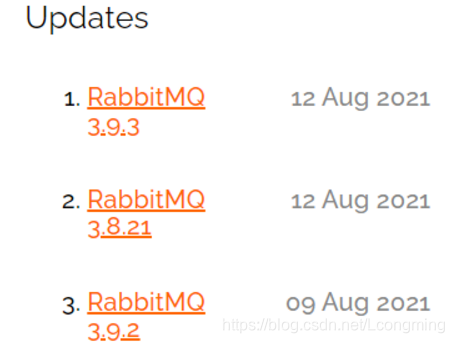
Second method: (you can choose the version)
https://www.rabbitmq.com/download.html
1. Install dependencies
apt-get install curl gnupg debian-keyring debian-archive-keyring apt-transport-https -y
2. Import the signature key
apt-key adv --keyserver "hkps://keys.openpgp.org" --recv-keys "0x0A9AF2115F4687BD29803A206B73A36E6026DFCA"
3. Add an erlang repository
curl -1sLf https://dl.cloudsmith.io/public/rabbitmq/rabbitmq-erlang/gpg.E495BB49CC4BBE5B.key | sudo apt-key add -
Cloudsmith: RabbitMQ repository
curl -1sLf https://dl.cloudsmith.io/public/rabbitmq/rabbitmq-server/gpg.9F4587F226208342.key | sudo apt-key add -
4. Add apt source.
Just add Enter directly on the command line.
sudo tee /etc/apt/sources.list.d/rabbitmq.list <<EOF
## Provides modern Erlang/OTP releases
##
deb https://dl.cloudsmith.io/public/rabbitmq/rabbitmq-erlang/deb/ubuntu bionic main
deb-src https://dl.cloudsmith.io/public/rabbitmq/rabbitmq-erlang/deb/ubuntu bionic main

## Provides RabbitMQ
##
deb https://dl.cloudsmith.io/public/rabbitmq/rabbitmq-server/deb/ubuntu bionic main
deb-src https://dl.cloudsmith.io/public/rabbitmq/rabbitmq-server/deb/ubuntu bionic main
EOF
View

5. Perform updates;
apt update
6. Perform the installation
apt-cache madison rabbitmq-server查看

7. Open the web interface management plug-in
rabbitmq-plugins enable rabbitmq_management
8. Set up a login account
设置账号密码 rabbitmqctl add_user smart 12345678
给账户设置权限 rabbitmqctl set_user_tags smart administrator
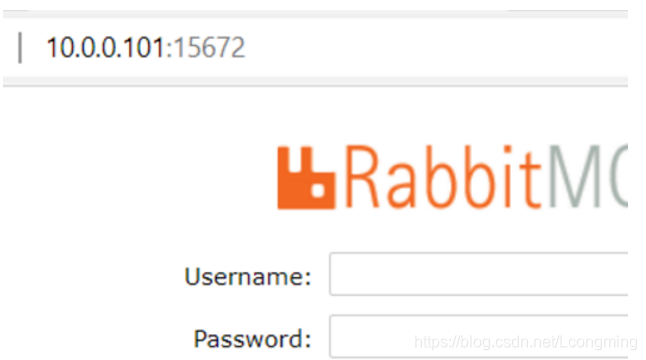
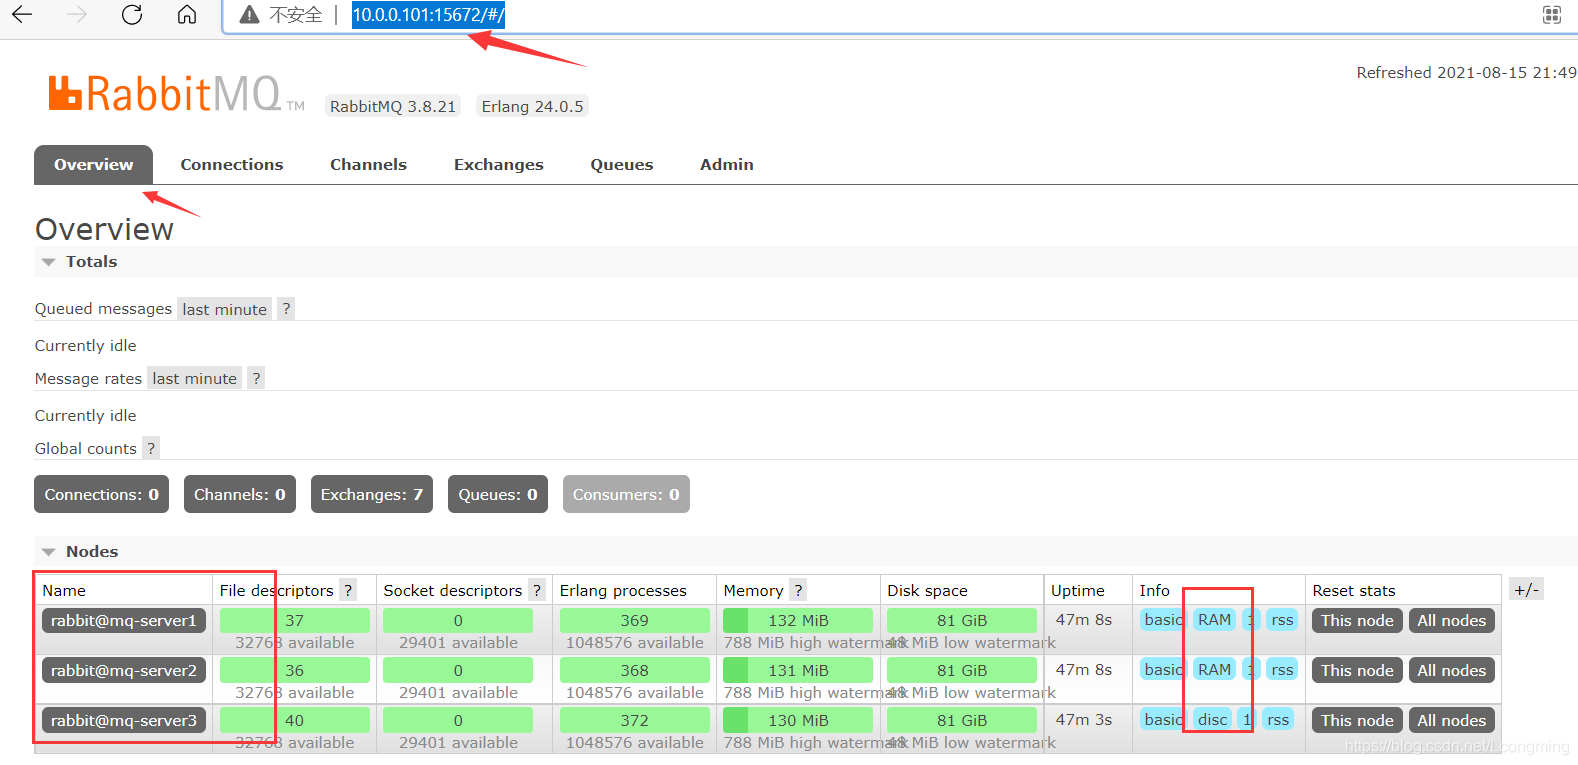
Log in to the web interface
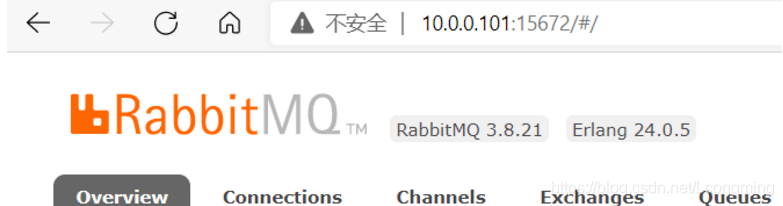
and view basic information.

Admin-Add a user can create an account
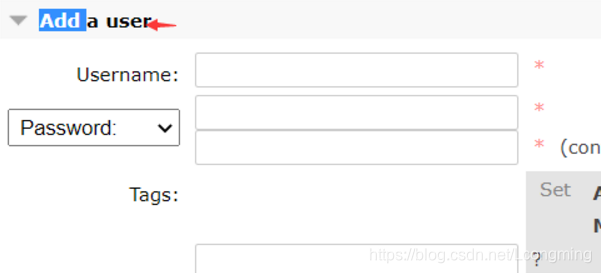
. Click on the user name to modify permissions;
the first method is
to click on the created user name. smart

click on set permission.

The second method is
执行rabbitmqctl set_permissions smart ".*" ".*" ".*"
Verify the results;

create username, password and authorization summary with three commands:
rabbitmqctl add_user  smart 12345678
rabbitmqctl set_user_tags smart administrator
rabbitmqctl set_permissions smart ".*" ".*" ".*"
2. Cluster deployment of rabbitmq
Normal mode:
The default mode after creating a RabbitMQ cluster. (Only source data is synchronized)
After the queue is created, the message only exists in one node, and other nodes only have the same metadata, that is, the queue structure, and part of the queue data is saved. A problem with this model is that when node A fails, node B cannot be retrieved. Message entities that have not yet been consumed in node A
Mirror mode:
Make the required queue into a mirror queue. (The data will be synchronized)
Make the required queue into a mirror queue, which exists on multiple nodes and belongs to the HA solution of RabbitMQ (mirror mode is based on the normal mode, adding some mirroring strategies). This mode solves the problem of data in the normal mode. To solve the problem of loss,
message entities will be actively synchronized between mirror nodes instead of being temporarily pulled when the consumer retrieves data.
The disadvantage is that it reduces system performance and requires setting the policy first.
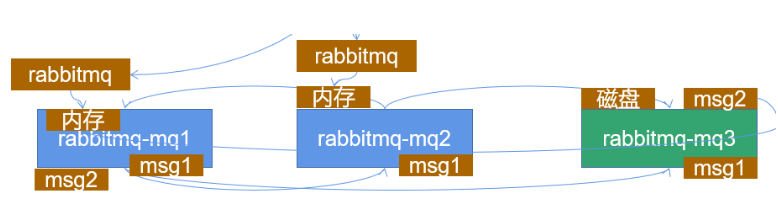
There are two node types in the cluster:
Memory node: only saves data to memory;
Disk node: Save data to memory and disk.
Although the memory node does not write to disk, it performs better than the disk node. In the cluster, only one disk
node is needed to save data. If there are only memory nodes in the cluster, they cannot all be stopped, otherwise
all data messages will be on the server. All will be lost after a shutdown.
Recommended design architecture:
In a rabbitmq cluster, there are 3 or more machines, one of which uses disk mode, and the other nodes use memory mode.
Memory nodes have faster access speeds. Since disk IO is relatively slow, it can
be used Used for data backup.
Environment preparation:
3 machines with rabbitmq installed; for installation steps, refer to the single-machine deployment process above;
mq1: 10.0.0.101
mq2: 10.0.0.102
mq3: 10.0.0.103
1.主机名解析配置
vim /etc/hosts
10.0.0.101 mq-server1  mq1
10.0.0.102 mq-server2  mq2
10.0.0.103 mq-server3  mq3
改完后重启;systemctl restart rabbitmq-server.service
prophet:
The Rabbitmq cluster relies on the Erlang cluster to work, so the Erlang cluster environment must be built first. Each node in the Erlang cluster is implemented through a magic cookie. This cookie is stored in /var/lib/rabbitmq/ In .erlang.cookie, the file has 400 permissions, so the cookies of each node must be consistent, otherwise the nodes will not be able to communicate with each other.
Cluster principle diagram:
1. The three cookies are different. In order to ensure that the cookies are consistent, synchronize the cookies of one of them to the other two.
[root@mq-server1 ~]#cat /var/lib/rabbitmq/.erlang.cookie
CHMPABUQTTUBQKOOREBF
scp  /var/lib/rabbitmq/.erlang.cookie 10.0.0.102:/var/lib/rabbitmq/.erlang.cookie
scp  /var/lib/rabbitmq/.erlang.cookie 10.0.0.103:/var/lib/rabbitmq/.erlang.cookie
#拷贝完成后每台服务器重启服务
systemctl restart rabbitmq-server.service
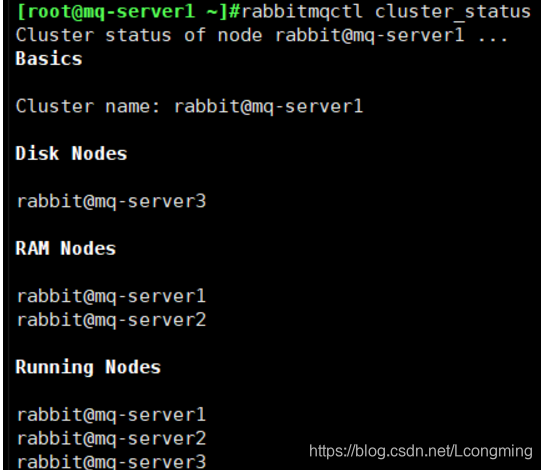
2. Check the current cluster status
rabbitmqctl cluster_status
Target mq3 and add two servers
3. Create a RabbitMQ cluster:
mq1和mq2上操作
rabbitmqctl stop_app #停止mq1和mq2的写入服务
rabbitmqctl reset #清空元数据
#将rabbitmq-server1 添加到集群当中,并成为内存节点,不加--ram 默认是磁盘节点
rabbitmqctl join_cluster rabbit@mq-server3 --ram
#添加完成后开启app
rabbitmqctl start_app

View the same results on any host using rabbitmqctl cluster_status
4. Set the cluster to mirror mode: Just execute the following command on one of the nodes:
rabbitmqctl set_policy ha-all "#" '{"ha-mode":"all"}'
5. Verify current cluster status
rabbitmqctl cluster_status
6. Page verification;
since the rabbitmqctl reset #clear metadata operation has just been performed, there is no account password. reset
rabbitmqctl add_user  smart 12345678
rabbitmqctl set_user_tags smart administrator
rabbitmqctl set_permissions smart ".*" ".*" ".*"
7. Error when verifying the cluster status on the web interface:
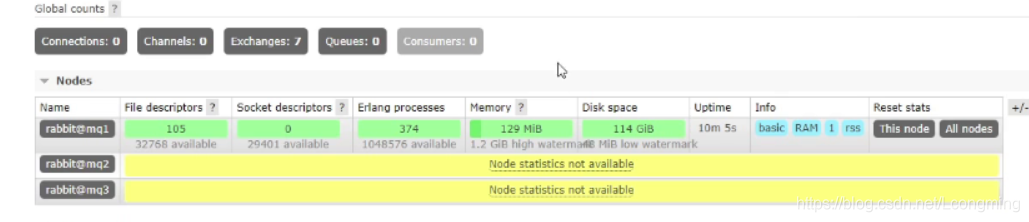
If the rabbitmq server does not enable the web plug-in, it will prompt that the node statistics are unavailable on the web node.
rabbitmq-plugins enable rabbitmq_management #执行后即可解决
Setup completed, thank you for watching
