Why do you need to log in to Linux remotely? Because usually when the company is doing development, Linux is usually used as a server, and the server is usually placed in the computer room. The Linux server is shared by the development team, and the officially launched projects run on the public network, so you need to log in to Linux remotely for daily project management. Or develop.
SSH
The remote login function in the Linux system is implemented through the SSH service. SSH is the abbreviation of Secure Shell. It is a security protocol based on the application layer and transport layer. It was formulated by the Network Working Group of the IETF. Almost all Unix/Linux platforms can run SSH. The default SSH service port number is 22.
To use the SSH service, you need to install the corresponding server and client. If machine A wants to be remotely controlled by machine B, then machine A needs to install an SSH server, and machine B needs to install an SSH client. The relationship between the two is shown in the figure:

Xshell7
Xshell is a powerful remote terminal connection management software that supports SSH1, SSH2, and the TELNET protocol of the Microsoft Windows platform. It can carry out efficient and safe remote connections on multiple terminals, and can also help effectively manage remote servers, allowing users to customize keyboard mapping, supporting VB scripts, uploading or downloading files, dynamic port forwarding and other operations.
There are many Linux remote login clients on Windows systems. The remote login client used in this article is Xshell7. Other remote tools are similar.
Xshell7 installation
Xshell official website: Xshell download-NetSarang Website , download → Home/Tuition is free. You can also directly download the cracked version below.
Cracked version: Xshell 7 download, installation steps and usage tutorial_xshell7_Mr Sun Daodiao’s blog-CSDN blog

The installation steps are very simple, there is nothing special to pay attention to, just follow the steps.
Remote login to linux
Environment: Vmware16 - CentOS 7.9 +Xshell7. Create connection server:
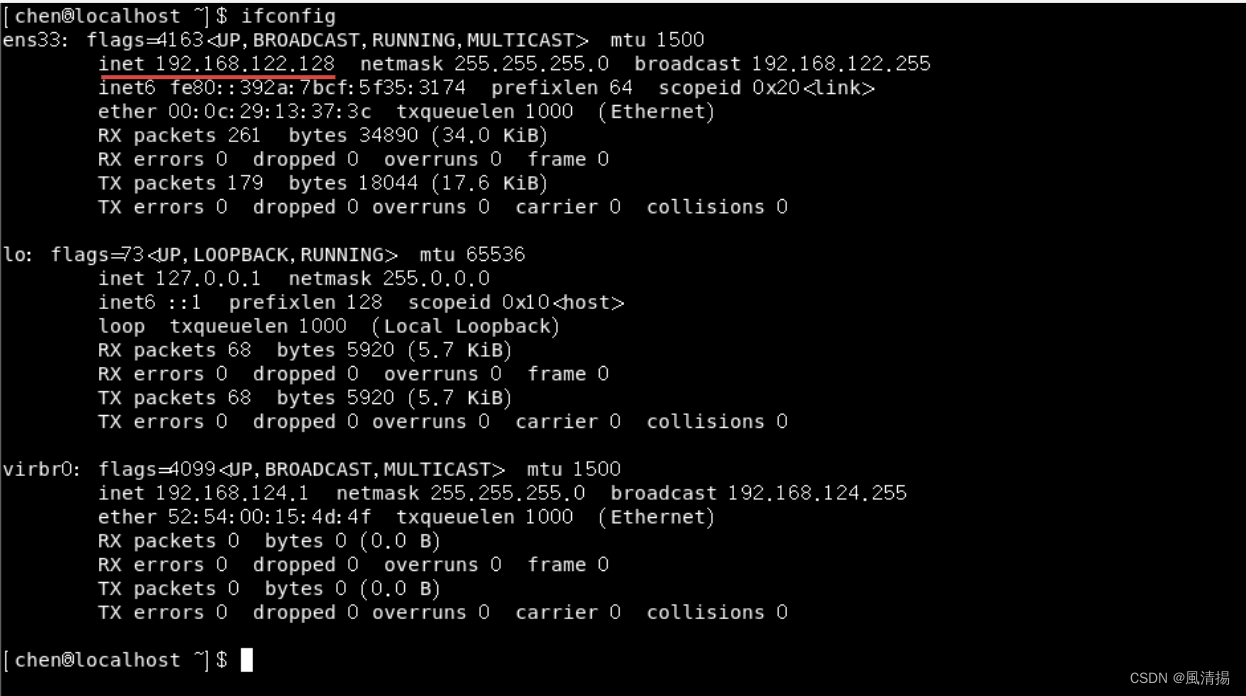
First, open CentOS, open the terminal, enter the command: ifconfig, press Enter, and find the IP address of the current virtual machine
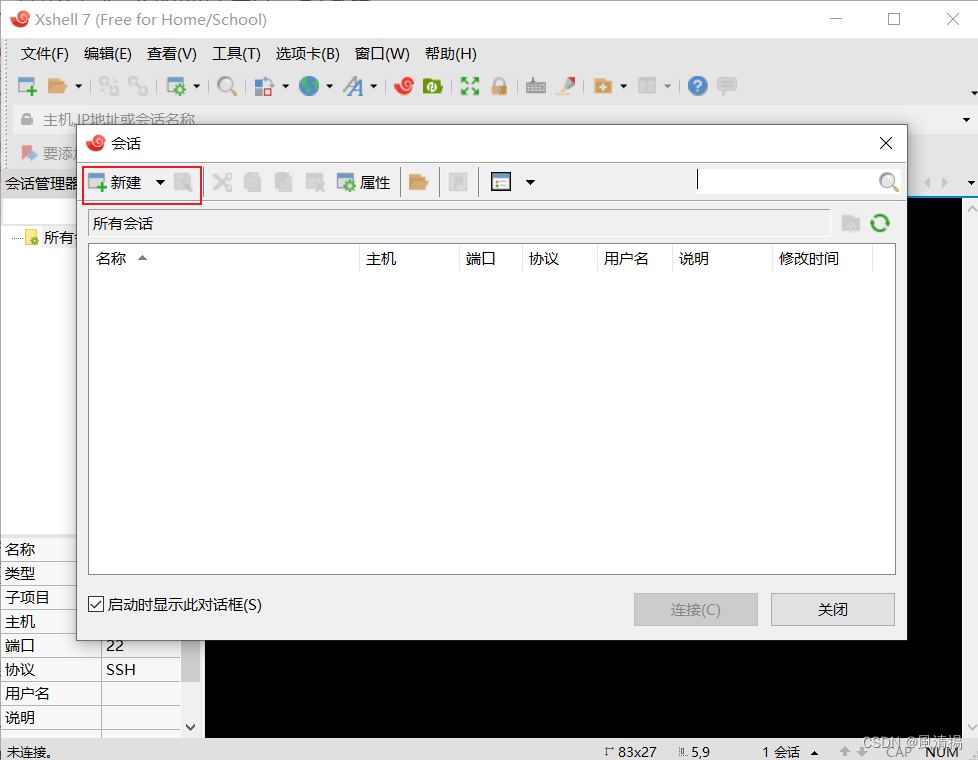
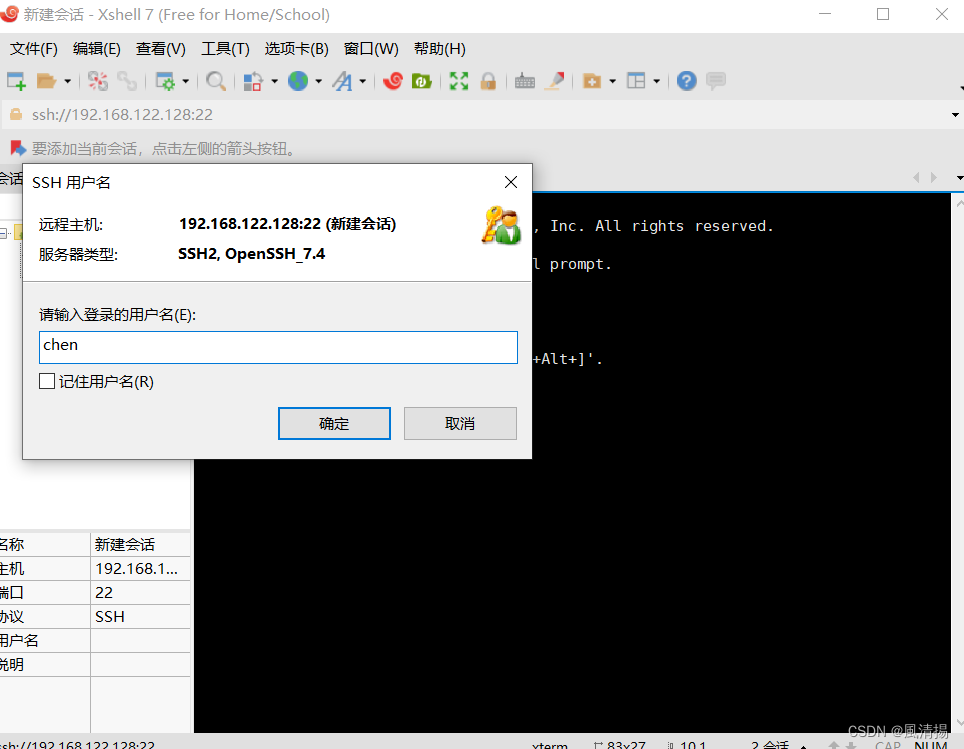
Open Xshell. When you open the software for the first time, the "Session" dialog box will automatically pop up. Click New to create a server connection.
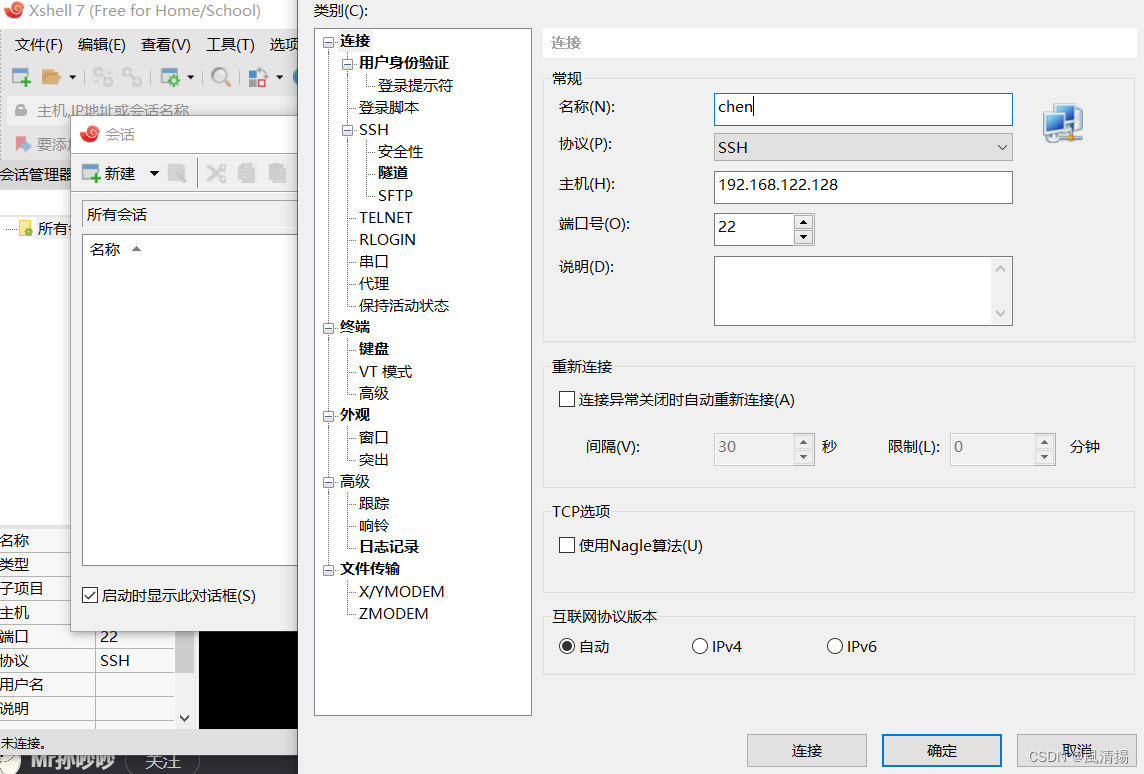
Enter the IP address you want to log in to. The address is the address displayed in the terminal window of the virtual machine above: 192.168.122.128 . The name can be set as desired, and the server port (default 22). After setting, click OK.
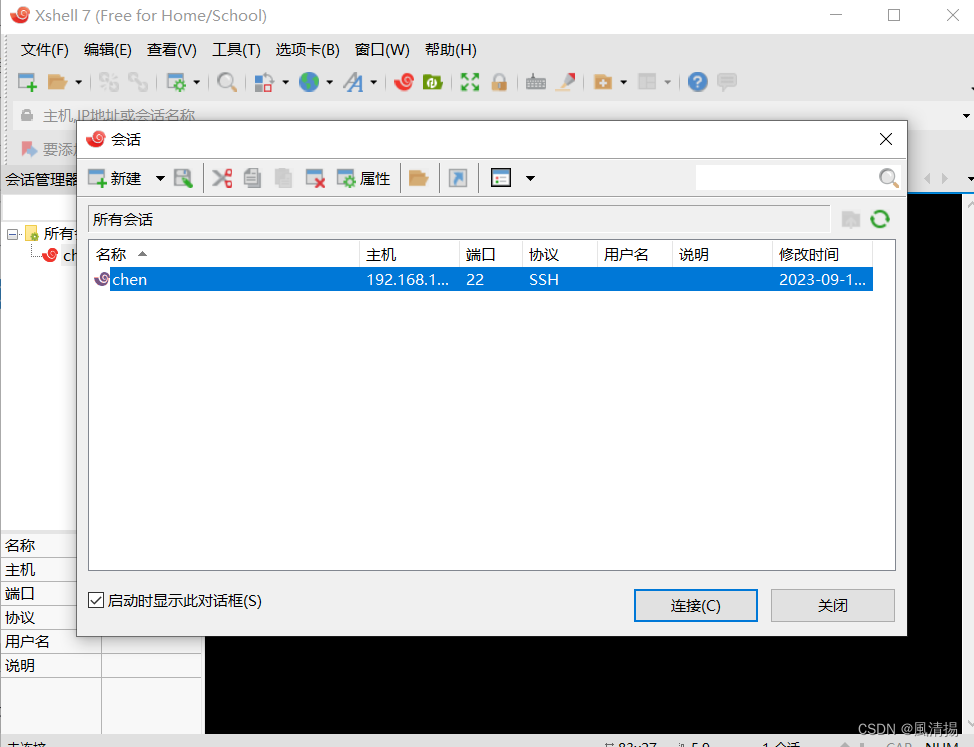
Select the connection to the test server and click the Connect button. Start connecting to the server.
The first time you connect, you will be prompted whether to save the server information. Click Accept and Save.

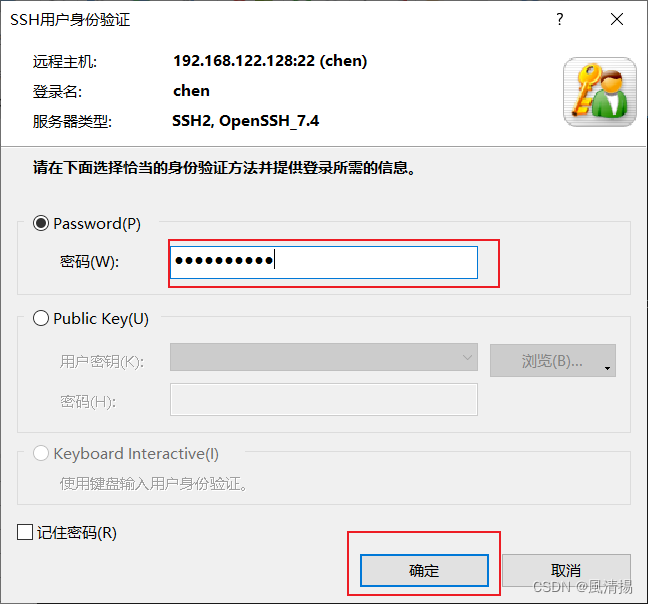
Enter a legal username and password that can connect to the server, and check Remember username.
After the authentication is passed, the login information will be displayed. As shown in the figure below, the server's IP address, last login time and other information will be displayed. The connection is successful.
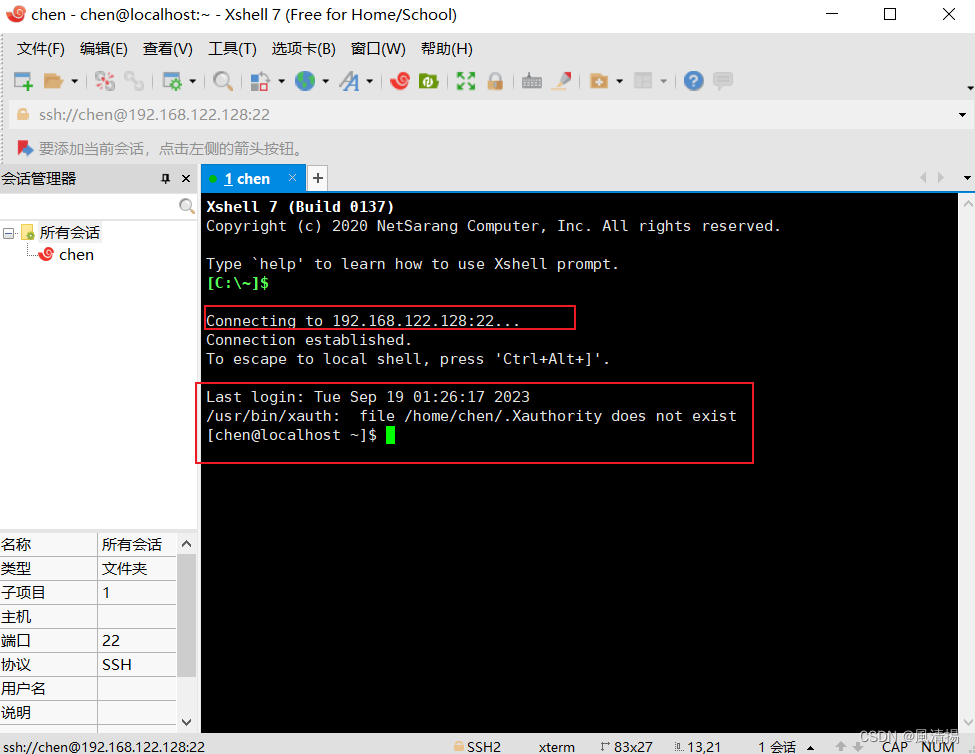
You can then operate your virtual machine remotely.