Environment:
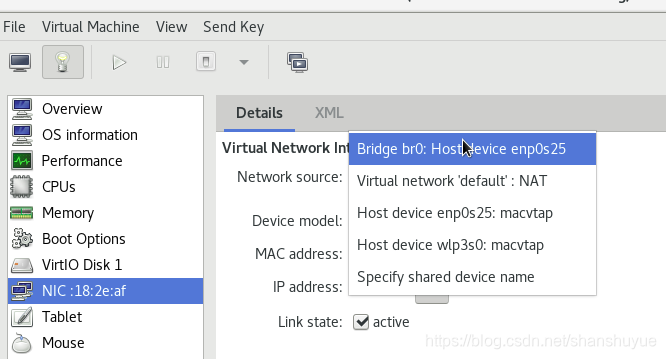
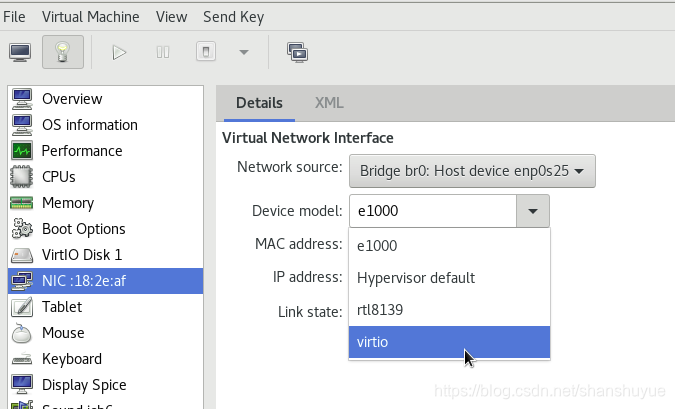
Connect the virtual machine and the real host: 1. First change the path cd /etc/sysconfig/network-scripts on the real host, and then find the file named ifcfg-enp0s25 (other computers may not have this name, but the format is similar) ,Make a copy again, but rename it to ifcfg-br0, then configure, edit the contents of these two files, and then restart. Then use the command virt-manager to open the virtual management, double-click to open the virtual device management you want to connect to, and change the virtual network source to Bridge br0:Host device enp0s25, and the device template to virtro, save and leave.


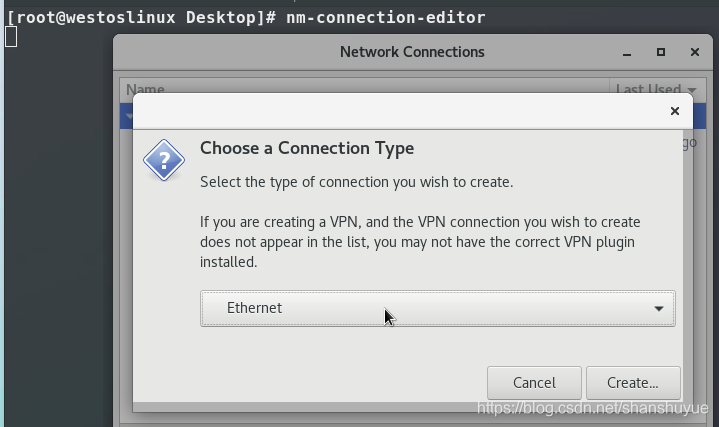
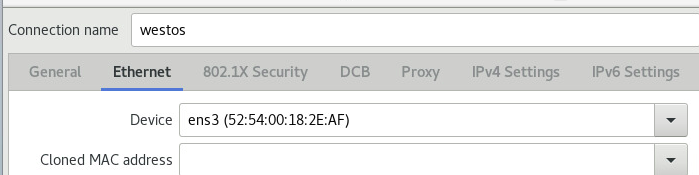
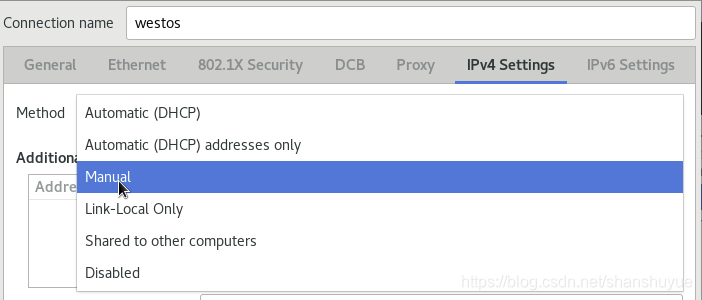
2. Then on the virtual machine side, execute the nm-commection-editor command, select Ethemet, name the connection, change the method to Manual, and then fill in Address and Netmask, Gateway can be left blank, save, and finish.

3. selinux needs to be closed first, execute getenforce, if it shows disabled, it is in the closed state, if it is not closed, execute vim /etc/selinux/config, change selinux to SELINUX=disabled, and reboot after the modification
4 .Turn off the firewall and execute the systemctl disable --now firewalld command.
One, the function of Openssh
1. Purpose of sshd service
Function: It can realize the operation of opening the secure shell in the remote host through the network
Secure shell -------->ssh
#client secure shell daemon-------->sshd #server
2. Installation package
openssh-server
3. The main configuration file
/etc/ssh/sshd_conf
4. The default port
22/tcp
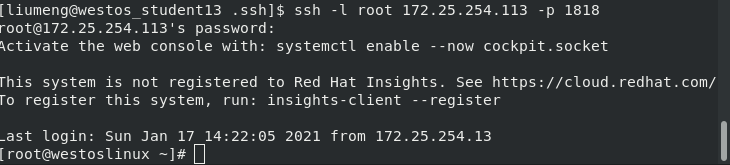
Second, the basic usage of ssh
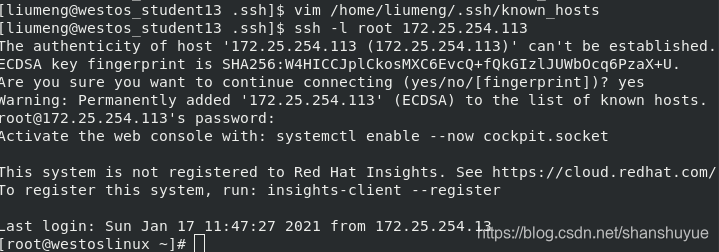
eg: ssh -l root 172.25.254.113# Enter the 113 host as root through the ssh command

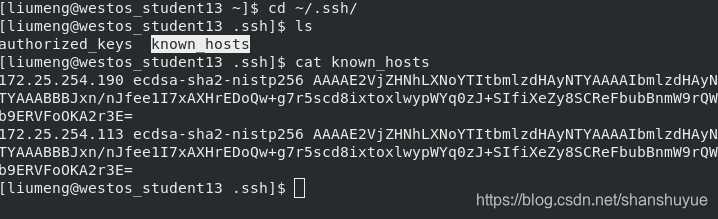
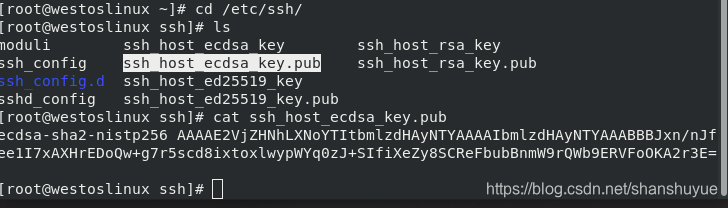
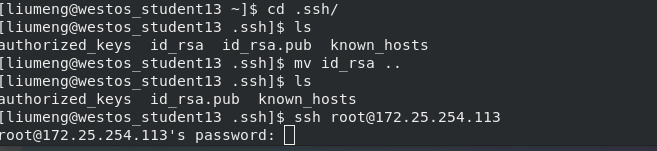
1. ssh authentication
When you try to enter the 113 host through the ssh command on the 13 host, you will be asked Are you sure to continue connecting (yes/no)? When you enter the yes process, this is an authentication process. After the authentication is completed, you can find the key and pub files in the /etc/ssh file of the 113 host at this time, so that the next time the 13 host logs in, you can directly use the pub to match its known_hosts. Similarly, you can check the 13 host~ The content of known_hosts in /.ssh/ is equivalent to the pub under host 113.
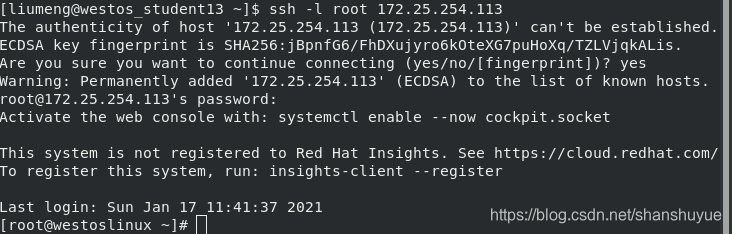
#But if you accidentally delete the pub and key under the 113 host, it will result in a mismatch and an authentication error. At this time, you can edit ~/.ssh/known_hosts, delete the wrong content, and log in again to establish authentication

2.ssl common parameters
ssh -l # specify the login user
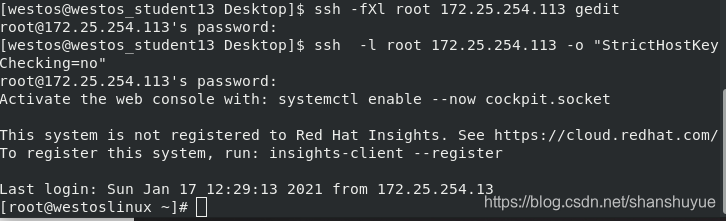
ssh -o "StrictHostKeyChecking = no" # HOSTKEY not detect when connecting a host (automatic input yes)
SSH -i # Specify the private key
ssh -t # connection to the specified springboard
ssh -f # running in the background
ssh - X #Open graphics
eg:
ssh -Xl root 172.25.254.113 gedit #Specify the login user and open the graphics, and open gedit
ssh -fXl root 172.25.254.113 gedit #Specify the login user and open the graphics, but open gedit in the background
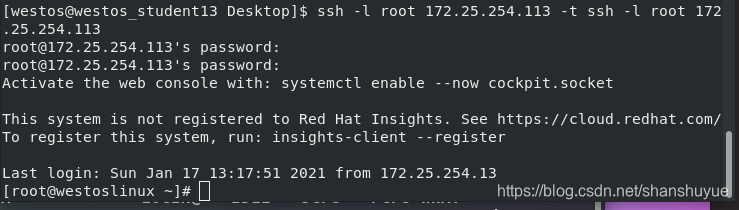
ssh -l root 172.25.254.113 -t ssh -l root 172.25.254.113 #Use the virtual machine as a springboard to connect to the virtual machine again, so observe that in linux w -i can see 113, 13 is because the host jumps to the virtual machine And the virtual machine is 113, because it jumps from the virtual machine to the virtual machine, and the virtual machine is used as a springboard, so it is observed that 113

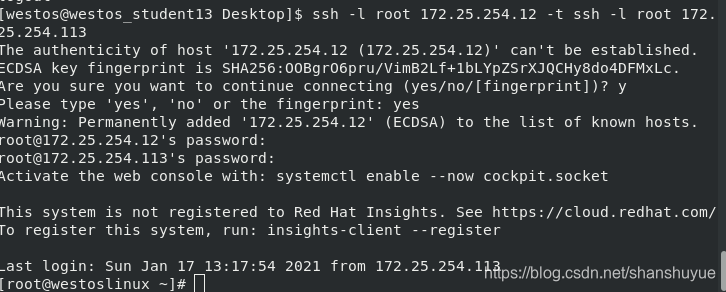
ssh -l root 172.25.254.12 -t ssh -l root 172.25.254.113 #This observed in the Linux system is 12, because 12 is used as a springboard to connect to the virtual machine 113

Three, sshd key authentication
1. Authentication type
Symmetric encryption: encryption and decryption are the same string of characters
Asymmetric encryption; public key is used for encryption and private key is used for decryption; it will not be stolen; attackers cannot log in to the server in a keyless way
2. Generate asymmetric encryption key
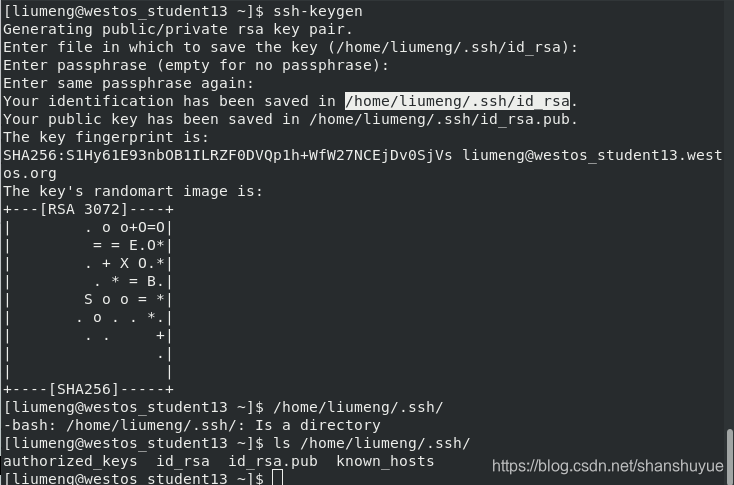
Create key file (generate public key and private key file)
ssh-keygen #interactive
ssh-keygen -f /root/.ssh/id_rsa -P “” #non-interactive
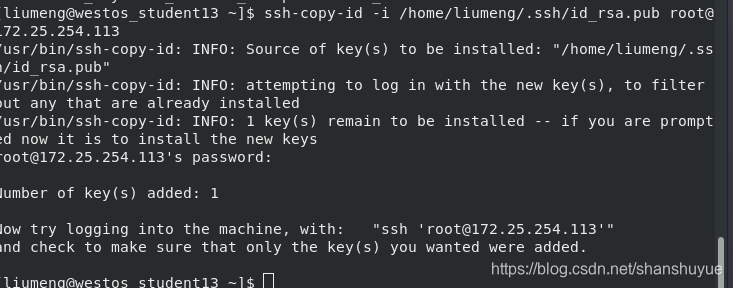
Encrypted upload public key
ssh-copy-id -i /root/.ssh/id_rsa.pub [email protected]
#ssh-copy-id upload key command
#-i designated public key
#/root/.ssh/id_rsa. pub Public key name
#root The remote host is encrypted user
#@
分字#172.25.254.33 The remote host address
Test: The client has the private key of the remote host and can log in without entering a password.
However, if the private key of the remote host is deleted, the login still requires a password
Fourth, the security configuration of the OpenSSH service
1, port modification
"Check whether the port is used"
netstat -antlupe #This command can view all the ports that have been used
netstat -antlupe | grep port number
eg: Check whether the port number 2222 is used, and nothing else is displayed. Port 2222 is already in use)

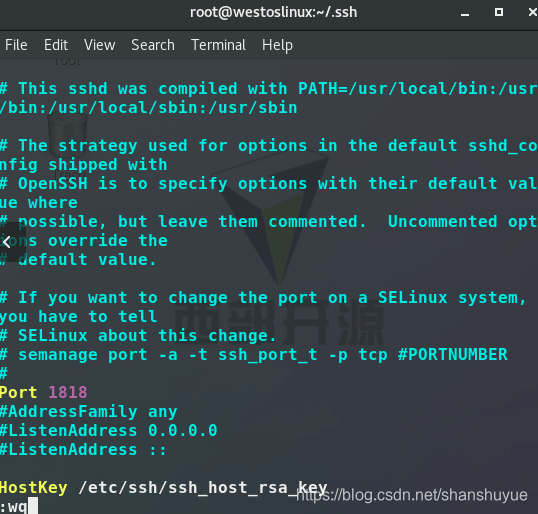
Enter vim /etc/ssh/sshd_config on the server side
to change the port to the number you want to change (but it is recommended to have more than four digits to prevent the port from being occupied)

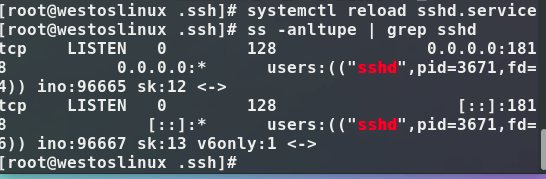
Reload after the change: systemctl reload sshd.service
firewall remember to turn off:

Test on the client side (because the default port is 22, access to the server side is rejected):

2. Port binding
We can set the ip address of the open interface
. Write the specified ip address on the server side. Write the specified ip address in the listenaddress line of vim /etc/ssh/sshd_config, and then requests to enter the host from other ips will be rejected

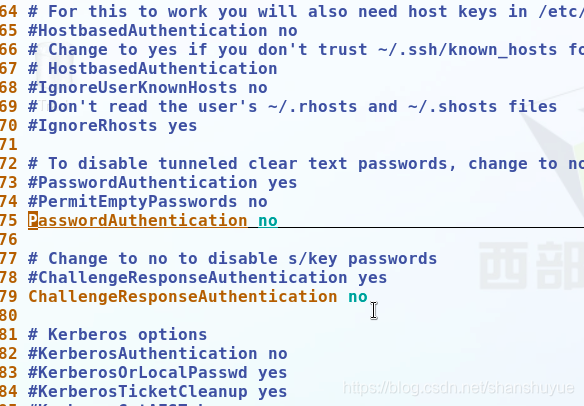
3. Turn off
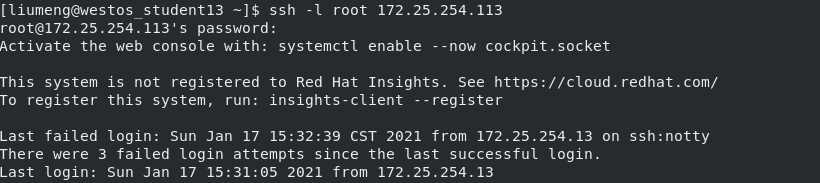
vim /etc/ssh/sshd_config for password authentication , then change yes to no after PasswordAuthentication, save and exit and restart the service. Disable password authentication and it will succeed. After disabling, the client cannot log in to the server with a password.

4. User control of sshd service.
Blacklist:
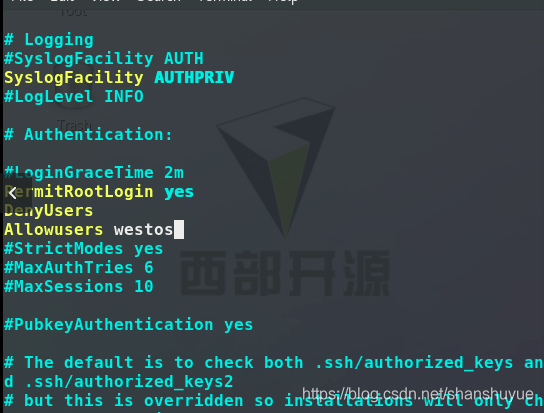
still edit vim /etc/ssh/sshd_config, enter the users you want to add to the whitelist after the AllowUsers line (separated by spaces), and then restart (execute systemctl restart sshd. service). At this time, I tested on the client and found that users added to the blacklist cannot log in, but other users can

whitelist:
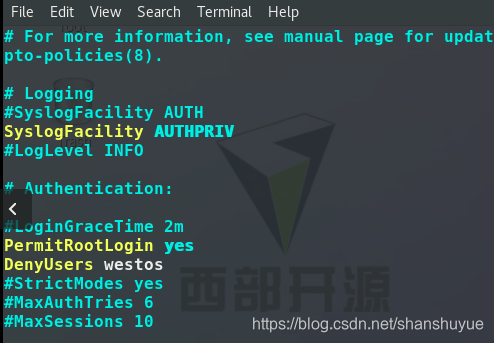
still edit vim /etc/ssh/sshd_config, and enter the user you want to blacklist after the DenyUsers line (Separated by spaces), and then restart (execute systemctl restart sshd.service). At this time, test on the client. Users who are added to the whitelist can log in, but other users are not.
#Note: The user whitelist is not available except the whitelist

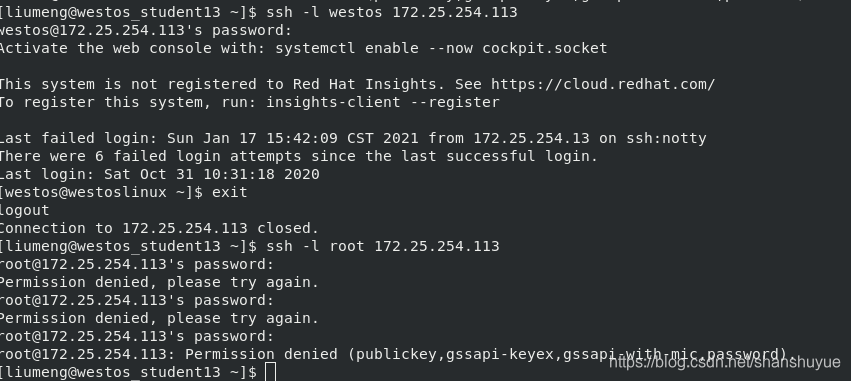
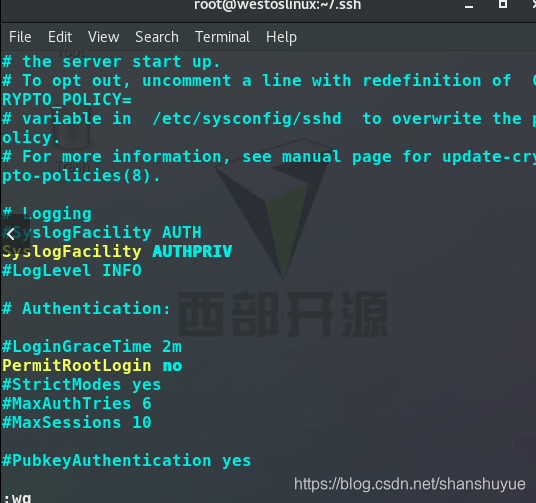
Root user access control:
still execute and edit vim /etc/ssh/sshd_config, change yes to no after the PermitRootLogin line, and then restart (execute systemctl restart sshd.service). At this time, test on the client side and find that the server side Root user cannot log in


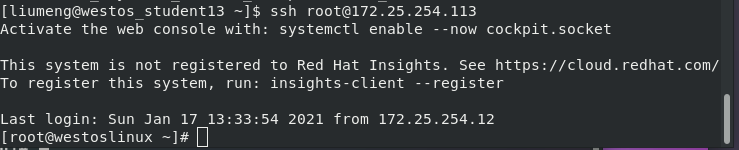
Sixth, sshd login information modification
Enter the vim /etc/motd command line to edit, you can enter a few lines in it, save and exit, and then the content you edited in the file will be displayed when you log in remotely