Feiling embedded OKMX8MP-C core board has two native CAN buses, but users may need to use more CAN when developing products. How to solve this problem? Today, the editor will introduce to you a method of converting SPI to CAN for your reference.
illustrate
-
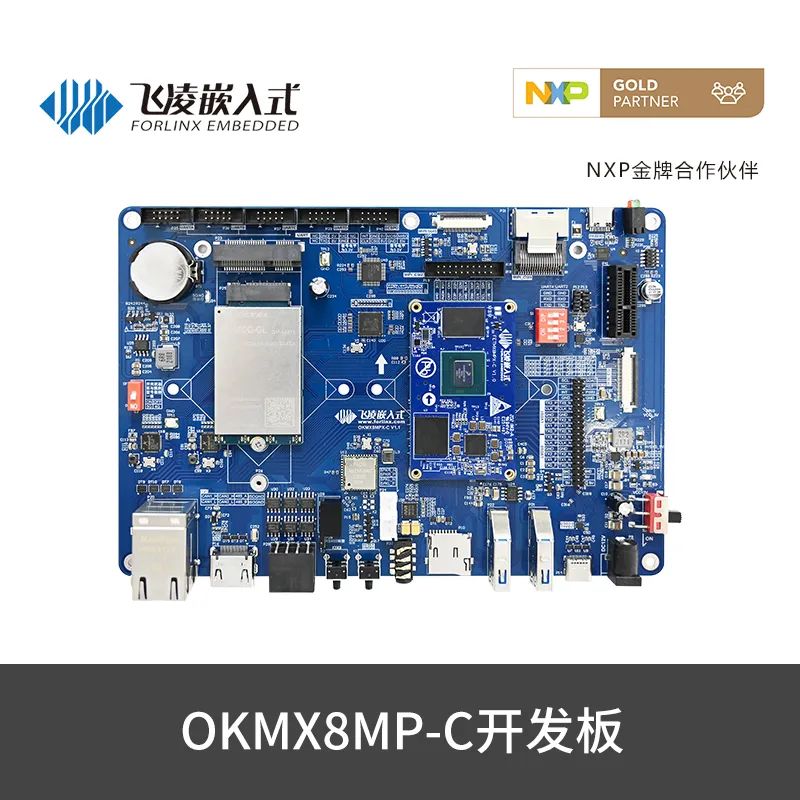
The OKMX8MP-C core board has two native SPI buses. Currently, the pins of SPI1 are used as LED and UART3 functions, and SPI2 is made into a normal SPI2 interface. Here we take SPI2 to CAN as an example to transplant the SPI to CAN chip;
-
The SPI to CAN chip model is: MCP2518. This chip can be converted to CAN-FD. If you only need CAN function, you can transplant MCP2515 or other chips according to this method;
-
The MCP2518 chip driver source for this transplant is the source code of i.MX8MQ (the MCP2518 chip is transplanted by default in the processor).
0 1 Transplant MC2518 chip driver
Create a folder - mcp25xxfd under the path OK8MP-linux-kernel/drivers/net/can/spi/, and place relevant files (including .c files, .h files, Makefile, Kconfig, etc.) into this folder.
0 2 Complete the definition of can_rx_offload_add_manual function
vi OK8MQ-linux-kernel/include/linux/can/rx-offload.h
Add to:
int can_rx_offload_add_manual(struct net_device *dev,struct can_rx_offload *offload,unsigned int weight)
vi OK8MQ-linux-kernel/drivers/net/can/rx-offload.c
Add to:
int can_rx_offload_add_manual(struct net_device *dev,struct can_rx_offload *offload,unsigned int weight){if (offload->mailbox_read)return -EINVAL;return can_rx_offload_init_queue(dev, offload, weight);}EXPORT_SYMBOL_GPL(can_rx_offload_add_manual);
0 3 Modify the Makefile and Kconfig under the upper-level directory spi/
vi OK8MP-linux-kernel/drivers/net/can/spi/Makefile
Add to
obj-y += mcp25xxfd/vi OK8MP-linux-kernel/drivers/net/can/spi/Kconfig
Add to:
source "drivers/net/can/spi/mcp25xxfd/Kconfig"0 4 Modify the driver configuration file and compile MCP2518 into the kernel
vi OK8MP-linux-kernel/arch/arm64/configs/OK8MP-C_defconfig
Found: CONFIG_CAN_MCP251X=y
Change to: # CONFIG_CAN_MCP251X is not set
Added: CONFIG_CAN_MCP25XXFD=y
0 5 Configure the clock in the device tree
vi OK8MP-linux-kernel/arch/arm64/boot/dts/freescale/OK8MP-C.dts
Add to:
clocks{mcp2518fd_clock:mcp2518fd_clock{compatible = "fixed-clock";#clock-cells = <0>;clock-frequency = <40000000>;};};
0 6 Find a pin to use as the interrupt pin of the chip
Here GPIO4_IO21 is used as an interrupt pin.
vi OK8MP-linux-kernel/arch/arm64/boot/dts/freescale/OK8MP-C.dts
Add:
pinctrl_ecspi2_can: ecspi2can{fsl,pins = <MX8MP_IOMUXC_SAI2_RXFS__GPIO4_IO21 0x40000>;};
0 7 Make modifications in the ecspi2 node of the device tree
vi OK8MP-linux-kernel/arch/arm64/boot/dts/freescale/OK8MP-C.dts
From:
&ecspi2{#address-cells= <1>;#size-cells= <0>;fsl,spi-num-chipselects= <1>;pinctrl-names= "default";pinctrl-0= <&pinctrl_ecspi2 &pinctrl_ecspi2_cs>;cs-gpios= <&gpio5 13 GPIO_ACTIVE_LOW>;status= "okay";spidev1:spi@0 {reg= <0>;compatible= "rohm,dh2228fv";spi-max-frequency= <500000>;};};
Change to:
&ecspi2{#address-cells= <1>;#size-cells= <0>;fsl,spi-num-chipselects= <1>;pinctrl-names= "default";pinctrl-0= <&pinctrl_ecspi2 &pinctrl_ecspi2_cs &pinctrl_ecspi2_can>;cs-gpios= <&gpio5 13 GPIO_ACTIVE_LOW>;status= "okay";mcp1:mcp2518fd@0{compatible= "microchip,mcp2518fd";reg= <0>;spi-max-frequency= <20000000>;clocks= <&mcp2518fd_clock2>;interrupts-extended= <&gpio4 21 IRQ_TYPE_LEVEL_LOW>;};};
After completing the above modifications, you can compile and use the newly generated image to program the OKMX8MP-C development board.
0 8 Development board verification
Connect the MCP2518 chip to the SPI2 interface, start the OKMX8MP-C development board, and use the ifconfig -a command to check after starting. You can see that there is one more CAN node. After the node is generated, it can be tested according to the user manual [ 4.18 FlexCAN Test] section to verify whether the function is normal.
User manual download link:
https://pan.baidu.com/s/1TY4R5BrAnjAuTTJj9fNGWw
Extraction code: 7qc8