Table of contents
MHA high availability data cluster principle
High availability cluster configuration
concept
High availability cluster MHA
MHA (Master High Availability) is currently a relatively mature solution for MySQL high availability. It was developed by Japanese DeNA company Youshimaton (now working at Facebook). It is an excellent set of failover and master solutions for MySQL high availability environment. Highly available software from Boost. During the MySQL failover process, MHA can automatically complete the database failover operation within 0 to 30 seconds, and during the failover process, MHA can ensure data consistency to the greatest extent to achieve true High availability in the sense.
MHA high availability data cluster principle
MHA (Master High Availability) is an open source MySQL high availability solution. It can automatically monitor the status of MySQL master-slave replication, and automatically promote the slave server to the new master server when the master server fails, thereby achieving high MySQL Availability.
MHA works as follows:
1. MHA will install an agent on the master server and slave server to monitor the status of MySQL.
2. When the master server fails, MHA's monitoring agent will detect the failure of the master server and promote the slave server to the new master server.
3. Before promoting the slave server to the new master server, MHA will automatically synchronize the MySQL data on the slave server with the data on the master server to ensure data consistency.
4. When the new master server comes online, MHA will automatically switch other slave servers to the new master server to achieve high availability of MySQL.
In short, MHA achieves high availability of MySQL by automatically monitoring the status of MySQL master-slave replication and automatically switching to a new master server when the master server fails.
High availability cluster configuration
First of all, for better identification
Modify the username on the command line:
hostnamectl set-hostname node1
bash: refresh hostname
Manager: [manager] 
Main server: [master] 
Slave server: [slave1] 
Slave server: [slave1] 
Password-free login
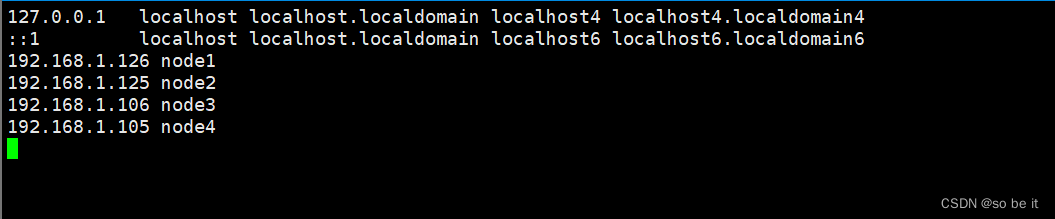
Use vim to open /etc/hosts on four servers and write the manager, master server, and slave server ip plus host name.
In this way, when logging in using ssh, you can log in directly using the host name.
For example: ssh node1
192.168.1.126 node1
192.168.1.125 node2
192.168.1.106 node3
192.168.1.105 node4

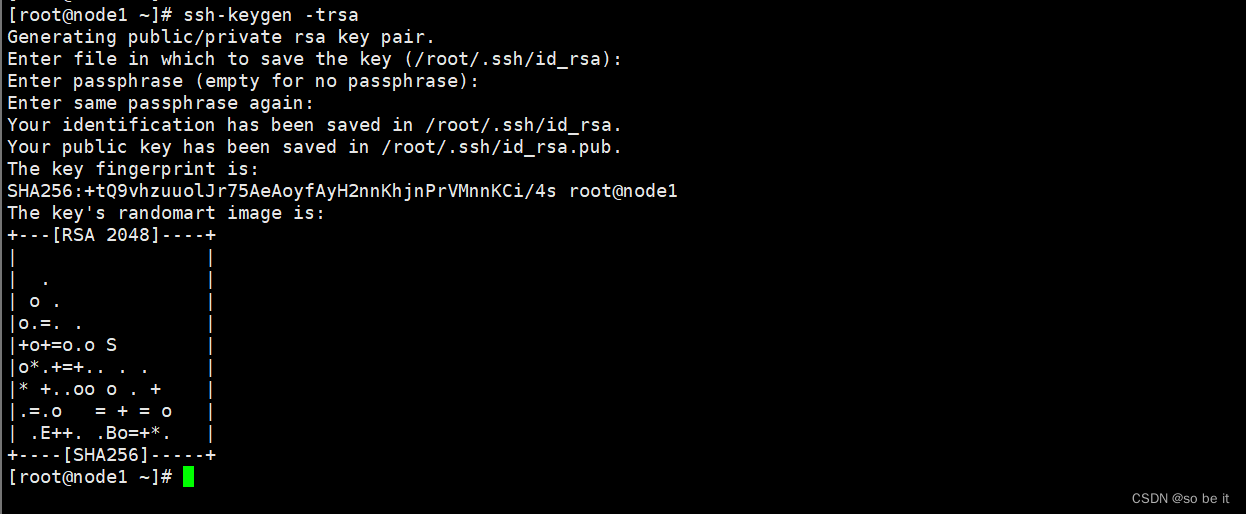
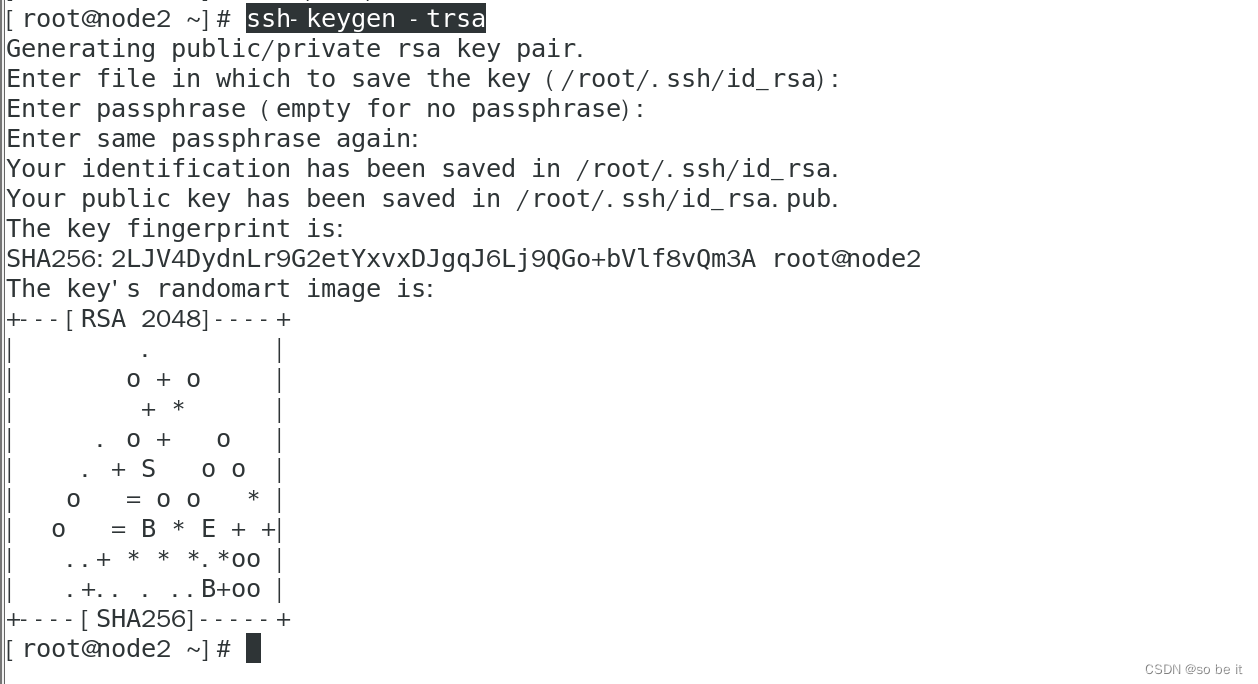
All four virtual machines must generate keys
ssh-keygen -t rsa
ssh-keygen -t rsa
Password-free configuration copy key
[All four servers must specify node1]
ssh-copy-id -i .ssh/id_rsa.pub root@node1

ssh-copy-id -i .ssh/id_rsa.pub root@node1

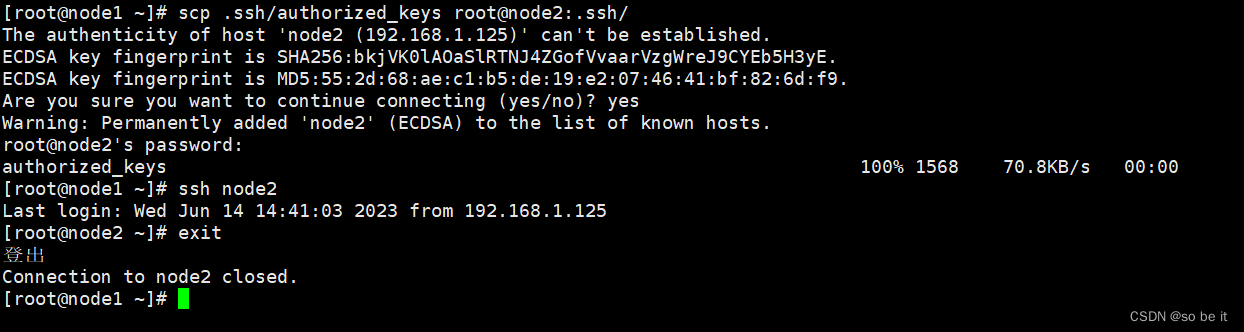
Send the authorized_keysau file in node1 to node2/3/4
[Realize password-free login]
【Notice! ! ! Node1, 2, 3, and 4 all need to authenticate each other to log in without a password]
scp .ssh/authorized_keys root@node2:.ssh
Log in with ssh node2 to test
scp .ssh/authorized_keys root@node3:.ssh
Log in with ssh node3 to test

scp .ssh/authorized_keys root@node4:.ssh
Log in with ssh node4 to test

Open node2 [main server]
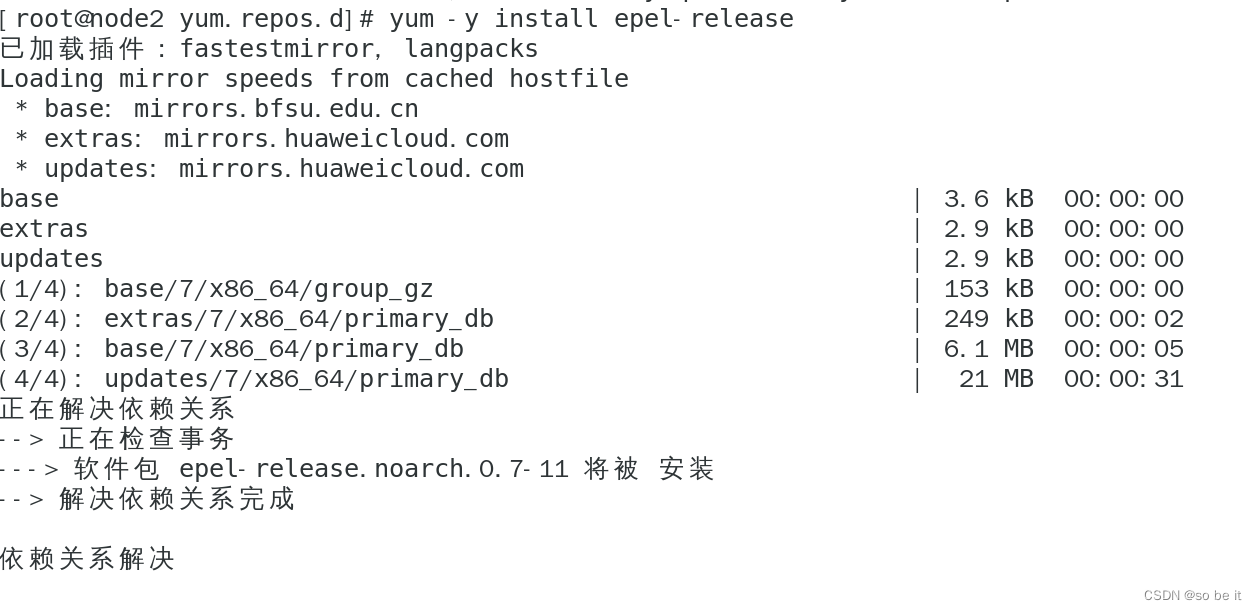
Download the epel-release source in node2
yum -y install epel-release
[You need to take out the CentOS-Base.repo source in yum and then install it]
Pull the prepared MySQL source code package down to the system

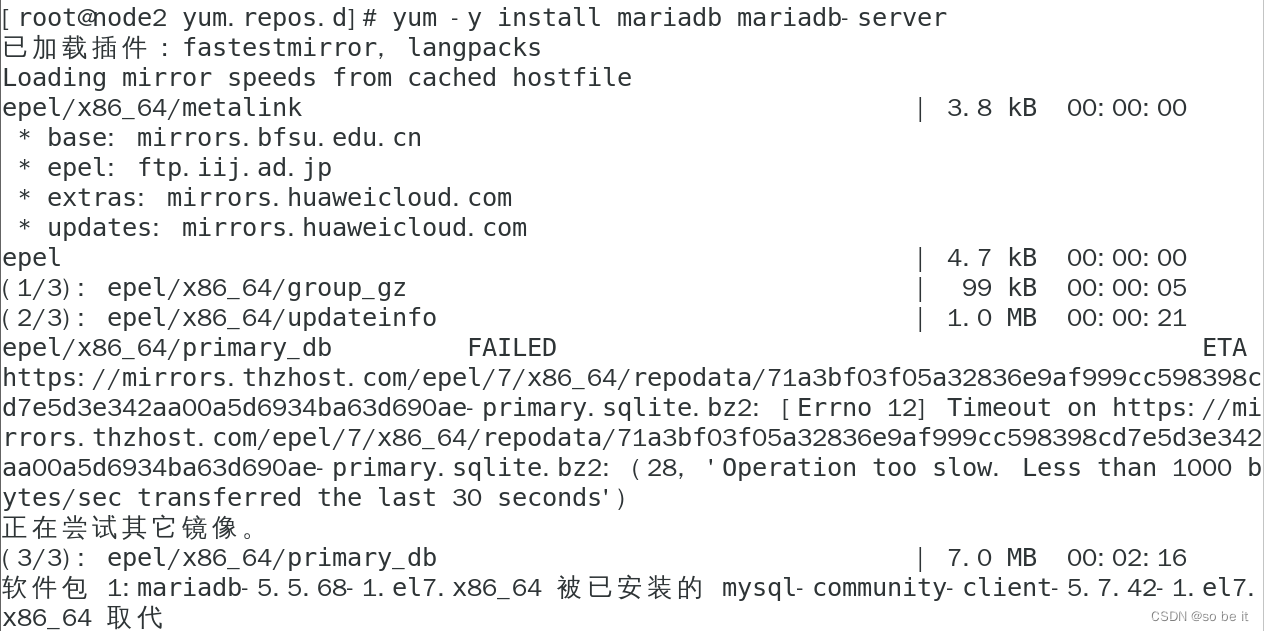
Enter the command to install:
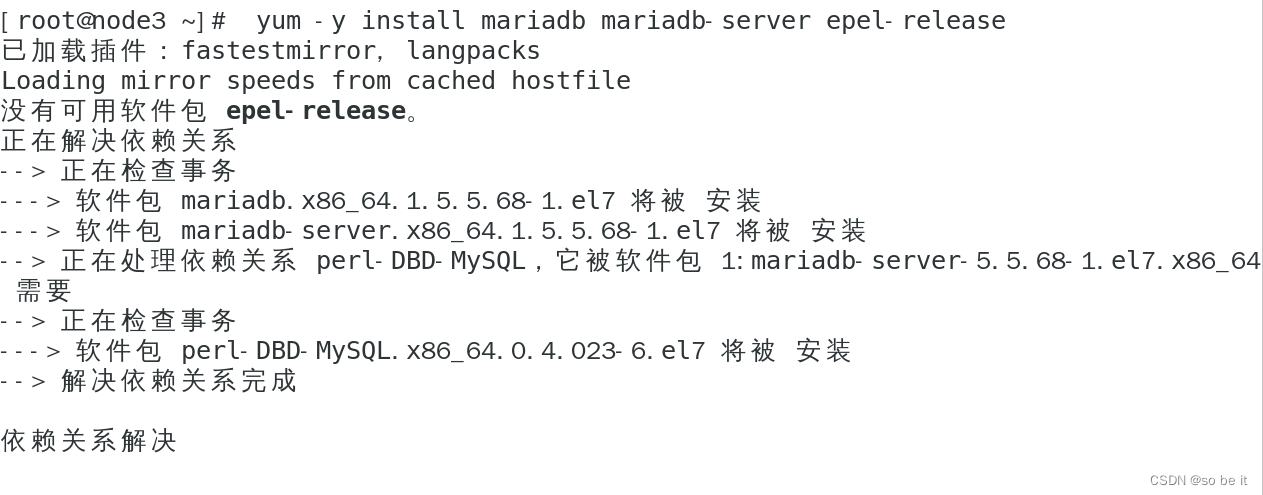
yum -y install mariadb mariadb-server
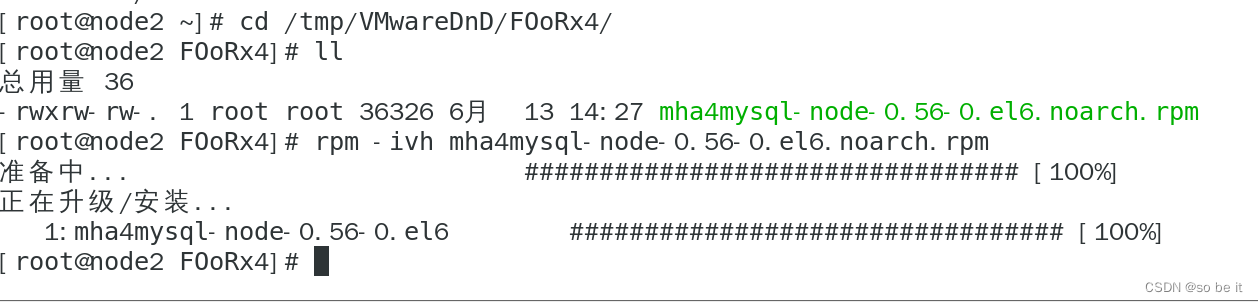
Go to the directory to find the package and install it:
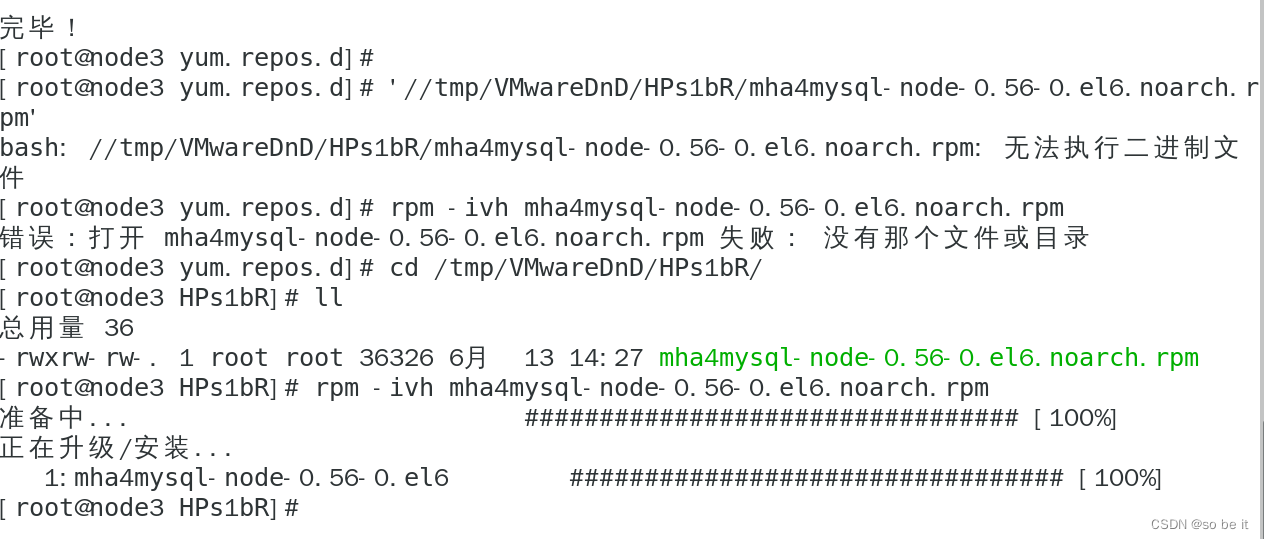
rpm -ivh mha4mysql-node-0.56-0.el6.noarch.rpm
vim opens the MySQL configuration file
write
server-id = 1 [Specify the unique identifier of the MySQL server, used to distinguish different servers in master-slave replication]
log-bin = master-log [Enable binary logs to record all database update operations in master-slave replication]
relay-log = relay-log [Specify the name of the relay log, used for the slave server to receive updates from the master server in master-slave replication]
skip_name_resolve [Disabling DNS resolution can improve the performance of the MySQL server]
[In general, these configuration parameters are used to set up MySQL master-slave replication. `server-id`, `log-bin` and `relay-log` are required parameters, while `skip_name_resolve` is optional. , used to improve performance]
To write under [MySQL]
[After writing the configuration, save and exit and enter: systemctl restart mariadb to restart mysql]

Log into MySQL and enter:
grant replication slave on *.* to ‘slave’@'%' identified by '123';
[Authorize users to use from the database]
[It means granting a user named "slave" permission to replicate as a slave server on all databases and all tables, and setting the password to "123". The "%" means that the user can connect to the MySQL server from any host. 】
grant all on *.* to ‘mha’@'%' identified by '123';
[Authorize users to be used by the manager to manage the master]
[It means granting user mha all permissions to all tables in all databases and setting the password to 123. % means you can connect to the MySQL server from any IP address]
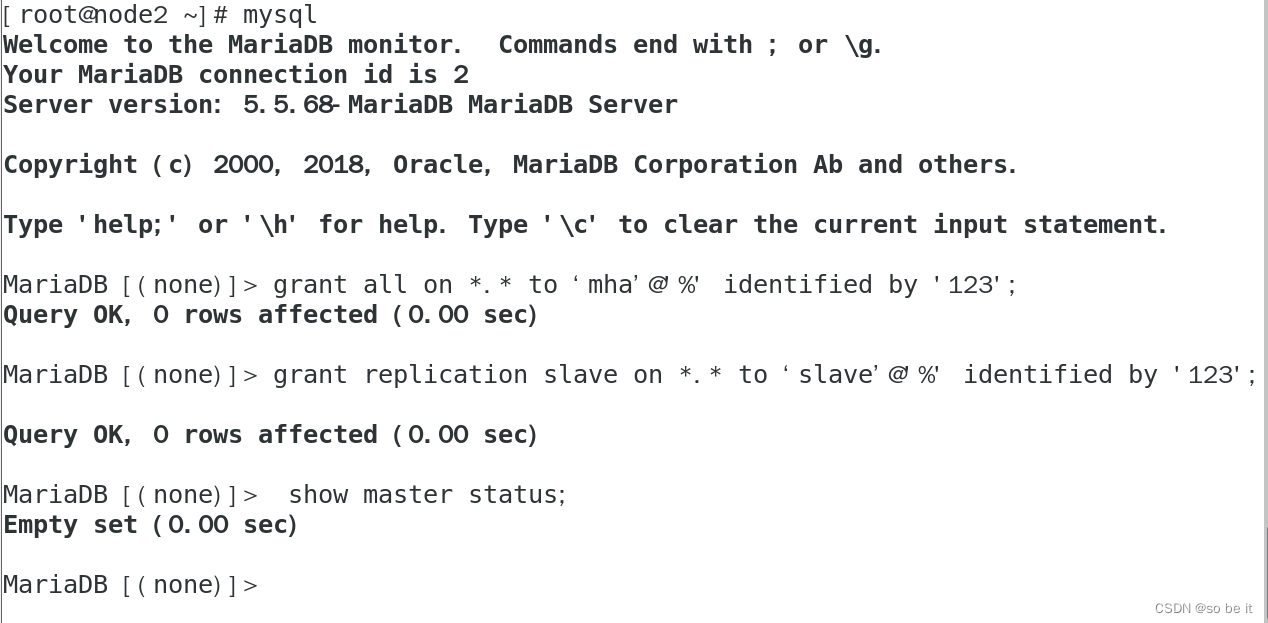
input the command:
show master status;
[View the main server status of the current database]

Enter node3 [slave server]
Drag the prepared source code package to node3

Enter the command: install mariadb
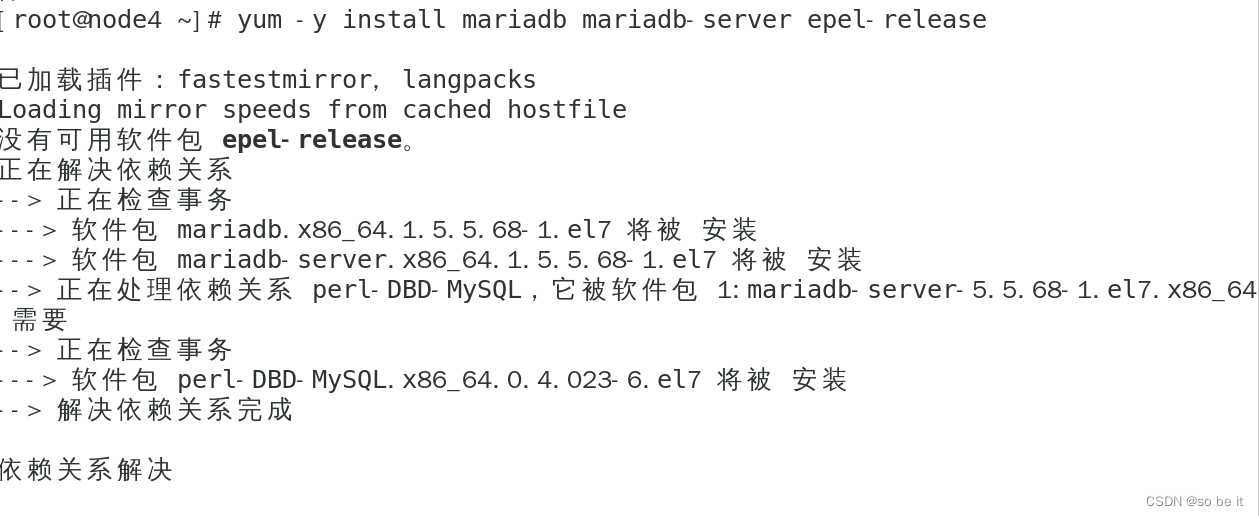
yum -y install mariadb mariadb-server epel-release
[MariaDB is an open source relational database management system, similar to MySQL]
Enter the command to install:
rpm -ivh mha4mysql-node-0.56-0.el6.noarch.rpm
Then vim enters the MySQL main configuration file
vim /etc/my.cnf
Write:
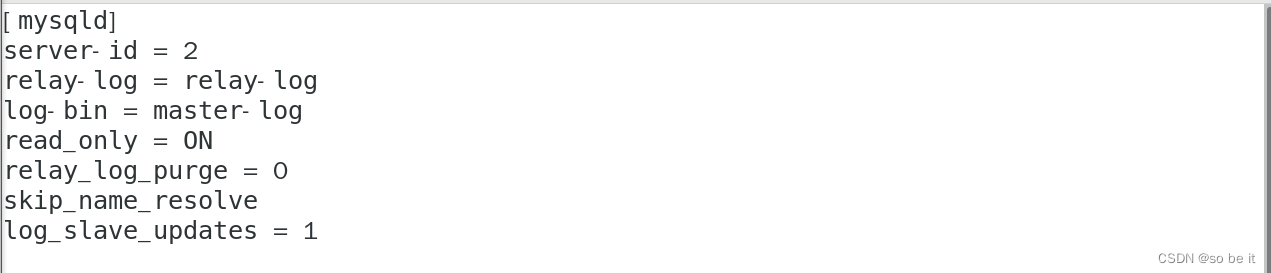
server-id = 2 [Indicates the unique identifier of the server]
relay-log = relay-log [represents the file names of relay log and binary log respectively]
log-bin = master-log [represents the file names of relay log and binary log respectively]
read_only = ON [Indicates whether the slave server is read-only]
relay_log_purge = 0 [Indicates whether to automatically clean up relay logs]
skip_name_resolve [Indicates whether to skip DNS resolution]
log_slave_updates = 1 [Indicates whether to record update operations performed from the server]
[Save, exit and restart MySQL].
Enter the restart command: systemctl restart mariadb
To write under [MySQL]
Return to node2 [master server] and enter show master status; view the database status
Open node3 [slave server 1]
Log in to MySQL
Input: Specify the server [stop slave; you need to close the service before specifying it]
change master to master_host='192.168.1.125',master_user='slave',master_password='123',master_log_file='master-log.000003',master_log_pos=517;
[- `master_host`: Specify the IP address or host name of the master database. 】
[- `master_user`: Specifies the user name used for replication. 】
[- `master_password`: Specifies the password used for replication. 】
[- `master_log_file`: Specifies the binary log file name of the master database. 】
[- `master_log_pos`: Specify the location from which to start replicating the binary log of the master database. 】
After specifying the main server, start the service
start slave;
[Used to start a slave server (slave) to synchronize data with the master server (master)]
show slave status \G;
[Used to view the status of the replication slave server in the current database instance. Among them, "\G" outputs the results in a more readable format, with each attribute occupying one line for easy viewing. This command can be used to check whether the master-slave replication is working properly, and to check the delay of the slave server, etc.]

grant all on *.* to ‘slave’@'%' identified by '123';
[Authorize the user to be used by the manager to manage the slave]
[It means granting user "slave" all permissions to all databases and all tables on any host, and setting the password to "123". % means that any host can connect to the database】

Enter node4 [slave server 2]
Drag the prepared source code package into node4

Enter the command to install:
rpm -ivh mha4mysql-node-0.56-0.el6.noarch.rpm

Enter the command: install mariadb
yum -y install mariadb mariadb-server epel-release
[MariaDB is an open source relational database management system, similar to MySQL]
vim opens the MySQL configuration file
vim /etc/my.cnf
Write:
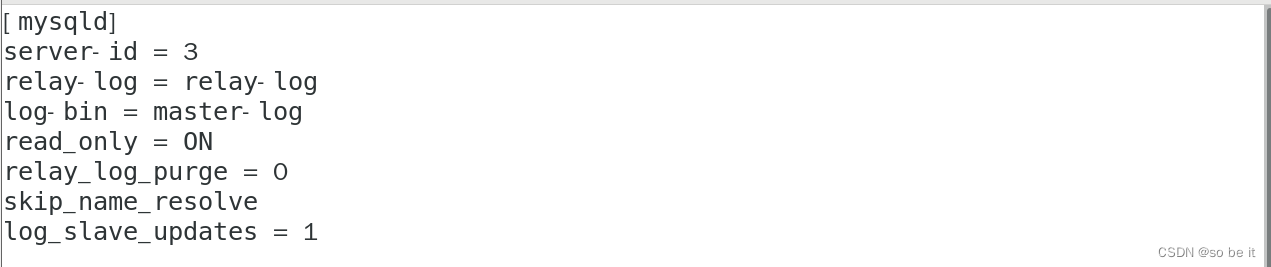
server-id = 3 [Set the unique identifier of the MySQL server to 3, which is used to distinguish different servers in master-slave replication]
relay-log = relay-log [Set the storage location and file name prefix of the relay log]
log-bin = master-log [Enable binary logs to record all operations that modify the database for master-slave replication and data recovery]
read_only = ON [Set the MySQL server to read-only mode and prohibit writing operations to the database]
relay_log_purge = 0 [Disable automatic purging of relay logs and require manual purging]
skip_name_resolve [Disable DNS anti-resolution to speed up the connection]
log_slave_updates = 1 [Set the slave server to also record the received modification operations into its own binary log for cascading replication]
Then save, exit and restart MySQL
systemctl restart mariadb
To write under [MySQL]
Log in to MySQL
Input: Specify the main server [Shut down the service stop slave before specifying;]
change master tomaster_host='192.168.1.125',master_user='slave',master_password='123',master_log_file='master-log.000003',master_log_pos=529;
After specifying, start the service
start slave;
[Used to start a slave server (slave) to synchronize data with the master server (master)]
show slave status \G;
[Used to view the status of the replication slave server in the current database instance. Among them, "\G" outputs the results in a more readable format, with each attribute occupying one line for easy viewing. This command can be used to check whether the master-slave replication is working properly, and to check the delay of the slave server, etc.]

grant all on *.* to ‘slave’@'%' identified by '123';
[Authorize the user to be used by the manager to manage the slave]
[It means granting user "slave" all permissions to all databases and all tables on any host, and setting the password to "123". % means that any host can connect to the database】

Return to node1 [Manager]
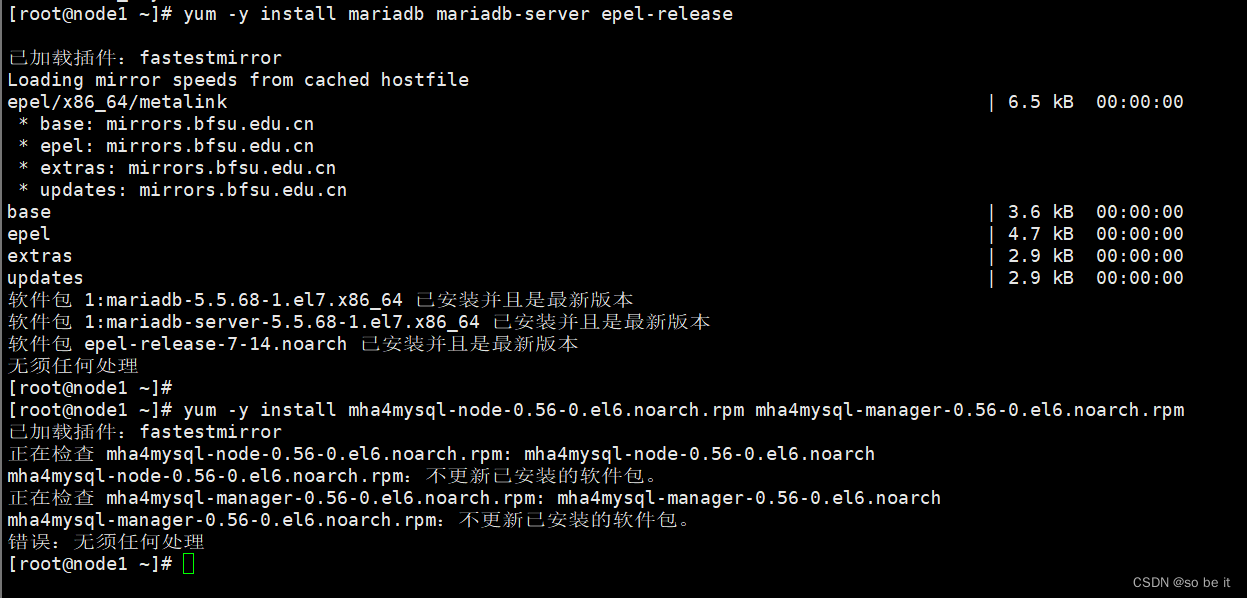
Pull the prepared source code package into the manager
![]()
Enter the commands respectively: Install MySQL
yum -y install mariadb mariadb-server epel-release
yum -y install mha4mysql-node-0.56-0.el6.noarch.rpm mha4mysql-manager-0.56-0.el6.noarch.rpm
Create mkdir /etc/mha_master
vim enter /etc/mha_master/mha.cnf
Write:
[server default]
user=mha
password=123
manager_workdir=/etc/mha_master/app1
manager_log=/etc/mha_master/manager.log
remote_workdir=/mydata/mha_master/app1
ssh_user=root
repl_user=slave
repl_password=123
ping_interval=1
[server1]
hostname=192.168.174.125 [Main IP]
ssh_port=22
candidate_master=1
[server2]
hostname=192.168.174.106 [first slave ip]
ssh_port=22
candidate_master=1
[server3]
hostname=192.168.174.105【Second slave ip】
ssh_port=22
candidate_master=1
After writing, save and exit

enter:
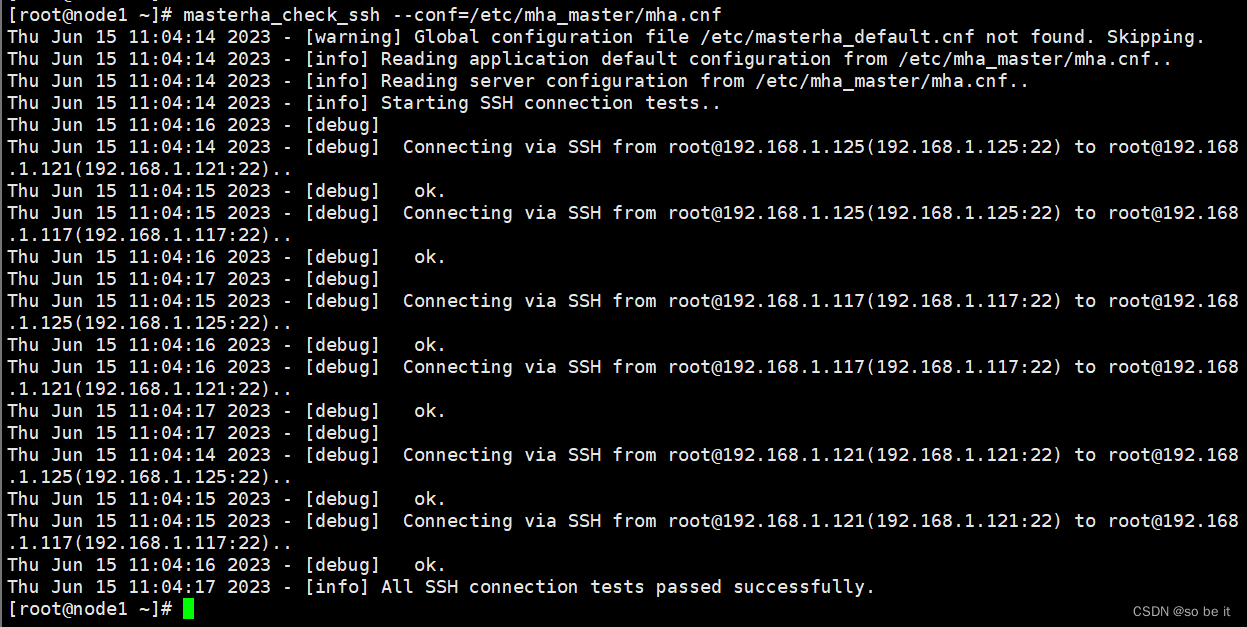
masterha_check_ssh --conf=/etc/mha_master/mha.cnf
A screen is displayed to indicate successful detection.
Re-enter: Check whether the MySQL replication cluster is OK
masterha_check_repl --conf=/etc/mha_master/mha.cnf

If an error occurs in the last step! ! !
You can enter the command:
grant all on *.* to ‘slave’@'%' identified by '123';
Set user permissions again for the master server and slave server