1. Define the model
import torch
from torch import nn

# 搭建神经网络模型
class Vcoy(nn.Module):

    def __init__(self):
        super(Vcoy, self).__init__()
        self.model = nn.Sequential(
            nn.Conv2d(in_channels=3, out_channels=32, kernel_size=5, stride=1, padding=2),
            nn.MaxPool2d(kernel_size=2),
            nn.Conv2d(32, 32, 5, 1, 2),
            nn.MaxPool2d(kernel_size=2),
            nn.Conv2d(32, 64, 5, 1, 2),
            nn.MaxPool2d(2),
            nn.Flatten(),
            # 64*4*4=1024
            nn.Linear(in_features=64*4*4, out_features=64),
            nn.Linear(64, 10)
        )

    def forward(self,x):
        x = self.model(x)
        return x

if __name__ == '__main__':
    # 测试网络正确性
    vcoy = Vcoy()
    # 参数说明:64--batch-size 3--in_channels通道数 32*32的图片尺寸
    input = torch.ones((64, 3, 32, 32))
    output = vcoy(input)
    # 输出 torch.Size([64, 10]):64表示64张图片,10表示每个图片在10个类别中的概率(CIFAR10数据集为10个类别)
    print(output.shape)
2. Carry out training
import torch
import torchvision
from torch.utils.tensorboard import SummaryWriter
from model import *
from torch.utils.data import DataLoader
# 准备数据集
train_data = torchvision.datasets.CIFAR10("../train_data", train=True, transform=torchvision.transforms.ToTensor(),
                                          download=True)
test_data = torchvision.datasets.CIFAR10("../train_data", train=False, transform=torchvision.transforms.ToTensor(),
                                          download=True)

# 数据集长度
train_data_size = len(train_data)
test_data_size = len(test_data)
# 若train_data_size=10 则训练数据集的长度为10。 测试集长度10000 训练集50000
print("训练数据集的长度:{}".format(train_data_size))
print("测试数据集的长度:{}".format(test_data_size))

# 利用 dataLoader 加载数据集
train_dataloader = DataLoader(train_data, batch_size=64)
test_dataloader = DataLoader(test_data, batch_size=64)

# 创建网络模型
vcoy = Vcoy()
# 网络模型使用GPU训练
if torch.cuda.is_available():
    print("is_available")
    vcoy = vcoy.cuda()

# 损失函数:分类问题可使用 交叉熵 损失函数
loss_fn = nn.CrossEntropyLoss()
# 损失函数使用gpu训练
if torch.cuda.is_available():
    loss_fn = loss_fn.cuda()

# 优化器: 采用随机梯度下降
# learning_rate = 1e-2 :1e-2 = 1x(10)^(-2) = 1/100 = 0.01
learning_rate = 0.01
optimizer = torch.optim.SGD(vcoy.parameters(), lr=learning_rate)

# 训练神经网络的一些参数
# 记录训练的次数
total_train_step = 0
# 记录测试的次数
total_test_step = 0
# 训练的次数
epoch = 20

# 添加tensorboard
writer = SummaryWriter("../logs")

for i in range(epoch):
    print("------第{}轮训练开始------".format(i+1))
    # 训练步骤开始
    # 若网络模型中存在某些层可使用train标识进入训练状态,具体哪些层需要查官方文档:如batchNorm层Dropout层
    vcoy.train()
    for data in train_dataloader:
        imgs, targets = data
        # 使用gpu训练
        if torch.cuda.is_available():
            imgs = imgs.cuda()
            targets = targets.cuda()

        # 训练数据放到网络当中
        output = vcoy(imgs)
        # 根据训练结果得到和真实值的误差--损失值。output:通过神经网络模型后的值,targets是真实值。如猫的图片的targets=猫
        loss = loss_fn(output, targets)
        # 优化器优化模型
        # 梯度清0
        optimizer.zero_grad()
        # 清0的时候,用求出的损失的反向传播得到每个参数节点的梯度
        loss.backward()
        # 进行优化
        optimizer.step()
        # 训练次数+1
        total_train_step = total_train_step + 1
        if total_train_step % 100 == 0:
            print("训练次数:{},Loss:{}".format(total_train_step, loss.item()))
            # 记录每一步训练的损失值 显示到tensorboard上
            writer.add_scalar("train_loss", loss.item(), total_train_step)
    # 如何知道模型有没有训练好,达到想要的需求效果。:每训练完一次课使用测试数据进行测试,测试过程不需要调优
    # 没有梯度时候测试-保证没有在进行调优。测试步骤开始:
    # 若网络模型中存在某些层可使用eval标识进入测试状态,具体哪些层需要查官方文档:如batchNorm层Dropout层
    vcoy.eval()
    total_test_loss = 0
    # 整体正确率
    total_accuracy = 0
    with torch.no_grad():
        for data in test_dataloader:
            # imgs加载的图片数组 targets加载的图片对应的真实标签值
            imgs, targets = data
            if torch.cuda.is_available():
                imgs = imgs.cuda()
                targets = targets.cuda()
            outputs = vcoy(imgs)
            loss = loss_fn(outputs, targets)
            total_test_loss = total_test_loss + loss.item()
            # 累计正确率:先计算出预测结果,再比较真实值,再求和转换
            accuracy = (outputs.argmax(1) == targets).sum()
            total_accuracy = total_accuracy + accuracy.item()

    print("整体测试集上的Loss:{}".format(total_test_loss))
    print("整体测试集上的正确率:{}".format(total_accuracy/test_data_size))
    # 将每轮的测试【损失值】和【正确率】画成图存入tensorboard
    writer.add_scalar("test_loss", total_test_loss, total_test_step)
    writer.add_scalar("test_accuracy", total_accuracy/test_data_size, total_test_step)
    # 测试步骤+1
    total_test_step + total_train_step + 1
    # 保存每一轮的训练结果模型
    torch.save(vcoy, "vcoy_{}.pth".format(i))
    # torch.save(vcoy.state_dict(), "vcoy_{}.pth".format(i))
    print("模型已保存")
writer.close()
3. Input a single image to test the trained model
import torch
from PIL import Image
import torchvision
from torch import nn
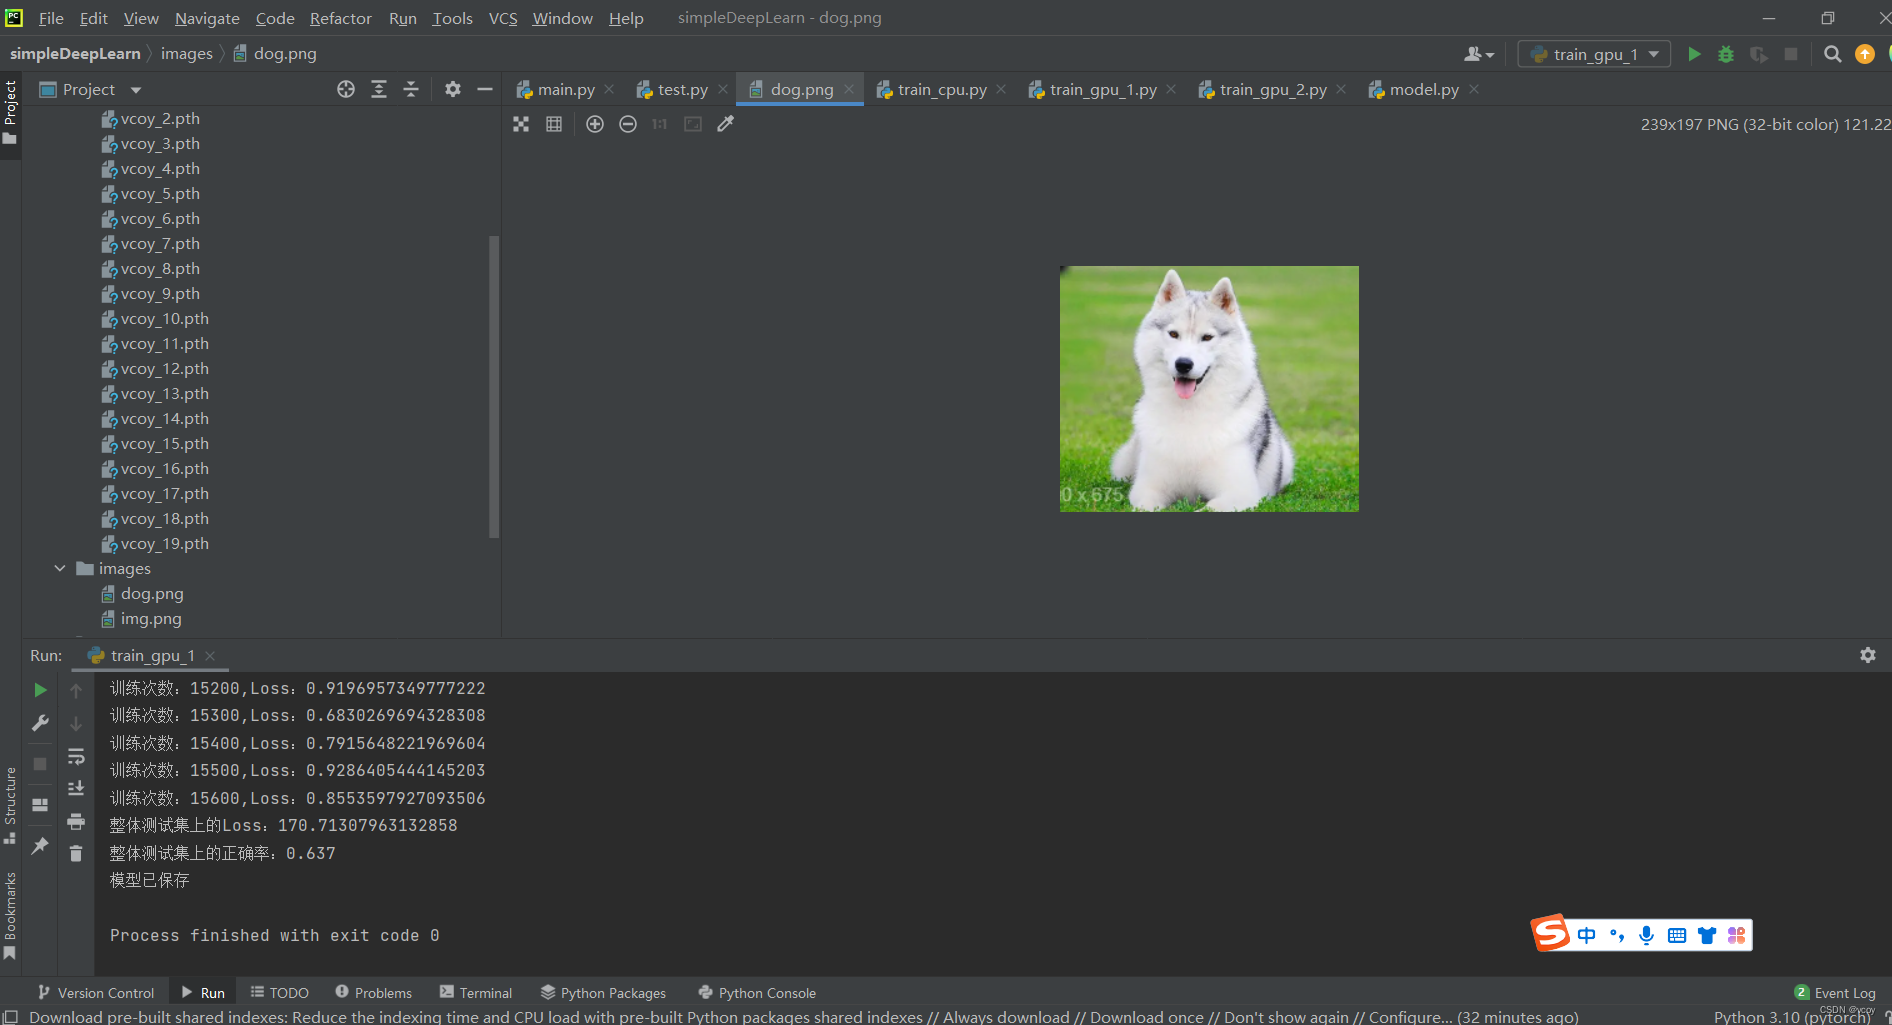
img_path = "../images/dog.png"
image = Image.open(img_path)
# 输出的是:<PIL.WebPImagePlugin.WebPImageFile image mode=RGB size=800x500 at 0x1B6A9F475E0>
print(image)
# png图片格式是四个通道,除了RGB还有一个透明通道,使用convert(rgb)保留颜色通道。
# 若图片本来是三个颜色通道,经过convert不变。但加上这一步可适应各种png jpg格式图片
image = image.convert('RGB')
# Compose:把几个transform连接在一起
transform = torchvision.transforms.Compose(
[torchvision.transforms.Resize((32, 32)),
torchvision.transforms.ToTensor()]
)
image = transform(image)
# 输出:torch.Size([3, 32, 32])
print(image.shape)
# 搭建神经网络模型
class Vcoy(nn.Module):
def __init__(self):
super(Vcoy, self).__init__()
self.model = nn.Sequential(
nn.Conv2d(in_channels=3, out_channels=32, kernel_size=5, stride=1, padding=2),
nn.MaxPool2d(kernel_size=2),
nn.Conv2d(32, 32, 5, 1, 2),
nn.MaxPool2d(kernel_size=2),
nn.Conv2d(32, 64, 5, 1, 2),
nn.MaxPool2d(2),
nn.Flatten(),
# 64*4*4=1024
nn.Linear(in_features=64*4*4, out_features=64),
nn.Linear(64, 10)
)
def forward(self,x):
x = self.model(x)
return x
# 加载训练过一次的模型
models = torch.load("vcoy_19.pth")
# 将gpu训练过的网络模型 放到cpu运行
# models = torch.load("vcoy_8.pth",map_location=torch.device("cpu"))
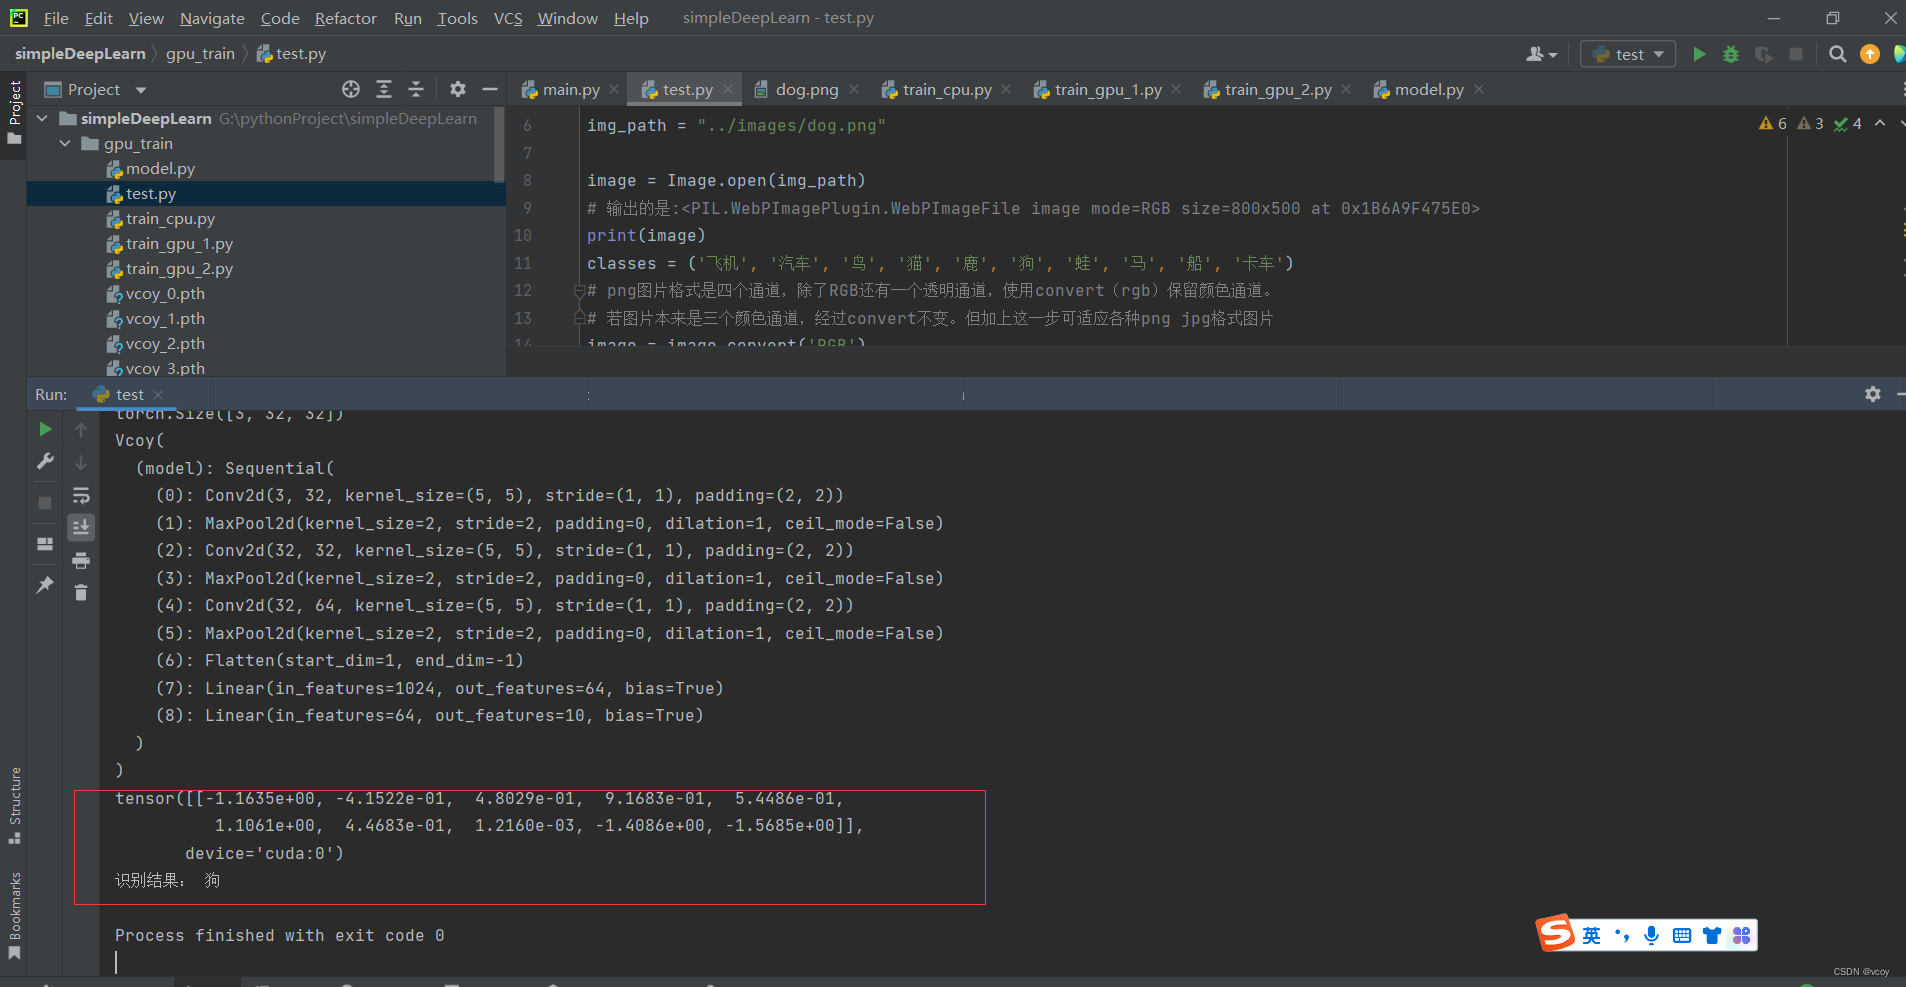
print(models)
image = torch.reshape(image, (1, 3, 32, 32))
# 当前模型是GPU训练 所以进行输入要将image加入gpu中
image = image.cuda()
# 网络模型要求张量的阶数为4,即(batch_size,channel,height,weight),一般图片输入为3阶张量,即(channel:3,Hight:32,Weight:32)
models.eval()
# 节约性能
with torch.no_grad():
output = models(image)
print(output)
print(output.argmax(1))