Directory overview
1. Download and install
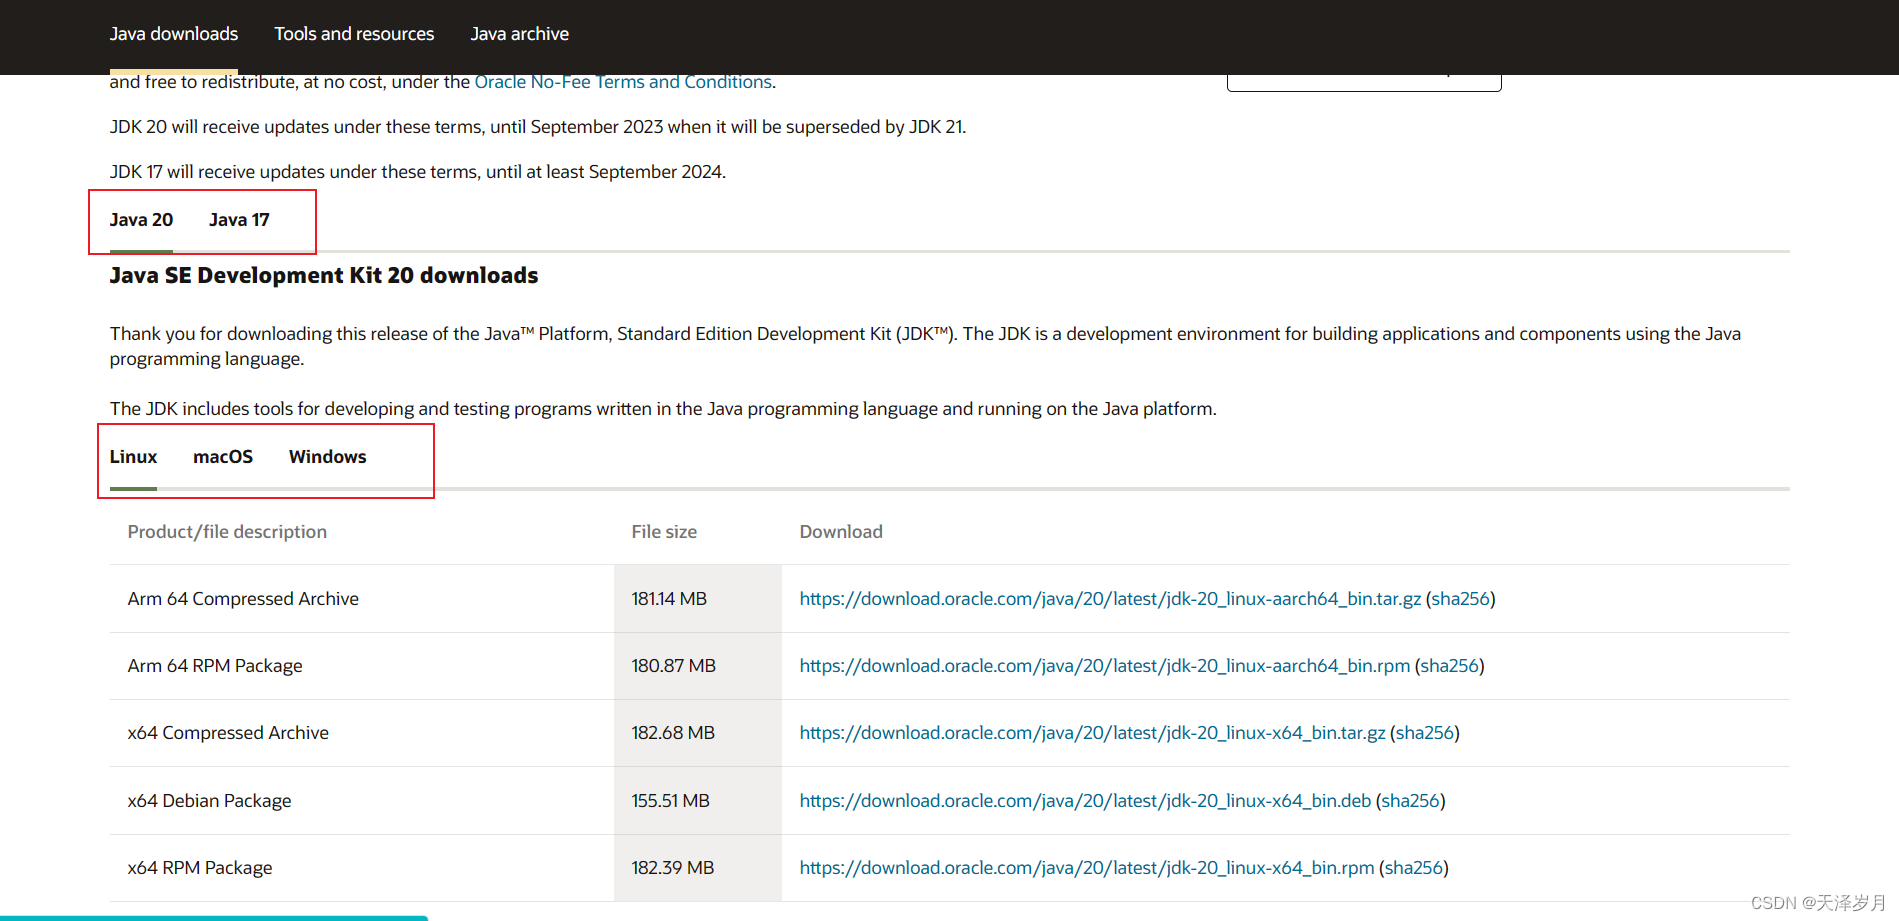
Official download address: Click here to go to the official website

java20 and java17 are as follows:
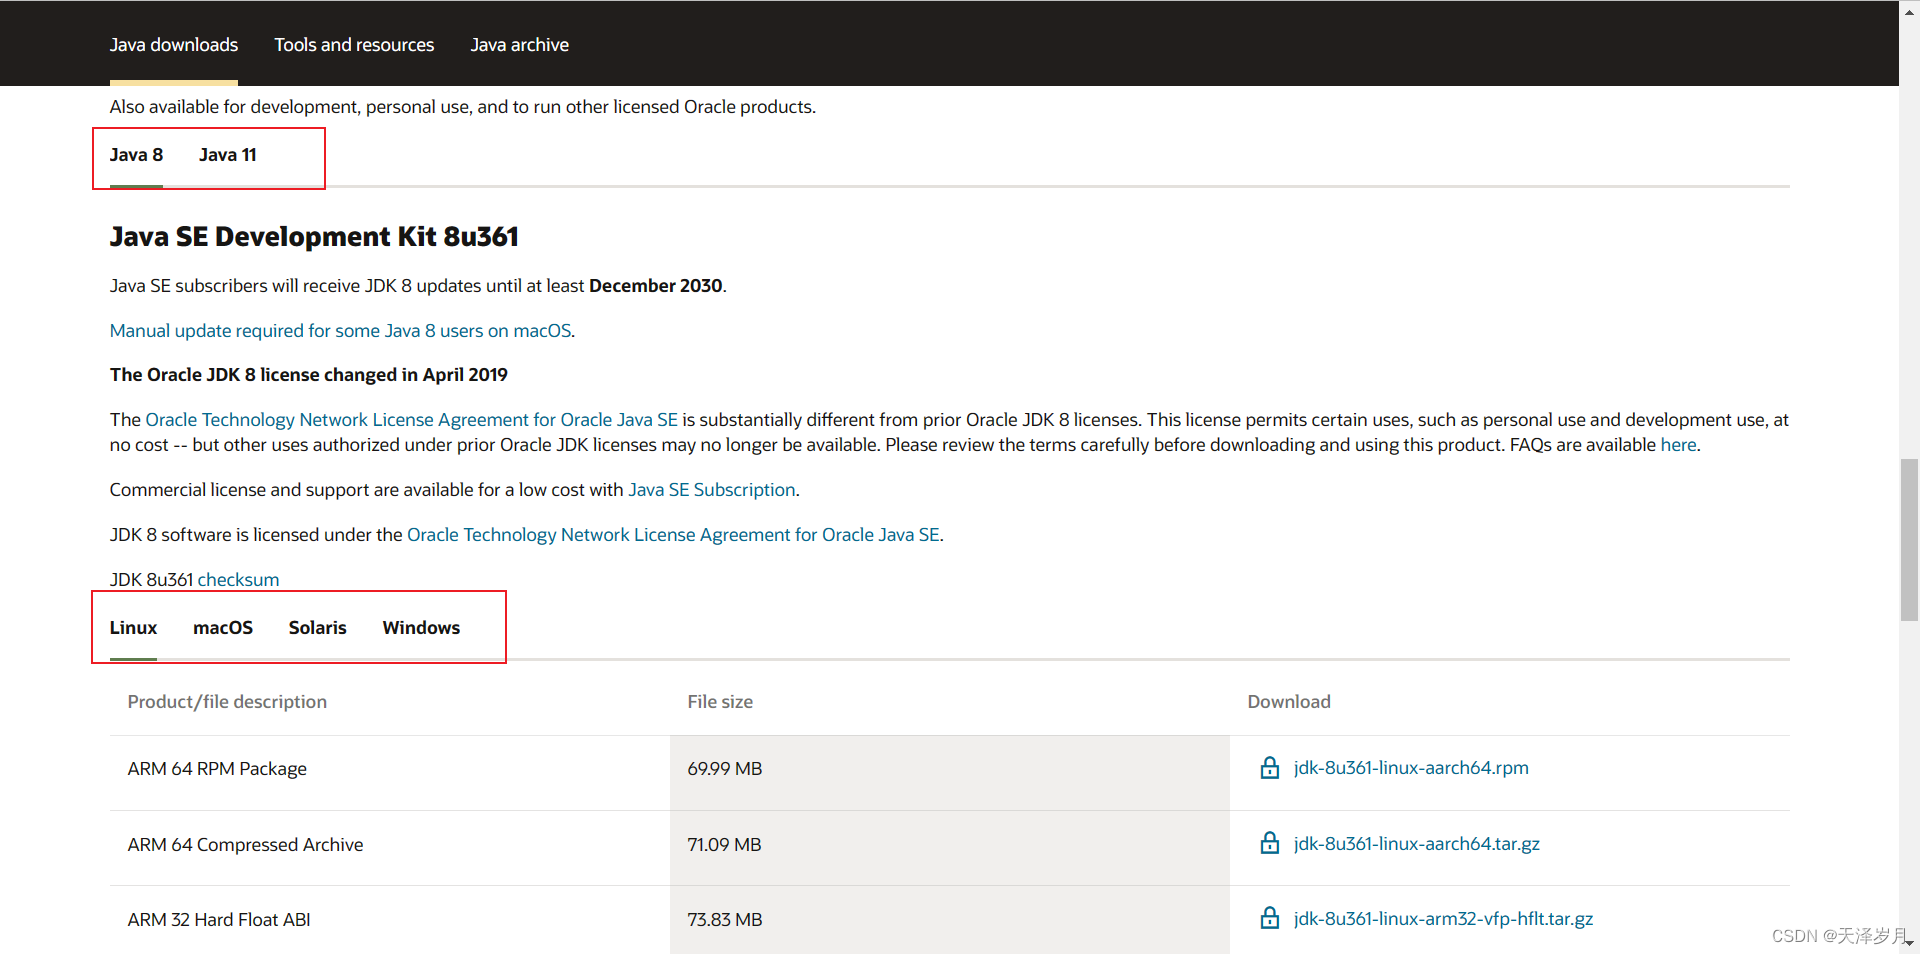
java8, java11 as follows
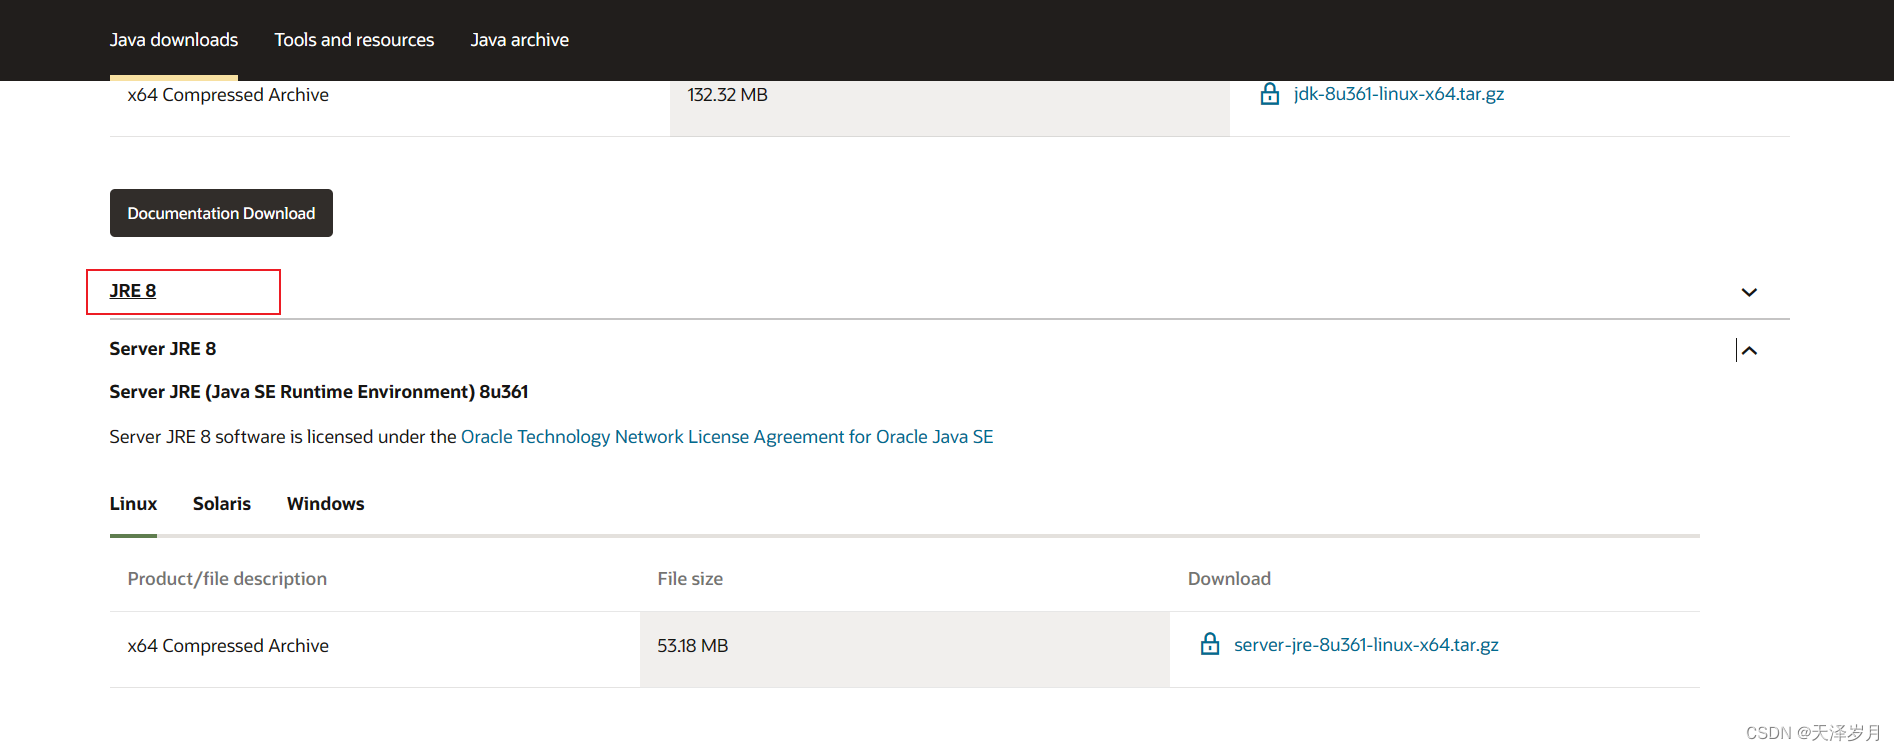
jre8 is as follows
Take java8 download as an example:
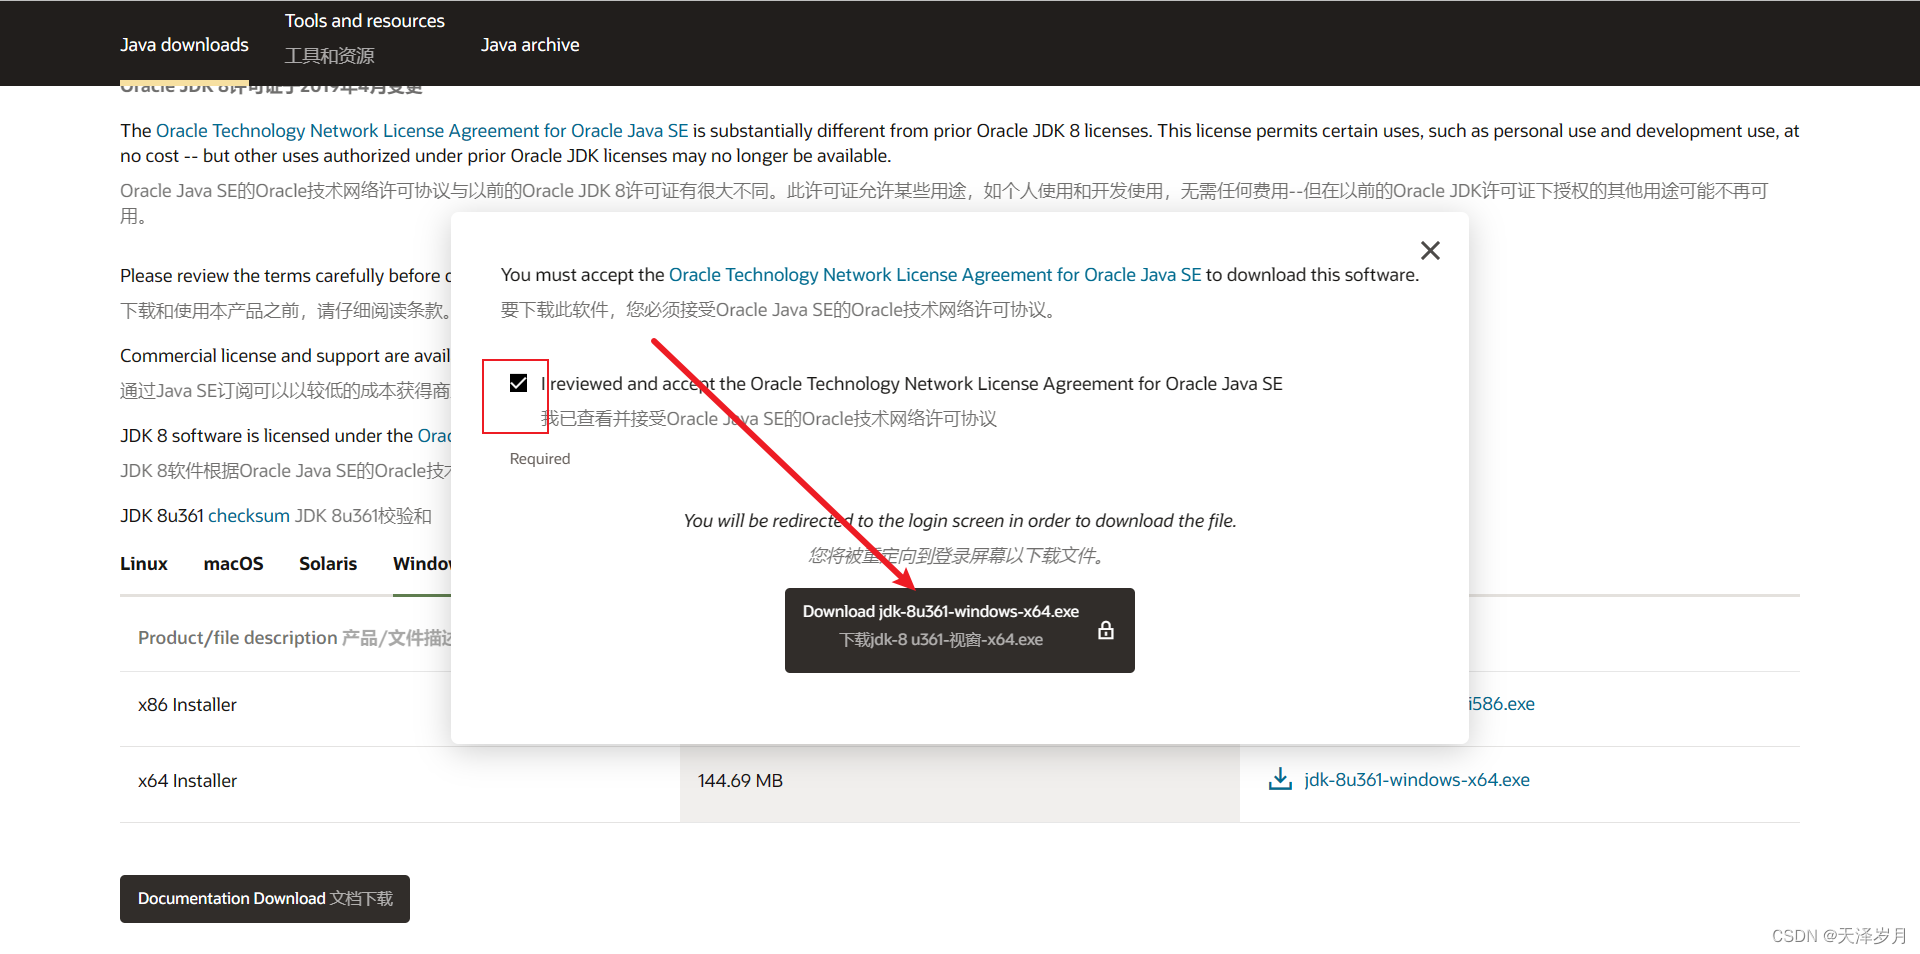
After entering the account password according to the steps
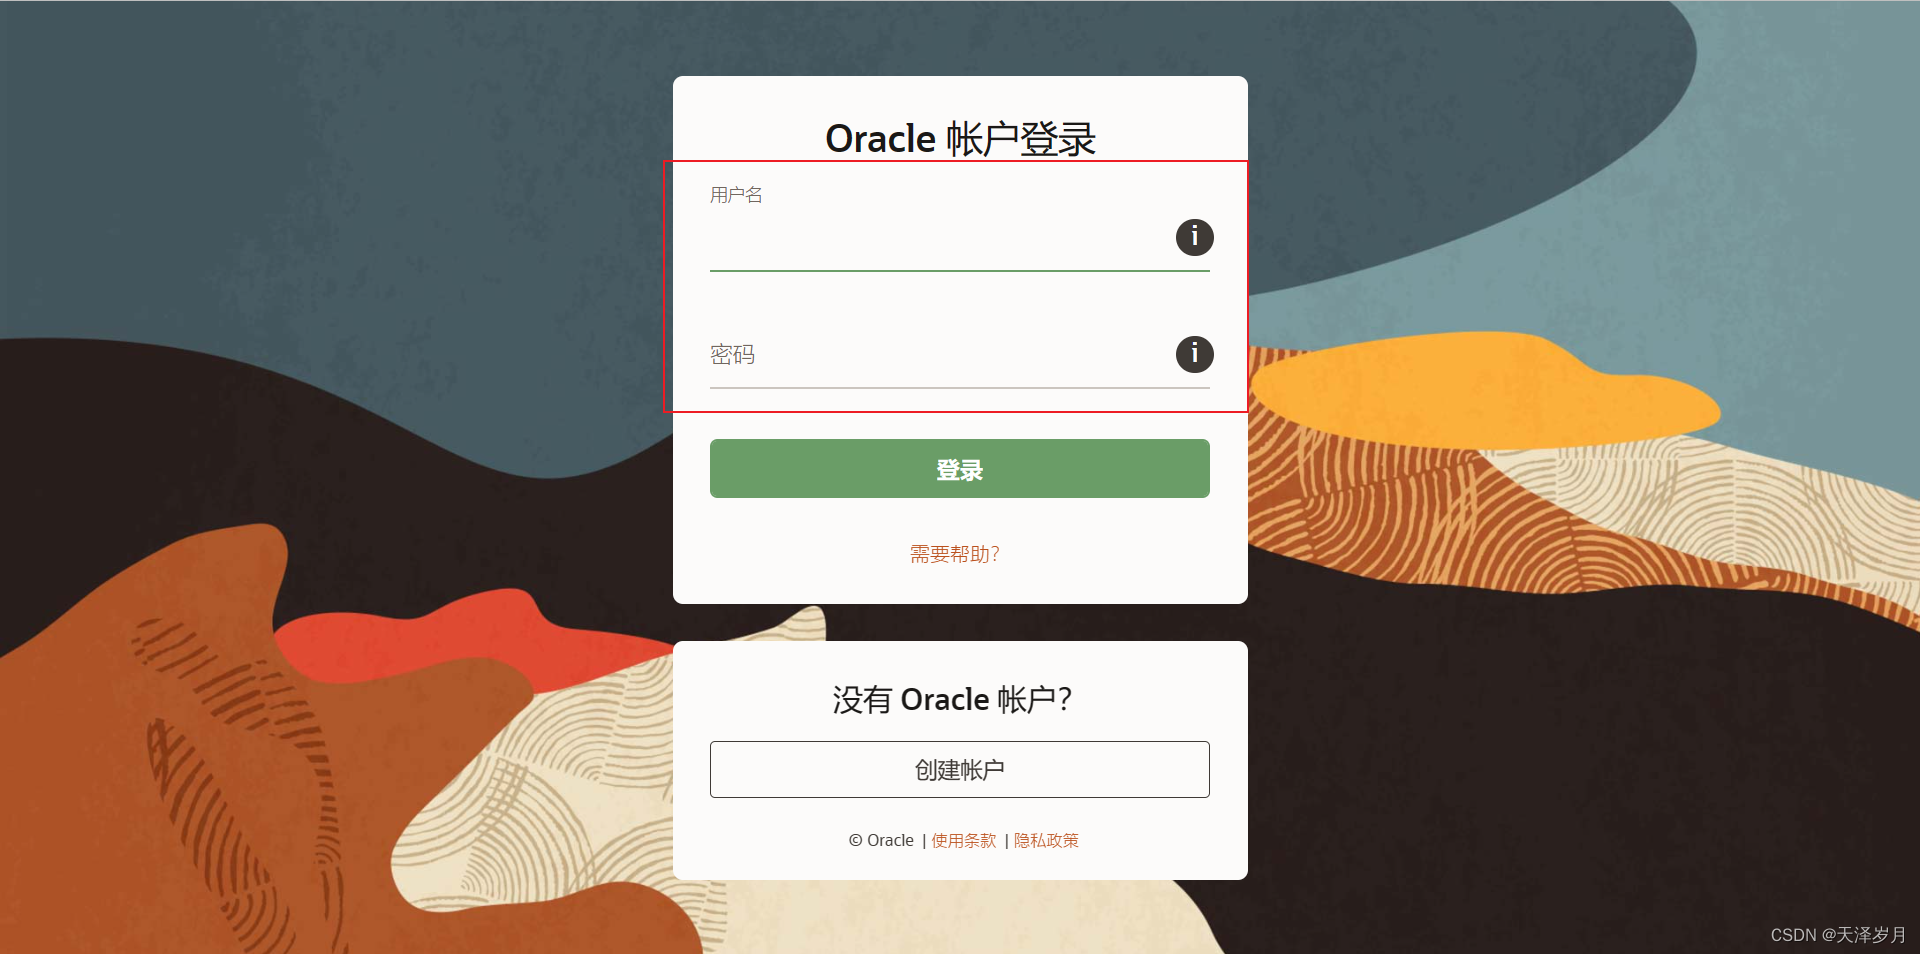
, the download display box will pop up, and the installation package with
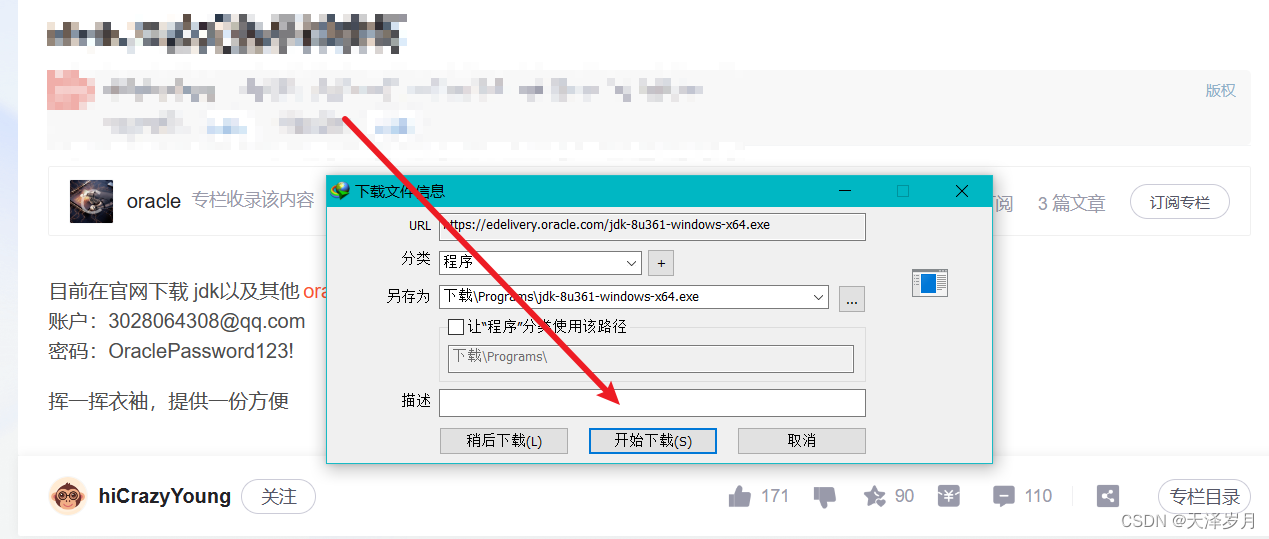
the file name is obtainedjdk-8u361-windows-x64.exe
The installation diagram is as follows:


At this point, java verification can already be used

, but javac is not yet available, and you need to enter the second step to configure the environment

PS: If you have the previous installation package, go directly to the second step to configure the environment
2. Environment configuration
The environment configuration mainly consists of three parts: JAVA_HOME, CLASSPATH, and Path. Both are system environment variables:
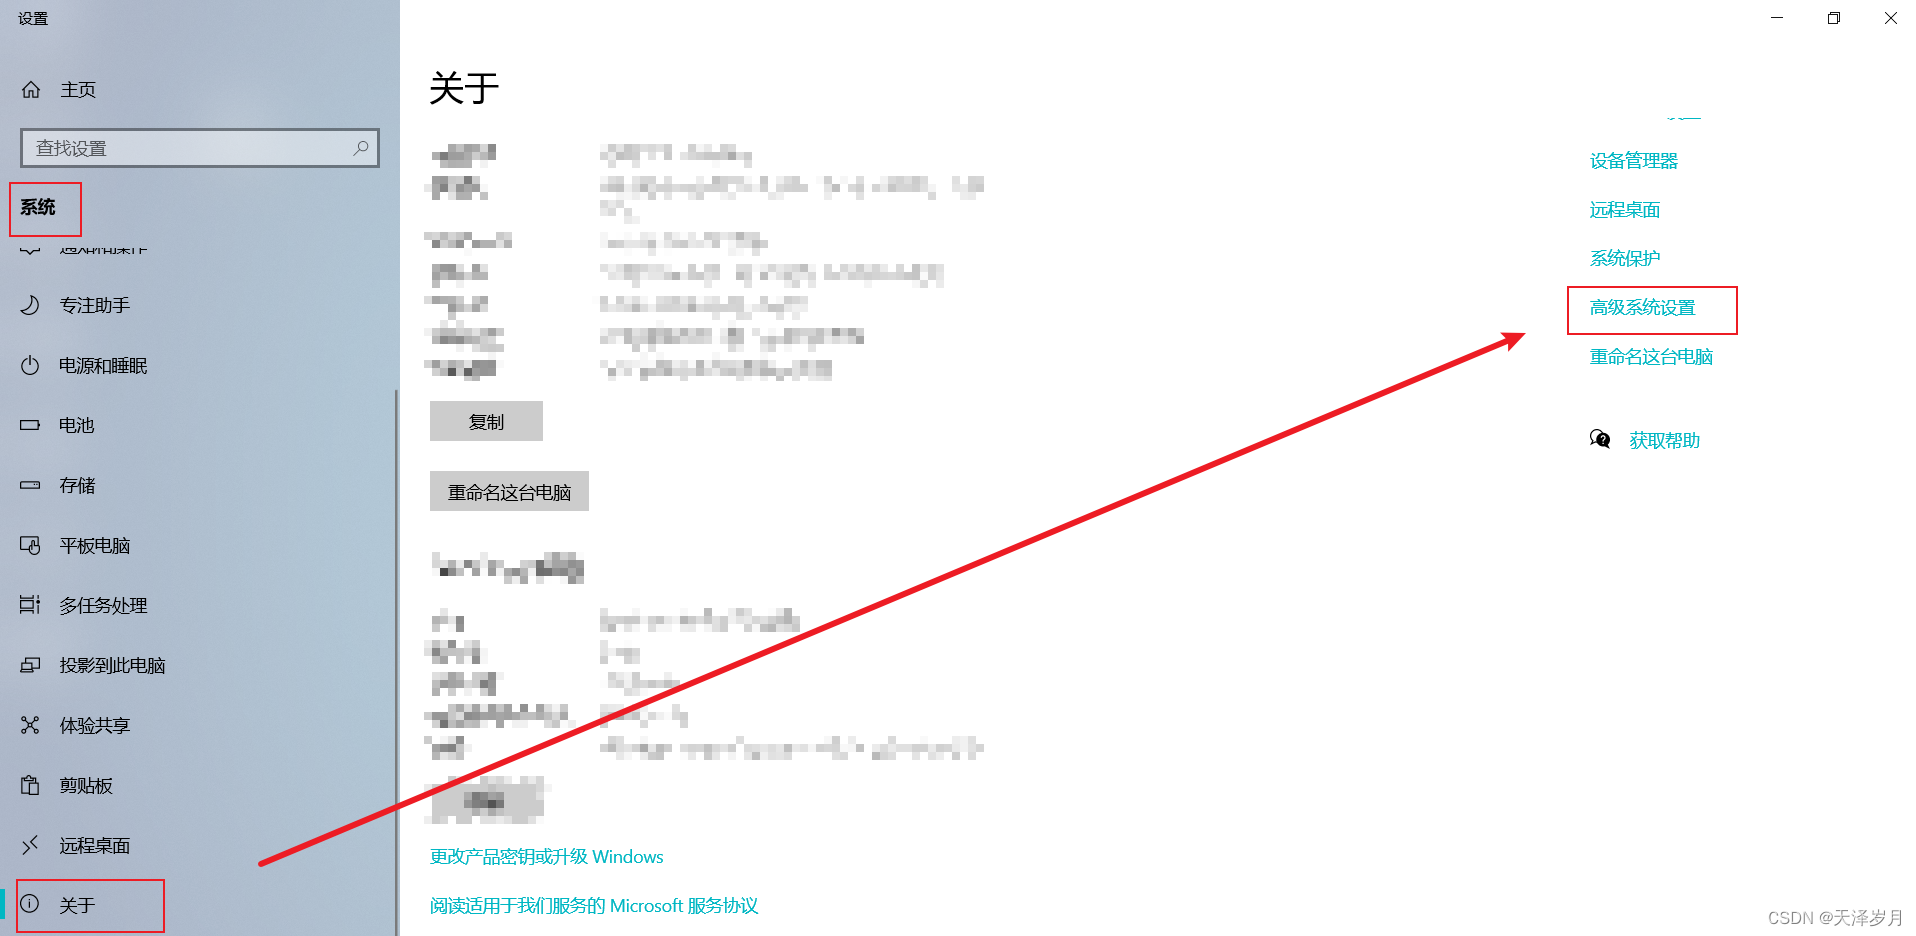

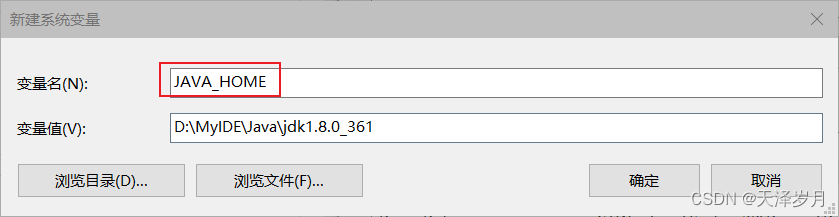
in the system environment variables, select "New",
- first variable name
JAVA_HOME
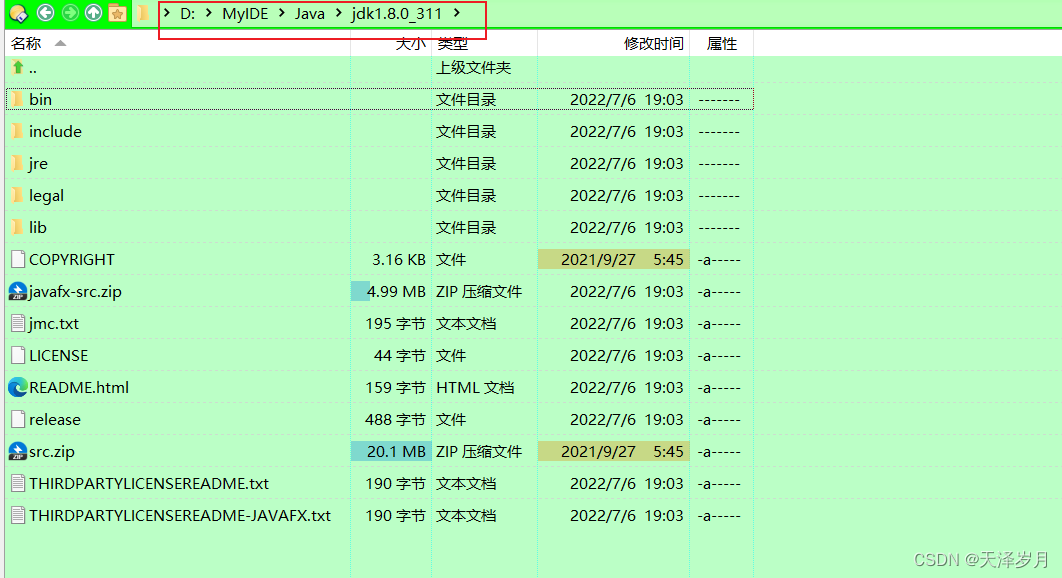
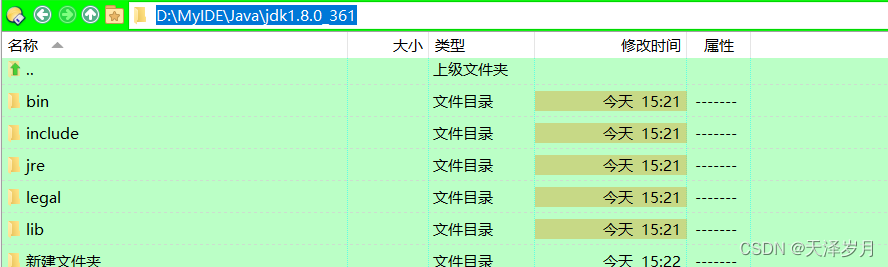
浏览目录The variable value is the directory path of your installation, you can directly use the button below
D:\MyIDE\Java\jdk1.8.0_361
- second variable name
CLASSPATH
- second variable value
.;%JAVA_HOME%/lib/dt.jar;%JAVA_HOME%/lib/tools.jar
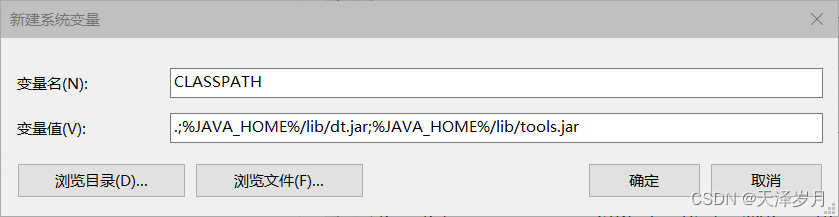
注意: Labels are all entered under the English input mode, such as: . ; % _ These are all English dots
, semicolons, percent signs, slashes, underlines... (copy and paste)
- The third variable name can be edited directly in Path
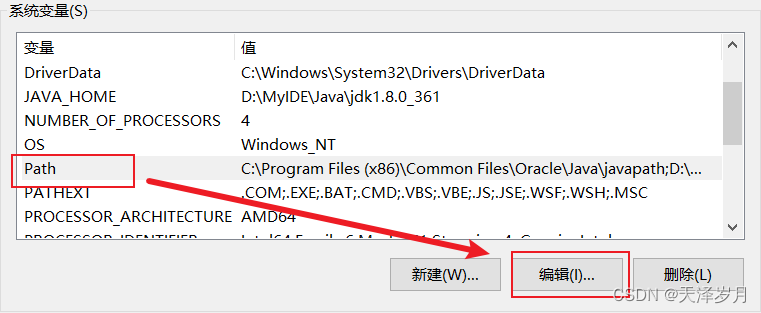
- Add 2 new variable values
%JAVA_HOME%\bin
%JAVA_HOME%\jre\bin
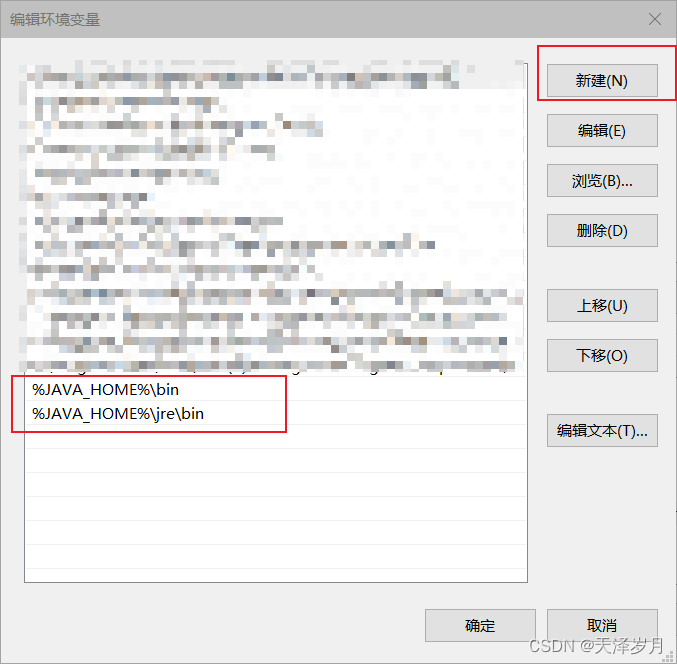
Then click "OK" all the way to exit.
Enter javac to verify

Enter Java -version to view the version
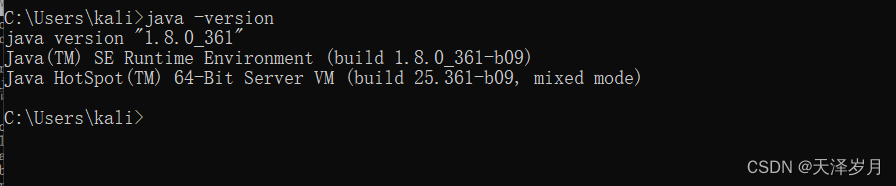
At this point, you're done!
3. Frequently Asked Questions
-
question:
javac不是内部或外部命令,也不是可运行的程序或批处理文件 -
Method: When editing the path environment variable, do not use the relative path form, use the absolute path (the prerequisite for both java -version and java information to appear)
D:\MyIDE\Java\jdk1.8.0_361\bin
D:\MyIDE\Java\jre1.8.0_361\bin