FastDFS install - detailed version
- First, the environment
- Two, FastDFS installation
- 1, the installation libfastcommon
- 2, FastDFS Installation and Configuration
- 2.1, install FastDFS
- 2.2 Configuration Service Tracker
- 2.3, configuration storage service
- 2.4, fastDFS test
- 3, install nginx
- 4, fastdfs-nginx-module module
- 5, http test
- Third, stepped pit Clips
First, the environment
CentOS 6.9
libfastcommon-1.0.38
FastDFS_V5.11.tar.gz
nginx-1.8.1.tar.gz
fastdfs-nginx-module_v1.16.tar.gz
Two, FastDFS installation
1, the installation libfastcommon
Steps:
premise :
- Because libfastcommon written in C language, so we need to install gcc compiler:yum -y install gcc-c++
- FastDFS rely libevent library, you need to install:yum -y install libevent
libfastcommon is FastDFS official offer, libfastcommon FastDFS library contains some basic needs to run. - New catalog:mkdir /fastdfs ; I was in the new installation directory FastDFS:
Remark: View the document written by someone else, they like / usr / local / New fastdfs or directory names of other software to install, see your mood, I think I can remember.
1. 下载 libfastcommon 安装包
wget https://github.com/happyfish100/libfastcommon/archive/V1.0.38.tar.gz
2. 解压
tar -zxvf V1.0.38.tar.gz
3. 进入目录
cd /fastdfs/libfastcommon-1.0.38
4. 执行编译
./make.sh
5. 安装
./make.sh install
2, FastDFS Installation and Configuration
2.1, install FastDFS
2.1.1FastDFS basic installation
1.下载FastDFS 安装包
wget https://github.com/happyfish100/fastdfs/archive/V5.11.tar.gz
2.解压
tar -zxvf V5.11.tar.gz
3.进入目录
cd /fastdfs/fastdfs-5.11
4. 执行编译
./make.sh
5. 安装
./make.sh install
Installation directory display:

the way before the next copy operation, so as not to forget.
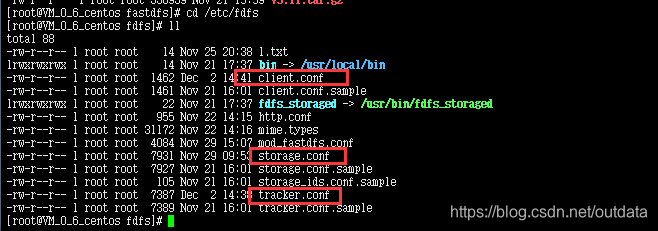
2.1.2 copy the configuration file to / etc / fdfs
cp -r /fastdfs/fastdfs-5.11/conf/http.conf /etc/fdfs/
cp -r /fastdfs/fastdfs-5.11/conf/mime.types /etc/fdfs/
Configuration Before You FastDFS services:
After installation: Before doing the following configuration requires the following steps:
. A into the / etc / fdfs / directory command: CD / etc / fdfs /
B three .sample file suffix (automatically generated FDFS template profile). by copying cp command:
cp client.conf.sample client.conf
cp storage.conf.sample storage.conf
cp tracker.conf.sample tracker.conf
Show results:
2.2 Configuration Service Tracker
2.2.1.Tracker basic configuration :
1、创建目录用来存储Tracker的数据文件和日志文件;目录建立在 /opt 下
    mkdir /opt/fastdfs_tracker
2、进入 /etc/fdfs , 在该目录下 编辑tracker.conf 配置文件;命令:vi tacker.conf
    编辑内容:
	disabled=false   #启用配置文件(默认启用)
	port=22122    #设置tracker的端口号,通常采用22122这个默认端口
	base_path=/opt/fastdfs_tracker   #设置tracker的数据文件和日志目录
	http.server_port=80   #设置http端口号,默认为8080
2.2.2 Create a soft link
for the first time to start the service, fdfs_trackerd commands in / usr / local / bin and no, but in the / usr / bin path, create a soft link, the command is as follows:
ln -s /usr/bin/fdfs_trackerd /usr/local/bin
ln -s /usr/bin/stop.sh /usr/local/bin
ln -s /usr/bin/restart.sh /usr/local/bin
2.2.3. Start Server Tracker
service fdfs_trackerd start
Results show:

. Tracker 2.2.4 File Checker to create a directory
cd /opt/fastdfs_tracker

2.3, configuration storage service
2.3.1.storage basic configuration
1、创建storage存放目录
    mkdir /opt/fastdfs_storage
    mkdir /opt/fastdfs_storage_data
2、进入 /etc/fdfs , 在该目录下 编辑storage.conf配置文件;命令:vi storage.conf
    编辑内容:
	disabled=false  #启用配置文件(默认启用)
	group_name=group1 #组名,根据实际情况修改
	port=23000 #设置storage的端口号,默认是23000,同一个组的storage端口号必须一致
	base_path=/opt/fastdfs_storage #设置storage数据文件和日志目录
	store_path_count=1 #存储路径个数,需要和store_path个数匹配
	store_path0=/opt/fastdfs_storage_data   #实际文件存储路径
	tracker_server=118.25.215.105:22122   #tracker 服务器的 IP地址和端口号,如果是单机搭建,IP不要写127.0.0.1,否则启动不成功(此处的ip是我的CentOS虚拟机ip)
	http.server_port=8888   #设置 http 端口号
2.3.2. Set the startup script references
ln -s /usr/bin/fdfs_storaged /usr/local/bin
2.3.3. Start storage service
service fdfs_storaged start
Results show:

a successful start, / opt / fastdfs_storage you can see the new generation of post-launch data and logs directory.
2.3.4 view the port situation:.-APN netstat | grep FDFS

2.3.5 to see if the storage successfully bind.
/usr/bin/fdfs_monitor /etc/fdfs/storage.conf
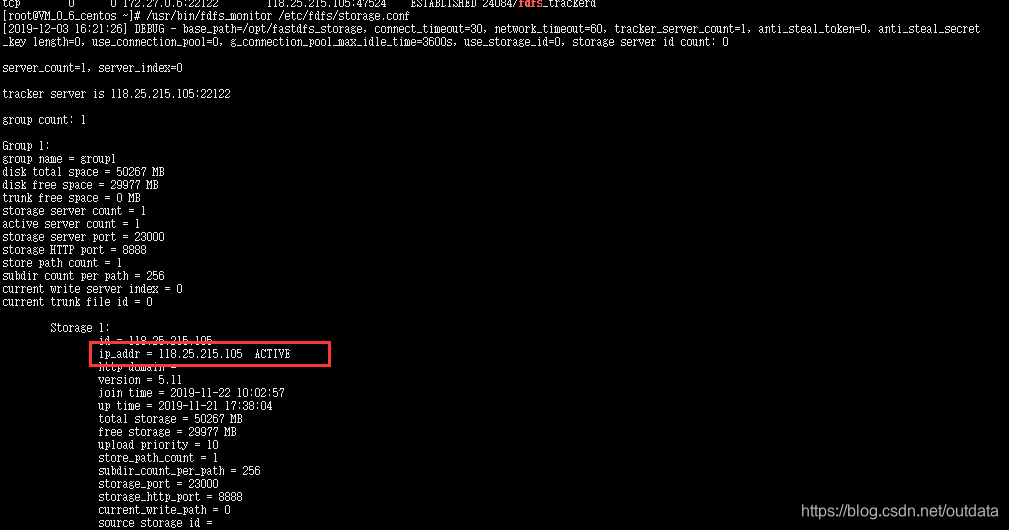
As shown in the figure: ip_addr = 118.25.215.105 ACTIVE word storage instructions to the server has successfully registered to the tracker
2.4, fastDFS test
2.4.1 modify the client configuration file client.conf
  tracker_server=118.25.215.105:22122   #tracker服务器文件路径
  base_path=/opt/fastdfs_tracker    #tracker服务器文件路径
  http.tracker_server_port=80     #与tracker.conf 配置的http端口号一致
2.4.2 Test upload files
stored pictures 1-191122143IQH.jpg in the / opt directory, method: wget command to download a picture on the Internet.
/usr/bin/fdfs_upload_file /etc/fdfs/client.conf /opt/1-191122143IQH.jpg

If the previous step there is no problem, upload pictures, the picture will return to the storage path, as shown in FIG.Basically successful installation instructions fastDFS.
But we want the browser but can not access the http protocol. the reason:FastDFS currently does not support the http protocol, so here FastDFS use modules fastdfs-nginx-module on nginx. The following installation is required.
3, install nginx
3.1.nginx installation instructions
premise: Create a file directory nginx store, my store again / the Data / nginx
mkdir / the Data / nginx Create a directory
cd / data / nginx to view this directory
ps: Most of the Internet to install nginx is stored and then / usr / local directory, if like me like to make their own arrangements to store address, the address path of commands attention to maintain the correct and consistent. I will not step on a long pit climbed
1、下载nginx安装包
  wget http://nginx.org/download/nginx-1.15.2.tar.gz
2、解压
  tar -zxvf nginx-1.15.2.tar.gz
3、进入nginx目录,查看(这是我自己的解压文件存放的目录,需要mkdir命令创建)
  cd /data/nginx/nginx-1.15.2
4、编译环境
依次执行如下四条命令即可:
    yum install gcc-c++
    yum install -y pcre pcre-devel
    yum install -y zlib zlib-devel
    yum install -y openssl openssl-devel
5、编译及安装 命令
   进入nginx目录下:
     cd /data/nginx/nginx-1.15.2   (进入nginx目录下)
   运行configure文件:
     ./configure
   安装:
     make
     make install
3.2 Starting nginx service:
Note: This corresponds install nginx own path, not just copy Internet / usr / local / nginx / sbin / nginx, it is someone else install another path
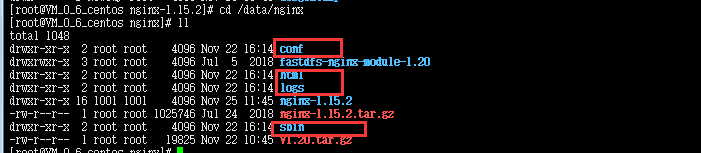
/data/nginx/nginx-1.15.2/sbin/nginx
After a few more files nginx installation is complete:
3.3 nginx.conf configuration file
Note: I own nginx.conf file is installed in /data/nginx/nginx-1.15.2/conf directory.
server {
        listen   5555;
        location ~/group1/M00 {
            root /opt/fastdfs_storage_data/data;
            ngx_fastdfs_module;
       }
 }
Warm help:
Look port: netstat -ntlp
look at the process: ps -ef | grep nginx
4, fastdfs-nginx-module module
4.1.fastdfs-nginx-module must extract
1、下载fastdfs-nginx-module
wget https://github.com/happyfish100/fastdfs-nginx-module/archive/V1.20.tar.gz
2、解压fastdfs-nginx-module:(==目录我自己选好,是/data/nginx; 如果参考的话需要自己创建==)
tar -xvf V1.20.tar.gz
4.2. Copy the configuration file to the / etc / fdfs
cp -r /data/nginx/fastdfs-nginx-module-1.20/src/mod_fastdfs.conf /etc/fdfs
4.3.nginx fastdfs-nginx-module loading module
Note: 1. If the installation directory, the next 2 to enter the directory nginx
./configure --prefix=/data/nginx/nginx-1.15.2 --add-module=/data/nginx/fastdfs-nginx-module-1.20/src
make
make install
4.4. Configuration mod_fastdfs.conf
is in the / etc / fdfs directory, mod_fastdfs.conf modify content
base_path=/opt/fastdfs_storage #保存日志目录
tracker_server=118.25.215.105:22122   #tracker服务器的IP地址以及端口号
storage_server_port=23000   #storage服务器的端口号
url_have_group_name = true  #文件 url 中是否有 group 名
store_path0=/opt/fastdfs_storage_data  # 存储路径
group_count = 1 #设置组的个数

[group1]
group_name=group1
storage_server_port=23000
store_path_count=1
store_path0=/opt/fastdfs_storage_data
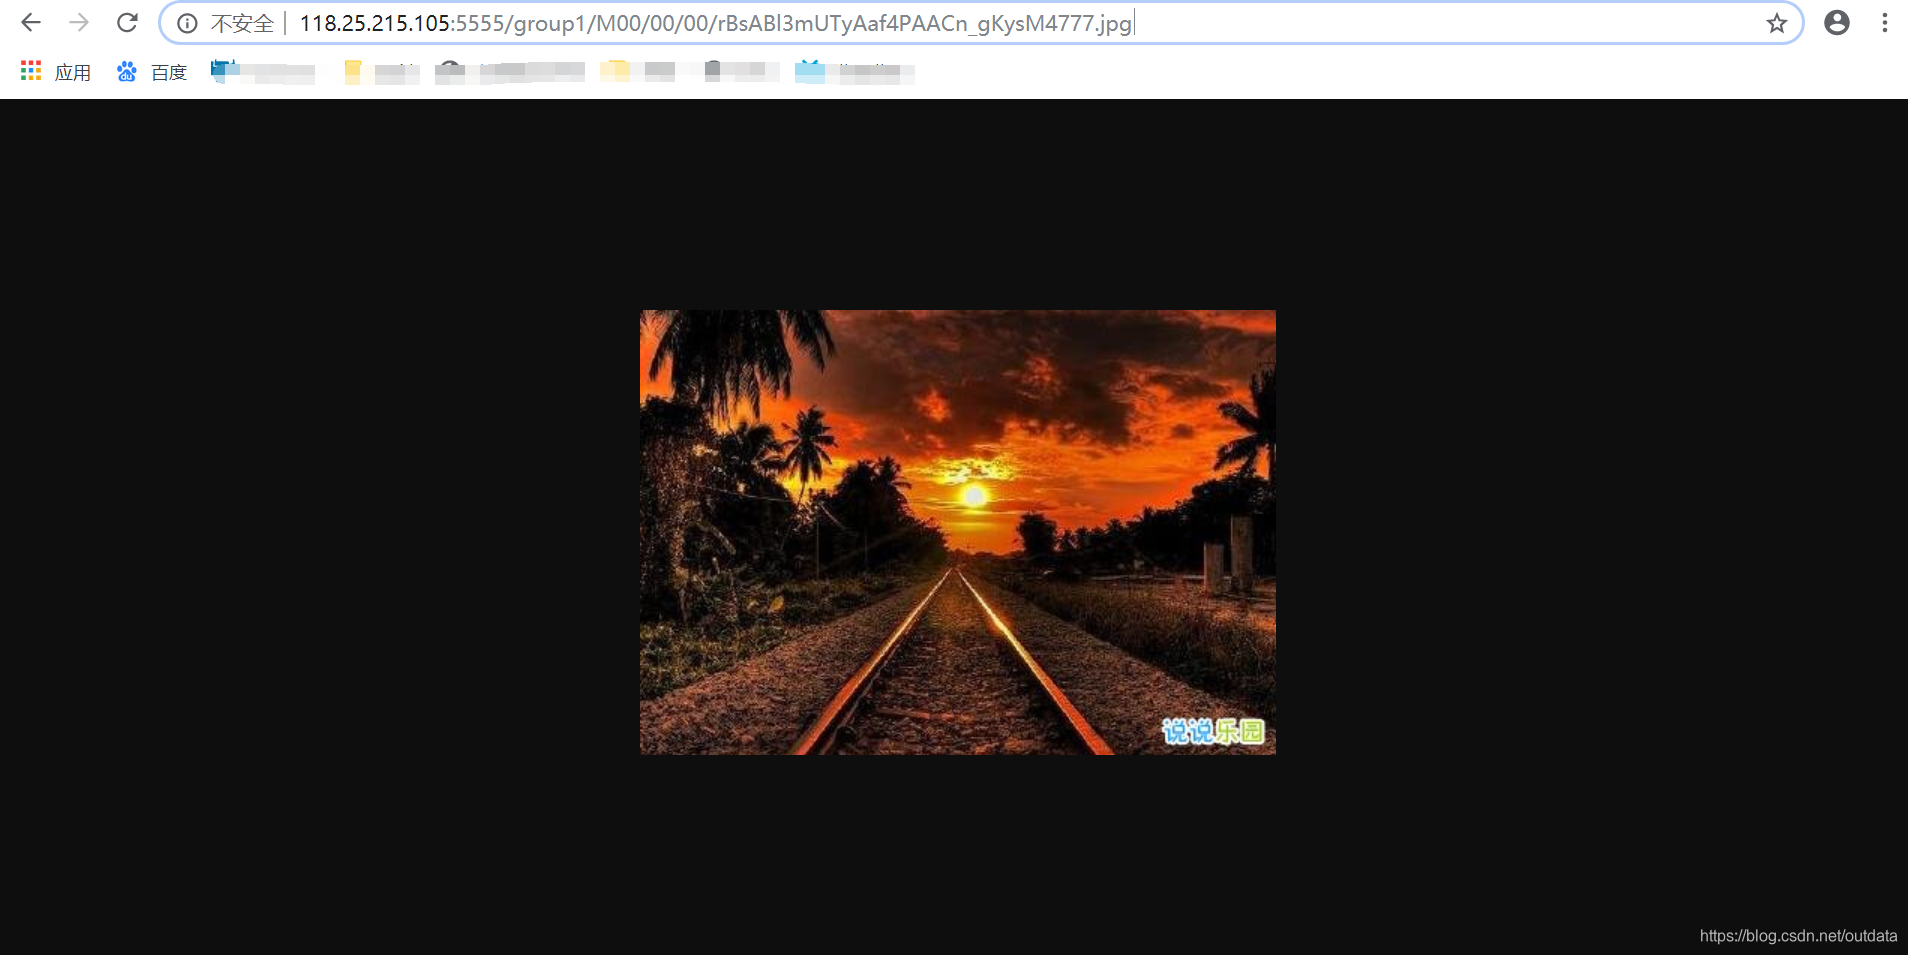
5, http test
Browser enter the address: ip + port number + file path
http://118.25.215.105:5555/group1/M00/00/00/rBsABl3mUTyAaf4PAACn_gKysM4777.jpg
Third, stepped pit Clips
1, file upload successful, the browser can not access
- Check the mod_fastdfs.conf configuration for errors
- nginx logs an error situation
- I stepped pit ps:
I chose to install nginx directory according to their own will, but the input reference information online in order not to change the directory path, but also because they do not understand, not blind change. Lead to error, continuously changing, and download both nginx, leading to configure the wrong place, heart stopper, engage in a long time, so I have prompted the installation path ways.
2, solve installation error
- Error message: ERROR - file: connection_pool.c, line : 130, connect to 118.25.215.105:22122 fail, errno: 113, error info: No route to host
the solution:
turn off the firewall:sudo systemctl stop firewalld.service
