Angular is a one-stop framework for creating mobile and web applications with the same reusable code. With Angular, you can divide your entire application into reusable components, making it easier to maintain and reuse code.
In this tutorial series, you'll learn how to get started creating web applications with Angular and MongoDB as the backend. You'll use Node.js to run the server.
Throughout this tutorial, you'll build a blogging application using Angular, Node.js, and MongoDB.
In this tutorial, you'll learn how to get started setting up your application and creating Logincomponents.
start using
Let's start the installation Angular CLI.
npm install -g @angular/cli After installing Angular CLI, create a AngularBlogAppproject folder called .
mkdir AngularBlogApp
cd AngularBlogApp
From the project folder, create a new Angular application with the following command:
ng new client After creating clientthe application, navigate to the project folder and install the required dependencies using the node package manager (npm).
cd client
npm install
Start npmthe client server with .
npm start
You should have the application running on http://localhost:4200/.
settings app
Your Angular web application will have a root component. Create a folder named within src/appthe folder . rootCreate a root.component.htmlfile named and add the following HTML code:
<h3>
    Root Component
</h3>
Add a root.component.tsfile called and add the following code:
import { Component } from '@angular/core';

@Component({
  selector: 'app-root',
  templateUrl: './root.component.html'
})
export class RootComponent {

}
Delete files app.component.html, app.component.ts, app.component.scssand app.component.spec.ts. There is only one file named src/appinside the folder .app.module.ts
app.module.tsImport in the file RootComponent.
import { RootComponent } from './root/root.component'; Wrap RootComponentin ngModulesand bootstrap it.
@NgModule({
  declarations: [
    RootComponent
  ],
  imports: [
    BrowserModule,
    FormsModule
  ],
  providers: [],
  bootstrap: [RootComponent]
})
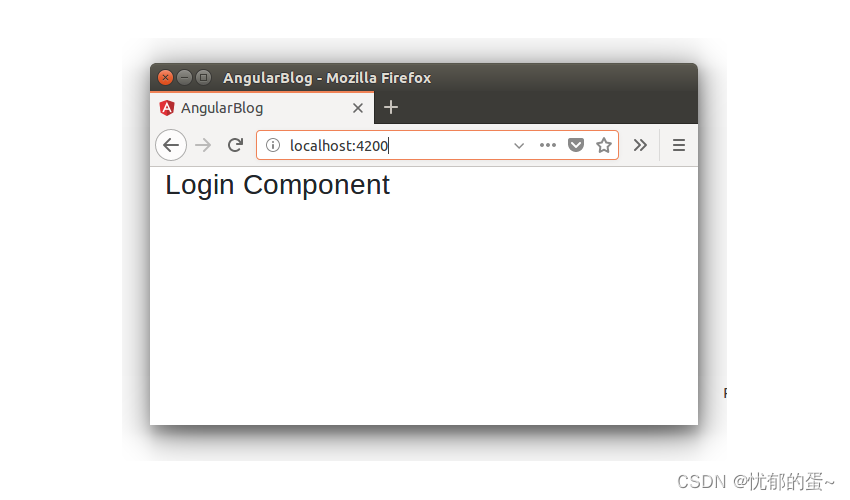
Save the changes and restart the server. When the application loads, you will be displayed RootComponent.
You'll use Angular Routerfor routing in our blog application. Therefore, import the routing-related dependencies in a new file named src/appinside the folder .app.routing.ts
import { RouterModule, Routes } from '@angular/router';
import { ModuleWithProviders } from '@angular/core/src/metadata/ng_module';
Define the routing path and components as follows:
export const AppRoutes: Routes = [
    { path: '', component: LoginComponent }
];
Export routes to create a module containing all route providers.
export const ROUTING: ModuleWithProviders = RouterModule.forRoot(AppRoutes); Here is app.routing.tswhat the file looks like:
import { RouterModule, Routes } from '@angular/router';
import { ModuleWithProviders } from '@angular/core/src/metadata/ng_module';

import { LoginComponent } from './login/login.component';

export const AppRoutes: Routes = [
    { path: '', component: LoginComponent }
];

export const ROUTING: ModuleWithProviders = RouterModule.forRoot(AppRoutes);
As you can see in the code above, you haven't created yet LoginComponent. It is added for clarity.
app.module.tsImport the class in the file ROUTING.
import { ROUTING } from './app.routing'; Include it in NgModulethe import.
imports: [
    BrowserModule,
    ROUTING,
    FormsModule
]
Place RouterOutletthe in root.component.htmlthe page. This is where the routing components are rendered.
<router-outlet></router-outlet>Create a folder named within src/appthe folder . loginIn loginthe folder, create a login.component.tsfile named and add the following code:
import { Component } from '@angular/core';

@Component({
  selector: 'app-login',
  templateUrl: './login.component.html'
})
export class LoginComponent {

  constructor() {

  }

}
Create a login.component.htmlfile named and add the following code:
<h3>
    Login Component
</h3>
Save the above changes and restart the server. According to the route defined when the application loads, will be displayed LoginComponent.