Let's start to introduce how to use the module of graph generation graph.
Basic usage
easy to use
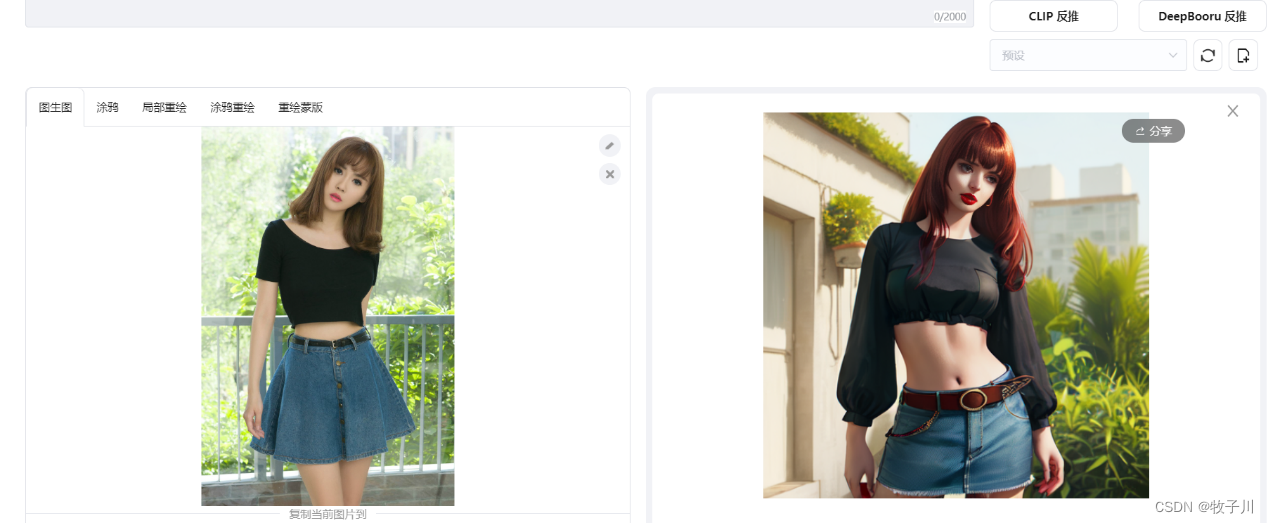
Click the "Graphic tab", and you will see the screen as shown in the following figure after clicking.

Next to the "Generate" button, there are "CLP Reverse Prompts" and "DeepBooru" Reverse Prompts, both of which are based on pictures to obtain prompts, but there are different differences.
CLP reverse derivation prompts are more suitable for realistic photo derivation prompts
DeepBooru is more suitable for the two-dimensional style photos to reverse the prompt words
Let's do actual combat
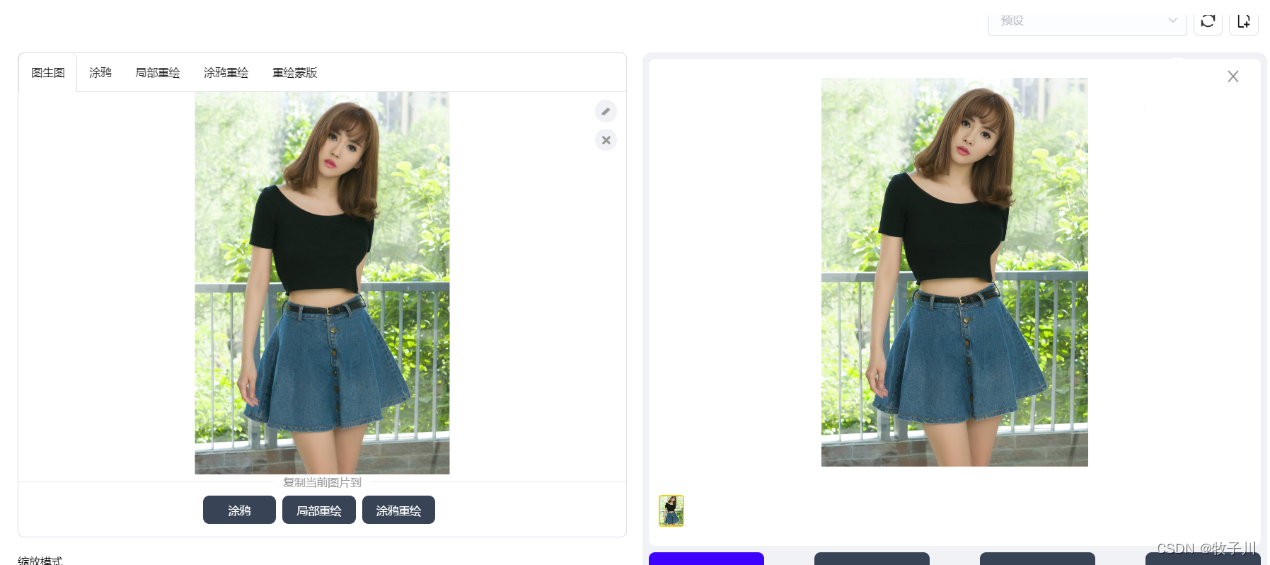
get realistic style
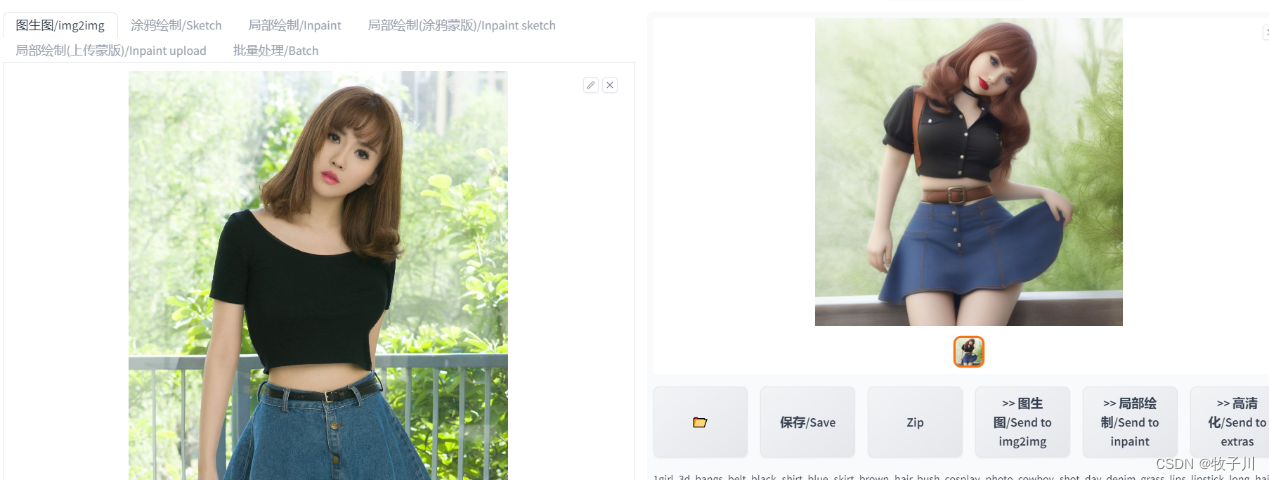
By passing in the picture, and using CLP to reverse the prompt word, and finally click to generate the picture.

It can be seen that the generated image is similar to the original image.
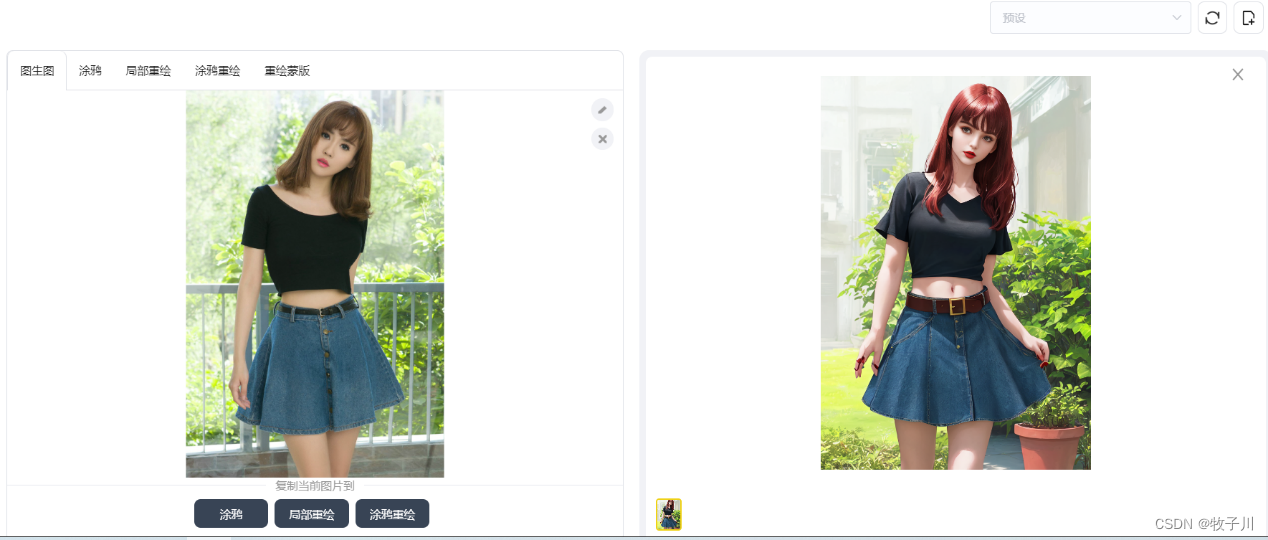
Get the two-dimensional style
Use DeepBooru to reverse the prompt words, and finally click to generate a picture.
Note: When drawing, you must select the corresponding model, otherwise it will generate an uncorresponding picture.
It can be seen that when using the reverse prompt word, no new prompt word is added again, so the generated picture is actually not very good. In practice, new prompts and negative prompts should be added.
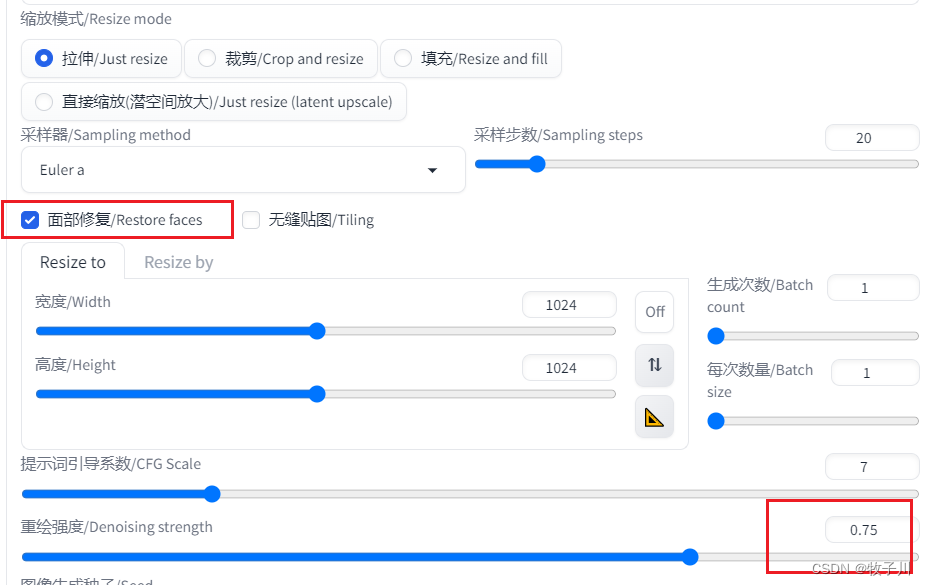
Redraw range - Denoising
The default value of this parameter is 0.75, which indicates how similar the generated picture is to the original picture. Value range: [0,1]
The larger the value, the less similar the generated image is to the original image.
Let's take a look at what the gap in the picture looks like when setting different values.
First, we first set it to 0
You can see that the generated image is exactly the same as the original image.
set to 0.25

It can be seen that the generated picture is not much different from the original picture, but there are changes in the face.
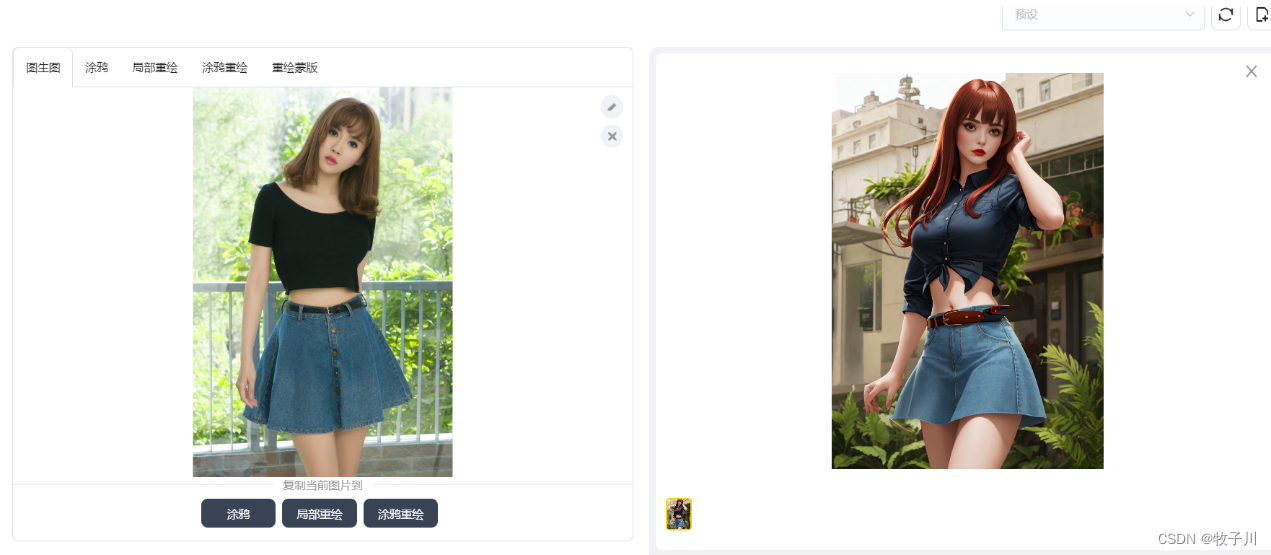
set to 0.75
The difference is obvious.
set to 1
As can be seen, the difference becomes larger.
In general, the value set by Denosing is generally around 0.25 to 0.75. The smaller the value of Denoising is set, the less room for the model to play freely.
Advanced usage
OpenPose Editor
OpenPose Editor is a plug-in for stable diffusion webui to edit character poses.
By default, our stable diffusion will not have this tab, but we can install it. You can refer to the following steps to install

Then search for OpenPose on the current interface , and click Install on the right to wait for the installation.
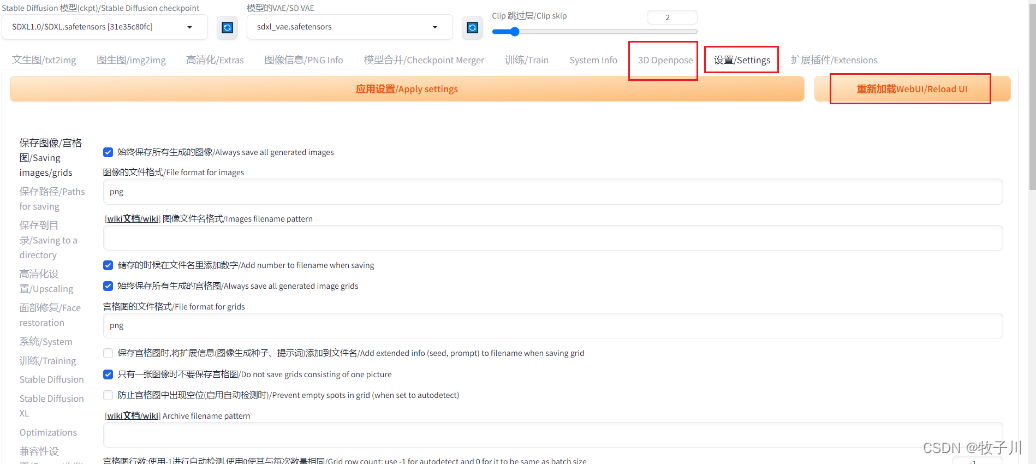
After the installation is complete, go to "Settings/settings" and click [Reload] to enable it
After it takes effect, there is an additional item "3D OpenPose" on our menu. We can modify the pose by ourselves. Of course, we can also upload a photo to let him automatically detect the pose.

After completing the posture setting, you can click "Vincent/Send to txt2img" or "Image/Send to img2img", so that the image will appear on our corresponding page, or you can click to download.

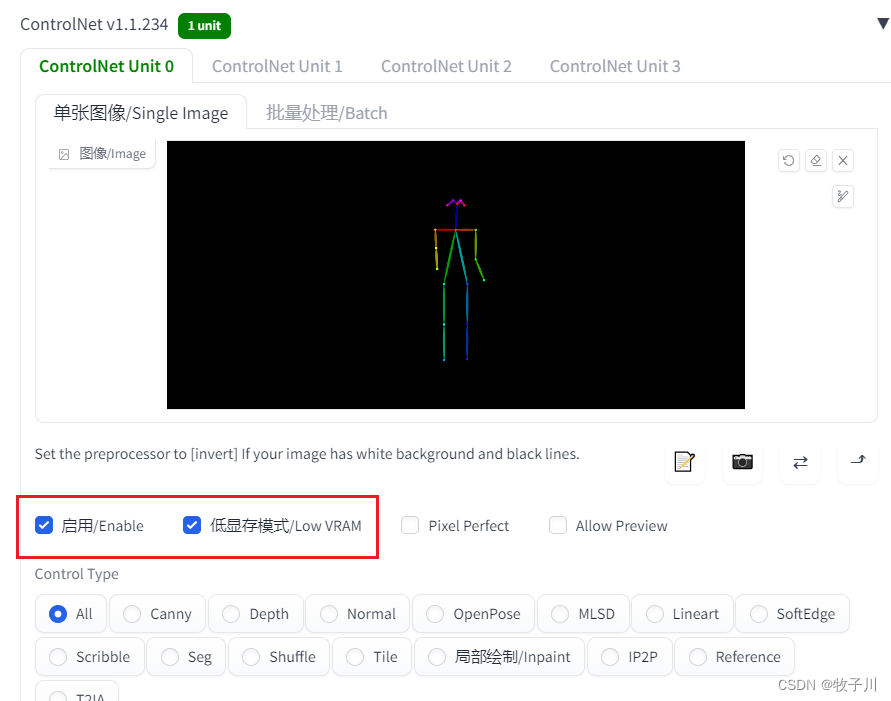
Enable : Whether to enable the ControlNet plug-in, if you do not click it, the plug-in will not be enabled
Low VRAM Mode/Low VRAM : Select it if the graphics card is below 4G.
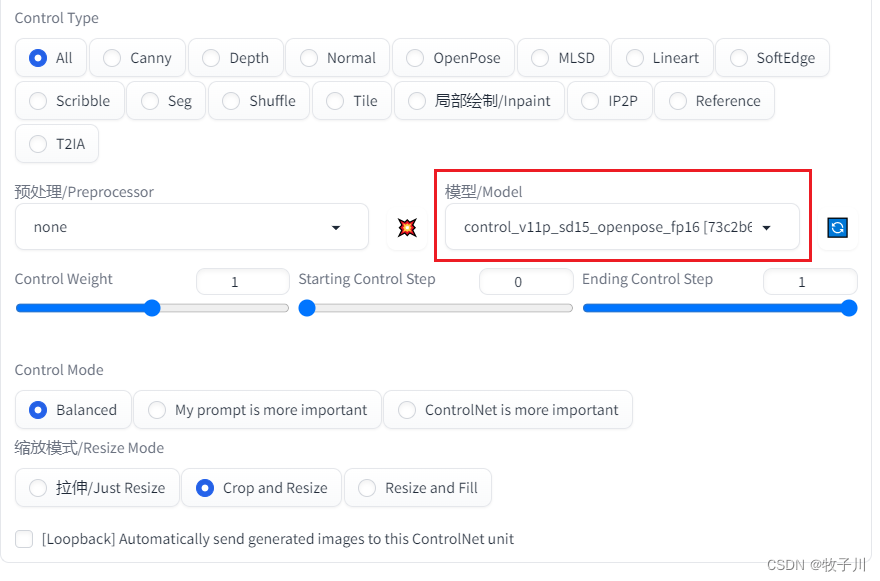
Preprocessor : When we use ConltrolNet, we will upload a template image, and this preprocessor is used to process this image. The image processed by OpenPose does not require a preprocessor, so choose none.
Model/Model : The model selected here generally corresponds to the preprocessed model.
Starting control SteplEnding Control Step : From what step the ControlNet model starts to guide the graph generation and when to exit.
It can be seen that the generated picture is different from the original picture in action.
epilogue
So, today we introduce here. Interested friends can follow us, we will continue to update this series of tutorials.
If you think it is good and helpful to you, you can follow me, and more content will be released in the future. You can also join our planet, pay attention to the official account, reply to "planet", get the invitation code, and you can join. If you don't know what our planet is, you can read this article, which has a detailed introduction.
Empowering AI tools to achieve efficient cash realization and early leave from work![]()
I am discussing interesting topics with my friends at "AI High Efficiency [Work, Study]", why don't you come together?
https://t.zsxq.com/11KVfN0RChttps://t.zsxq.com/11KVfN0RCThe public account @AI宅player No. 2 player is an obsessed practitioner who relies on AI to help study and work. There are 20,000+ fans on the whole network, and the AI that Xiaobai can also play is continuously updated, allowing you to leave work 2 hours earlier.
What's on the planet:
e-competition column, deep learning column, AI-assisted learning column, AI tool monetization column, etc.Suitable for the crowd:
Students in school: I hope my experience can help you solve the problems you encounter.
Developers: Share your own experience, and you can broaden your path and learn more.
Hope to make money with side jobs: We use AI The way of cashing out can help you make money with sideline business
In fact, rigid standards cannot limit us with infinite possibilities, so ah! Come on guys!