In this article, we will use a practical Flutter application to comprehensively apply the knowledge we have learned recently, including saving to the database, making HTTP requests, etc. We will develop a simple weather application, which can obtain the weather information of the city according to the city name entered by the user, and save the list of cities queried by the user to the local database.
Step 1: Requirements Analysis and Design
1. Identify project goals
Our goal is to develop a weather application, the user can enter the city name in the application, and then get the weather information of the city.
2. Design interface
Our app consists of two pages: the main page for entering a city name and displaying weather information, and the query history page for displaying a list of cities the user queried.
Step 2: Development
1. Create a Flutter project
First, create a new Flutter project on the command line:
flutter create my_first_flutter_app
Then, enter the project directory:
cd my_first_flutter_app
2. Coding implementation
a. Create pages and routes
Create two files in the lib folder: home_page.dart, history_page.dart.
home_page.dart:
import 'package:flutter/material.dart';
import 'package:http/http.dart' as http;
import 'dart:convert';

class HomePage extends StatefulWidget {
  @override
  _HomePageState createState() => _HomePageState();
}

class _HomePageState extends State<HomePage> {
  String city = '';
  String weather = '';

  void getWeather() async {
    final response = await http.get(Uri.parse(
        'https://api.openweathermap.org/data/2.5/weather?q=$city&appid=YOUY_API_KEY'));

    if (response.statusCode == 200) {
      final data = jsonDecode(response.body);
      setState(() {
        weather =
            'Temperature: ${data['main']['temp']}°C, Weather: ${data['weather'][0]['main']}';
      });
    } else {
      setState(() {
        weather = 'Failed to get weather data';
      });
    }
  }

  @override
  Widget build(BuildContext context) {
    return Scaffold(
      appBar: AppBar(
        title: Text('Weather App'),
      ),
      body: Padding(
        padding: EdgeInsets.all(16),
        child: Column(
          crossAxisAlignment: CrossAxisAlignment.stretch,
          children: [
            TextField(
              onChanged: (value) {
                setState(() {
                  city = value;
                });
              },
              decoration: InputDecoration(labelText: 'City Name'),
            ),
            ElevatedButton(
              onPressed: () {
                getWeather();
              },
              child: Text('Get Weather'),
            ),
            SizedBox(height: 20),
            Text(
              weather,
              style: TextStyle(fontSize: 18),
            ),
          ],
        ),
      ),
    );
  }
}
history_page.dart:
import 'package:flutter/material.dart';
import 'package:my_first_flutter_app/database_helper.dart';
import 'package:my_first_flutter_app/city.dart';

class HistoryPage extends StatefulWidget {
  @override
  _HistoryPageState createState() => _HistoryPageState();
}

class _HistoryPageState extends State<HistoryPage> {
  List<City> cities = [];

  @override
  void initState() {
    super.initState();
    fetchCities();
  }

  void fetchCities() async {
    final dbHelper = DatabaseHelper.instance;
    final allRows = await dbHelper.queryAllRows();
    setState(() {
      cities = allRows.map((row) => City.fromMap(row)).toList();
    });
  }

  @override
  Widget build(BuildContext context) {
    return Scaffold(
      appBar: AppBar(
        title: Text('Search History'),
      ),
      body: ListView.builder(
        itemCount: cities.length,
        itemBuilder: (context, index) {
          final city = cities[index];
          return ListTile(
            title: Text(city.name),
            subtitle: Text('Weather: ${city.weather}'),
          );
        },
      ),
    );
  }
}
In the main.dart file, set up the route:
import 'package:flutter/material.dart';
import 'package:my_first_flutter_app/home_page.dart';
import 'package:my_first_flutter_app/history_page.dart';

void main() {
  runApp(MyApp());
}

class MyApp extends StatelessWidget {
  @override
  Widget build(BuildContext context) {
    return MaterialApp(
      initialRoute: '/',
      routes: {
        '/': (context) => HomePage(),
        '/history': (context) => HistoryPage(),
      },
    );
  }
}
b. Realize the database function
We will use SQLite to store the list of cities that the user queries. Create new files city.dart, database_helper.dart in the lib folder for creating and managing databases.
city.dart
class City {
  int id;
  String name;
  String weather;

  City({this.id = 0, required this.name, required this.weather});

  Map<String, dynamic> toMap() {
    return {'id': id, 'name': name, 'weather': weather};
  }

  City.fromMap(Map<String, dynamic> map)
      : id = map['id'],
        name = map['name'],
        weather = map['weather'];
}
database_helper.dart
import 'package:sqflite/sqflite.dart';
import 'package:path/path.dart';
import 'package:my_first_flutter_app/city.dart';

class DatabaseHelper {
  static final _databaseName = 'weather_database.db';
  static final _databaseVersion = 1;

  static final table = 'cities';

  static final columnId = '_id';
  static final columnName = 'name';
  static final columnWeather = 'weather';

  DatabaseHelper._privateConstructor();
  static final DatabaseHelper instance = DatabaseHelper._privateConstructor();

  static Database? _database;
  Future<Database?> get database async {
    if (_database != null) return _database;
    _database = await _initDatabase();
    return _database;
  }

  _initDatabase() async {
    String path = join(await getDatabasesPath(), _databaseName);
    return await openDatabase(path,
        version: _databaseVersion, onCreate: _onCreate);
  }

  Future<void> _onCreate(Database db, int version) async {
    await db.execute('''
          CREATE TABLE $table (
            $columnId INTEGER PRIMARY KEY,
            $columnName TEXT NOT NULL,
            $columnWeather TEXT NOT NULL
          )
          ''');
  }

  Future<int> insert(City city) async {
    Database? db = await instance.database;
    return await db?.insert(table, city.toMap()) ?? 0;
  }

  Future<List<Map<String, dynamic>>> queryAllRows() async {
    Database? db = await instance.database;
    return await db?.query(table) ?? [];
  }
}
Step Three: Test
1. Run the application
Run the app on an emulator or on a real device with the following command:
flutter run
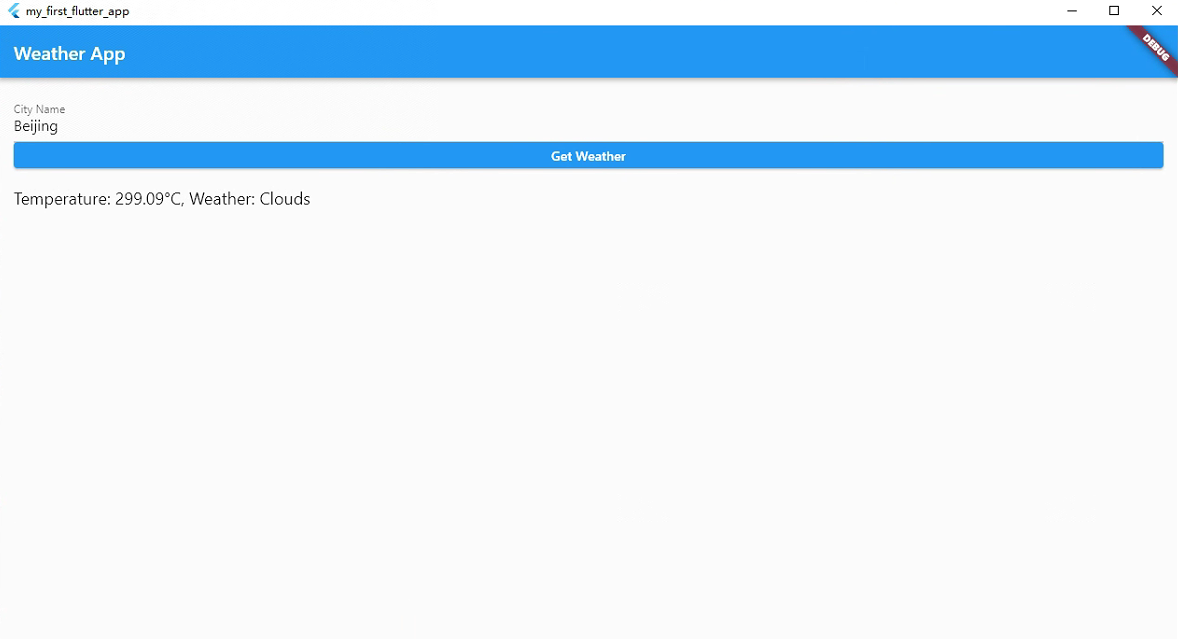
Check that the app is working as expected and make sure you can query the weather for your city and view the query history.
2. Conduct unit testing and integration testing
In addition to manual testing, we should also conduct unit testing and integration testing to ensure the stability and correctness of the application. In Flutter, we can use the flutter_test package for testing.
Step Four: Publish
When we have finished developing and testing, we can consider releasing the application. Before publishing, we need to complete the following steps:
1. Generate APK or IPA file
Generate an APK file (Android) or an IPA file (iOS) with the following command:
flutter build apk
flutter build ios
2. Apply for a developer account
If you want to publish to an application store (such as Google Play or App Store), you need to apply for a developer account and follow the corresponding publishing guidelines.
3. Submit your application
Once you have prepared the APK or IPA file and applied for a developer account, you can submit the app to the appropriate app store for review and release.
Summarize
In this article, we've combined what we've learned recently with a simple weather application example, including saving to a database, making HTTP requests, and more. Through this practical project, you can have a deeper understanding of the development process of Flutter applications, and master common technologies and best practices in actual projects.
I hope this practical project will help you. If you have any questions or need further guidance, please feel free to ask me. Good luck with your Flutter development journey!