Notice! ! ! The project uses the fishRedux framework, except that the state management is different from flutter native, the steps to use the package are the same
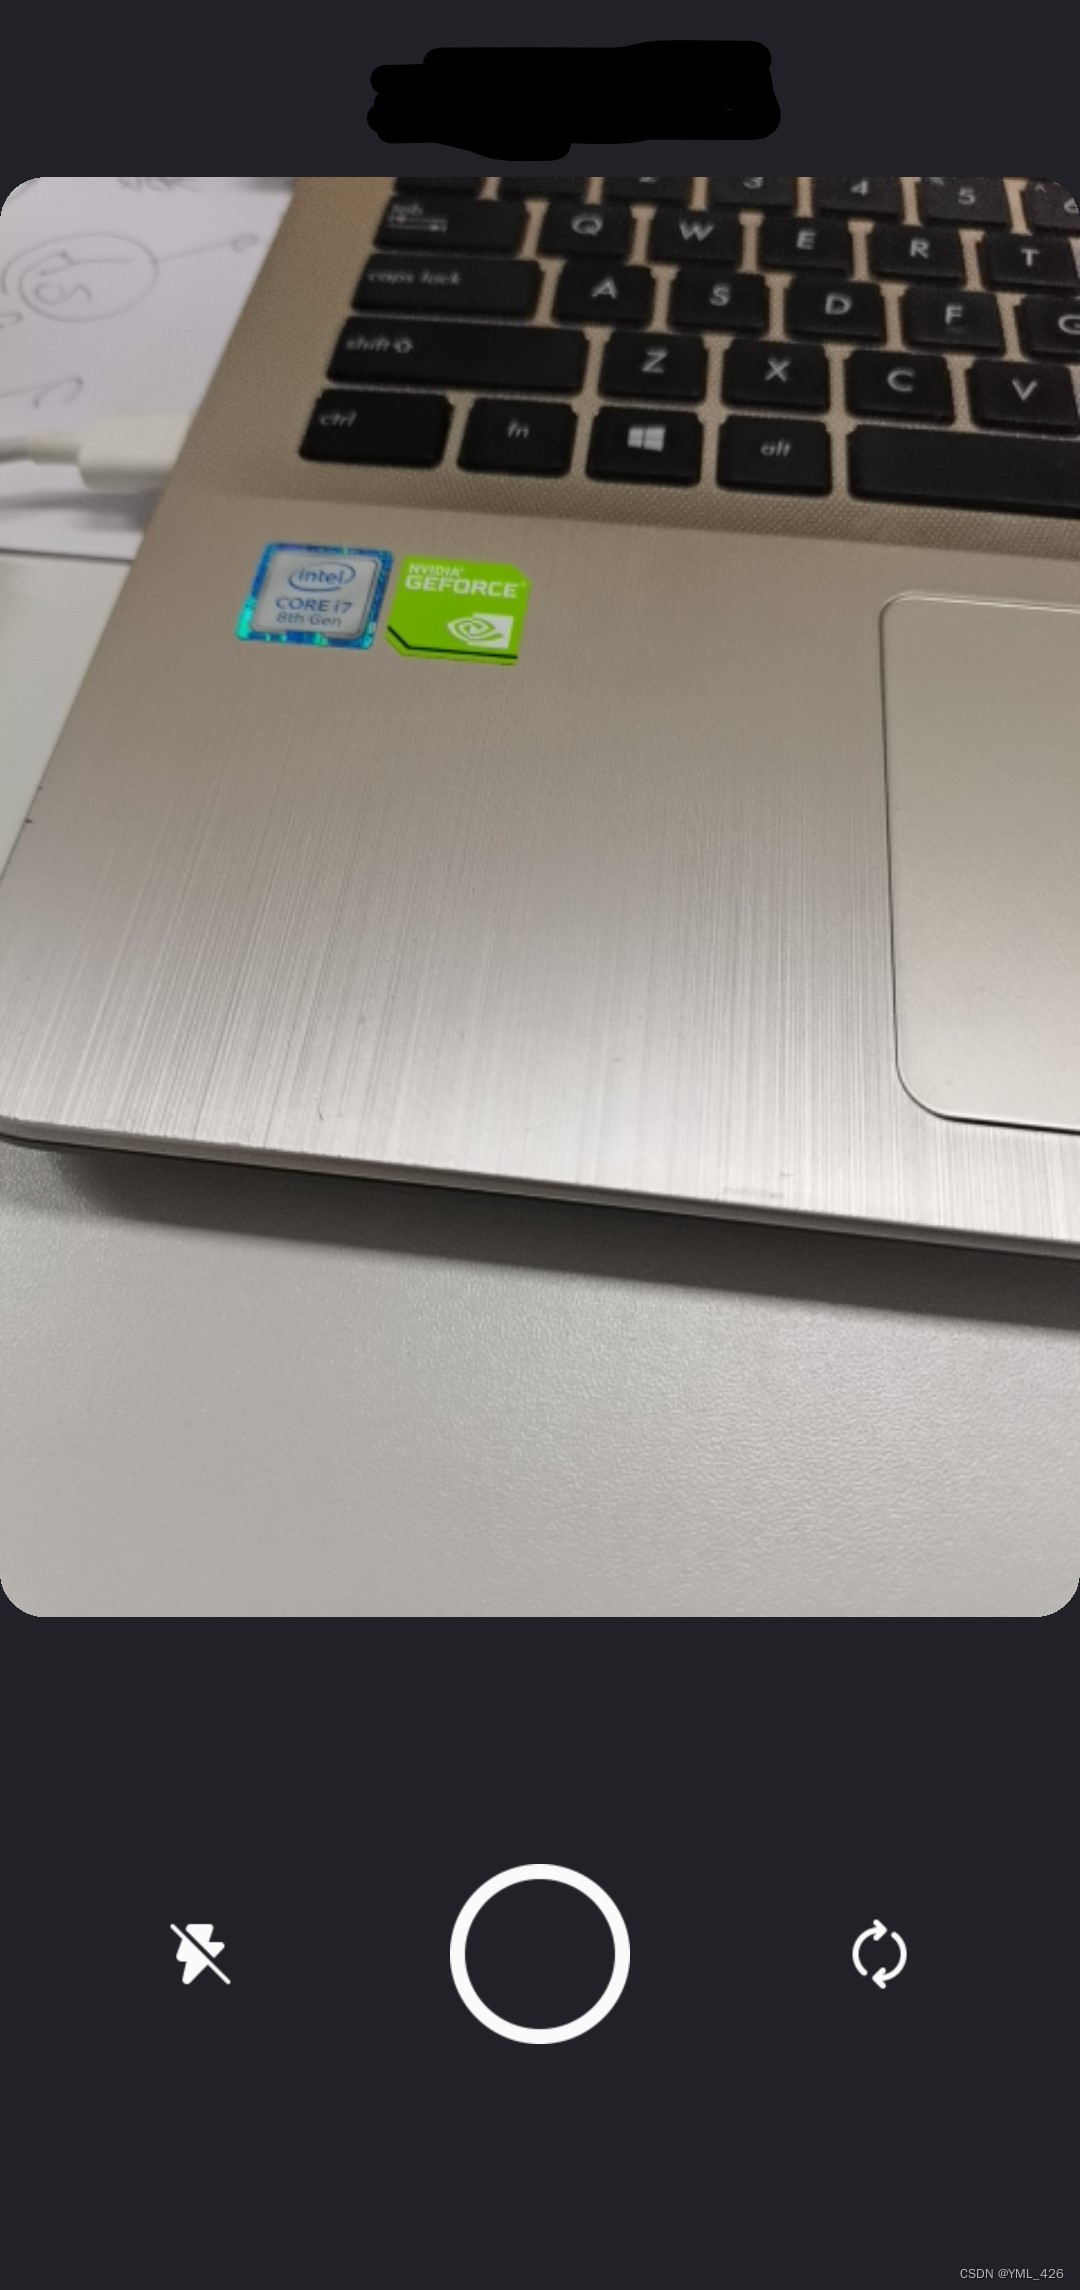
The requirement in the project is that both the front and rear cameras can shoot. When one of the front and rear cameras is successfully used to shoot, it will automatically switch to the other camera to shoot. At the same time, there are three function keys: flash, camera button, and switch camera.
Realize the camera function
The implementation steps are as follows:
1. Introduce the camera package, pay attention to the version of the package, check the update log in the changelog, and use the package version that meets the minimum version of flutter
camera: ^0.10.0+22. Apply for camera permission
Here you need to use the permission_handler permission management package to determine whether you have camera permission. If you have camera permission, you can directly initialize the camera. If not, you need to apply for camera permission first. Only the code is posted here, and the relevant configuration of permission_handler is not elaborated.
//effect.dart文件
bool hasCameraPermission = await requestCameraPermission(); //获取当前是否有相机权限

//申请相机权限
Future<bool> requestCameraPermission() async {
  //获取当前的权限
  var status = await Permission.camera.status;
  if (status == PermissionStatus.granted) {
    print('已授权');
    //已经授权
    return true;
  } else {
    //未授权则发起一次申请
    status = await Permission.camera.request();
    print('未授权');
    if (status == PermissionStatus.granted) {
      return true;
    } else {
      return false;
    }
  }
}
3. Define some variables that will be used
//state.dart文件
import 'package:camera/camera.dart';

List<CameraDescription> cameras; //代表所有的相机,例如前置、后置,因此是一个集合
CameraController controller; //相机的实例化对象
XFile afterImageFile; //后置拍照文件
XFile frontImageFile; //前置拍照文件
4. Camera initialization
The cameras array is a list of all cameras, cameras[0] indicates the rear camera, and cameras[1] indicates the front camera.
//effect.dart文件
await availableCameras().then((value) async { //获取设备相机列表
    ctx.dispatch(PhotographPublishActionCreator.getCamera(value)); //这个方法相当于原生的setState()
    if(ctx.state.cameras != null){ //判断是否有可用摄像头
      ctx.state.controller = await CameraController(ctx.state.cameras[0], ResolutionPreset.medium); //实例化相机对象--后置
      ctx.state.controller.initialize().then((_) async { //相机初始化
        await ctx.dispatch(PhotographPublishActionCreator.getCameraController(ctx.state.controller));
        if (!ctx.state.controller.value.isInitialized) { //判断是否初始化成功
          return;
        }
      });
    }
});
//action.dart文件
import 'package:camera/camera.dart';
//获取设备相机列表
static Action getCamera(List<CameraDescription> camera) {
return Action(PhotographPublishAction.getCamera,payload: camera);
}
//获取相机实例化对象
static Action getCameraController(CameraController controller) {
return Action(PhotographPublishAction.getCameraController,payload: controller);
}//reducer.dart文件
//获取设备相机列表
PhotographPublishState _getCamera(PhotographPublishState state, Action action) {
final PhotographPublishState newState = state.clone();
newState.cameras = action.payload;
return newState;
}
//获取相机实例化对象
PhotographPublishState _getCameraController(PhotographPublishState state, Action action) {
final PhotographPublishState newState = state.clone();
newState.controller = action.payload;
return newState;
}5. Shot preview
After the camera is initialized successfully, you can preview the lens in CameraPreview()
//view.dart
Widget _cameraView(final size, final deviceRatio){
  if (!_state.controller?.value?.isInitialized ?? false) {
    return Container();
  }
  return Stack(
    children: [
      CameraPreview(_state.controller),
    ],
  );
}
6. Click to take photo
//effect.dart文件
//拍照按钮的点击方法
void _takePicture(Action action, Context<PhotographPublishState> ctx) async {
  takePicture(ctx).then((XFile afterFile) async {
    if(ctx.state.controller.value.isInitialized){
      ctx.dispatch(PhotographPublishActionCreator.getAfterImageFile(afterFile))
      if(afterFile != null){
        print('第一张图片保存在------${afterFile.path}---------');
      }
    }
  });
}

//拍照
Future<XFile> takePicture(Context<PhotographPublishState> ctx) async {
  if (!ctx.state.controller.value.isInitialized) { //相机初始化判断
    print('没有可用相机');
    return null;
  }
  if (ctx.state.controller.value.isTakingPicture) {
    return null;
  }
  try {
    final XFile afterFile = await ctx.state.controller.takePicture(); //后置拍照
    return afterFile;
  } on CameraException catch (e) {
    print("出现异常$e");
    return null;
  }
}
//action.dart文件
//获取后置拍摄的文件
static Action getAfterImageFile(XFile file) {
return Action(PhotographPublishAction.getAfterImageFile,payload: file);
}//reducer.dart文件
//获取后置拍摄的文件
PhotographPublishState _getAfterImageFile(PhotographPublishState state, Action action) {
final PhotographPublishState newState = state.clone();
newState.afterImageFile = action.payload;
return newState;
}After performing the above operations, afterImageFile is the image file after the shooting is successful
7. Display the pictures taken
//view.dart文件
Widget _showContent(){
  return Container(
    child: _state.afterImageFile == null
        ? Container()
        : Container(
                width: MediaQuery.of(_context).size.width,
                child: Image.file(
                  File(_state.afterImageFile.path),
                  fit: BoxFit.cover,
                ),
          ),
  );
}
The above has achieved the most basic shooting function.
flash function
In fact, only one line of code is needed to realize the flash function: ctx.state.controller.setFlashMode(FlashMode.torch). There are many parameters of setFlashMode, different parameters represent different states of the flash, off (closed), auto (determined according to the environment), always (turn on the flash when taking pictures), torch (constant), you can choose according to your needs
Use a variable to manage the on/off status of the flash. Here only the part about the flash in the takePicture() method is shown, and the switch that manages the flash is not shown.
//拍照
Future<XFile> takePicture(Context<PhotographPublishState> ctx) async {
  if (!ctx.state.controller.value.isInitialized) { //相机初始化判断
    print('没有可用相机');
    return null;
  }
  if (ctx.state.controller.value.isTakingPicture) {
    return null;
  }
  ctx.state.controller.setFlashMode(FlashMode.torch)
  try {
    final XFile afterFile = await ctx.state.controller.takePicture(); //后置拍照
    return afterFile;
  } on CameraException catch (e) {
    print("出现异常$e");
    return null;
  }
}
switch camera
As mentioned earlier, cameras[0] represents the rear camera, and cameras[1] represents the front camera, so write two methods initAfterCamera() to initialize the rear and initFrontCamera() to initialize the front
//effect.dart文件
//初始化后置
void initAfterCamera(Context<PhotographPublishState> ctx) async {
  await availableCameras().then((value) async { //获取设备相机列表
    ctx.dispatch(PhotographPublishActionCreator.getCamera(value));
    if(ctx.state.cameras != null){ //判断是否有可用摄像头
      ctx.state.controller = await CameraController(ctx.state.cameras[0], ResolutionPreset.medium); //实例化相机对象--后置
      ctx.state.controller.initialize().then((_) async { //相机初始化
        await ctx.dispatch(PhotographPublishActionCreator.getCameraController(ctx.state.controller));
        if (!ctx.state.controller.value.isInitialized) { //判断是否初始化成功
          return;
        }
      });
    }
});
}

//初始化前置
void initFrontCamera(Context<PhotographPublishState> ctx) async {
  await availableCameras().then((value) async { //获取设备相机列表
    ctx.dispatch(PhotographPublishActionCreator.getCamera(value));
    if(ctx.state.cameras != null){ //判断是否有可用摄像头
      ctx.state.controller = await CameraController(ctx.state.cameras[1], ResolutionPreset.medium); //实例化相机对象--前置
      ctx.state.controller.initialize().then((_) async { //相机初始化
        await ctx.dispatch(PhotographPublishActionCreator.getCameraController(ctx.state.controller));
        if (!ctx.state.controller.value.isInitialized) {
          return;
        }
      });
    }
  });
}
Use a bool variable afterCamera to manage whether the initialization is front or rear. If it is true, it will display the rear camera, and if it is false, it will display the front camera. After clicking, you need to change the value of afterCamera. The method of changing the value is not shown here.
//effect.dart
//切换镜头前后置的点击方法
void _changeCameraInit(Action action, Context<PhotographPublishState> ctx) async {
  ctx.state.afterCamera ? initAfterCamera(ctx) : initFrontCamera(ctx);
}
problems encountered
1. Did not pay attention to the minimum version of sdk, the project created by flutter defaults to 16, and needs to be changed to 21
2. The version number of the online demo that was directly used resulted in constant error reporting. Reason: The flutter version does not match. Actually, my flutter version is 2.10, which needs to match the camera version. Check the changelog and finally use 0.10.0+2