Intranet penetration (Port Forwarding) is to map the IP address on the public network to a certain port of a computer in the internal network, so that the external network can access the application program running in the computer. Intranet penetration technology can be realized through some open source tools, among which frp is more commonly used. In this article, we will introduce the principle and process of frp.
1. The principle of frp
frp is a high-performance internal network penetration tool, which adopts the client-server mode, and forwards the request of the external network to the designated computer in the internal network through the transfer server. Specifically, the principle of frp is as follows:
1. The client sends a request to the frp server. When the client starts, it sends a request to the frp server, asking the server to assign a unique client ID.
2. The server returns the assigned client ID. The frp server will assign a unique client ID and return it to the client.
3. The client connects to the server. The client connects to the frp server with an assigned client id so that the server can know which computer and port the client wants to connect to.
4. The server forwards the request to the client. When the external network sends a request, the frp server forwards the request to the client, and the client forwards the request to the specified computer and port.
Second, the process of frp
Now let's take a look at how to set up intranet penetration in frp.
1. Install frp client and server. First, you need to install frp client and frp server on a computer in your internal network. You can download the latest version of frp from frp's official website (https://github.com/fatedier/frp).
2. Configure the frp server. Run the frp server on a computer in the internal network, and configure the frp server to accept requests from clients. Configure the server IP address and port, as well as the TLS certificate and key in the frps.ini file. You can also specify ports in the configuration file to be open so that external networks can access them.
3. Configure the frp client. Install and run the frp client on the client computer, and configure the frp client to connect to the frp server. Configure the client ID, server IP address and port, and the port to be forwarded in the frpc.ini file. The client ID must match the ID assigned by the frp server so that the server can forward the request to the correct client.
4. Test intranet penetration. Now you can try to access the port configured on the frp server from a computer in the external network. If all is well, you should be able to see the application running on your internal network.
In short, frp is a very practical intranet penetration tool that allows you to easily expose applications in the internal network to external network access without exposing computers in the internal network. Although some technical knowledge may be required during the configuration process, the use of frp is very flexible and convenient, and can meet various intranet penetration needs.
In addition to the above basic processes, frp also supports more advanced functions, such as:
1. Port forwarding: You can use frp to map multiple ports in the internal network to one port in the external network, thus simplifying the configuration process.
2. Domain name resolution: You can configure frp to use your own domain name instead of IP address, so as to access applications in the internal network more conveniently.
3. Reverse proxy: You can use frp to set up a reverse proxy so that applications running in the internal network can access resources in the external network.
4. Load balancing: If you have multiple frp clients and multiple applications, you can use frp's load balancing function to distribute traffic to ensure performance and reliability.
The following is the detailed process of frp application
1. Server configuration
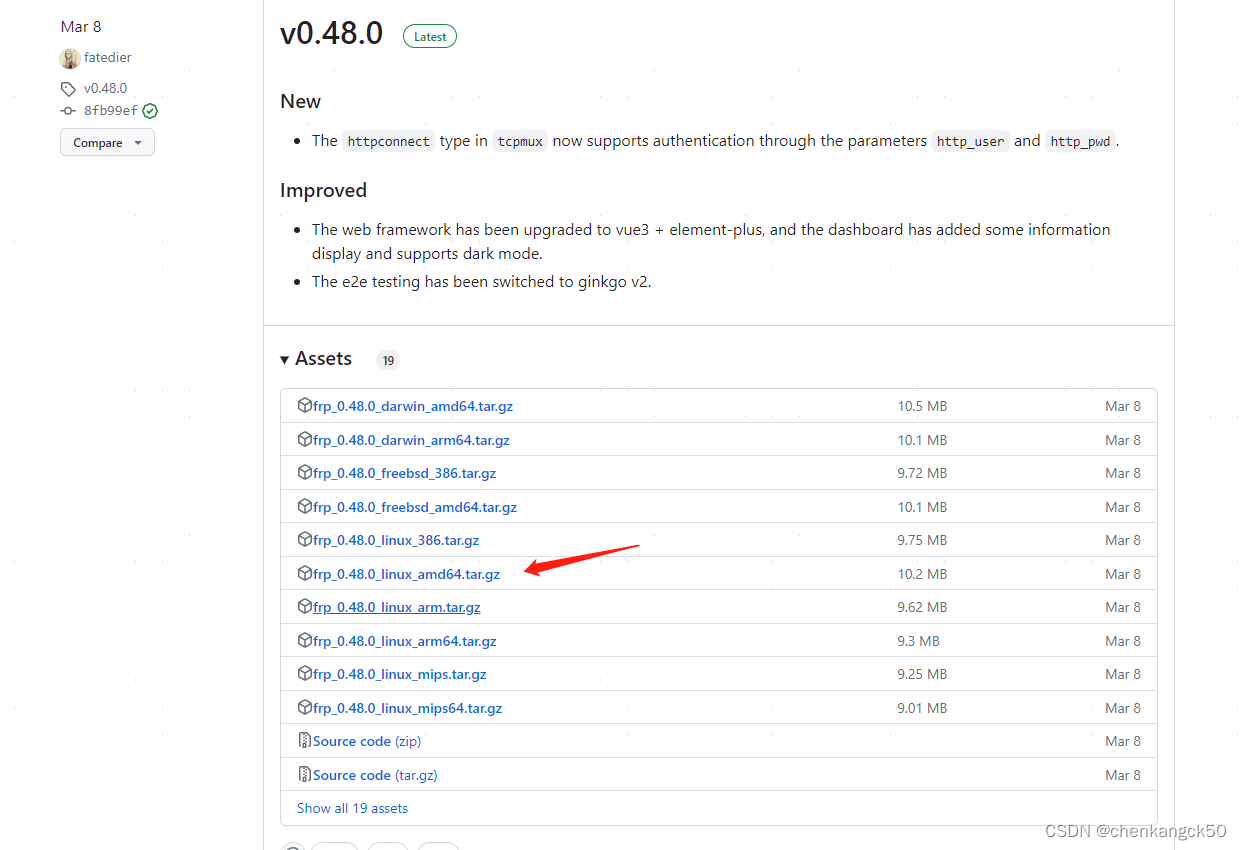
github address:
https://github.com/fatedier/frp/releases
Open the public network server, personal software services are customarily placed under /opt
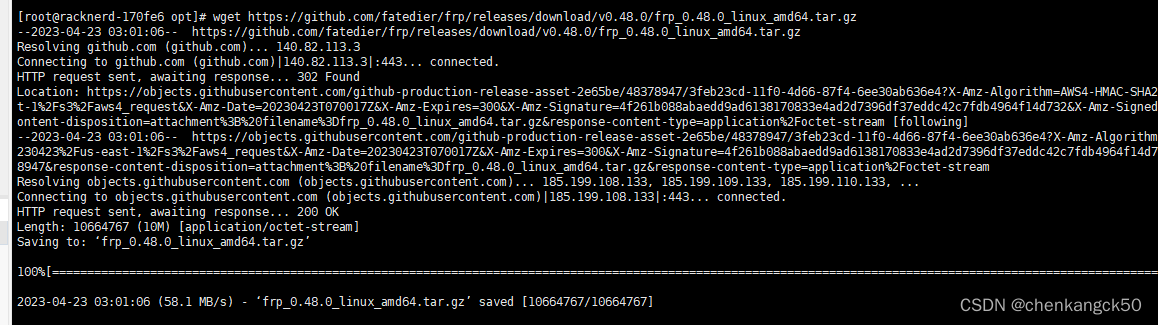
1.cd /opt/
pull and install
wget https://github.com/fatedier/ frp/releases/download/v0.33.0/frp_0.48.0_linux_amd64.tar.gz
2. Unzip
the tar -zxvf frp_0.48.0_linux_amd64.tar.gz
directory as follows

, where frps is the server startup script, and frps.ini is the server startup configuration The file
frpc is the client startup script frpc.ini is the client startup configuration file
3. Modify the configuration file, because this is the server, so modify frps.ini
vi frps.ini
[common]
# 绑定服务端端口,给客户端连接的通道
bind_port = 7000
# 设置客户端token
token = WSX#EDC
# 日志 --
log_file = /opt/frp_0.48.0_linux_amd64/log/frps.log
log_level = info
# 日志最多保存天数
log_max_days = 3
4. Execution
Here we directly execute
frps -c frps.ini
If no error is reported, we will execute nohup in the background persistently
./frps -c ./frps.ini &
5. Check whether the startup is successful
netstat -anp|grep 7000
tcp6 0 0 :::7000 :::* LISTEN 4546/./frps
6. Open port 7000
firewall-cmd --zone=public --add-port=8090/tcp --permanent
firewall-cmd --reload
At this point, the server configuration is complete
client:
Same, download first (it is the same software package as the server)
- wget https://github.com/fatedier/frp/releases/download/v0.48.0/frp_0.48.0_linux_amd64.tar.gz
2. Unzip
3. Then modify the client configuration file vim frpc.ini
[common]
server_addr = xxx.xxx.xxx.xxx # 服务端ip
server_port = 7000 # 与服务器上填写的通信端口一致,和服务端建立通道,连接1
token=!QAZ@WSX#EDC # 和服务器token一致
[ssh]
type = tcp
local_ip = 127.0.0.1
local_port = 8090    # 客户端服务的端口
remote_port = 8090    # 链接上后,服务端会监听这个端口,转发到local_port 上
4. Open the corresponding firewall port
5. Start, the following information can be seen successfully
./frpc -c frpc.ini

6. Look at the server log, connect and listen to port 8090 (the server should also open the firewall port 8090)

for testing, enter the server ip + port 8090 in the browser, and it will transfer to the intranet service