Raspberry Pi uses FRP to achieve intranet penetration tutorial
1. What is intranet penetration?
Simply put, a computer in the intranet has its own internal IP, and a computer on the external network has a public IP, and the internal IP cannot be directly accessed through the external network. This requires a way to change the external IP Converted into internal legal IP for legal access.
2. What is FRP?
frp is a high-performance reverse proxy application that can be used for intranet penetration, supporting tcp, udp, http, https protocols.
3. Preparation materials:
服务端:虚拟专用服务器
客户端:树莓派3B/3B+/4B
Fourth, prepare a virtual private server
1. What is a virtual private server?
Virtual Private Server Virtual private service technology, a high-quality service that divides a server into multiple virtual private servers. The technology for realizing virtual private server is divided into container technology and virtualization technology . In a container or virtual machine, each virtual private server can be assigned an independent public network IP address, an independent operating system, and realize the isolation of disk space, memory, CPU resources, processes, and system configuration among different virtual private servers for users and applications The program simulates the "exclusive" use of computing resources. The virtual private server can be like an independent server, reinstall the operating system, install the program, and restart the server separately. Virtual dedicated server provides users with the freedom of management configuration, which can be used for enterprise virtualization or IDC resource leasing.
The public network server forms a bridge with FRP. Through it, we can access the Raspberry Pi that we placed on the internal network.

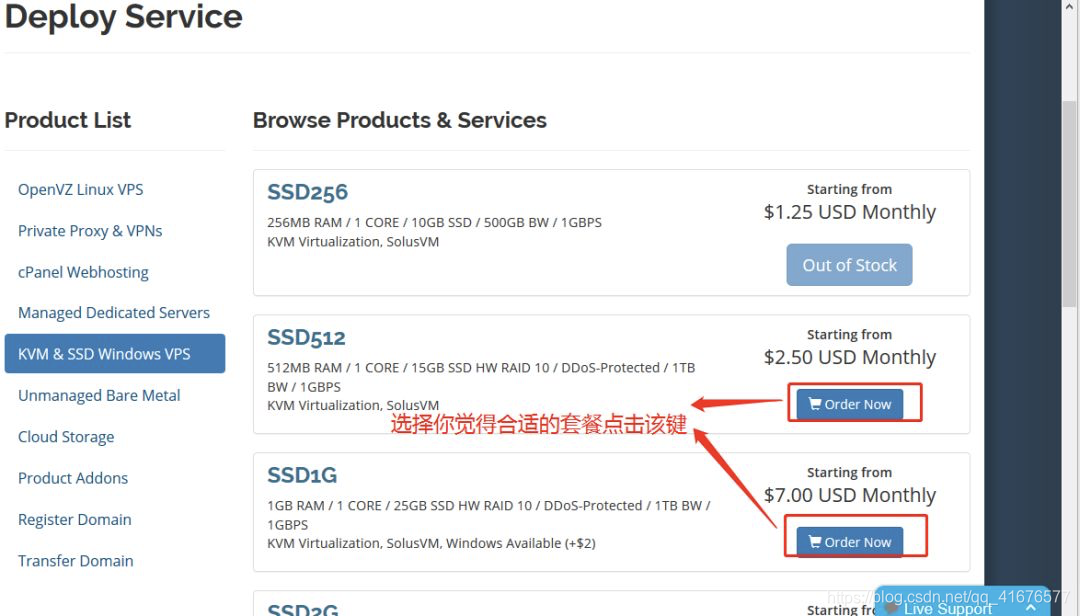
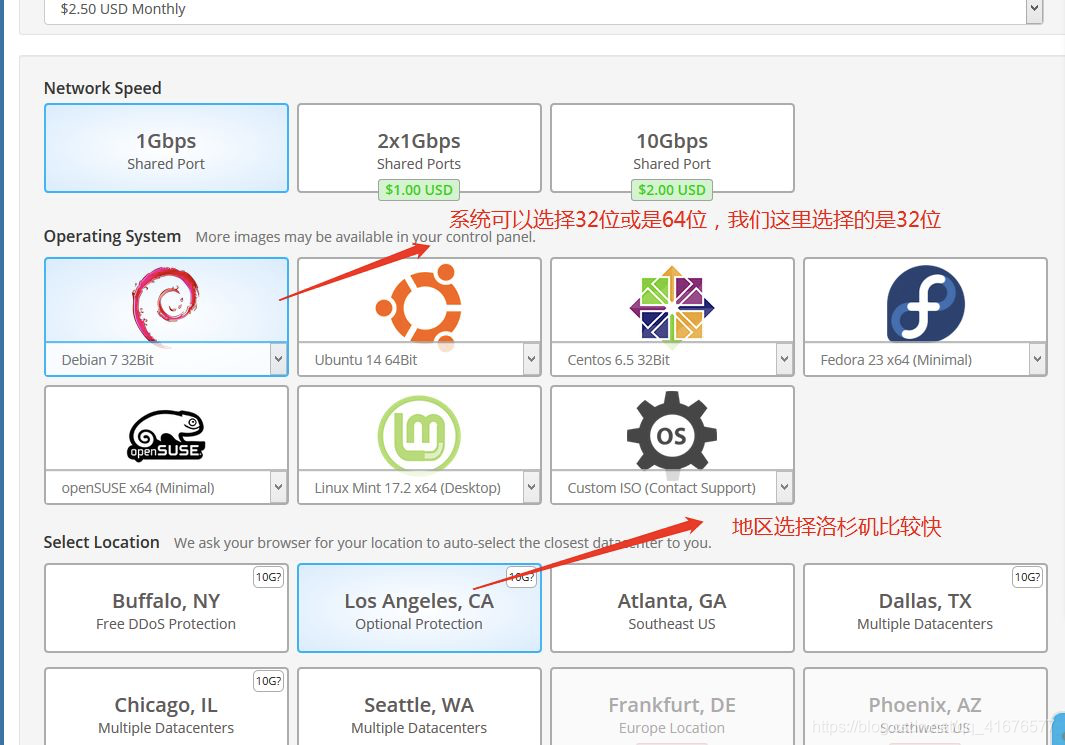
2. Virtual private server of virmach used
VirMach is a very cheap US host that supports Linux virtual private servers and Windows virtual private servers.
Buy the link (you can also choose other homes)
https://billing.virmach.com/cart.php

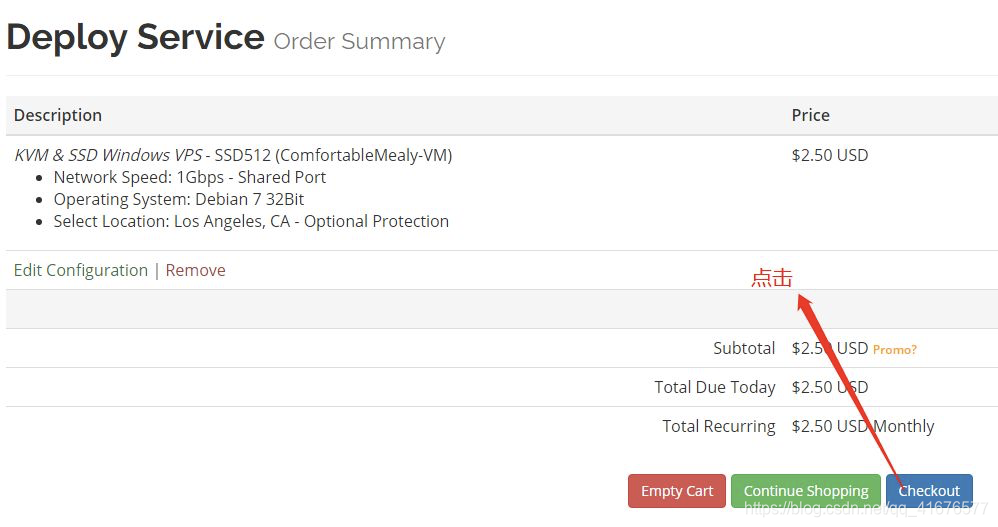

After
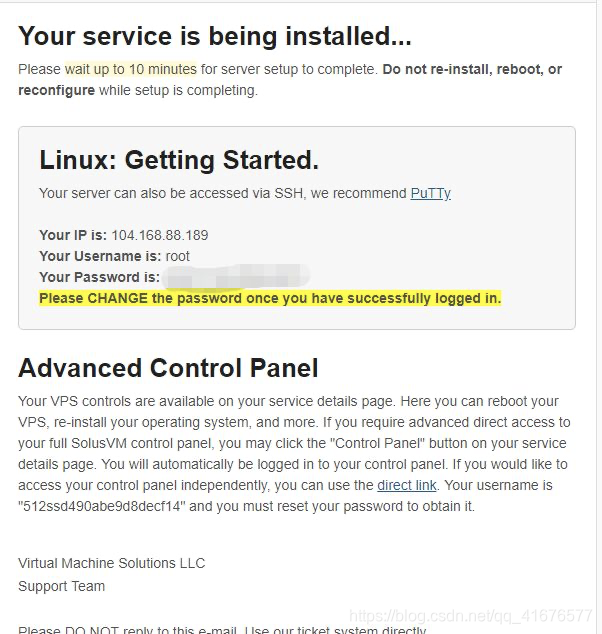
you buy it, you will receive 3 emails
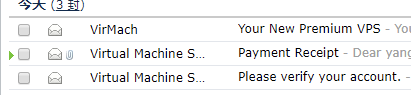
The top email contains your IP and account password
Click on My Services
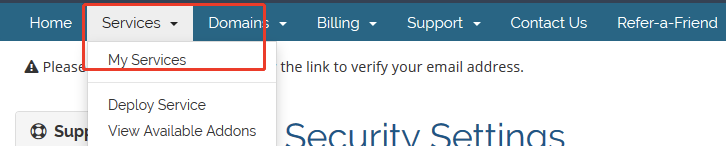
and then click the button below
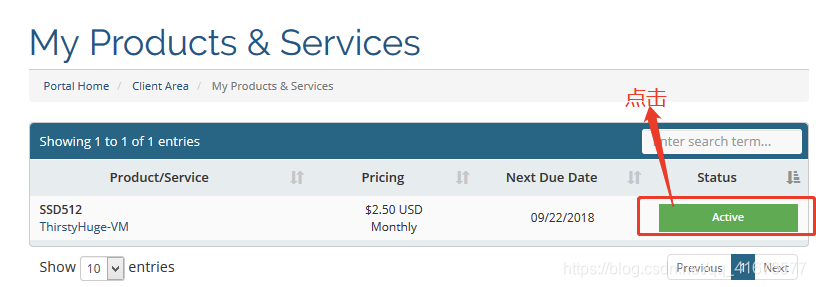
Enter the server background

Open PUTTY and enter your ip (you can get the software by sending putty to the official account)
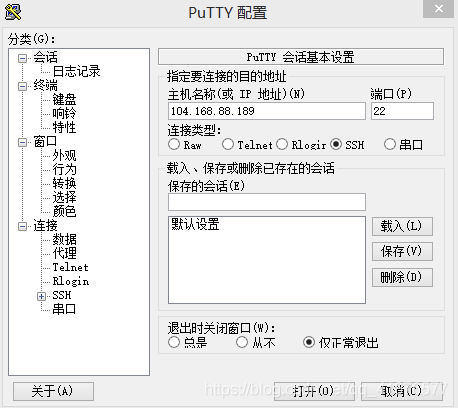
Enter the account root and the initial password (in the email)
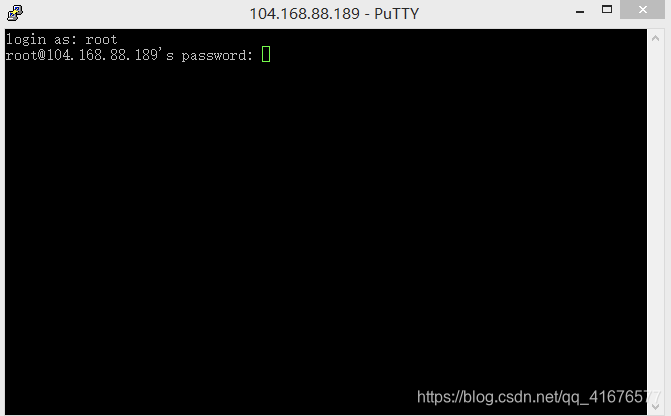
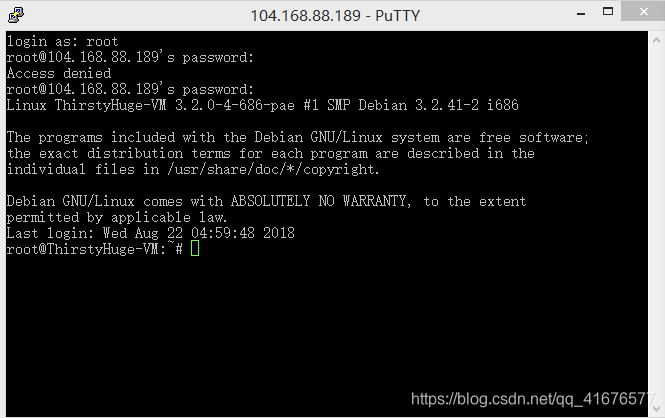
Log in to the server terminal for the first time
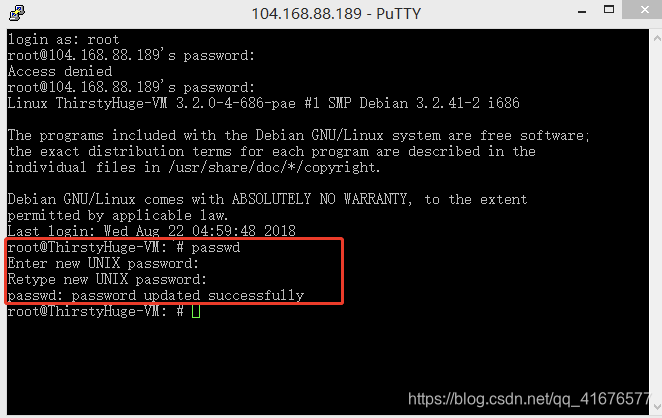
Modify the login password
Enter directly
passwd
Enter twice, and the new password is enough.
Five, server side-virtual private server configuration
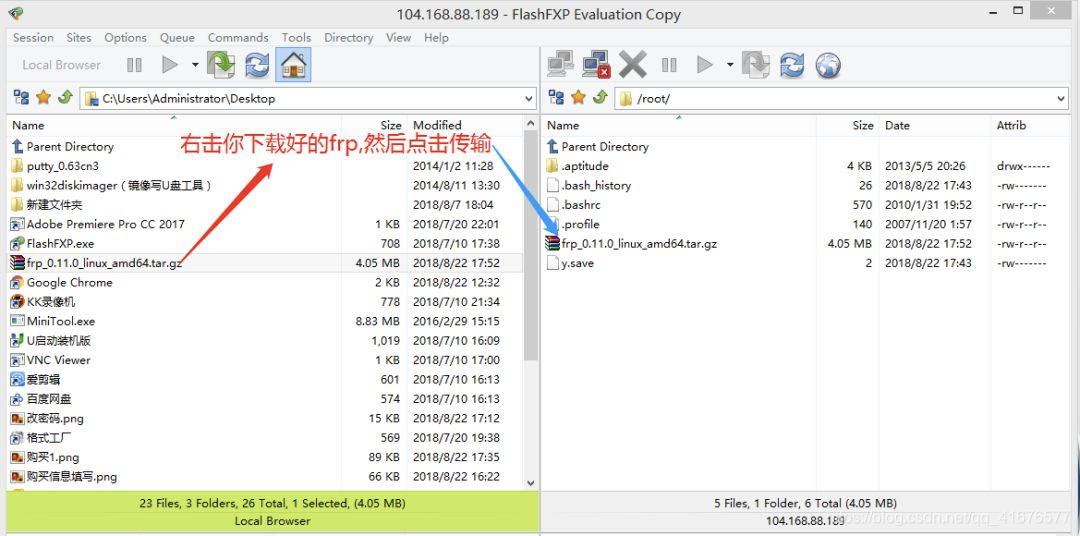
Use FXP (you can get the software by sending "fxp" to the official account") to upload the downloaded frp installation package to the server (you can get it by sending "frp" to the official account.
If your virtual private server is different from this tutorial, you can choose the FRP suitable for your virtual private server at the following URL
https://github.com/fatedier/frp/releases
Log in to FXP with your server IP and the password you just changed
tar -zxvf frp_0.20.0_linux_386.tar.gz
After the file is decompressed, it usually contains frps (frp server running file), frpc (frp client running file), frps.ini (frp server configuration file), frpc.ini (frp client configuration file), and frp_full. ini (Explanation and reference of all FRP configuration files.)
Enter the following command in the server terminal
cd frp_0.20.0_linux_386
nano frps.ini
Enter in frps.ini:
[common]
bind_port = 7000
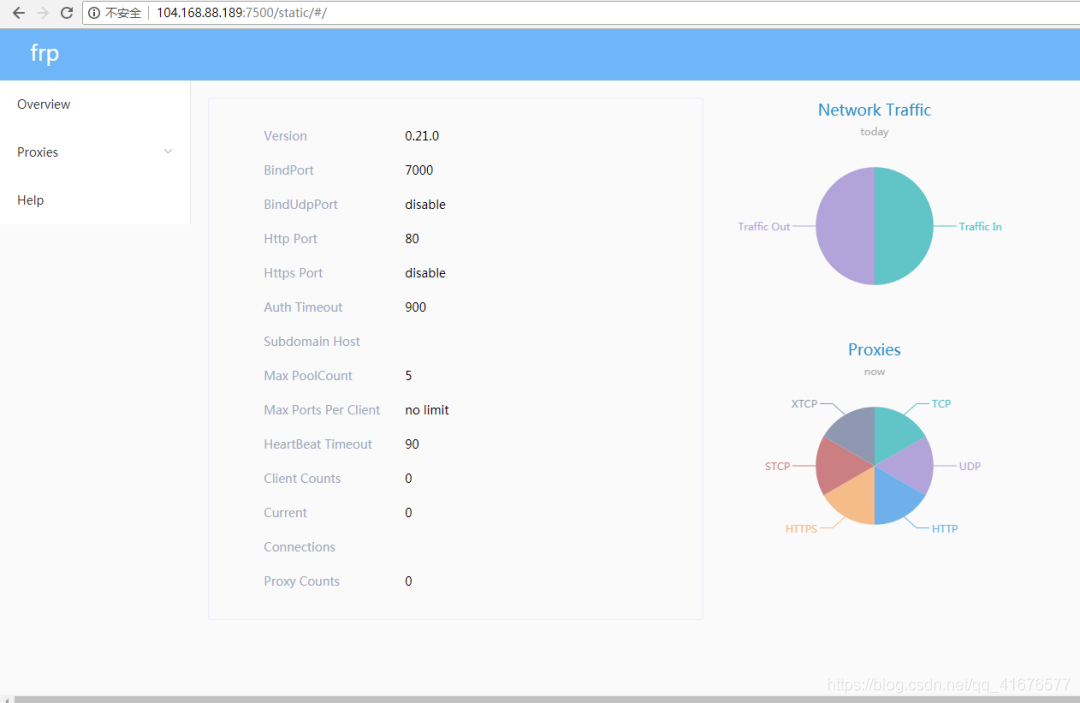
dashboard_port = 7500
dashboard_user = dashboard_user_name
dashboard_pwd = dashboard_pwd_value
The [common] part is a required configuration.
The bind_port is the port of the frp server you set. The
dashboard_port_number is changed to a specific port number, such as 8000, so that you can access the frps web console through http://yourip:8000 page.
dashboard_user and dashboard_pwd to fill in the username and password for a custom for input when accessing frps console page.

After saving the above configuration, use the following command to start the frp server.
./frps -c ./frps.ini

Enter "IP:7500" in the browser to see the background of your FRP
6. Client-Raspberry Pi configuration
Raspberry Pi normally logs in to putty, enter the following command
wget https://github.com/fatedier/frp/releases/download/v0.20.0/frp_0.20.0_linux_arm.tar.gz
tar -zxvf frp_0.20.0_linux_arm.tar.gz
cd frp_0.20.0_linux_arm
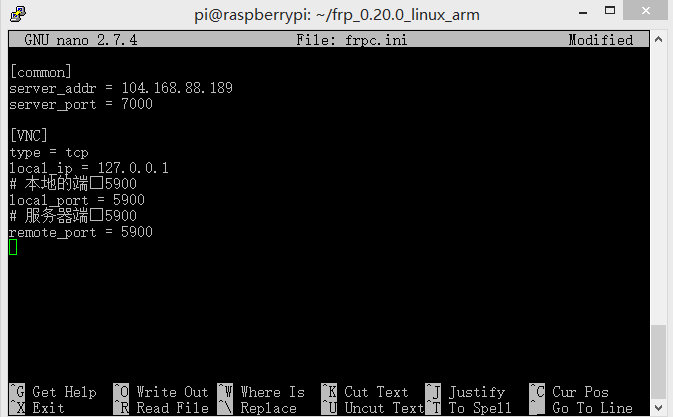
sudo nano frpc.ini
Write the following
[common]

server_addr = 填写你的服务器ip

server_port = 7000


[VNC]

type = tcp

local_ip = 127.0.0.1

local_port = 5900

remote_port = 5900
note
Here is an example with VNC, you can also do domain name mapping
Enter the following command to run
./frpc -c ./frpc.ini

success
We started to use VNC to test whether it was successful
You can use the VNC of your mobile phone or the VNC of your computer for login test (do not connect to the same network as the Raspberry Pi)


You can also take a look at the port situation in our FRP background
