The Springboot jar package is registered as an executable exe service, and the self-guided jre operating environment is installed and deployed with one click.
Specifically divided into the following three steps.
- Package the springboot project into an executable jar file
- Use exe4j to package the jar package into an executable exe file
- Use innosetup to compile exe into a service (this step can be ignored if you deploy it according to your own wishes)
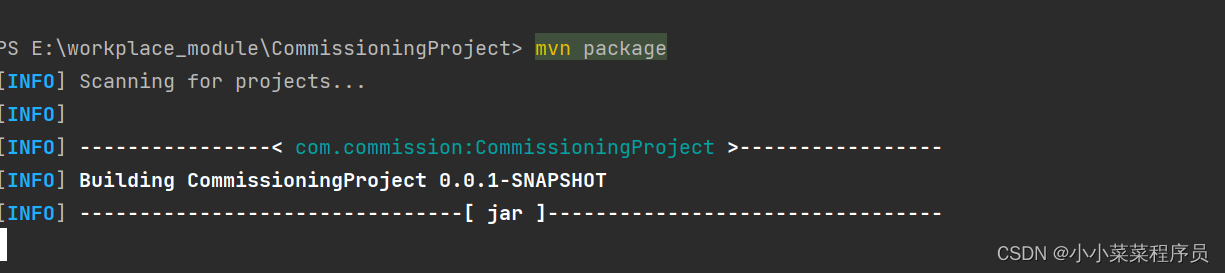
1. Package the springboot project into an executable jar file
There is no tutorial for this, just use mvn package to package it into a jar file.
2. Use exe4j to package the jar package into an executable exe file
-
Download and install exe4j
link: https://pan.baidu.com/s/1LLU5-57mCUOni8BqbT9yZQ
Extraction code: r5og -
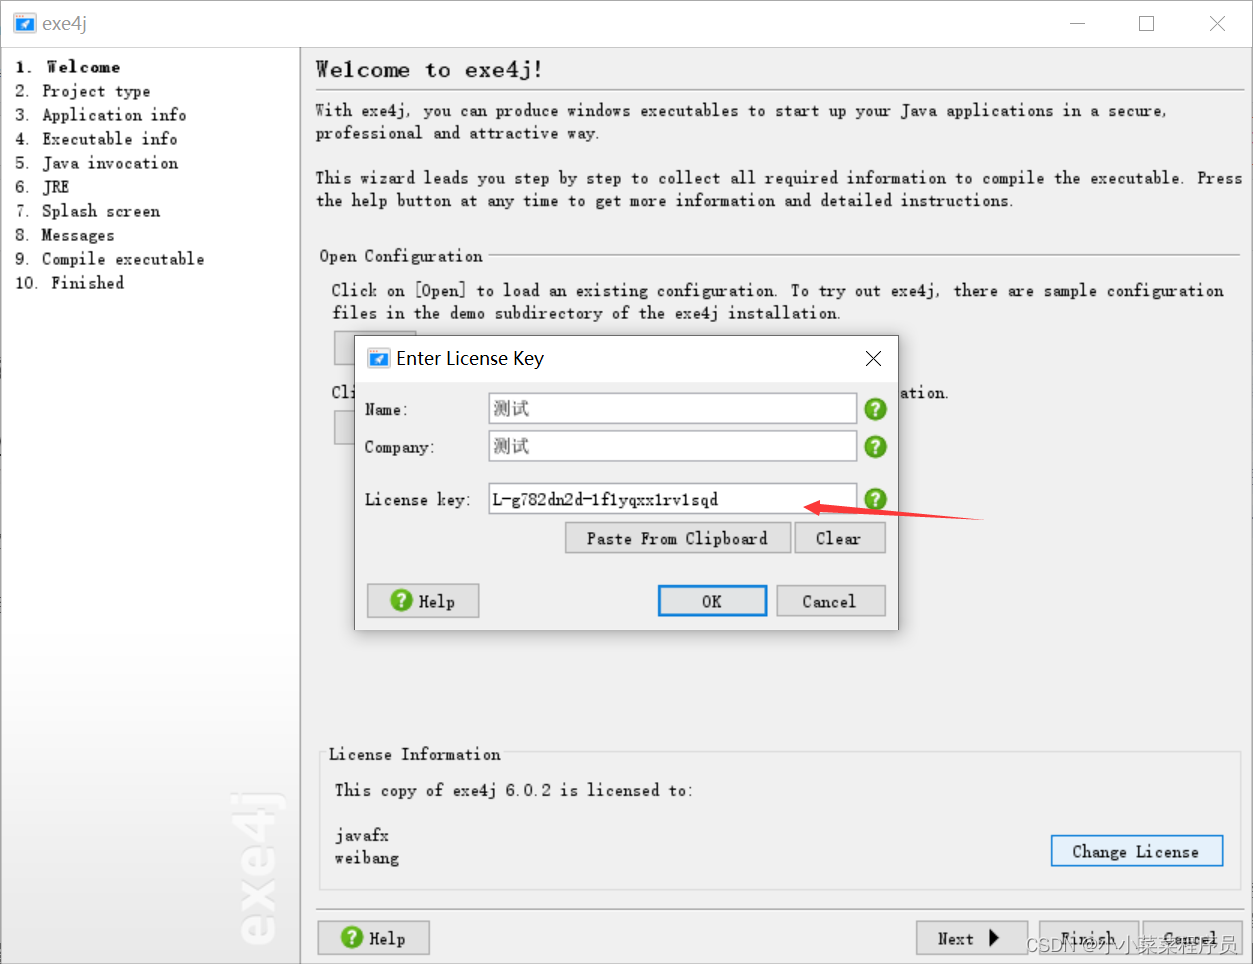
Open exe4j, configure the license, you can find one on the Internet, the following is the license I am looking for: "L-g782dn2d-1f1yqxx1rv1sqd"
-
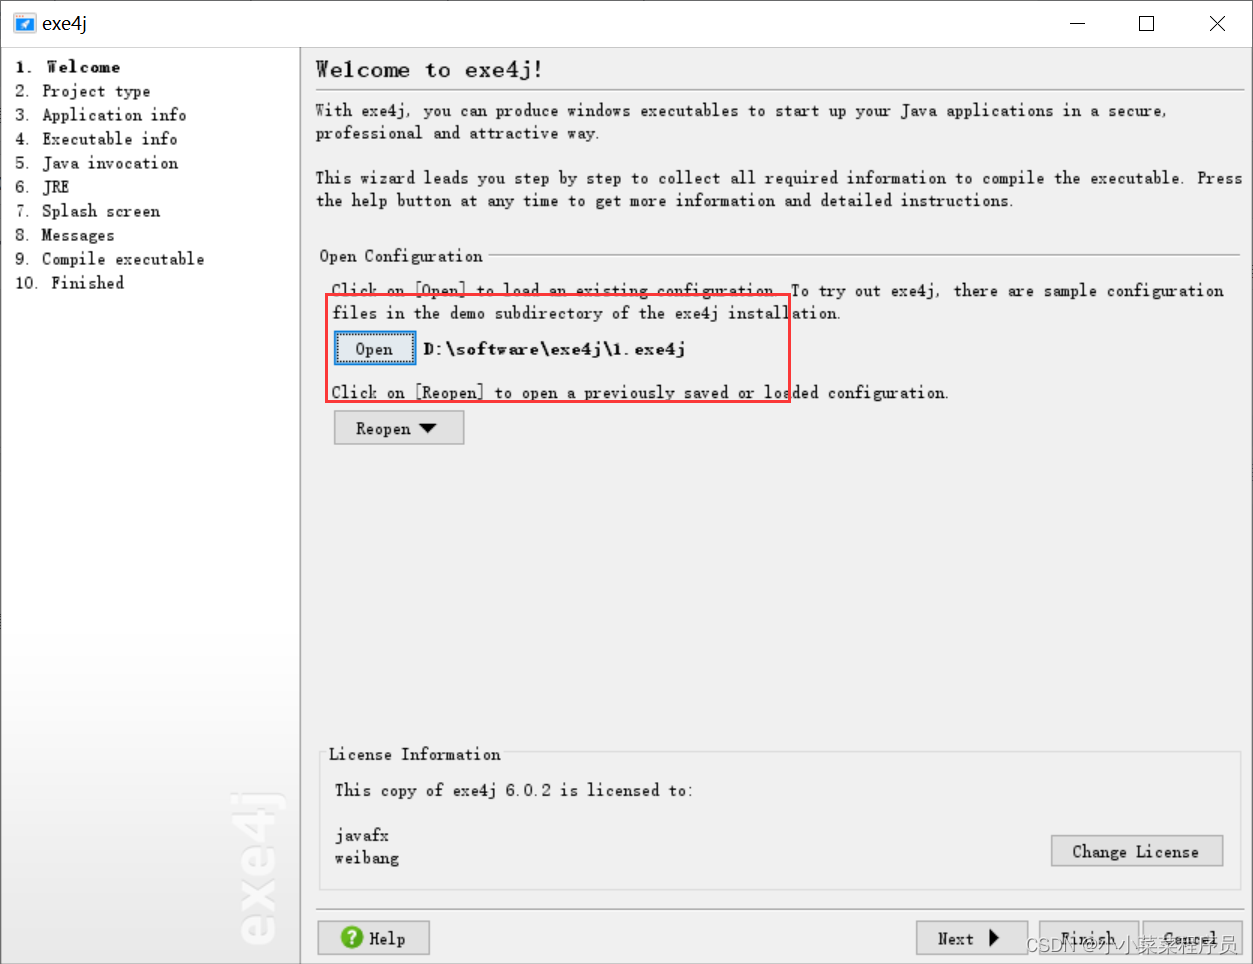
Click open to select the configuration, because I have already created it, so I will not create it.
-
Select "JAR in EXE" mode

-
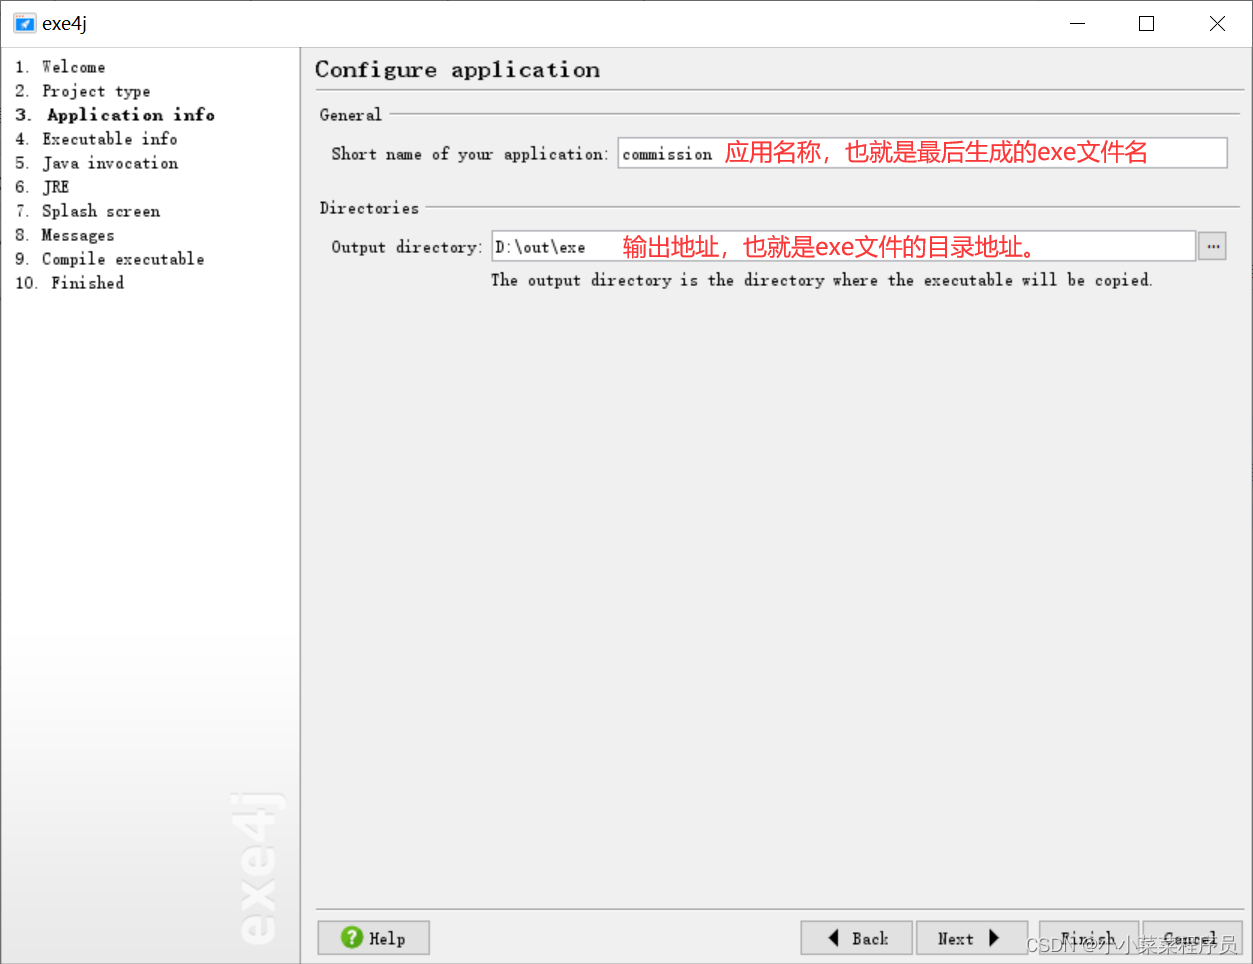
Configuration file name and file directory address, this should be remembered.
-
Now computers are generally 64-bit, choose 64-bit for compilation.

-
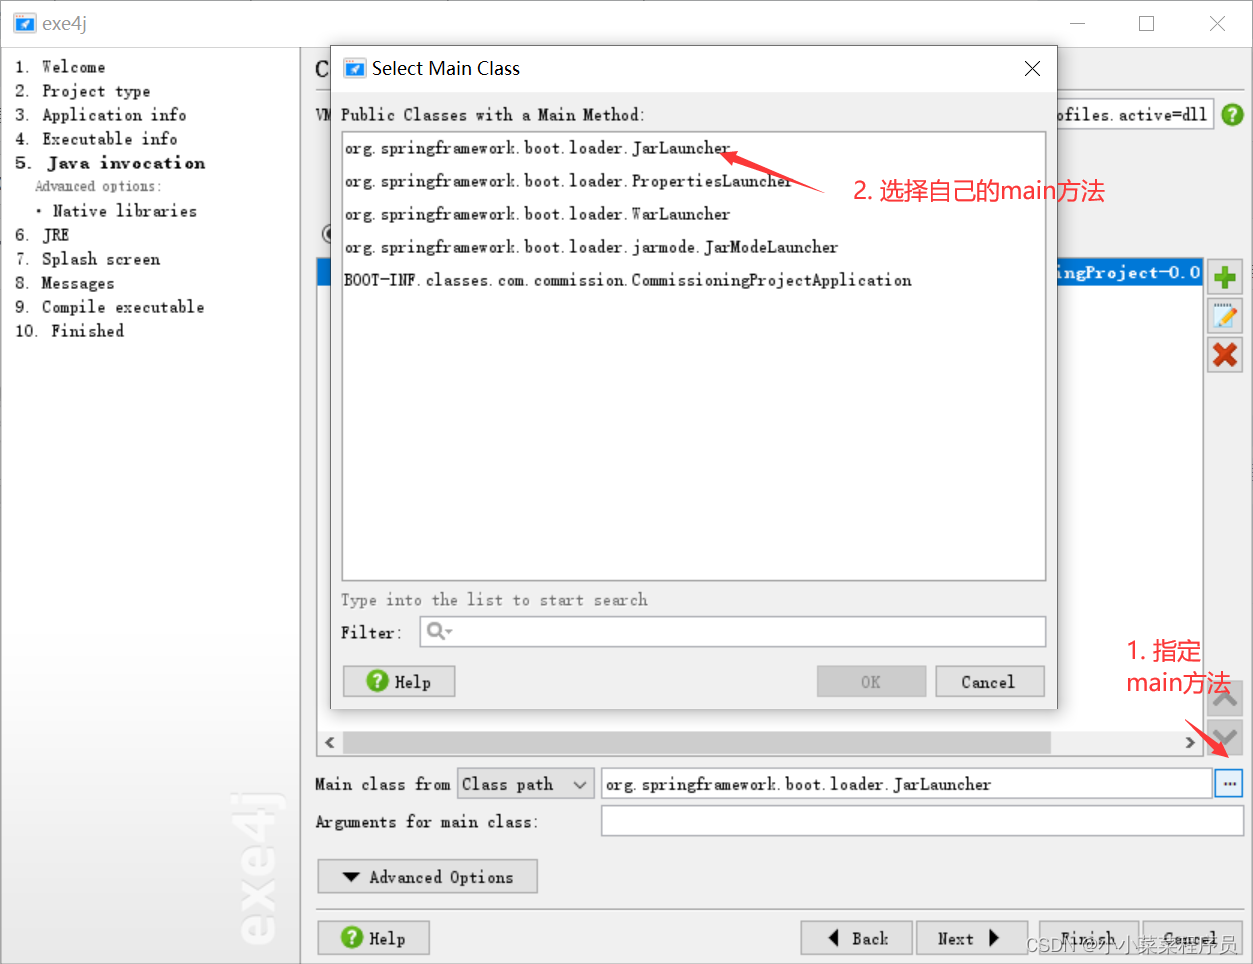
Add the jar package and specify the main method entry. You can also configure some vm parameters. Since I am using an external configuration file. So I configured some VM parameters.
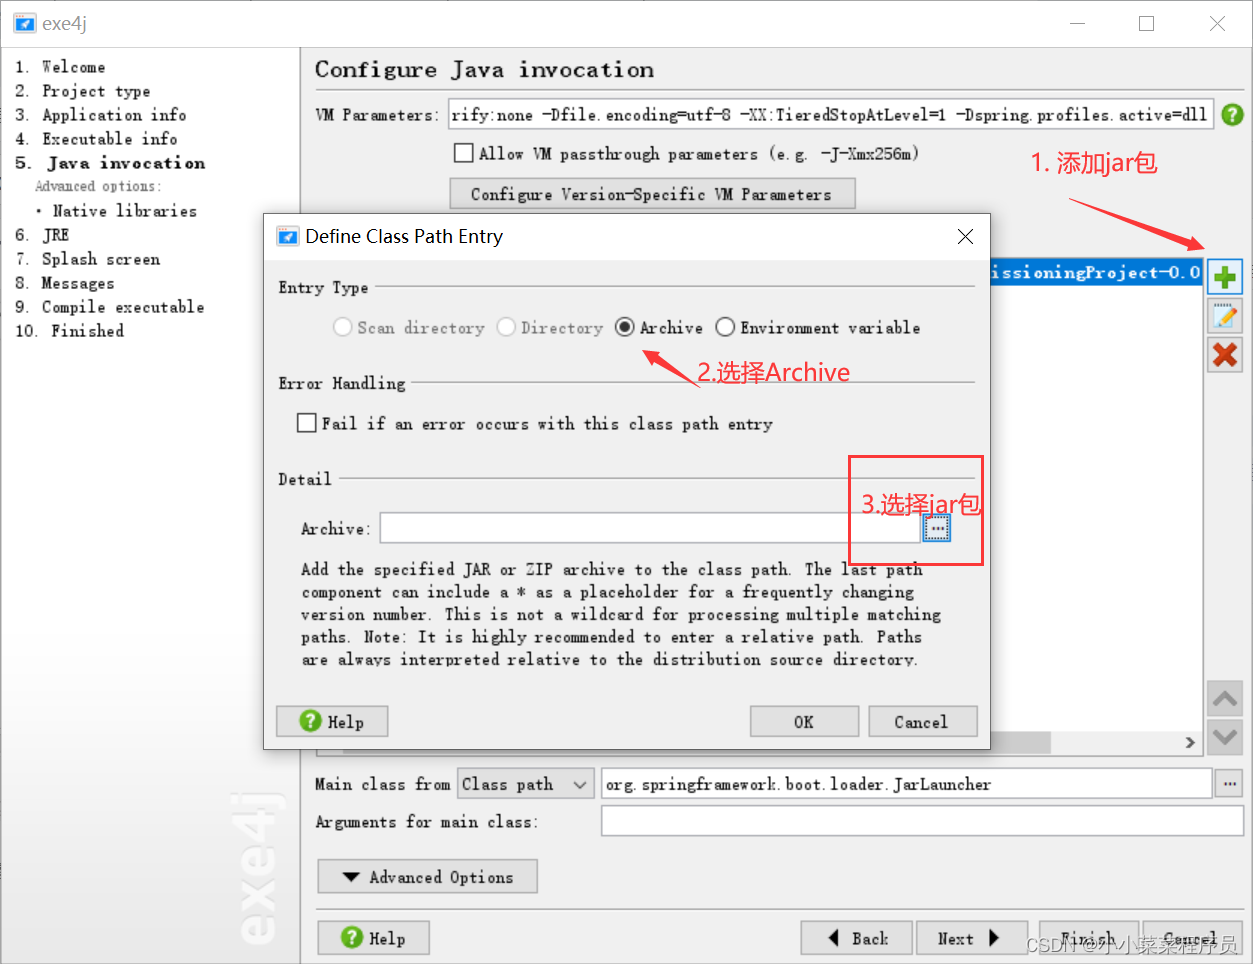
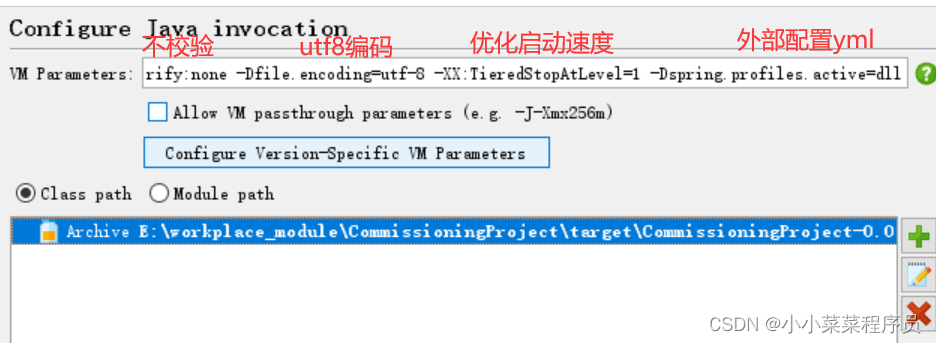
This is my vm parameter configuration. If you don’t need it, you can fill it in according to your own needs or leave it blank.
-Xverify:none -Dfile.encoding=utf-8 -XX:TieredStopAtLevel=1 -Dspring.profiles.active=dll
-
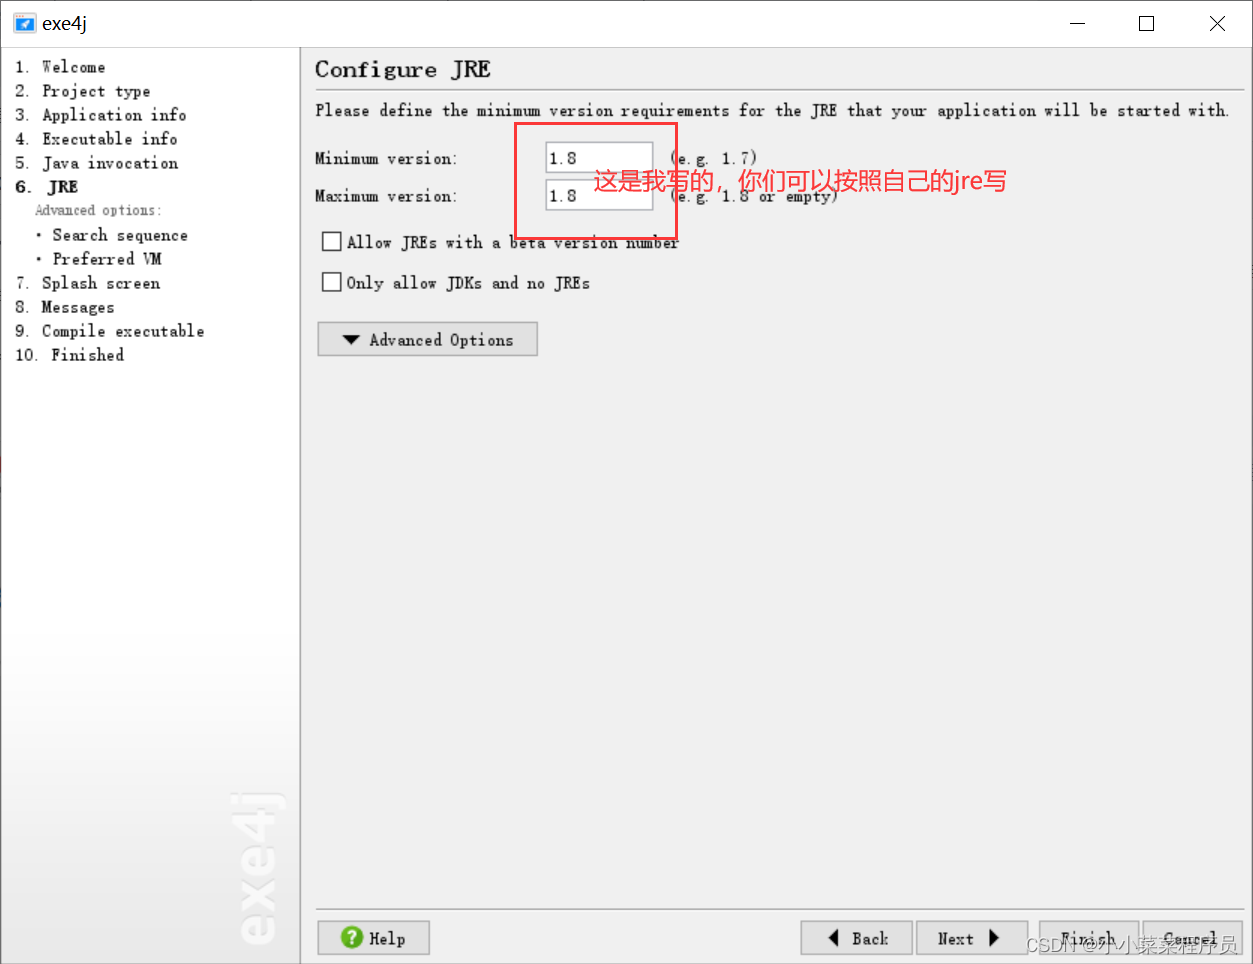
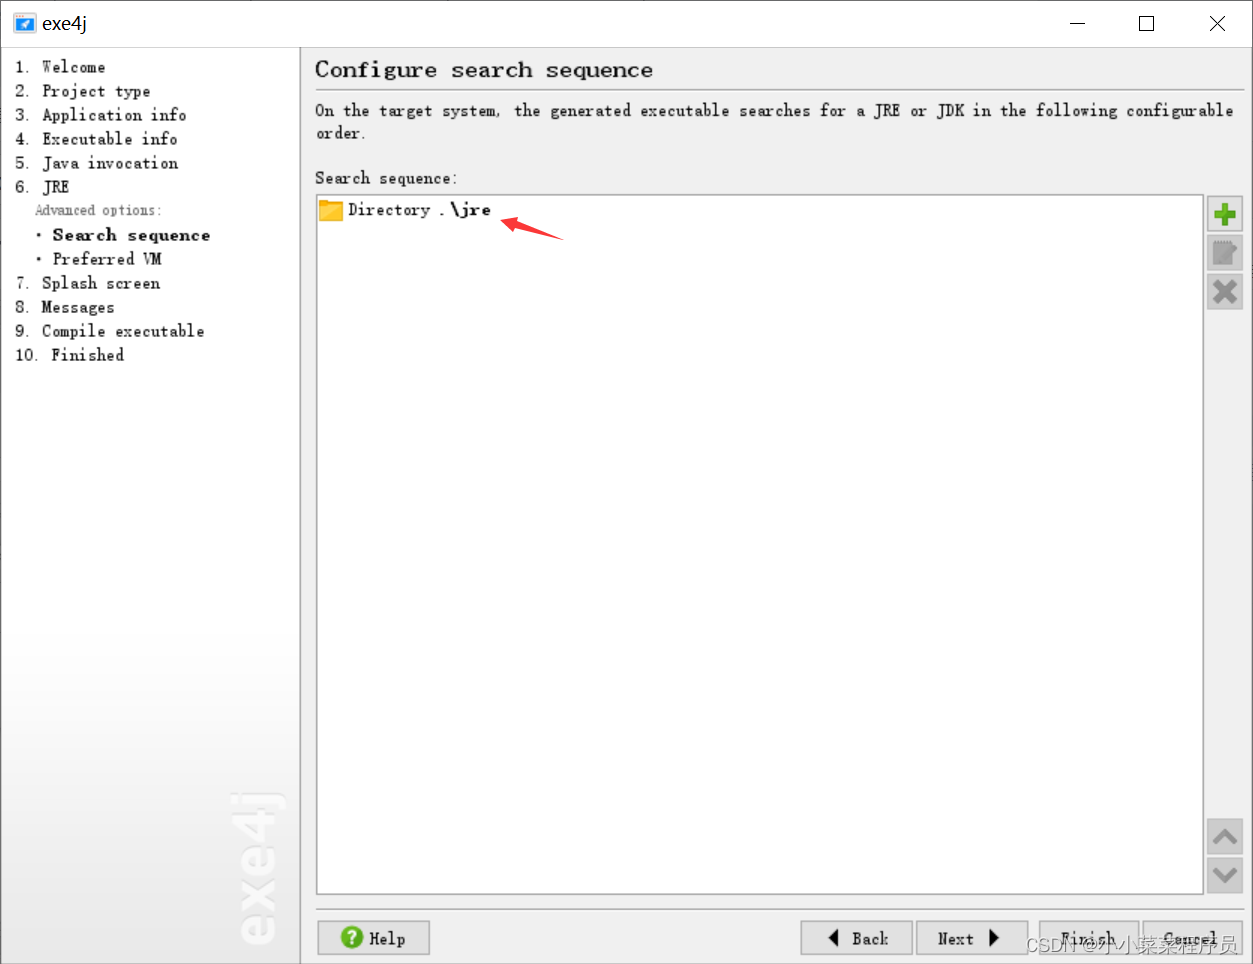
Specify the jre version and directory, and it is best to use a relative path for the directory.

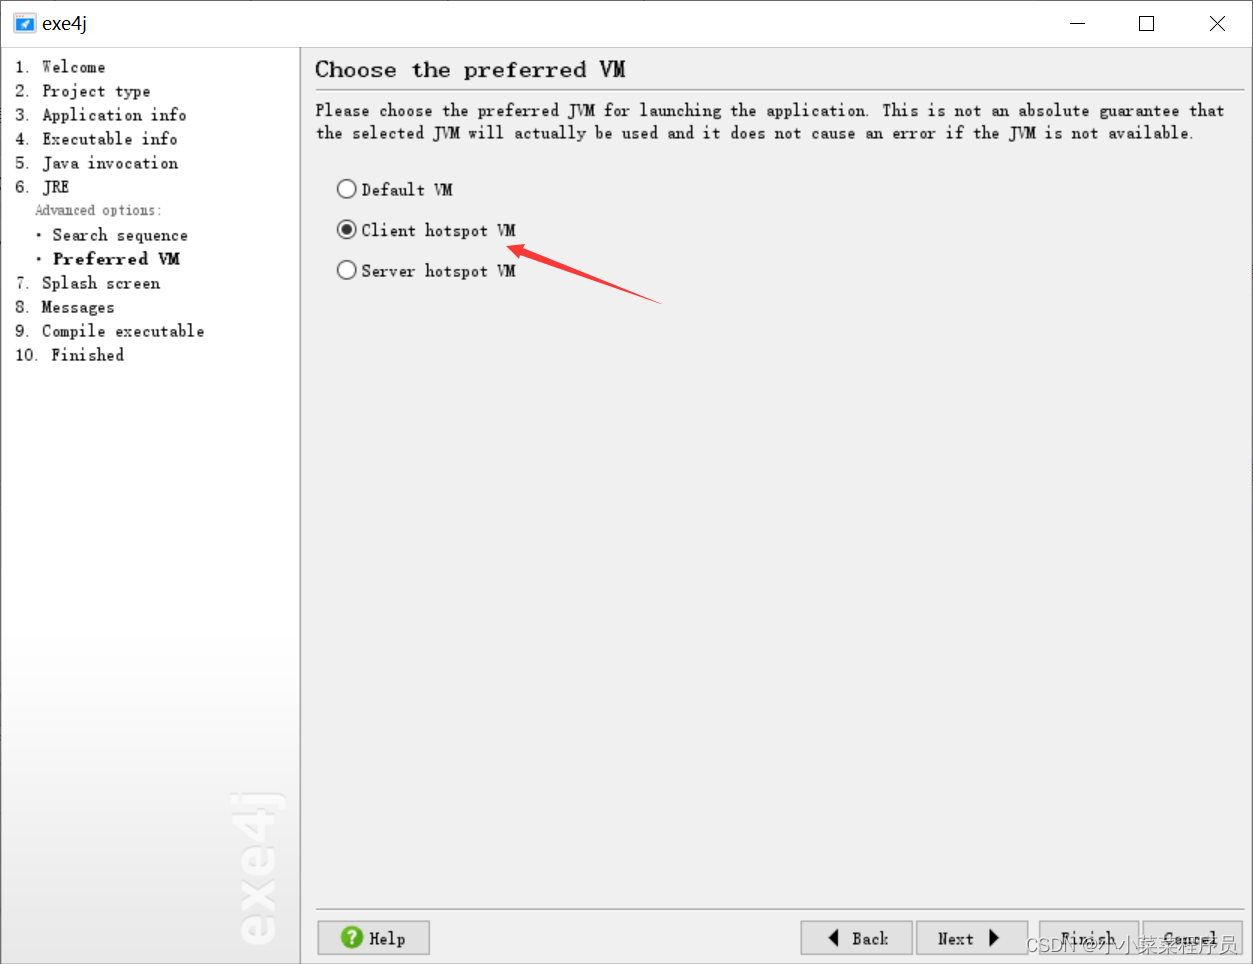
9. After the configuration is complete, you can continue to compile until the end.

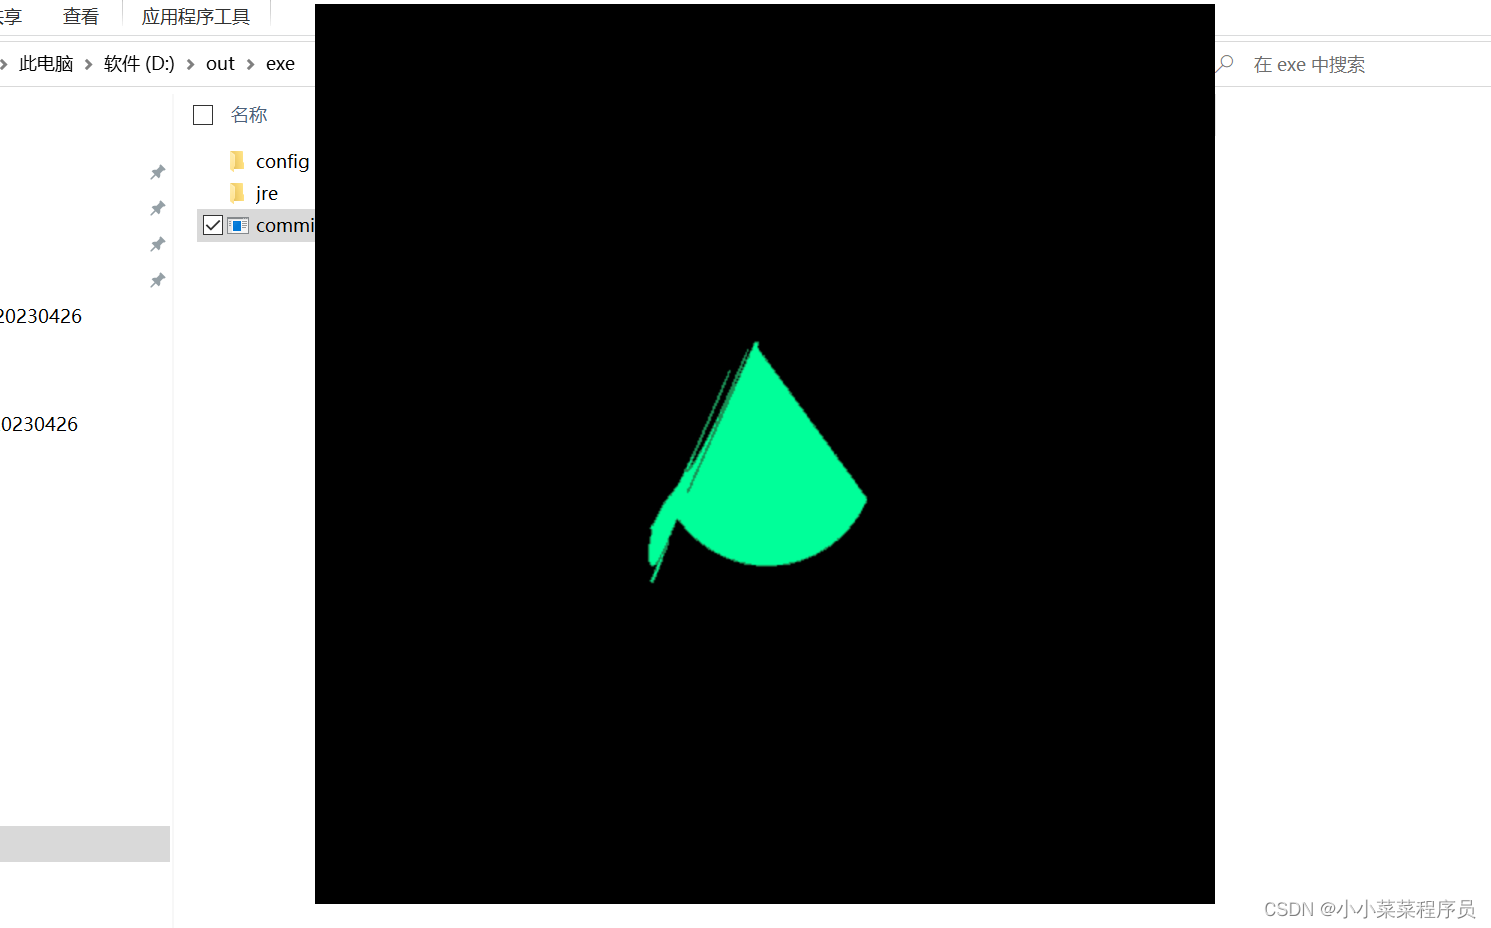
10. We go to the directory configured in the fifth step at the beginning, and we can see an exe file. 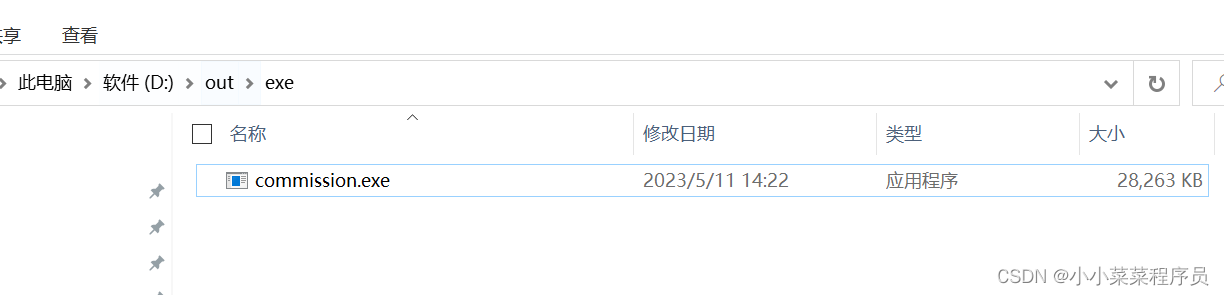
11. Since our eighth step is to use the relative path configuration of jre, we prevent the jre directory from being under the relative path of the exe file. ( You can choose not to configure : since I need to specify the external configuration yml file, I added the config file directory to the relative path of the exe, which is my configuration file)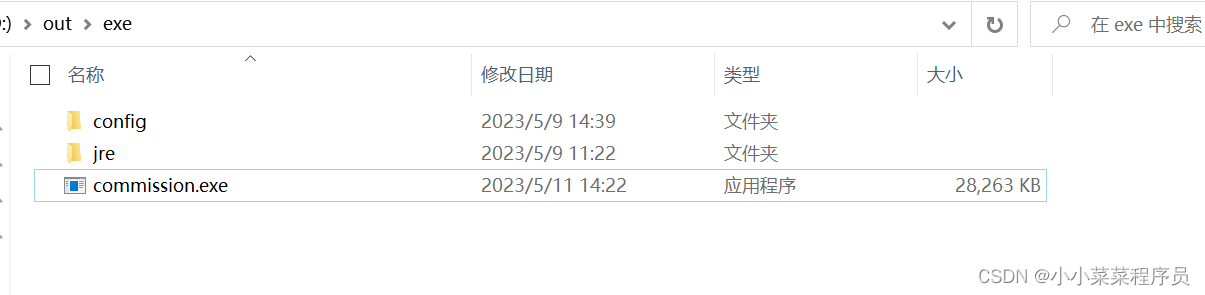

At this point, we should be able to run the package by double-clicking the exe. Below is my splash screen.
At this point, the exe compilation can basically be realized. According to the actual situation, you can see if you need to register the exe as a service in the next step.
3. Use inno setup to compile exe and register it as a service.
- Download and install the Inno Setup compiler
Baidu network disk address download address
Extraction code: bebo
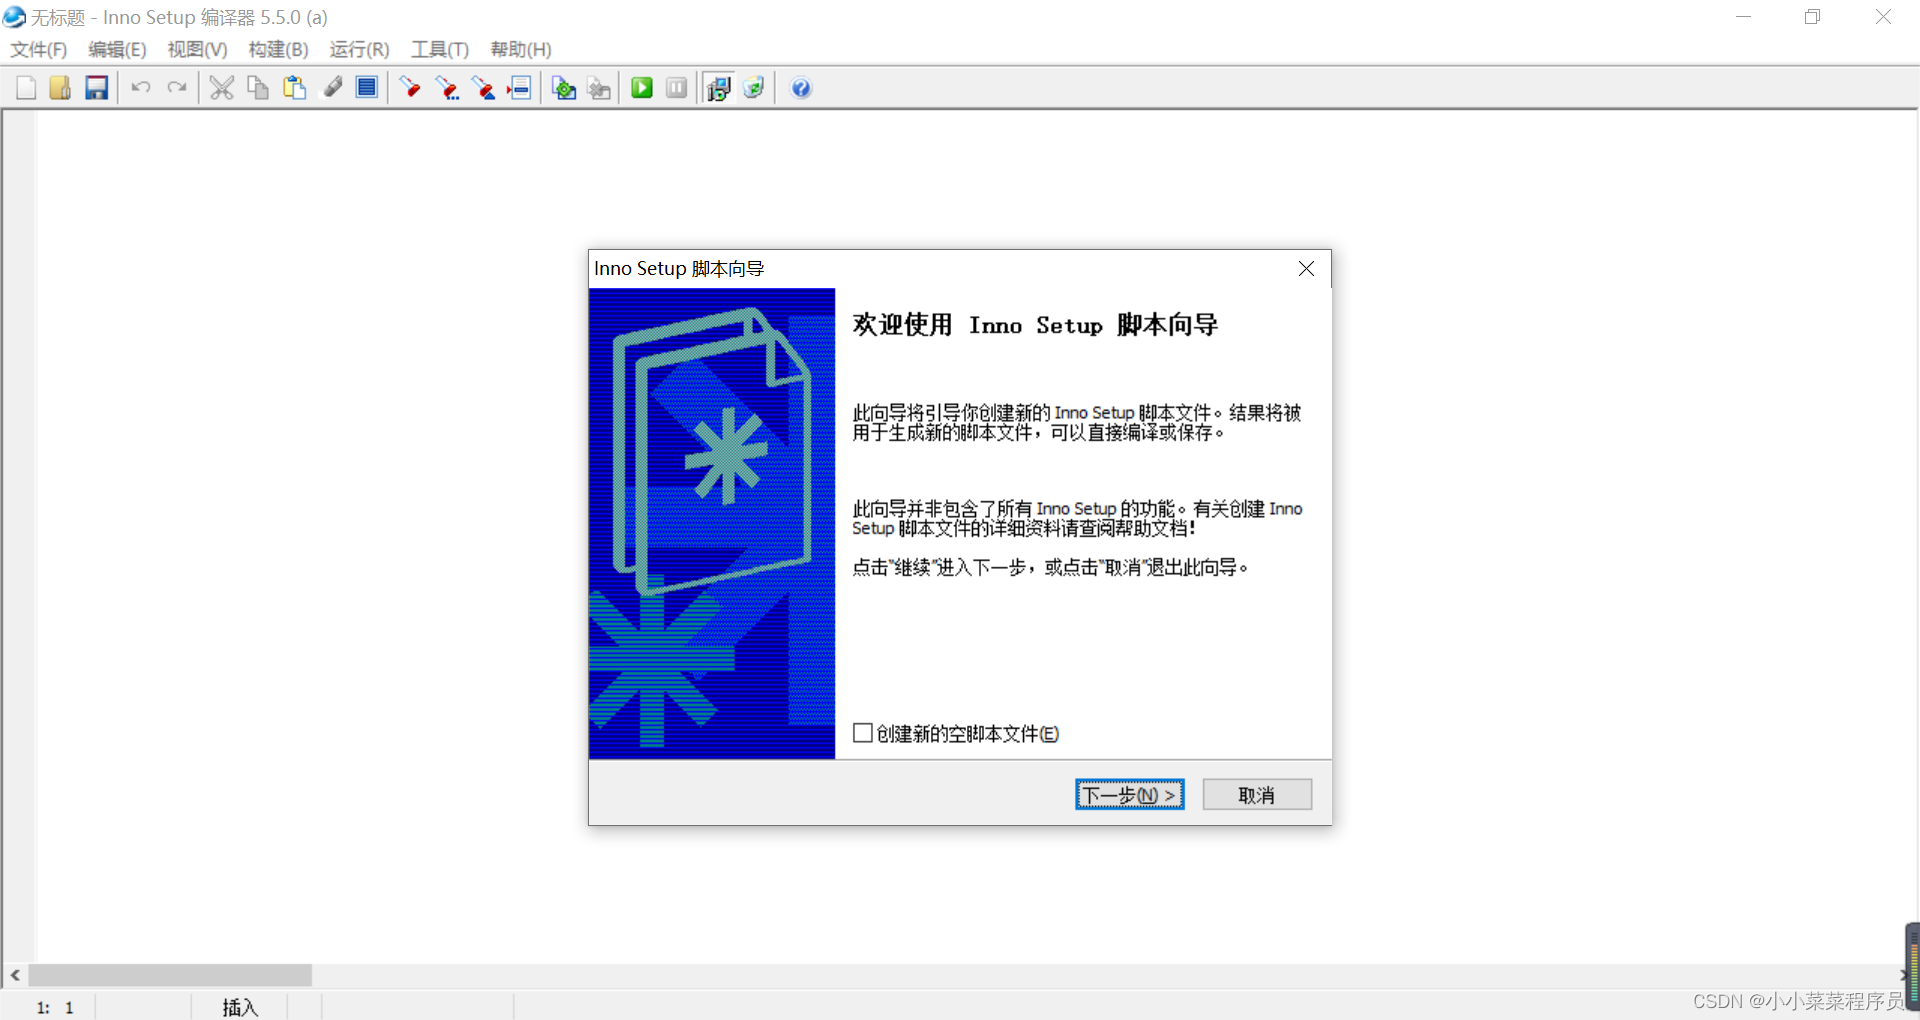
follow-up is normal installation. I won't explain too much - Click file in the upper left corner to create a new script
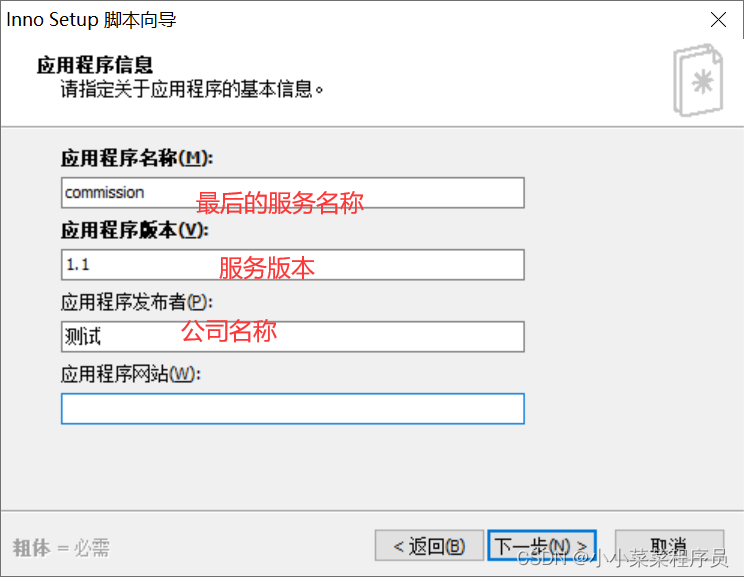
- Set the application name and other information
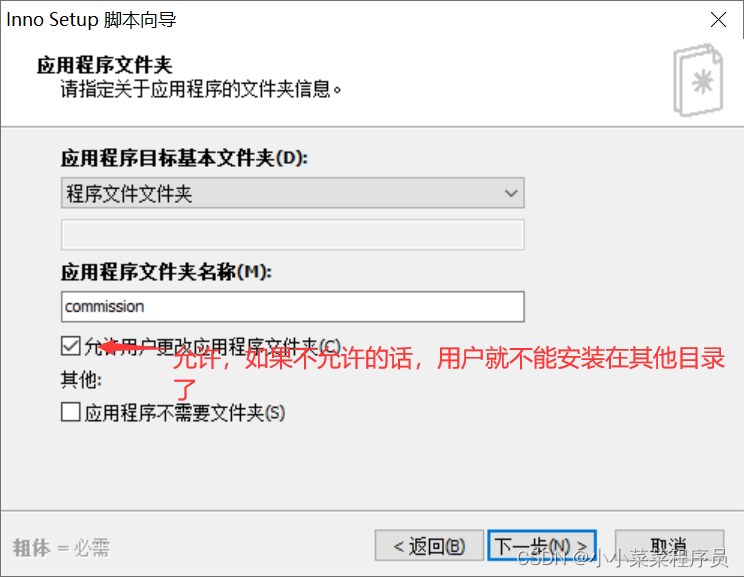
Of course, you can also customize the installation directory. It's up to you to choose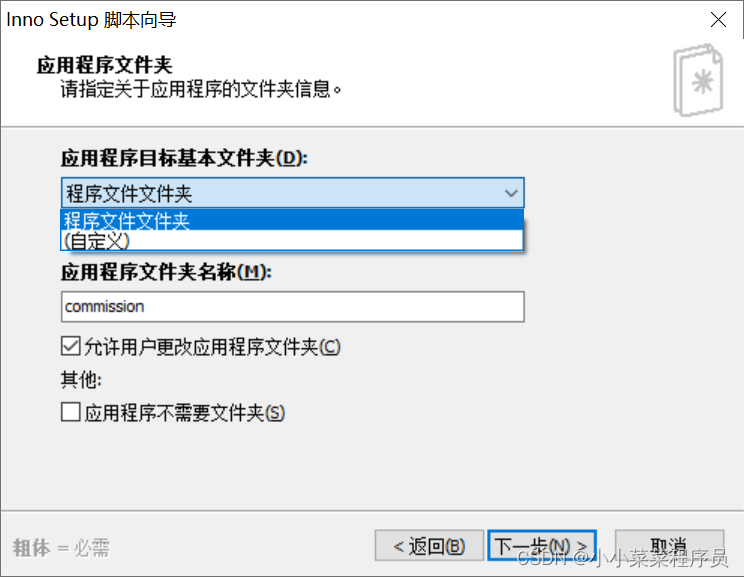
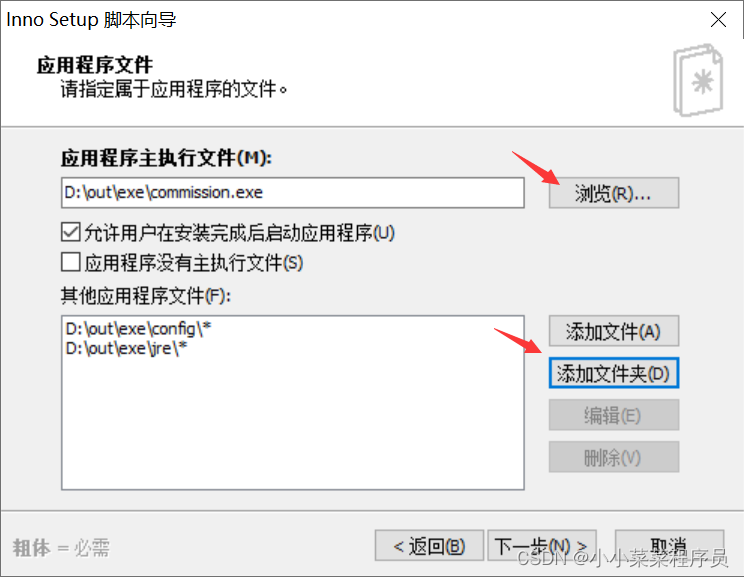
- Select the exe file generated by exe4j above. And select the jre and config directories
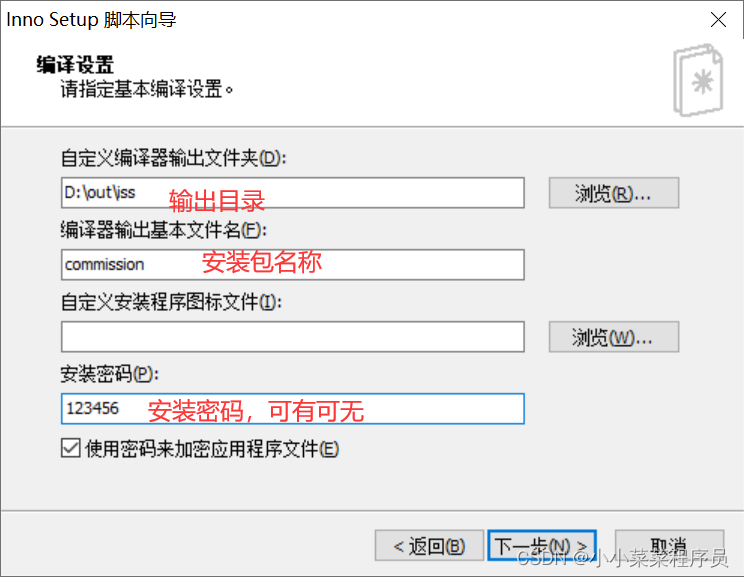
- Keep going to the next step until you need to configure the output directory and installation package name later.
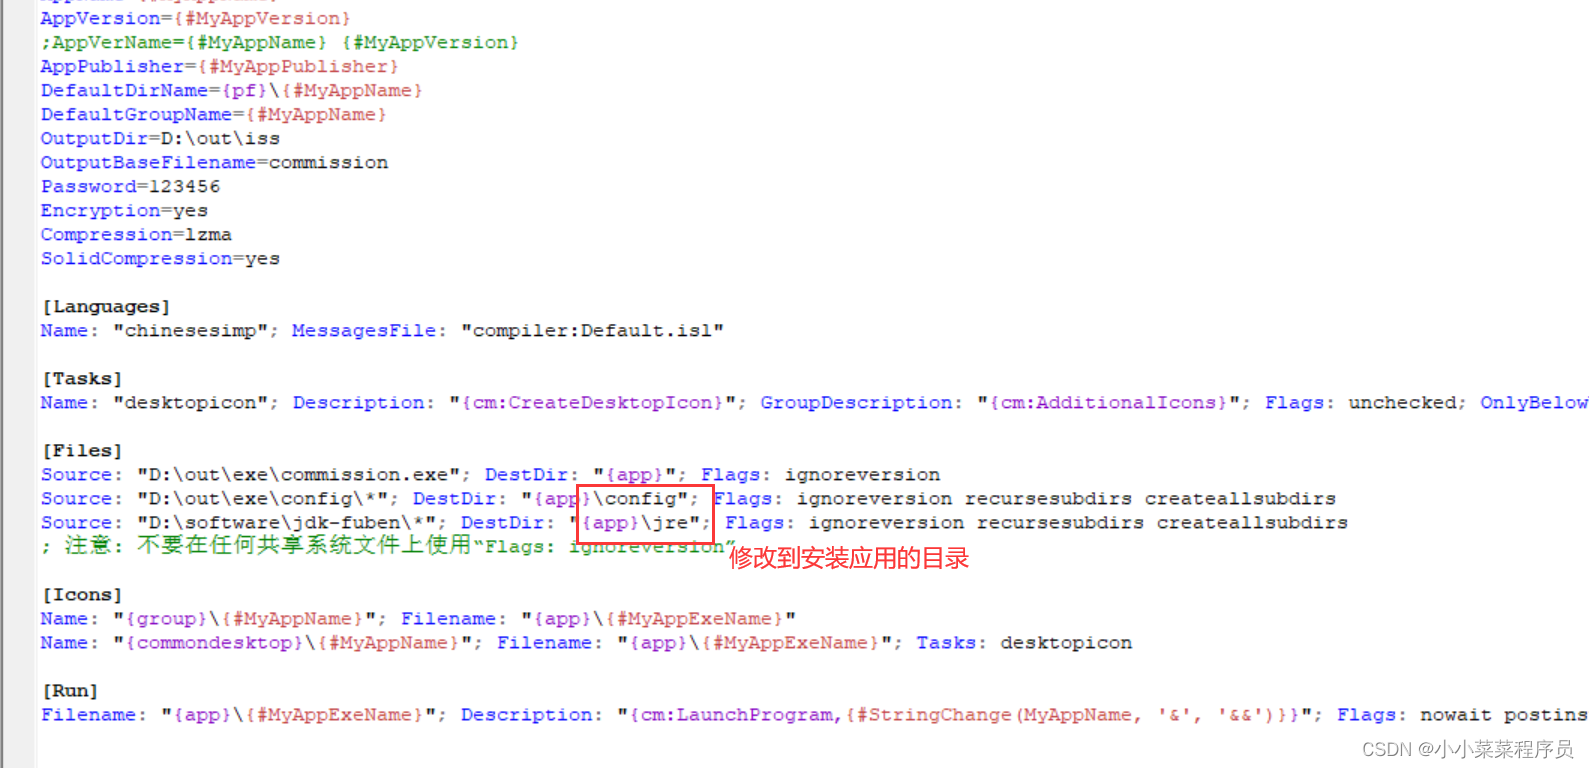
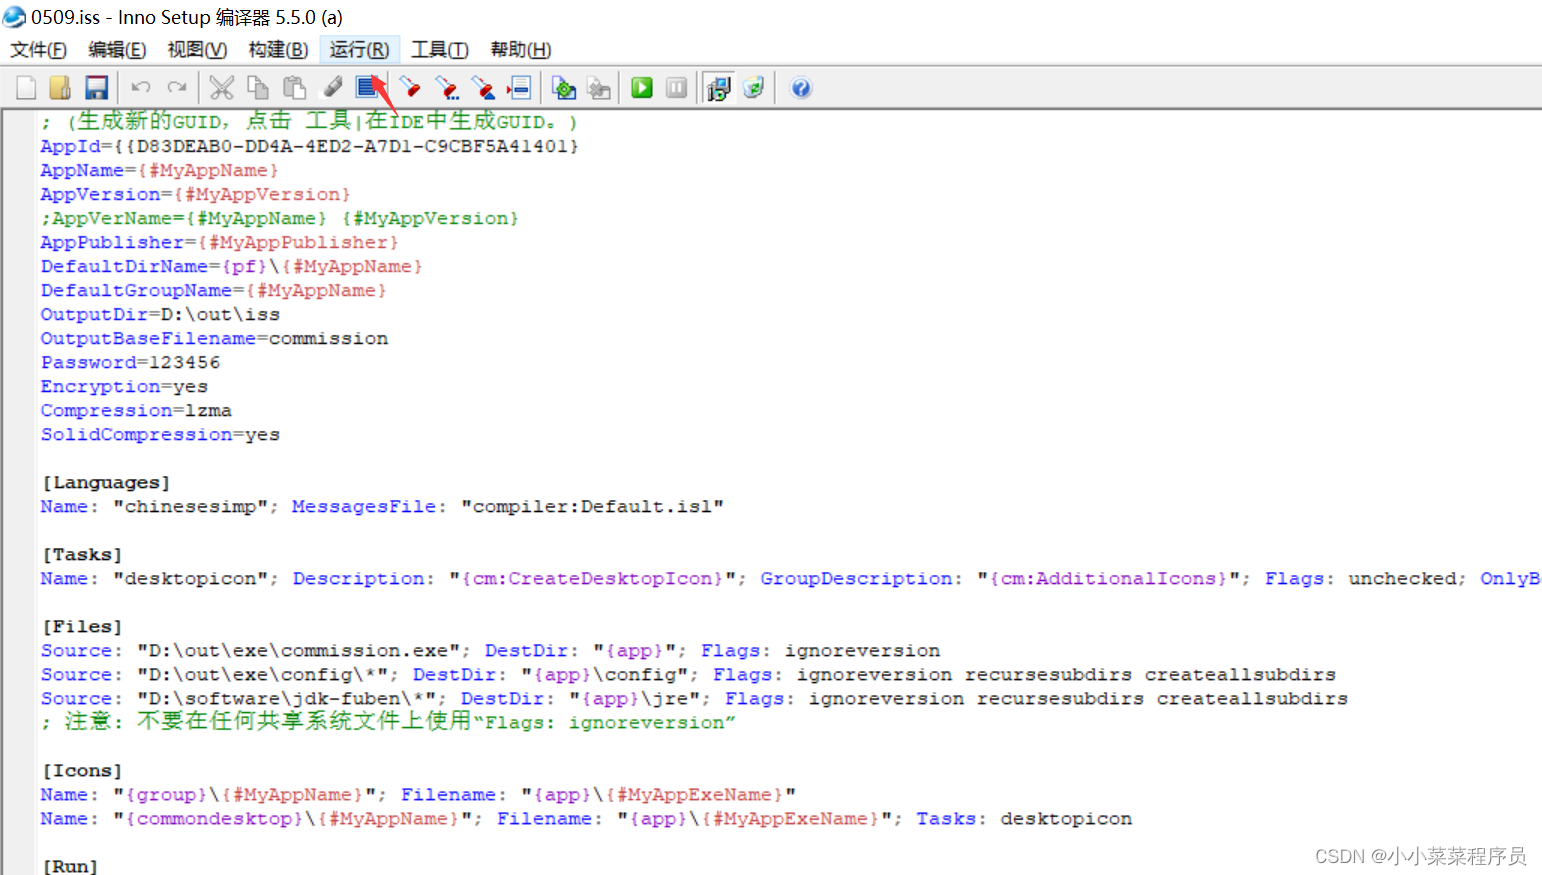
6. Click Next to generate the script, do not run it at this time, modify it first.
- Click Run to compile
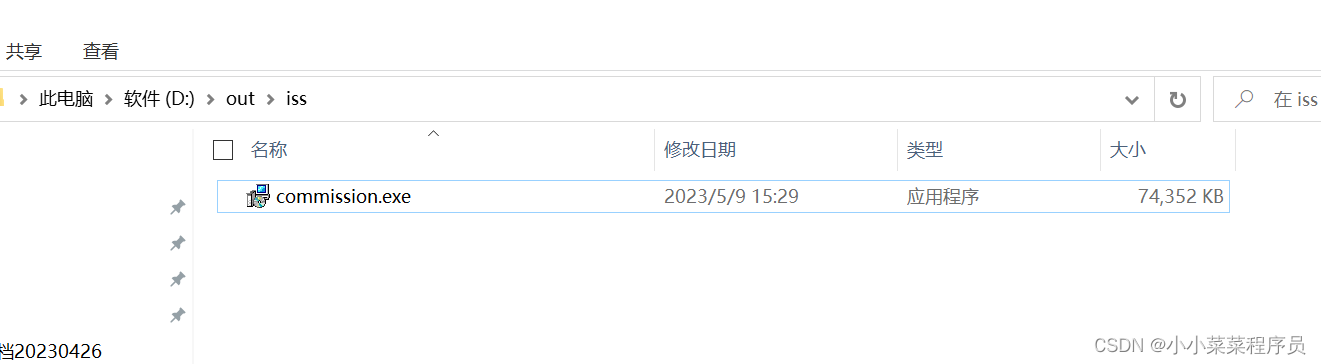
- After the compilation is completed, there will be an exe package in the output directory configured in the fifth step. We see that this package is still quite large, because it contains our jre and external configuration files. Of course, you can find a way to simplify jre, and there will be no teaching here.
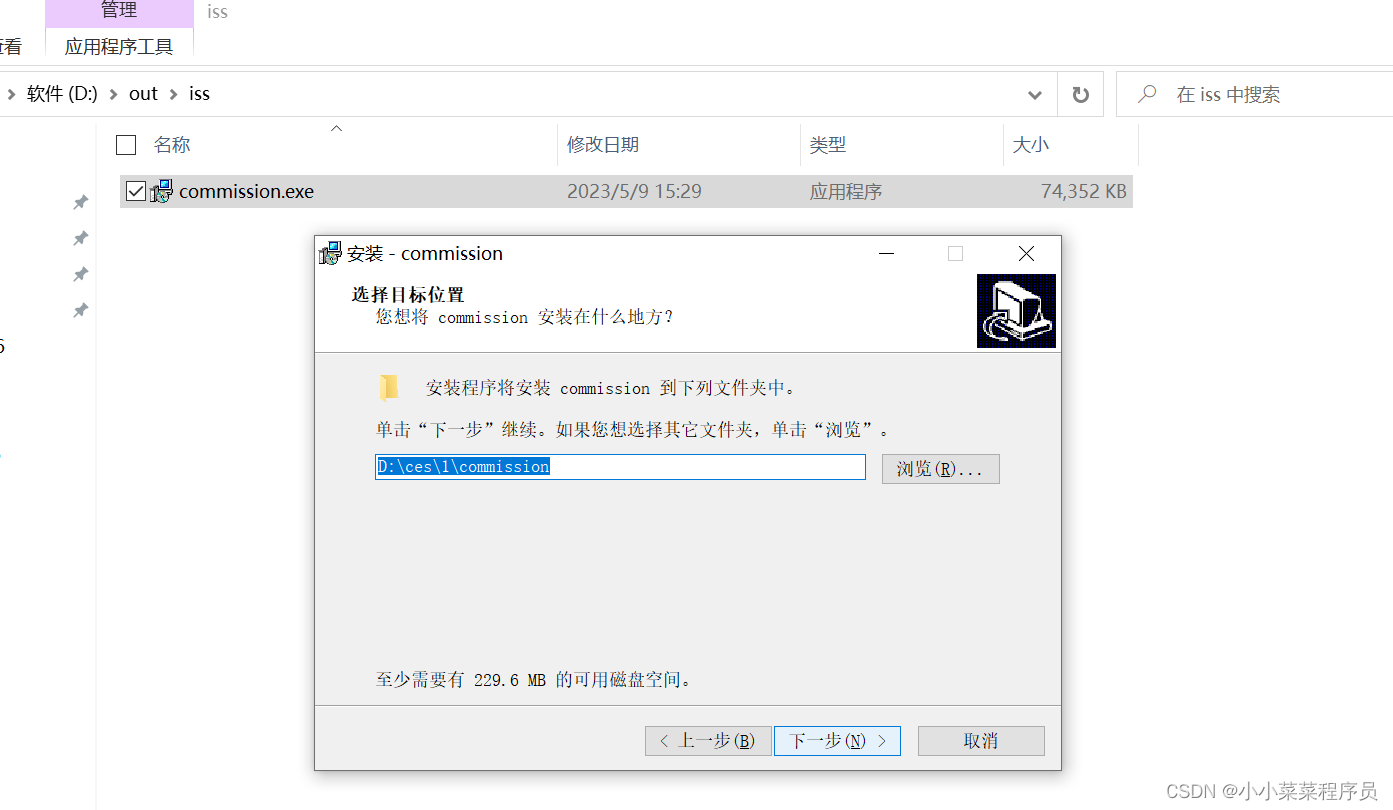
- Double-click the exe file to install and then register as a service.
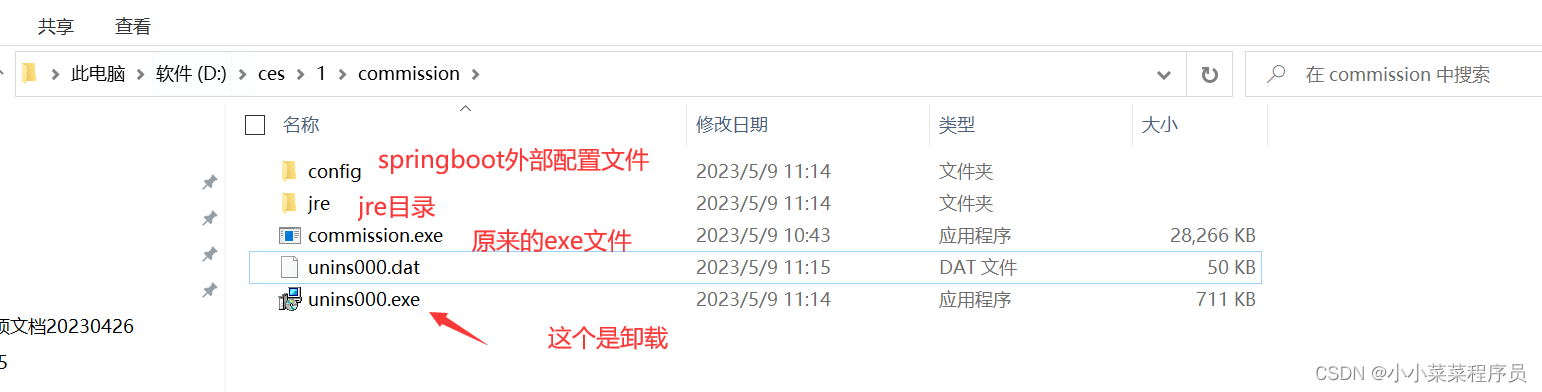
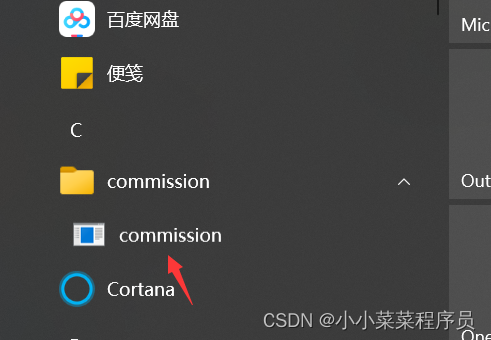
9. After the installation is complete, our directory will look like this. Double-click the exe to run it, and of course the start menu will also have services.
The whole process is roughly like this. I hope everyone can go through it step by step. After all, there are too few tutorials on the Internet, and I stepped on a lot of pitfalls. But in the end it was successful, and I was very pleased.