Applicable objects: deep learning beginners
foreword
This article mainly introduces the environment installation of the tensorflow-gpu version, so readers need to have a good NVIDIA discrete graphics card (memory greater than 2G). The installation steps in this article have been tested in the following environments (windows11, i7-8700, gtx1060) pass.
Table of contents
1. Install Anaconda
2. Install CUDA
3. Install CUDNN
4. Install tensorflow-gpu
Five, install keras
Six, hello world
text
Install Anaconda
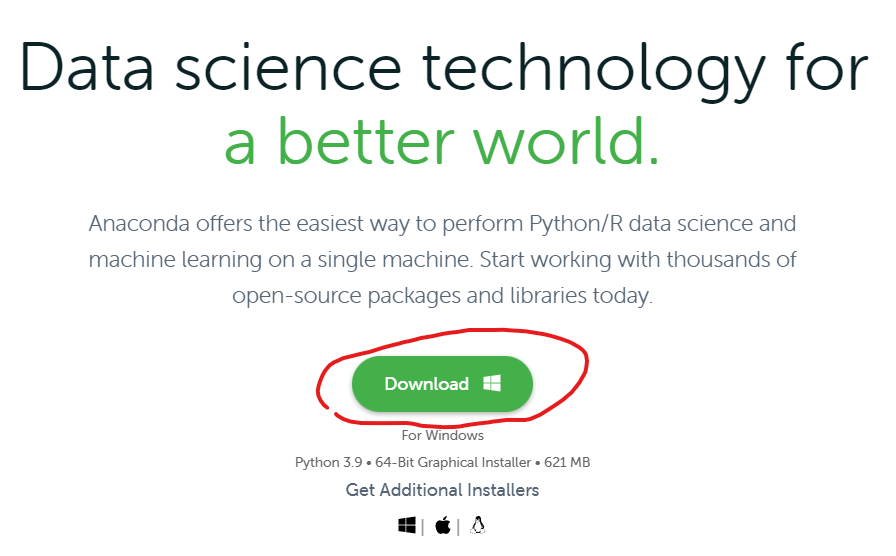
Open the browser and enter the URL https://www.anaconda.com/ to enter the Anaconda official website.
Click the Download button to download the latest version of Anaconda.
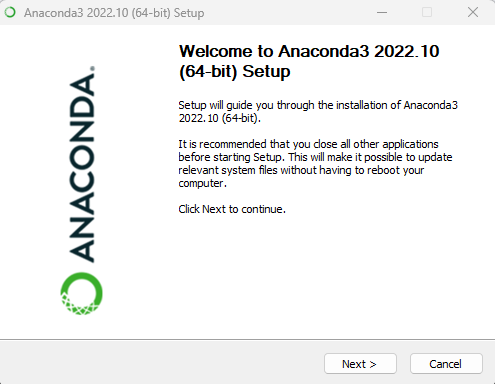
Install Anaconda.
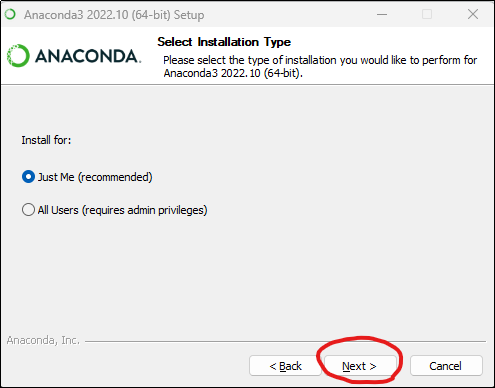
Click Next > .
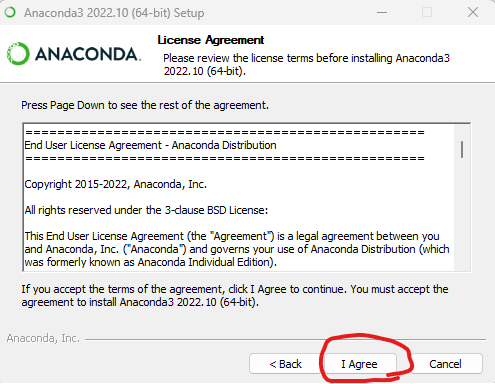
Click I Agree .
Click Next > .
Modify the installation directory, it is best not to put it on the C drive. Click Next > .

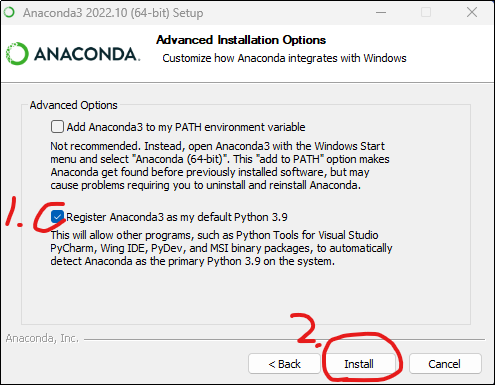
Make sure Register Anaconda3 as my default Python3.9 is checked , then click Install .
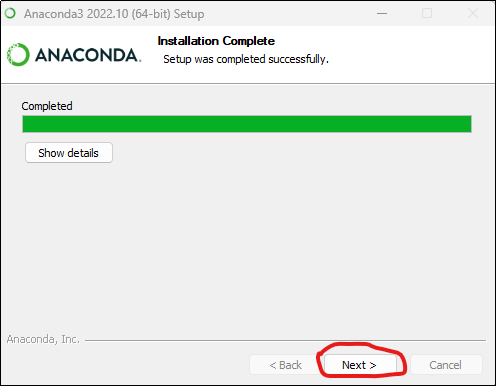
After waiting for the progress bar to finish running, click Next > .
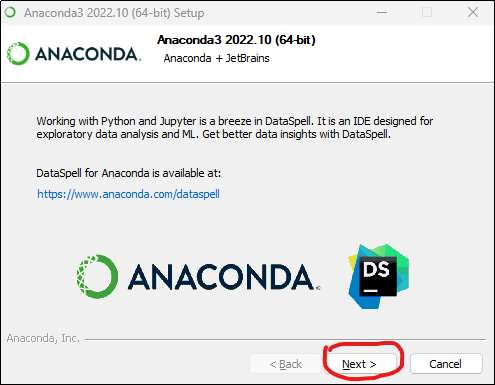
Click Next > .
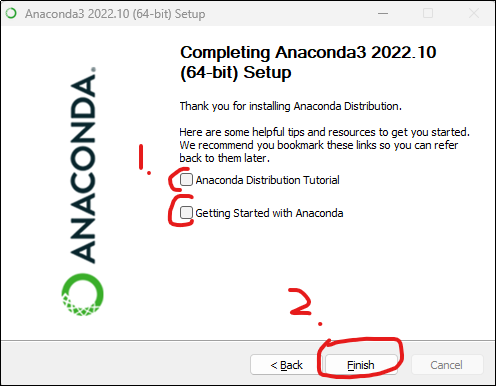
Click Finish to complete the installation.
Configure Anaconda.
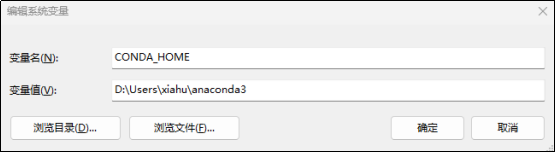
Open the system environment variable configuration, add a system variable named CONDA_HOME , and the value is the installation path of Anaconda on your computer.
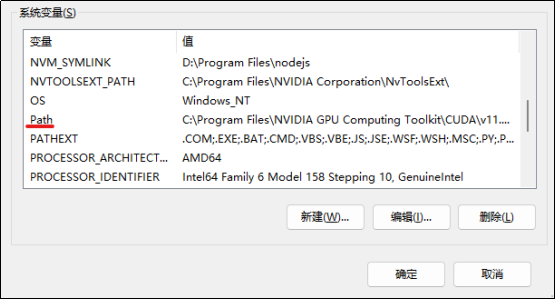
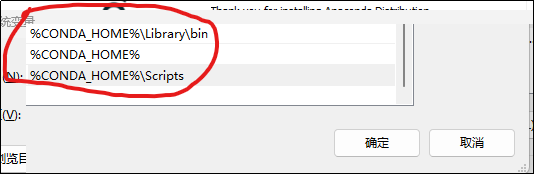
编辑Path环境变量,添加三个配置,点击确定按钮关闭所有配置窗体后生效。
测试Anaconda。
点击Windows键找到Anaconda Prompt 终端程序并打开。
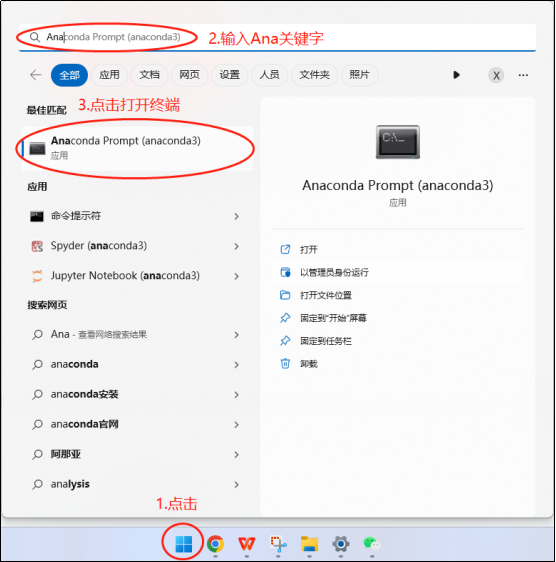
在终端程序内输入conda --version 和python -V分别测试conda和python是否可用。如果能够正常查看版本信息,则表示Anaconda已经成功安装并配置完成。
安装CUDA
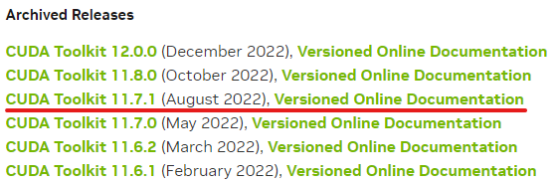
打开浏览器输入https://developer.nvidia.com/cuda-toolkit-archive进入Cuda下载页面。
点击超链接进入下载页面。
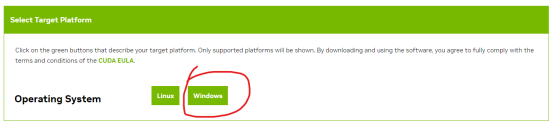
下载CUDA。
点击Windows。
点击11(Windows10玩家请选10)。
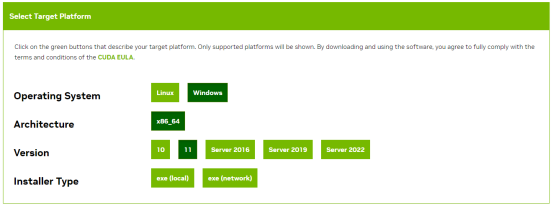
点击exe(local)。
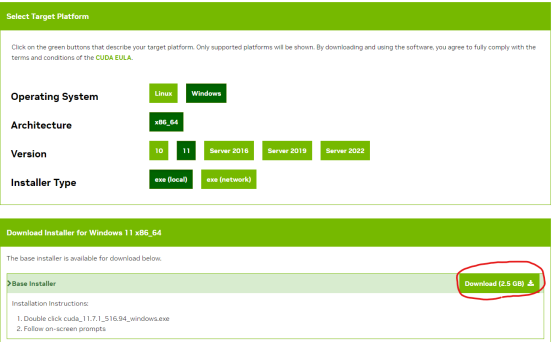
点击Download(2.5GB)开始下载(校园网挺快的)。
安装CUDA。
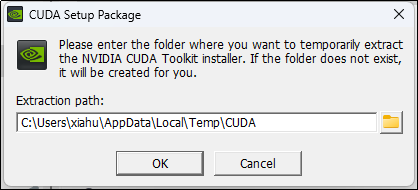
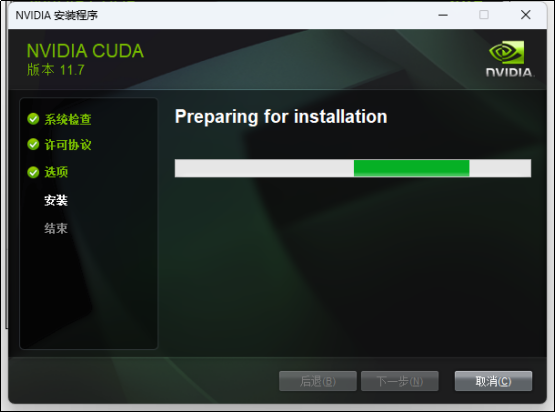
打开安装程序,不用修改安装位置,点击OK,等待进度条结束。

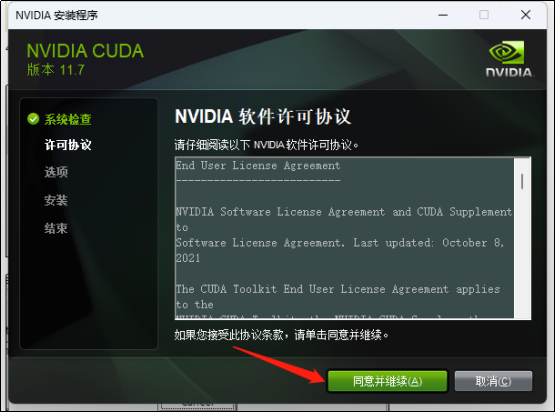
进入安装程序界面,点击同意并继续按钮。
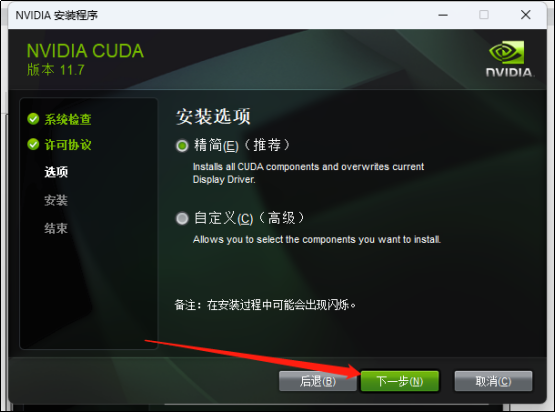
不做修改,直接点击下一步。
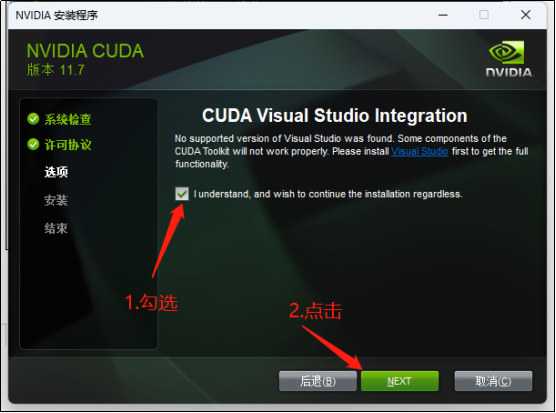
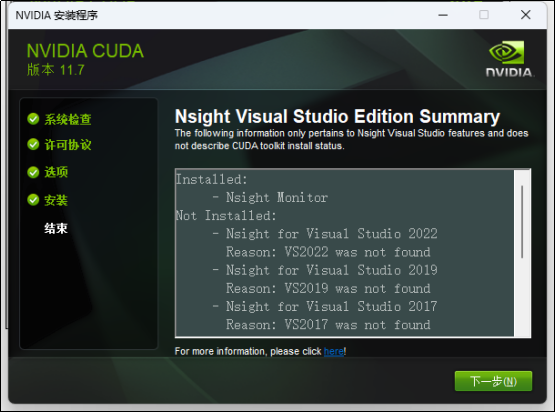
勾选I understand,点击Next按钮开始安装,等待进度条结束。
点击下一步按钮。
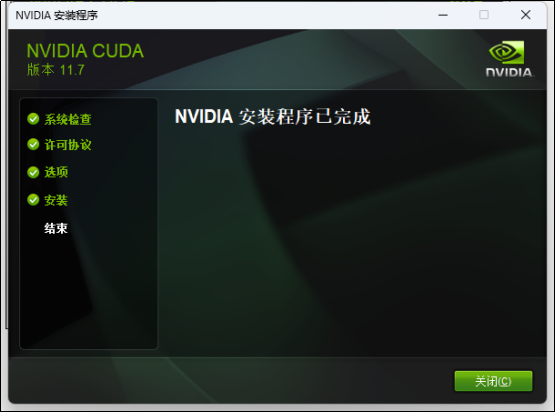
安装完成,点击关闭按钮。
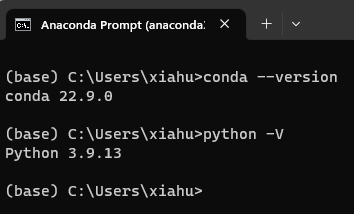
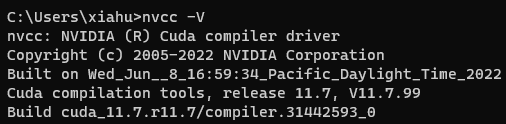
测试CUDA。
打开CMD终端程序。
输入nvcc -V 查看版本信息,如下图表示安装成功。
安装CUDNN
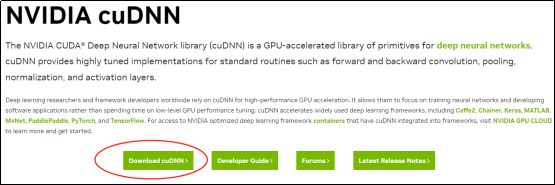
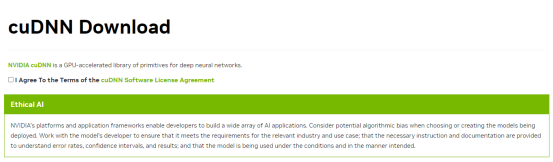
打开浏览器输入https://developer.nvidia.com/cudnn进入CUDNN下载页面。
点击Download cuDNN >按钮进入下载页面。
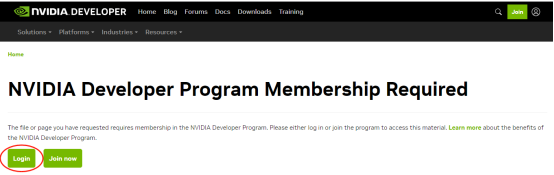
注册一个英伟达账号并登录。
点击Login跳转到登录页面。
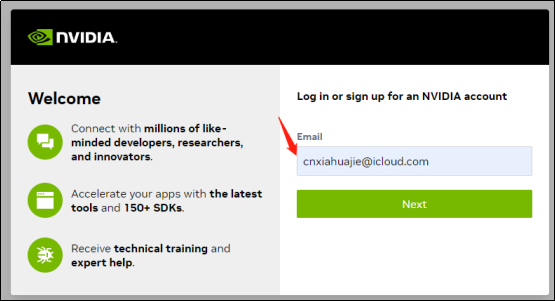
输入电子邮箱然后点击Next按钮。
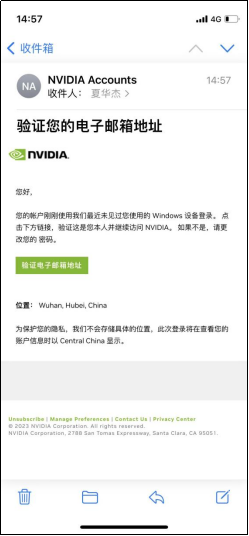
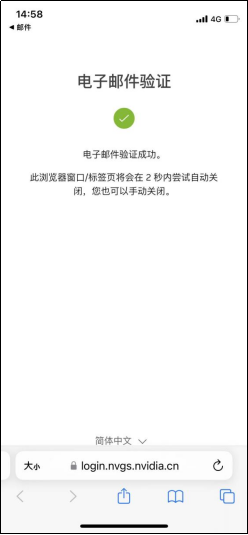
前往邮箱中找到英伟达的授权邮件,然后点击验证电子邮件地址。
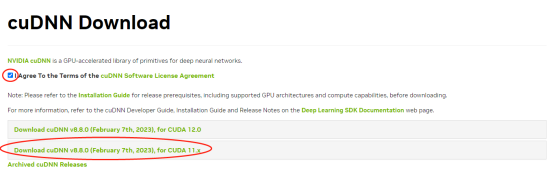
回到cuDNN下载页面,如下图。
点击I Agree复选框,点击按钮下载for CUDA 11.x。
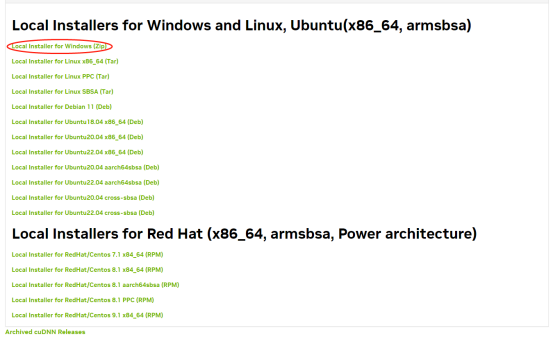
点击Local Installer for Windows(Zip)进行下载。
配置cuDNN。
解压刚刚下载的压缩包。

解压完成后得到如下3个文件夹。
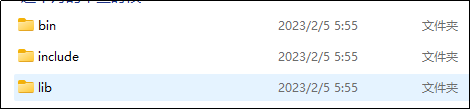
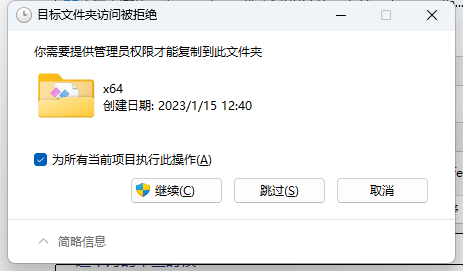
把以上3个文件夹复制到CUDA文件夹中,默认安装位置为C:\Program Files\NVIDIA GPU Computing Toolkit\CUDA\v11.7中。
替换目标中的文件。
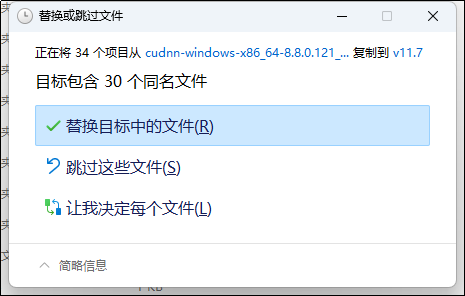
继续。
到此cnDNN已经安装完毕了。
安装tensorflow-gpu
使用conda创建一个虚拟环境。

输入y确定创建。

切换至新创建的虚拟环境。

安装tensorflow-gpu。

输入y确定安装。

到此安装完成。
安装keras
安装keras。

到此安装完成。
测试环境
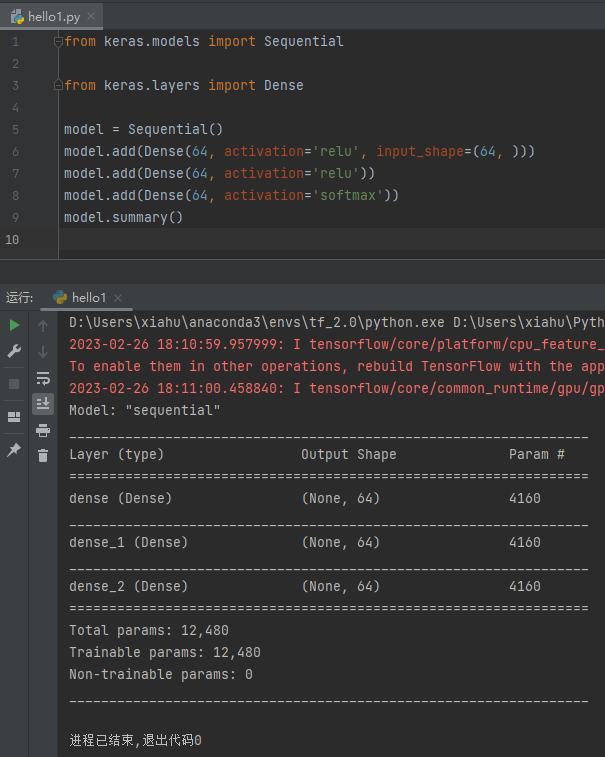
打开终端输入python,引入keras的models和layers库,如不报错,则表示安装成功。

顺手敲一个hello world.