Qt is a cross-platform application development framework for creating high-performance, scalable and user-friendly graphical user interface (GUI) applications. It provides a rich set of tools, libraries, and features that enable developers to easily build various types of applications, including desktop applications, mobile applications, and embedded system applications. Below we will introduce how to use Qt to develop embedded GUI programs.
1. Development environment preparation
Before developing Qt, you must first prepare the development environment. The steps to prepare the environment are as follows
1. Download the virtual machine software and image
First, you need to choose a virtual machine software, such as VirtualBox, VMware, etc. These software can be used to simulate running a virtual Linux environment on a physical computer.
Download Linux distributions suitable for embedded development, such as Ubuntu, Fedora, Debian, etc. These distributions typically provide tools and libraries suitable for embedded development. This tutorial uses Ubuntu 22.04 for development. The image download address is as follows: http://security.ubuntu.com/ubuntu/pool/main/o/openssl
Create a new virtual machine in the virtual machine software and allocate appropriate resources, including memory and storage space, it is recommended The memory size is greater than 4096MB. Then, select the downloaded ISO image file of the Linux distribution and install the Linux system in the virtual machine.
2. Install the required development tools and libraries
Development tools such as compilers (such as GCC), debuggers, build tools, and cross-compilation tool chains need to be downloaded
sudo apt update && sudo apt upgrade
sudo apt install -y wget git gcc ssh cmake ninja-build libssl-dev build-essential flex bison device-tree-compiler pkg-config
Download Huashan Pai SDK resources:
git clone https://github.com/sophgo/sophpi-huashan.git
cd sophpi-huashan && git pull
Download the gcc compilation toolchain:
cd sophpi-huashan && bash download_host-tools.sh
tar -zxvf host-tools.tar.gz
Enter the directory after the gcc compilation toolchain is downloaded, and compile the SDK after declaring the environment:
cd cvi_mmf_sdk && source build/cvisetup.sh
defconfig cv1812h_wevb_0007a_emmc_huashan
build_all
Before developing a GUI project, you need to install the OpenGL library
sudo apt-get install build-essential
sudo apt-get install build-essential libgl1-mesa-dev
sudo apt-get install libglew-dev libsdl2-dev libsdl2-image-dev libglm-dev libfreetype6-dev
sudo apt-get install libglfw3-dev libglfw3
3. Configure the development environment
Developing qt based on embedded system needs to set development environment variable, path and tool chain, etc., to ensure that the development tool can interact with the embedded system correctly. This allows you to develop in a virtual machine and use a cross-compilation toolchain to compile the application into an executable for the target embedded platform.
Two, Qt download and configuration
Install Qt Creator on Ubuntu
Download qt through the wget command in Ubuntu and give it executable permissions:
mkdir qt
cd qt
wget https://download.qt.io/new_archive/qt/5.11/5.11.3/qt-opensource-linux-x64-5.11.3.run
sudo chmod +x qt-opensource-linux-x64-5.11.3.run
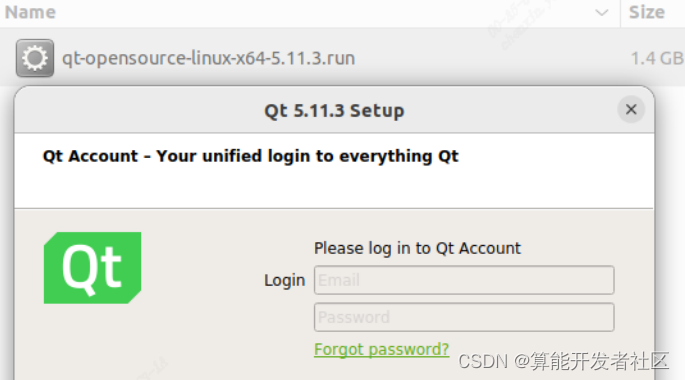
./qt-opensource-linux-x64-5.11.3.run
After that, you can install it according to the operation instructions. You need to register a qt account during installation and verify it in the email to obtain more resources.
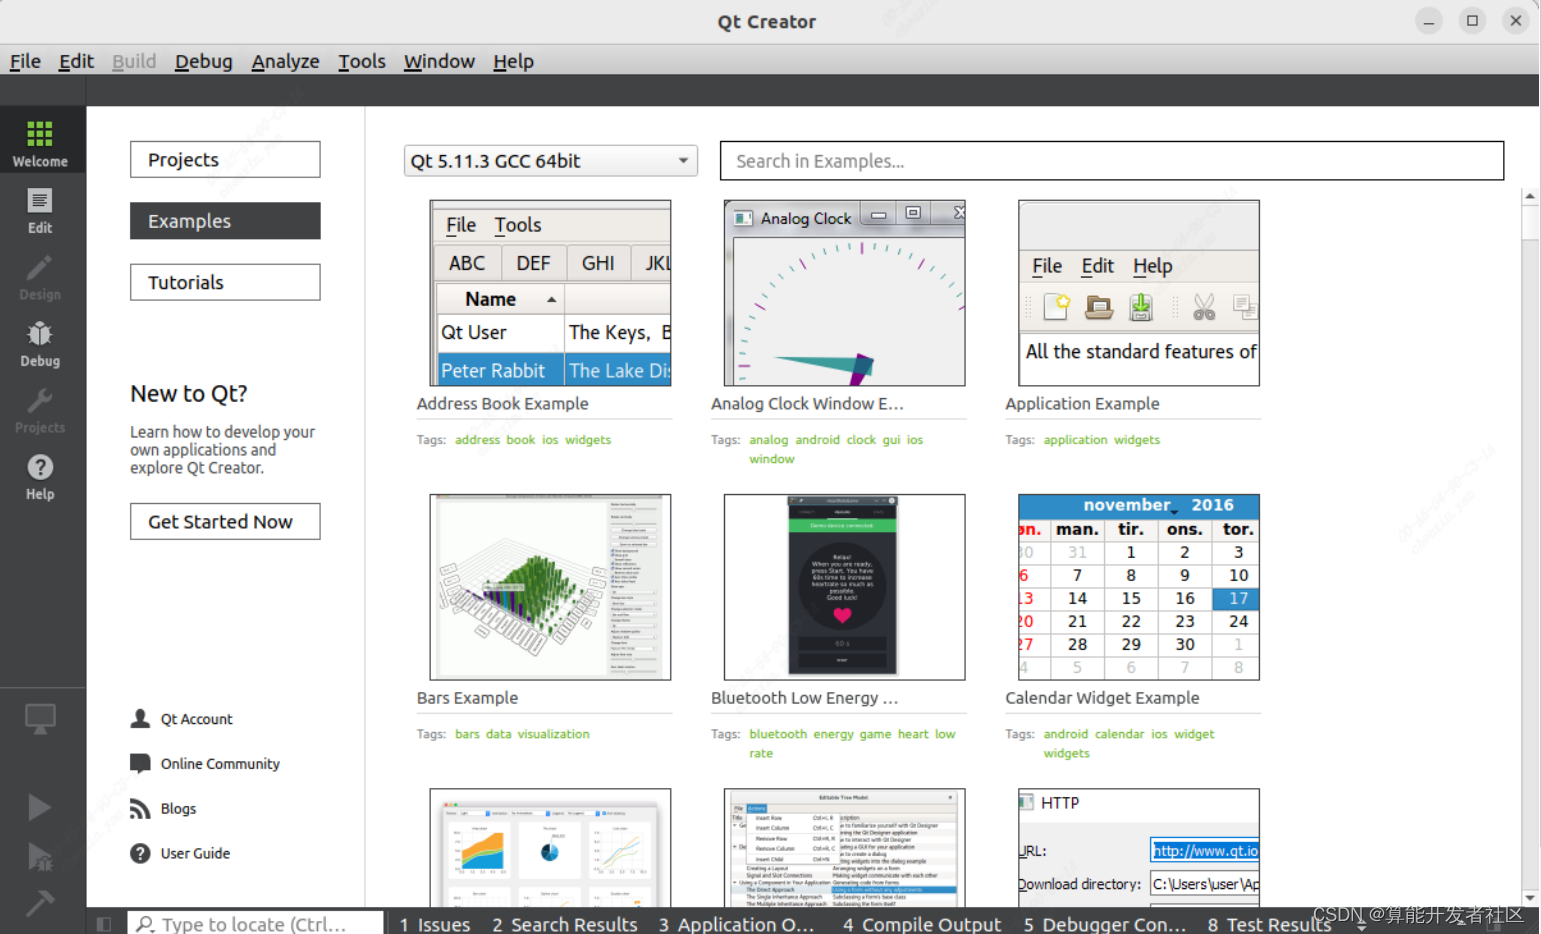
After successful installation, the interface is as follows, Qt creator provides a variety of routines for learning.
3. Create Qt project Helloworld
1. New construction
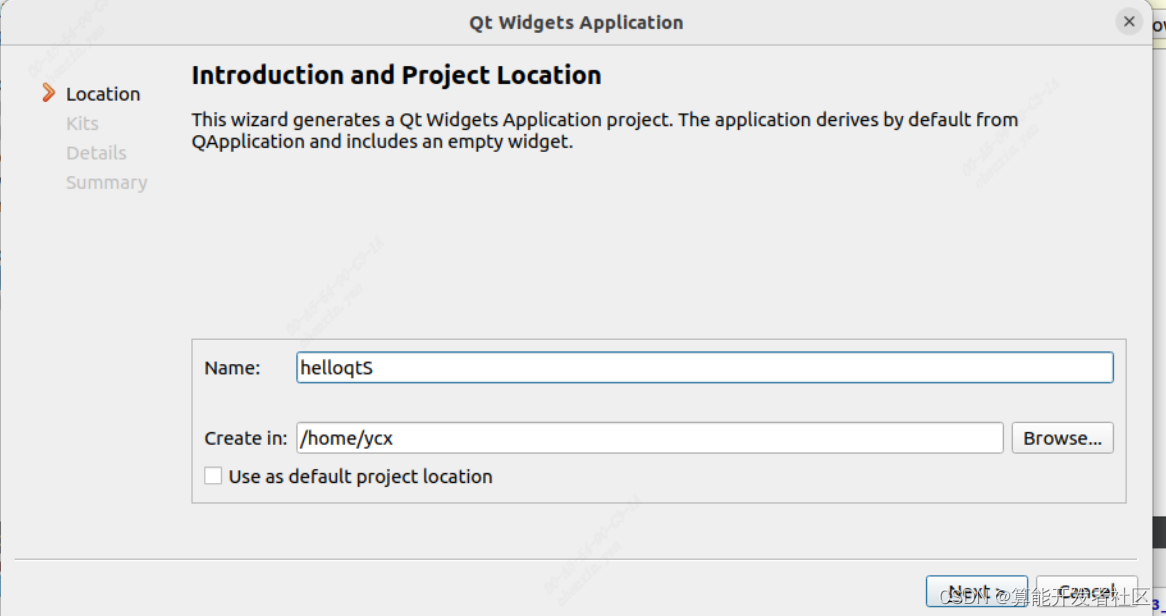
Select New project in qt creator

to create the helloqt project
Create the class name, header file, and source file by default. The

project directory includes the following content:
HelloQt.pro is a Qt-specific project file used to manage the Qt project
main.cpp where the main function is located File
mainwindow.cpp The header file of the custom class MainWindow, which inherits from QMainWindow
mainwindow.h The source file of the custom class
MainWindow mainwindow.ui Interface file, written in XML extensible editing language
2. Code documentation
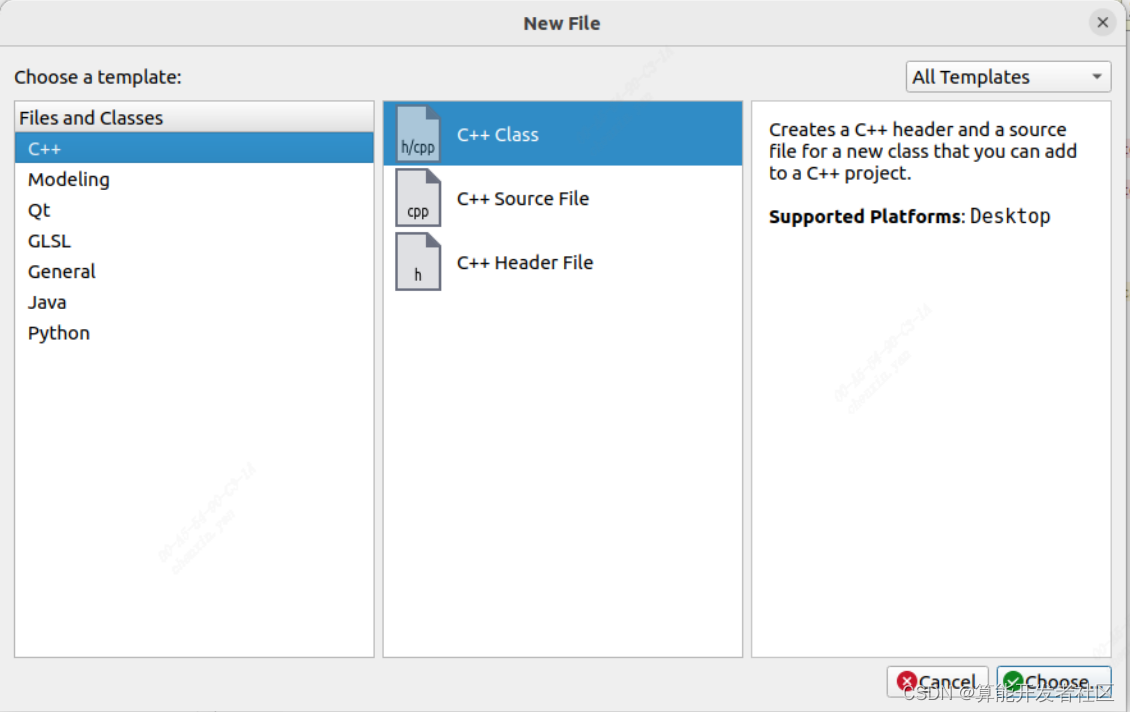
Right-click the "add new" option in the project directory to add C++ Class:
modify the class name and modify the class name to MyWidget, select QWidget for Base class and check QObject and QWidget. 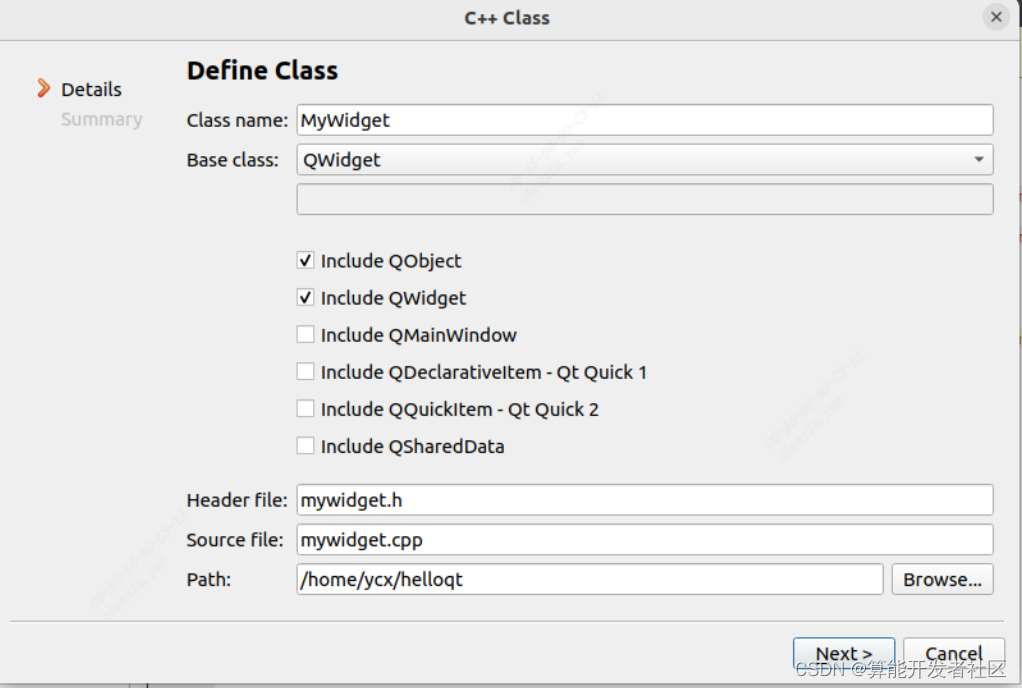
Enter the following code in mywidget.h
#ifndef MYWidget_H
#define MYWidget_H

#include <QWidget>
#include <QObject>

class MyWidget : public QWidget
{


    Q_OBJECT
public:
    explicit MyWidget(QWidget *parent = nullptr);

signals:

public slots:
};

#endif // MYWidget_H
Enter the following code in mywidget.cpp
#include "mywidget.h"

#include <QLabel>
#include <QBoxLayout>

MyWidget::MyWidget(QWidget *parent) : QWidget(parent)
{


    QLabel *label =new QLabel("hello widget");
    label->setAlignment(Qt::AlignCenter);

    QVBoxLayout *verLayout = new QVBoxLayout(this);
    verLayout->setContentsMargins(0, 0, 0, 0);
    verLayout->setSpacing(0);

    verLayout->addWidget(label);
}
Modify in main.cpp, delete (comment) MainWindow w, declare MyWidget w.
#include "mainwindow.h"
#include "mywidget.h"
#include <QApplication>

int main(int argc, char *argv[])
{


    QApplication a(argc, argv);

    //MainWindow w;

    MyWidget w;

    w.resize(800, 480);
    w.show();

    return a.exec();
}
In this way, we will create a helloworld qt program.