Lenovo ThinkPad how to use the U disk to reinstall the system? When Lenovo ThinkPad has a system problem or needs to update the operating system, reinstalling the system using a U disk is a fast and reliable solution. Using a U disk to reinstall the system is not only simple and easy, but also can effectively avoid disk damage or network failure. For the problems caused by stability, how to operate specifically, you can follow the Lenovo ThinkPad system reinstallation tutorial with U disk shared by the editor below, and you can easily and quickly complete the system reinstallation.
Preparation:
1. One U disk (try to use a U disk above 8G).
2. A computer that can be used normally on the Internet.
3. Download the U disk boot disk creation tool on this page: System Home U disk boot tool .
U disk boot disk production steps:
Note: During the production, the U disk will be formatted, so please pay attention to backup important files in the U disk. If the system needs to be installed on the C drive, please do not put important files on the C drive and the desktop.
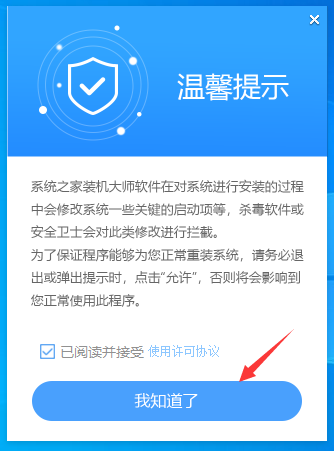
1. First, close all anti-virus software, and then run the system home installation master software, the software will prompt, after reading carefully, click I know to enter the tool.
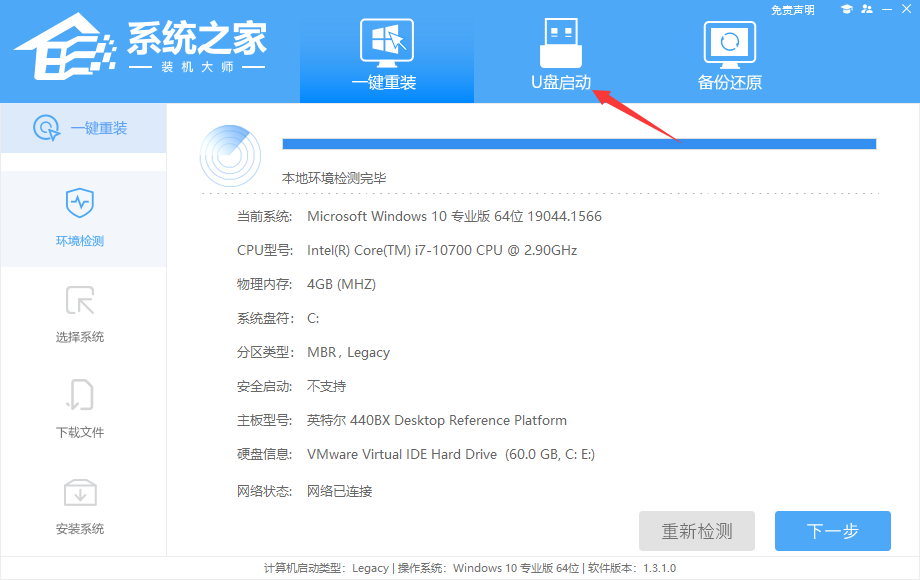
2. After entering the tool, select the U disk boot at the top to enter the U disk boot disk creation interface.
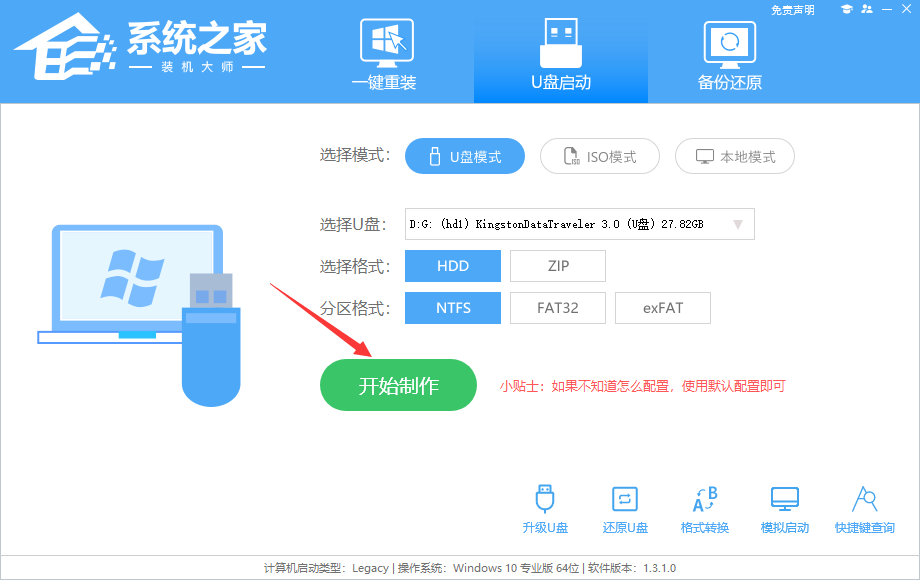
3. Keep the default format and partition format, no need to change manually. Click to start making.
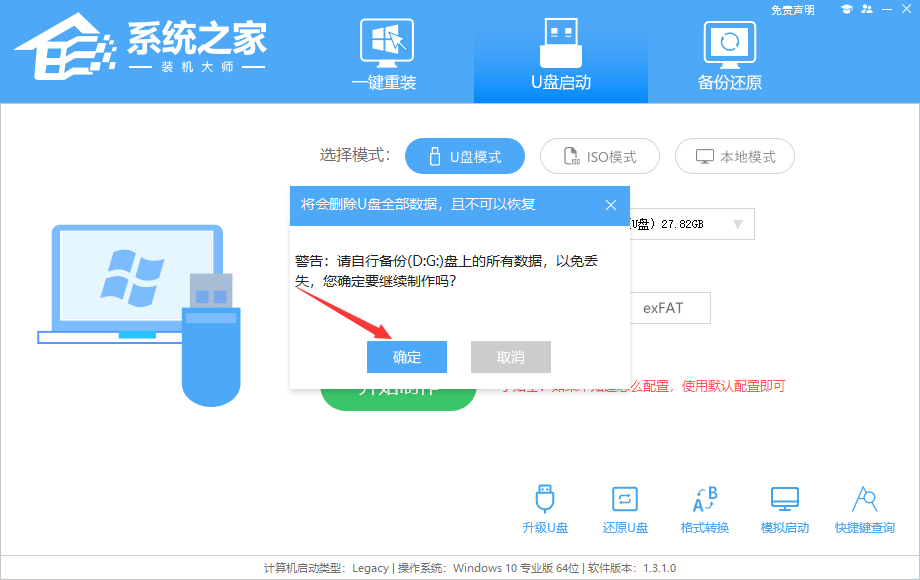
4. The tool will automatically prompt whether to start making. Note: The production tool will clean up all the data in the U disk and it cannot be recovered. Please save important data files in the U disk in advance.
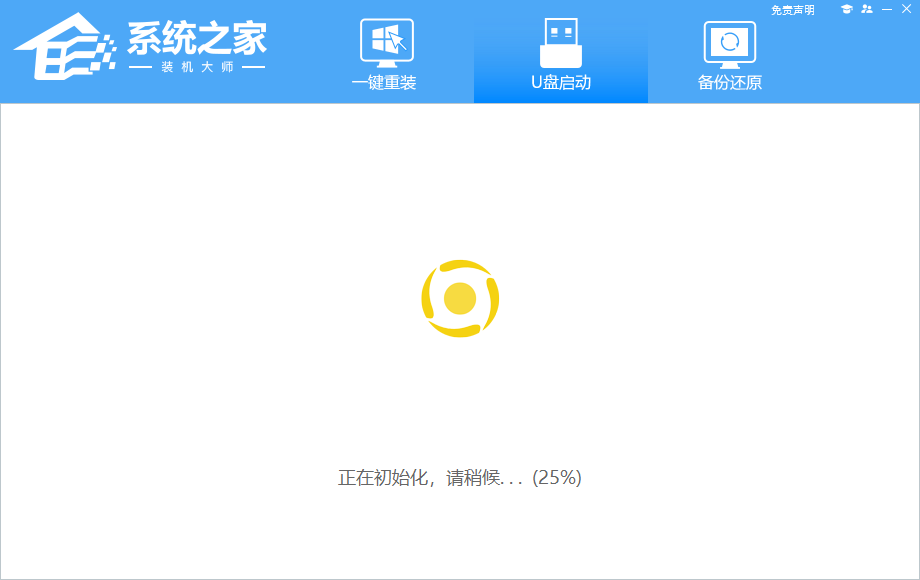
5. Wait for the U disk to be created.
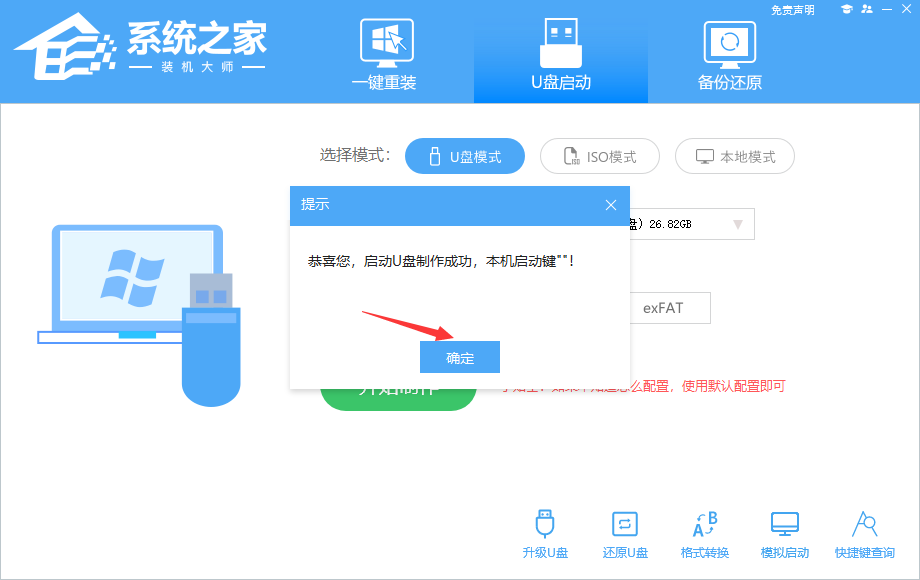
6. After the U disk is created, the tool will prompt and display the shortcut key for starting the U disk of the current computer.
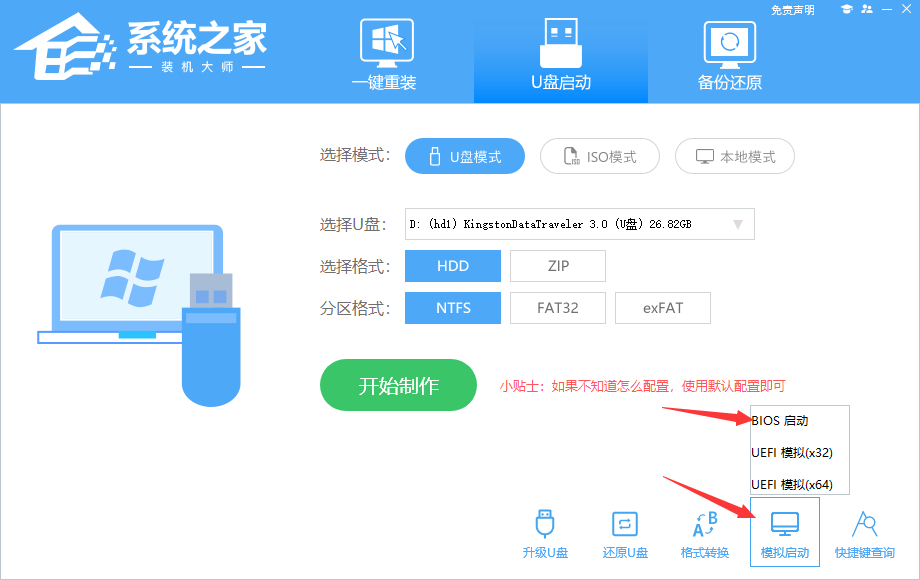
7. After the production is completed, it is necessary to test whether the current U disk boot disk is completed. You need to click on the bottom right to simulate start-BIOS start to check whether the current U disk boot disk is created successfully.
8. Wait for a while, it means success if this interface is successfully displayed.

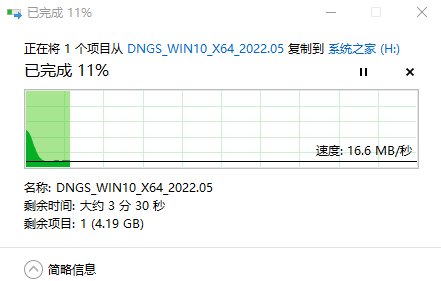
9. Then close the software, the user needs to move the downloaded system to the U disk.
U disk installation system:
1. Find the shortcut key of the U disk boot disk on the motherboard of your computer.
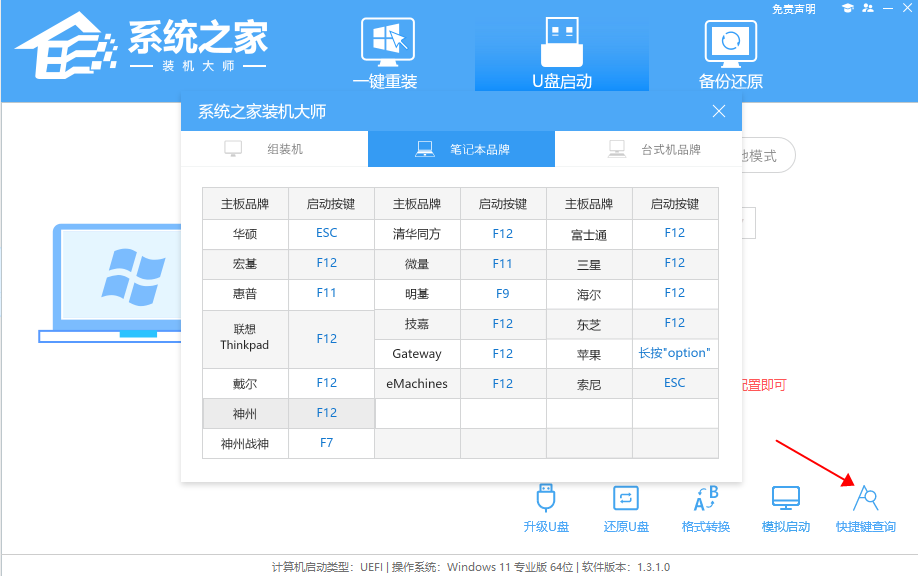
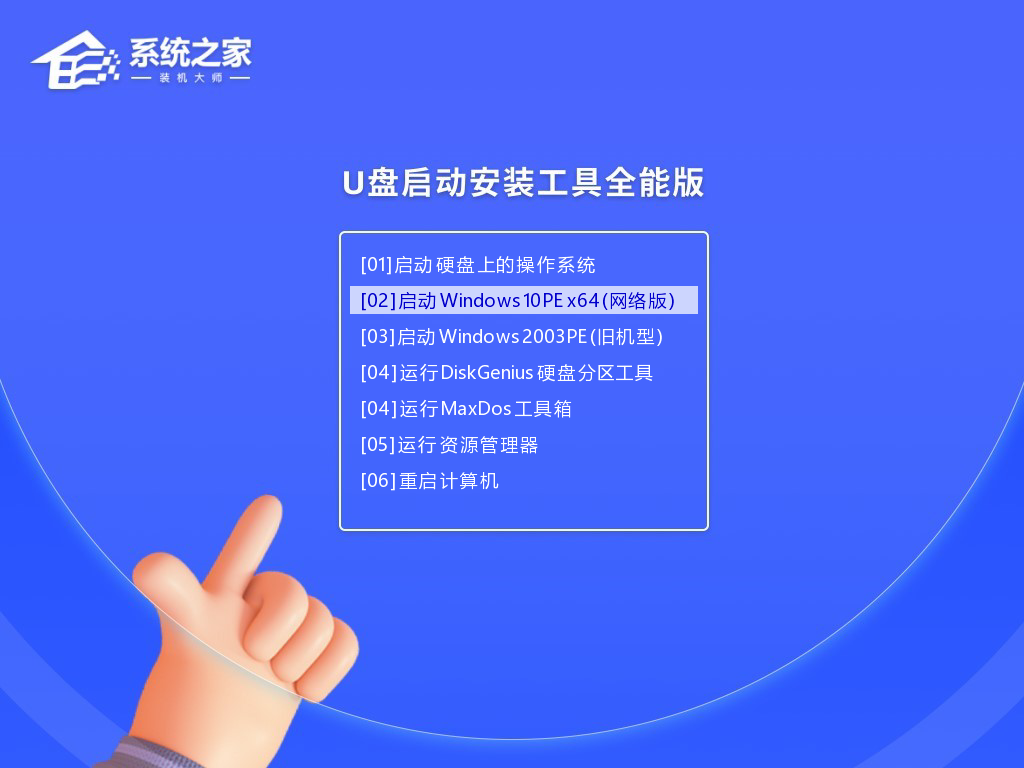
2. Insert the U disk into the computer, restart the computer and press the shortcut key to select the U disk as the first startup item. After entering, press the ↑↓ key on the keyboard to select the second [02] to start Windows 10 PEx64 (network version), and then press Enter.
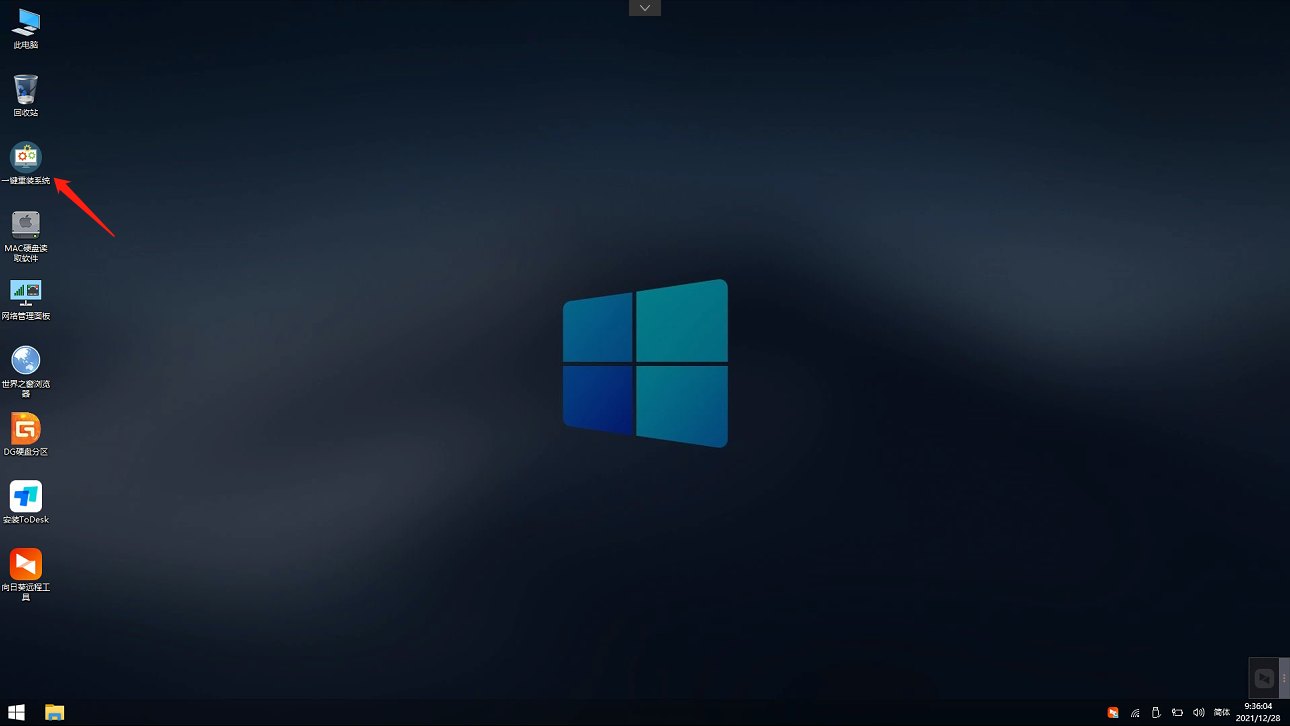
3. After entering the PE interface, click the one-key reinstall system on the desktop.
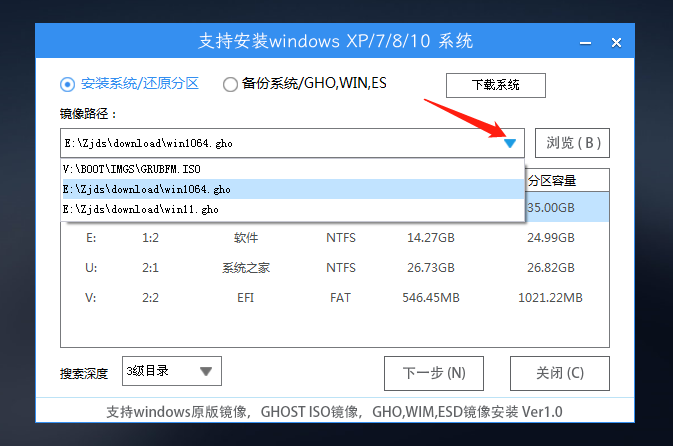
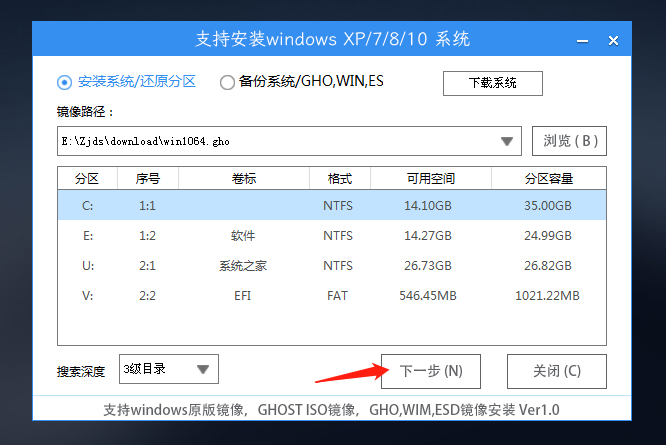
4. After opening the tool, click Browse to select the downloaded system image ISO in the U disk. After selection, select the partition for system installation, which is generally C area. If the software recognizes errors, users need to choose by themselves.
5. After the selection is complete, click Next.
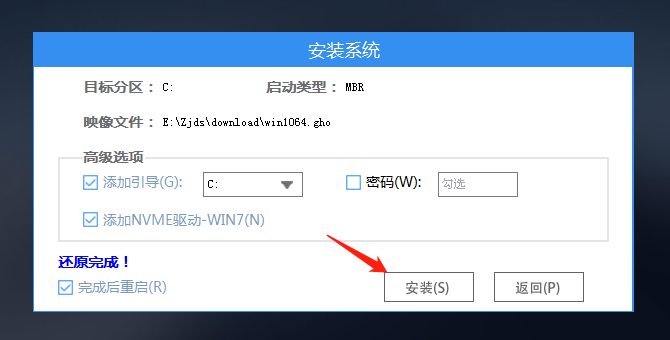
6. Click Install directly on this page.
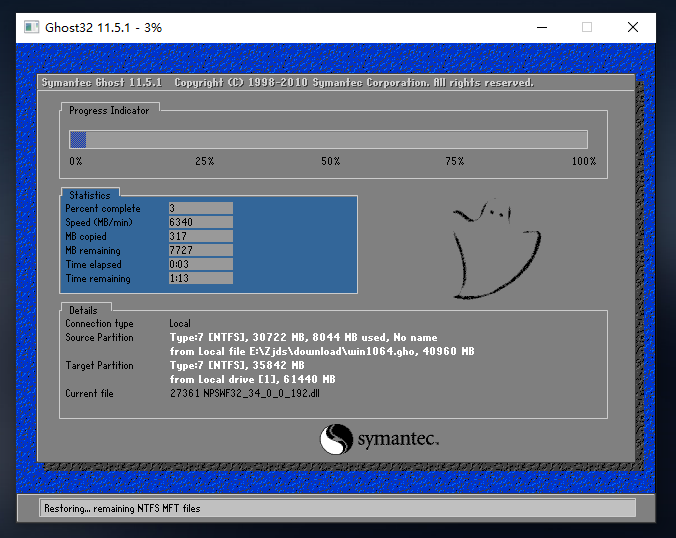
7. The system is being installed, please wait.
8. After the system is installed, the software will automatically prompt to restart, and pull out the U disk, please pull out the U disk and restart the computer.

9. After restarting, the system will automatically enter the system installation interface. At this point, the installation is successful!