NDK introduction :
The Android NDK is a set of tools that allow you to embed C or C++ ("native code") into Android applications.
Java Native Interface (JNI) :
JNI is the interface that Java and C++ components use to communicate with each other.
android studio configuration ndk
1. Download ndk in Studio :
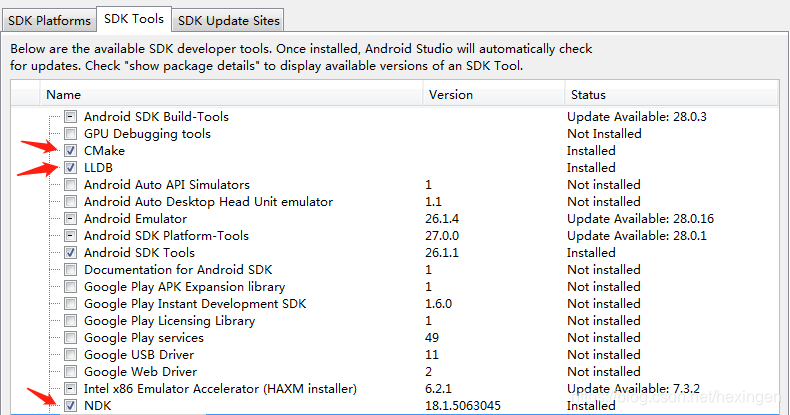
In the studio, setting -->Android SDK -->SDK Tools, check the three tools of CMake, LLDB, and NDK to download. After the download is successful, as shown in the figure below:
Personally, it is recommended to download offline ndk, there may be problems with the SDK Manager download.
2. Configure the ndk path in the environment variable :
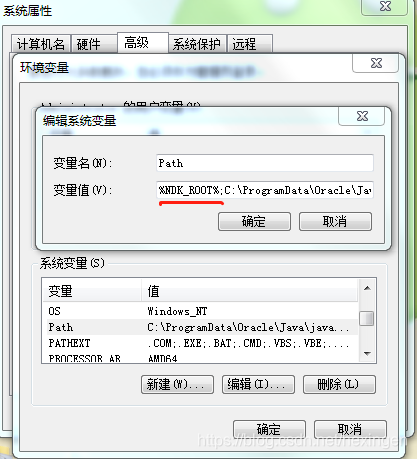
Open the environment variable, create NDK_ROOT, enter ndk文件夹所在路径, and add the variable to Path, as shown in the following figure:

3. Existing problems (if not encountered, skip this step) :
Run the created ndk project, studio 3.0 reports an error:
Error:No toolchains found in the NDK toolchains folder for ABI with prefix: mips64el-linux-android
Open the ndk directory downloaded through the SDK Manager, and find the toolchains folder, as shown in the following figure:
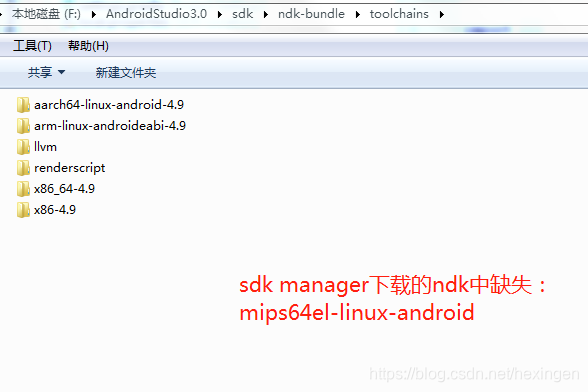
To download the ndk offline package, select the corresponding platform, ndk download address . After the download is complete, copy the missing files or replace the entire NDK folder.
Android development first NDK case
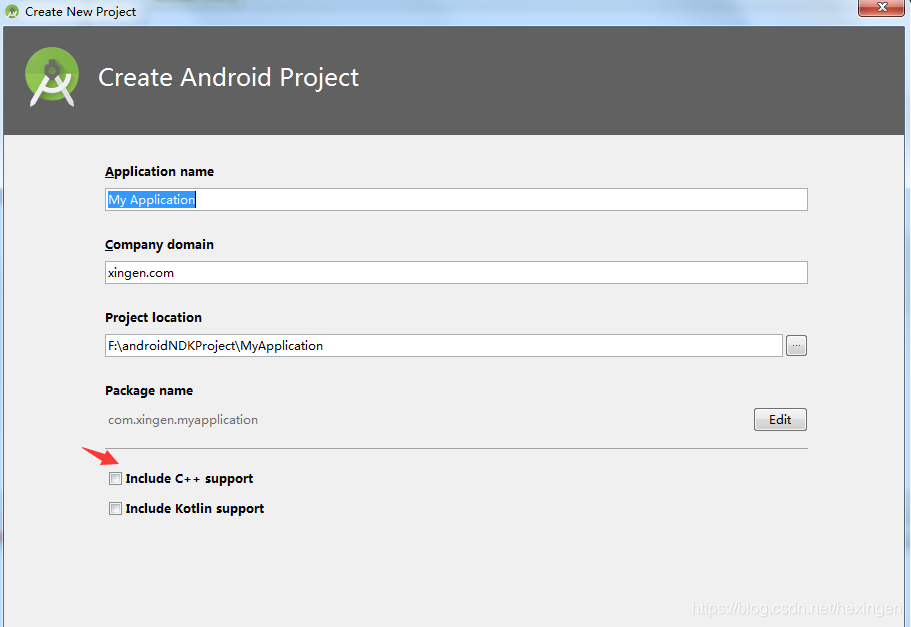
Android Studio creates a project that supports c++, as shown below:
After the creation is complete, you will find a few more things than pure Java projects.
The first is the main/cpp folder, which contains a c++ source file.
The second is CMakeLists.txt, which AndroidStudio uses to compile the c++ file code
In addition, the configuration of camke is also added in the project's build.gradle.
At this point, run the project, and the textview will display "Hello from C++". If you are only satisfied with this, it is still too simple, and you can't even get started.
Write a C++ file by hand, and interact with Java through the jni interface .
1. Java static loads so library and native defined functions
In Activity, load the so library through the static static code block, and the library is named test-lib
    static {
        //加载c++文件
        System.loadLibrary("test-lib");
    }


   //native定义函数
   public  native  String getContentFromJNI();

   public void showContent(){
         textView.setText(getContentFromJNI());
   }
2. Write C++ code :
Right-click under the main/cpp folder, create a C/C++ Source File, and enter the file name test-lib.
First use #includethe command to import header files, such as jni, string and other header files, and add the namespace std.
Write the code as follows:
#include <string>
#include <jni.h>
using  namespace std;
Write the functions defined by native in the java layer, and the corresponding c++ layer functions:
Define the return value first
//jstring是Java原生接口规定的数据类型,它是指向java字符串的指针
JNIEXPORT jstring
The function name corresponding to c++ is the Java function name and the path of the file where the function name is located
JNICALL
Java_com_xingen_myapplication_MainActivity_getContentFromJNI( JNIEnv* env,jobject){

}
JNIEnv* is a pointer to the virtual machine and jobject is a pointer to the implicit this object passed from the Java side.
Naming rules:
- Prepend Java_ to the name.
- Describes the file path relative to the top-level source directory.
- Use underscores instead of forward slashes.
- Remove the .java file extension.
- After the last underscore, append the function name.
Write the c++ code for the return value in the function:
    string content="android通过jni与c++交互的结果";
    return  env->NewStringUTF(content.c_str());
The complete test-lib.cpp file code is as follows:
// Created by $HeXinGen on 2018/11/20.
//
#include <string>
#include <jni.h>
using  namespace std;

extern "C"
//jstring是Java原生接口规定的数据类型,它是指向java字符串的指针
//
JNIEXPORT jstring

JNICALL
Java_com_xingen_myapplication_MainActivity_getContentFromJNI( JNIEnv* env,jobject){
    string content="android通过jni与c++交互的结果";
    return  env->NewStringUTF(content.c_str());
};
3. Configure the written c++ file into CMakelist.txt :
The first step: Create a new add_library, add the c++ source file name and file path
#添加可执行文件所需要的库
add_library( # Sets the name of the library.
                          test-lib

                          # Sets the library as a shared library.
                          SHARED

                          # Provides a relative path to your source file(s).
                          src/main/cpp/test-lib.cpp )
Step 2: Add c++ source file name to target_link_libraries, here is test-lib
target_link_libraries( # Specifies the target library.
                       native-lib
                       test-lib

                       # Links the target library to the log library
                       # included in the NDK.
                       ${log-lib} )
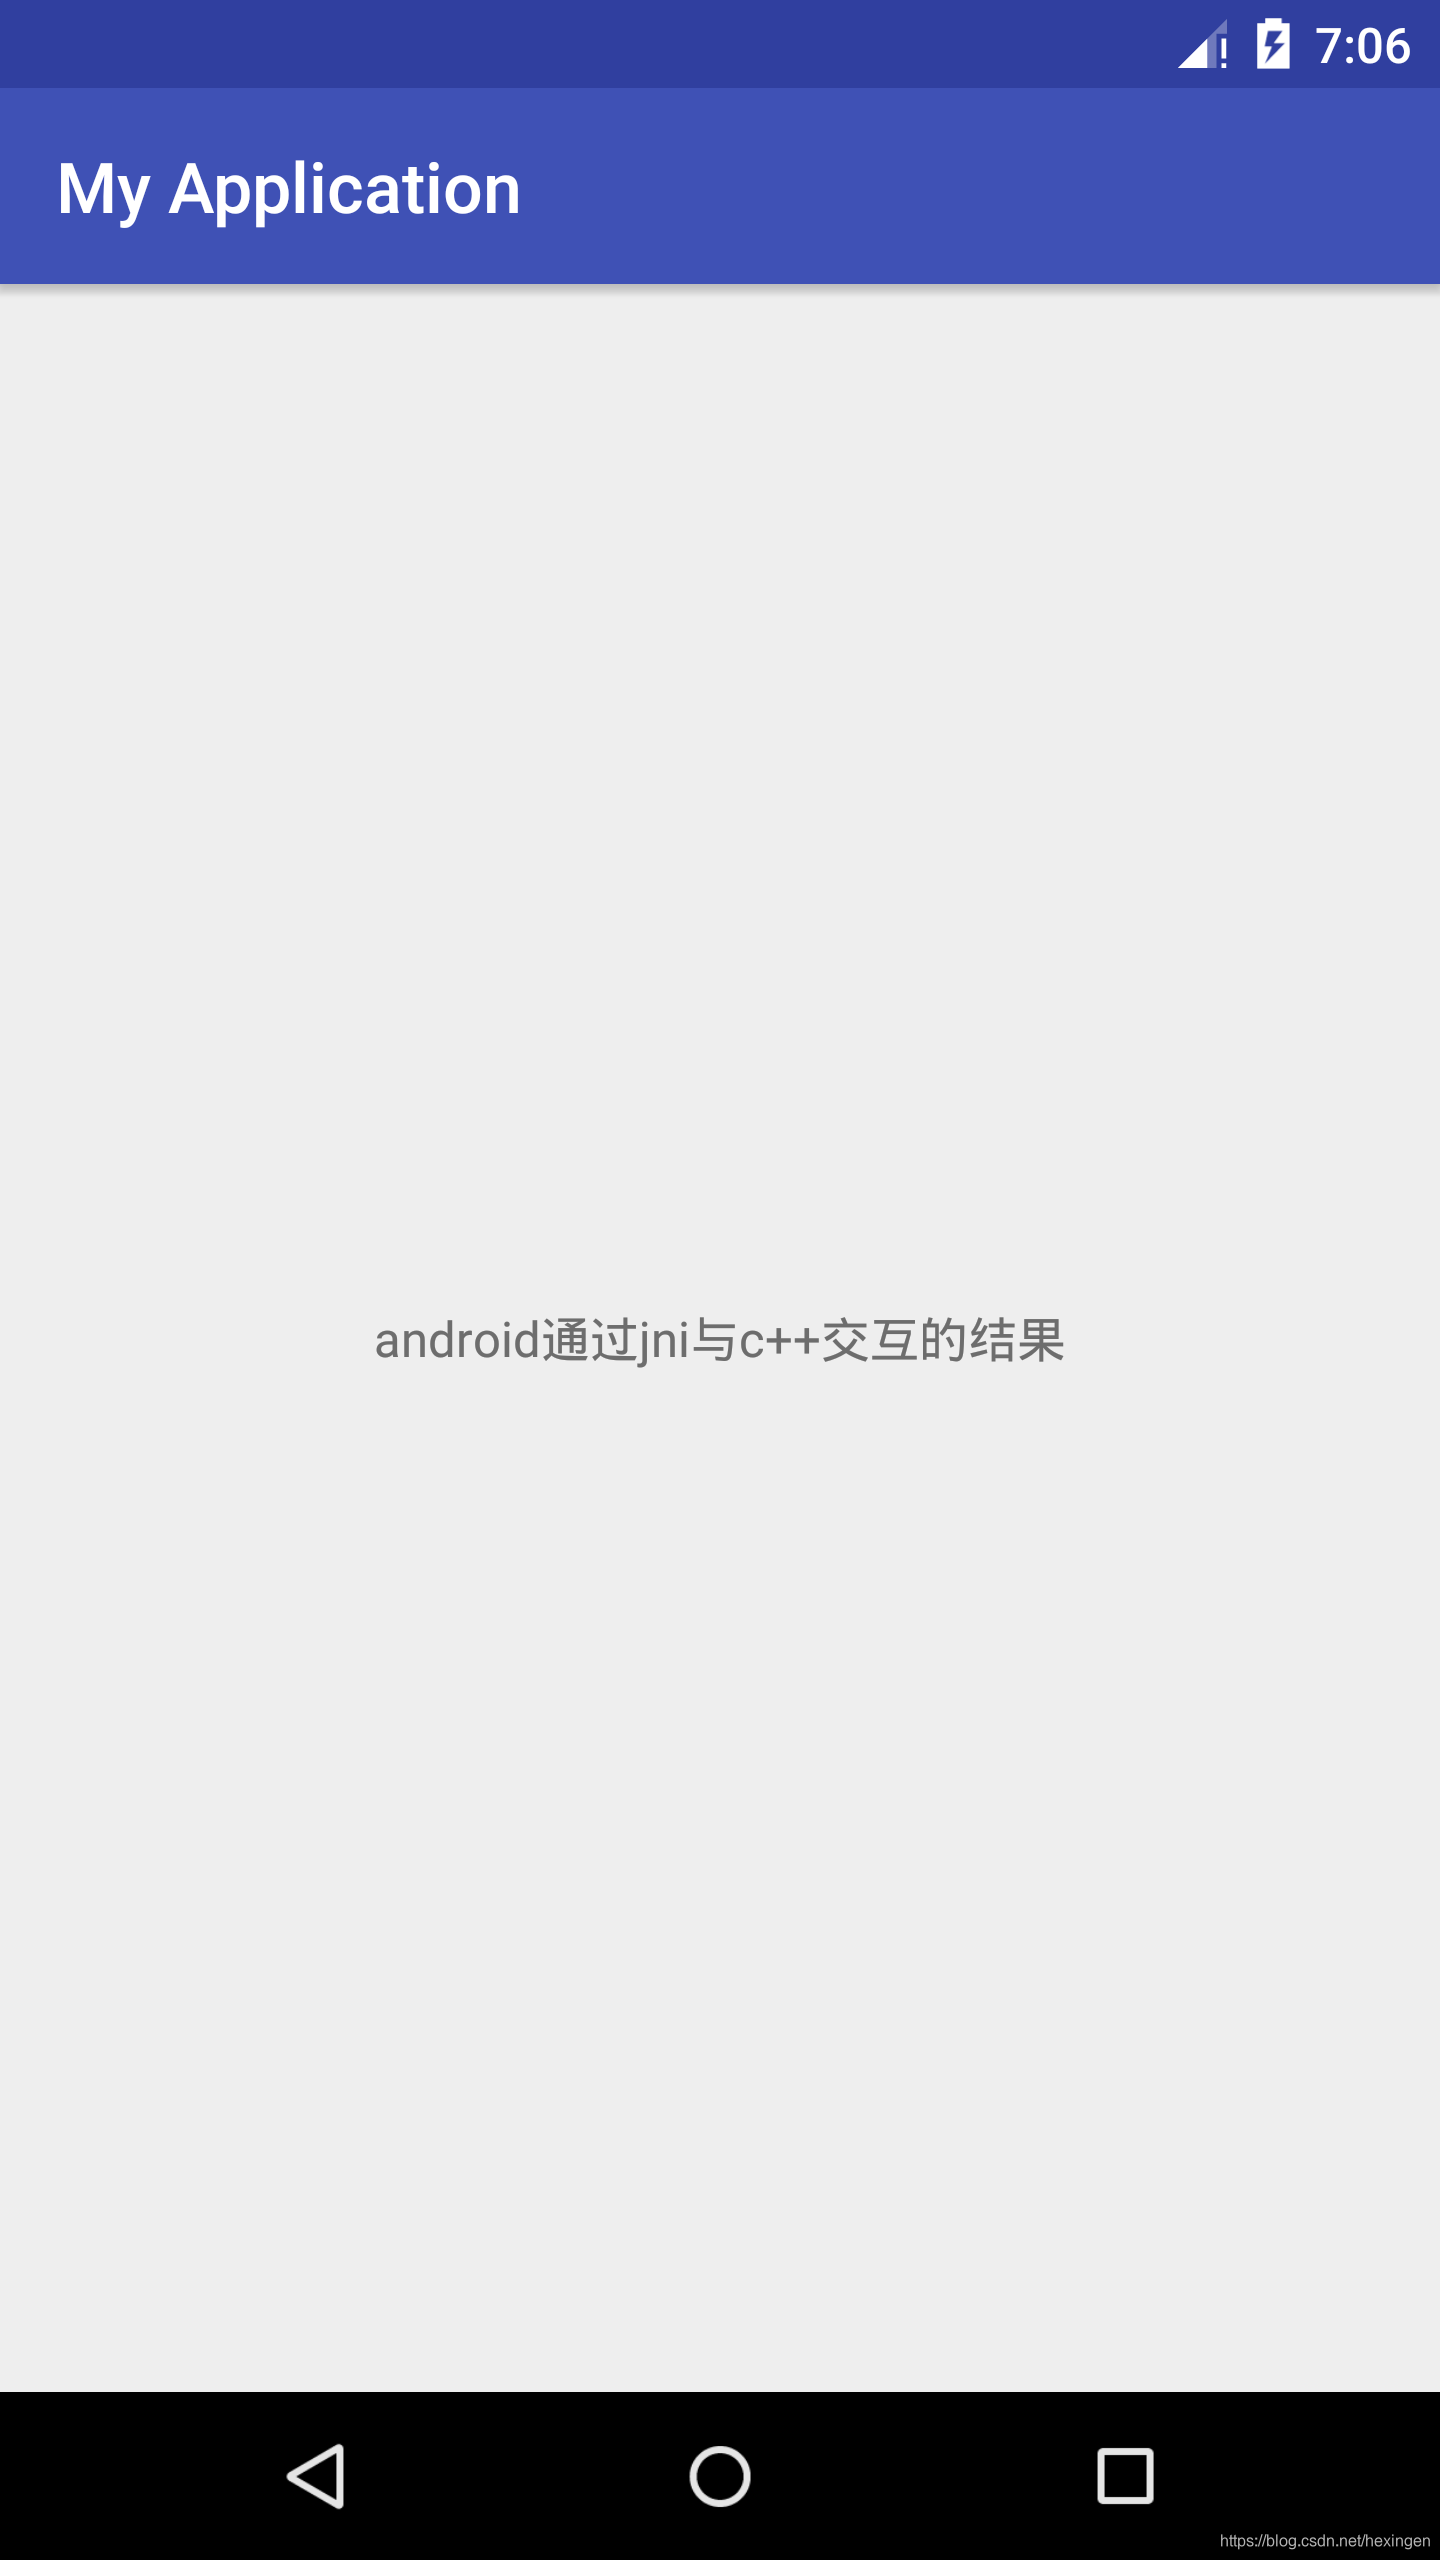
4. The running effect is as follows :
Resource reference :
-
android NDK documentation : https://developer.android.google.cn/ndk/guides/
-
How to write CMakeList in Android Studio : https://www.jianshu.com/p/39ca6c51bc20