MySQL 5.7 upgrade to 8.0 new guide
1. Rendering
As the saying goes: there are pictures and there are truths
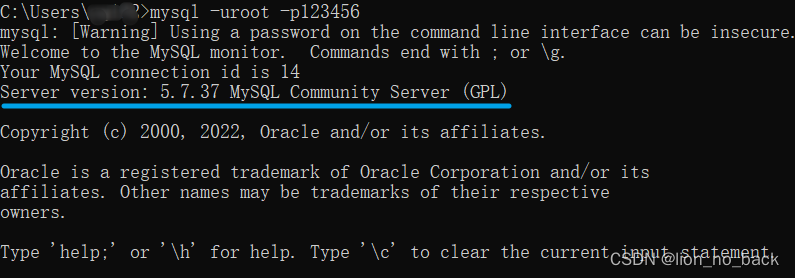
before upgrade
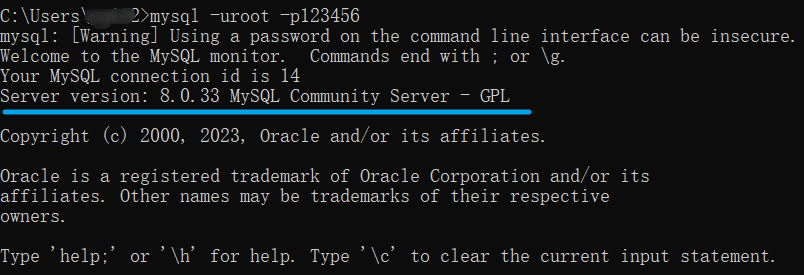
after upgrade
2. Core ideas
Based on official tutorials, supplemented by various blog posts, true knowledge comes from practice
Official tutorial URL: https://dev.mysql.com/doc/refman/8.0/en/windows-upgrading.html
Key content reinterpreted
For the upgrade from 5.7 to 8.0, it is recommended to use the Windows ZIP archive distribution method to upgrade , and you should do a good job of backup before upgrading
3. Backup
Here the mysqldump command is used to back up

Introduction to mysqldum
The mysqldump tool is usually installed automatically along with the installation of the MySQL database, that is, after the MySQL server is installed, you can use the mysqldump tool directly . It can export one or more databases, or one or more tables in the database as a SQL file, including DDL statements and DML statements
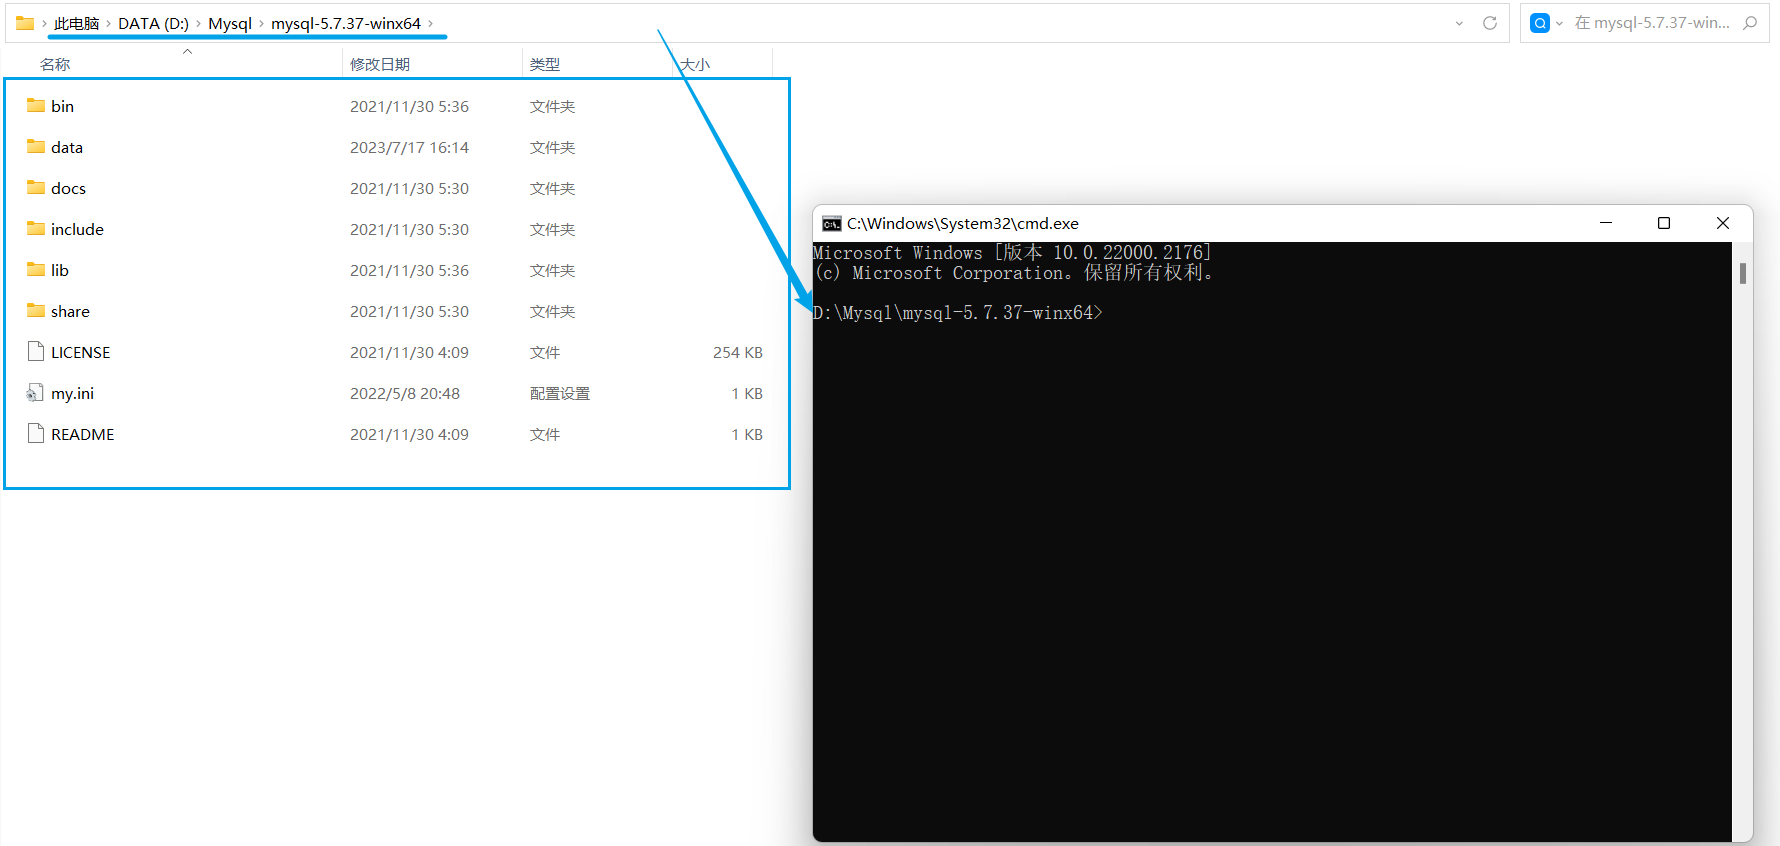
The first step is to find the mysql database installation directory
The second step backs up --all-databasesall MySQL databases with options, command example:mysqldump -u root -p --all-databases > all_databases.sql
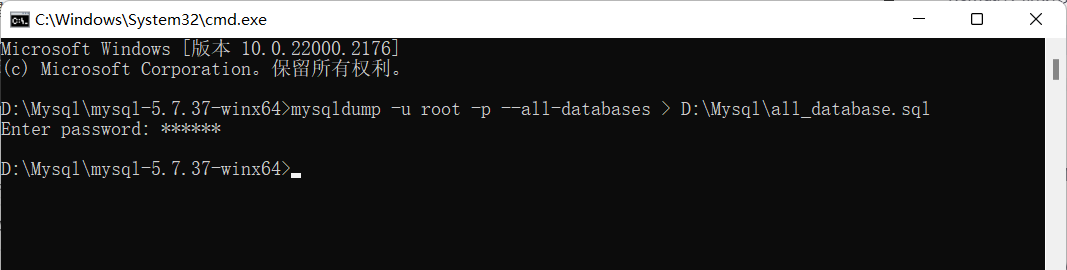

The password is the login password of the root user
Backup extension: back up a single database or multiple databases for easy sharing
single database backup
Command example:mysqldump -u root -p database_name > database_name.sql
Explanation: Backup the database named by rootthe user and save it to the file nameddatabase_namedatabase_name.sql
multiple database backups
Command example:mysqldump -u root -p --databases database_name_a database_name_b > databases_a_b.sql
Explanation: rootThe list of databases to be backed up by the user, that is, the database names separated by spaces, is created as a dump file containing the list of databases
4. Uninstall the old version of MySQL
Four steps to uninstall
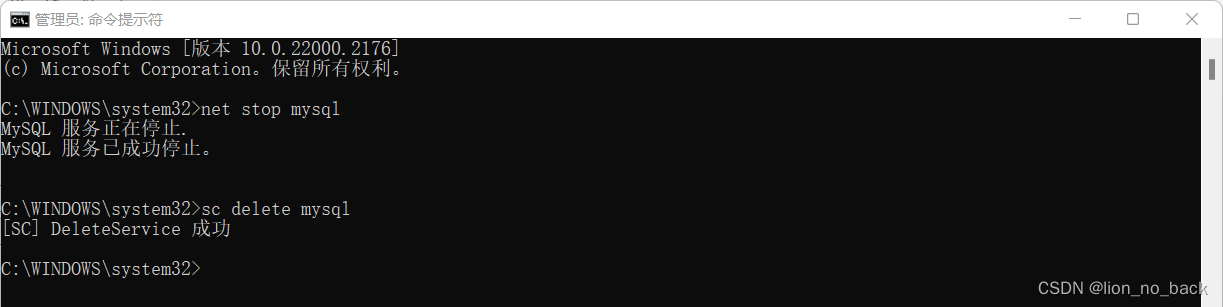
first step
Stop the MySQL service and remove the MySQL service
run cmd as administrator
second step
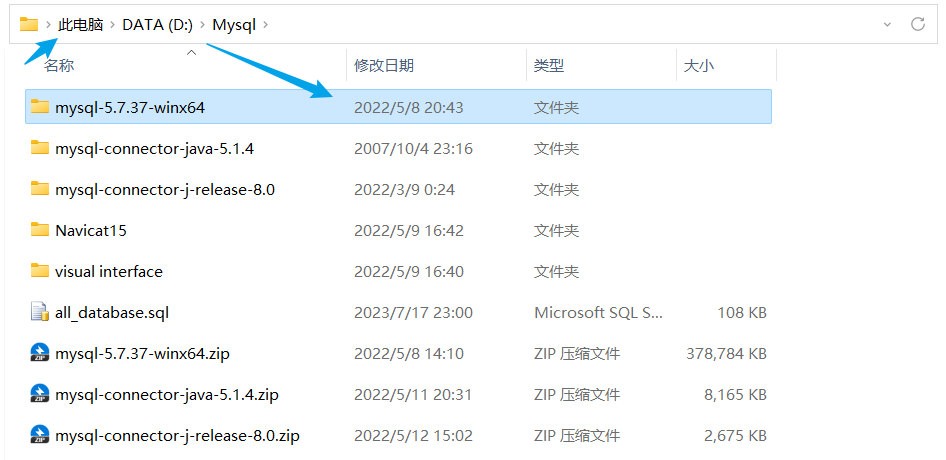
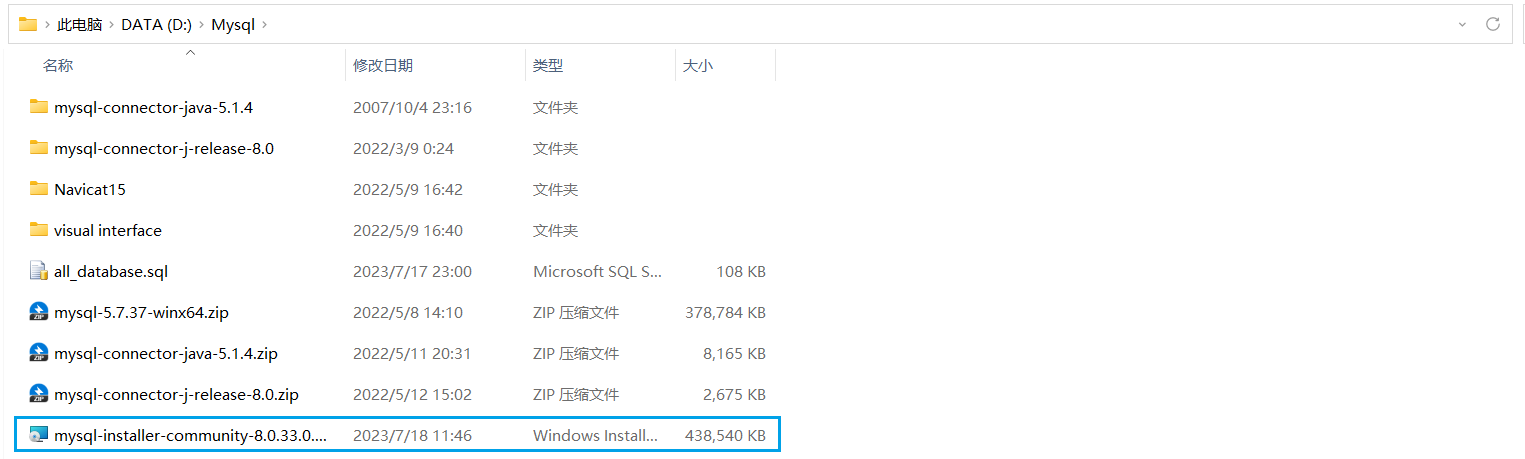
Delete the MySQL installation directory, which is installed in the Program Files directory on the C drive by default
My installation directory is under D:\Mysql, so come here to delete
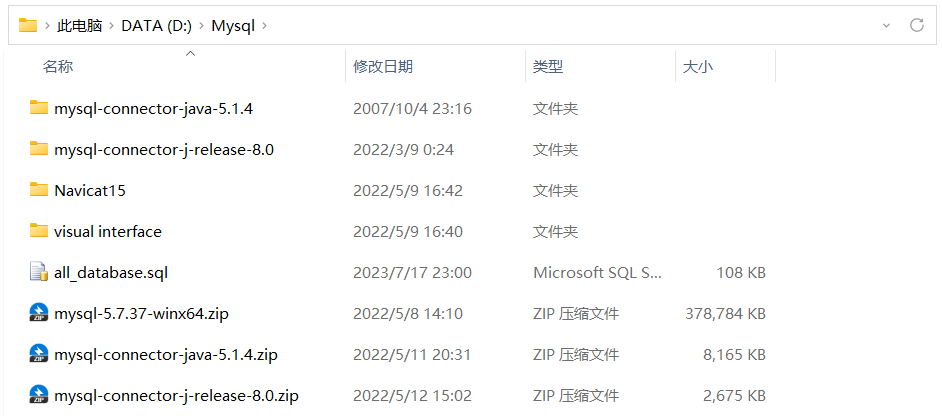
after deletion
third step
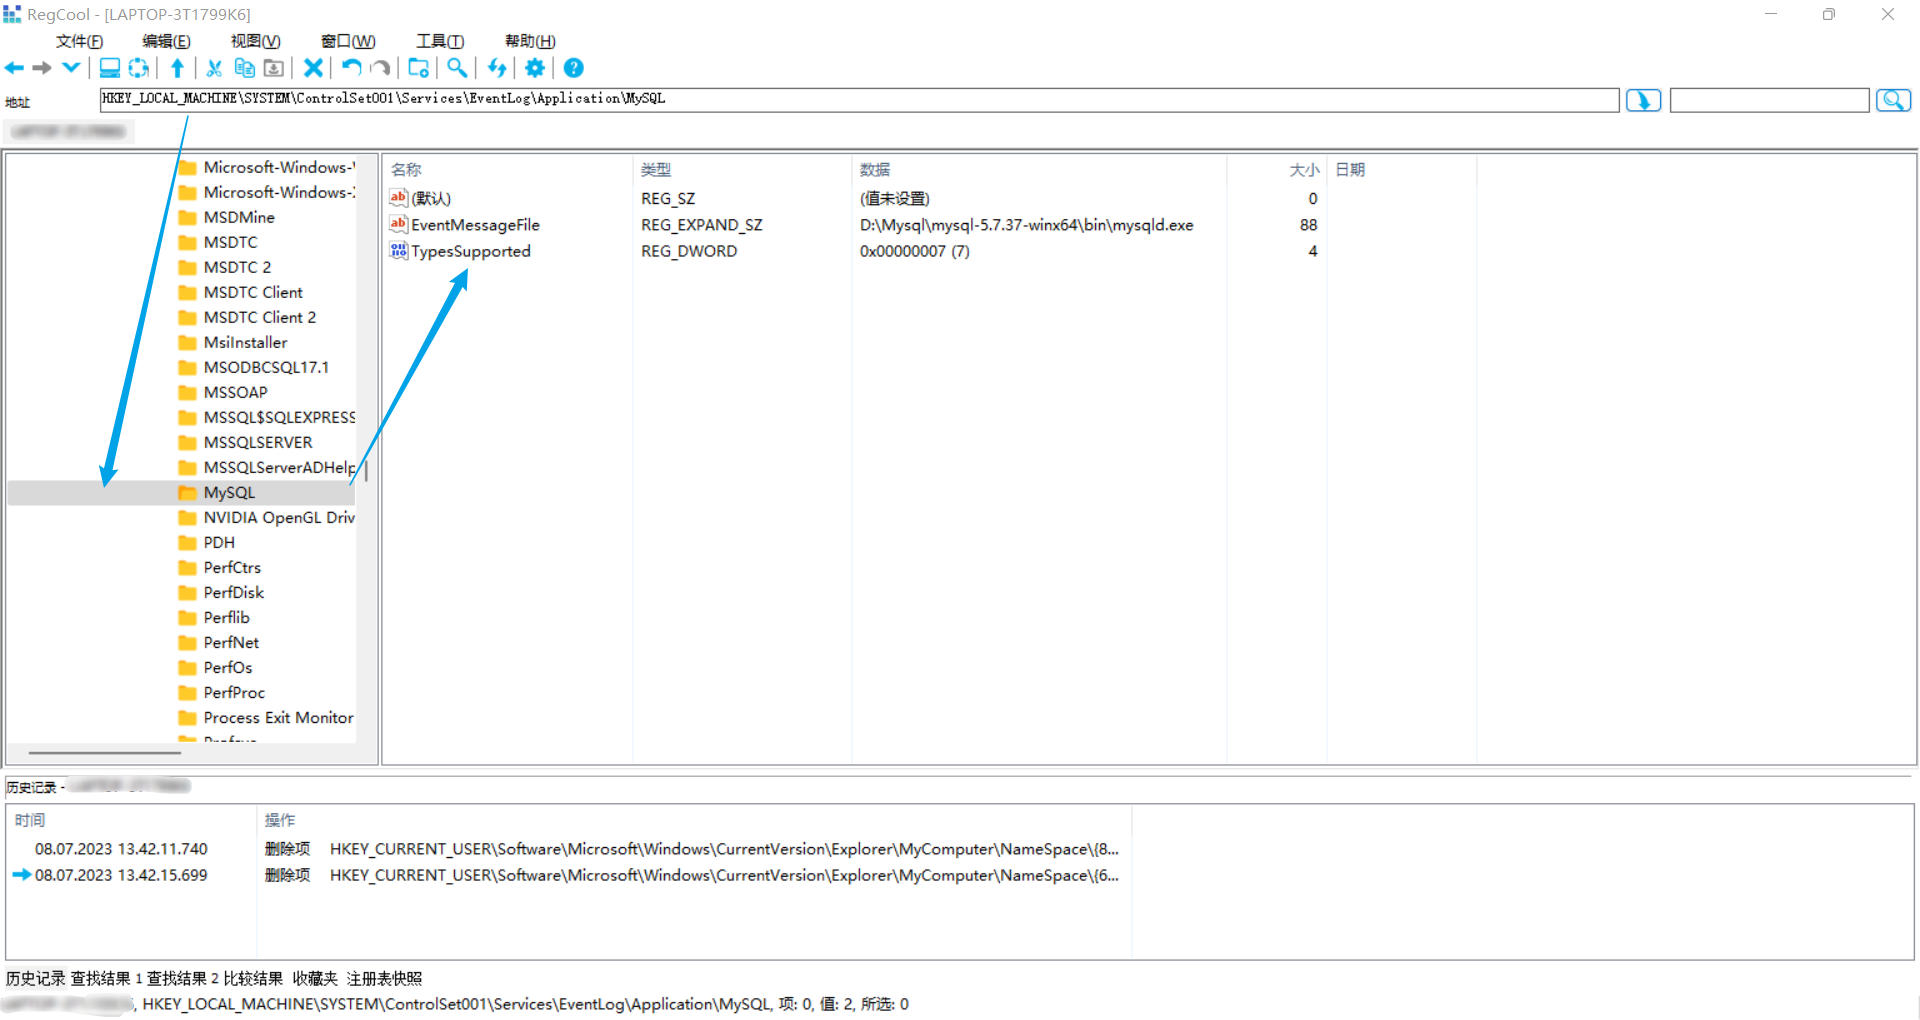
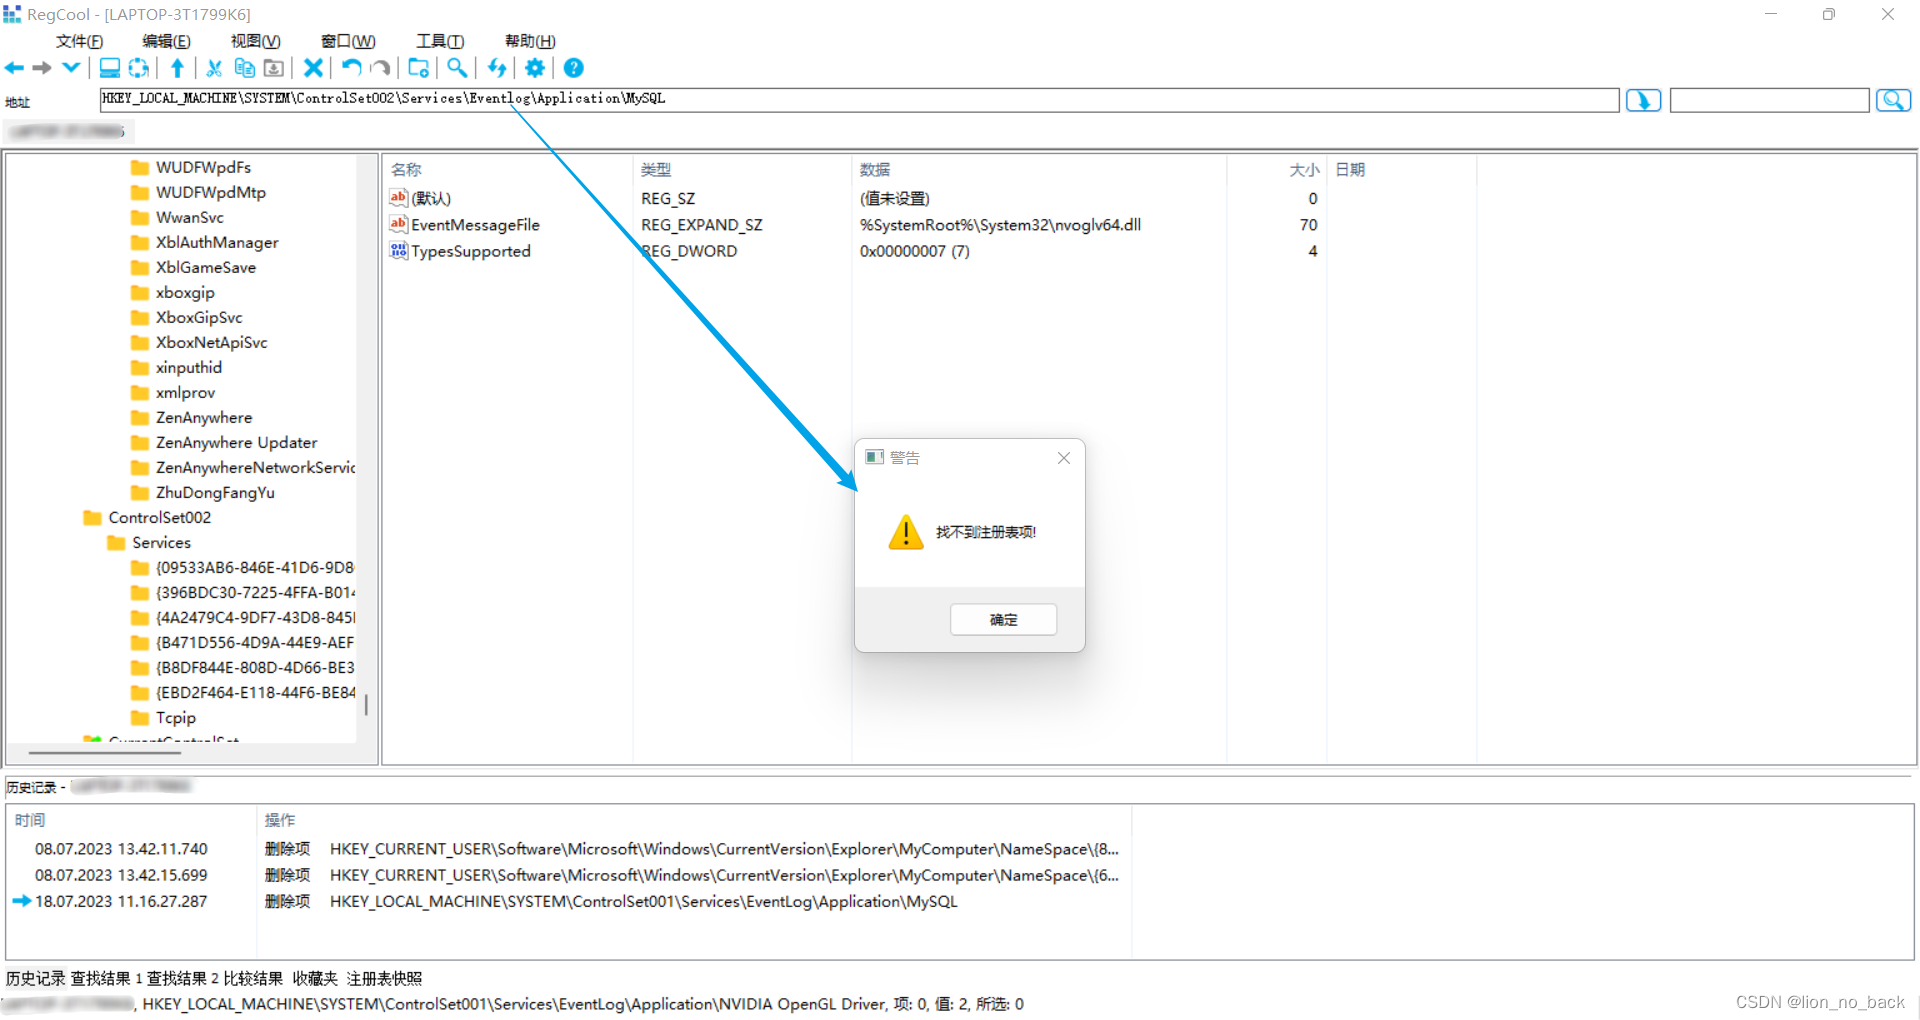
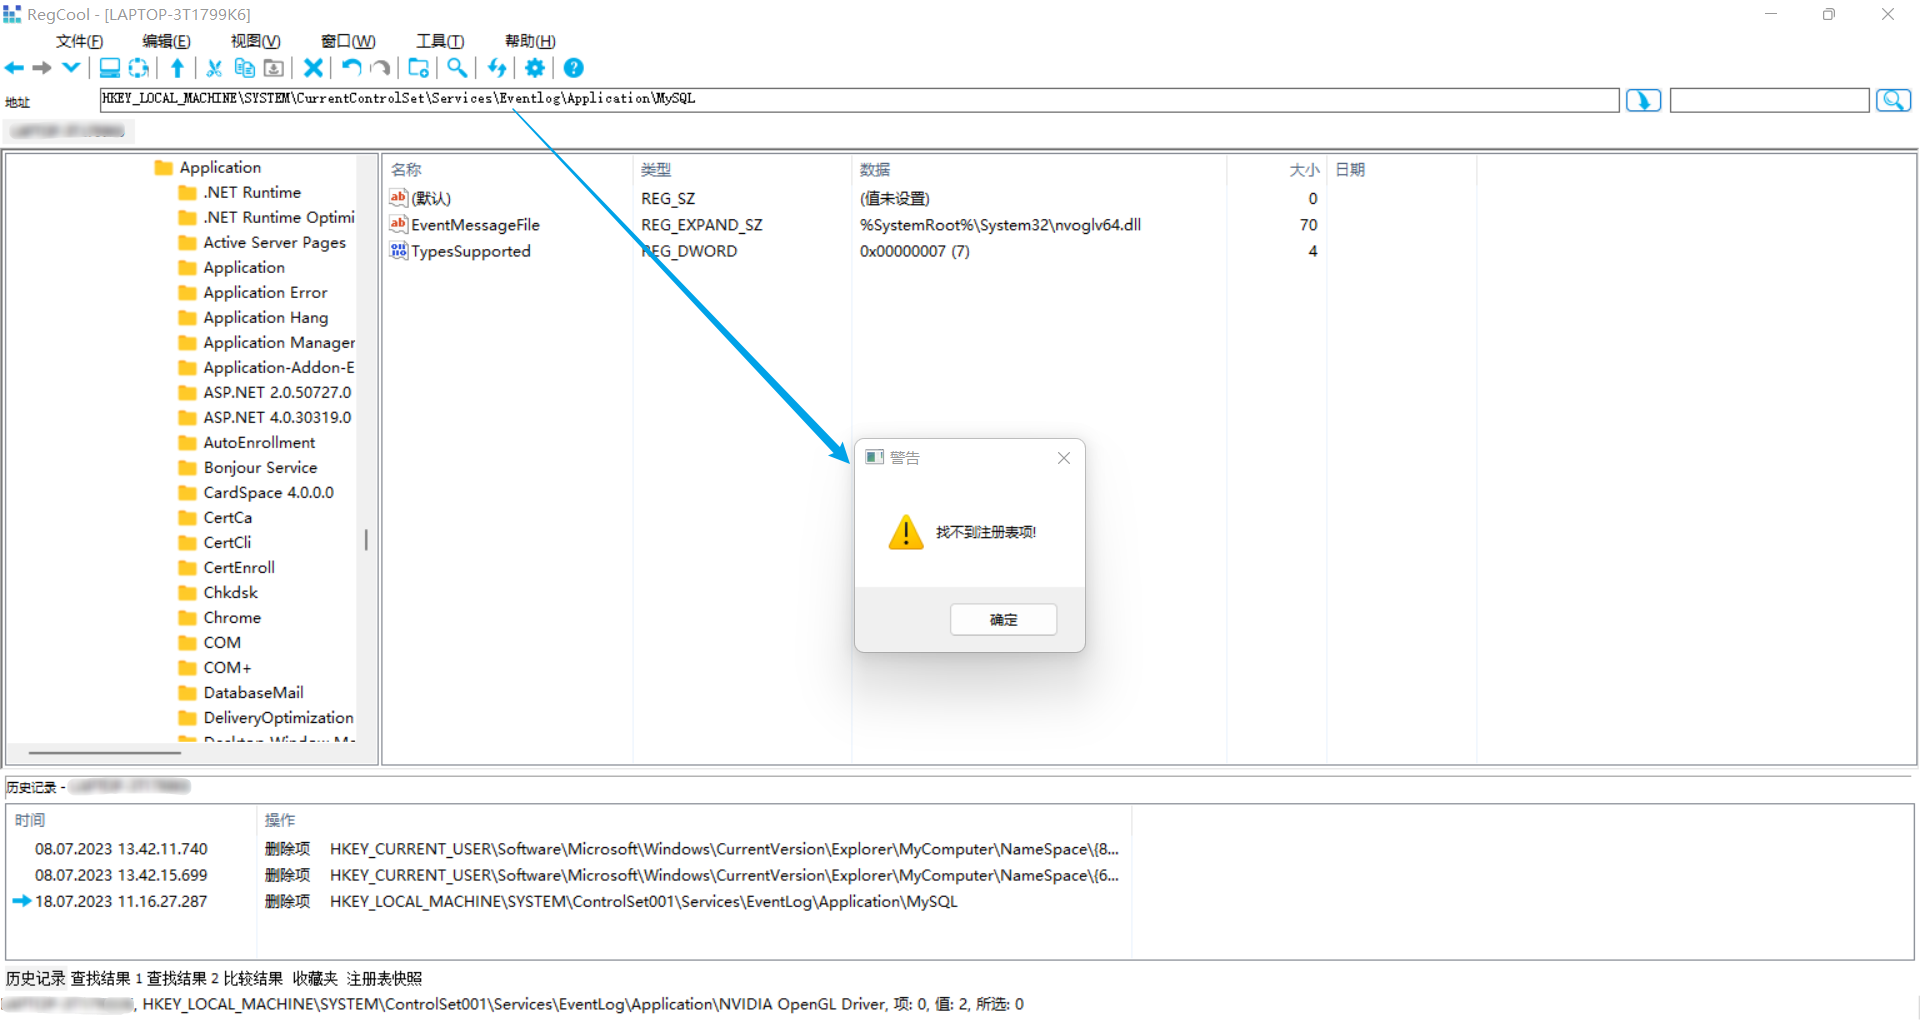
Delete related registry
Registry editor provided by my love boss @wszjfRegCoolto delete
There are a total of three places that need to be viewed and deleted
HKEY_LOCAL_MACHINE\SYSTEM\ControlSet001\Services\EventLog\Application\MySQLHKEY_LOCAL_MACHINE\SYSTEM\ControlSet002\Services\Eventlog\Application\MySQLHKEY_LOCAL_MACHINE\SYSTEM\CurrentControlSet\Services\Eventlog\Application\MySQL
the fourth step
Shut down and restart to install
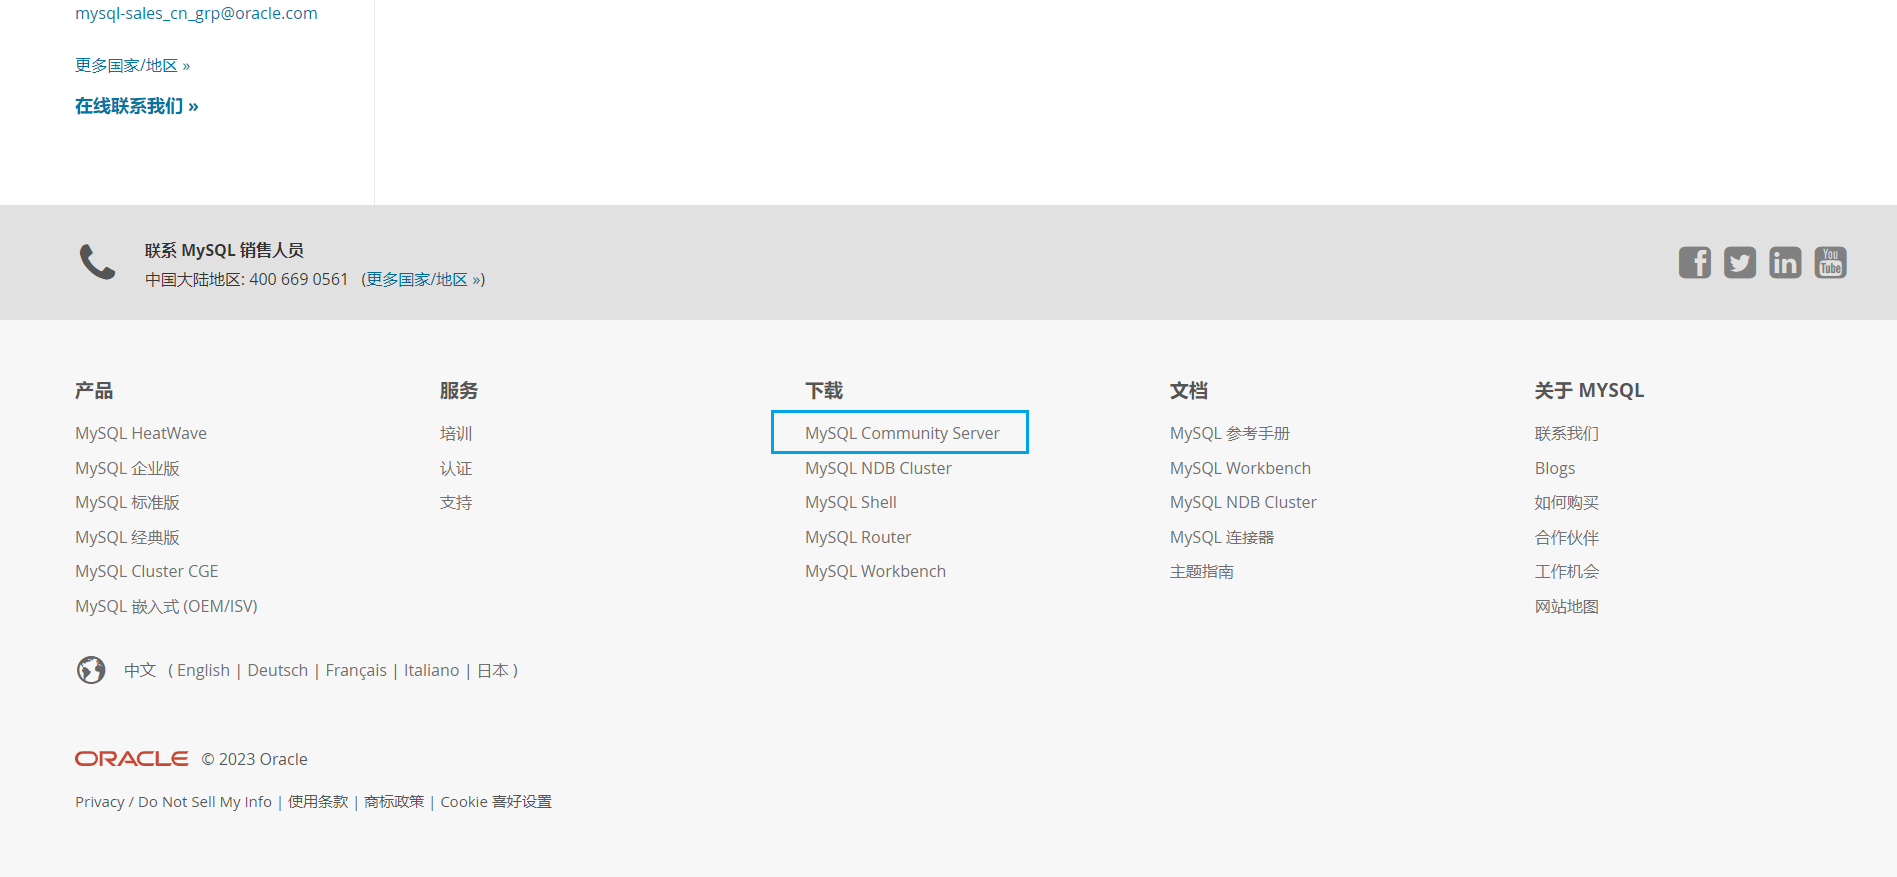
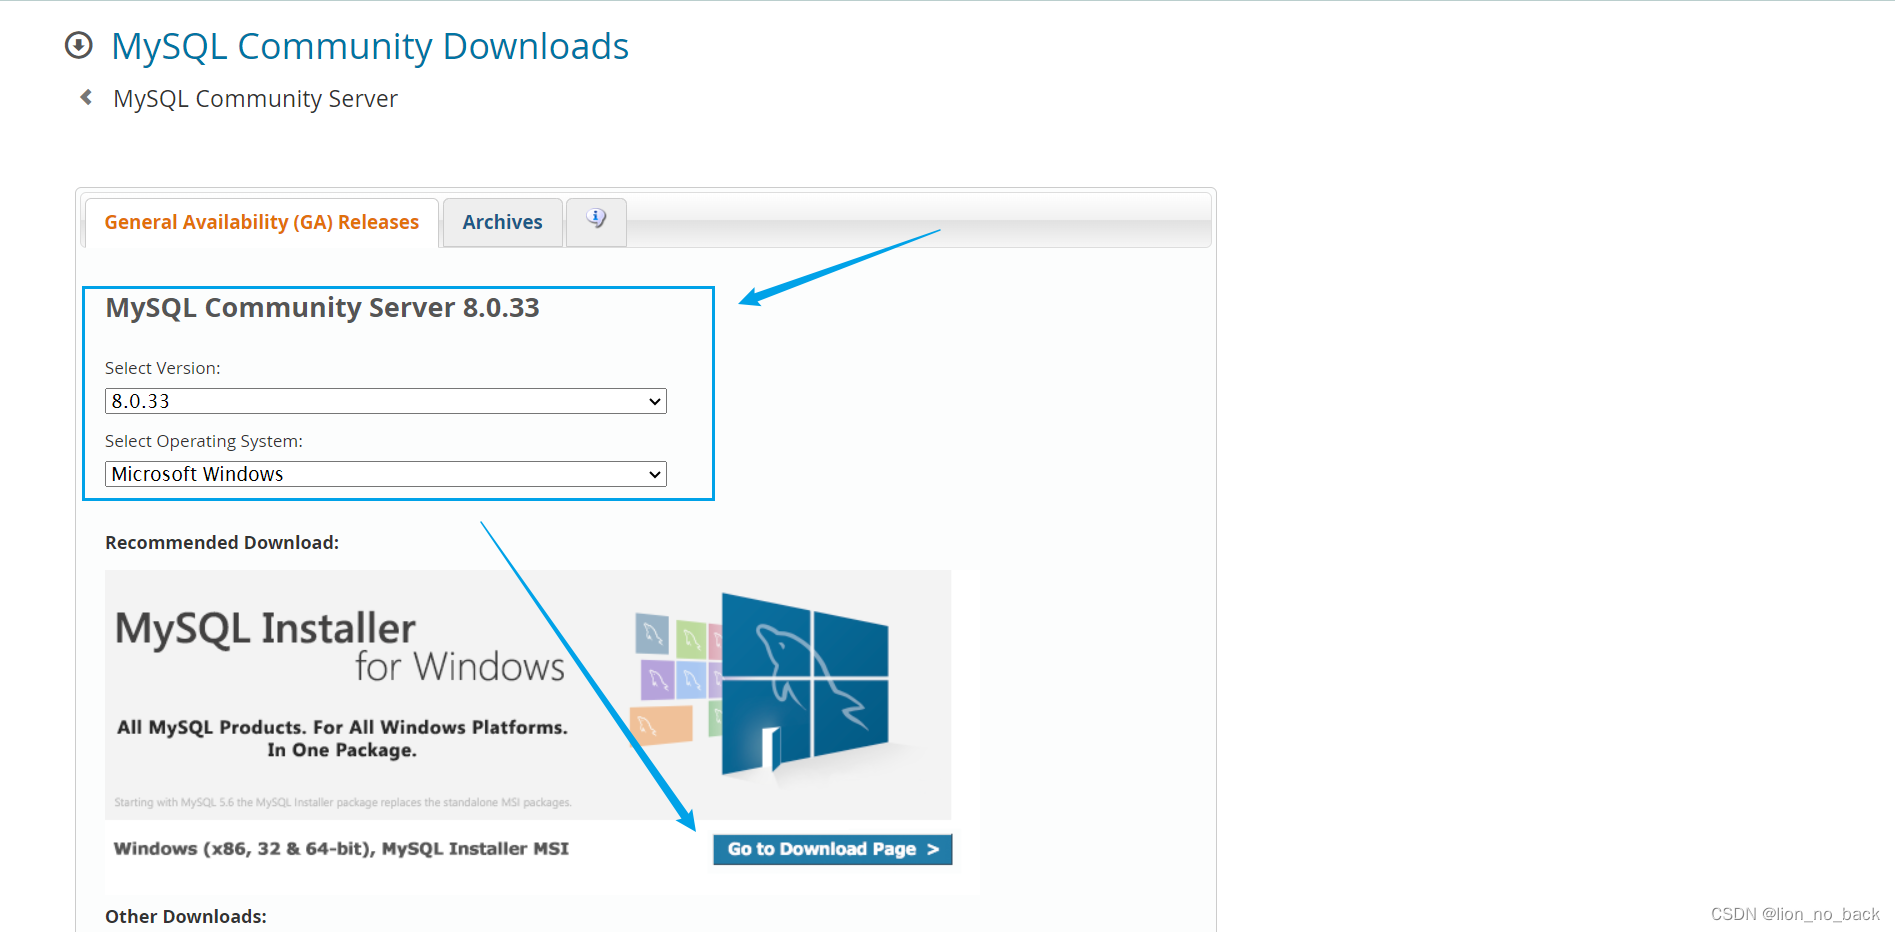
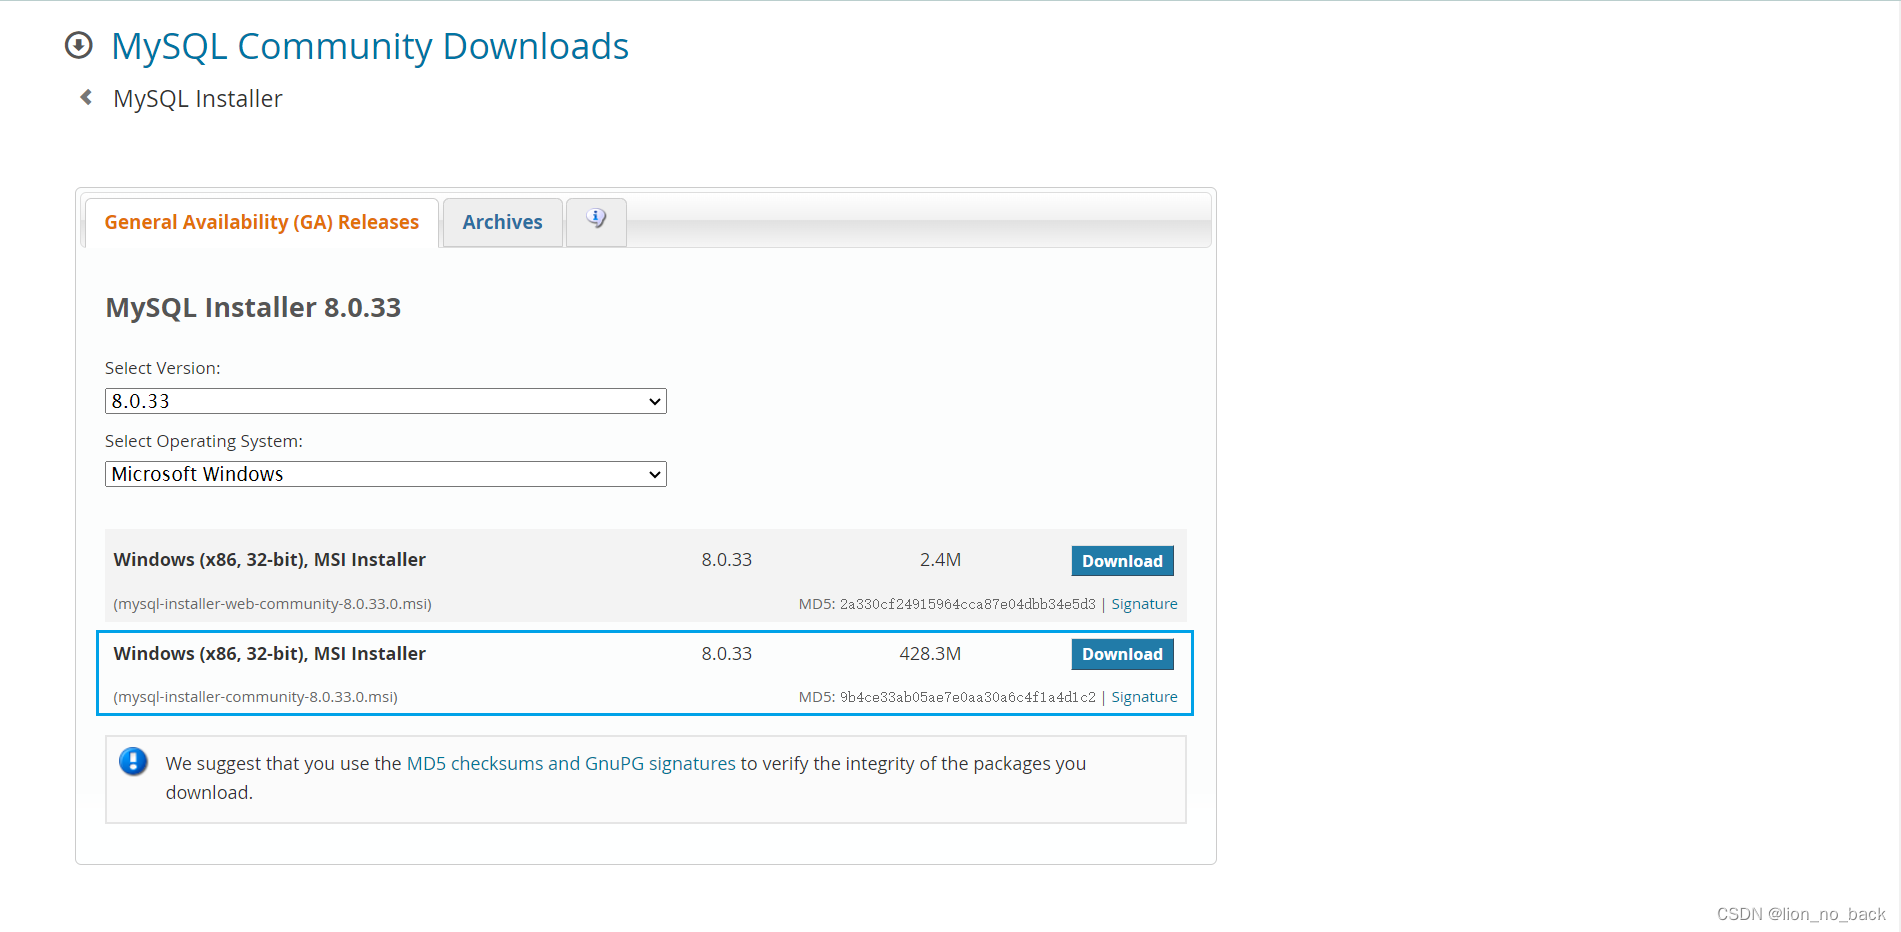
Five, MySQL new version download
Go to the official download page provided by MySQL: https://www.mysql.com/cn/downloads , scroll to the bottom to find MySQL Community Server , and then enter the details page to download

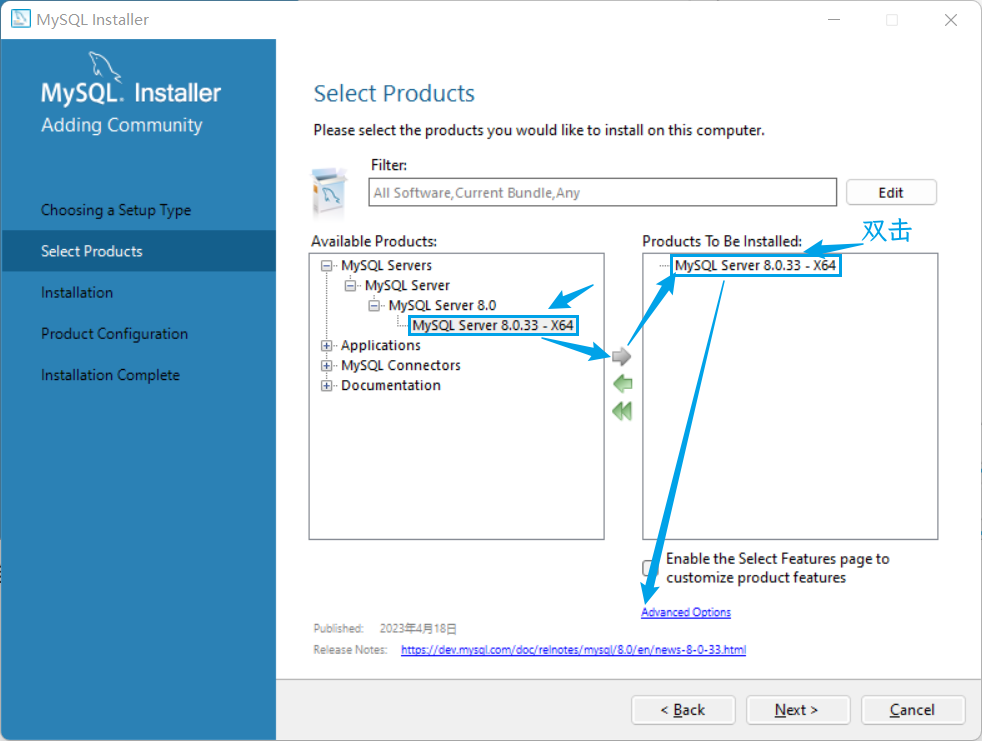
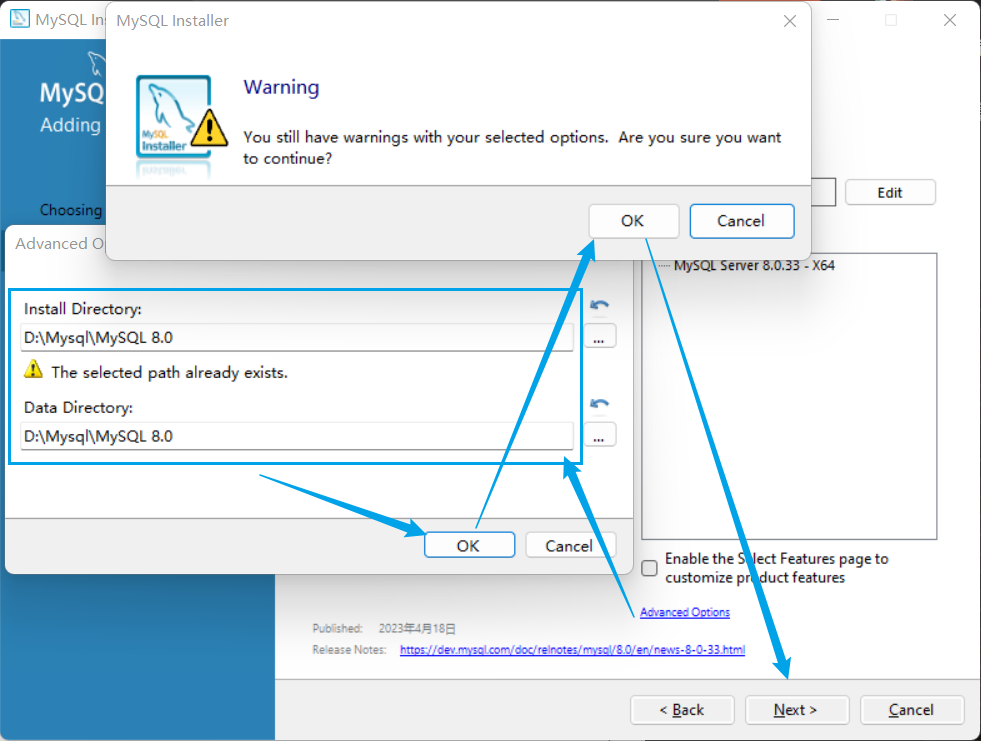
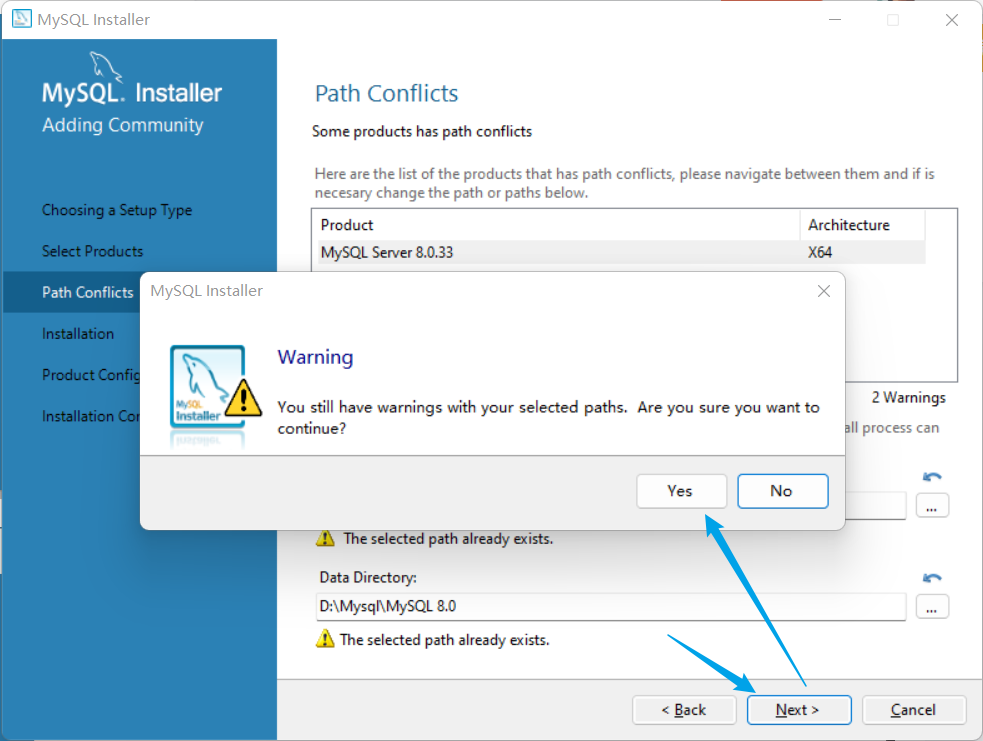
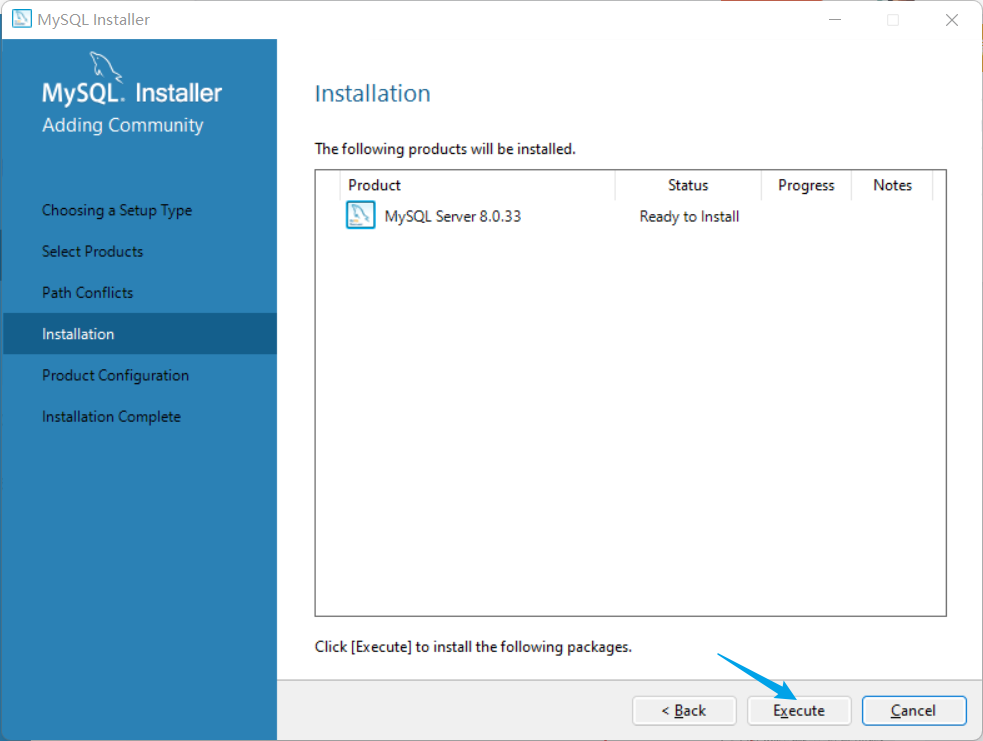
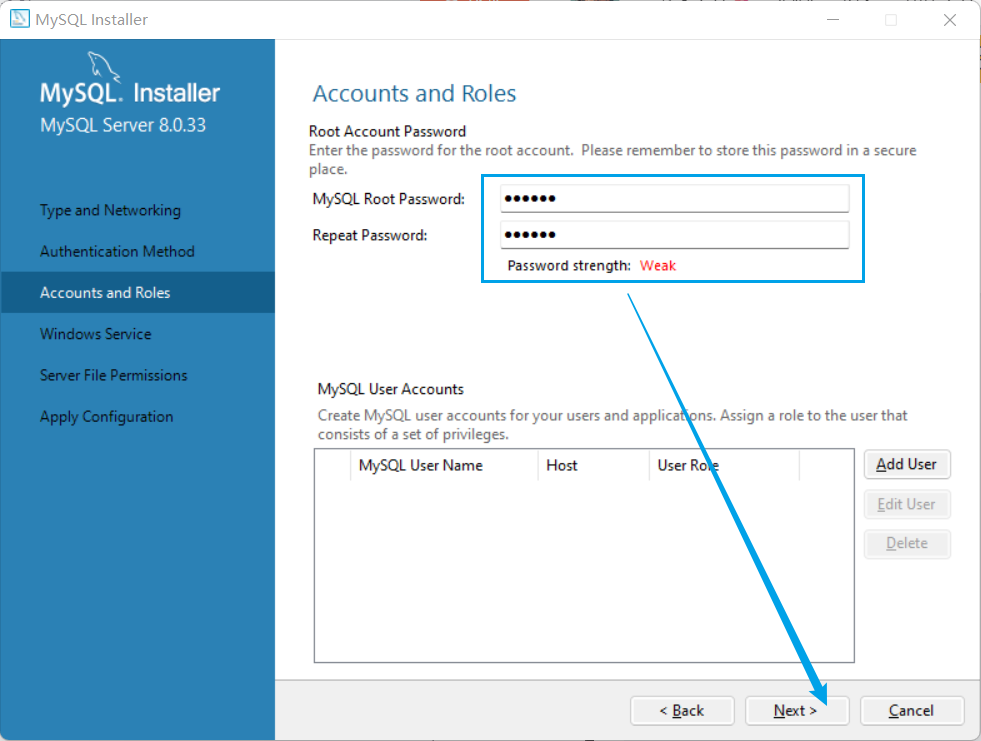
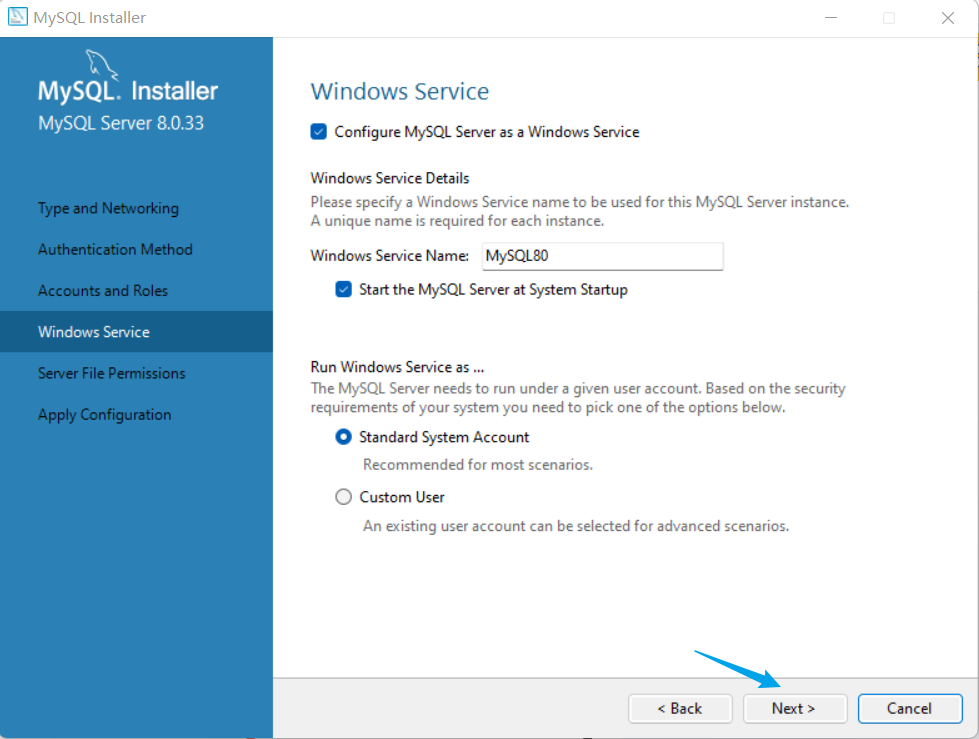
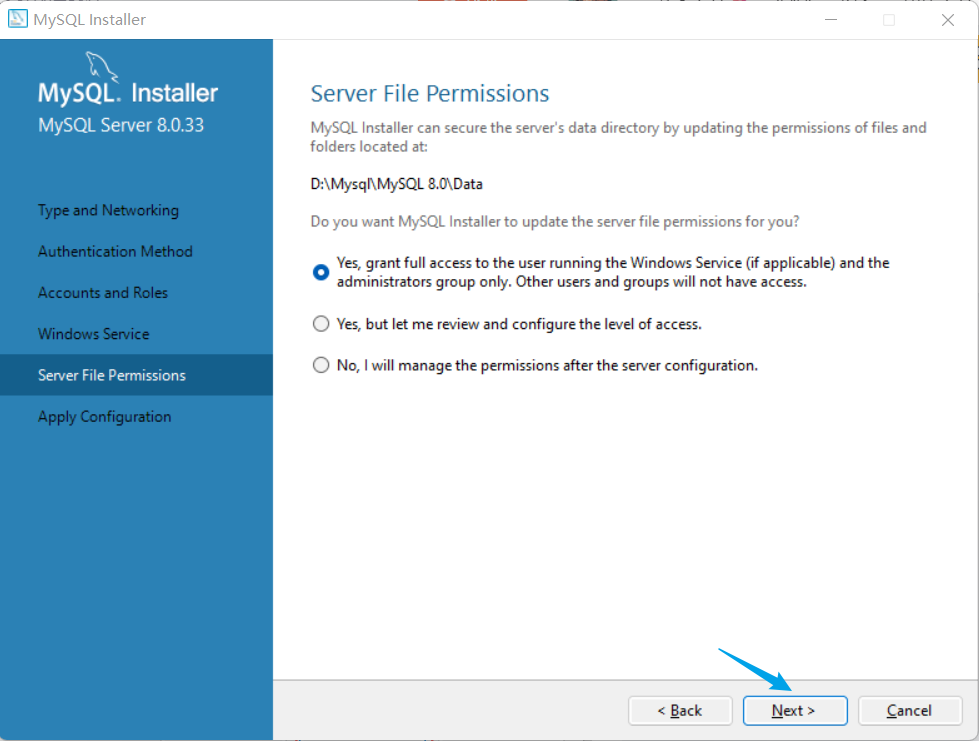
6. MySQL new version installation
Follow the blog post tutorial for fools to install, and the parts that need attention will be emphasized

Choose a custom installation path


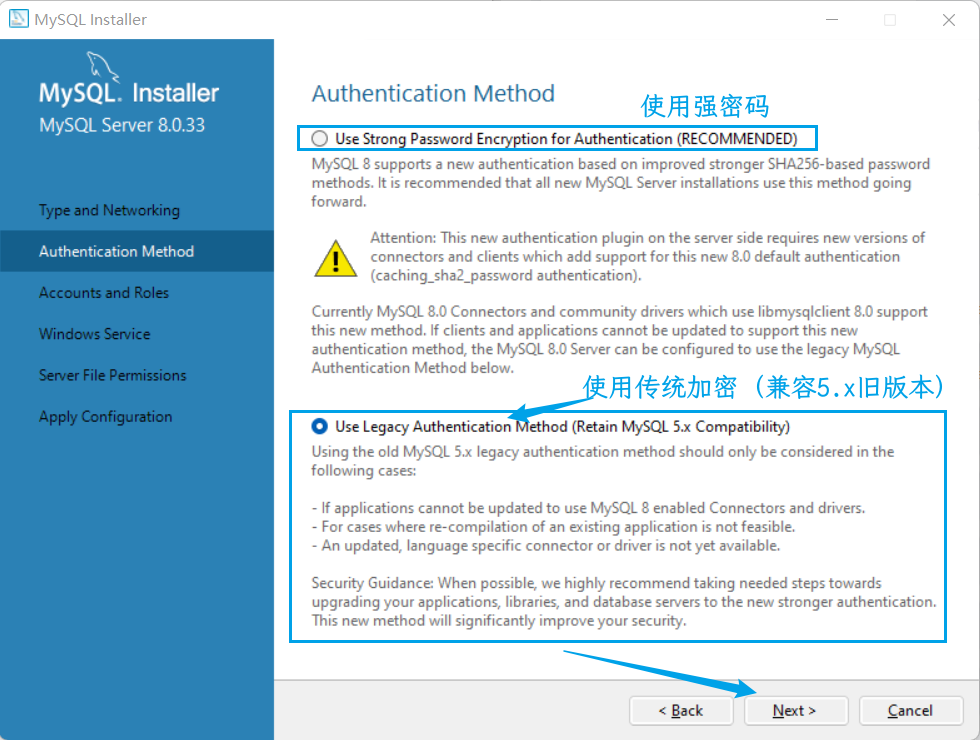
Option One: Authenticate with Strong Password Encryption (new feature triggered by upgrade)
Option 2: Use traditional authentication methods (compatible with 5.x old versions)
If MySQL can use strong encryption for authentication, but the graphical management tool does not use strong password encryption, the graphical management tool will not be able to connect to MySQL
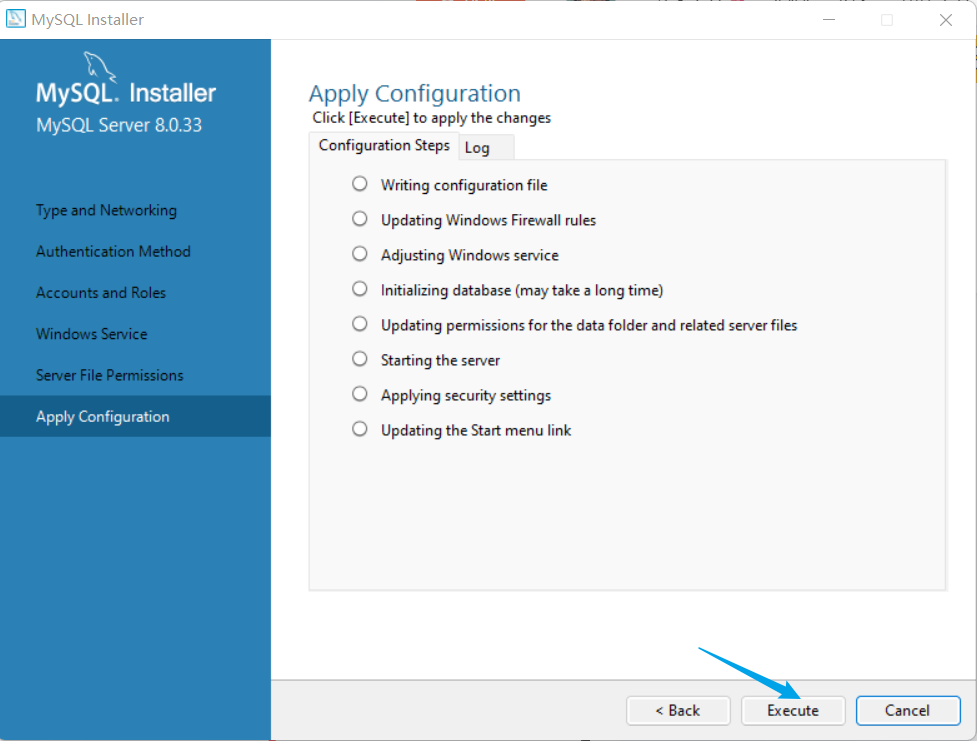
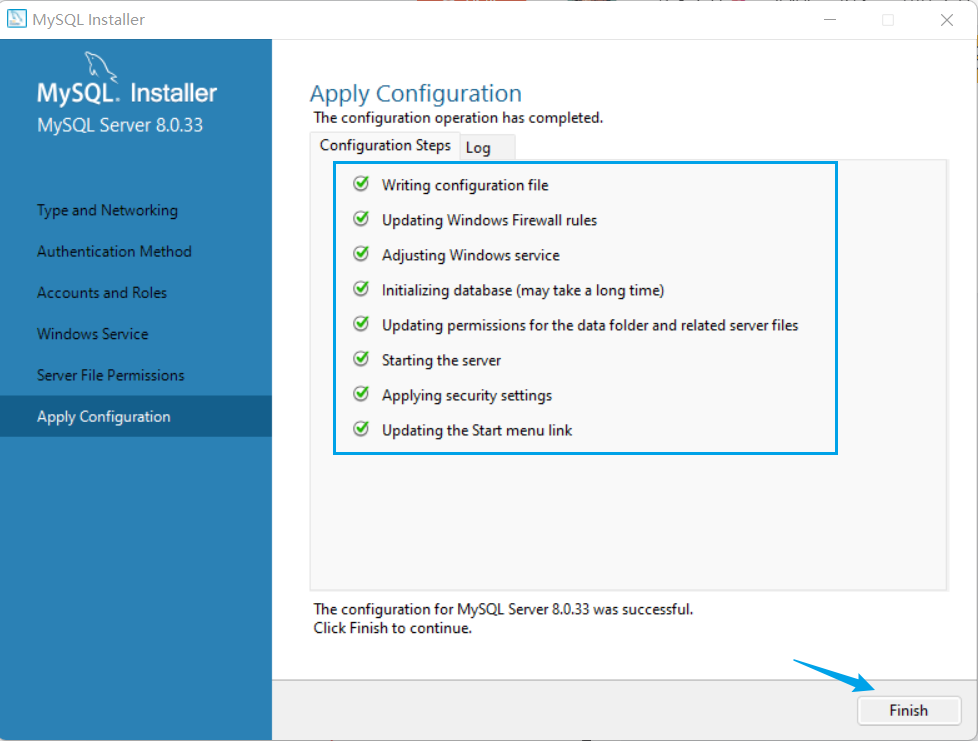

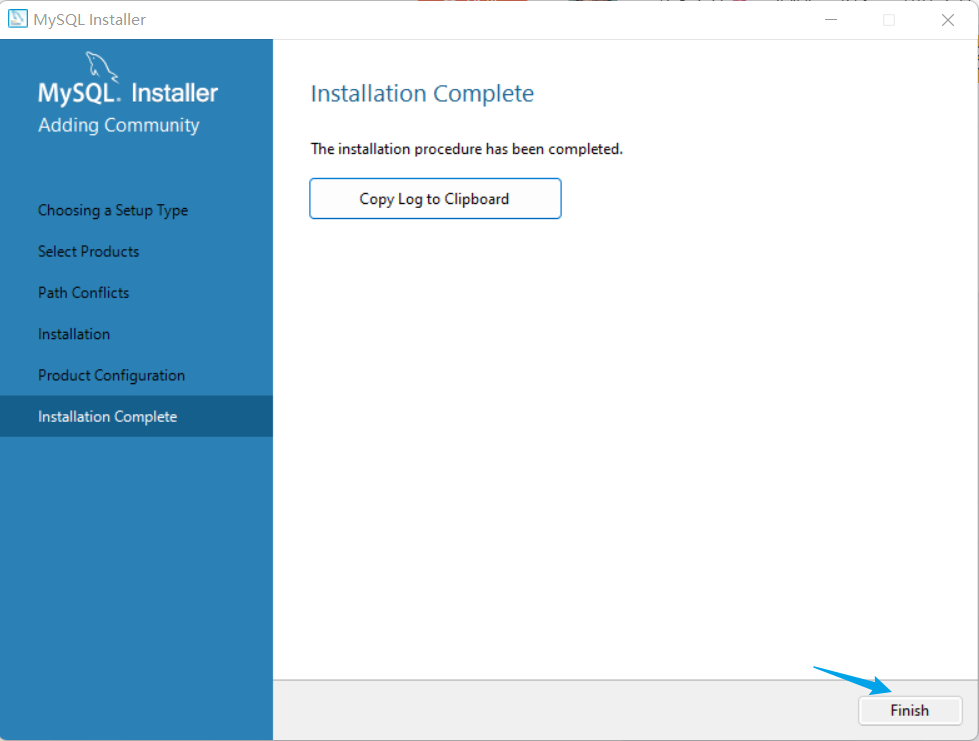
The installation is complete
7. MySQL 8.0 connection test
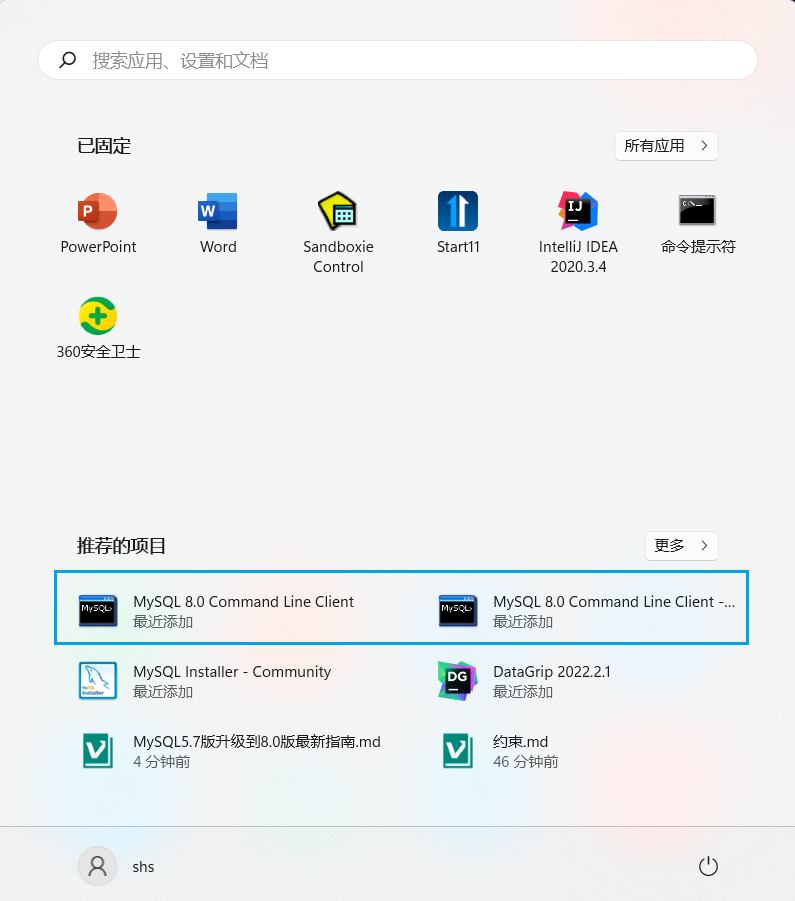
In the start menu, you can see the command line client provided by 8.0
Enter the password set during installation to log in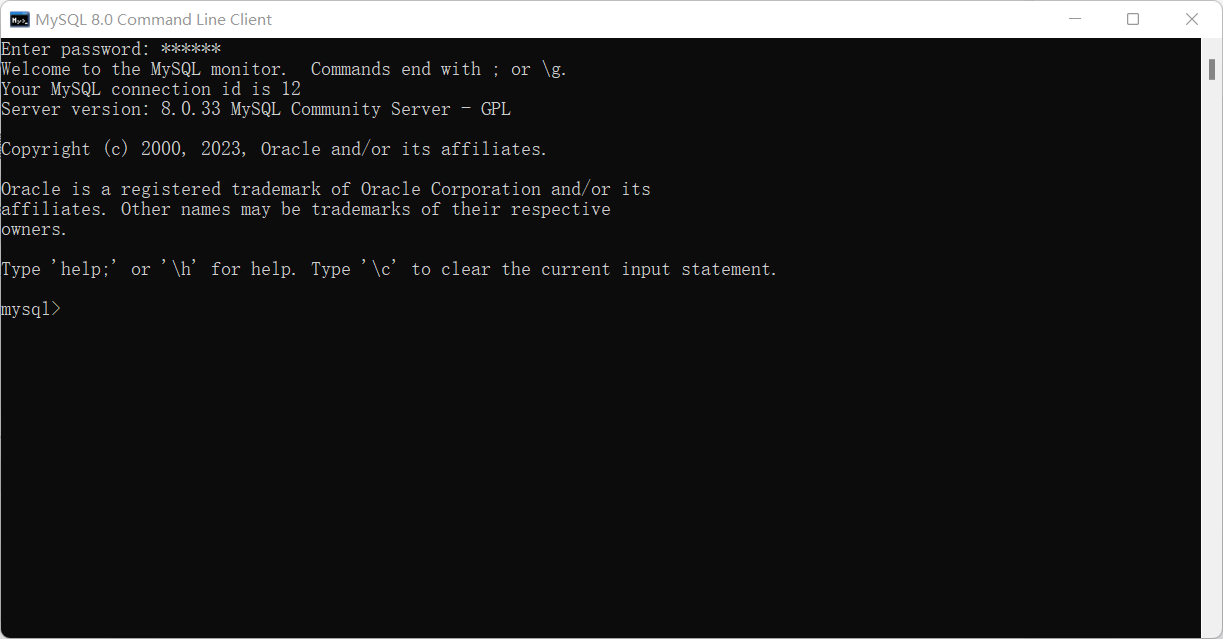
Then enter to exitexit
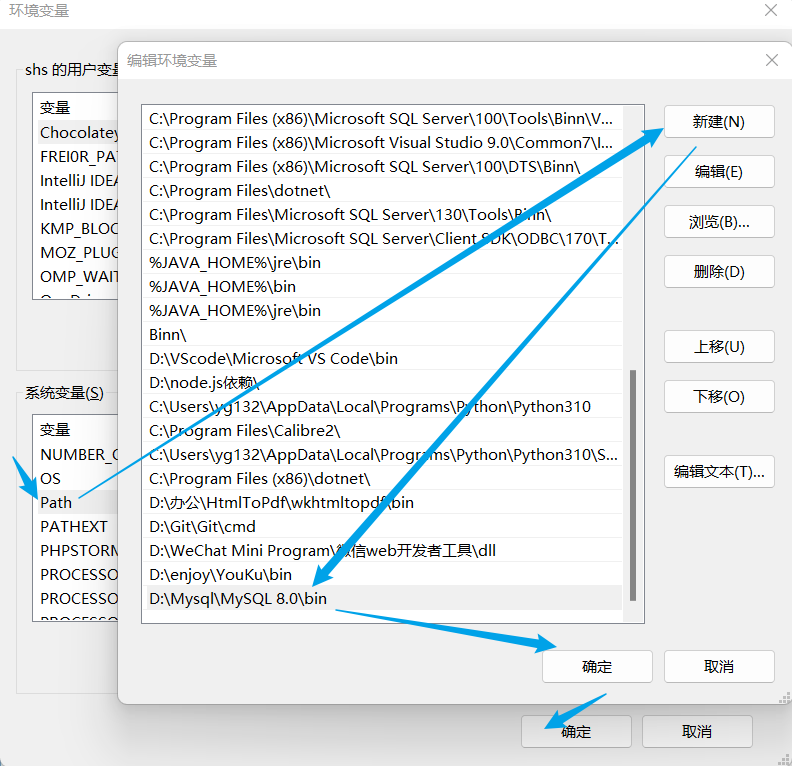
Eight, configure environment variables

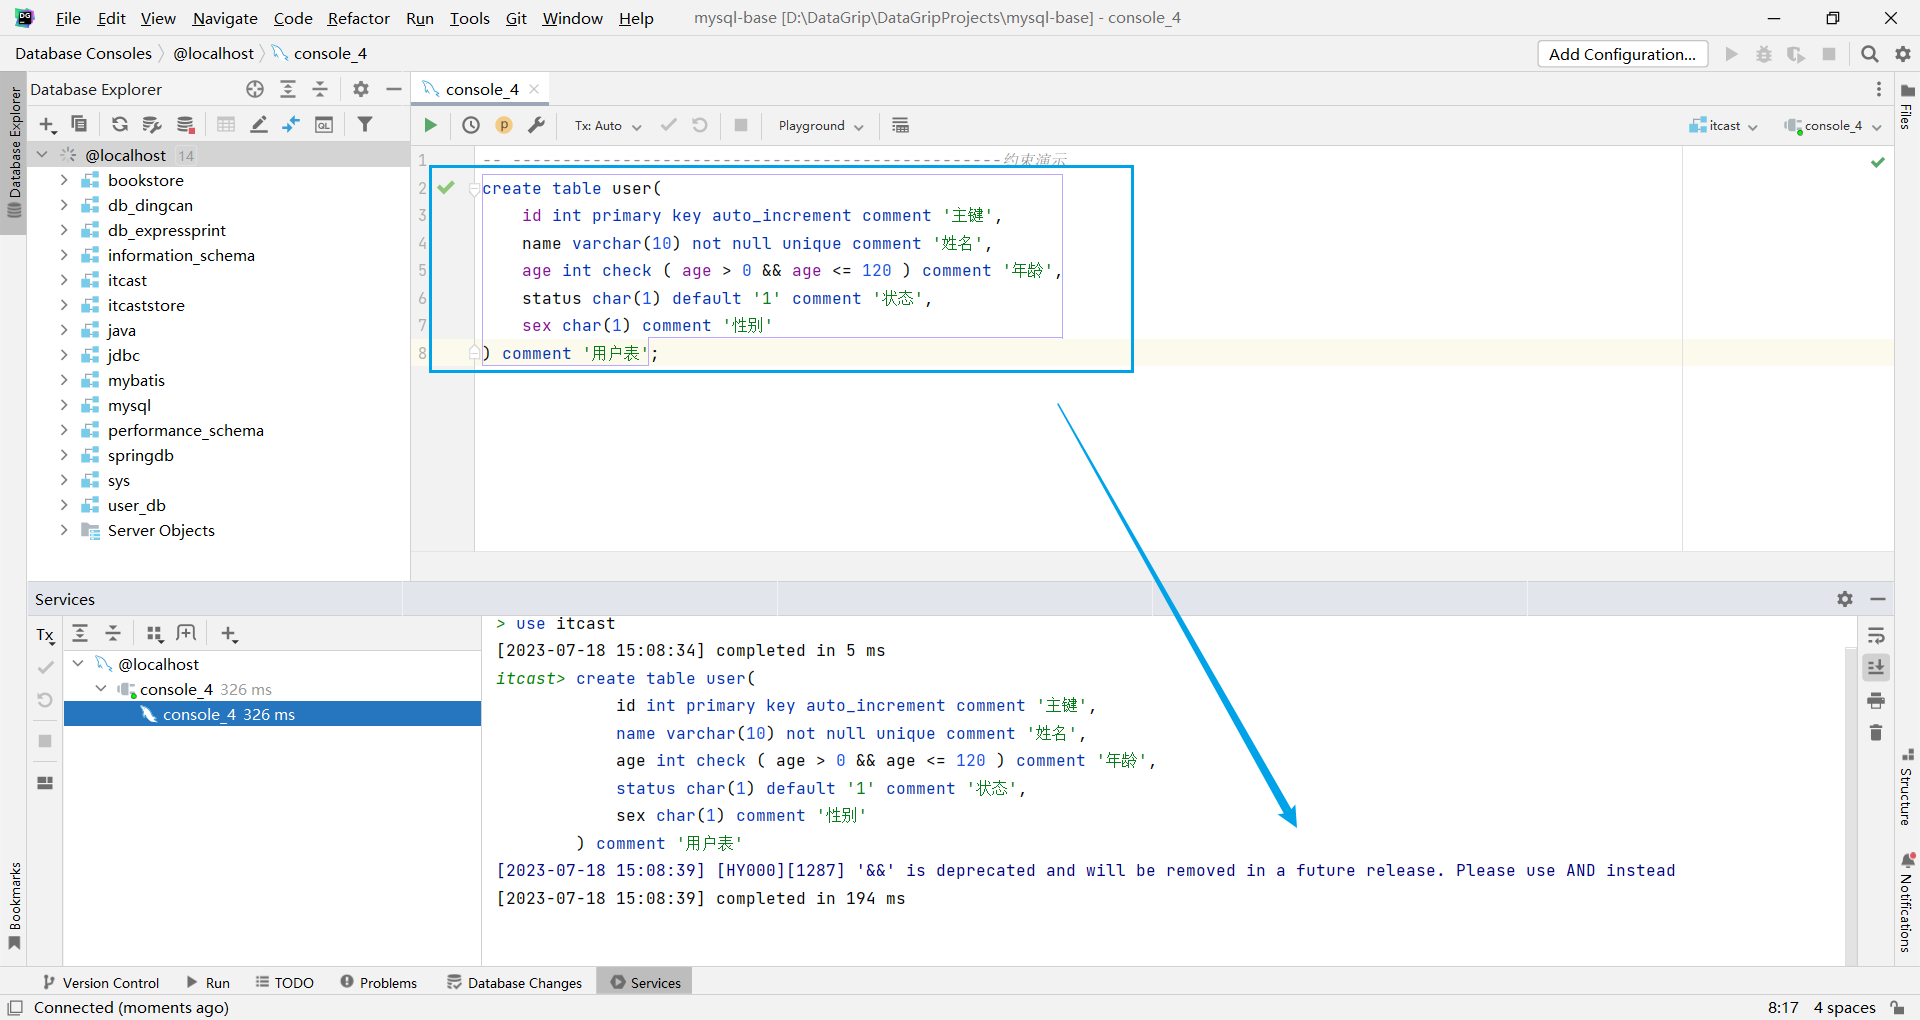
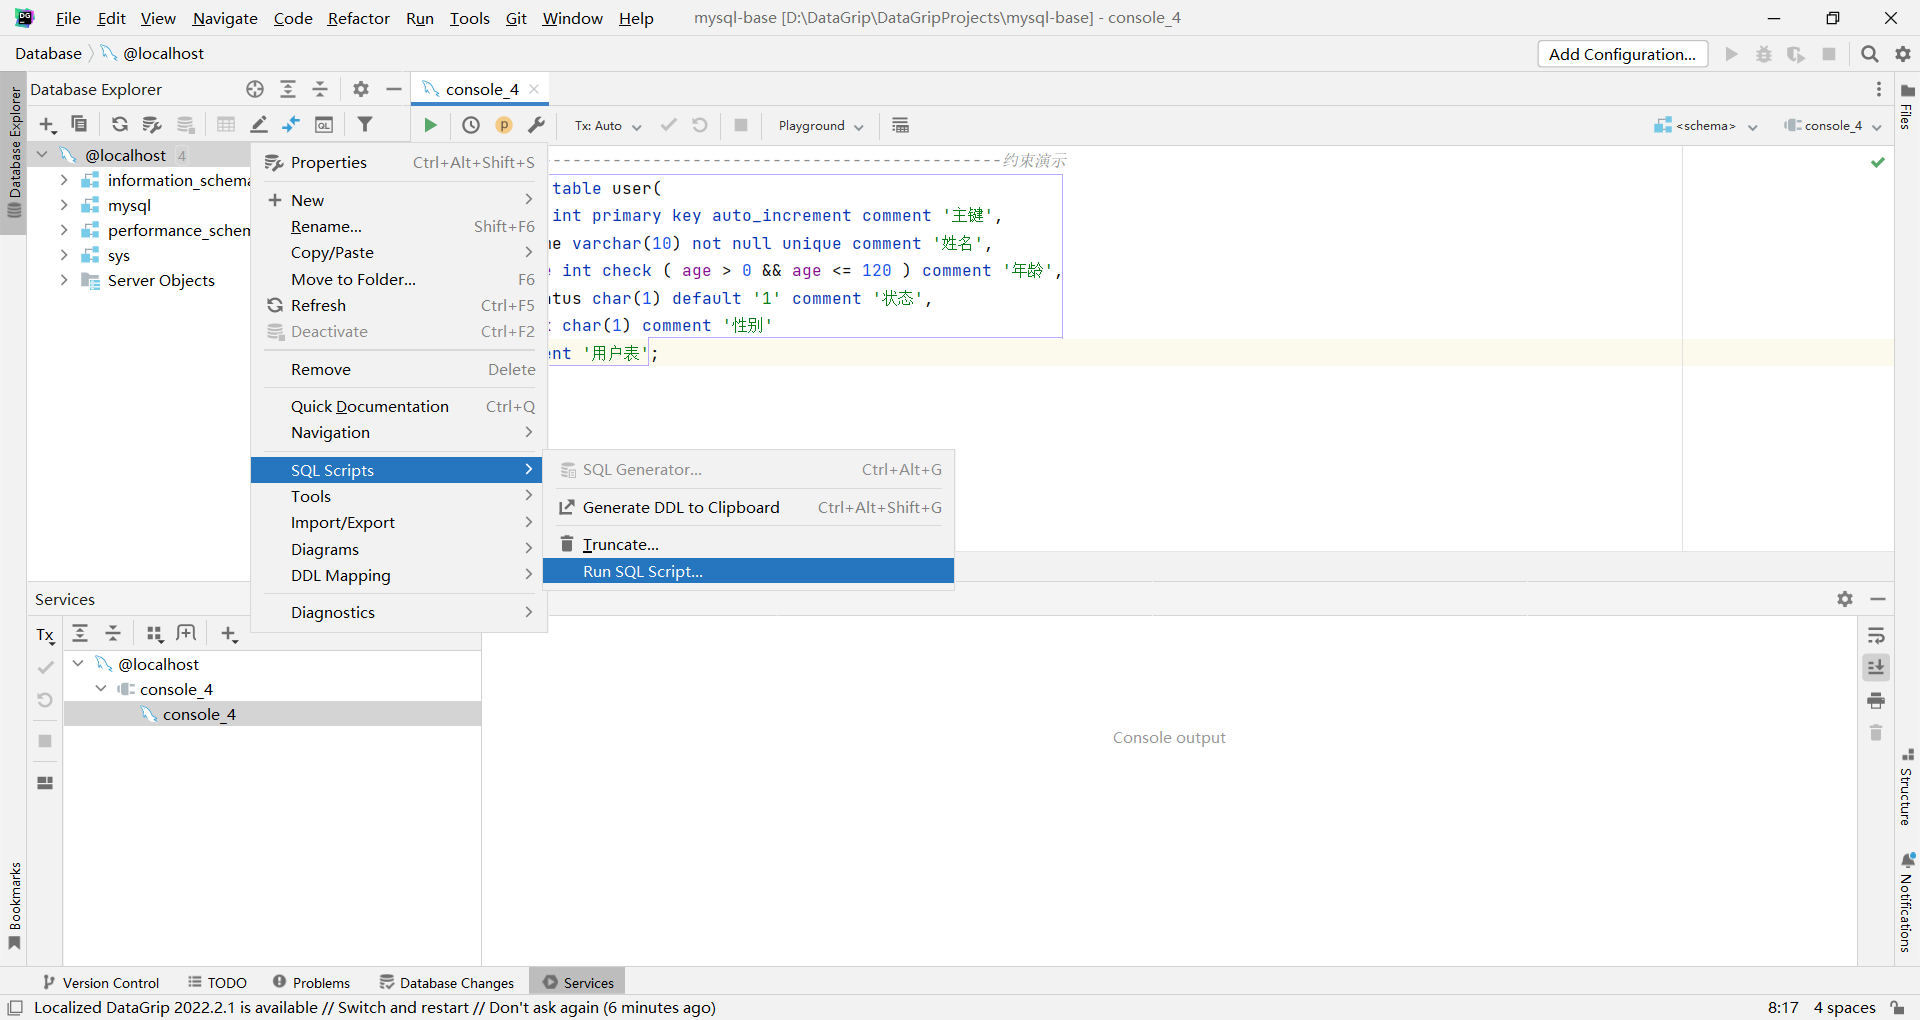
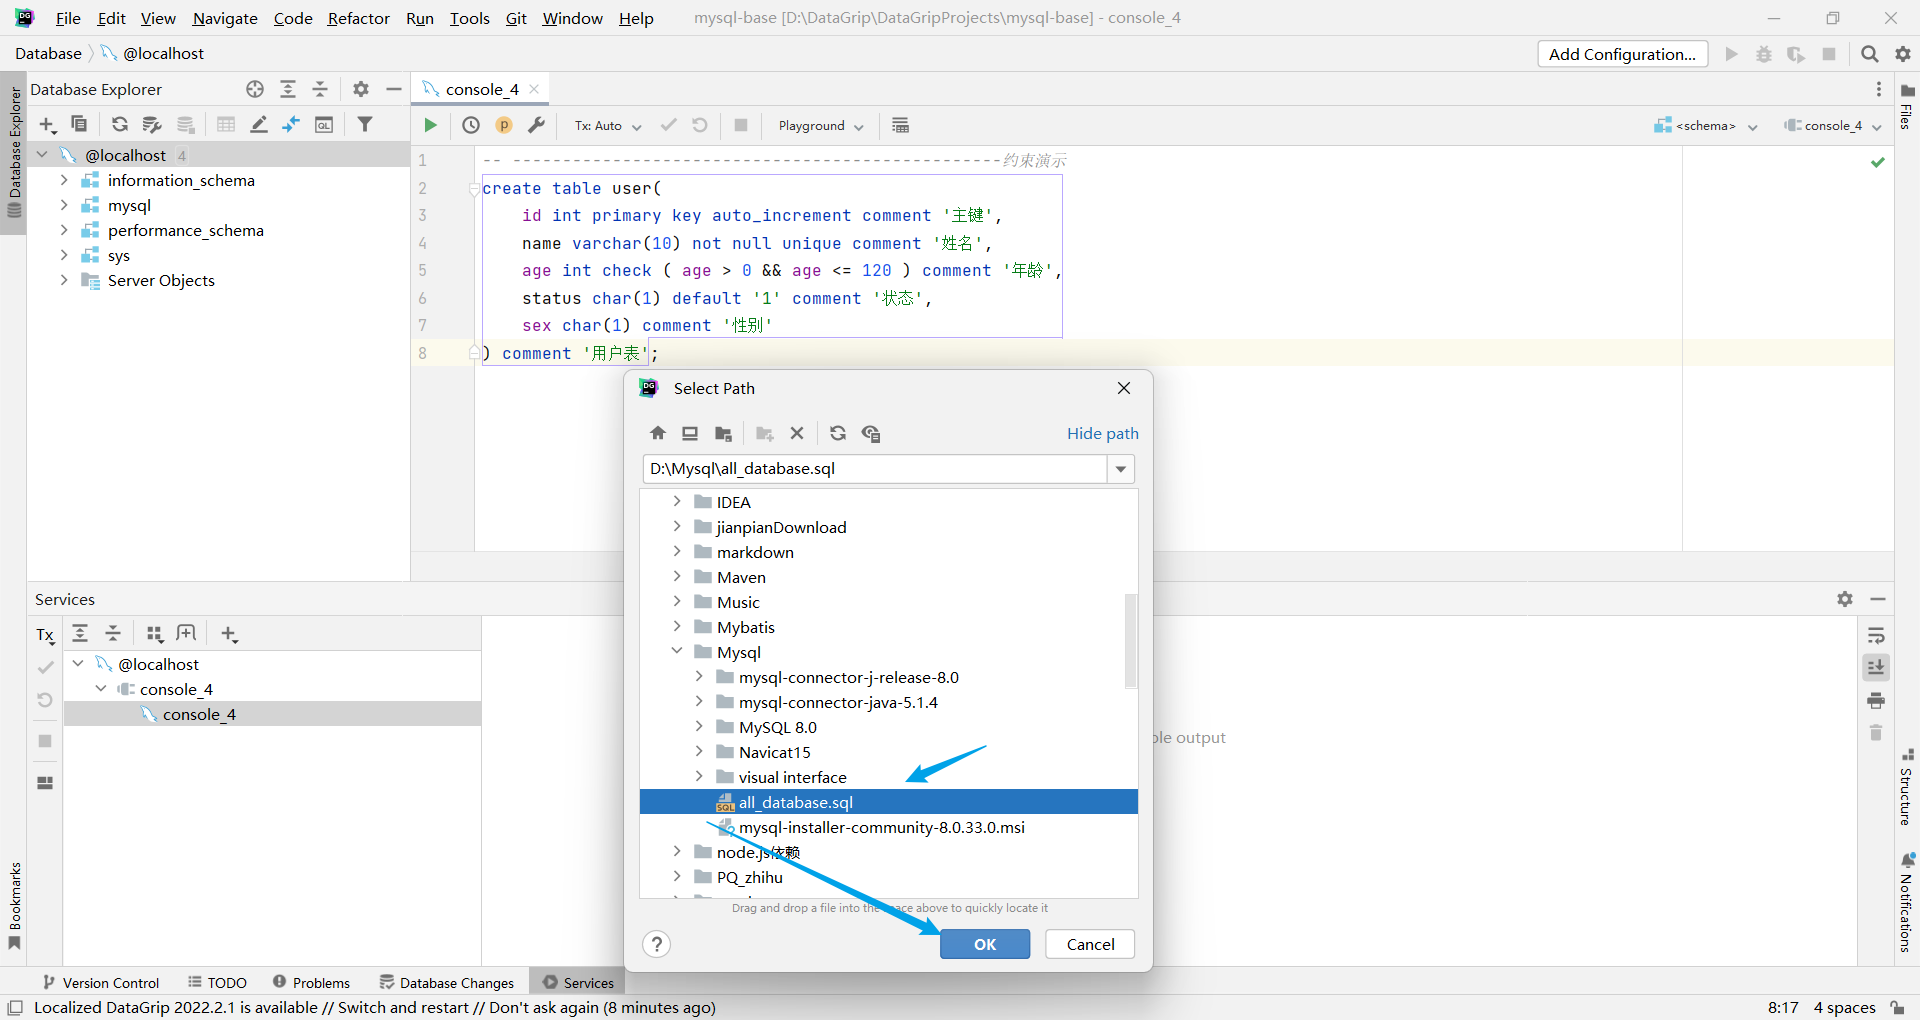
Nine, restore the backup
If you are familiar with Navicat importing sql files, then use Navicat. Here I choose to use DataGrip, just to practice how DataGrip imports sql files.
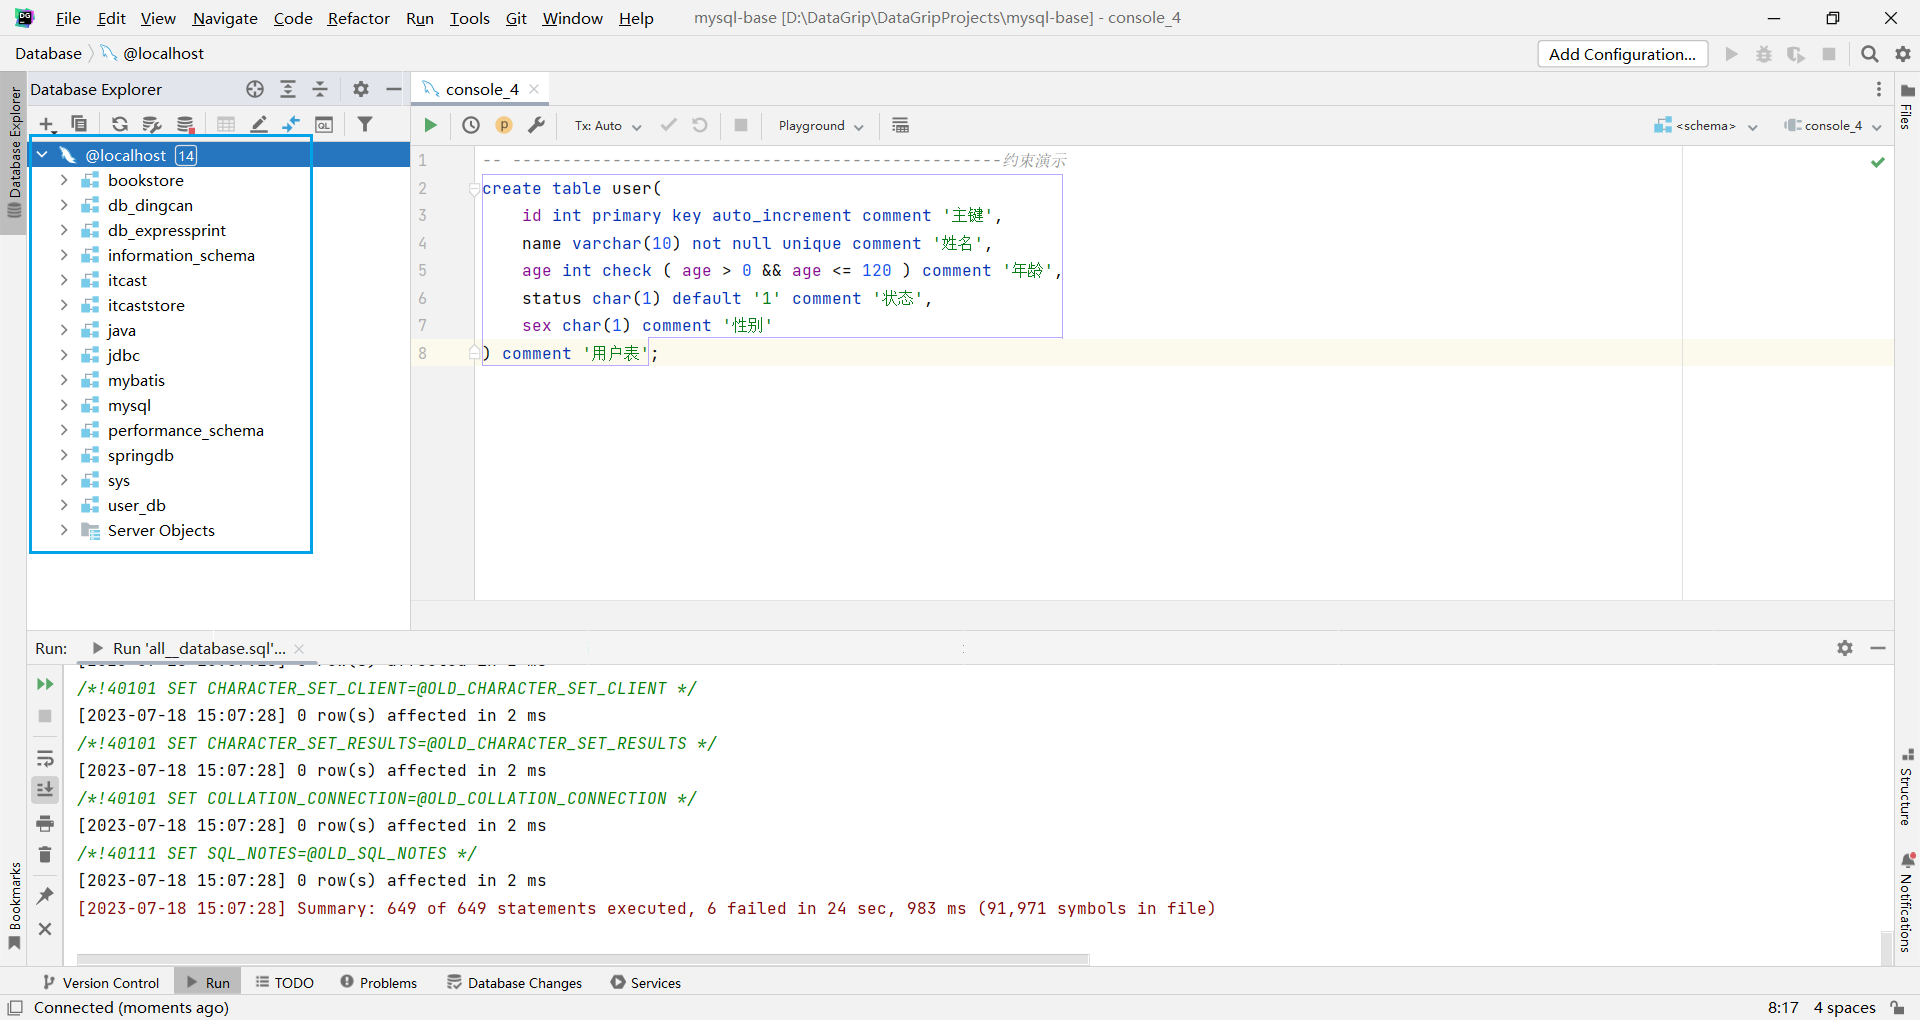
At this time, the execution is successful when using the check constraint (supported after version 8.0.16)