Table of contents
1. Tool: vs code; environment: node.js.
Extract the login method as a public method
Command line execution for all use cases
Solve the cross-domain problem under chrome:
Generating Junit-allure reports
foreword
Front-end automated testing is an integral part of modern web development, helping development teams improve code quality, reduce bugs, and ensure application stability and reliability. Cypress is a popular front-end automated testing tool that provides easy-to-use APIs and features that enable developers to easily write and execute automated tests.
Some time ago, I saw the introduction of cypress in the forum, and I just wanted to know about the front-end testing framework, so I used it and researched it. Below are the relevant records.
Reference official website: JavaScript Component Testing and E2E Testing Framework | Cypress
Environmental preparation
1. Tool: vs code; environment: node.js.
Follow the online tutorial to install.
2. Install cypress
cd /your/project/path
npm install cypress --save-dev
3. Install the plugin:
npm install eslint-plugin-cypress --save-dev
npm install --save-dev eslint-plugin-chai-friendly
4. Configuration:
Create package.json in the root directory:
{
  "scripts": {
    "cypress:open": "cypress open"
  },
  "devDependencies": {
    "eslint-plugin-chai-friendly": "^0.4.1",
    "eslint-plugin-cypress": "^2.2.1"
  }
}
Create .eslintrc.json in the // my-project/cypress/ directory:
{
    "plugins": [
      "cypress",
      "chai-friendly"
    ],
    "rules": {
      "no-unused-expressions": 0,
      "chai-friendly/no-unused-expressions": 2
    },
    "env": {
      "cypress/globals": true
    },

        "extends": [
          "plugin:cypress/recommended"
        ]

  }
5. Start command:
npm run cypress:open
helloworld:
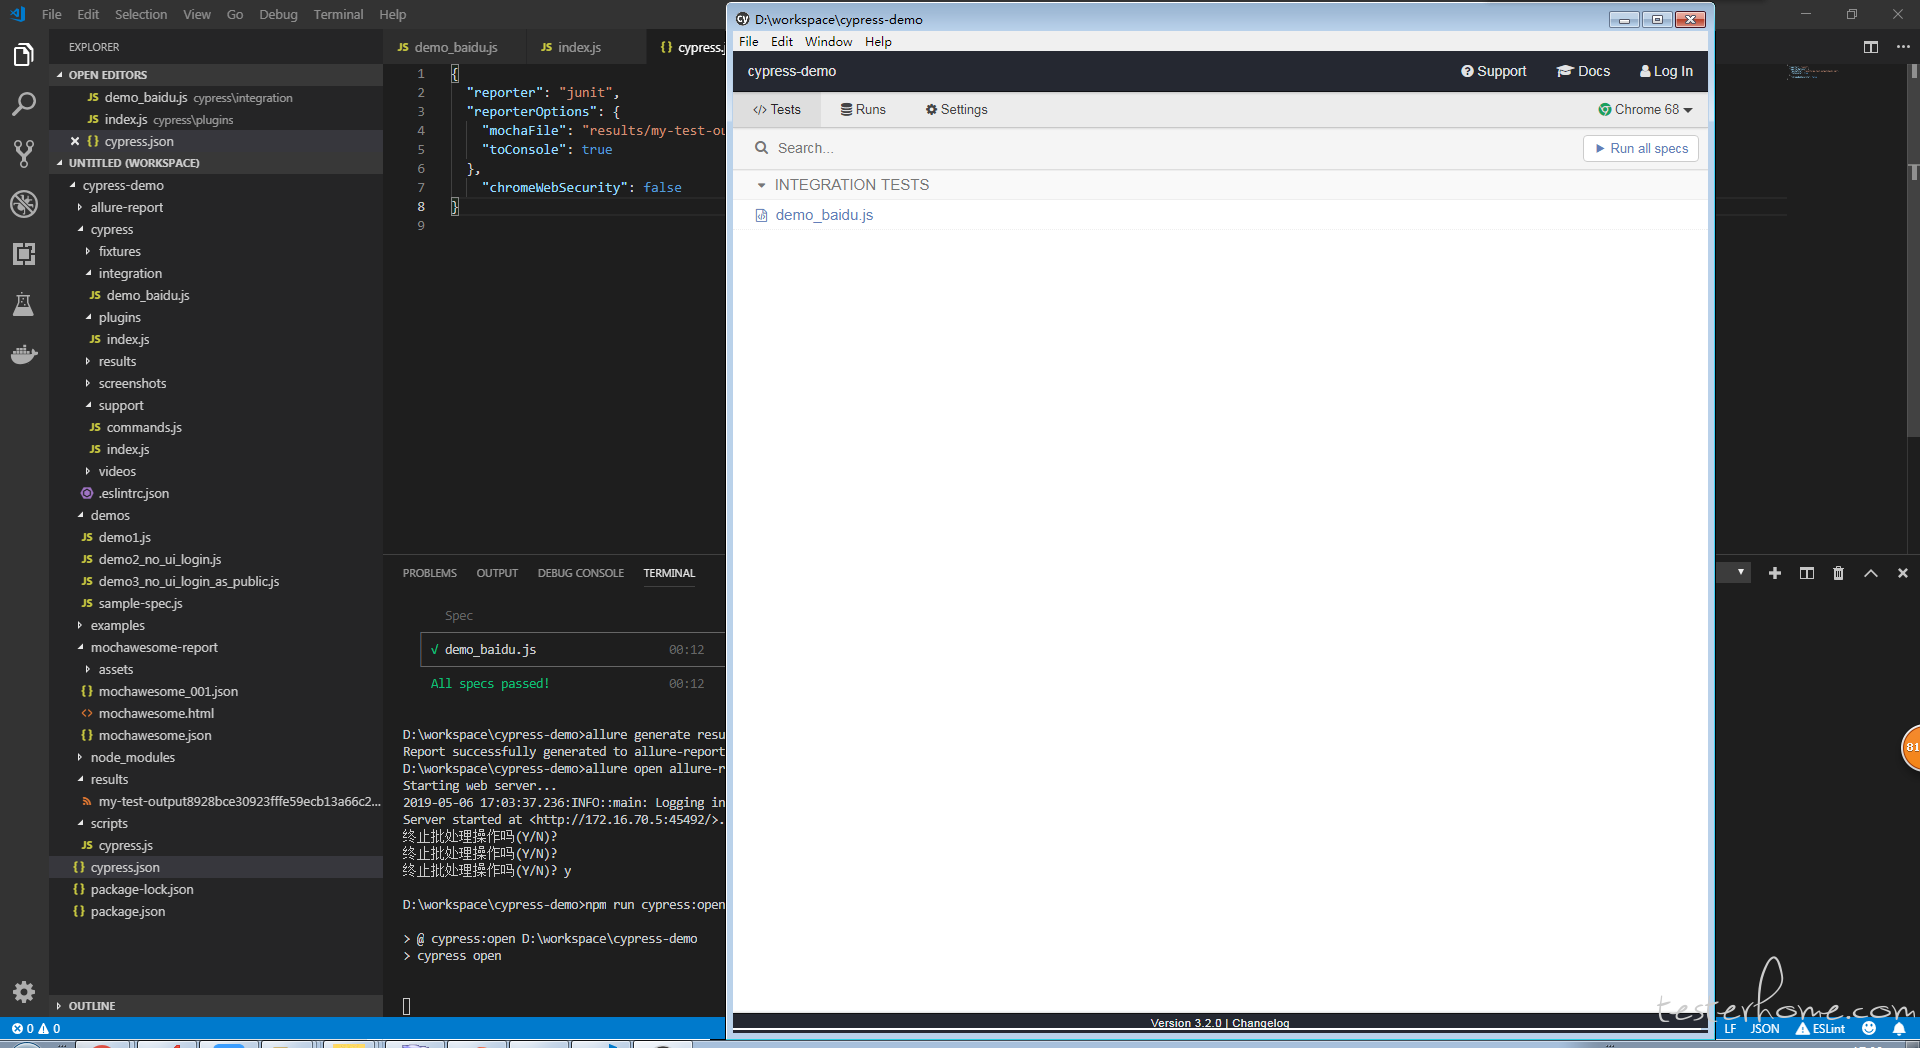
Create a new sample-spec.js in your-project/cypress/intgration directory
describe('My first test case for cypress',function(){
    it('Does not match!',function(){
        expect(true).to.equal(true)
    })
})
Click the current use case in the cypress window to execute:
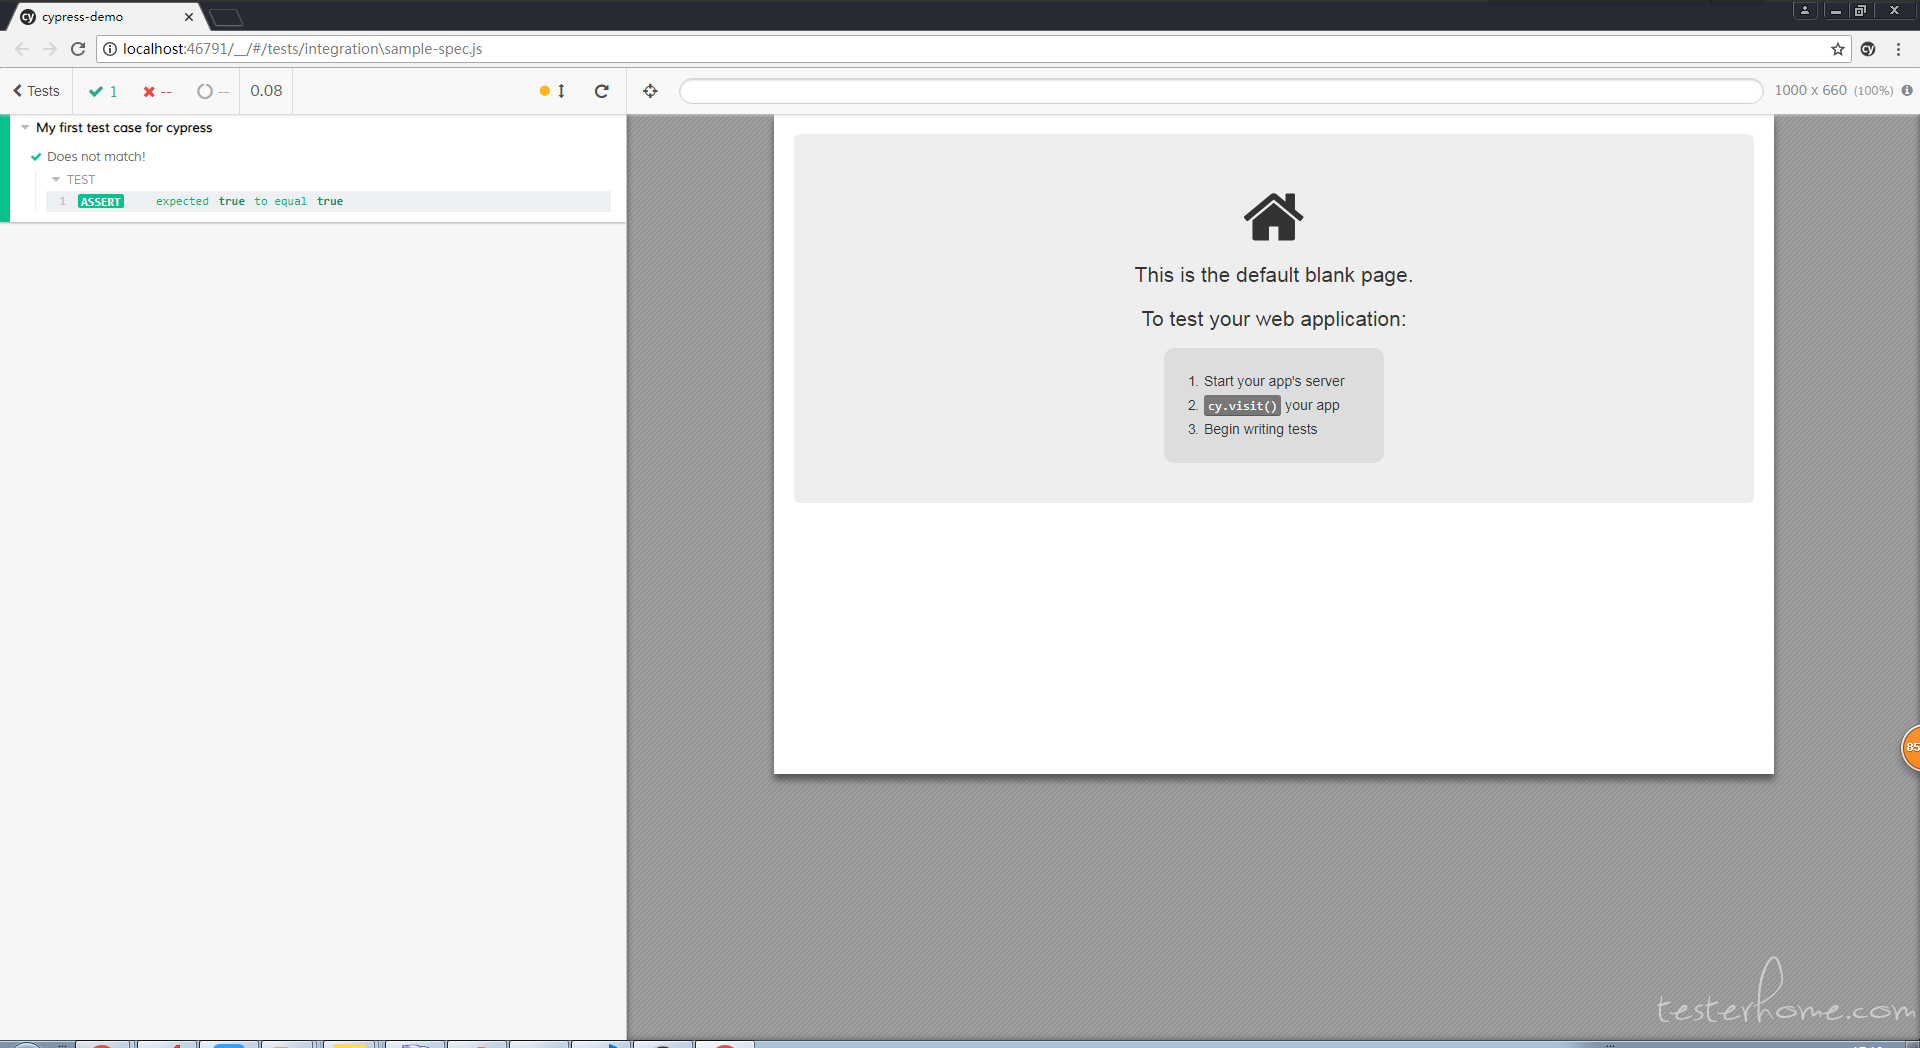
Note that when writing a use case, each save will automatically trigger the test, which is more convenient for debugging.
first use case
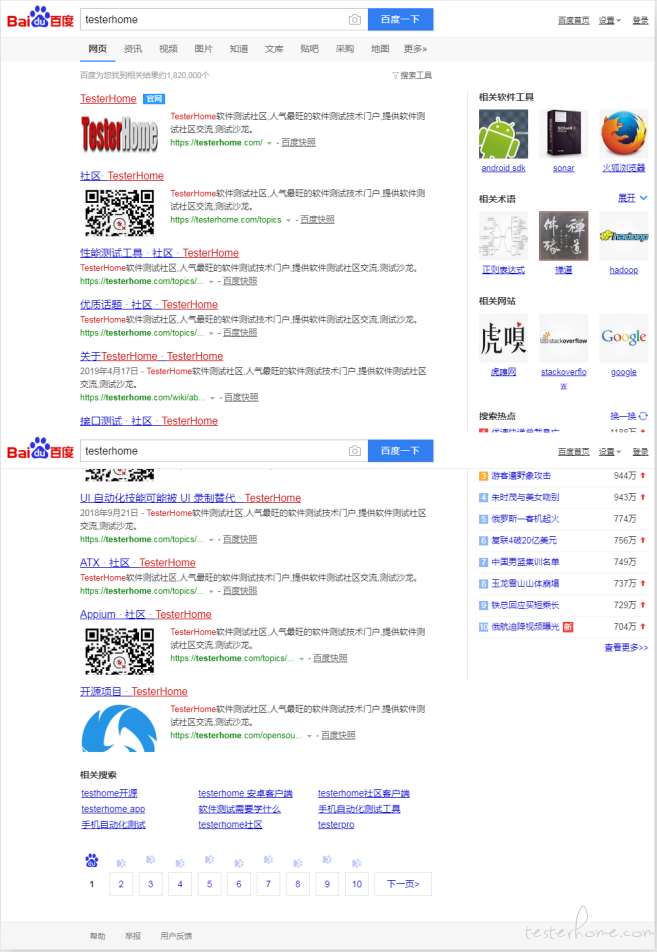
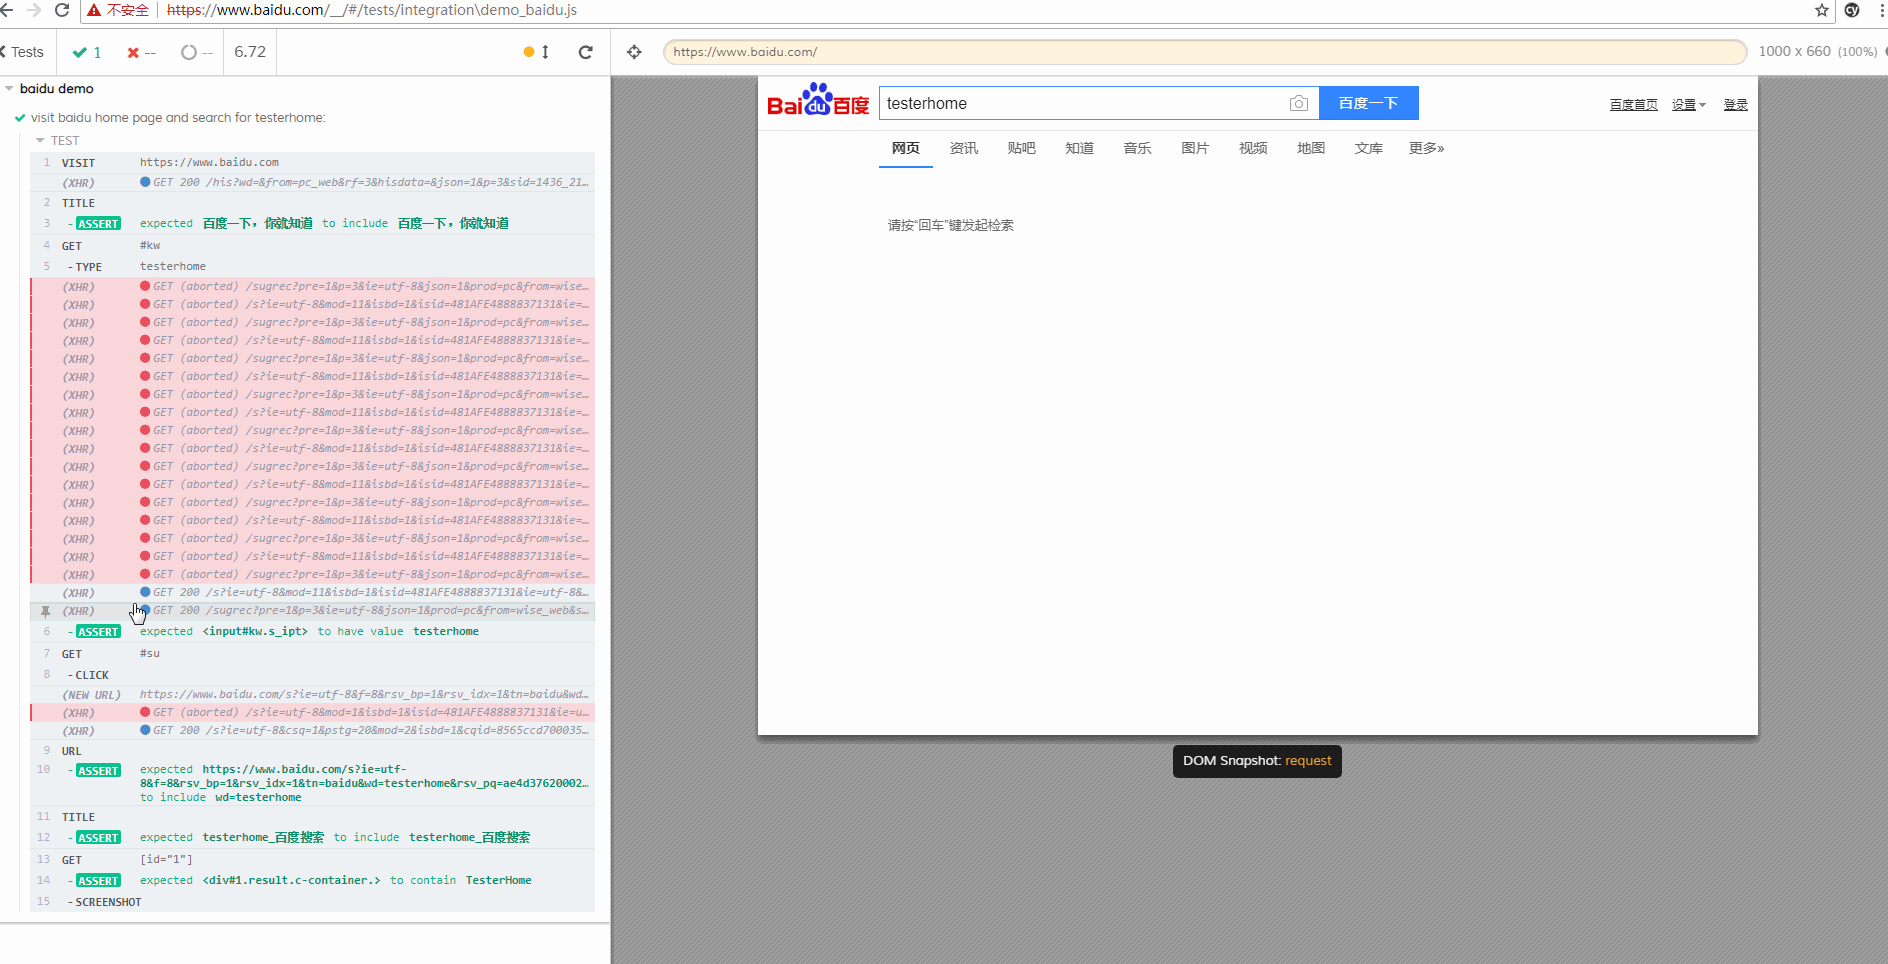
Visit the Baidu homepage and search for testerhome:
describe('My first test case for cypress',function(){
    it('visit baidu home page and search for testerhome:',function(){
        cy.visit('http://www.baidu.com') //访问url
        cy.title().should('contain','百度一下,你就知道')   //验证页面 title 是否正确
        cy.get('#kw')      //根据 css 定位搜索输入框
        .type('testerhome')        //输入关键字
        .should('have.value','testerhome')  //验证关键字自动是否展示正确
        cy.get('#su').click()   //根据 css 定位搜索按钮并点击
        cy.url().should('include','wd=testerhome')     //验证目标url 是否正确包含关键字
        cy.title().should('contain','testerhome_百度搜索')  //验证页面 title 是否正确
        cy.get('[id="1"]')
        .should('contain','TesterHome')   // 验证第一个结果中是否包含TesterHome
        cy.screenshot()
    })
})
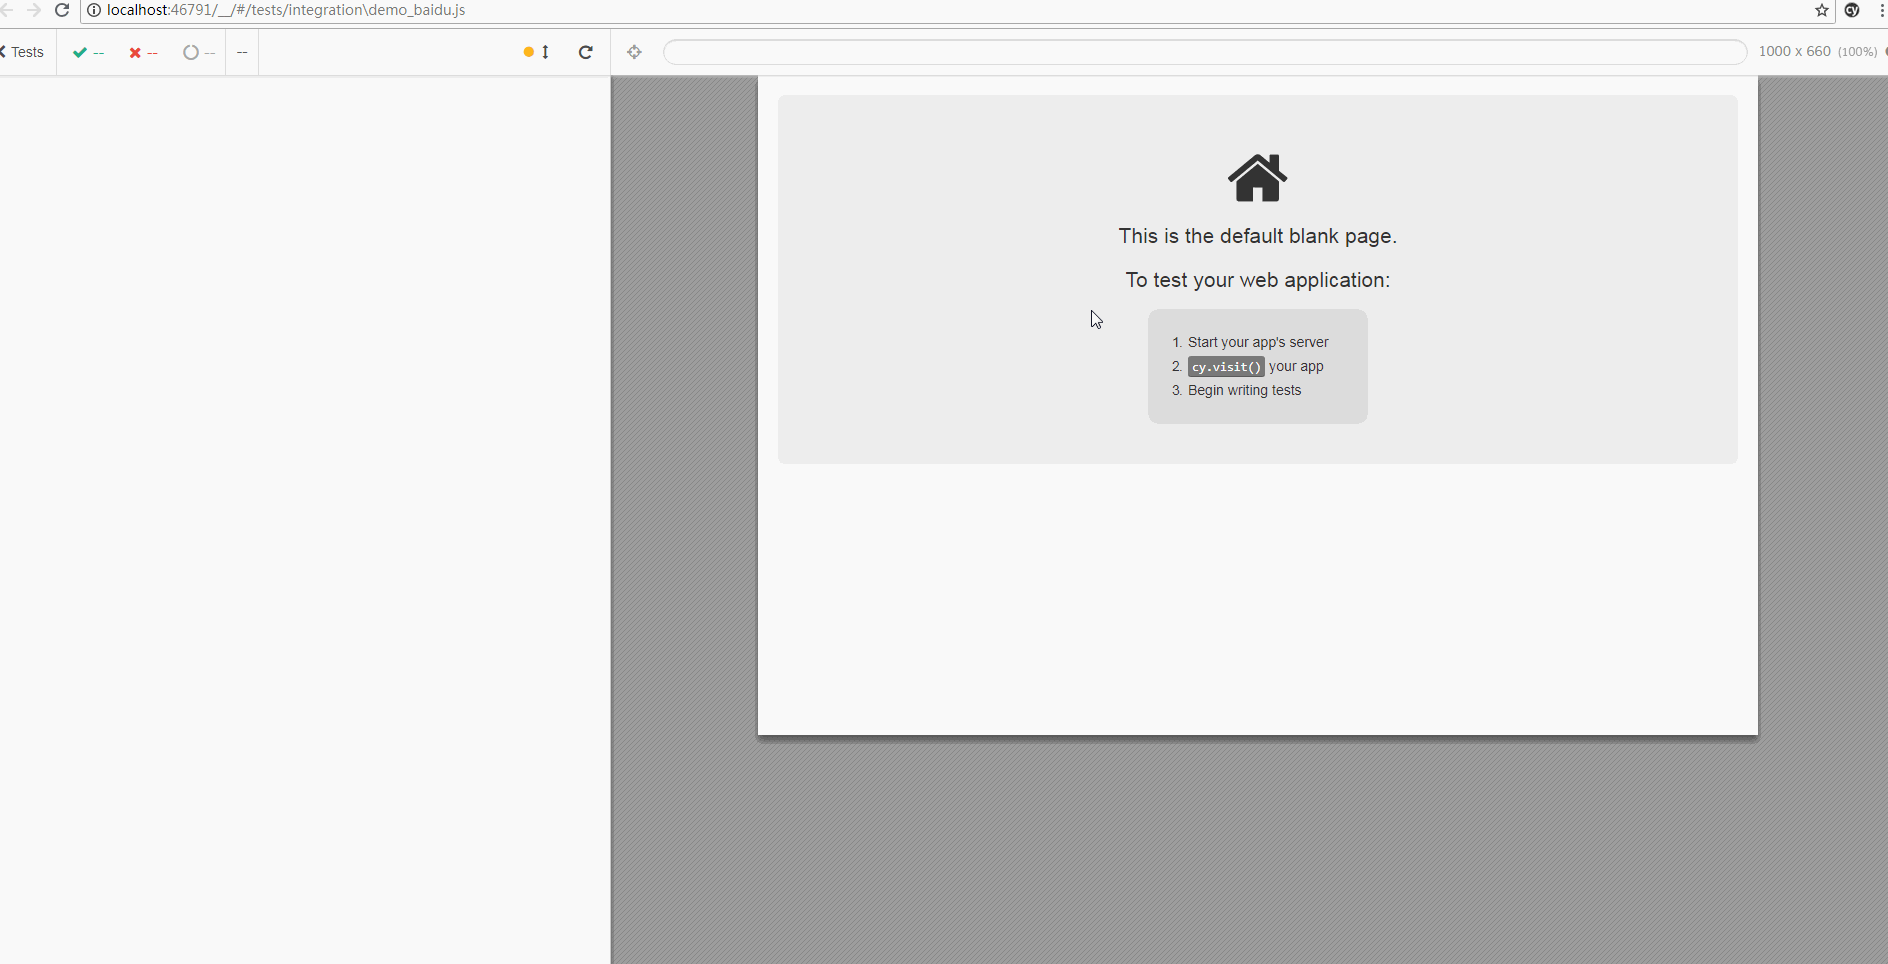
Generated screenshot:
There is a special snapshot function here, which can record every step in the execution process and view the page at that time (real webpage, not a picture)
Element positioning method
- get: Locate the element by css or element-specific properties
- contains: locate elements by a specific string
Login using request request
Cypress recommends logging in directly using request instead of calling UI in the login step of each use case. Below is an example:
describe('My first test case for cypress',function(){
    it('login as admin without UI:',function(){
        const accountTypes = {   // 设置账号类型
            admin:{
                account:'admin',
                password:'123456'
            }
        }

        cy.request({
            url:'http://yourhost/login',
            method:'POST',
            form:true,
            body:accountTypes['admin']      // 使用 admin 账号登录(跳过 UI 的登录)
        })
        cy.visit('/profile')
        cy.url().should('include','profile')     //验证目标url 是否正确
        cy.get('#headerTitle')
        .should('have.text','个人信息')   // 验证是否包含标题 个人信息,
    })
})
Extract the login method as a public method
Cypress.Commands.add('login', (userType, options = {}) => {
        const accountTypes = {   // 设置账号类型
            admin:{
                account:'admin',
                password:'123456'
            }
        }

        cy.request({
            url:'http://yourhost/login',
            method:'POST',
            form:true,
            body:accountTypes[userType]      // 使用 admin 账号登录
        })
    })

describe('login with different account',function(){
    beforeEach(function() {
        cy.login('admin')
        cy.visit('/')
    })

    it('进入商品列表页面',function(){

        cy.contains('商品列表').click()
        cy.get('#headerTitle')
        .should('have.text','商品列表')   // 验证是否包含标题 商品列表
    })

    it('进入订单列表页面',function(){
        cy.contains('订单列表').click()
        cy.get('#headerTitle')
        .should('have.text','订单列表')   // 验证是否包含标题 订单列表
    })
})
Command line execution for all use cases
npm run cypress:run
Specific operating parameters can be configured under package.json:
"scripts": {
   "cypress:run": "cypress run --browser chrome"
 }
Solve the cross-domain problem under chrome:
Add in cypress.json:
"chromeWebSecurity": false
Generating Junit-allure reports
Add dependencies in cypress.json:
"reporter": "junit",
"reporterOptions": {
  "mochaFile": "results/my-test-output[hash].xml",   // 通过hash 标签区分不同文件的用例结果
  "toConsole": true
}
When executing cypress run, the xml file will be automatically generated.
Use allure to generate the corresponding report:
// 生成allure 报告
allure generate results --clean

// 打开报告
allure open allure-report
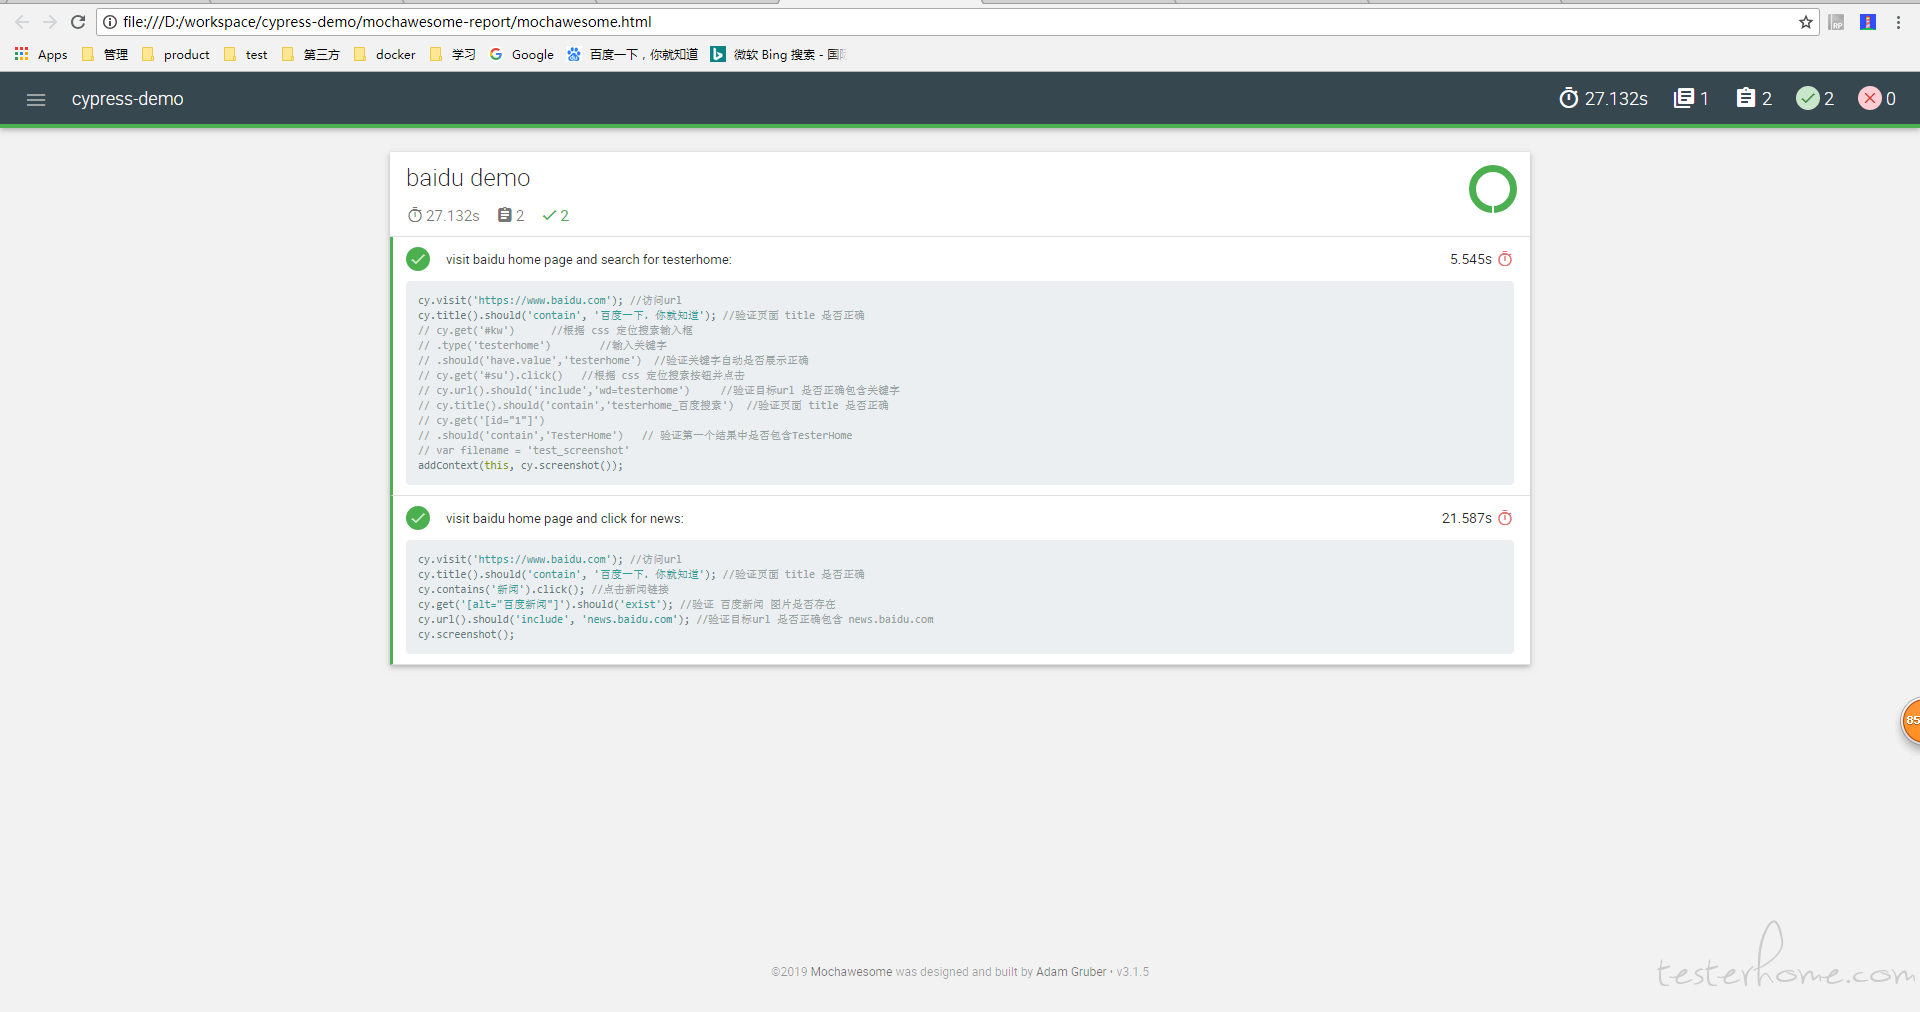
Generate mocha awsome report
Install the corresponding module:
Note: mocha must specify 5.2.0, otherwise an error will be reported
npm install --save-dev [email protected] mochawesome mochawesome-merge mochawesome-report-generator
Configure cypress corresponding report information cypress.json:
"reporter": "mochawesome",
"reporterOptions": {
  "overwrite": false,
  "html": false,
  "json": true
},
Write scripts that execute tests and generate reports:
scripts\cypress.js
const cypress = require('cypress')
const fse = require('fs-extra')
const { merge } = require('mochawesome-merge')
const generator = require('mochawesome-report-generator')

async function runTests() {
  await fse.remove('mochawesome-report')
  const { totalFailed } = await cypress.run()
  const jsonReport = await merge()
  await generator.create(jsonReport)
  process.exit(totalFailed)
}

runTests()
Add the corresponding startup script to the package.json file:
"scripts": {
   "cypress:open": "cypress open",
   "cy:run": "node scripts/cypress.js"
 }
Start execution:
npm run cy:run
View the report:
mochawesome-report\mochawesome.html
Summarize
advantage:
- The speed feels faster than selenium.
- The built-in request method can directly skip the login of the UI layer, but the requirement is that you can call the corresponding login interface.
- Automatically retry when some steps fail to run. This can improve the stability of operation.
- Automatically take screenshots when the operation fails.
To be studied:
- You can use allure or mochawesome to generate reports, but how to attach screenshots to reports? Haven't found a good solution yet.
- Integration with jenkins: Trying to use docker to execute use cases and generate reports, but currently stuck at the exit node where the task in docker cannot be obtained.
- Can use cases run concurrently?
![]()
As someone who has been here, I also hope that everyone will avoid some detours
Here I will share with you some necessities of the way forward in automated testing, hoping to help you.
(software testing related materials, automated testing related materials, technical questions and answers, etc.)
I believe it can make you better progress!
Click on the small card below