Table of contents
0. Preface
I plan to deploy a TODO LIST on the cloud server to practice, which is a to-do reminder list.
In this section, we learn to use the flask library to create a login interface, and use the Redis database to implement the account password loading function. We will add the registration interface next time.
Notice! ! ! Please make sure you have installed the redis database, otherwise an error will be reported because you cannot log in to the database.
The cheese points for this section are as follows:
- request object
- redirect redirect
- dynamic routing
- Jinja2 Templates
OS: Windows 10 Home Edition
Development environment: Pycahrm Community 2022.3
Python interpreter version: Python3.8
Third-party libraries: flask, redis
1. request
request is a global variable in the Flask framework, which is used to obtain the data and attributes in the client request in the view function.
Its type is flask.request, which contains various attributes and methods of HTTP requests, such as request method, URL, form data, file data, request header, etc.
For example, if you want to obtain the user name and password , click Login to submit the POST request form after entering it in the browser :
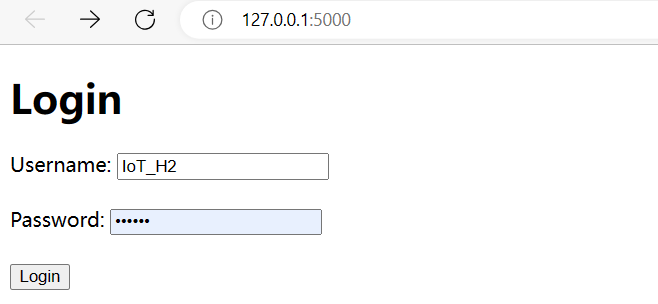
then the following code should be used in the code to obtain the login information :
···
request.form["username"] # 获取用户名
request.form["password"] # 获取密码
····
You can also use this to get the request method :
···
if request.method == 'POST':
···
2. redirect
redirect is a function in the Flask framework to redirect the user's browser to other URLs or view functions.
For example, after logging in, you should jump to another interface . How is this jump realized? What is used is redirection:
···
# 跳转到/user/username
return redirect("/user/{}".format(request.form["username"]))
···
···
@app.route('/user/<username>', methods=['GET', 'POST'])
def todo_list(username):
	# 处理事件
	···
···
3. Dynamic Routing
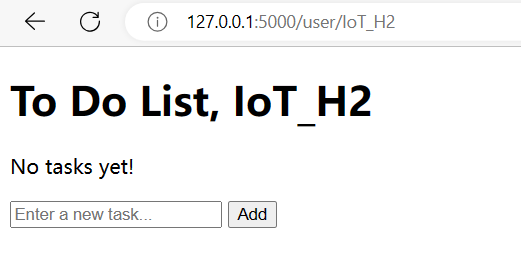
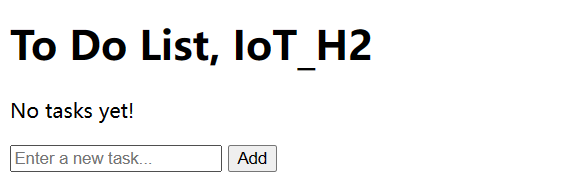
This code implements the dynamic routing function. For example, if you log in as IoT_H2 , it will be as follows:
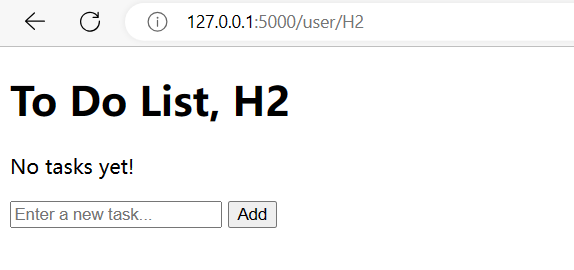
Now I create another user in the Redis database :

the user name is set to H2 , and the password is set to 123456
After logging in, this is the case, the greeting has changed:
# 任务列表,在后期应设置为每个用户专用的列表
tasks = []
@app.route('/user/<username>', methods=['GET', 'POST'])
def todo_list(username):
    global tasks

    # 收到post请求则提交表单,添加代办任务
    if request.method == 'POST':
        task = request.form['task']
        tasks.append(task)

    # 收到GET请求则判断是否收到删除操作
    elif request.method == 'GET':
        delete_task = request.args.get('delete_task')
        # 删除任务操作
        if delete_task in tasks:
            tasks.remove(delete_task)

    # 不管什么请求,结束后都动态刷新页面
    return render_template('todo.html', tasks=tasks,username = username)
4. Jinja2
Jinja2 is a popular Python templating engine widely used in web frameworks such as Flask and Django. The Jinja2 template engine supports a variety of syntax and language extensions, including functions such as control flow, variable substitution, template inheritance, and filters.
In fact, it is a rule in which you can write commands similar to Python, and the suffix is still html.
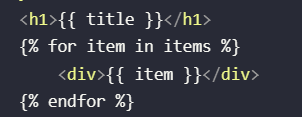
Here is an example:
<!DOCTYPE html>
<html>
<head>
    <meta charset="UTF-8">
    <title>{

   { title }}</title>
</head>
<body>
    <h1>{

   { title }}</h1>
    {% for item in items %}
        <div>{

   { item }}</div>
    {% endfor %}
</body>
</html>
title and items are parameters we pass in using render_template.
It doesn't matter if you don't understand, just sort out the final project and read it a few times:
Code
I wrote all the comments in the code:
from flask import Flask, render_template,request,redirect
import redis

app = Flask(__name__)

# 连接 Redis 数据库
r = redis.Redis(host='127.0.0.1', port=6379,charset='utf-8', decode_responses=True)

def LoginTest(a,b):
    if a == b:
        return True
    else:
        return False

# 不管是/login 还是/ 都会进入到登录界面
@app.route('/')
@app.route('/login', methods=['GET', 'POST'])
def login():
    # 收到的是POST请求
    if request.method == 'POST':
        # 处理登录表单提交的数据
        # 与数据库比对登录信息,密码正确则重定向至用户界面
        if LoginTest(request.form["password"],r.get(request.form["username"])):
            print("Login Sucessfully")
            return redirect("/user/{}".format(request.form["username"]))
        # 密码错误
        else:
            return "ERROR PASSWD"
    # 只能收到POST和GET请求,不是POST则是GET,返回登录界面
    else:
        # 显示登录表单页面
        return render_template('login.html')

# 任务列表,在后期应设置为每个用户专用的列表
tasks = []
@app.route('/user/<username>', methods=['GET', 'POST'])
def todo_list(username):
    global tasks

    # 收到post请求则提交表单,添加代办任务
    if request.method == 'POST':
        task = request.form['task']
        tasks.append(task)

    # 收到GET请求则判断是否收到删除操作
    elif request.method == 'GET':
        delete_task = request.args.get('delete_task')
        # 删除任务操作
        if delete_task in tasks:
            tasks.remove(delete_task)

    # 不管什么请求,结束后都动态刷新页面
    return render_template('todo.html', tasks=tasks,username = username)


if __name__ == '__main__':
    # 0.0.0.0代表广播地址,同一局域网的用户都能访问
    # 端口号为5000,设置为专用端口(如80)需要管理员身份
    app.run(host = "0.0.0.0", port = 5000)
all.html
<!DOCTYPE html>
<html>
<head>
    {% if username %} {# 如果传递了username参数,那么将选项卡标签为 To Do List, username #}
        <title>To Do List, {

   { username }}</title>
    {% else %} {# 否则只显示To Do List #}
        <title>To Do List</title>
    {% endif %} {# 用完了if语句要endif #}
</head>
<body>
    {% if username %}
        <h1>To Do List, {

   { username }}</h1>
    {% else %}
        <h1>To Do List, user</h1>
    {% endif %}

    {% if tasks %}
        <ul>
        {% for task in tasks %}
            <li>{

   { task }}
                <a href="?delete_task={

     { task }}">[X]</a>
            </li>
        {% endfor %}
        </ul>
    {% else %}
        <p>No tasks yet!</p>
    {% endif %}
    <form method="POST">
        <input type="text" name="task" placeholder="Enter a new task...">
        <input type="submit" value="Add">
    </form>
</body>
</html>
login.html
<!DOCTYPE html>
<html>
<head>
	<title>Login</title>
</head>
<body>
	<h1>Login</h1>
	<form method="POST" action="/login">
		<label>Username:</label>
		<input type="text" name="username"><br><br>
		<label>Password:</label>
		<input type="password" name="password"><br><br>
		<input type="submit" value="Login">
	</form>
</body>
</html>
If an error occurs:
-
- Check the Redis database startup status
-
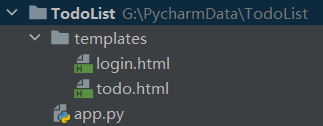
- Check directory structure
-
- Check if the port is open
-
- Check third-party library installation
- Check third-party library installation